2Nd stage baby food
What It Is, When to Start, and Options to Try
Accompanying your child through the different stages of learning how to eat real food is an exciting journey. Sometimes, along with the sense of pride — Look, they polished off the whole jar! — you can feel a little confused. How are you supposed to navigate the milestones?
Let’s start at the beginning: What do the stages of baby food mean, anyway?
Rome wasn’t built in a day, and your baby’s digestive system won’t make the leap from liquid to solid in one day either. That’s what the stages of baby food are for — to help your baby manage the mechanics of eating and to make the transition easier on your baby’s digestive system.
Defining the stages across the brands
While the different stages of baby food aren’t standardized (it would make your life easier if they were!), most popular brands more-or-less follow these four stages:
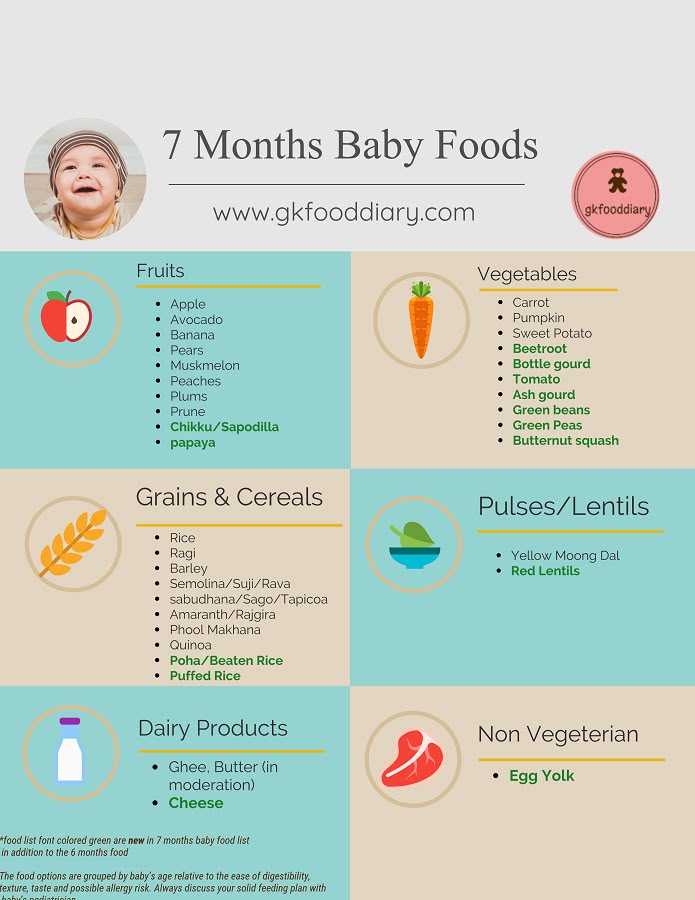
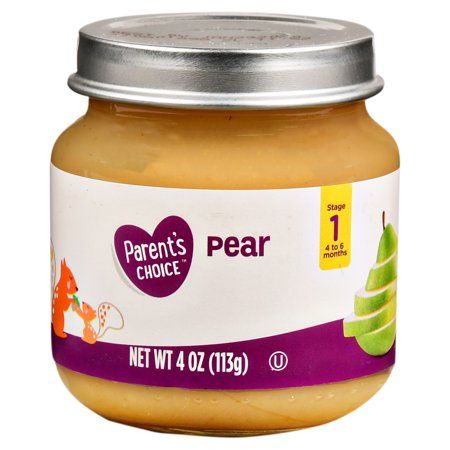
- Stage 1: 4 to 6 months (watery puree of a single ingredient)
- Stage 2: 6 to 9 months (thicker texture that is strained or mashed)
- Stage 3: 10 to 12 months (mush that has soft, chewable, small chunks)
- Stage 4: After 12 months (finger foods and small, soft pieces of foods you share from your own supper)
What is the difference between stage 1 and stage 2 food?
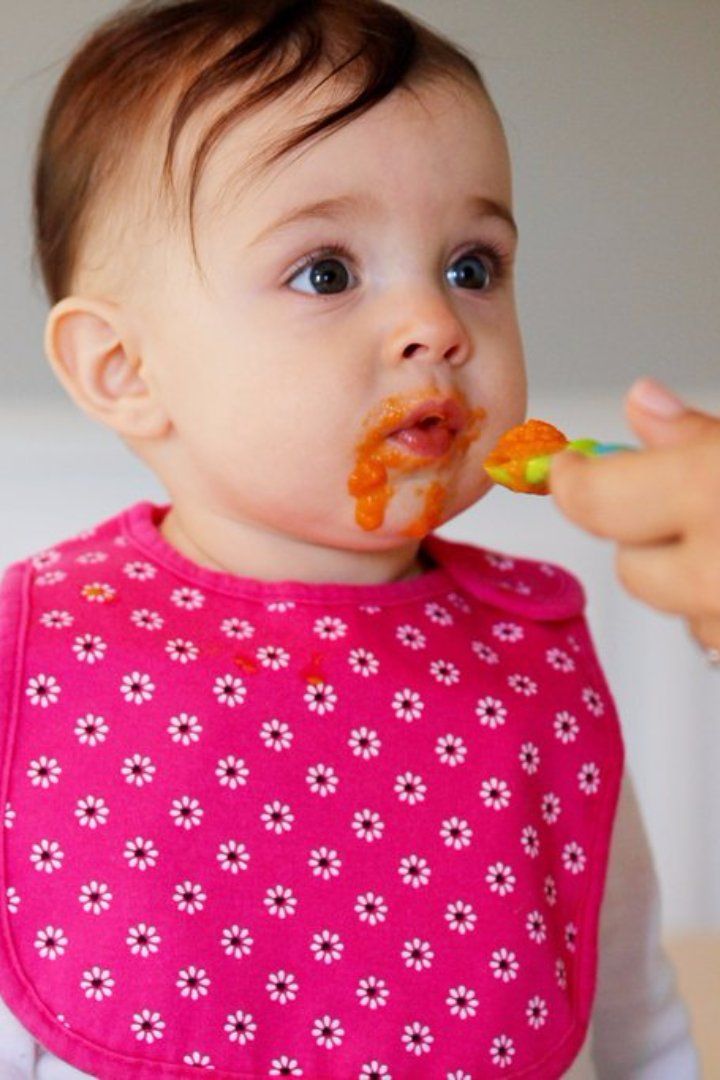
Stage 1 foods are pretty watery. They’re pureed into a smooth paste that can drip off a spoon easily, so stock up on your bibs. These foods are usually made of a single ingredient: oatmeal cereal, apple, carrots. Your baby will start off eating about half a teaspoon of this.
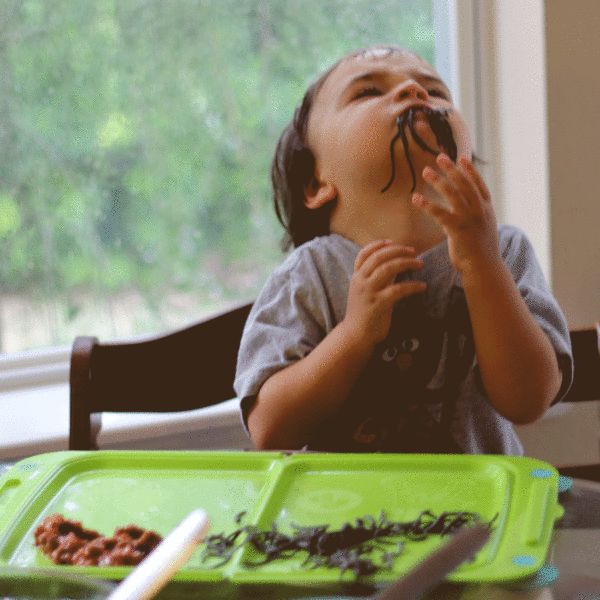
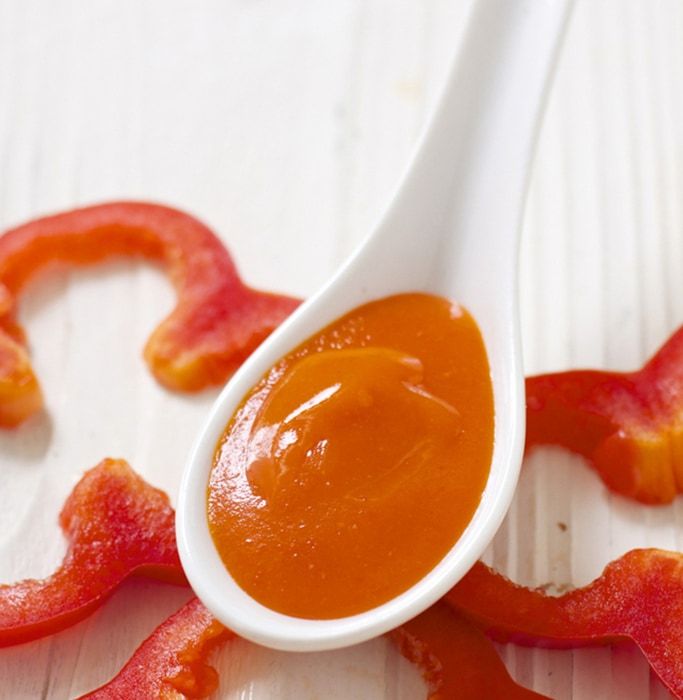
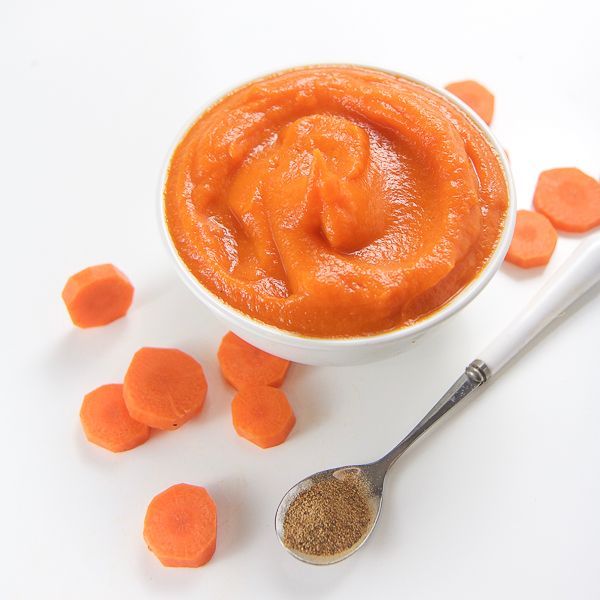
Stage 2 foods get more exciting. These are strained or mashed into a dense paste. They’re made with a combination of foods that can include legumes and even meats or fish. They may combine flavors, like fruit and veggie blends. Your baby’s appetite is growing and you’ll have to keep pace with bigger portions.
At around 6 to 9 months, your baby is probably ready to move on to stage 2 foods. Not every baby will stick to this schedule simply because every child is a world to their own.
Here are some signs that your child is ready to move on:
- Tongue reflex: At around five months, your child will start losing their tongue thrust reflex and won’t immediately push out the food that you try to feed them.
- More please: They’ll easily polish off the stage 1 foods and look hungry for more.
- Variety: They’ll have eaten foods from all the food categories (vegetables, fruits, legumes, grains, meat) and shown no allergy or intolerance.
- Enjoyment: They’re managing spoonfuls of stage 1 foods easily, mouthing and swallowing happily.
At this exciting stage, feel free to give your baby most types of foods. By offering them a wide range of tastes and textures, you’re giving them a foundation for healthy eating habits — as well as making it easier for yourself. Keep in mind the following safety points:
- Choking hazards: Avoid nuts, seeds, and popcorn at this stage. And make sure to slice round foods like grapes and hot dogs lengthwise.
- No honey: Children younger than 12 months should not be given honey because it could lead to a botulism infection.
- No juice: Follow AAP guidelines and stick with breast milk, formula or a little water and steer clear of juices.
- Safe feeding: Always strap your child into their high chair and keep an eye on them while they’re eating.
And if you’re wondering about peanuts, here’s the scoop: A 2017 release from the National Institutes of Health suggests exposing children to peanut-containing foods as early as 4 months old. (Wait till 6 months for children with mild or moderate eczema.)
Surprised? Don’t be. A recent study suggested that Israeli kids rarely suffer from peanut allergies because they’re munching on Bamba, a peanut-based snack, from as early as 3 months. Talk to your doctor about suggested safe ways to incorporate peanut products into your little one’s diet.
What’s on the menu for stage 2 baby foods? Basically, you can go the store-bought or the homemade route. Or you can mix both depending on how much time you have. It’s up to you and your personal schedule.
Here are tasty ideas for both options.
Store-bought stage 2 baby food
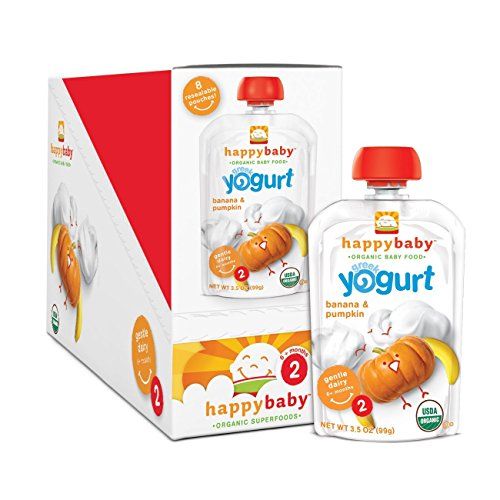
- Plum: These organic blends come in easy-to-transport pouches.
 Try pear, spinach, and pea, or banana and pumpkin.
 - Beech-Nut: Options are available in jars and pouches. Serve up some apples and bananas or pineapple, pear, and avocado.
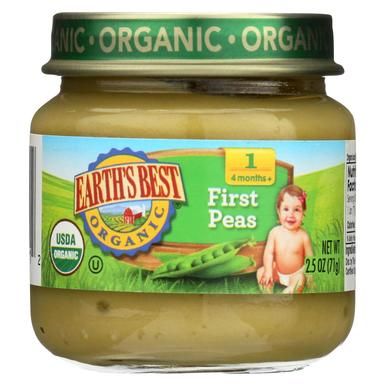
- Earth’s Best: Another organic option, in pouches or jars. Try sweet potato, barley, and garbanzo or pasta with tomato and white bean.
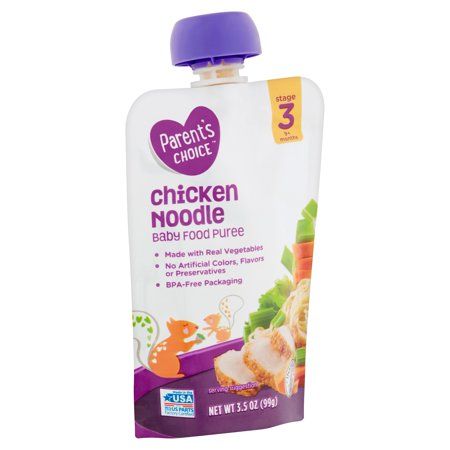
- Gerber: A classic, whether served up from plastic tubs, jars, or pouches. Flavor combinations include peach mango and oatmeal or chicken noodle dinner.
Remember to monitor your little one while they’re eating. Pouches are handy, but the caps can be a choking hazard. Glass jars are at risk of breaking, so keep them out of baby’s reach. Your baby should always enjoy snacks and meals with attentive adult supervision.
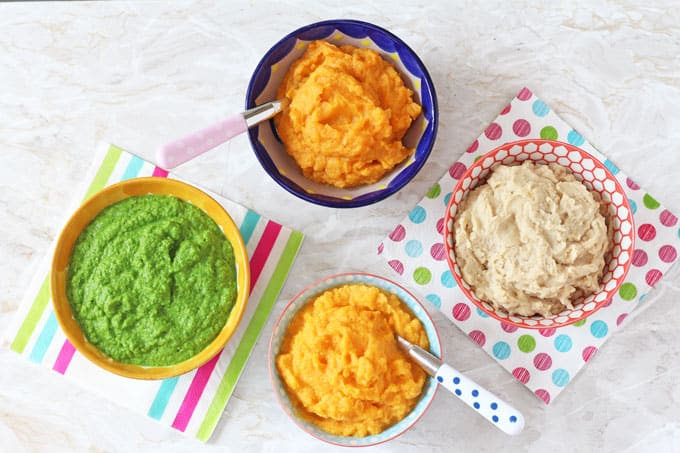
Homemade stage 2 baby food
Cooking up a storm for your baby’s budding taste buds at this stage doesn’t have to be challenging. Here are a few recipes to get you going. (You can find even more baby food recipes here. )
)
Don’t shy away from spices and herbs: your baby will appreciate the added flavor, and the micronutrients in them will give their immune system a boost.
- Apple, butternut, and carrot: Boil the ingredients until they test soft with a fork. Drain some of the water, but set it aside in case you need to thin the mixture. Sprinkle in a little curry and blend.
- Blueberries and chickpeas: You can cook up your own chickpeas or use a prepared version to save time. Mix equal amounts of blueberries and chickpeas. Blend and add breastmilk, formula, or water to get the right consistency. You can also add in some rice for extra oomph and texture.
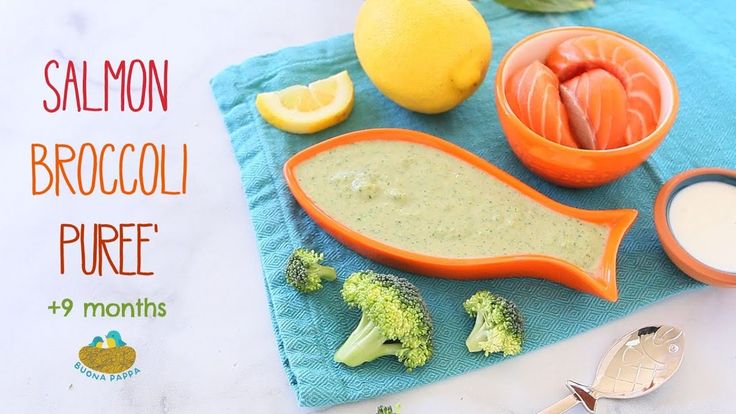
- Salmon with roasted zucchini and fennel: Spray the salmon and vegetables with oil and broil for about 15 minutes. Add chopped parsley and blend. You can thin the mixture with breastmilk, formula, or water.
Enjoy this stage with your baby because it won’t be long before they move on to the next stages. And then, sooner than you think, you may be facing competition for that last slice of caramel-topped cheesecake.
18 Amazing Stage 2 Baby Food Purees (6-8 months)
Home » Feeding Style » Baby Food Purees » Stage Two » 18 Amazing Stage 2 Baby Food Purees
18 Amazing Stage 2 Baby Food Recipes that will rock your baby’s taste buds! These colorful homemade combination purees are full of flavor, and nutrients and are a fun way for your baby to experience the wonderful world of food, one which they will never forget. It’s going to be a foodie trip of a lifetime, so pack baby’s spoon and away we go! Great 6+ month baby food, or Stage Two Baby Food.
Medically reviewed and co-written by Jamie Johnson, Registered Dietitian Nutritionist (RDN), and Lauren Braaten, Pediatric Occupational Therapist (OT).
Combination Baby Purees
Now that your baby has made their way through some or all of these delicious stage one purees, they can now move on to the more exciting world of combination purees (or stage two purees)!
With a few exceptions, most foods are now for the eating! Curry, kale, mangos, raspberries, beef, vanilla beans, asparagus, tandoori and even salmon can be on the menu.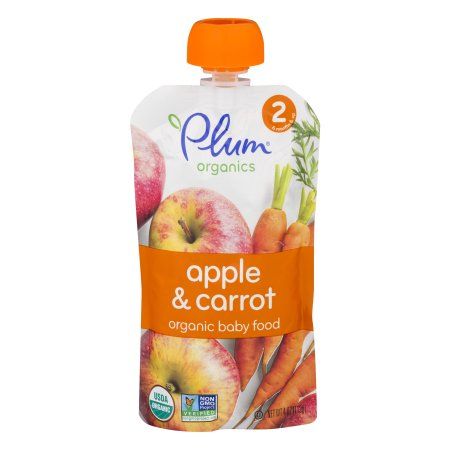
So it’s time to tempt baby’s taste buds and start developing their palettes to love foods that are fresh, colorful, and full of good-for-you nutrients.
Looking for even more baby food ideas? You can also check out my best-selling cookbook for even more information and recipes.
Stage Two Broccoli, White Bean and Apple Puree
Watch this video to see how easy it is to make a stage two puree!
Frequently Asked Questions
What is a Stage Two Puree?
Stage 2 Baby Purees, or Combination Puree, are made with multiple ingredients such as fruits, vegetables, grains, yogurt, meats, spices, and herbs. Stage 2 Purees are still smooth but are usually thicker in consistency than Stage One Purees.
When should I move to Stage 2 purees?
It is safe for you to move on to Stage Two Purees after your baby has tried several single-ingredient Stage One purees and you feel comfortable with your baby having more exposure to a variety of foods. This transition from Stage One to Stage Two purees usually happens between 6-8 months.
These tools will make it a lot easier to make homemade baby food purees. For more of my favorite kitchen tools make sure to check out my shop.
- blender or food processor
- baking sheet
- saucepans
- knives
- veggie peeler
- spatula
- freezer tray
- storage containers for fridge
- stasher bag
- reusable pouches
- baby food maker
How to Make Stage Two Purees
There are two different strategies you can take when making homemade stage two purees – the first one is taking single-ingredient purees and combining them when thawed into a delicious new combination puree. For example – you can take 2 frozen cubes of broccoli puree and 1 frozen cube of apple puree, thaw them and then mix together to get a new combination puree for baby! Below I will give you some ideas on what you can do with any freezer stash you have on hand.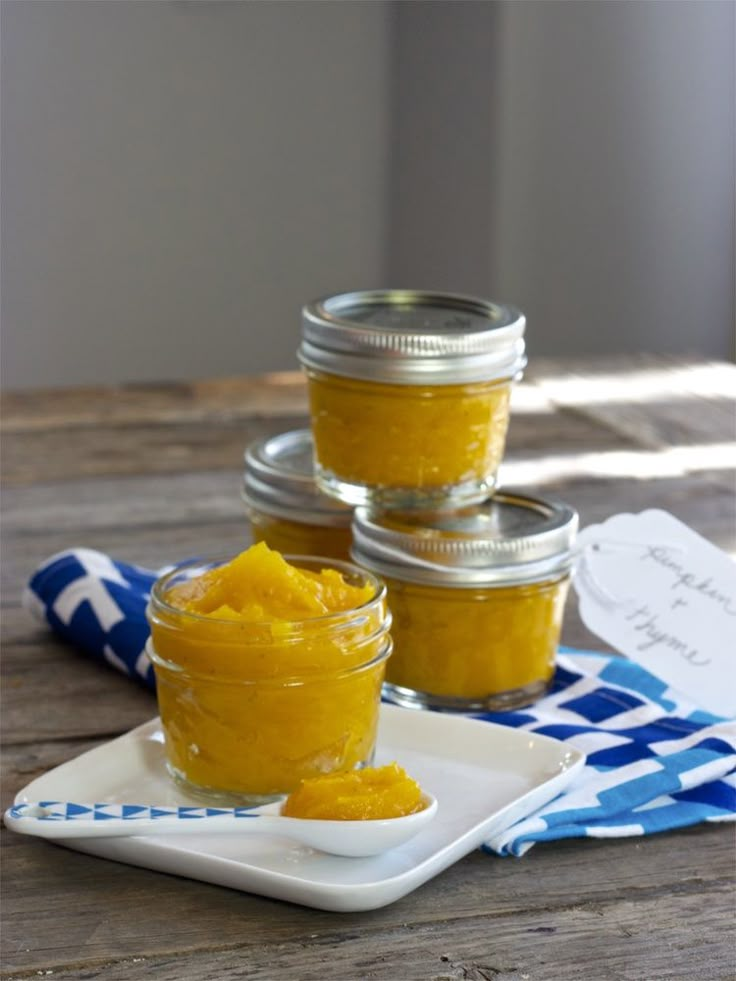
The second method is to cook delicious combination recipes that combine fruits, veggies, spices, grains and proteins in new and interesting ways for your baby. Below I have listed 18 fan-favorite recipes that have wowed babies for years!
Easy Combination Purees
- Apple + Carrot
- Banana + Avocado
- Carrot + Sweet Potato
- Broccoli + Apple
- Mango + Yogurt
- Green Beans + Banana
- Pear + Strawberry
- Peas + Broccoli
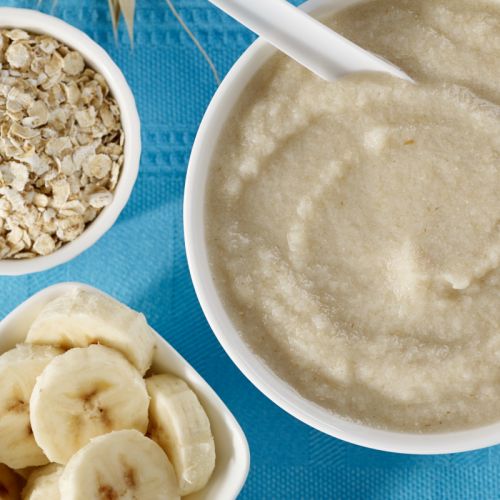
- Blueberry + Oat Cereal
- Sweet Potato + Strawberry
- Blueberry + Banana
- Peach + Strawberry
- Mango + Squash
- Broccoli + Quinoa Cereal
- Broccoli + Green Bean + Pear
- Squash + Banana + Sweet Potato
- Strawberry + Rice Cereal + Carrot
- Peas + Pears + Broccoli
- Avocado + Strawberry + Oat Cereal
Every recipe below has specific instructions on how to store that particular puree, but these are the general guidelines.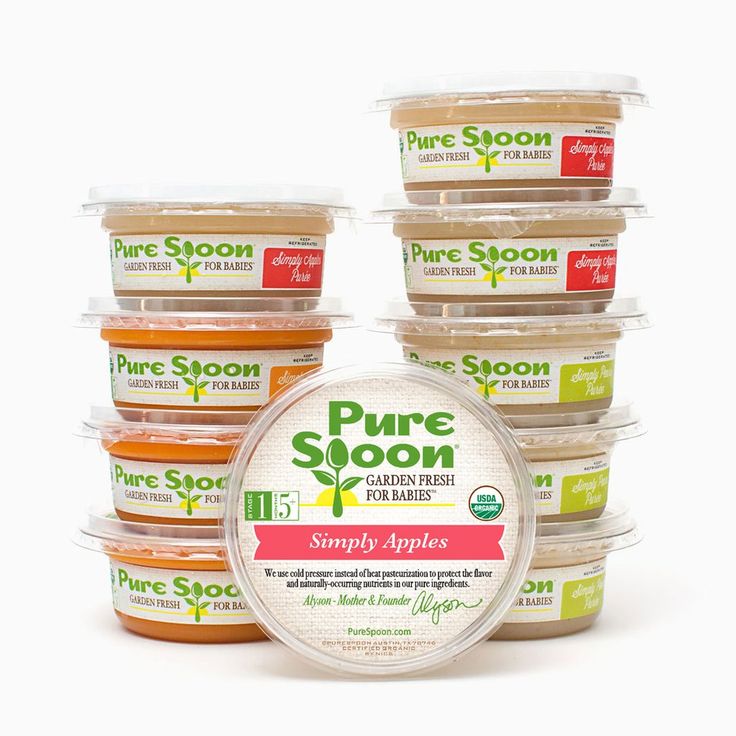
You can store the puree in an airtight container in the fridge for up to 4 days.
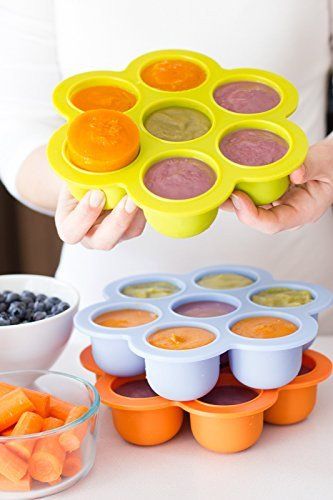
FreezerMost homemade puree can be frozen for up to 4 months.
- Spoon puree into a freezer storage container. Do not overfill.
- Place the lid on the storage container or cover with a piece of saran wrap, and label with the date and recipe name.
- Place the tray into the freezer and let it freeze completely — preferably overnight.
- Pop-out the baby food cubes and place them in a ziplock baggie or stasher bag. Don’t forget to relabel the baggie or stasher bag for future reference.
Need more information on how to store your baby foods? Head over to my Best Baby Food Storage Containers – Plus 6 Tips on Freezing and Thawing post!
Feeding Tips
- Try adding a little seasoning or spice to purees – babies like flavor! Or consider changing the temperature of purees from time to time, to slightly warmed or slightly chilled.
 Varying these aspects adds to the sensory experience!
 - Place a small amount of puree on the tray during spoon-feeding, so that your baby can dip their fingers or hands in the puree. Allowing your baby to explore foods in this way helps them learn to self-feed and can help them be more willing to try new textures and foods in the future.
- Have a spare spoon (or three!) – even very young babies often want to be involved in feeding themselves as much as possible. Giving your baby an extra spoon to hold can be helpful in giving her a sense of control and also promotes hand-eye coordination. Allow your baby to use spoons as a teether during the meal. There are many great options out there but a few we particularly love include the Olababy 3 Piece Set, the NumNum Pre-Spoon GOOtensils, and the ChooMee FlexiDip Baby Starter Spoons.
- Purees are great to keep in your baby’s regular rotation of foods – but if you start feeding with traditional weaning using purees, make sure to progress beyond eating ONLY purees.
 Once your baby can safely and comfortably swallow purees (usually by 7 or 8 months) it’s time to introduce other textures, such as teething biscuits and soft-cooked finger foods. Moving onto additional textures in a timely manner may help prevent feeding difficulties at a later age.
Broccoli, Apple + White Beans Baby Food Meal
5 stars (15 ratings)
This broccoli, apple and white beans recipe can either be made as a puree for your littlest or served as baby led weaning. Made with just 3 simple ingredients, the plant based puree, or the finger food, is all made in one pot. The puree is great for make ahead freezer baby meals.
Get the recipe
Chicken, Squash + Cauliflower Baby Food Meal
5 stars (5 ratings)
This sheet pan meal is so easy, and it makes a smooth, easy to eat puree or is ideal for baby-led weaning. Chicken, squash and cauliflower baby food is ideal for make ahead meals for your little ones and full of healthy and natural ingredients.
Get the recipe
Mango + Kale Baby Food Puree with Ginger
4.84 stars (6 ratings)
This puree has it all – super sweet mango, healthy superstar kale and a pinch of tummy yummy ginger that will leave your baby happy and healthy!
Get the recipe
Banana, Cherry + Beet Baby Food Puree
5 stars (8 ratings)
This intensely colored Banana, Cherry and Beet Baby Food Puree is full of fiber, potassium, antioxidants and a vast amount of other essential vitamins and minerals for baby.
Get the recipe
Cauliflower, Apple + Tandoori Baby Food Puree
No ratings yet
This Cauliflower, Apple + Tandoori Baby Food Puree finds the perfect balance of sweet, tangy with a slight kick from the tandoori. Great way to introduce baby to the bold and exotic flavor profile of tandoori.
Get the recipe
Roasted Root Veggies + Thyme Baby Food
5 stars (5 ratings)
This golden yellow puree is filled with roasted carrots, sweet potatoes, parsnips, and beets and sprinkled with a little olive oil and thyme for a delicious and healthy baby puree meal!
Get the recipe
Blueberry Chickpea with Rosemary Baby Food Puree
5 stars (37 ratings)
This puree is packed with antioxidants, fiber, Vitamin A and C from the blueberries and protein, zinc, manganese, folate and iron from the chickpeas. All of that goodness packed into a super simple and delicious puree!
Get the recipe
Spiced Pear Oat Baby Food Puree
5 stars (14 ratings)
Loaded with fiber, complex carbohydrates and anti-inflammatory support for a busy baby. Great Stage 2 or 3 baby food.
Get the recipe
Roasted Strawberry + Salmon Baby Food Puree
4.71 stars (17 ratings)
This Roasted Strawberry + Salmon Baby Food Puree is loaded with healthy omega-3's, antioxidants, vitamin A and potassium, and is perfect for both babies and toddlers!
Get the recipe
3 Berry + Apple Baby Food Puree
5 stars (4 ratings)
This puree that is bursting with essential nutrients for growing baby – fiber, antioxidants, phytoflavinoids and countless other vitamin and minerals.
Get the recipe
Carrot, Corn & Pumpkin Baby Food Puree
5 stars (9 ratings)
This comforting fall flavored Carrot, Corn & Pumpkin will surly be a winner with baby’s expanding tastebuds.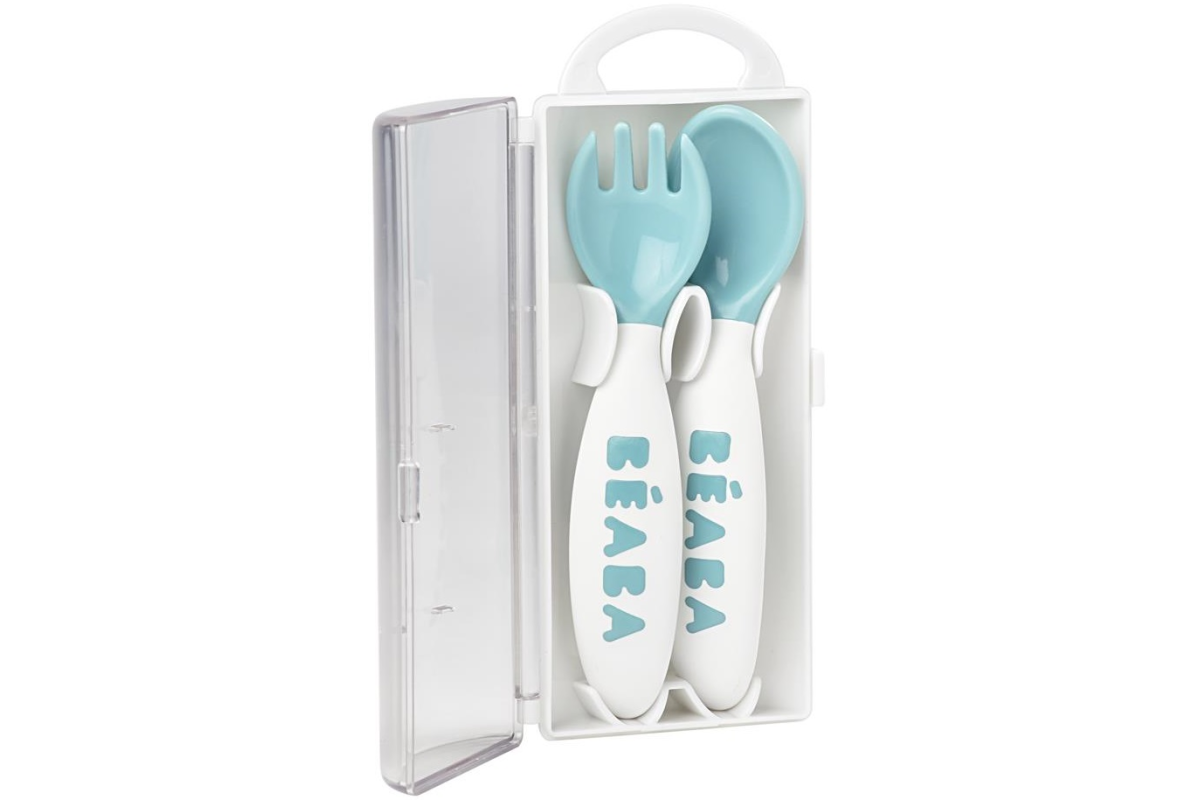 And since it is filled with nutrients that help boost baby’s eye, nerve, bone and brain development, it will be a winner with mom as well.
Get the recipe
- 1 cup blueberries
- 1 cup chickpeas, strained and rinsed
- pinch fresh rosemary, coursely chopped
In a blender or food processor, add in the blueberries, chickpeas and rosemary.
For a smooth stage 2 puree, puree on high for 1-2 minutes or until completely smooth, adding in 1 tbsp of water at a time to achieve this consistency.
For a chunky stage 3 puree, pulse for 10 seconds at a time, scraping down sides every 30 seconds and stopping when you have desired consistency, adding in 1 tbsp of water at a time to achieve this consistency.
Age: 6+ months
Yield: 12 ounces
Storage: Fridge – store in an airtight container in the fridge for 3-4 days.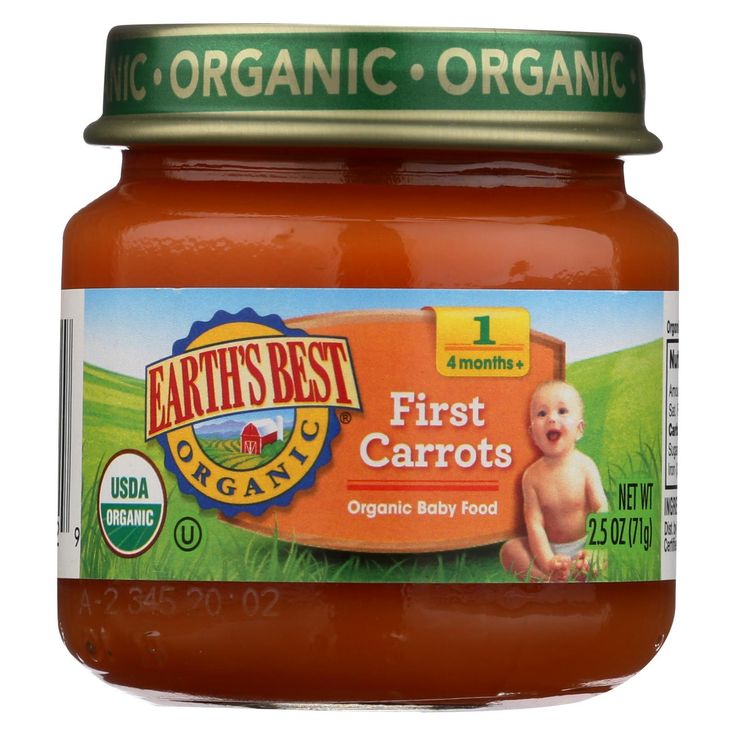 Freezer – can be frozen for up to 1 month.
Blender
Freezer Tray
Bumkins Sleeved Bib
EZPZ
Did you make this recipe?
Tag @babyfoode on Instagram and hashtag it #babyfoode!
Pin Recipe Email a Friend
Stage 2 baby food: what is it, when to start and what options to try
Contents
- What is stage 2 baby food?
- Identification of stages by brand
- What is the difference between stage one and stage two meals?
- When and how should I start feeding my baby 2nd stage complementary foods?
- What are your baby food options for stage 2?
- Store-bought baby food stage 2.
- Homemade baby food stage 2
- Conclusion
Accompanying your child through the different stages of learning how to eat real food is an exciting journey. Sometimes, along with a sense of pride - - you can feel a little confused. How should you navigate milestones?
What is stage 2 baby food?
Let's start from the beginning: what do the stages of baby food mean?
Rome wasn't built in a day, and your child's digestive system won't jump from liquid to solid in one day either.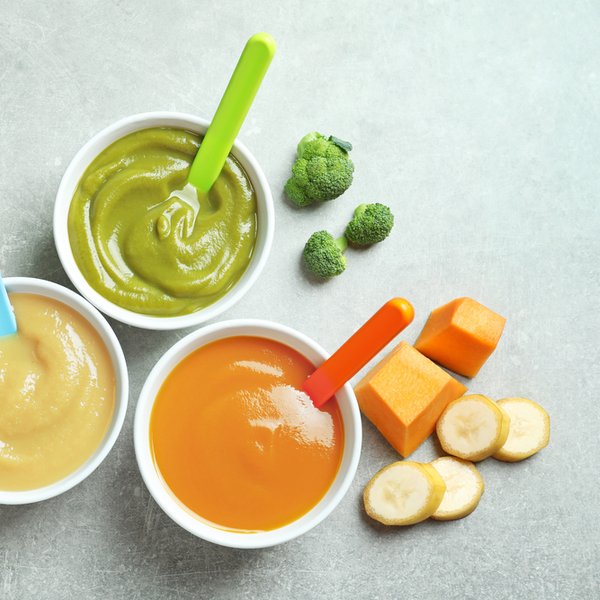 That's what baby feeding stages are for - to help your baby manage the mechanics of eating and ease the transition to your baby's digestive system.
Defining milestones by brand
Although the different baby food steps are not standardized (if they were, your life would be easier!), most popular brands more or less follow these four steps:
- Step 1: From 4 up to 6 months (single ingredient watery puree)
- Stage 2: 6 to 9 months (thicker texture, strained or puréed)
- Stage 3: 10 to 12 months (porridge with soft chewy small pieces )
- Stage 4: After 12 months (food that you can eat with your fingers and small soft pieces of food that you share with your dinner)
What is the difference between eating the first and second stages?
Stage 1 food is quite watery. They turn into a smooth paste that runs off a spoon easily, so stock up on bibs. These products usually consist of one ingredient: oatmeal, apples, carrots. Your child will start eating about half a teaspoon of this.
Stage 2 food becomes more exciting. They are strained or ground into a thick paste. They are made from a combination of foods that can include legumes and even meat or fish. They can combine flavors, such as fruit and vegetable blends. Your child's appetite is growing and you will have to keep up with larger portions.
When and how should I start feeding my baby 2nd stage complementary foods?
Around 6 to 9 months of age, your baby is probably ready to switch to stage 2 complementary foods. Not every child will stick to this schedule, simply because every child is a separate world.
Here are a few signs that your baby is ready to move on:
- Tongue reflex: At around five months, your baby will begin to lose the tongue thrust reflex and will not immediately push out the food you are trying to feed.
- More Please: They will easily eat the first stage foods and look hungry to eat more.
- Variety: They ate foods from all food categories (vegetables, fruits, legumes, grains, meat) and showed no allergies or intolerances.
- Delight: They easily eat a spoonful of food in stage 1, swallow and swallow with pleasure.
At this exciting stage, feel free to give your child most of the foods. By offering them a wide range of flavors and textures, you give them the foundation for a healthy diet and also make it easier for you. Be aware of the following safety considerations:
- Choking Hazard: Avoid nuts, seeds, and popcorn at this stage. And don't forget to cut round foods like grapes and hot dogs lengthwise.
- No honey: Babies under 12 months old should not be given honey as it can lead to botulism.
- No Juice: Follow AAP guidelines and stick to breast milk, formula or a little water and stay away from juices.
- Safe Feeding: Always fasten your child to a high chair and supervise him while he eats.
And if you're curious about peanuts, here's the scoop: 2017 National Institutes of Health report suggests giving babies peanut-containing foods as early as 4 months of age. (Wait up to 6 months for children with mild to moderate eczema.)
Surprised? Do not be. A recent study showed that Israeli children rarely suffer from peanut allergies because they have been chewing bamba, a peanut-based snack, as early as 3 months old. Talk to your doctor about safe ways to include peanut products in your baby's diet.
What are your baby food options for stage 2?
What is included in the stage 2 baby food menu? Basically, you can go the store or home route. Or you can mix both depending on how much time you have. It depends on you and your personal schedule.
Here are some delicious ideas for both.
Store-bought baby food stage 2.
- Plum: These organic blends come in easy-to-carry bags. Try pear, spinach and peas, or banana and pumpkin.
- Beech-walnut: Available in tins and bags. Serve a few apples and bananas or pineapple, pear and avocado.
- Best in the world: Another organic option, in bags or jars. Try sweet potatoes, barley and chickpeas, or pasta with tomatoes and white beans.
- Gerber: A classic served in plastic jars, jars or bags. Flavor combinations include peach mango and dinner with oatmeal or chicken noodles.
Remember to keep an eye on your baby while he is eating. Bags are convenient, but caps can be a choking hazard. Glass jars can break, so keep them out of the reach of children. Your child should always enjoy snacks and meals under close adult supervision.
Homemade Baby Food Stage 2
Cooking up a storm for your baby's nascent taste buds doesn't have to be a daunting task at this stage.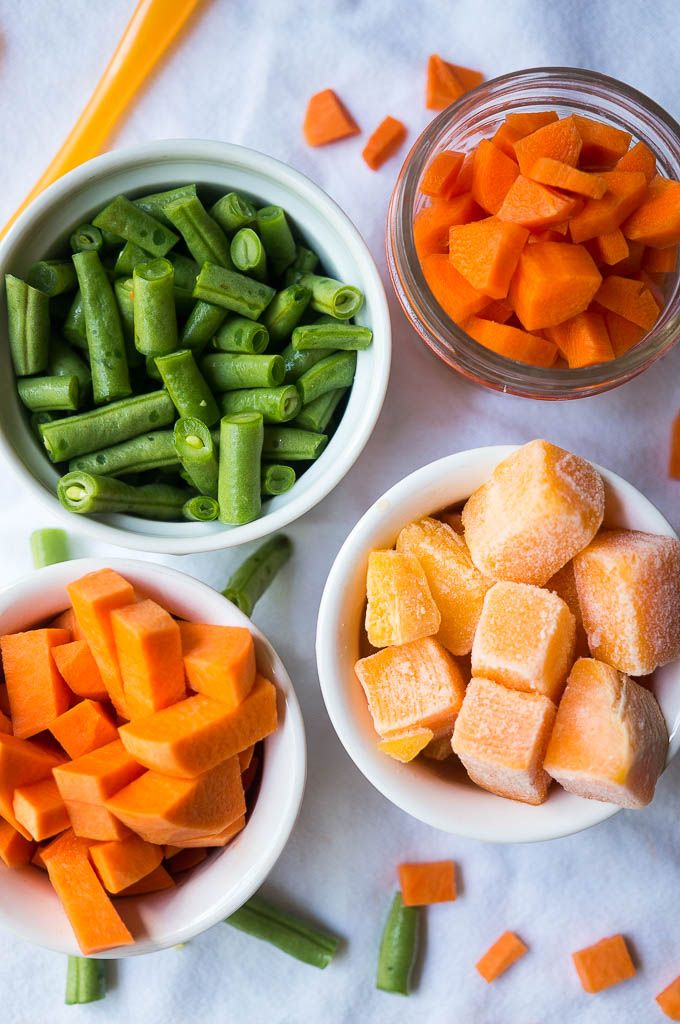 Here are some recipes to help you. (You can find more baby food recipes here.)
Don't skimp on spices and herbs: your little one will appreciate the extra flavor and the micronutrients they contain will boost their immune system.
- Apple, walnut and carrot: Cook the ingredients until they are soft when checked with a fork. Drain off some of the water, but set it aside in case you need to dilute the mixture. Sprinkle with a little curry and stir.
- Blueberries and chickpeas: You can make your own chickpeas or use ready-made ones to save time. Mix equal amounts of blueberries and chickpeas. Mix and add breast milk, formula, or water to get the right consistency. You can also add some rice for added appeal and texture.
- Salmon with fried zucchini and fennel: Drizzle salmon and vegetables with oil and roast for about 15 minutes. Add chopped parsley and stir. You can dilute formula with breast milk, formula, or water.
Conclusion
Enjoy this stage with your child because he will soon move on to the next stages. And then, sooner than you think, you may face competition for the last slice of caramel cheesecake.
How to introduce new formula to an infant | Changing from one mixture to another: scheme
The diet and diet of a formula-fed baby require special attention and constancy. However, quite often there are situations when transferring a child to another mixture becomes a necessity. In this article, we will tell you how to make the transition to a new diet comfortable and safe for your crumbs.
Why shouldn't the mixture be changed frequently?
The reasons for the transfer of an artificial child from one mixture to another must be strictly argued. Usually, the pediatrician gives recommendations on changing the diet if the child's health condition requires it. Frequent and unreasonable transitions to a new mixture is a real stress for the child's body, such jumps can provoke digestive problems in the baby.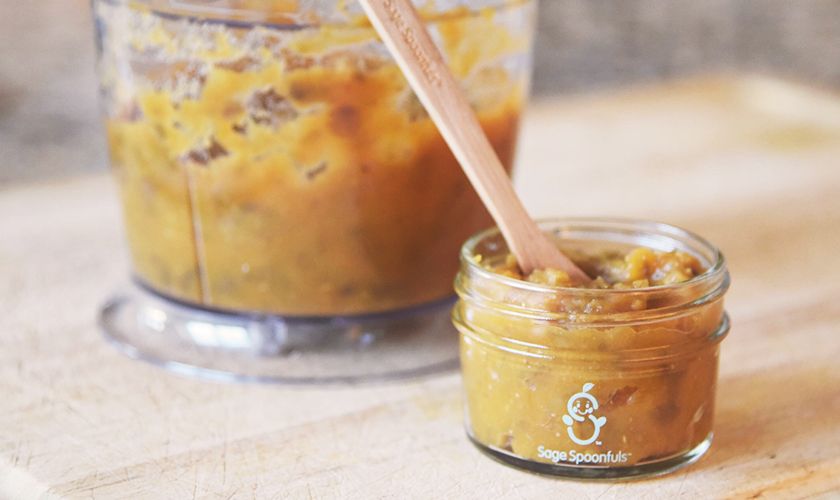
Reasons for switching a baby to new formula
Situations that require replacement of infant formula with another one may be the following:
- symptoms of allergy to the first mixture;
- the need to introduce a therapeutic mixture, in connection with the detection of any disease in a child;
- the need to replace the therapeutic mixture with an adapted one in the event that the baby has eliminated the disease or condition in which it was prescribed;
- milk protein intolerance or lactase deficiency;
- refusal of the child from the usual mixture, insufficient weight gain;
- the need to transition to a new stage of nutrition in connection with reaching a certain age (6, 12 months).
Switching to a new diet: how long does it take?
Transferring a baby from one mixture to another takes up to two weeks. During this time, the following changes are possible in the child's condition:
- change in stool - such a reaction is considered temporary and is not a reason for refusing to transfer;
- change in the child's appetite;
- changes in the mood of the crumbs.

In order to make sure that the new food suits your child, at least a month should pass. Carefully monitor the baby's reaction: appetite, activity, sleep, digestion, skin condition. If, after feeding with a new mixture, the child becomes restless, sleep worsens, rashes or other allergic reactions appear on the skin, immediately consult a pediatrician for advice.
What is the total daily amount of formula and the amount of one serving for a IV baby?
The first thing they are guided by when determining the sufficiency and quality of nutrition of an artificial baby is the monthly indicators of increased growth and weight gain. According to current standards, for the first 2 months of life, a child should consume a volume equal to 1/5 of his weight per day.
Example: baby weight 3 kg - 600 ml (3000/5=600) - the total amount of formula per day.
The norm of formula for children of the first year of life:
- from 2 to 4 months is 1/6 of body weight,
- 4 to 6 - 1/7,
- after 6 months -1/8-1/9.

The size of 1 serving is determined according to the following principle: divide the total amount of food by the frequency of feeding. It is possible that in one of the feedings the child refuses to eat up the prescribed norm, and the next time he drinks a little more than usual. Such deviations in one direction or another are quite acceptable.
Healthy Transition Rules
Experts recommend a phased transition to a new diet within one week, the frequency of feeding is 7 times:
1 day: at the first feeding - only the old mixture, the second feeding - a new one, the rest of the feedings - the old mixture. Monitor the child's condition, there should be no anxiety and sleep disturbances;
Day 2: new formula - second and fourth feedings;
Day 3: new formula - second, fourth and sixth feedings;
Day 4: new formula - first, second, fourth and sixth feedings;
Day 5: new formula - first, second, third, fourth and sixth feedings;
Day 6: new formula - every feeding except the fifth;
Day 7: new formula every feeding.