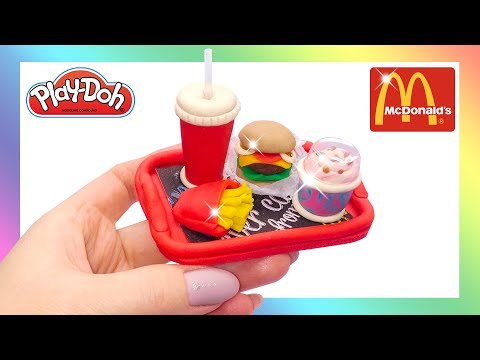
How to make baby doll food
How to Make Colorful and Scented Doll Food
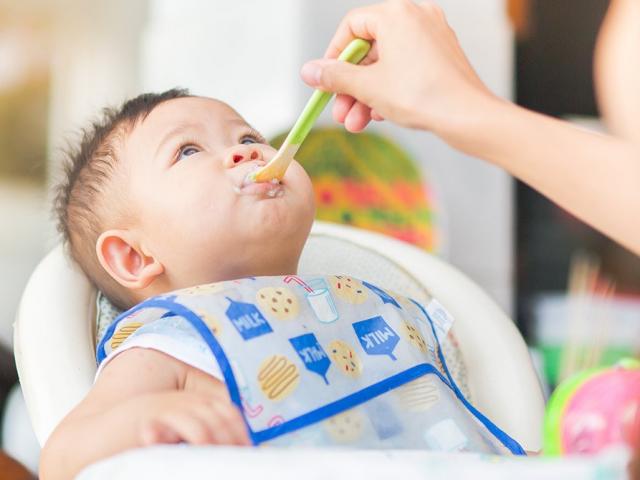
I have wanted to make doll food for a while. My daughter goes through this stuff super fast. The store-bought packets are great, but they are a bit expensive and don’t last in our home. We need Costco-size pouches to keep up with our hungry dolls.
My daughter loves dolls more than any toy in our house. The moment she gets a new baby, she gives her a name and cares for her in a super sweet motherly way. It is such a joy to see her play. She plays with all her babies every day, but her favorite ones are the types that she can feed and bathe.
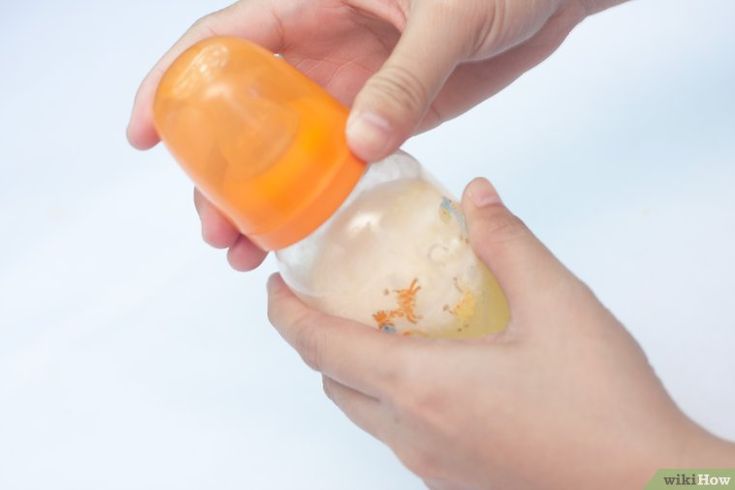
For me, the best doll for this feeding activity is the baby born interactive. This doll holds the liquid! You have to press her belly button to release any fluid. This is an excellent feature for the times your dolls diaper is not on correctly or has no diaper at all. I am not saying this is a mess-free activity, but this toy makes my life easier when it’s time to clean up. So, use any doll that is easy to clean.
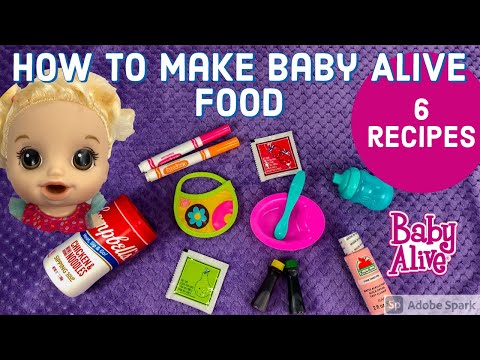
Ingredients and Materials
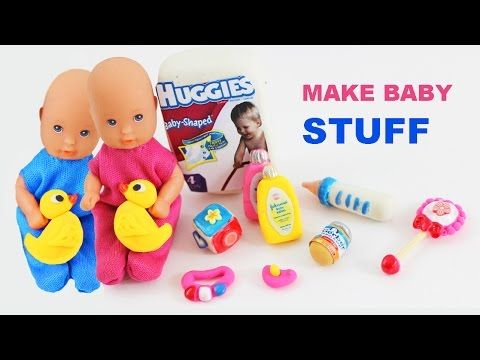
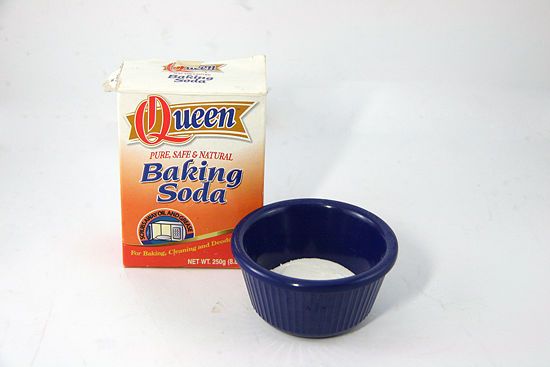
I played around with different ingredients and finally settled on using sugar, baking soda, and cornstarch; these three ingredients give the doll food a puree consistency similar to the store-bought. To take it up a notch and make it more realistic, I decided to use paint and scented oils.
As far as paint goes, I always prefer to use washable paint instead of food gel in my crafts. I want to avoid the small chance of staining anything. We made our first batch with food gels, and the doll food came off the doll’s dress without a problem. Still, I decided to make our second batch with washable paint. I feel more comfortable letting my daughter play with something I know I can easily wash.
I use mason jars in a lot of my projects because they are versatile, but you can store yours in any container you prefer.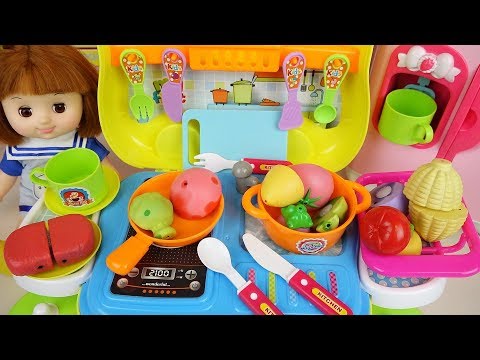
Also, although all the ingredients are non-toxic, I am keeping my jars out of reach from my little one.
Doll food
- Place two tablespoons of granulated sugar into a small mason jar.
- Dip the tip of a toothpick into the paint color of your choice. A tiny bit is enough. Then, dip the paint into the granulated sugar and mix until the color completely incorporates, and you don’t see any speckles. Don’t worry if the powder looks white because it will change color when it comes in contact with the water.
- Mix in a few drops of scented oil (If using).
- Add one tablespoon of baking soda and one tablespoon of cornstarch to the sugar and mix.
- Download and print your food labels. Label each jar. If you want different flavor labels, you can download these cute vegetable and fruit clipart from Etsy.
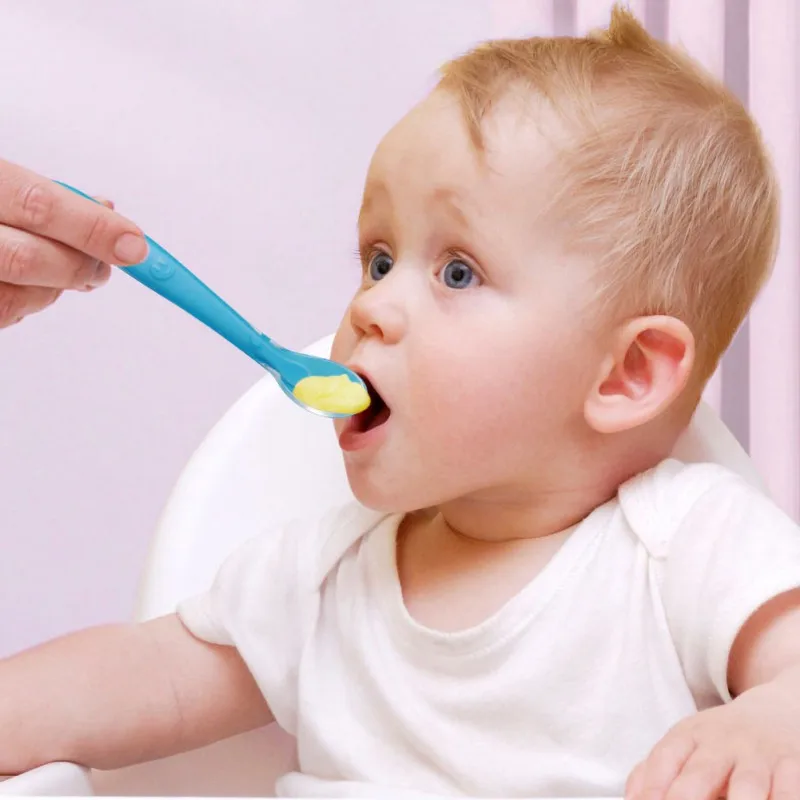
- Finally, mix the doll food with water. I use 1-2 teaspoons per feeding. Add drops of water until you get a puree consistency.
 Don’t worry if you add to much water, your little one and the doll won’t mind. ?
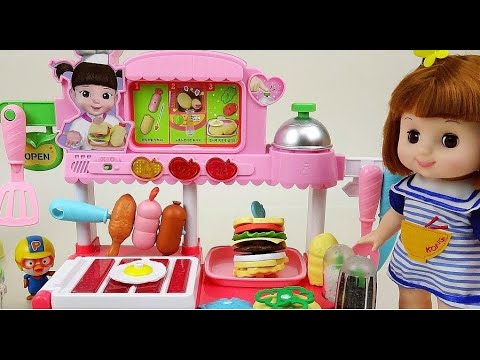
This doll food is good to use with baby alive, baby born, or any doll that is designed to eat.
The manufacturers recommend flushing the baby food after each use. So, we feed our dolls a warm bottle of water along with the doll food to wash it out.
I hope you found this helpful. Visit our DIY page for more fun ideas.
Baby Alive Doll Food Packets 6 Packets
Click to zoom
229 sales |
4. 5 out of 5 stars
 In 17 carts
€4.01
Loading
VAT included (where applicable), plus shipping
Quantity
123456789101112131415161718192021222324252627282930313233343536373839404142434445
Listed on Jan 9, 2023
96 favorites
Report this item to Etsy
Choose a reason…There’s a problem with my orderIt uses my intellectual property without permissionI don’t think it meets Etsy’s policiesChoose a reason…
The first thing you should do is contact the seller directly.
If you’ve already done that, your item hasn’t arrived, or it’s not as described, you can report that to Etsy by opening a case.
Report a problem with an order
We take intellectual property concerns very seriously, but many of these problems can be resolved directly by the parties involved.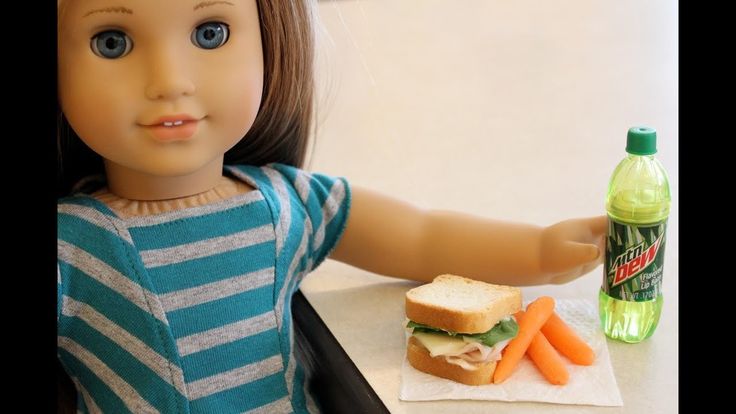 We suggest contacting the seller directly to respectfully share your concerns.
If you’d like to file an allegation of infringement, you’ll need to follow the process described in our Copyright and Intellectual Property Policy.
Review how we define handmade, vintage and supplies
See a list of prohibited items and materials
Read our mature content policy
The item for sale is…not handmade
not vintage (20+ years)
not craft supplies
prohibited or that use prohibited materials
not properly labeled as mature content
Please choose a reason
Tell us more about how this item violates our policies. Tell us more about how this item violates our policies.
How to make food for a doll from improvised materials?
Children increasingly want toys from real life: clothes in the latest fashion, dolls with a human face, analogues of real furniture, dishes, vehicles. These items help the child reproduce the behavior of adults: hospitality, tea drinking, housework. And you do not need to buy anything, you can do everything with your own hands at a professional level. Today we will look at how to make food for a doll.
What can be used to make "doll" food? nine0006
It is conditionally possible to divide puppet food into “disposable” and “reusable”. The first options are suitable:
- imaginary dishes: leaves, paper, plants, pebbles and other items that remotely resemble culinary delights;
- products: cereals, pasta, noodles, sprinkles used in games once;
- plasticine food, which can also be lost or deformed.
"Reusable" dishes are made of durable material that does not deform over time. Such food is baked from salt dough, polymer clay, mastic, molded from a specially hardened mass for modeling, created from threads, beads. nine0003
Polymer clay food. Learn how to sculpt?
In this article we will tell you a little about how food is made from polymer clay and what it is....
How to make food for dolls without special skills? Pay attention to sewing accessories, where you can find buttons of various shapes. Just saw off the "loop" and get a ready-made set of fruits and vegetables. Or draw the shape of the product on cardboard and glue it with beads of the right color.
How to make food for a doll with minimal effort
The most economical way is cooking with salt dough. This will require salt, flour, water, as well as modeling tools, paints, varnish and sometimes glue with fittings. What is the benefit of the test?
- You can mold a variety of dishes: flour products, sweets, fruits, vegetables, meat, cereals, fish.
- The child will be happy to take part in the creation of culinary delights. And raw dough without impurities will not harm if the baby takes it in his mouth.
- The dough allows you to cut out any shapes and lines, and the colors only add brightness. nine0011
The process of preparing food from dough is simple. Sculpt dishes, place them on a baking sheet and dry in the oven or microwave. Next, they need to be painted and varnished. In some cases, beads, sequins and decorative trifles are glued for jewelry.
DIY doll crafts
How often do you buy furniture and clothes for your daughter's doll family? Why not...
Food can be created whole or cut into pieces. In the latter case, the product must be put in the refrigerator and, when frozen, carefully cut into portions, and only then dried in the oven. nine0003
Knitted food for dolls
You can make food differently if you don't want to spend time kneading, baking and drying the dough.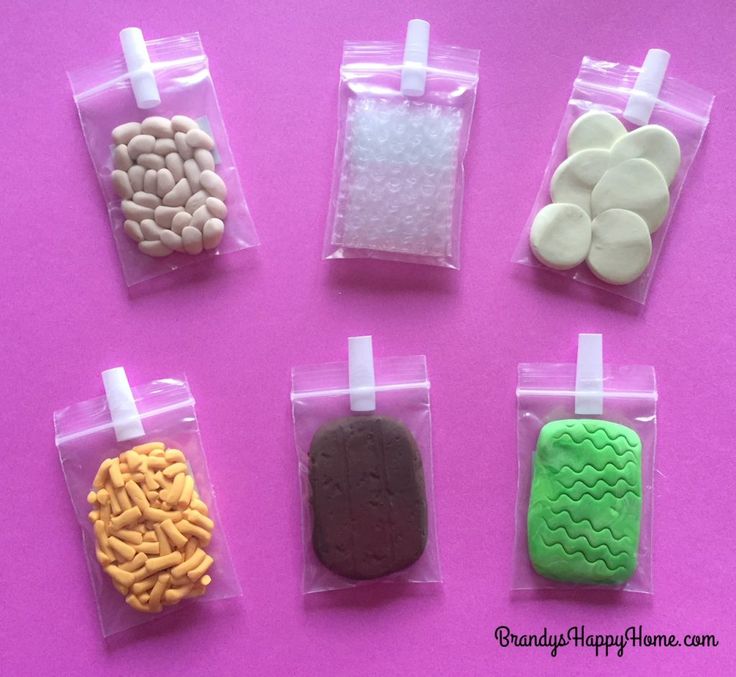 Grab your yarn and hook! Knitted dishes are suitable for large dolls and theatrical games with other children. In addition, they can be washed when dirty and put back into the game.
How to make doll food with thread? Take real products for the image, then pick up the yarn and “copy” the shape of the fruit or dish with a crochet. For example, how to knit scrambled eggs:
- start with two yellow circles;
- fill with padding polyester and sew them together;
- from the obtained yolk you knit the protein.
Or we start knitting ice cream from the bottom of the cup, then by decreasing and adding loops we create a “wafer” and “plombir” wavy shape. The last step is to fill the product with padding polyester and close the last rows.
How to make a Monster High doll? With your own hands...
The Monster High series of dolls occupies a leading position in the world of toys. To have such a monster doll...
Fruits, vegetables, cakes, cakes, sausages, chicken, chop can be knitted according to the same plan. The advantage of large knitted products is that small children will not swallow them and injure themselves.
Harm and benefits of "doll" food for children
Wishing children well, parents create chic miniature culinary masterpieces. However, such foods can be harmful to young children. How? Paints and varnish add shine and brightness to products and cause an irresistible desire to eat them. Toddlers are not aware of the danger of small parts and swallow them, resulting in the need for medical attention. nine0003
Therefore, for babies, it is better to create large products with a developmental focus. How to make baby doll food? For example, tie pea pods to peas of different sizes. As a result, the child learns to unfasten and fasten the pod, separate the Velcro peas, learn color, size, and count with them.
Big children need small real products that help them "get used" to their roles. They are especially actively used by psychologists in educational institutions in the analysis of family conflicts. Therefore, create all kinds of educational dishes for kids, and create miniature culinary masterpieces together with older children! nine0003
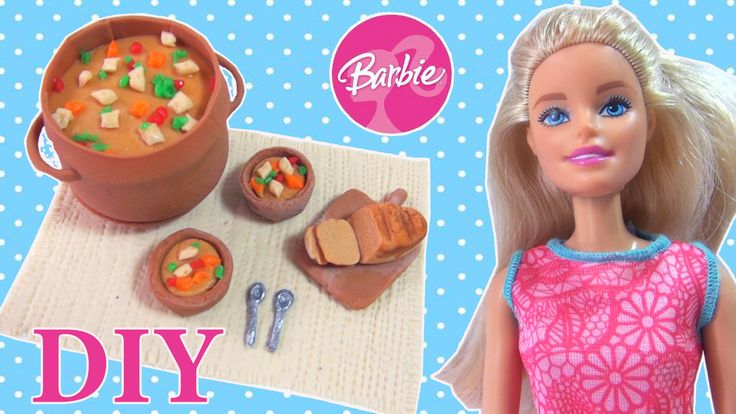
Food for dolls. Plasticine cakes
Is your child planning a real celebration for his dolls? Then he just needs to learn how to make magnificent birthday cakes! To do this, it is not necessary to become a confectioner:
It is quite possible for dolls to try a cake made from or mass for modeling - its taste for dolls does not matter.
In the work you will need the usual tools for modeling: a napkin, a stack, a plank and a round or embossed mold. you can take several colors - the cake will turn out more elegant. nine0003
Before molding a cake from plasticine, you will need to prepare it - warm and soften it in the palms of your hands or in warm water. Then it will be easier to work with plasticine. For younger children, it is better to use not plasticine, but a special mass for modeling - it is easier to take the desired shape.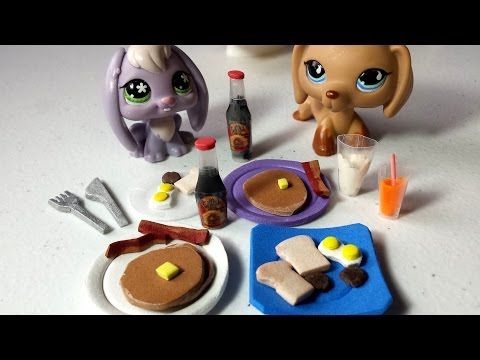
The first stage of work is the creation of the base, the “body” of the cake. The base can be square or round, can be stretched up or flattened down - it depends on how the child sees his birthday cake. nine0003
The second stage is the preparation of the dish. To create it, we take a piece of plasticine and flatten it well, trying to get a uniform cake. You can use a plastic rolling pin if you have one.
Now we take the mold and use it to shape the dish.
We make it round or whatever the child wants it to be. The main thing is that the dimensions of the dish are larger than the dimensions of the blank for the cake. nine0003
Put the blank behind the dish.
Carefully shape its edge with a stack: we put small serifs around the entire perimeter.
The main work is done! Let's start decorating the cake.
We roll a ton sausage from a piece of plasticine.
We lay it along the edge of the workpiece, like a cream border.
With a stack we give this border a relief.
We have a beautiful birthday cake on a plate. If the color of the cream matches the color of the dish, the product looks very organic. nine0003
"Cream" decoration
Making another "cream" strip. We lay it on the bottom edge of the cake.
With a stack we give a beautiful shape to this border.
Attach it to the side of the cake.
We decorate the whole cake with such roses.
With your help, the child learned how to make a cake and arrange a real holiday for his dolls.
Delicious cakes, pastries and other desserts, who doesn't love them? Everyone knows that children love to eat sweets. Little girls can practice making beautiful cakes for their dolls using plasticine. And the boys will certainly want to try themselves as a chef. This article will provide several colorful workshops that will tell you how to make plasticine cakes.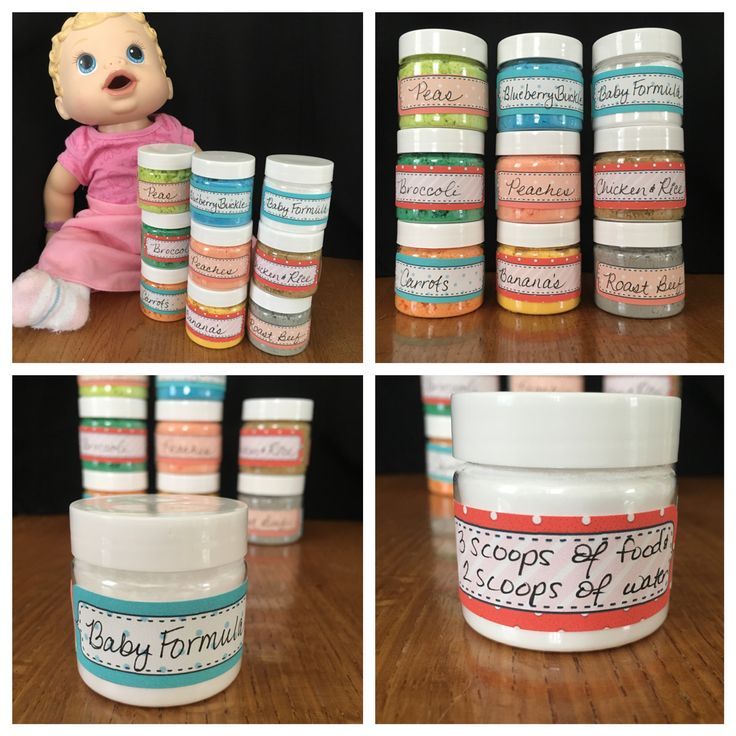 nine0003
So different
Modeling mass, later called plasticine, was first patented by Franz Kolb and William Harbutt about two hundred years ago. Most of all, Harbutt's invention fell in love with his children and he decided to open his own factory for the production of this wonderful material. Modern plasticine is strikingly different from its ancestor in composition. After all, Kolb and Harbutt made it from clay, and now plasticine is made from various synthetic materials - rubbers, polyvinyl chloride, high molecular weight polyethylene and others. Yes, and there are quite a lot of types of this material. nine0164 Consider some of them:
- Regular wax clay. Safe and flexible modeling compound for children's art.
- Sculpture clay is similar in composition to the invention of Franz Kolb. He is very solid. This property is widely used by students of art institutions to make sculptures.
- Ball clay looks like a mass of many small styrofoam balls.
 It is held in place with a special adhesive. Easily hardens in the air and is used for finishing applications and sculpting unusual figures. nine0011
 - Hardening Clay is similar to a very soft and light play dough. Does not stick to hands and hardens after drying. You can play with figurines from it.
- Jumping Clay differs from its counterparts in that when it dries, products made from it become jumpy like rubber.
- I would especially like to note Play-doh brand clay. Its composition is still classified. On the packaging, the manufacturer only indicated that the product is made from safe natural materials, including wheat, salt, water and food coloring. It turns out that this is not plasticine at all, but modeling dough. This composition of this unusual plasticine makes it absolutely safe for children. Now modeling classes can be started with very crumbs who have just learned to sit. And this is wonderful, because modeling is a very useful activity.
 Plasticine of this brand has a wide range of bright and rich colors, but its price is much higher than that of others. nine0011 A lot can be said about the benefits of modeling
Modeling calms the nervous system, allows you to develop perseverance and develop attention and memory. Such classes can be carried out with very crumbs, teaching them the basics of modeling. Modeling real models (meaning plants, animals, technology) allows the child to better understand the essence of how something works. Modeling fictional characters develops imagination, allows you to realize the creative potential of the child, instills an aesthetic taste. In addition, modeling stimulates the speech center and develops fine motor skills. And crafts created with your own hands will certainly please the baby. nine0003
Organization of the workplace
Whatever plasticine you choose to work with your child, it is worth explaining to him the rules for working with this material.
- It is not worth taking plasticine for independent games. Yes, and stacks without permission can not be used, they can get hurt.
- You need to sculpt only in the place designated for this - at the children's or dining table, covered with oilcloth.
- They do not indulge in plasticine, they do not put it in their mouths, they do not stain furniture and clothes. nine0011
- At the end of class, clean up after yourself and wash your hands with soap and water.
These little rules will help discipline your child.
Plasticine recipes
It's time to practice making plasticine desserts for dolls. We bring to your attention several recipes for plasticine cakes.
Chocolate cake
To prepare it, use ordinary plasticine, a modeling board and a stack.
This cake will have four tiers.
You can make any number of them, the main thing - remember that the shortcakes should decrease in size.
Form four balls of brown plasticine.
Flatten each shortbread and place them in decreasing order. The base of the cake is ready.
Let's start decorating. Roll up several thin sausages and twist them together in pairs and place them between the tiers of the cake. nine0003
Now make the roses as shown in the photo.
Decorate the top tier with cream roses and serve!
Rainbow Cake
This cake recipe is best made using Play-Doh clay. It has very bright and beautiful colors. To make a cake, you need to arm yourself with a stack and pick up a round template according to which you will cut the cakes. Plasticine take all the colors of the rainbow, at the same time you can repeat the colors with the child. Roll each color into a cake, not very thin. Cut the cakes in a stack and stack them in the correct order on top of each other. nine0003
To decorate, you need to roll out white plasticine into a cake and wrap it around the cakes, cut off the excess in a stack.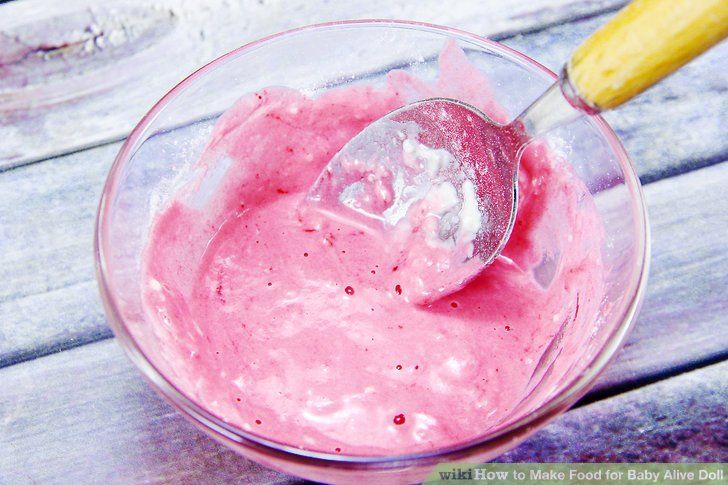 Run a piping of two intertwined strips of white plasticine along the bottom of the cake. It turned out to be a very appetizing cake for dolls.
All children, especially toddlers, are very fond of sculpting plasticine crafts. And this is wonderful, because modeling is not only an interesting and exciting activity, it is also useful for the development of children - it develops finger motor skills, which favorably affects the development of speech, promotes creative expression and the development of artistic taste. nine0003
Any little person just loves different sweets. Of course, what could be better and tastier than cakes, pies, sweets, cookies, because for a child this is the best food in the world! Each holiday for children is always accompanied by chic treats, among which a variety of culinary delights are always in the first place.
While playing with dolls, children also often invent entertainment for them with toy treats . Maybe this time your child has planned to arrange a small banquet for his favorite toys? Or perhaps one of the dolls has a birthday today? Then you just need a tea party! So, there is a great reason to start modeling plasticine cakes for dolls with your own hands.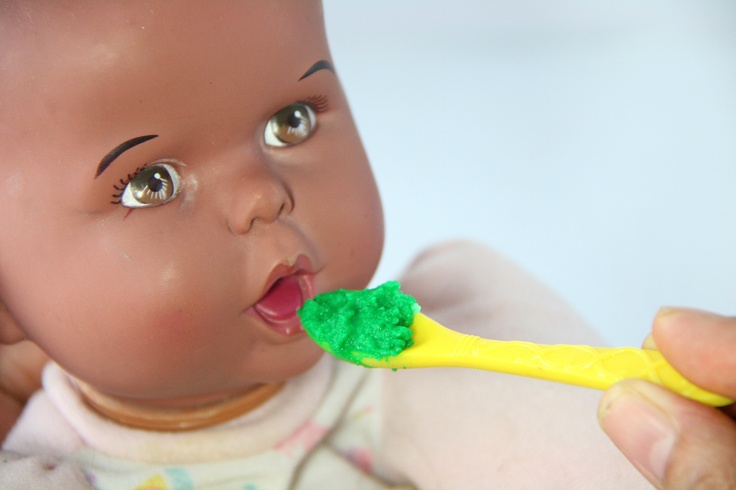 nine0003
How to make a cake for dolls? Not hard at all , with the help of adults, even the smallest kids can handle this craft. From plasticine, you can fashion a very beautiful cake and decorate it with beads, small flowers, stickers. Such a puppet delicacy can even be put in the refrigerator, then, put on plates, cut into pieces and treat your fairy-tale heroes.
For such crafts, it is better to stock up on a box with multi-colored plasticine, the more flowers there are, the better. And be sure to build a cake with your child.
Rose cake
You will need:
- Multicolour plasticine.
- Board.
- Stack.
- Beads, rhinestones, buttons, small flowers (for decoration). nine0011
Progress:
A delicious cake is ready! As you can see, everything turns out easily and simply, you can fantasize while sculpting, come up with some details of decor or make a different shape for this dessert .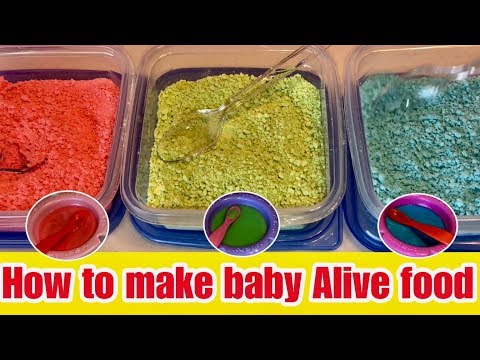
Cake with candles
It is also very easy to mold such a cake, you will need the same material as for the previous craft, the principle of operation is also very similar .
This is what a birthday cake you made, just like a real one! nine0003
Cake on a plate
A delicious puppet dessert can be fashioned as if it were on a dish or a pretty plate. So, let's get started!
A treat for the toy sweet tooth is ready! You can set the table with sweets and have a holiday! Invite to the party the unusual Monster High dolls known to everyone, which you can also fashion with your own hands.
How to make a plasticine doll , you can find out on the Internet from training photos and videos. There is a lot of detailed information on how to make plasticine dolls from the Monster High series step by step, even in the form of puppets, fashion them clothes and even their little pets. If you wish, you can come up with and mold some unusual and funny monsters, because they are so popular among children now. nine0003
How to arrange a holiday for yourself? You can come up with many ways, for example, visit an interesting event, exhibition, concert or circus performance, buy yourself some new thing, a long-awaited outfit. But perhaps the easiest one is to have a sweet tooth. And what can be a sweet tooth without a beautiful cake. You can make a beautiful plasticine birthday cake for children with your own hands. This lesson tells you how to do this, what you need to work, how to decorate your plasticine pastries. It can be bright flowers: roses and daisies. What is not a confectionery masterpiece for you? Small details are not so easy to sculpt, however, this is an excellent finger trainer. nine0003
To work on modeling a beautiful doll cake, prepare:
- plasticine;
- plastic board and stack.
How to mold a cake from plasticine step by step
1) The board will make the work neat. Choose some unusual colors to work with. Culinary experts create incredible masterpieces covered with mastic and cream flowers.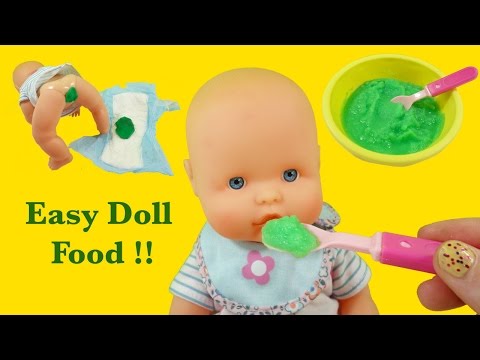 Dyes are also used today are completely different. For example, our cake will be green, like a lush lawn covered with grass. Wonderful flowers will grow on the lawn. We will do all this from green, white and red plasticine. In the set you will find such bars. nine0003
2) After you have chosen the beautiful colors of the plasticine, prepare your workspace, start modeling the cake. In shape, it is best to make a wide, but low cylinder. Most often we see such cakes on sale or cook them ourselves. Although sometimes there are square bars, hemispheres and absolutely incredible shapes. It all depends on the skill of the confectioner. Roll up a soft green ball. Then press down on top and bottom. Lay on its side and spin like a wheel. After such operations, you will have a cylinder of the desired type. nine0003
3) Now start creating a thin cream border. Pull out a very thin white thread. Glue along the side wall in half-arches, creating elegant loops. The decorating process begins.
4) Use the red clay as well. Make droplets from small pieces and glue them in the form of pendants to a white border. Crush the second part of the pieces into very thin ribbons to create lush roses, which are also planned.
5) Next, continue to work on the design of the cylinder and create beautiful flowers. Twist the small red cakes so that you get tubules. Then glue the resulting tubes with additional petals. Make white daisies. The flowers are pretty simple. Fashion an additional thin green sausage. nine0003
6) Run the green thread along the very top edge to hide all the flaws. Form leaves for additional decoration.
7) Now fill the top field with flowers. It should turn out to be a very beautiful flowering clearing. Modest wildflowers of chamomile and noble roses look perfect together. The cake is assembled. Its surface is covered with cream flowers.
Modeling classes are fun, educational and educational for children.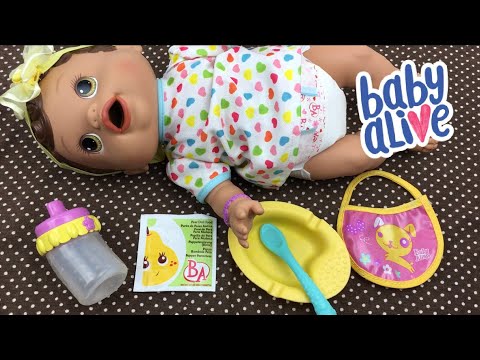 Due to the soft texture of plasticine and a bright palette of colors, colorful sweets, pastries, and cakes can be molded from this material. This article will present master classes on how to mold a plasticine cake. nine0003
A selection of video tutorials for beginners
This article will offer a selection of videos that will demonstrate options for making colorful desserts and how to decorate them. The principles of working with play doh will be shown.
How to make a plasticine cake for dolls
The first master class will describe the process of modeling a plasticine cake for dolls, for example, for a Barbie doll. To work, you will need plasticine of different colors and a spatula.
According to the idea, the cake should turn out to be layered, so first you need to prepare two pieces of plasticine in contrasting colors and form two elongated oval parts from them. Then, using a knife, each part should be cut into oval pieces, then it is necessary to form round cakes from the resulting pieces.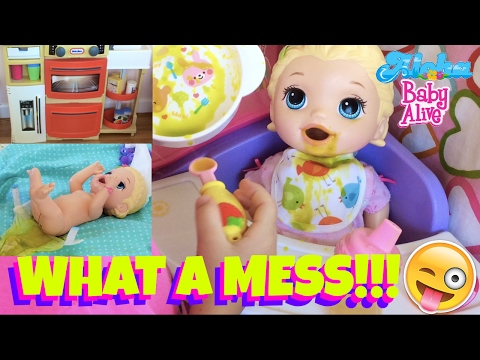 Then the cakes must be assembled into a single product, alternating cakes of different colors.
To decorate the cake, roll two sausages from pieces of light flowers, then interlace them, then close them in a circle and attach them to the top layer as a cream. You can also form a rosette from thin pink cakes and attach it from the top in the center. nine0003
Second option
To work, you will need pieces of plasticine of different colors and a plastic knife.
First of all, you need to form the basis of the future cake, for this you need to roll out thin cakes from pieces of plasticine of different colors, but the same in diameter. Then the resulting elements must be combined into a single structure, for this they simply need to be laid on top of each other. It is better to arrange the bottom layer and, accordingly, all subsequent ones on a sheet of parchment baking paper so that the cake does not stick. Next, using a knife on the cake, you need to mark the lines of eight pieces in order to be able to see where the roses should be attached.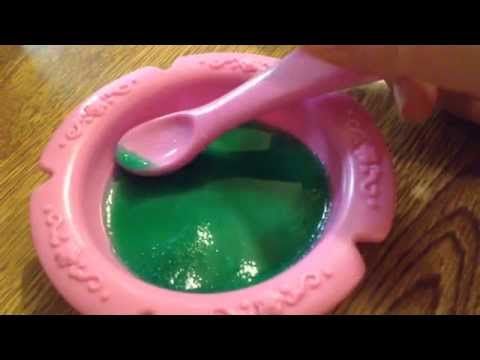 To make each rose, you will need to cut off two strips of plasticine, then you need to roll one strip, then attach a second strip to it and twist it too. Similarly, you need to make seven more roses and attach each to the marked piece of cake. You can also make three leaves for each rose from green. This cake is suitable for playing with Monster High dolls. nine0003
How to make a cake from Play Do plasticine
For work you will need Play Do plasticine of different colors.
The first step is to prepare the white, brown, pink and yellow pieces. Then, from brown and yellow, two identical balls and one white ball should be rolled. Then each must be rolled into thin cakes of the same diameter. Next, brown and yellow cakes, alternating, must be folded into a single product, and a white cake must be laid as a top layer. After that, it is necessary to form a sausage from pink plasticine, cut it into six identical segments, flatten them and roll each one in the shape of a rose.