Painting baby food jar lids
Charming Upcycled Baby Food Jars
Baby food jars are the perfect little treasure waiting to be upcycled. We all know by now how many amazing things can be done with old jars, so adorable little mini jars – really, what’s not to love? (And if you don’t happen to be hoarding baby food jars like me, I think these little beauties would look just as fetching using standard grown up sized jars.)
When our son was eating baby food, I hounded my husband to save the jars for me. He threw them out whenever I wasn’t looking (to avoid the chore of washing them out) and he questioned me regularly about what in the world I was going to do with a bunch of tiny little jars.
But I was adamant they would be something amazing.
And then they sat in the cabinet for 9 months while I tried to figure out exactly what to do with them.
I love using jars for storage around the house, so in the end I decided to turn these old baby food jars into stylish storage. Even though they are small, they’re perfect for storing spice blends, small snacks, paper clips, rubber bands, safety pins, beads, small crafting supplies, random jewelry pieces…
All they needed was a tiny little makeover.
I love the look of painted jars, so I started by painting these with some pure white chalk paint I had on hand. If you don’t happen to have any leftover chalk paint, craft paint is also pretty awesome for painting glass. (I used Americana craft paint on my striped aqua mason jar and it worked perfectly.)
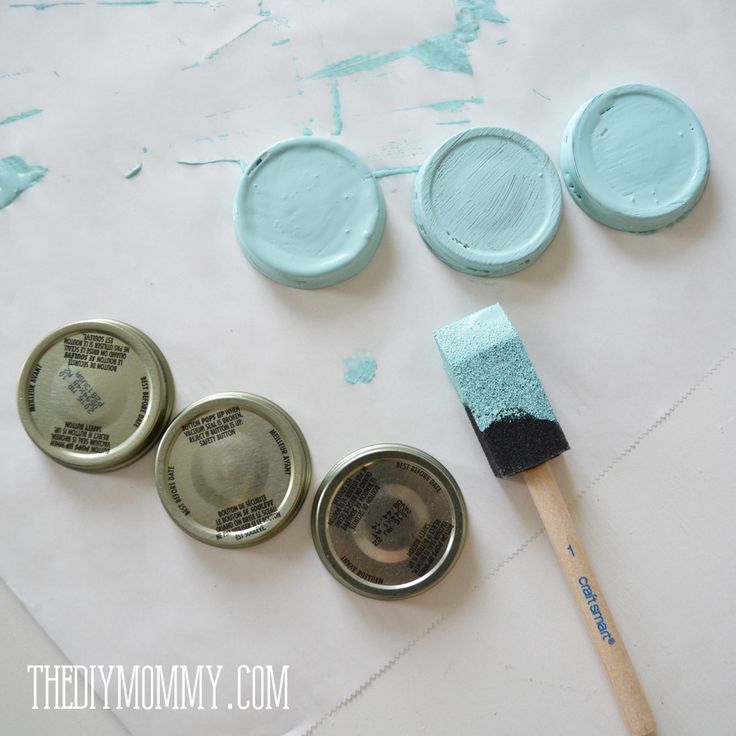
After painting several coats of paint, it was time to deal with the lids. I thought about just painting the lids in pretty colors, but wanted to do something a little more special. So I broke out the washi tape.
For anyone who doesn’t know, washi tape is amazing! It comes in a million and one gorgeous patterns and colors for only a couple of bucks a roll. You can stick it just about anywhere just like regular tape, but it’s removable. So if you decide to decorate something with your washi tape but then get tired of it, you can just peel off the tape…without harming most surfaces. Genius!
So anyway, I decided to cover my jar lids with washi tape.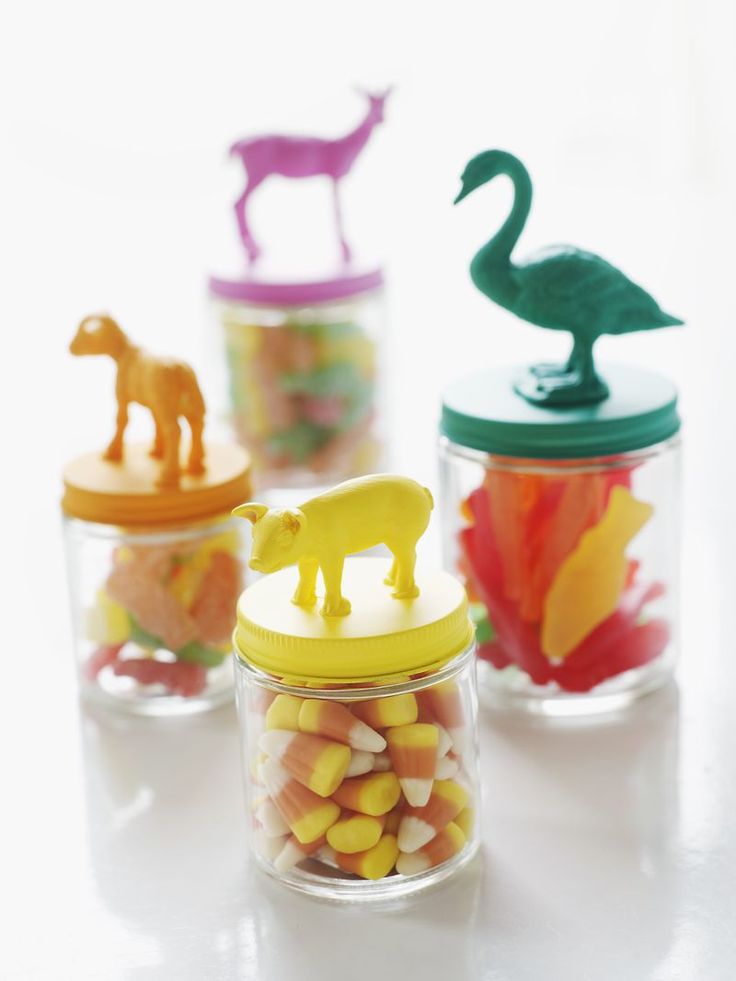 I basically wrapped the lids in strips of tape and then trimmed off the excess, folding the edges under the lids.
I loved how my jars were looking but they really needed a little something else. So I decided to go with some labels. I made the labels using the same washi tape, some cardstock, and a craft punch. I taped a few strips of each color to the cardstock and then punched it with my craft punch. I don’t have a cute label punch but I do have a ‘tag’ punch. I figured out that I could just punch out a tag and then turn it around and punch the other side as well to make a really cute little shape. (Who knew!)
Once the labels were punched out, I just peeled the washi tape off of the cardstock and stuck it onto my jars.
And now I have the absolute cutest little storage jars around. (Plus, just as importantly, I can show my husband just how smart I actually was for saving all those jars!)
How’s that for recycling! Be sure to check out my fellow bloggers’ repurpose, recycle, reuse projects as well. As always there are some great ones. (And you know I’m drooling over that turquoise bed!)
Bar stool nightstand by Thrifty and Chic
Cannonball bed redo by Life as a Thrifter
Upcycled Floating Nightstand by Bigger Than the Three of Us
Re-Purposing Baby Food Jars | Chickens in the Road Classic
I’ve been working hard to live my belief that if something doesn’t have a function–be it sentiment, beauty, or purpose–it needs to go because it only clutters my focus and stands in the way of doing things I really want to do.
It stands in the way of living my life the way I truly want to live it.
It’s a process, though, and perhaps an eternal one. I’m getting closer with the clear out and renovation downstairs. I’ve done away with a lot of things upstairs, too, over the past year. And I still have a long way to go.
Wait, was this supposed to be about baby food jars?
Just some of my vast baby food jar stockpile.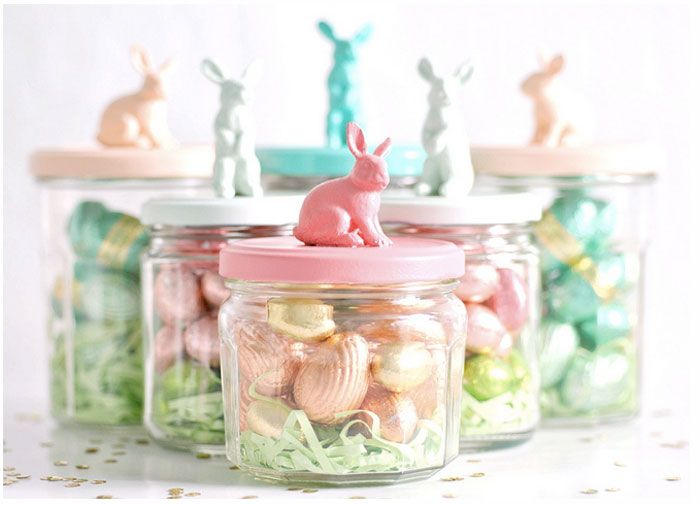 I had them on the floor of the living room while I was sorting and counting what I had in the different sizes.
Baby food jars are fantastic for all sorts of small storage–craft and office doo-dads–as well as many uses in the kitchen (herbs and spices, small batches of things like horseradish, etc), homemade beauty products, candles, storing seeds, gifting various things, and on and ON. Baby food jars are next to canning jars for their versatility and re-usability. You can often find baby food jars at garage sales or in the penny papers, but if you make a habit of letting people know you want jars, you might happen on a stash for free. My friend Faye is helping to raise her granddaughter these days and has masses of baby food jars. She offered them to me, knowing I was a likely suspect for taking them off her hands. I jumped at them, but then had nowhere to put them. They were in plastic grocery store bags (numerous bags) and some ended up on a table on the back porch (where the cats got into them) and others on the bottom landing of the back porch steps (where the dogs and chickens got into them).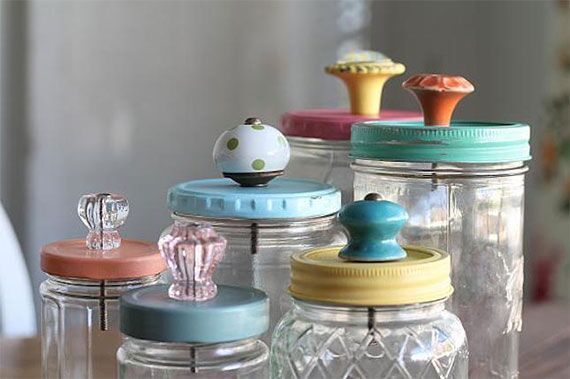
My baby food jar mess is a perfect example of why you need to get rid of stuff you don’t need so you can take care of what you do need.
Amazingly, only a few of the jars were broken, and now I have dedicated jar storage space downstairs. (Yay!) Currently, I have somewhere in the neighborhood of 200 jars, in 2-ounce, 4-ounce, and 6-ounce sizes. Believe it or not, most of these jars are going to be used in the next six weeks. That’s because we’ll be using them at the CITR Retreat in homemade beauty product classes and candlemaking classes. It’ll take me the next week or so, off and on, to get all these jars ready for students at the retreat.
It won’t be long before I’ll be shoring up my soon-to-be depleted baby food jar collection as Faye has been gathering more bagfuls for me. She told me the other day, “Every time I wash a baby food jar, I think of you.” Now there’s a friend who knows what you like!
Anyway–if you neglect something for awhile, you get to do about 20 times more work cleaning it up.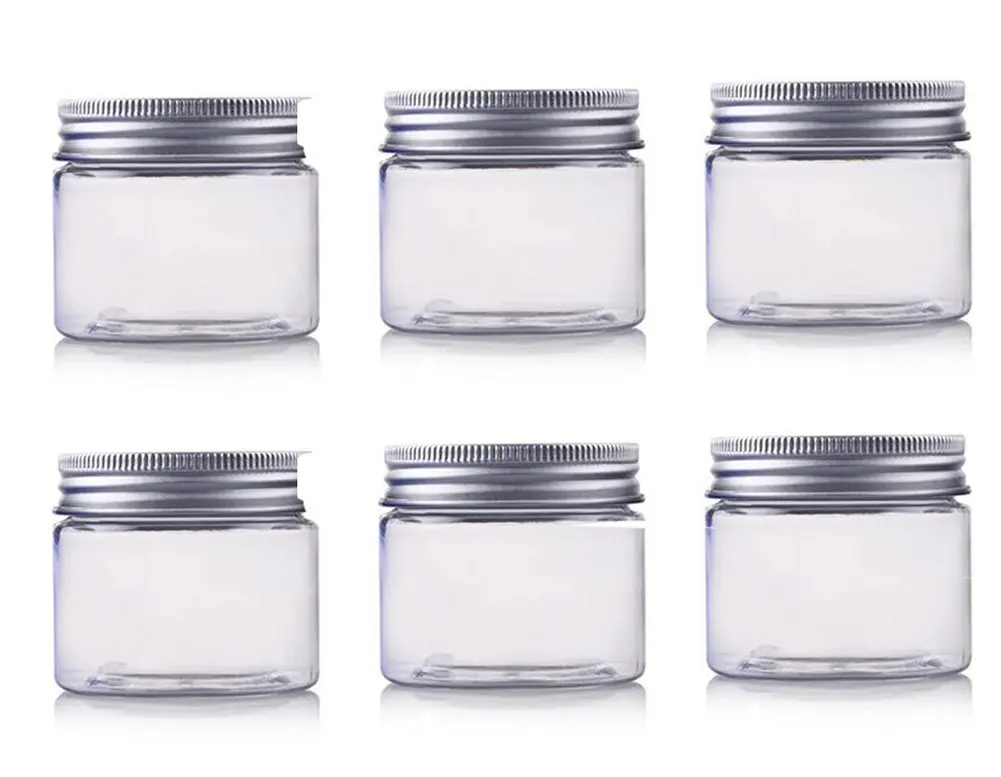 These jars had been outside and gotten dirty, so they needed washing, but not only that, there was still label goo to remove. I’ve tried every “homemade” way to get that sticky label stuff off jars, and sometimes you just gotta turn to a product, especially if you’re dealing with a large number of jars. Baby food jar label goo seems especially resistant to removal. I used Goo Gone.
It dissolves the goo and makes it easier to scrub away. It doesn’t completely take away the need to scrub and even scrape a bit, but it makes the job a lot faster and the longer you let it soak on the jar (you spray it on there), the better it works. It’s the best thing I’ve found so far for easing the goo removal.
Free of sticky goo, the jars just take a trip through the dishwasher and they’re sanitized. They stack nicely for storage in paper boxes (the kind that reams of paper come in), sorted by size.
But what about those lids?
Not horrible, but. Who needs Gerber on there? I took the lids outside and sprayed them with a fast-dry chrome paint (labeled for metal).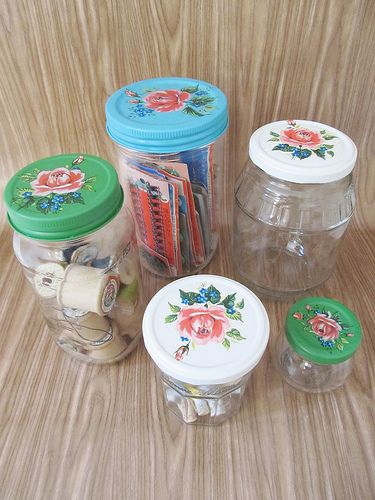
Now this isn’t a baby jar…..
It’s a jar with style, baby!
How else can you use baby food jars?
Tags
Decor Crafts JewelryWhere to put baby food jars? Kind of a shame in the trash. They are so pretty and good quality. Probably, many young mothers asked this question when the issue of taking out the garbage arose. You can understand. Since it is obvious that such strong packaging can be used for other purposes. And for which, now we will tell!
© Pexels
Extra storage space
© Pexels
Of course, something big will not fit in such small jars. Therefore, it is better to focus on something small. Many craftswomen and just those who like to collect something can find great potential in these containers. Beads, elastic bands, hairpins, threads, buttons, decorative elements - all this is great for storing in such jars. In addition, thanks to the transparency of the glass, you can quickly find the right jar. And you don't need to sign anything.
Pencil and marker holder
© Pexels
Jars are also suitable as holders for pencils, crayons or markers. Due to their small size, they are perfect for both children and adults. And although in this case transparency does not really play into the hands of the style, this can be corrected with the help of painting.
For example, you can take several cans and use acrylic paints to give them a more cheerful look. The jar should be painted from the inside. This can be done with a brush, sponge or colored water. The latter can be done as follows: a little paint is poured into a jar, and then a little water. After the jar, you need to close and shake thoroughly for a while until the paint evenly covers the walls of the jar. At the end, open the jar and leave to dry, but do not forget to change its position from time to time - for even color.
Space for parts
As with crafters, crafters can also use jars. After all, you need to store small parts somewhere for repairs. Nuts, bolts, nails and screws can be excellent filling for extra jars. Thanks to good lids, nothing can crumble, and the transparency of the glass will reduce the time it takes to find the next desired part.
Vases for flowers and seedlings
© Pexels
What if there is a small bouquet of daisies or lilies of the valley in the house, but there is no small vase? Of course, take a jar of baby food. It's perfect for a small vase. And if you decorate it with paints or other decorative elements, you get just a wonderful picture.
In addition to serving as a vase for flowers, it is also used as a container for seedlings. Or for growing herbs for cooking in the kitchen.
Decor element
© Pexels
Of course, if the jar can be painted, then something else can be done with it.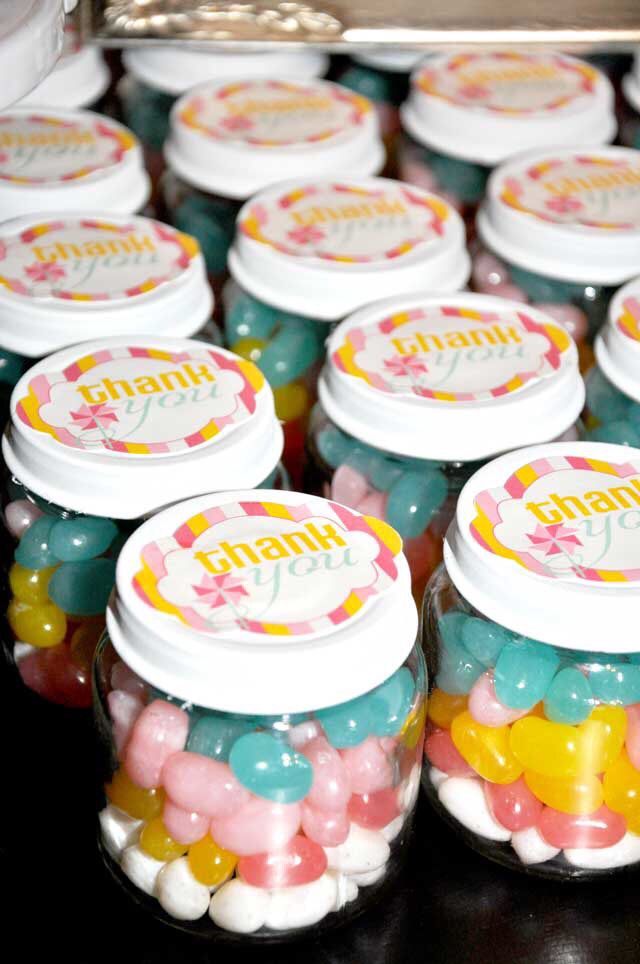 Lots of decor options. From decorating and gluing to re-decorating into polymer clay houses and turning into a New Year's toy.
In the latter case, you will need glitter, a decorative element (a small Christmas tree, a house, etc.), distilled water and glycerin. A decorative element is attached to the wrong side of the jar lid with glue. At the same time, distilled water is poured into the jar itself (a little more than half of the jar), and then glycerin is added. Since we need it for viscosity. You can buy it at any pharmacy. Then add sparkles or artificial snow. After that, carefully tighten the lid and shake the snow jar. It should turn out beautiful.
Dessert bowls
© Pexels
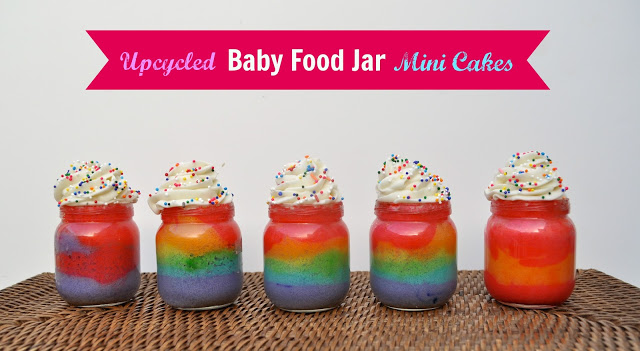
To top it all off, we can also offer dessert bowls. If a company of sweet teeth is expected in the house, this is a great reason to use empty baby food jars. Even if you just take pieces of cupcakes and mix them with cream and other sweets, it will look stylish and cute.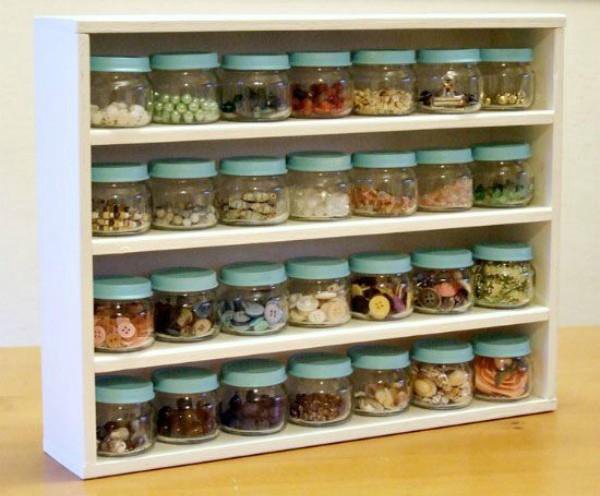 Also, instead of dessert, you can put ice cream and sprinkle it with fruit or chocolate chips.
Baby food jars - total
We hope you found this article helpful. What options for using jars did you like the most? Have you had to do something similar? If yes, are you satisfied with the result?
Share
crafts from baby food caps - 10 recommendations on Babyblog.ru
* Baby puree jars - a second life!
1) Banal and standard way of using these jars for tests . Any mother knows how many such jars are required during pregnancy (every two weeks for 9months). If you have a friend who is expecting a baby, share jars with her. Do a good deed.
2) Jars for various spices (dried dill, celery, meat seasoning, etc.). You can stick the name of the seasoning on each jar for convenience. And you can show imagination and do the following. You will need for decoration : paper or newspaper, paste, brush, black peppercorns, bay leaf for decoration, varnish.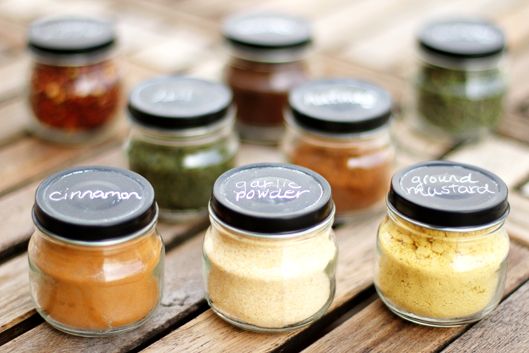
Tear the paper apart. Paste the jar in 7-10 layers. Let dry.
Coat the puree jar with paint. Let dry again.
You can simply paint with gouache. Let dry and varnish.
And for decoration, you can grease an unpainted jar of puree with glue and sprinkle with peppercorns, glue bay leaves - you get a pattern. Let dry and varnish. Get a very beautiful papier-mâché.
3) Handy jars for jam and honey . For example, wear to work.
You can make preparations for the baby in such jars for the winter (juice, fruits, compote, etc.). A very handy portion. Wash the jars, sterilize, boil the lids, twist the hot puree, turn over and wrap.
4) Jars for medicinal and herbal teas .
5) Jars for children's art - beads, beads, colored sand, pebbles, mosaics, etc. Instead of colored sand, you can make colored salt if treated with a gouache solution.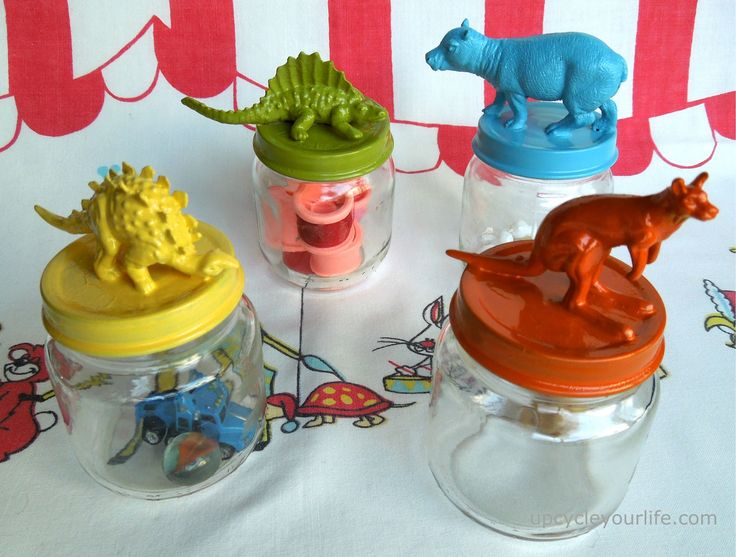 Pour a layer of sand or salt of different thicknesses into a jar and make a beautiful composition.
6) Jars for men's creativity - screws, studs, buttons, bolts. nuts, etc.
7) Decorative jar . For example, to the cottage. We will need: glue, paper, scissors and a can of puree.
The first way. We cover the jar with a paste and carefully stick colored paper on top in size around. You can also use pictures made on a computer and printed on thin paper, including photographs. You can also decorate the lid.
The second way is to cover the puree jar with paper, paint it or make an inscription.
Glitter or beads can be sprinkled on top of the paint. Let dry and varnish. You can use special adhesive paints. Also cover the lid with glue paint and sprinkle with beads or glue a piece of beautiful velvet fabric.
The third way. You will need: paper or newspaper, paste or wallpaper paste, paints, varnish.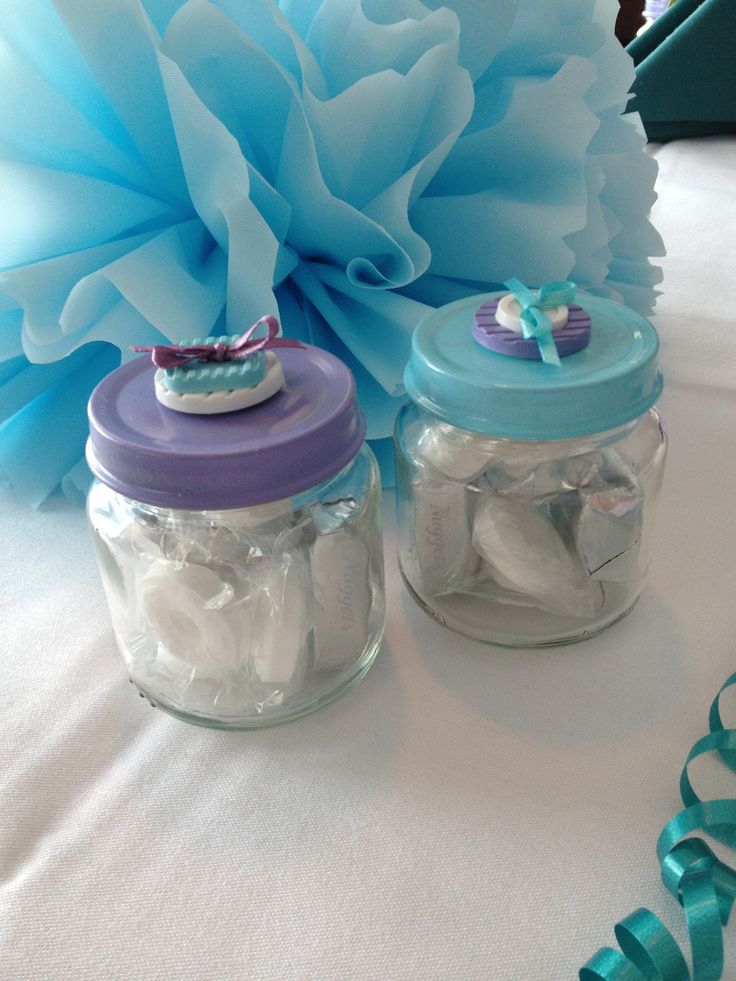 You need to tear the newspaper into small pieces. Paste the jar with pieces of paper in several layers (8-12 layers). Let dry. Paint, let dry again and varnish.
There are also special paints for glass.
8) Large puree jar (250 gr) - pencil and pen holder . You can also make decor as in paragraph number 7.
9) Can torch .
You will need: colored corrugated paper, PVA glue or do-it-yourself paste, a candle-tablet, a jar of puree. You need to tear the paper into small pieces. Glue the jar on all sides with overlapping paper scraps, smearing only the middle of the pieces with glue. Get a "hairy" application. Then wrap the neck with a string to make a long handle for which you can hold a flashlight without fear of getting burned. Drip the wax into the bottom of the jar and place the candle. You can light a candle in a deep jar with fireplace matches.
10) Decorative candle .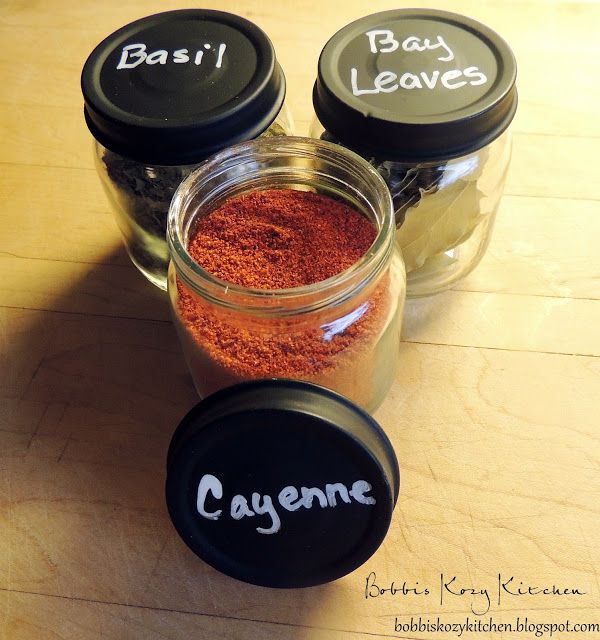 We fill an empty jar with a special candle gel.
11) Ashtray . You can also make decor (item No. 7)
12) Bank for small change . Write on it: "A penny saves a ruble!"
13) Small box . Do not forget to decorate as described under paragraph No. 7
Author: Rosa Nizhel
__________________________
* In winter you can take jars outside. Make a lump of snow and stick with jars. Here are the ears, eyes, and we will also make a nose for the snowman. Well, that's enough fantasy.
* Since I am fond of beading and from time to time I weave something, I poured beads into jars (because I have a lot of them), and so, by colors, it’s convenient. I also store flower seeds in these jars. I took a lot of jars to work.
* and I froze my milk, expressed ...
* if you make two holes in the lid and screw it with self-tapping screws to the bottom of the shelf, then you can screw the jar onto the lid after pouring, for example, spices into it.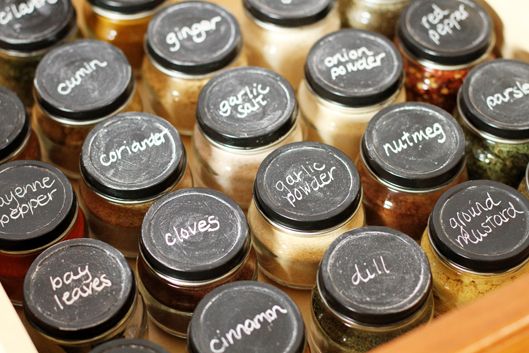 they will be fine hang and not take up space on the shelf. why two holes? so that the lid does not scroll.
* and I used them to make an omelette for a child (now they have switched to half a liter, the portion has become larger). And convenient (no need to stand and watch), and more useful than in a pan (steam is obtained), and easy, and fast, tasty, etc.
In short - take a jar from under the food (preferably 190 gr), drive in 1 egg, salt or saline solution (you can without it), stir well with a fork (you can in a plate, and then pour it into a jar) add almost to the top (a little more 2/3 jars) with baby milk, mix everything, cover with a lid (so that water does not accidentally get in) and put in a pot of water (water level according to the level of the omelette). At the bottom of the pan, be sure to put a small cotton cloth under the jar. And that's it - periodically stir and do other things. It is only better to put in cold or warm water, because. The glass may break due to the temperature difference.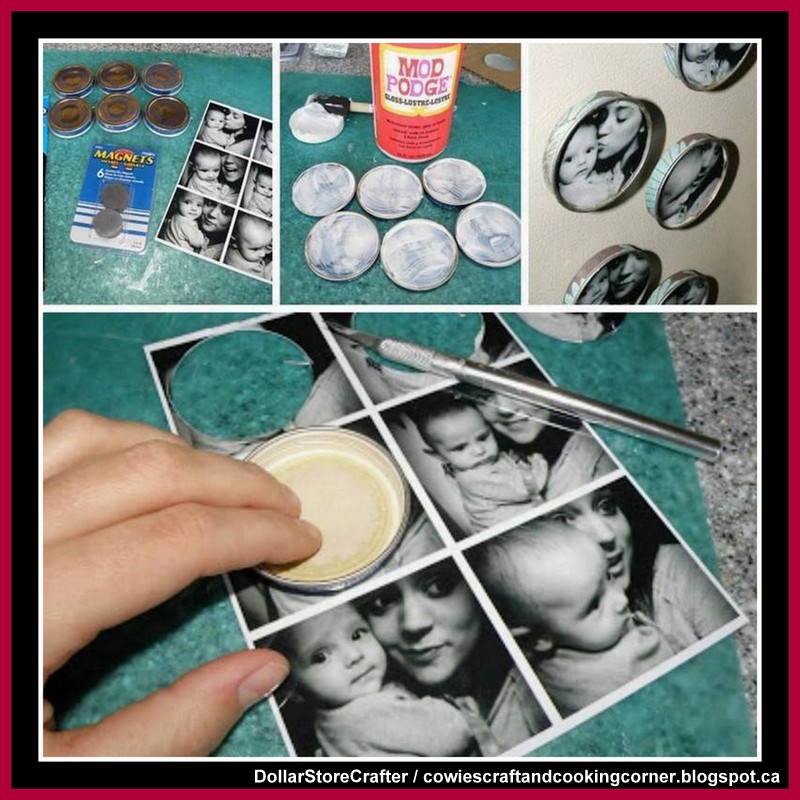 I also took such an omelet on the road, to nature, to the country. Such a jar is placed in a thermos from a baby bottle, and in a thermos with a wide mouth (but you can’t keep it in a thermos for a long time), and so - for half an hour until you reach your destination. And I threw away the jars after the omelet ....
*
- 1 Small lights. This is a great idea for any party. Apply some hot glue using a hot glue gun to the bottom of a thin cone-shaped candle. Then stick it inside the jar. Then add some fresh flowers and fill 1/3 with water. Water keeps the flowers fresh longer and they will smell nice when the candle is burning. When guests arrive, light candles.
- 2 Small snowballs. They turn out very beautiful and you can keep them for a long time. Apply hot glue to the bottom of the lid and leave for an hour until completely dry. Then put 1 teaspoon of glitter into the jar and add water to it. Attach the lid to the jar and you're done! You can make similar snowballs using other decorations, for example, small figures, trees with artificial snow.
 Turn on your imagination and make your own original snowball!
 - 3 Hanging flower vase. Fill the jar halfway with glitter balls. Add 3/4 of the water. Then place a fresh rose inside. Then wrap two 40 cm wires around the neck of the jar to make a hanging hook. Now you can hang vases everywhere: along with a garland on a Christmas tree or on a staircase.
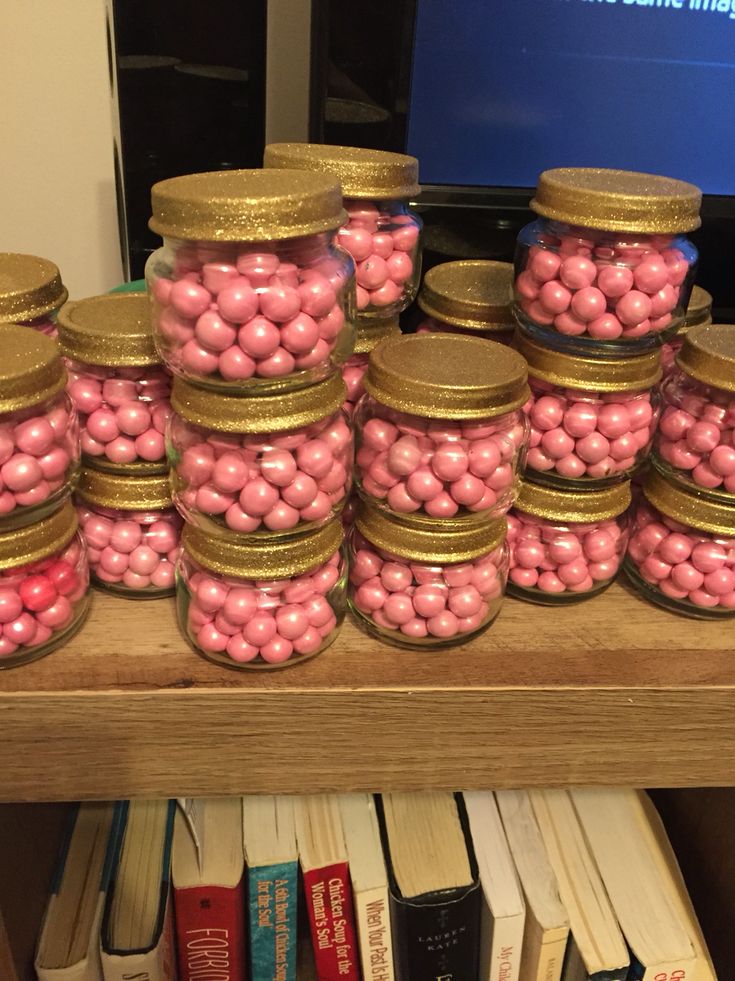
- 4 Candy decoration. Fill the jar with various colored candies. Then use hot glue to attach a matching color cupcake pan to the edges of the jar lid. Glue the candy to the center of the mold or decorate it as you like.
-
in general, we made snow globes out of them - we attached Kinder toys to the lid from the inside, and poured glycerin or just boiled water + all sorts of sparkles into a jar,
then twisted this thing and voila! it is better to pour glue on the lid, where the thread is, so that they do not leak. The amount of liquid was determined experimentally))) I like water more - sparkles fly quickly, and in glycerin they hang for a week)))) - I, here, just adapted them for the spice.
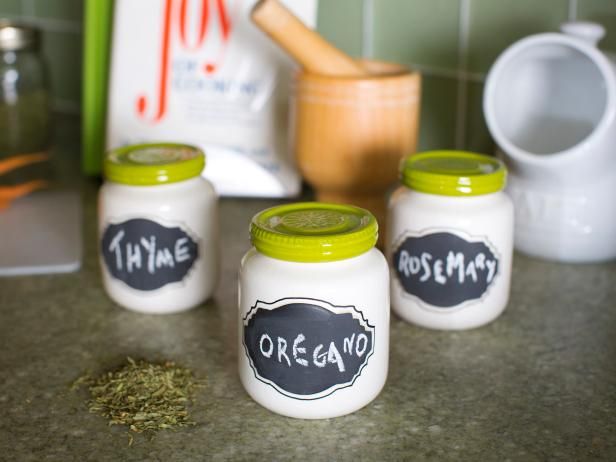 Very comfortably! They are transparent, you can see everything in them. Large jars (for example, from fruit nanny_cream) are for such spices, of which I get a lot. And the little ones are for the little ones. True, I have a lot of spices (I cook often and a lot - my family is big) I am also a tea drinker. I have a lot of different teas, there are expensive ones, which are quite a bit, so, it’s them that I pour into these jars, again (in large, Frutonyanevsky ones). I also make candles out of them) For example, it turns out pretty cool for chlowin) The whole apartment was lined with them. It turns out beautifully if you pour half a jar of water into a jar, and there a small round candle floats. And safe and beautiful :) Also all sorts of sewing little things - buttons, pins, small needles (I also have an unmeasured amount of them), clamps, zippers, in general, sewing accessories.
 - I then kept frozen food for children in them. Well, i.e. for example, she put out the meat, partly ate, partly in jars.
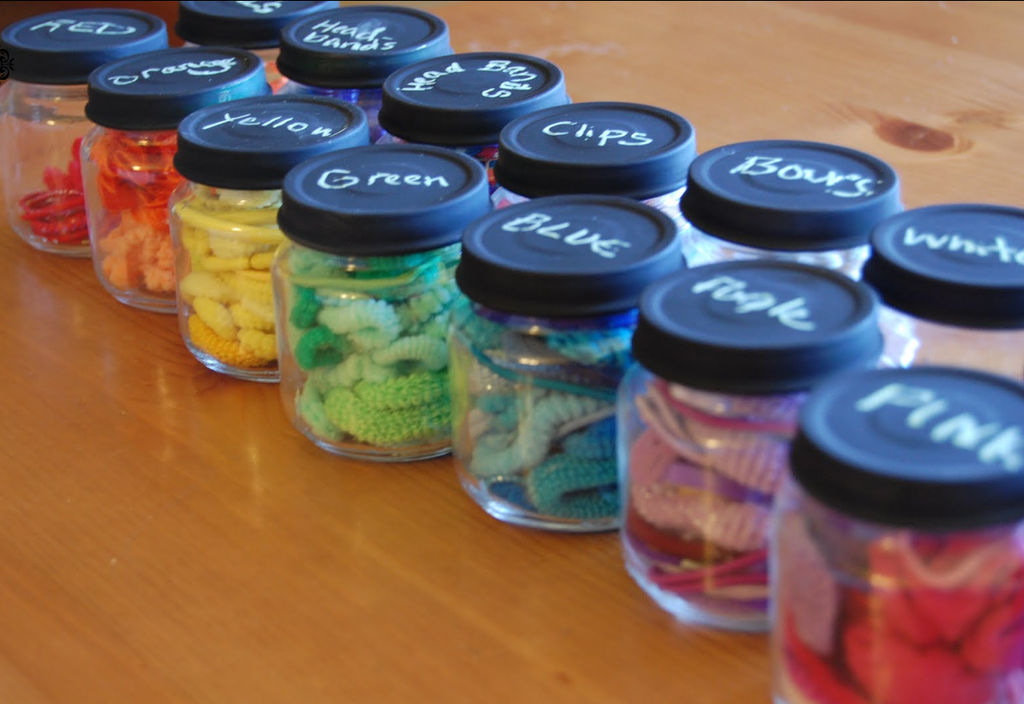 Next time I'll just take out a jar.
 - 1. as candle holders
2. for storing spices (I have a lot of them)
3. the largest baby food jars are great for storing small bulk groceries - leftover noodles with "asterisks", semolina and buckwheat for one time and etc., when you already want to throw out the package.
4. for nails, screws, etc.
5. Hooks or spare hooks sometimes fall off curtains.
6. home-made sauces there and in the refrigerator. The same goes for homemade ricotta. just one serving for 1-2 people.
7. It is convenient to freeze concentrated broths (kate-grigoryeva.livejournal.com/391933.html)
8. If there is leftover frying for soup - also in a jar and in the freezer.
9. for analysis.
10. for needles and threads I have a large whiskey tube, but in it the needles were pricked if they bumped into the pads, so in a jar - a small pad, and needles in it, now nonsense.
11. I have expensive creams, handmade from natural materials, they are best stored in the refrigerator if long-term storage is expected (and I foolishly bought large jars).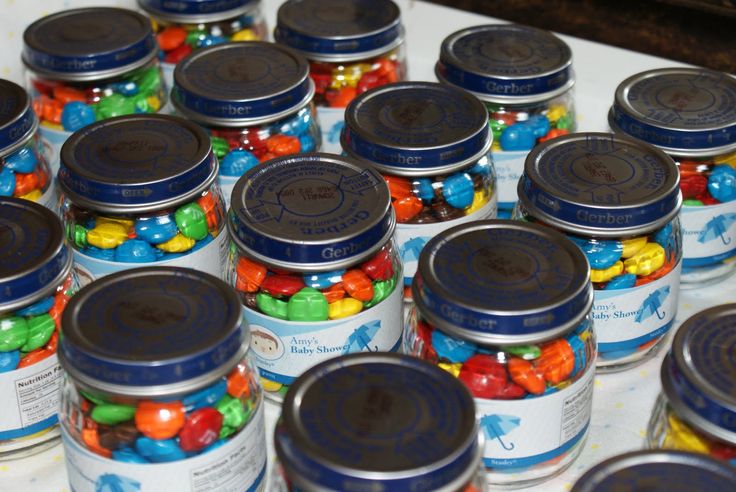 but it’s not always convenient to run from the bathroom to the kitchen, and climbing into a large jar every day is not always good for the contents, so I throw the cream into a jar for myself for a few days, and screw it into the bathroom in a refrigerator bag.
12. Husband and son were furious, gouging a plastic jar of make-up remover, a toad strangled them to throw it away, poured the contents into a jar of baby food and put it away from them.
13. If boiled meat or chicken for soup needs to be stored somewhere, but there are already too few of them for a plastic container, then a large jar for baby food is what you need.
14. If you have peeled a potato that is too large for a child for 1 time, the pieces can be poured with water in a jar and left for a day, only the excess starch will be washed out. - 15. I completely forgot - I have calcined vegetable oil for the body in such a jar - at first I did it for my son, now for myself, sometimes it is necessary for cosmetic or massage purposes.
16. more buttons! all in the same tube from under the whiskey -)))) what for, only I keep the buttons, but suddenly they will be required. ))) - Used for creativity - vases were made by sticking around with salt dough or simply painted.
- I helped Russian culture: I washed cans and gave the artist a friend of 50-70 pieces at a time. they really need those paint cans. and she, in turn, supplied them to all her colleagues in the restoration workshop. everyone was happy :)
- I store cereals (rice, buckwheat, semolina) in large jars from the National Academy of Sciences (tin) ... It’s also convenient, although it doesn’t decorate the interior)))
- jar lids were asked for in kindergarten. They made a massage track there with their own hands. They sewed on a piece of leatherette - lids from cans, then from bottles, then buttons, and some other trifle. And the children ran barefoot after sleep and massaged their feet.
- Our dad sealed the jars of mixture and baby tea with oracal (multi-colored sticky film) and made inscriptions on them also from oracal.
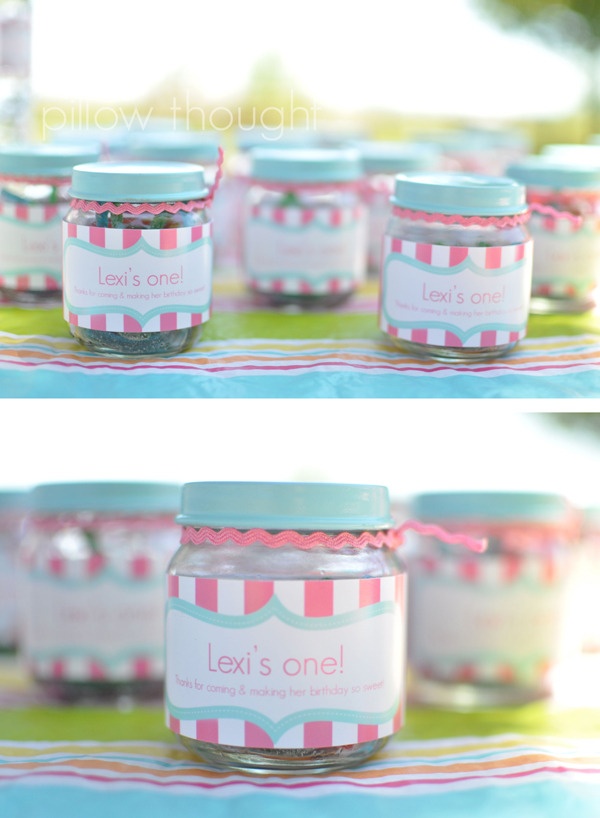 Now the interior is not spoiled, we store in them a magnetic designer, pencils, prints for children's creativity and any small things, very convenient.
 - Jars can be used for needlework, for example, buy transparent pebbles in Ikea and paste them over, such small vases look very nice on the shelves: 4u: You can also paste over colored self-adhesive paper and use it for some little things! You can use gold or silver spray paint cover and insert small spruce twigs - this is for the New Year! And a lot more how you can use jars in design, the main thing is a creative approach
I close homemade ketchup in them Very convenient; opened and immediately ate everything
- I pack honey in them - my husband is too lazy to put it in a special bowl, and it dries there - and then he will eat it from the jar and throw it away. it doesn't need to be airtight. And if it gets sugary, it's convenient to heat it in the microwave.
- I pour coffee for my husband at work, I also grumble - at least I brought one back
lids are used as a basis for pictures, studying colors or letters and numbers - it is very convenient to use this method.
 material, children like it very much!
 all sorts of small crafts were covered with jars - from plasticine, for example, so that they would not gather dust
we play with lids :) but this is 5-10 lids maximum
I only make thick strawberry jam with whole berries from preparations in the summer - since you can’t eat a lot of it at a time, but when I eat it, I eat up for a week, at least, then how since the 100-gram package suits me just fine. I make 20 jars in the summer (2 liters of jam), and this quenches my genetic Russian craving for preparing all kinds of pickles and jams for a year. In the first one, they make something beautiful out of cans - they seem to be painting on glass, so they constantly need new ones, and in kindergarten they need it to stupidly rinse the brushes
Girls, we need a lot of food jars for the printing house. To whom it is not a pity, give. We have a silk-screen printing workshop, the printer mixes paints in them. Now he came and asked if I had it, but I had already thrown them all away
to a familiar veterinarian, otherwise dog and cat owners bring them tests in matchboxes :-D and it is supposed to be taken only in glass containers.
