Baby bottle feeding equipment
25+ Items You Need For Feeding Baby
Bottle Feedings Mamas! THIS POST IS FOR YOU GUYS! Looking for bottle feeding equipment? Feeding your baby, whether it be from your breast or from a bottle, is no walk in the park. There are challenges and eases with both!
I bottle fed my breastfed baby (we did a combo of each for his first year), and I can attest that YOU NEED A LOTTA STUFF to bottle feed your little one.
I’ve broken this post up into sections for pumping and formula feeding mamas!
So use this list if you’ve already got a babe and you’re switching to the bottle, use it to add to your baby registry, or shop it yourself!
But seriously – I’ve thought of all the bottle feeding must haves. You’re gonna be set.
Table Of Contents
- Bottle feeding equipment: For both formula and pumping moms
- Bottle feeding equipment: for pumpers
- Bottle feeding equipment: For formula moms
- Everything you need to bottle feed!
Follow @mommy. labornurse on Instagram to join our community of over 560k for education, tips, and solidarity on all things pregnancy, birth, and postpartum!
1. A bottle warmer
YAS! I LOVED this thing. Kinde has a great one! Guys, you never have to fiddle with warming up water over the stove, or the warm-water-in-the-coffee-cup trick (this works, it just takes WAY longer).
You can also throw frozen milk bags and food jars in here! There’s a handy dandy little flow sheet that you can keep on your fridge to let you know exactly how long to warm up your bottle for (if I remember right it was about 6-7 minutes from the fridge for our average bottles).
2nd Best: Phillips AVENT Bottle Warmer…also from Amazon
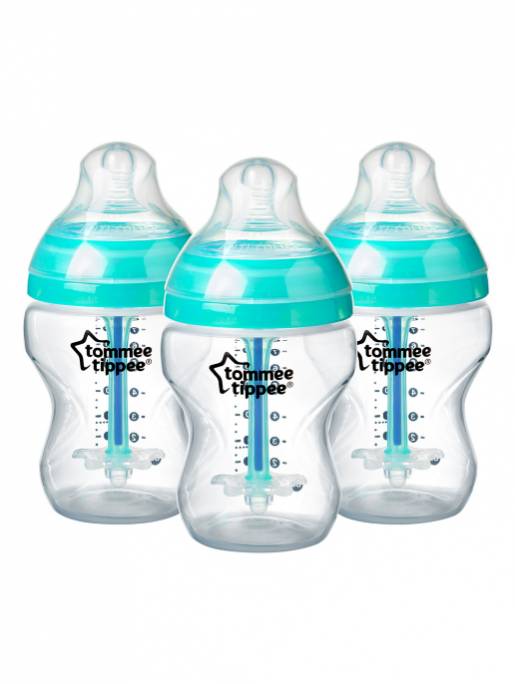
2. Multiple size bottles
Here’s the reasoning behind why I say MULTIPLE. First off, you may find that one brand works better for your baby than another. I, for one, bought a ton of AVENT bottles, only to find my son a big Medela fan.
As baby gets bigger (especially if you plan on formula feeding), baby will take larger feeds. What was once a 3oz tummy, is now a 6oz tummy. Most small bottles only go up to 5oz, so it’s a good idea to register for a few sets of larger quantity bottles, stick them in storage, and bring them out once baby gets a little bigger.
- My faves : Medela 5oz and larger quantity bottles
- Also very popular : Dr’s Browns (these are good for babies who tend to be colicky, or gassy as well)
Related: Thinking About Weaning? Read me…
3. Multiple size nipples
Going along with the same reasoning why you need multiple size bottles, you’ll need multiple size nipples as well. As baby gets bigger, he/she may prefer a faster flow.
Always, however, remember to START baby off with a size 0.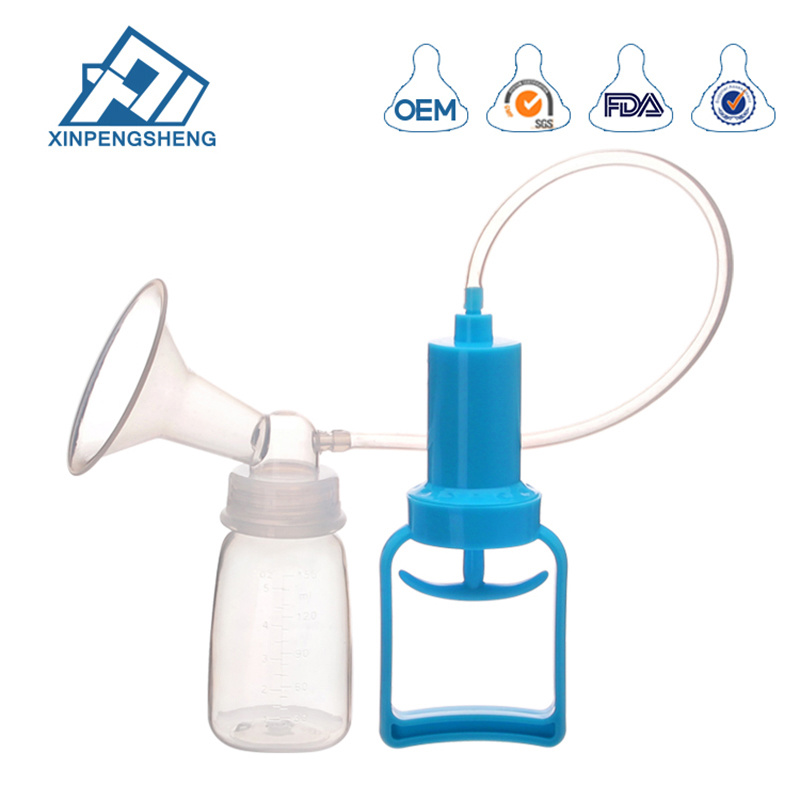 We were actually in 0’s for 6 months before we bumped up to a size 1! This is common with breastfed babies, doing a combo feed. Strictly bottle-fed babies tend to bump up sizes faster…either is normal!
My faves, again, are Medela!
4. A good quality bottle brush
You’ll be using this tool more than you’d like to admit. Invest in a good quality bottle brush that will last that entire year!
- My fave: Dr. Brown’s
- A close 2nd: OXO Tot
5. A crap ton of bibs
These aren’t super necessary when baby is teeny tiny, but once he/she starts to grow….BIBS Y’ALL. Feed them with the bib on! It helps with yucky-milk-neck.
6. A crap ton of burp cloths
My husband may argue with this one….he used paper towels like they were burp cloths ? Burp cloths are a necessity, though (in my opinion).
They have so many cute options to choose from too! My advice is to buy a few different brands, and try them out IRL before you go nuts and buy a 30 pack.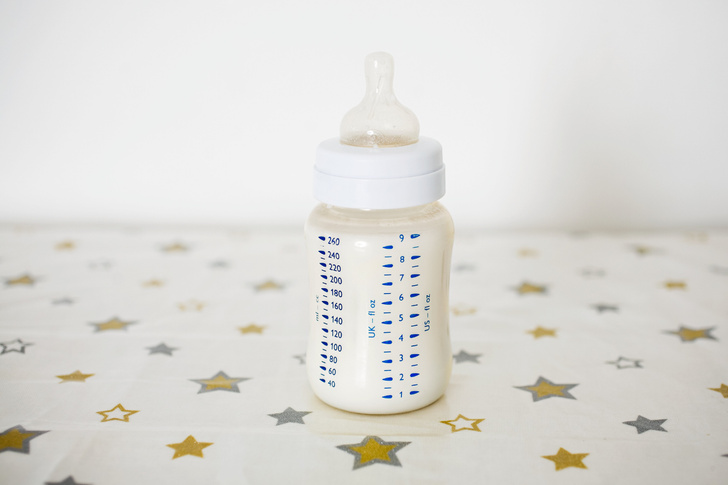 You may find the ones you thought were useful while you were pregnant are crap at sopping up baby puke.
7. A bottle sterilizer…maybe
Okay this one is a big MAYBE. If you have a preemie, YES get one of these. It’s really important to be sterilizing your bottles in between each usage (your pediatrician will also confirm this).
If you have a healthy, full-term baby….this is up to you. I personally had no issue with just washing my bottles in warm, soapy water. I do know moms out there who would probably shudder at the thought at not sterilizing bottles after each use. Totally up to you.
8. Bottle soap
Nowadays they have fancy bottle soap specifically for baby bottles that’s free from harmful chemicals!
If you don’t care about fancy soap, though…get some Dawn! (It works just as well)
9. A drying rack
I LOVE MY BOON LAWN. I had to fight with my husband to put it away in storage. The truth is, we have limited counter space so once my son was off the bottle….it was time to say good-bye to the sacred Boon Lawn. Oh, how I loved that thing.
A few tips…make sure you pick up a few accessories for hanging nipples (you’ll be able to fit a lot more on there), and keep a paper towel in between the lawn and the white tray. This helps to get rid of excess moisture build-up.
Also make sure you get the LAWN and not the GRASS (the LAWN is much bigger)
10. A drying mat
I liked to keep a drying mat laying around as well…pick one up here from Amazon 🙂
11. A dishwasher basket
If you aren’t planning on buying a bottle sterilizer, and you want to go the dishwasher route…..a dishwasher basket is vital to keeping all your nipples from flying all over the place. This is also useful once they get bigger for straw and cup accessories!
12. One of these guys to keep everything organized
Thanks Pinterest! What a great idea!
13.
 Gas drops/Gripe water
I only add this one just because sometimes bottle fed babies can be a little on the gassy side. Gas drops are something you want to have at your house BEFORE you actually need it. Pregnant? Go ahead and pick some up.
Bottle feeding equipment: for pumpers14. A double electric breast pump
BE EFFICIENT! I mean, a hand pump can be indispensable at times, but IMO you need to invest in a good quality double electric pump if you plan on exclusively pumping.
In 2021, while breastfeeding my second baby, I set out to review as MANY breast pumps as possible. You can read full breast pump reviews of the Elvie, Willow, Baby Buddha, Spectra, Medela, Freemies, AND Luna. Whew.
And you know the number one questions I always get asked? Which one is my favorite? It’s tough because they all have different applications, but if I had to pick one I’d go WILLOW! I know it’s pricey, but it’s just so dang convenient AND works so well.
Related: Want to Learn About Exclusive Pumping?
15. Milk bags
If you plan on exclusively pumping…you’ll need a TON of these guys. They are much more space-saving than always using bottles (and let’s be honest you don’t have to wash them…as you would a bottle).
Call me crazy…but my FAVORITE brand was from Walmart (Parent’s Choice)! (You can get them off Amazon for the same price)
Other options:
- Medela 100 count freezer bags
- Lansinoh Breastmilk storage bags (100 count)
16. A deep freezer..No for real
For real though…if you start seriously pumping massive amounts of milk you’ll fill up your regular freezer pretty quickly. I wouldn’t go invest in a deep freezer until you establish your milk supply…but maybe something to think about!
Related: 30 Crazy Things I Did to Increase My Milk Supply
17. Gallon Ziploc bags
For storage! Milk bags should be frozen FLAT, and then stored in gallon ziploc bags for maximum storage potential!
18.
 A thin permanent marker
Also just nice to have for labeling your baggies!
19. Lubricant for your nipples
In the first few weeks, your nipples are going to be quite sore from pumping. It takes a little while (just as it does breastfeeding) for your nipples to almost “build up a callus” and quit being sore after you pump. I’ve always been a big fan of coconut oil 🙂
Motherlove’s nipple cream works great as well!
Just like you need a few extra bottles for baby, momma needs some extra flanges! You also never know when one is going to fried in the dishwasher #truestory
Depending on which pump you use, will determine which flange set you need!
21. A mini fridge
I have a girlfriend who told me about this idea! Brilliant! She got an extra mini-fridge to keep in the nursery for late night feedings…AND she keeps Gatorades for her thirsty self in the middle of the night. GOLD.
Bottle feeding equipment: For formula moms22.
 Formula
Well DUH! I used a few different brands, but ended up sticking with Earth’s Best Organic Infant Formula until he was about 9 months old.
After that we switched to Enfamil Toddler Transitions. It’s completely normal to switch a few times in the newborn stage, per your pediatrician 🙂
Related: Organic vs Non Organic Formula and How to Choose the Best One!
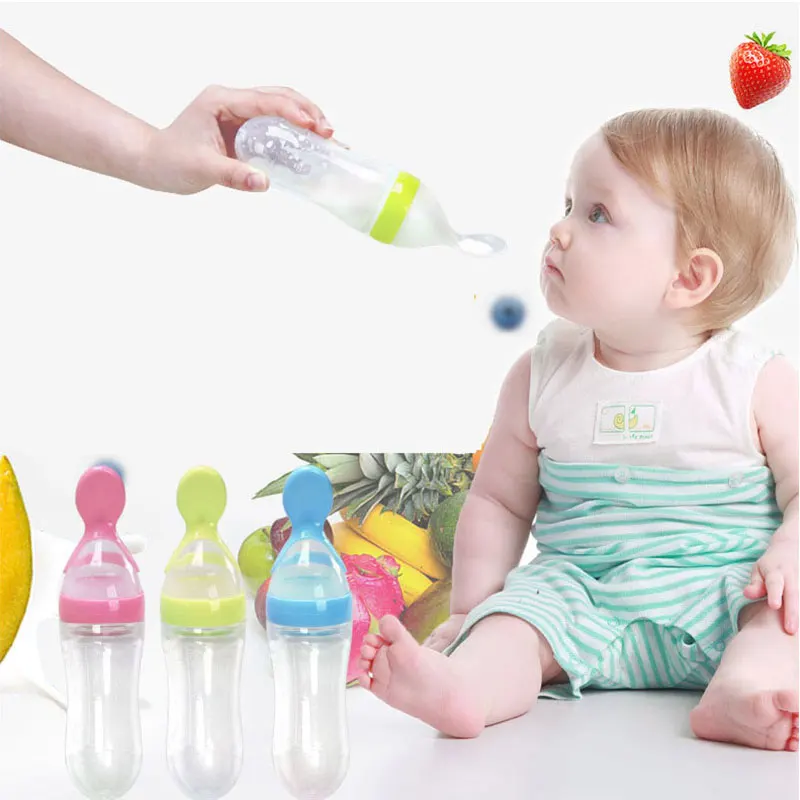
23. A formula dispenser
I didn’t even know about this thing until AFTER I was done bottle feeding! I would always carry his formula in pre-measured Ziploc bags (a huge mess). This thing makes carrying formula on the go SOOO easy! Pick up yours at Amazon 🙂
24. A *fancy* water pitcher
This super fancy water pitcher by Dr. Brown’s is BPA-free and offers a neat way to store your pre-mixed formula all day.
- Unique blade mixes formula quickly
- No clumping, BPA-Free
- Minimal air introduced into formula
- Prepare up to four 8-oz.
 bottles of formula at a time
 - No slip, soft grip handle designed for comfortable pouring, Dishwasher safe, Locking lid
I’m sold!
25. A Formula Keurig AKA The Baby Brezza
What I do know, is that if you plan on formula feeding your little one…and you want the most efficient, most stylish way to make your baby a bottle…get one of these puppies.
Everything you need to bottle feed!What am I missing guys? Do you have any suggestions of essential bottle feeding items to add to my list? I want to hear from the bottle mommies out there!
Happy Feeding! 🙂
Choosing Bottle-Feeding Equipment - What You Need To Bottle-Feed Your – Baby Care Advice
If your baby displays fussy feeding behavior, you might start to wonder if the bottle or nipple is to blame. How do you know if the equipment your baby is using is the best choice for your baby? This article explains what to look for when purchasing baby bottles and nipples.
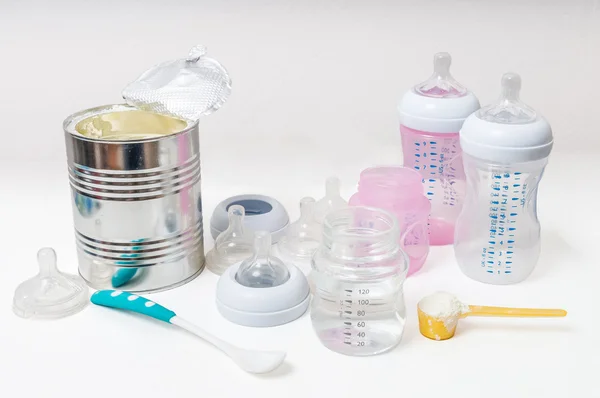
- Infant formula.
- Bottles with caps.
- Feeding nipples.
- Bottle and nipple brush for cleaning.
- Insulated bottle carry bag.
- Sterilizing equipment - a large plastic or glass container for chemical sterilization, or an electric or microwave steam sterilizing unit, or just a large saucepan for boiling.
- Knife (to level off milk powder). Plastic is easier to sterilize than metal.
- Measuring jug, with fork or whisk (not necessary if you make up the formula directly in the bottles.
Your choice of feeding nipple is much more important than your choice of bottle when it comes to bottle feeding your baby. The cheapest bottles are just as suitable as expensive ones. Plain shapes are the easiest to clean. Some manufacturers claim their bottles offer 'anti-colic' properties, but there's no proof that this is true.
Glass or plastic?This is really a matter of personal choice.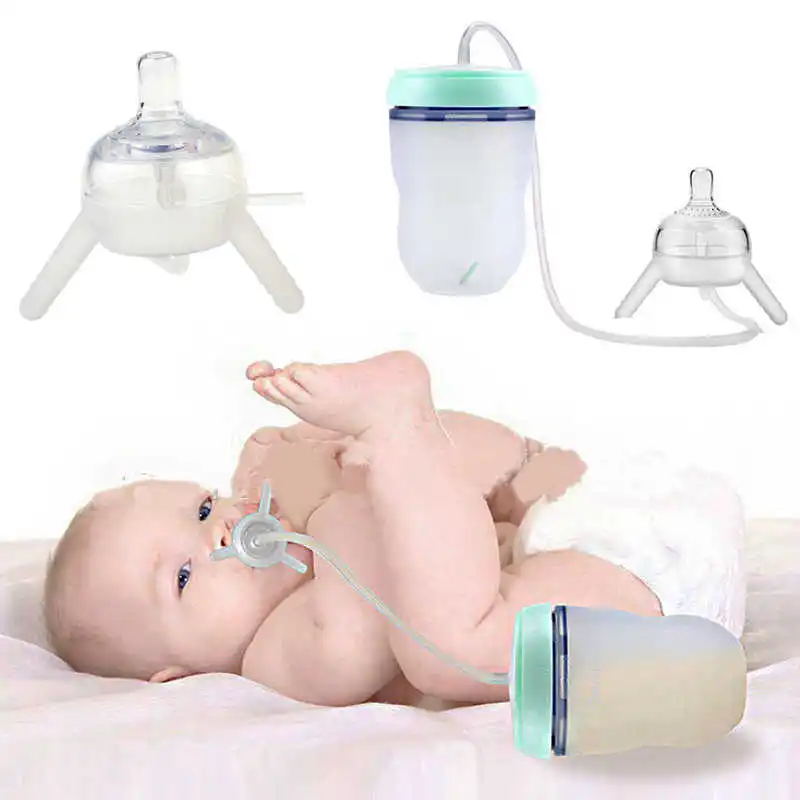 For safety purposes plastic is advisable.
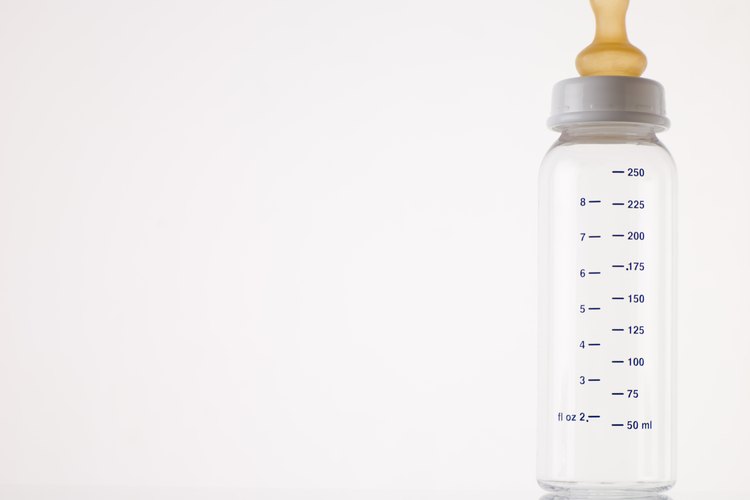
Bottles generally come in two different sizes; 4 1/2 oz (120ml) or 9 oz (240ml).
As a newborn, the amount of milk your baby will drink will fit in the small bottles. However, as he grows he will need to be offered larger amounts, which means you may need to use large bottles by the time he's two months old (or sooner). Therefore, it may be more economical to use the large bottles to begin with, as the large bottles should last right up to the time he's ready to drink from a cup.
How many?You will need at least two bottles to allow time for sterilization of feeding equipment. However, if you purchase enough bottles to cover a 24 hour period, you can prepare a whole day's supply in advance. To achieve this we recommend:
- 6 large and 2 small bottles for a newborn.
- 5 or 6 large bottles for a 3 month old.
- 4 or 5 large bottles for a 6 month old.
- 3 or 4 large bottles for a 9 month old.
You can choose from latex or silicone nipples. Silicone nipples are firmer and hold their shape longer. Latex nipples are softer and more flexible. Latex may not last as long as silicone, particularly if you are planning on using a sterilization method that uses any form of heat, such as boiling or steam sterilizing.
Nipple shapeYou have a choice in nipple shapes - traditional, orthodontic or flat-topped. Although a baby may prefer the shape of one over another, there's no evidence that proves one shape is better than another.
In choosing a nipple, you will be faced with all sorts of marketing ploys claiming a particular nipple "duplicates the shape of a human nipple". This is not true - a synthetic nipple could never duplicate a human nipple... it doesn't need to. Bottle feeding requires a very different sucking action to that required during breast feeding.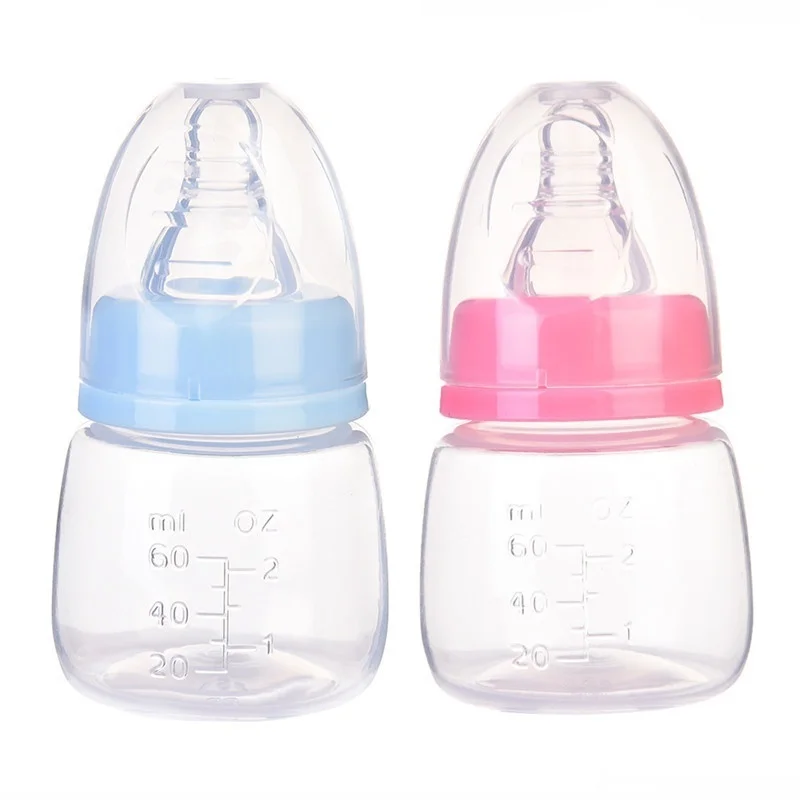 (This is why many babies have trouble weaning from breast to bottle).
Choosing a nipple of the right length for your baby is important. If the nipple is too large or long he could gag and vomit. If it's too short, it could be difficult for him to maintain suction and/or he may swallow air while feeding. A nipple that just reaches his soft palate is generally a good length
Nipple speedNipples are also available in different flow speeds. The number and/or size of the holes in the nipple will determine how fast your baby feeds. Younger babies need to feed much more slowly than older babies. (See How long should feeding take? for recommendations times for different ages).
Manufacturers normally provide a guide by labelling packaging and nipples as:
- Birth - 3 months
- 3 - 6 months
- Over 6 months
(Check on the rim of the nipple for this). However, following these guides doesn't guarantee the nipple speed is right for your individual baby.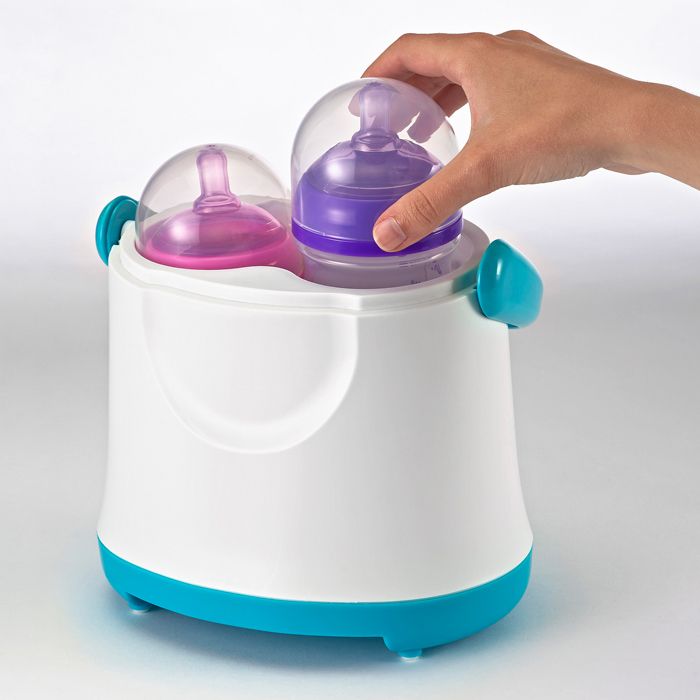
Finding just the right feeding nipple for your baby may require a little trial and error, so it may be wise to purchase the minimum number possible until you're confident with your choice. Once you have found a nipple that suits your baby, it's best to use the same type of nipple for every feed to avoid confusing him, so you may wish to purchase a nipple for each bottle.
Written by Rowena Bennett
© Copyright www.babycareadvice.com 2021. All rights reserved. Permission from author must be obtained to reproduce all or any part of this article.
PreviousConsultations
BOOK NOW
Bottle-feeding Consultation
From $500.00
5.0 / 5.0
62 reviews
Breastfeeding Consultation
From $500.00
5.0 / 5.0
16 reviews
Solids Feeding Consultation
From $500.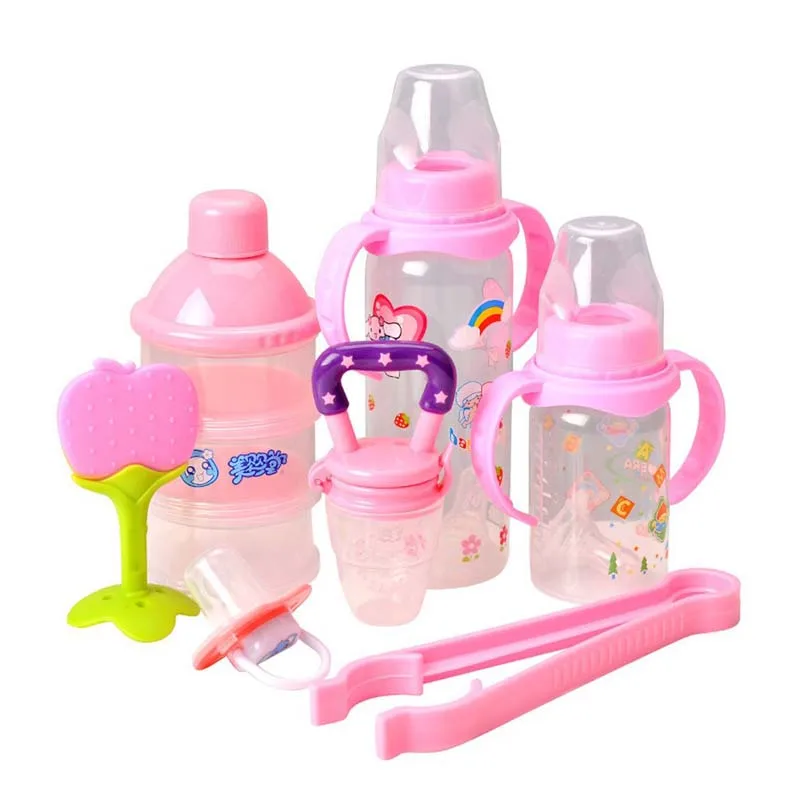 00
00
5.0 / 5.0
2 reviews
Sleep Consultation
From $500.00
5.0 / 5.0
1 review
Organizing bottle feeding | Philips
In the early days, mothers try to keep their baby safe and carefully monitor the cleanliness and sterility of everything that can get into the baby's hands or mouth. This is due to the fact that the child's immune system is almost not formed, and the body is vulnerable to external bacteria. That is why the process of sterilizing children's dishes cannot be neglected.
Every meal of the child should be held in accordance with the rules of hygiene, from washing hands and breasts, and ending with the sterilization of accessories necessary for feeding during artificial feeding. In terms of preparation, artificial feeding is always more time-consuming: before each feeding, clean dishes must be sterilized to remove all bacteria from the surface.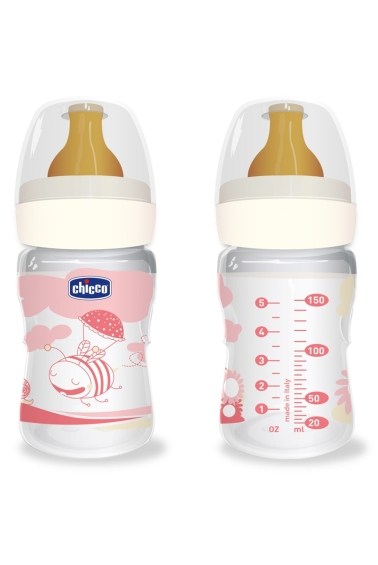 It takes time to sterilize and dilute the mixture, and the baby can become very hungry and express his impatience by screaming. nine0003
Everything that comes into contact with the baby's food or mouth must be sterile clean: from the spoon used to apply formula to the bottle, nipple and breast pump if the baby is fed with expressed milk.
How to sterilize baby dishes
Today, every mother can choose the most convenient way to sterilize bottles.
Time-tested sterilization method used by our mothers, of course boiling . It is better to immediately allocate a separate pan of a suitable volume for boiling bottles and baby supplies, which will continue to be used only for sterilization. The volume of the pan should contain all the accessories, including the breast pump, if you use one.
Boiling time is at least 10 minutes: during this time, all bacteria are destroyed. However, too high temperatures can have a negative effect on the teat, and it quickly becomes unusable.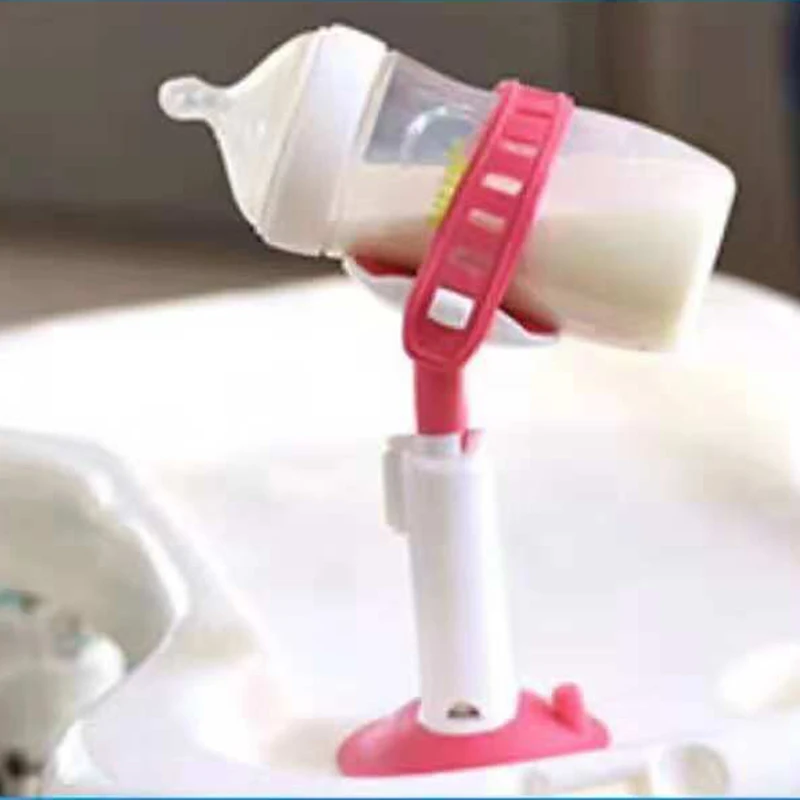
A more delicate method for children's dishes is to sterilize with a steam sterilizer. In addition, steam sterilizers are easy to use due to their compact dimensions. They are easy to use: water is poured into a special container, the mode is set and after 6 minutes you have completely sterilized dishes. Modern Philips Avent sterilizers destroy 99.9% of harmful microorganisms.
Interesting mobile versions of steam sterilizers are microwave sterilizers and sterilization bags. They can come in handy on the road if you need to quickly sterilize baby dishes or pacifiers that have fallen on the floor.
Second step: Milk heating and formula dilution
Expressed milk
First of all, the milk must be heated properly. The consistency of milk is such that it separates into fractions, so it must be shaken before use. There are several ways to heat milk. nine0003
Water bath
A container of water is heated on the stove, after which a bottle of water is placed in it.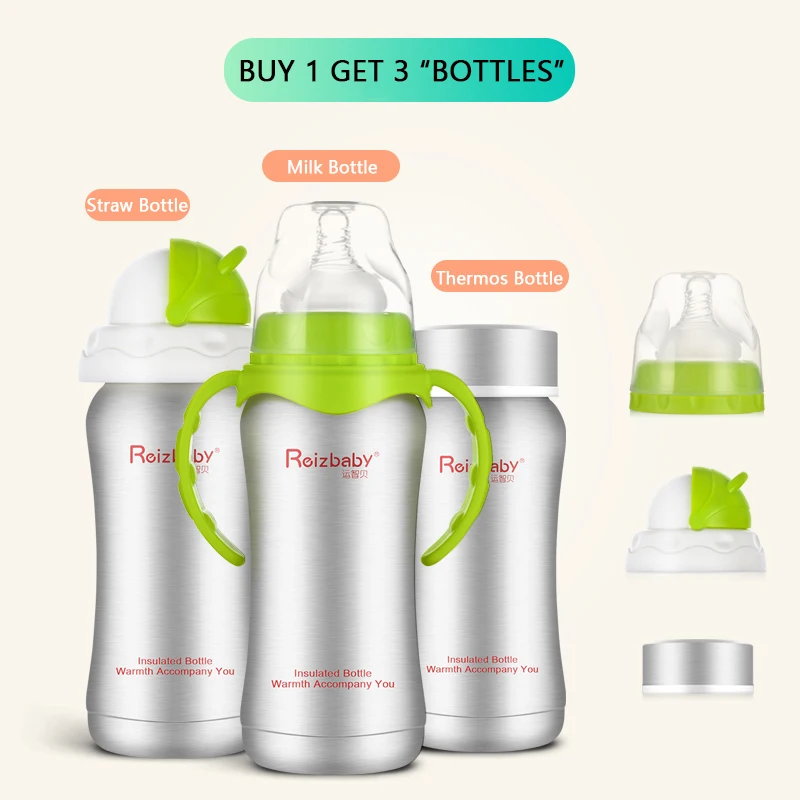
Advantages:
- The most inexpensive way
- Milk is quickly heated by
Disadvantages:
- It is very easy to overheat milk
- is not convenient on trips
- bottles placed in a water bath, they must withstand boiling and do not contain bispenol- A
Hot water
The bottle is placed under the hot water tap or lowered into a container of hot water.
Advantages:
- The method does not require financial costs
- The convenient method for defrosting
Disadvantages
- to bring the mixture to the required temperature, you need a lot of time
9000 BUTS INDIVER
BUTY milk is placed in a special heater, after which the heating mode is set. nine0003
Advantages
- The milk warms up evenly, the overheating points of
- are quickly heated
- It is impossible to overheat the bottle, so all the useful substances
Disadvantages 9,0003
- The purchase of the heater requires financial costs
- for food
microwave oven
The bottle or container with milk is placed in the microwave oven. It is necessary to make sure that the container is made of a material that can be heated in a microwave oven. Preheat on low or medium power. nine0003
Advantages
- Fast heating method
Disadvantages
- Microwave food is heated unevenly. For this reason, pediatricians consider this method unsafe, since there is a risk of burning the throat.
Feeding formula
Read the instructions carefully before preparing the formula, which must be followed. The mixture must be fresh: you can not use the leftover mixture from the previous feeding, so prepare a new batch each time. nine0003
Boil the water and let it cool. Too hot water can dissolve the mixture unevenly, and form lumps, which then clog the nipple. Each package has recommendations for serving size according to the age of the child. Try not to violate the recommendations, do not report the mixture to make the portion more satisfying. There is a risk that too thick a mixture will cause extreme thirst and dehydration.
Third step: Comfortable nursing position
The position for bottle feeding does not differ fundamentally from the position for breastfeeding. When you hold the baby in your arms, make sure that the head is raised so that it will be convenient for him to swallow. If the head is turned to the side or back, it will be difficult for him to swallow, he may choke on food. Pediatricians insist on this position of the child during bottle feeding, because the baby feels the warmth and smell of the mother, establishes close emotional contact with her. For a baby, such psychological contact is vital: he learns to trust his mother. nine0003
Do not hold the bottle upright during feeding, especially if the opening in the bottle is too large: due to the strong pressure of the liquid, the baby may choke. The correct position of the bottle: at an angle of 30-45 degrees, when the nipple is constantly filled with liquid. If it is always filled with liquid, then this reduces the chances that the child will swallow air and develop colic.
Baby won't take bottle | Philips Avent
search support iconSearch Keywords
Home ›› What to do when your baby refuses a bottle
↑ Top
In most cases, switching a baby from breastfeeding to bottle feeding does not cause any problems. If your breastfed baby refuses a bottle, don't worry. This is a common occurrence in many babies who are used to breastfeeding. Obviously, this can create certain difficulties for moms, especially if you need to return to work in the near future. nine0003
3 Philips Avent products to help you bottle feed:
So why is your baby refusing the bottle and crying? There are many ways to quickly and easily teach a breastfed baby to a bottle. Here are important tips on what to do when your baby refuses a bottle.
Is the baby refusing the bottle? Take a step back
If your baby cries while bottle feeding, the first thing to do is to start over and rethink your feeding approach and technique.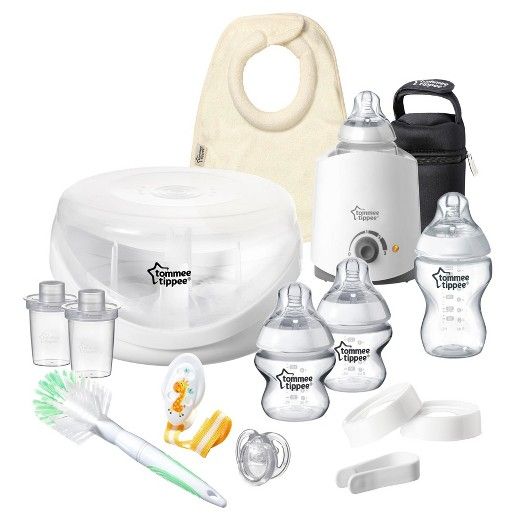 Try the following steps when bottle feeding your baby: [1]
- Lift and tilt your baby's head forward. Before inserting the pacifier into the baby's mouth, make sure that the baby's head is raised and tilted over his body to avoid choking: so that the baby does not choke and have the opportunity to burp during bottle feeding.
- Insert the pacifier. Bring the pacifier to the baby's lips and gently guide it into the baby's mouth. In no case do not try to press the nipple on the baby's lips and try to push it into his mouth. After touching the pacifier to the baby's lips, wait for the baby to open his mouth and take the pacifier. nine0061
- Hold the bottle at an angle. Tilt the bottle at an angle so that the nipple is only half full. So the child can eat at his own pace.
- Let the baby burp during and after feeding. It can be useful for a child to burp not only after feeding, but also approximately in the middle of the process. This will help reduce gas or tummy discomfort that your baby may experience from swallowing too much air.
- Stop in time, do not overfeed the baby. If the baby begins to turn his head away from the bottle or closes his mouth, then he is full and you need to stop feeding.
- The milk flow from the nipple to the baby may be weak or too fast, so he is naughty and refuses the bottle. Try changing the nipple to a nipple with a different flow.
Other tips if your baby refuses the bottle
If you've followed the steps above and your baby still refuses the bottle, don't worry. There are other ways to help bottle feed your baby. Here are some simple tricks you can add to your bottle feeding process. nine0198 [2]
1. Remind your child about mom.
Sometimes a child can be fed by someone other than his mother - dad, grandmother or, for example, a nanny. If your baby fusses while bottle feeding, try wrapping the bottle in something that smells like mommy, like a piece of clothing or some fabric. This will make it easier to feed the baby when the mother is not around.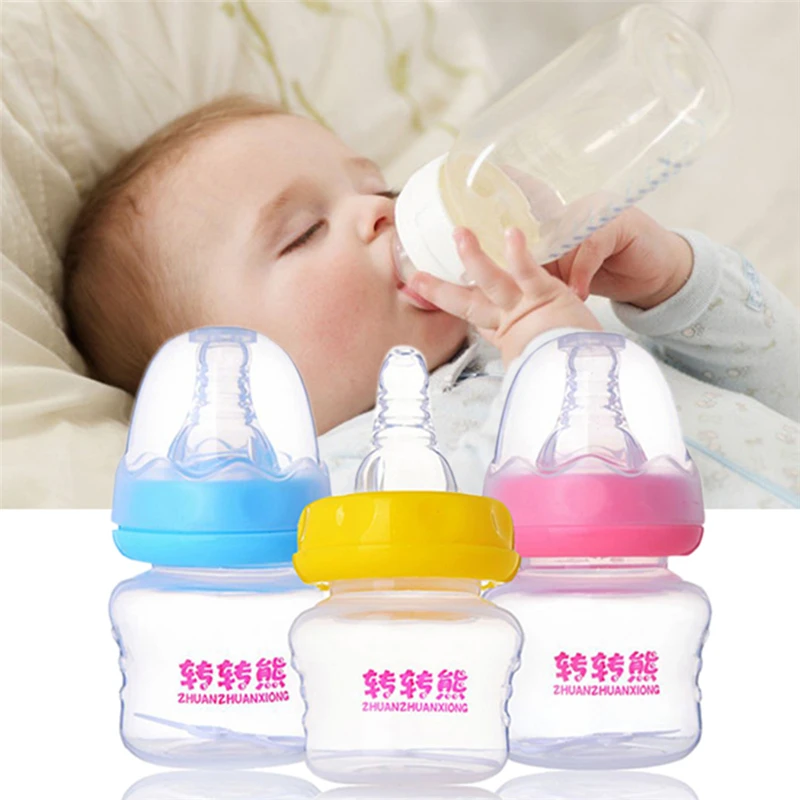
2. Try to maintain body contact while bottle feeding. nine0014
Some babies need contact with their mother, so try bottle feeding while leaning against you. However, some babies are better at bottle feeding when they are in the exact opposite position than when they are breastfed. For example, there is a position with bent legs. Lay the child on your bent knees, facing you, pointing the child's legs towards your stomach. During feeding, the baby will be able to look at you and contact you in this way. If your baby refuses a bottle, experiment to see which works best. nine0003
3. Move while feeding.
Sometimes all it takes to get your baby to take the bottle is a little wiggle or walk. The next time your baby starts crying while bottle feeding, try moving around a little rhythmically to calm him down.
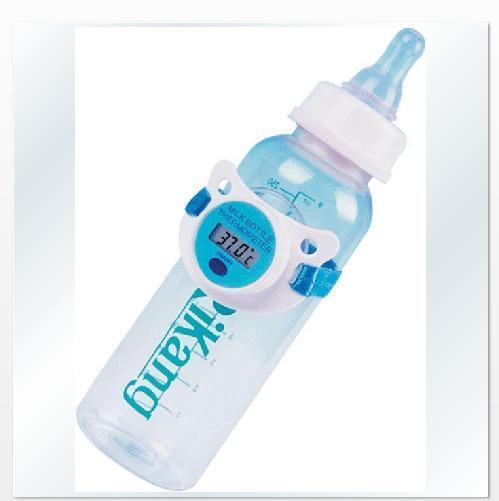
4. Try changing the milk temperature.
If the baby still does not want to take the bottle, check if the milk in the bottle is too hot or too cold.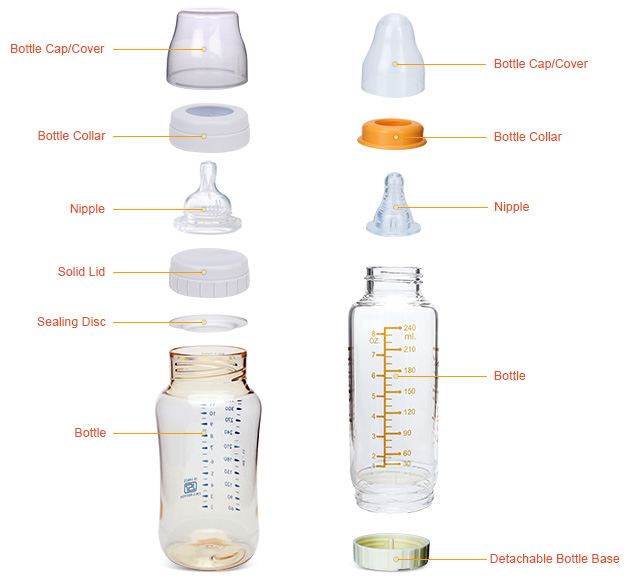 Before feeding, put some warm breast milk on the inside of your wrist to check the temperature. Milk should be warm, but if it seemed hot to you, just place the bottle for a short while under a stream of cold water. nine0003
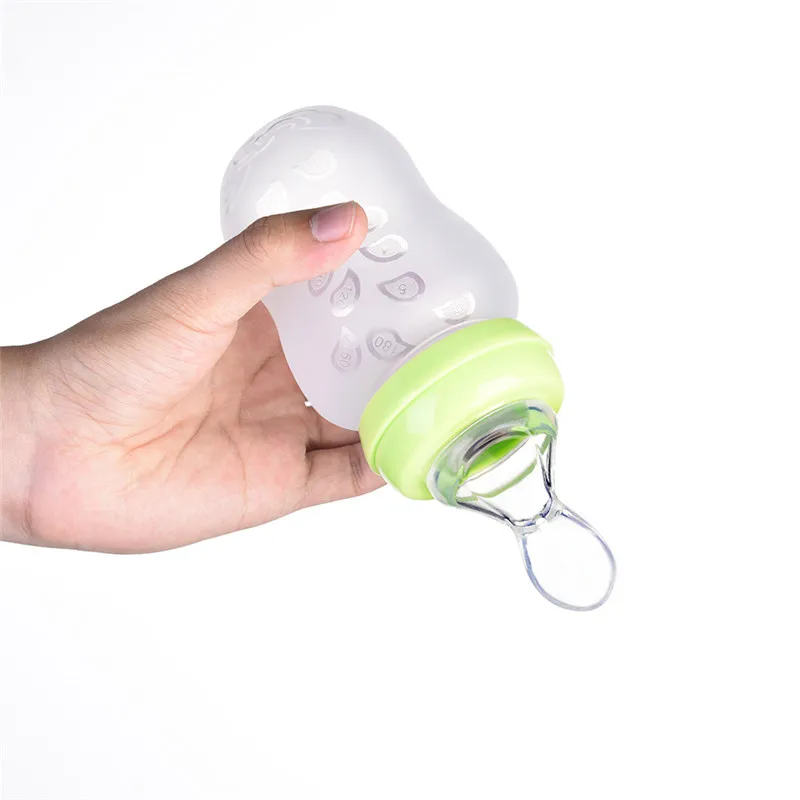
Choosing the right bottle for your baby If you plan to combine bottle feeding with breastfeeding, it is advisable to choose bottles with a nipple that will have a wide base as the bottle will grip closer to the breast. Also pay attention to the fact that the nipple is firm and flexible, the child must make an effort to drink from the bottle, as well as from the breast. Give preference to nipples with an anti-colic valve that vents air out of the bottle. nine0003
Natural bottle allows you to combine breast and bottle feeding. 83.3% of babies switch from a Natural bottle to breastfeeding and back.*
If you choose a bottle for artificial feeding, traditional bottles are fine, but it is desirable that the nipple is made of a hypoallergenic material, such as silicone, has an anti-colic valve and did not stick together when bottle fed.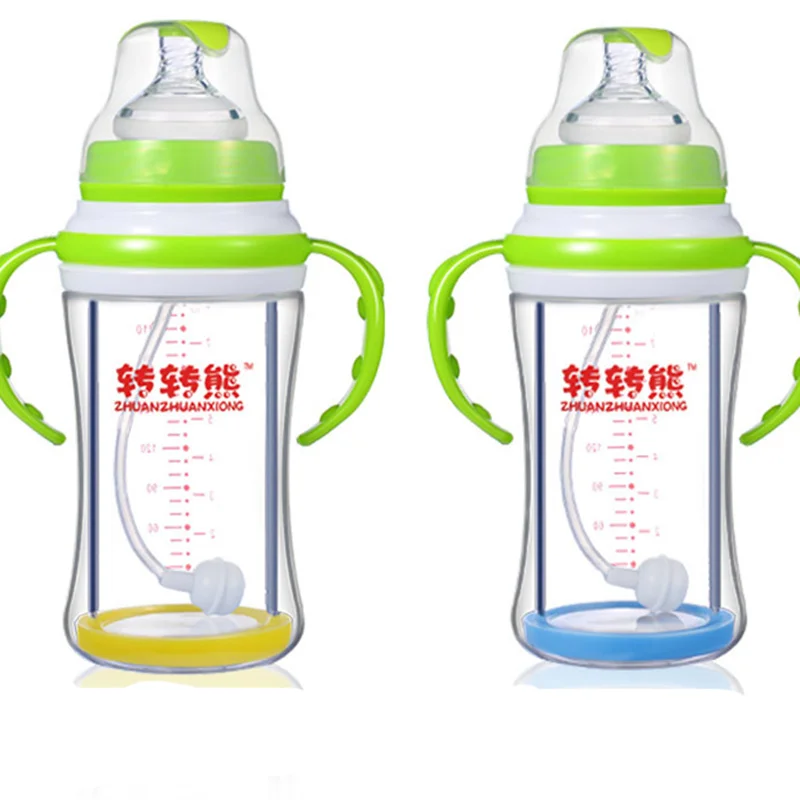 In case your baby spit up often, then use special bottles with anti-colic and anti-reflux valve, which reduces the risk of spitting up and colic.
Bottle with unique AirFree valve reduces the risk of colic, gas and spitting up. With this bottle, you can feed your baby in an upright or semi-upright position to reduce spitting up. Due to the fact that the nipple is filled with milk and not air during feeding, the baby does not swallow air, which means that feeding will be more comfortable.
Both bottles are indispensable if you want to breastfeed, bottle feed or just bottle feed your baby. nine0003
“My baby refuses to breastfeed but bottle feeds – help!”
Sometimes a baby gets used to bottle feeding and refuses to breastfeed. Therefore, it is important to use bottles that are suitable for combining breastfeeding with bottle feeding. If, nevertheless, you are faced with the fact that the child refuses to take the breast, try using silicone nipple covers to make the transition from the bottle to the breast and back more imperceptible. nine0182
Remember that if you want to combine breastfeeding and bottle feeding, it is worth waiting at least a month before offering a bottle, so that you are lactating and have time to get used to each other and develop a breastfeeding regimen.
Breastfeed and bottle feed your baby with pleasure
Remember that it takes a while for your baby to get used to bottle feeding. This is completely normal. If you have to go to work, be sure to set aside enough time to bottle train your baby beforehand. nine0182
Remember that every child is different, so what works for one may not work for another. With a little time and patience, you will find out what works best for your baby when he refuses a bottle.
You will identify your child's unique needs. However, if your baby still refuses the bottle after all the steps above, check with your pediatrician.
Articles and tips from Philips Avent
References:
*O.