Baby food jar lid
Baby Food Jar Lid - Etsy.de
Etsy is no longer supporting older versions of your web browser in order to ensure that user data remains secure. Please update to the latest version.
Take full advantage of our site features by enabling JavaScript.
Find something memorable, join a community doing good.
(168 relevant results)
Charming Upcycled Baby Food Jars
Baby food jars are the perfect little treasure waiting to be upcycled. We all know by now how many amazing things can be done with old jars, so adorable little mini jars – really, what’s not to love? (And if you don’t happen to be hoarding baby food jars like me, I think these little beauties would look just as fetching using standard grown up sized jars.)
When our son was eating baby food, I hounded my husband to save the jars for me. He threw them out whenever I wasn’t looking (to avoid the chore of washing them out) and he questioned me regularly about what in the world I was going to do with a bunch of tiny little jars.
But I was adamant they would be something amazing.
And then they sat in the cabinet for 9 months while I tried to figure out exactly what to do with them.
I love using jars for storage around the house, so in the end I decided to turn these old baby food jars into stylish storage. Even though they are small, they’re perfect for storing spice blends, small snacks, paper clips, rubber bands, safety pins, beads, small crafting supplies, random jewelry pieces…
All they needed was a tiny little makeover.
I love the look of painted jars, so I started by painting these with some pure white chalk paint I had on hand. If you don’t happen to have any leftover chalk paint, craft paint is also pretty awesome for painting glass. (I used Americana craft paint on my striped aqua mason jar and it worked perfectly.)
After painting several coats of paint, it was time to deal with the lids. I thought about just painting the lids in pretty colors, but wanted to do something a little more special. So I broke out the washi tape.
For anyone who doesn’t know, washi tape is amazing! It comes in a million and one gorgeous patterns and colors for only a couple of bucks a roll. You can stick it just about anywhere just like regular tape, but it’s removable. So if you decide to decorate something with your washi tape but then get tired of it, you can just peel off the tape…without harming most surfaces. Genius!
So anyway, I decided to cover my jar lids with washi tape.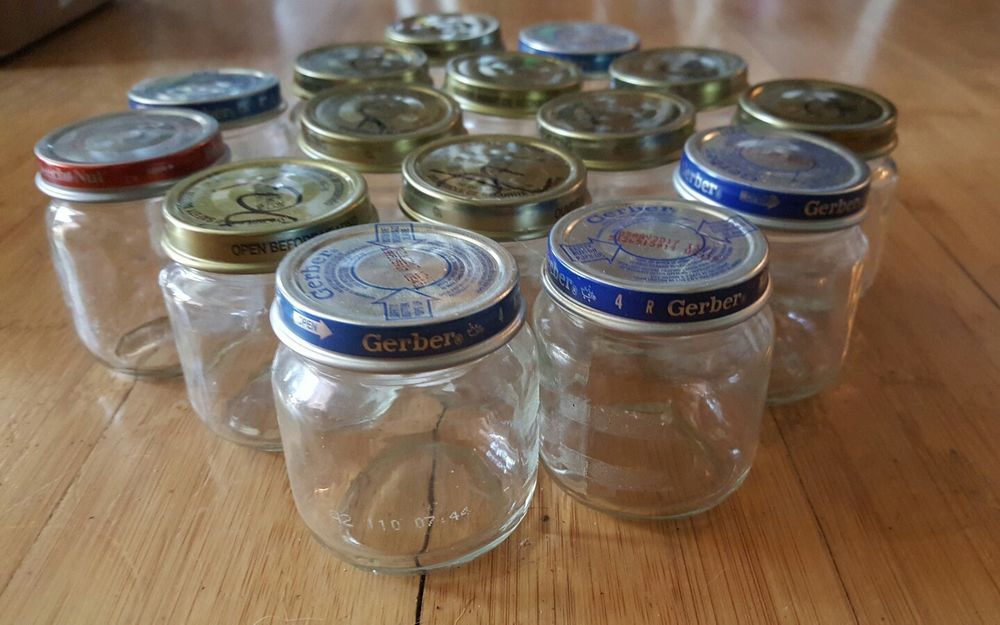 I basically wrapped the lids in strips of tape and then trimmed off the excess, folding the edges under the lids.
I loved how my jars were looking but they really needed a little something else. So I decided to go with some labels. I made the labels using the same washi tape, some cardstock, and a craft punch. I taped a few strips of each color to the cardstock and then punched it with my craft punch. I don’t have a cute label punch but I do have a ‘tag’ punch. I figured out that I could just punch out a tag and then turn it around and punch the other side as well to make a really cute little shape. (Who knew!)
Once the labels were punched out, I just peeled the washi tape off of the cardstock and stuck it onto my jars.
And now I have the absolute cutest little storage jars around. (Plus, just as importantly, I can show my husband just how smart I actually was for saving all those jars!)
How’s that for recycling! Be sure to check out my fellow bloggers’ repurpose, recycle, reuse projects as well.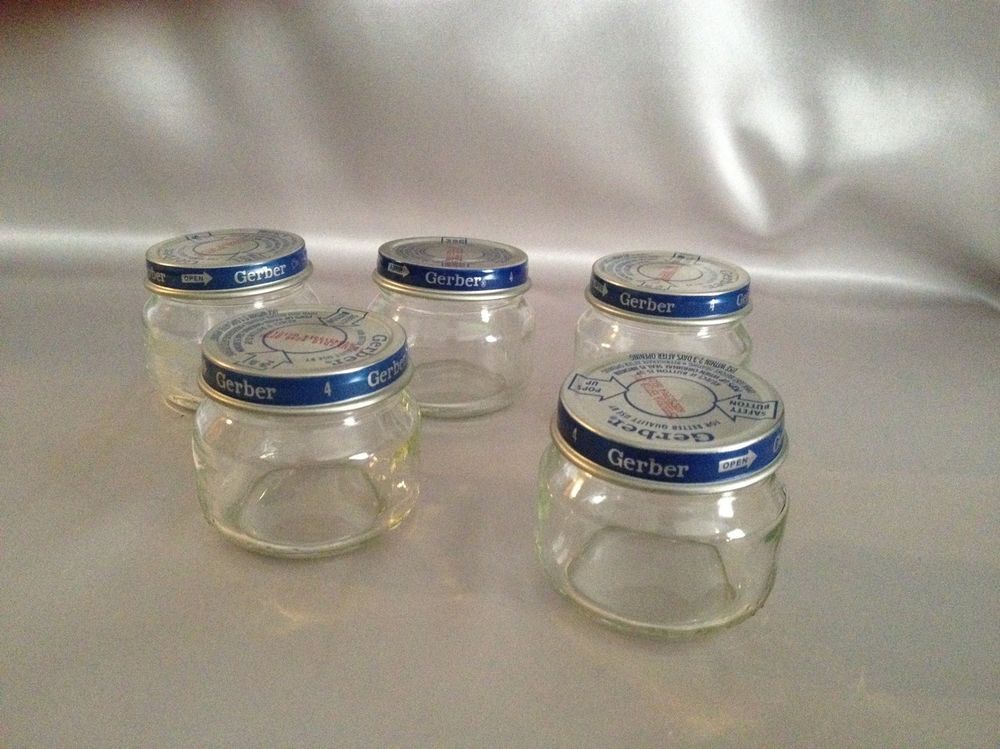 As always there are some great ones. (And you know I’m drooling over that turquoise bed!)
Bar stool nightstand by Thrifty and Chic
Cannonball bed redo by Life as a Thrifter
Upcycled Floating Nightstand by Bigger Than the Three of Us
Baby food jars - in action!!! - 1 answers
Taken from here
Jars in games
Match or Alphabet
I collected about twenty lids and washed them. cut out of children's magazines pictures of fruits and vegetables, dogs, cows - in general, those items that Svetlana knows.
I pasted the pictures on the back of the lids and laid them out on the table. At first, Svetlanka and I gathered dogs into packs, cows into herds, tore vegetables for soup and fruits for compote - in general, they combined items according to certain signs.
Now I am preparing a new set of caps - with letters. We will study alphabet.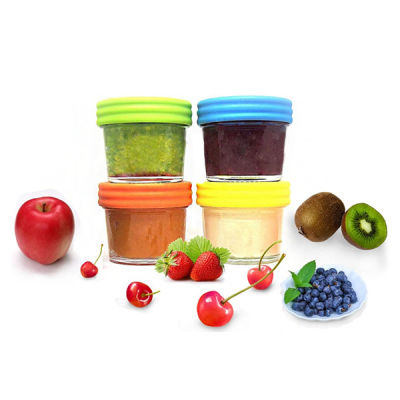 Are you saying two years is too early? And it seems to me that it is already possible start off. We are not in a hurry, we will learn letters gradually. game "Alphabet" I want to make it more complicated.
I will stick letters on the caps, show her the one that we will look for (for example “A”) and turn the covers over so that the letters are not visible. Then I will ask Svetlanka to find the right letter.
Faces
Another game with jar lids. According to the diameter of the lid cut out circles. On four circles draw eyes (round from surprise, narrowed with laughter, eyes with tears ...), on the other four noses and four more mouths (smiling, sad - lips down ...).
By combining the lids, you can make different faces and create funny stories.
Match by color
This game needs lids other than baby jars food, and caps from soda (Coca-Cola, Sprite, Bon Aqua ...) and plastic buckets from under mayonnaise.
I pasted over each mayonnaise bucket with colored paper - red, green and blue. In the hands of Svetlanka I give a package with soda caps. Her the task is to arrange them in plastic buckets by color (in red lids from under Coca-Cola, into green from under Sprite, into blue from under Bon Aqua).
Where's the candy?
Soda caps can also become hiding places. For example, we really like this game.
On a large kitchen table I lay out lids, under several of I put small sweets on the bottom. We take turns opening the lids (in random order). The one who gets the candy takes it for himself.
Mosaic
All the same soda caps can completely replace the mosaic. Of these, it is so good to lay out flowers, houses, little men on the carpet ... Sometimes with a thread I lay out a stencil on the carpet and we lay it out on it caps.
When we go to the dacha, we will make a wall mosaic. We glue the caps on the fence - we will lay out a large beautiful panel with them.
And baby food cans can be used to make a train - arrange the lids on the table in one row. Place in each wagon toy from Kinder Surprise. Let them ride in their wagons, but we you just need to move the lids and shout “tu-tu” in time!
Magic jars
Food jars can be turned into a fairy kingdom. For this inside the jar you need to put sparkles, bright beads and all this to fill with water. This is also done with pleasure by kids (only they need help a little).
The task of an adult is to firmly glue the lid to the jar. Now jars can be turned over, sequins and beads will roll - looks very beautiful. We already have a whole collection of these on our windowsill. fairy kingdom.
You can also, before closing the jar and sticking to it cover, glue a toy from Kinder Surprise. It turns out that the toy "settled" in a magical personal glass house.
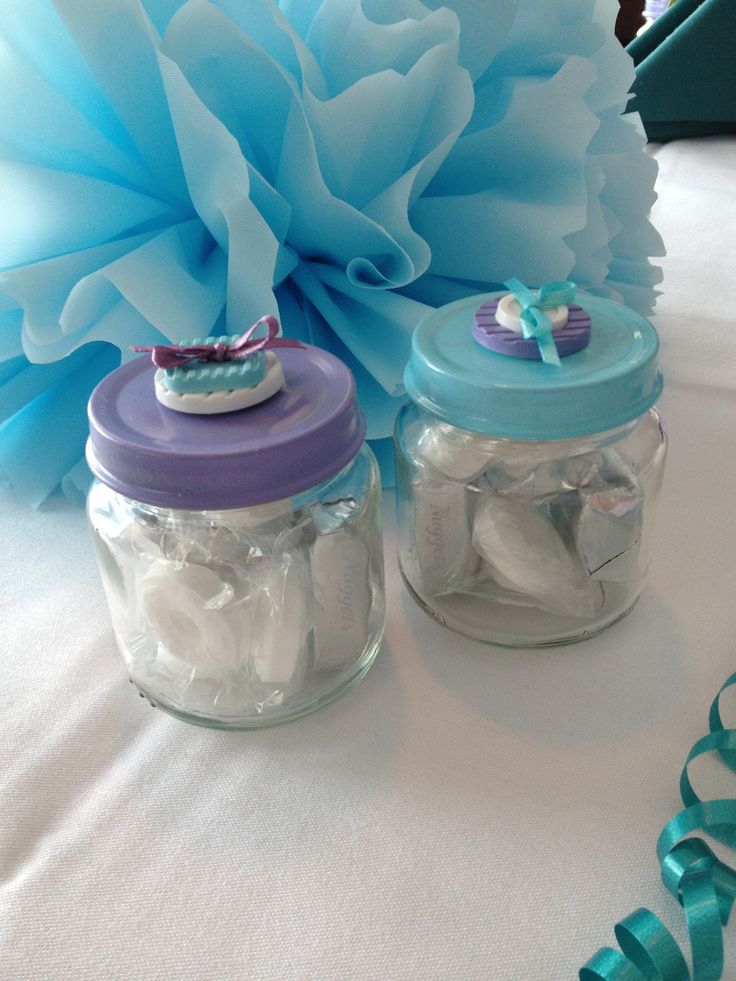
Jewelry box
Even a one and a half year old baby can cope with this game. Our Svetlanka plays it with pleasure.
So, in advance, I prepare several washed jars from under baby food wrapped with double-sided tape. Then spread on a newspaper on the table and scatter sparkles and beads on it. Svetlanka rides a jar, sparkles stick to it and you get delicious caskets. They can store sweets or buttons. Or just line up on the shelf (which we did) - it looks beautiful.
Feed the chicken
We don't eat fast food in our family, but we still cook sometimes bagged soups. They have hens and roosters painted on them. So, if cut a picture (or rather a head) of a chicken and a cockerel and stick it on cover from baby food, you get a fun game.
A hole can be made in the lid (near the bird's beak) (the size of pea), close the jar. And then take a bag of peas and feed chicken - put peas into the hole.
To help mom: sachets and onions
Svetlanka loves to help her mom in everything. Recently they did "sachet". Food jars were filled with baking soda and dripped into each with a drop of perfume or aroma oil (Svetlanka poured soda, her mother dripped perfume).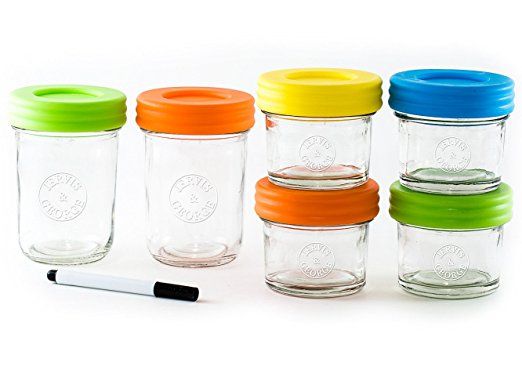 Then Svetlanka, under my mother's guidance, I closed the jars with lids (and I made holes in the lids in advance).
Svetlanka and her mother put these fragrant jars on the shelves in cupboards and now things smell very nice. And Svetlanka from time to time time checks the craft - opens the closet door and sniffs, and then closes his eyes in pleasure.
Recently, she and her mother came up with another jar fun - growing onion. Pour some water into a jar and put an onion. In the morning they check how much water the onion drank and how green feathers grew. To my mind, very educational activity for kids.
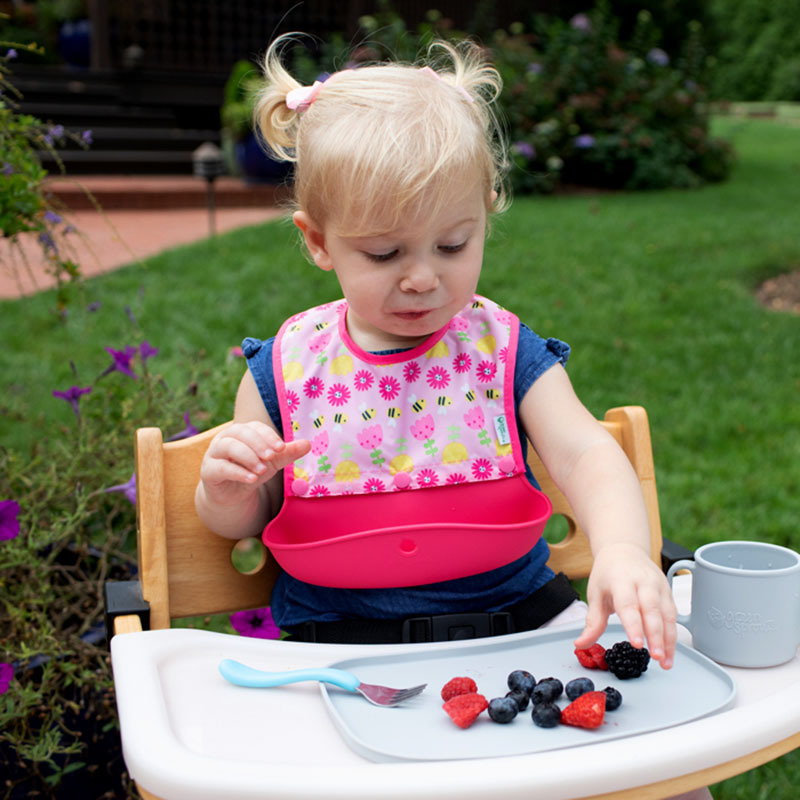
Jar Food Tips
Cooking Jar Meals
- Set aside as much as your baby can eat and heat this portion in a bain-marie or microwave.
- After heating, mix the contents of the jar thoroughly with a plastic spoon and check the temperature.
- Reheated food is not suitable for consumption.
- Store leftover puree that has not been reheated in the refrigerator for up to 24 hours.
Check glass packaging
Check glass packaging
Before jars leave production, the packaging is checked for flawlessness. This ensures that only correctly closed products are sold. To ensure that your child's nutrition is safe, the safety of the packaging should be checked upon purchase and immediately before opening.
For jars, the so-called “lid test” will help you: the middle of the lid should be concave and should not sag when pressed. Do not use jars with domed lids. Additionally, a distinct click should be heard when first opened.
Introduction of low-allergenic complementary foods for children
To introduce the low-allergenic complementary foods for children from the HiPP range, you can refer to this symbol on the label. With these products, you can gradually expand your child's diet.
Tip: HiPP meat dishes can be used to create individual set menus. To do this, simply mix the HiPP vegetables of your choice with a jar of mashed meat.