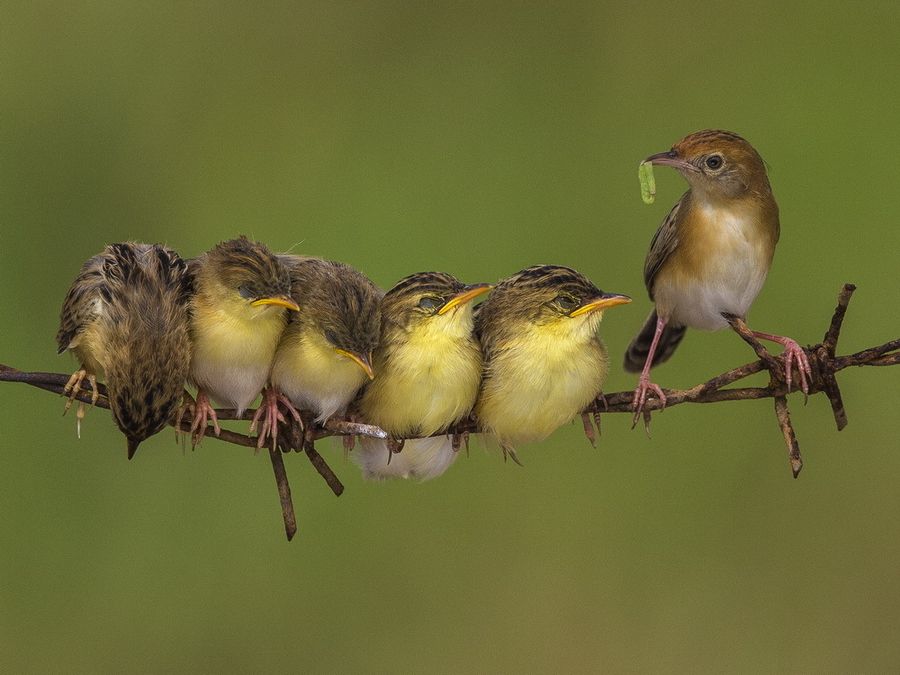
Baby lovebirds feeding
Hand Feeding Baby Lovebirds From Day 1
Hand feeding any baby Lovebird is a commitment, but hand-feeding a baby Lovebird from day 1 is a commitment, plus labor of love! Hatchling babies are very tiny, in addition to being very uncooperative.
The most important thing to consider when feeding a baby this young is timing. Parent Love birds feed their young around the clock for the first 7-10 days, and the hand feeder must also do this. Hatchlings are fed every 2 hours round the clock for the first 5 days. The schedule changes after day 5 and I will discuss this later.
The items needed for a hatchling are the same as for an older baby but there are a few other that are necessary with a day 1.
Most baby Lovebirds are taken from their parents when they are about 14 days old, so digestive bacteria and enzymes have already been established in their systems by their parents. This happens within the first 4-5 days. Hand fed hatchlings do not get this benefit from their parents, so the hand feeder has to add these items. I use Enfalyte instead of plain water because hatchlings tend to dehydrate easily. (I prefer Enfalyte to Pedialyte because it is rice based.) A small syringe gives me much better control when I'm trying to feed a very tiny baby.
Proper feeding temperature is still 106F-108F. Mom feeds at the same temperature, regardless of age. With hatchlings, feeding amount is measured in drops rather than by cc. If the very first feeding is 6-8 drops, that is a lot! This picture shows how full the crop should be for a day 1 lovebird baby. Note that the crop is full and the formula stops at the base of the throat.
Deciding when to feed a day 1 chick for the first time can be tricky. If I do an assisted hatch and choose to feed the baby myself, I wait about 6 hours before I feed. Feeding too soon can kill the chick. If the baby has been with mom and I discover she isn't feeding, enough time has usually passed were it's safe to feed immediately.
For the first couple of feedings, I use just Enfalyte or Pedialyte. This is to make sure that the digestive system is functioning before I feed anything that is harder to digest. As soon as I see that the baby has eliminated 3 separate times, I know I can begin feeding formula. As each formula is different, you will need to follow the mixing instructions on the individual packaging.
Once the baby is 5 days old, I thicken the formula so that I can extend the feedings to roughly every 3 hours. I stay on the 3 hour schedule until the baby is 2 weeks old, giving just one 4 hour break sometime between midnight and 5:00 a.m. to allow the crop to completely empty. Lovebird parents feed round the clock for roughly the first 2 weeks so I mimic their schedule. Even after the first 2 weeks, my first feeding of the day is between 5:00 a.m. and 6:00 a.m. This is also parent schedule. I allow 2 weeks for the digestive bacteria/digestive enzymes to populate the baby's system. Once the baby is 14 days old, I find that lactobacillus and papaya are no longer necessary unless I have a digestive problem with the chicks
Most important supplies: scale made for birds, O-ring syringes, Oxyfresh Cleaning Gel, bottle warmer made for human babies, a brooder that stays between 73-83 F, and Roudybush Handfeeding Formula (consistency of split pea soup to a heavy gravy served between 103-109 F with no dry, solid spots. Nothing should ever be added to the formula, and the formula should have the same thickness consistency from two weeks until weaned.)
2 weeks old:
5 feedings every 4 hours (8:00am, 12:00pm, 4:00pm, 8:00pm, 12:00am.) Many other breeders only feed 4 times every 4 hours the first week, but we do not want the babies crying for food in the middle of the night. Just like human babies, there are small babies (Pixy!) and there are large babies (her brother Jelly Bean!), so the amount of food is going to vary around 3.5-4.5 cc’s. Tamara and I do not say, “Ok baby, you have had 4 ccs, your full!” No, we fill up the babies until their crops resemble a full balloon or when they simply do not want anymore.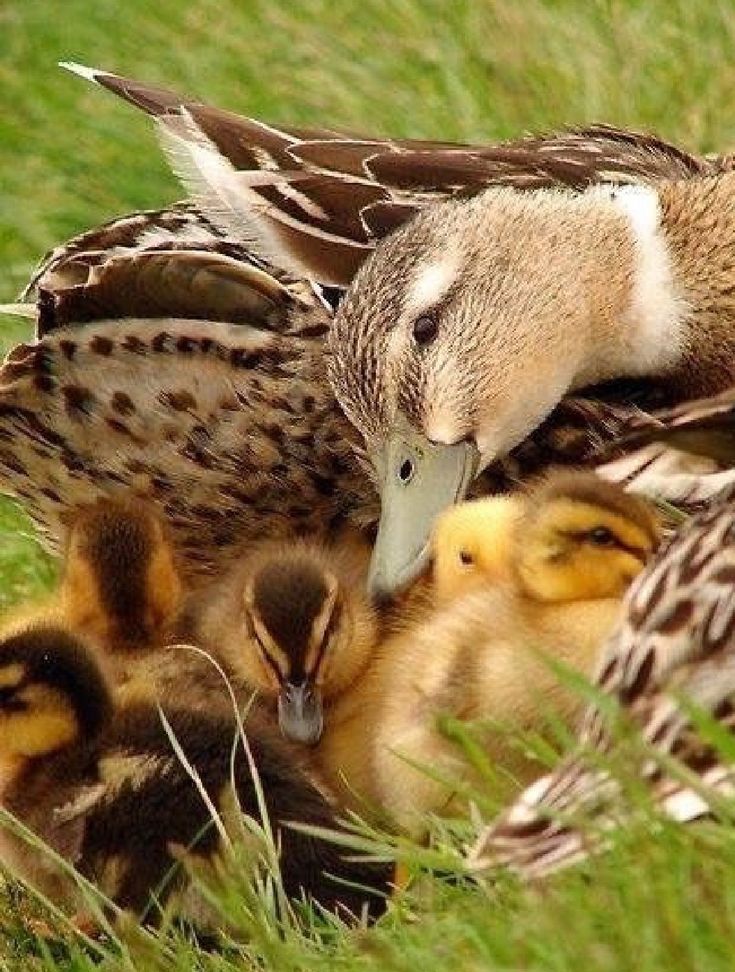 Feed the babies all at once; competition is your greatest ally. Well-socialization goal: babies should recognize you, have a wonderful feeding response, and have names.
3 weeks old:
4 feedings every 4 hours (8:00am, 12:00pm, 4:00pm, 8:00pm.) Just fill those crops until they look and feel like a full balloon. At 3.5 weeks old, the babies will start to chew on their bedding. This is the time to introduce “big bird” food. Fresh, chewy Avicakes are the perfect introduction to solid food. Avicakes are highly nutritious unlike seed or millet. After babies are fed baby food, place a very small crumb into their mouths. This works great as a birdie pacifier also. We never feed them mashed-up or soft foods for weaning. Starting them on what they will eat as adults is best. After they are eating “big bird” food, we introduce small foot toys and toys they can shred. Well-socialization goal: babies try “big bird” food, recognize your voice, and step-up on your palm to be fed.
4 weeks old:
3 feedings every 6 hours (8:00am, 2:00pm, 8:00pm. ) We never drop their feedings to three until we know they are eating the Avicakes on a regular basis. This is the time when we introduce crushed-up Nutri-Berries and a small pellet like Roudybush Crumble. Depending on the size of the baby, they should be receiving around 6 ccs at this point. Once again, feel the crop and if the babies refuse, do not force them to eat. After we feed them baby food, we place them over the solid food bowl. This is the time we introduce a small dish of water also. Well-socialization goal: babies play with toys, eating adult food on a regular basis, and cry out not only for baby food, but for attention also. Some of the older babies at this point have a natural protective instinct of their siblings and territory, so to dilute this trait we lay down on the floor, cuddle, play with them with their toys, and feed them adult food by hand after each feeding. When they have fallen asleep, we place them back into the brooder.
5 weeks old:
2 feedings every 12 hours (8:00am and 8:00pm or 6:00pm if some of the babies are screaming.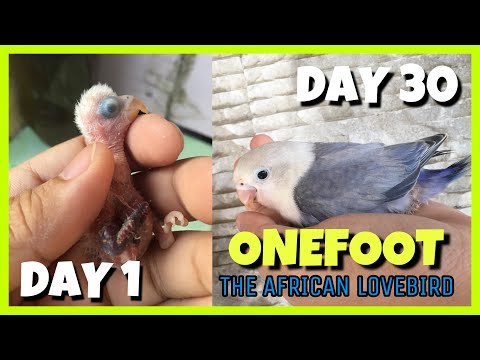 ) At 5.5 weeks of age the babies will start to fly. There first flight is always to us. This is always a true sign that your babies see you more than just the ones who feed you. It is a sign that they love you. This is one of the most awesome milestones for baby’s socialization. This is also the week we introduce seed, because as the babies wean they need that extra burst of energy that the fat in seed has in storage. The fat also fills them up more and helps them strive between feedings. Concerning feedings, some babies at this age take well over 8 ccs of baby food. When we reach 1 feeding per day, they can receive up to as much as 10 ccs.
6 weeks old:
1 feeding per day at 6:00pm or 8:00pm (babies can feed from 7-10 ccs at this point.) If we have a large clutch, 4 or more babies, the prodigies will normally wean during this week.
7 weeks old:
A baby should wean at anytime now. If they do not cry for their evening feeding, then do not give it to them.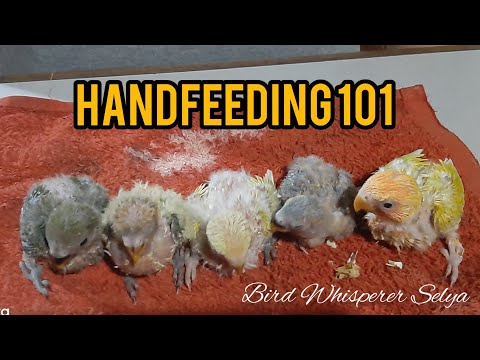 At 7 weeks, we introduce cooked foods, fruits, sprouts, and veggies. The babies will see the adults eating the food and will follow their lead.
They should be fully weaned by 8 weeks.
See Lovebird Growth Picture Days 1 to Days 35
HOW TO HANDFED A BABY LOVEBIRD
The step by step guide from start to finish.
Hand feeding a baby lovebird it is not difficult if you know the exact method and procedure. This guide will help you step-by-step hand feed your baby lovebird and get through the weaning process. All the techniques and procedure demonstrated in this book are 100% based on the experience of the author practicing the hand feeding process in all his Lovebirds. Why hand feeding a baby lovebird? There is a lot of myths and believes in hand feeding a baby lovebird. Some people believe that by hand feeding the baby lovebird the lovebird will become more attached to its owner. In most cases this is true the lovebird becomes less afraid and more calm around it’s over. The way this works is because by hand feeding the lovebirds since he is little he looks at you as if you were its parents. These is what most people like about it, they want to be able to have a tame lovebird without having to go through the process of taming a wild bird. When the birds are feed by their parents naturally, normally they don’t allow humans to get around it because they get really scare.
That’s why when you grab a lovebird that is not hand fed naturally is going to bite you because he’s trying to defend itself from you because he feels scare. The advantage of hand feeding your baby bird is that when he grows he won’t not harm you or try to defend itself against you because it has a imprinted image of the human presence on them.
DIFERENCE BETWING HANDFEED LOVEBIRDS & TRAIN LOVEBIRDS
A lot of people tend to confuse hand feeding and training. When you hand feed your baby lovebird what you are doing is that you are taking the parental role in the lovebird life.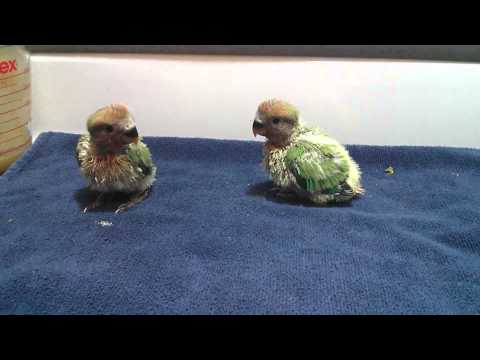 What these do is that the bird will not be scare of you and he will not bite you. And training a bird it is something different when you see in the YouTube videos and you see in the Internet how birds getting on people’s fingers that is a train bird a hand feed lovebird likely will not go on your finger naturally unless you train it to do that. With these said if you want your bird to learn tricks and to do different maneuvers it has to be trained.
Which is a lot easier to train a hand feed lovebird and not a wild lovebird. A wild lovebird also can be trained but is a lot harder to train them if is not while is a lot easier to go through the process if it was hand fed. It is still a good idea to hand feed your baby
lovebird so once he gets bigger it becomes a lot easier to train your bird. Now keep in mind that even if you hand feed your lovebird sometimes the baby lovebird will still be scare when you going to grab it. That is because not every bird becomes automatically attached to the person that feeds it. Sometimes the lovebird would try to run away from you when you try to reach for him that’s why is important to train the bird after is hand feed. In these guide we will teach you the basics on how to start hand feeding your lovebird and how to complete the weaning process of your baby lovebird.
WHY HANDFEED A BABY LOVEBIRD
Beside all the benefits that hand feeding a baby lovebird can bring you to bond with the baby lovebird and to train him in the future a lot of times you will have to start hand feeding your baby lovebird because you have no other option. For example sometimes the parents love
birds do not feed their babies as they should. Some other times the parents tend to attack the baby lovebird and eat all their feathers. This is very common in lovebird’s behavior. To protect the baby lovebird you have to pull it out from its parents and start hand feeding it yourself. That’s why so important to know how to hand feed it, went to hand feed it, and when to start the weaning process, knowing all the steps can save your little baby lovebird life.
WHEN TO START HANDFEEDING A BABY LOVEBIRD
It is important that you leave your baby lovebird with it parents for at least 15 to 20 days. These will leave enough time for the birds to become healthy and ready to start handling it. Even if by any chance you run into a bad situation like the one shown above that you had to pull it out of the nest because it was being mistreated by its parents, then don’t worry you can still work with it and save its life. But normally the ideal will be to start hand feeding it after 15 to 20 days from being with its parents.
HOW TO HANDFEED A BABY LOVEBIRD & WHAT CONTAINERS AND MATERIALS TO USE
When it comes to start the hand feeding process there is a lot of things that you need to keep in mind while this is happening. You have to keep in mind the right temperature; you need to have inconsideration all the time the hygiene of your baby lovebird. It is very important that you keep your baby lovebird in a clean environment at all times. A baby lovebird is very vulnerable to bacteria’s. Always be very gentle when grabbing and moving him from place to place, (always handle with care) and make sure your hands are always clean before touching the baby lovebird. Also is very important to use the proper containers to keep your baby lovebird confortable and worm. For this you can use a simple plastic basket or a
Copa Babys, the basket can be use when the baby birds are still small and does not have all his feathers yet at the moment. And the Copas is more essential when your baby lovebird has all his feathers out completely and is starting to fly around. Another important detail is what type of bedding you are going to use to make your baby lovebird feel comfy in his basket. There are two good options to use one is Pine niddles and the other one is Softwood. There is a big difference betwing this two in textures and smell, also in its benefits. The pine niddles have good natural smell and also they come with a natural wax that repels insects, this will help you keep your baby lovebird insect free all the time.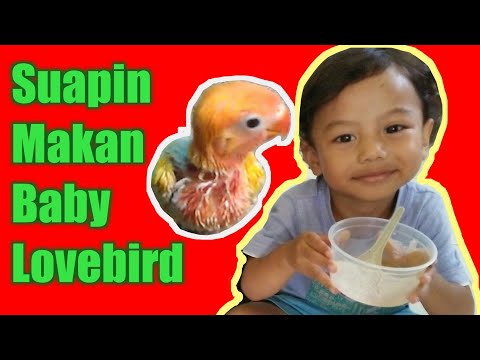 In the other hand the Softwood is more soft but it can smell really bad really fast and it holds the insects and bacteria’s in case of any.
Also it is good to keep a light on top of the baby lovebirds when they are still getting all its feathers. That way you help them stay worm. The light can be place about a feet and half high from the bay lovebird. And please do not use a heat lamp that is way too hot, just use a regular light bulb.
KNOW HOw TO USE THE FEEDING SYRRANGE
Sometimes you will find that your baby lovebird is easy-going when he comes into opening its beak, some of them are in a rush to eat and they will cooperate with you in the feeding process. But you will find some baby lovebirds that do not want to open their mouth no matter what, that’s why it is good to know the right technique to open its beak without hurting him you will find a video below that will show you the proper way to open its beak when you find yourself with a stubborn lovebird.
When you find yourself in a situation that your baby lovebird needs to eat but it doesn’t seem to want to collaborate opening its mouth, you can always use the technique shown in the video.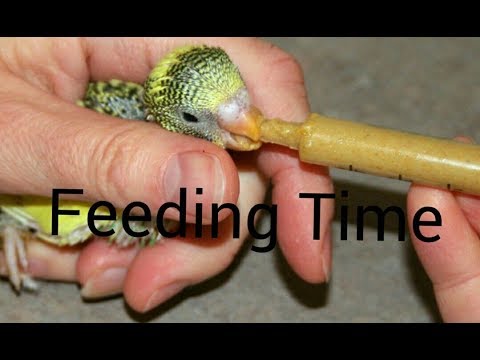 You have to place the syringe under the upper beck of your baby lovebird and pull backwards and as soon as you see that they open a little bit the beck you have to introduce the syringe inside. Now keep in mind that you can only place the tube on the right side of your baby lovebird and that will be the left side for you. If you introduce the syringe on the left side of the baby lovebird with is the right side of you the food will go straight to the longs and the baby lovebird can suffocate. To prevent a bad situation like that it is very important that you pay attention to these steps.
WHAT TYPE OF FOOD IS USE TO HANDFEED THE BABY LOVEBIRD?
A lot of people ask themselves what is the best food that they can use with their baby lovebird. In my personal experience we always use Exact hand feeding formula. There is two type of exact hand feeding formula out there, the one that we have always use here at Tampa
lovebird’s is the Omega 3 mix. This formula has all the ingredients needed for the growth and health of your baby lovebird in my personal opinion it is one of the best formulas in the market at this moment.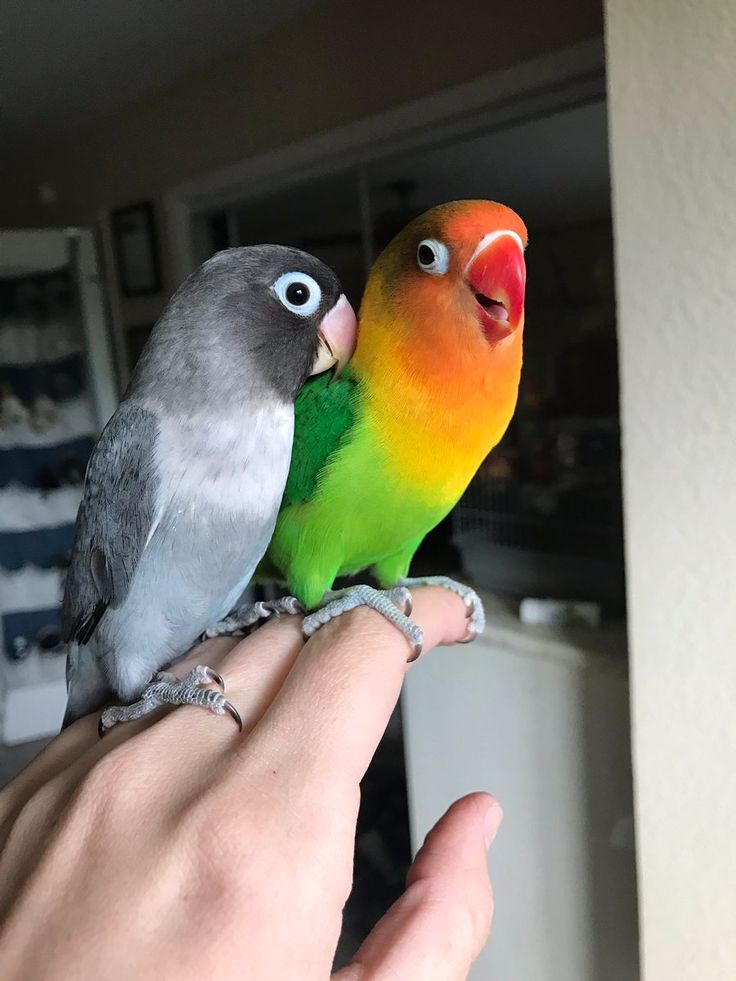 You can purchase this formula at any of your local pet shops or you can find it online.
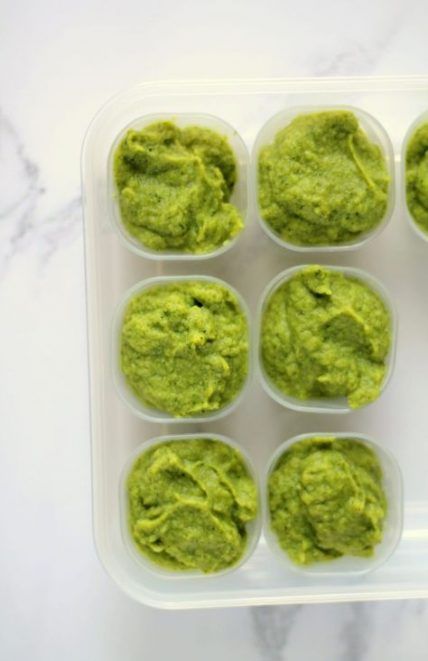
HOW TO PREPARE THE FORMULA & WHAT TOOLS ARE NEEDED?
When it comes to preparing the formula of your baby lovebird you need to keep in mind a couple of things. Number one is that the formula cannot be too watery or too thick it needs to be in a constant level that will be easy for your lovebird to digest. The amount of formula that you will use that depends on the amount of birds that you will be hand feeding. Number two keep in mind the right temperature of the formula, do not make the mistake that most people do of warming up the formula in the microwave.
This is very important these is one of the most crucial mistakes you can do so keep in mind the right temperature never forget that is from 106°F to 108°F. If you feed the formula too high you will burn the inside of your baby lovebird and it will die. If you feed the formula to cold your baby lovebird will not be able to digest the food and it can die also.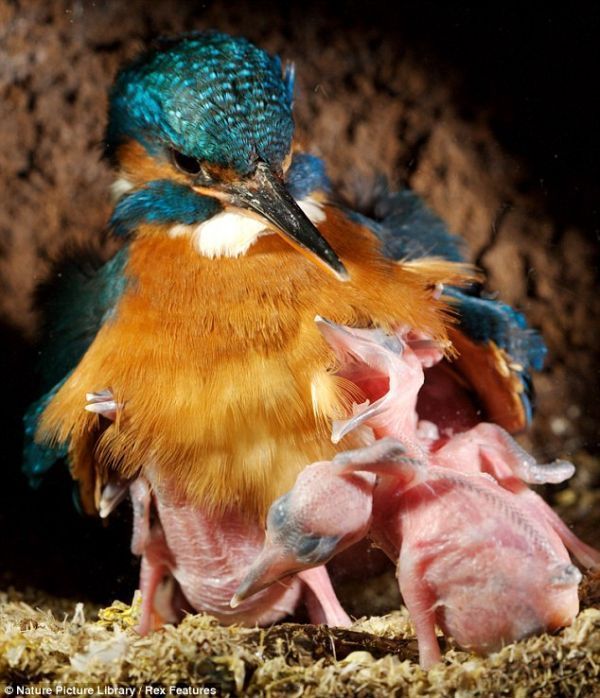 Once you have monitor the temperature of the formula and the thickness of the formula and everything is ready to start feeding it to the baby lovebird, you will need your feeding instrument. There is two ways that you can feed your baby lovebird one is by syringe and two you can do the spoon feeding. Any of those two methods work fine, as spoon feeding takes longer because you will actually let the
bird eat the food more slowly; this method is used a lot when you only have one or two baby lovebirds to feed. That means that you can dedicate more time to the feeding process. The method that I use personally myself because is faster is syringe feeding. In the syringe feeding there are to different ways to feed. One is by tube feeding them and two is by using this syringe but letting them swallow the food slowly. No matter what method you decide to use if you use the spoon feeding or the syringe feeding you always feed the same amount of formula to each bird. Once you finish feeding the baby lovebirds, you have to throw away whatever formula you have left from that meal.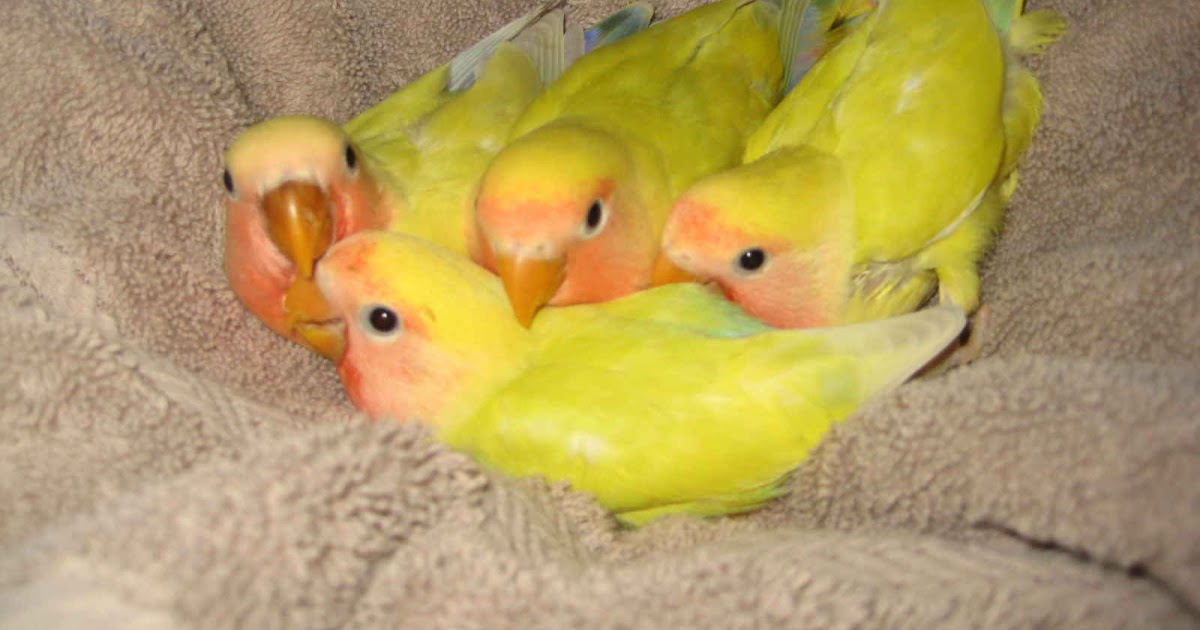 Some people are tempted to save the formula left over in the refrigerator and just reheat it the next day and that is a big mistake. The reason why is because the formula becomes like a rock and then it will be very hard for the baby bird to digest it and it can die. The other reason is because it accumulates bacteria very easy and fast so the
most practical and save thing to do is to toss way whatever you have left do not save it. The best way that you can save formula is by only making the exact amount that you will need for each meal only.
HOW MANY MEALS A DAY & AND HOW MUCH IS FEED ON EACH MEAL WHEN HANDFEEDING A BABY LOVEBIRD?
A baby lovebird should be feed from 3 to 4 times a day, if you are a person that works too much and you can only feed it 3 times a day that is fine as long as you follow the same schedule every single day. A baby lovebird is like a little kid the more on-time you keep its meals the faster it will develop and grow. Feeding a baby lovebird four times a day accelerates the growing process but unfortunately not everybody has time to feed four times a day.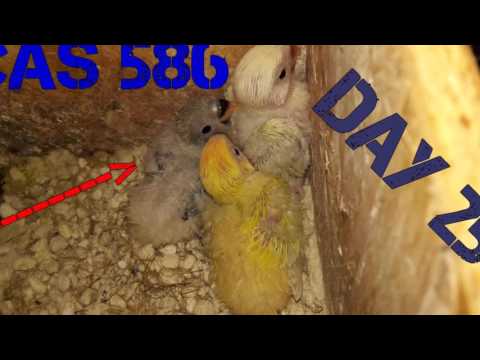 In each one of these meals you should feed your baby lovebird’s 5CC of formula on each meal. If the baby lovebird seems to always want more food you can always give them a little bit more like one more CC on each meal but don’t overfeed him because it can hurt the digestion of the food. The perfect schedule for feeding your baby lovebird is every eight hours. For example one meal in the morning one meal in the afternoon another meal in the evening, and if you have time one last meal before you go to sleep. That last meal can accelerate the process a lot.
WHEN TO START WEANING YOUR BABY LOVEBIRD?
In most cases your baby lovebird will start rejecting the formula or syringed from 4 to 5 weeks old. When these behavior starts to take place it is very important that you follow the next steps. Always keep them fresh spray millet it around them in their cage so they can start peeking on the Millet and start to learn to eat on their own. Along with these keeping mine that once you see that they start peeking on the Millet you have to supply them water also.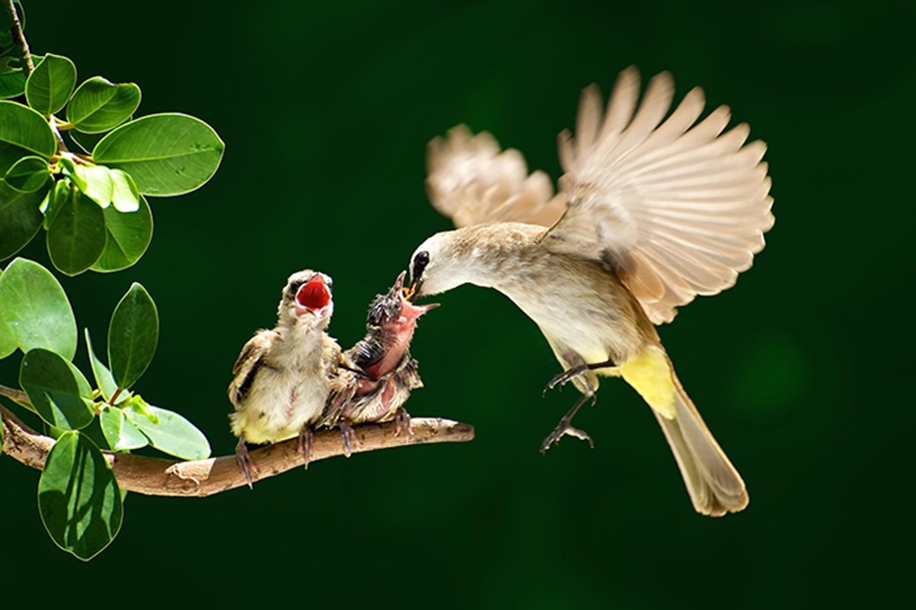 The water is necessary so they can start digesting the seeds, always keep an eye on the Millet or the seeds to see how much are they eating and before you feed them in each meal feel their crop to see if they have seeds or if they are empty. This way you can monitor the weaning process and start reducing the amount of formula that you give them on each meal, the last thing you want to do is overfeed them too much formula on top of seeds. These can be very deadly for them. Normally after five weeks old that will be eating completely on their own and you will not have to hand feed them again.
HOW TO KEEP YOUR BABY LOVEBIRD TAME
Keep in mind that to maintain your baby lovebird tame you have to follow these procedures. There is a difference between peachface lovebirds and fisher lovebirds. And that difference is that if you have a peach face lovebird the peace face lovebird tends to stay calm and tame for long periods of time even if the owner has not interact with it. In the other hand the peachface lovebird it’s known to be calm while the fisher lovebird if it doesn’t maintains
a consistent relationship and interaction with its owner, In some cases we have noticed that in just one month of its owner not interacting with its lovebird the lovebirds have shown aggressive behavior against its owner. To avoid this issue it is very important that its owner maintains physical activity with its birds at least once a day or twice a week or else the lovebird can start becoming more dependable on its own and show aggressive behavior.
I hope all the information in this book was helpful to you and provides value to your actual breeding or future breeding and hand feeding of your lovebirds please know that you count with our assistant for any questions that you have or any doubts don’t hesitate feel free to contact us here at Tampa lovebirds we are here to serve you help you and do our best by showing you that we care and we are here for you even if you have mot bought a lovebird from us or not you can still count with our help guidance and suggestions, making sure you have a successful hand feeding process with all of your baby lovebirds share this book with all your friends and family that are going to the same process and feel free to contact us www. Tampa–lovebirds.com or call on us or text us at 8135981207.
Lovebird chicks
Lovebird chicks, housing conditions
Sometimes situations arise when very young lovebird chicks, unable to feed themselves, remain orphans. Such an outcome is possible in the event of the death of an adult lovebird or if he simply stops feeding the chicks and begins to lay eggs again. If time does not intervene, the chicks will simply die. The ideal course of action in this situation is to transfer the cubs to another nest of lovebirds that have chicks of about the same age. But if there are none, you need to do their artificial feeding.
Raising fledgling lovebirds is a rather complicated and time-consuming process, the result of which directly depends on the correctness of the actions performed. Since immediately after birth, the chick's body is not able to secrete a sufficient amount of enzymes, the food it absorbs is not absorbed, only filling and clogging the stomach, which leads to its death.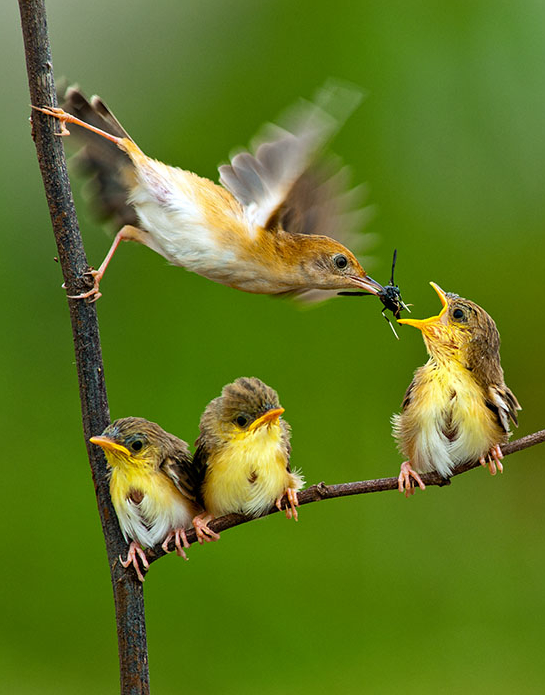 When an adult parrot feeds its cub, it passes on the missing amount of enzymes to it, which contributes to the normal digestive process. Only two weeks after birth, the lovebird can be safely fed gruel, without worrying that the intestines may not digest it.
Not yet feathered parrots require not only constant feeding, but also additional heating, which can be achieved by using a home-assembled thermostat. To do this, take a three- or five-liter container filled with water, which is heated using a boiler. A vessel with hot water, placed in a box, must be covered with hay or cloth, put the chicks on top. In order to avoid rapid heat loss, a box with holes made for ventilation, having a diameter of about 10 millimeters and located near the nest bed itself, is covered with a pillow.
Depending on the age of the lovebird chicks, the maintained temperature should be gradually reduced, after they have feathered, there is no need for additional heating. So, for a chick on the 10th day of life, a temperature of about 30 ° C is acceptable, and at the age of 15–20 days - 20–25 ° C. It should be borne in mind that a sharp temperature drop can have a detrimental effect on the fledgling lovebird.
Do not think that after covering the chick's body with feathers, all problems will instantly disappear. After all, if a fledgling lovebird, when a feeling of hunger arises, immediately begins to squeak and voluntarily takes food, then a slightly grown up chick refuses to eat, so initially it has to be force-fed the lovebirds. It must also be remembered that the air temperature for the normal existence of a fledgling chick should be 18–20 ° C.
Artificial feeding of lovebird chicks can be conditionally divided into three stages:
1 ) immediately after birth, it is necessary to cook semi-liquid porridge with milk from semolina or millet, to which add a little fish oil and sugar;
2 ) after the lovebird chicks learn to sit on their fingers, the porridge cooked for them should be thick;
3 ) after waiting for the first flapping of the wings, the parrots are gradually accustomed to grain feed.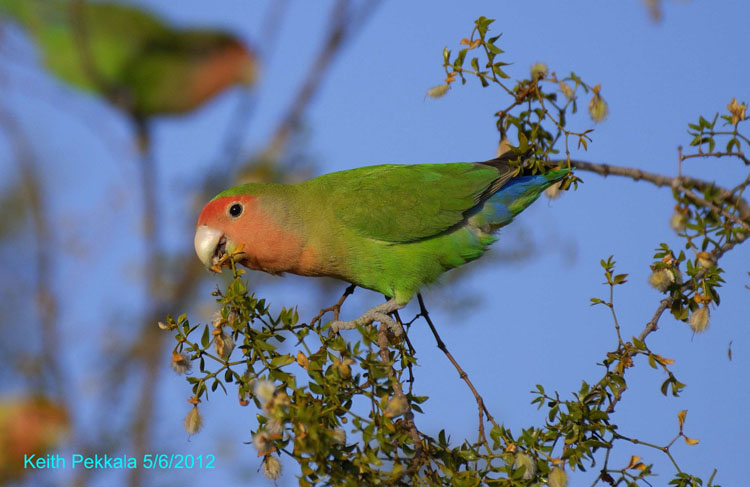 To do this, dry food grains are placed in the feeder along with the porridge, which can be soaked in water for the first time.
Parrots also need vitamins and minerals for normal growth and skeletal development, so vegetable or fruit juice and powdered mineral food shells should be added to the porridge.
By following this schedule, the chick will gradually learn to feed exclusively on a grain mix. Until the parrot has learned to eat on its own, water is given to it only on hot sunny days, when it becomes independent, the constant presence of fresh water in the drinker is a prerequisite.
Unfortunately, artificially fed parrots become frail, so they need careful care.
Lovebird chicks: features of caring for babies
Read in this article
Lovebirds are called little parrots who choose their soul mate once and for life. These are quite unpretentious birds in keeping, but if adults or lovebird chicks receive the wrong care, this can cause their illness and even death.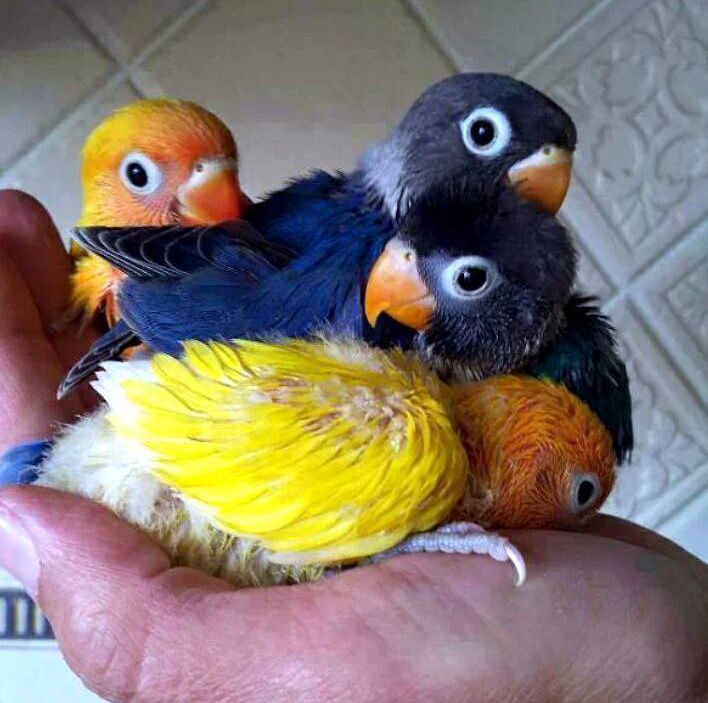
If you are serious about breeding lovebirds, you should first of all take care of having a spacious cage so that the birds can fly. The ideal place for nesting is the top of the bird house. The best periods for incubation and breeding are May and September. The diet of future parents should be complete, that is, in addition to the main grain feed, it should include a large amount of various greens.
Complete mutual understanding and harmony should reign in a couple. If this is not observed, then the partners should be separated for a while. Having missed each other, they will begin to get along. But if this does not help improve relations, then one of the birds will have to be replaced. The optimal age of candidates for parents is from 1 to 4 years. Crossbreeding of close relatives is unacceptable!
Nesting parameters are as follows: height - about 22 cm, length and width - 17 cm each, diameter of the notch - 6 cm. Ideally, the bottom of the nest should have a recess, so that the eggs will not roll out, and the lid should be made folding for convenience cleaning.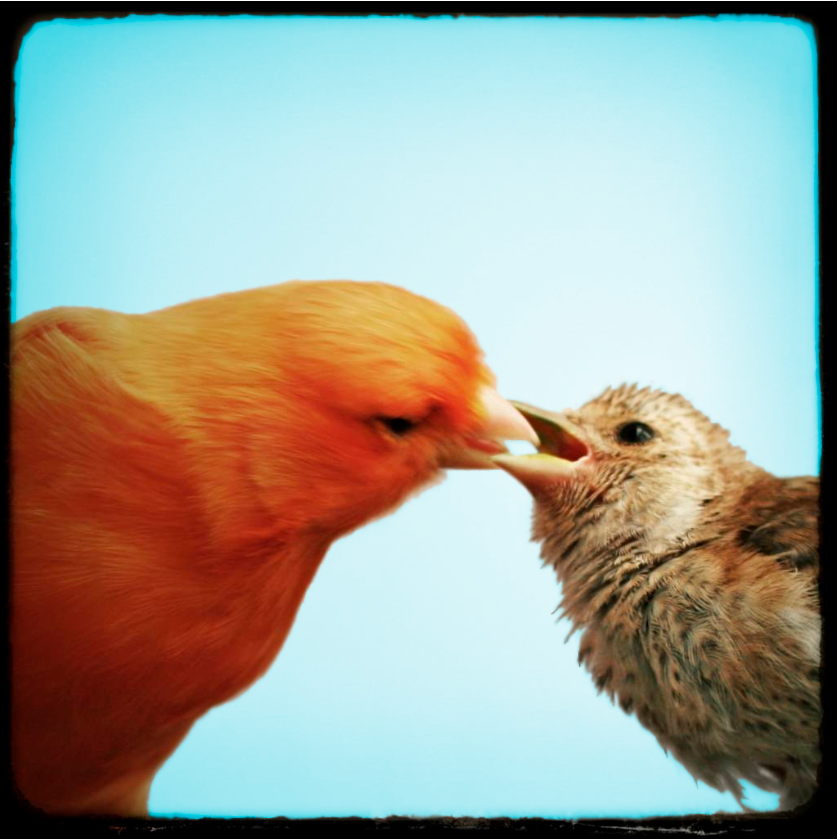 Sawdust is poured into the nest, but you can give the female the opportunity to independently arrange a place for incubation by placing a bunch of the thinnest branches of deciduous trees in the cage. Place a perch under the nest.
Incubation of eggs is a very responsible period
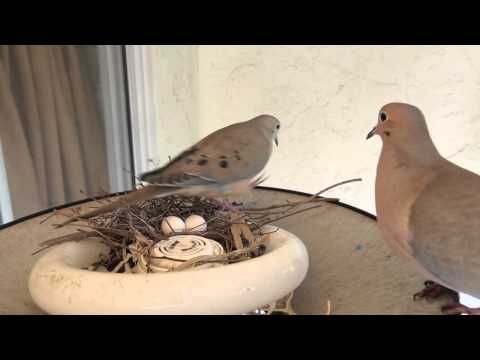
Having laid 4 to 6 white eggs in the nest, the female parrot incubates them for about 3 weeks (plus or minus 2 days depending on air parameters). The bird not only warms the future offspring with its body, but also turns the eggs twice a day and moves them around the nest (from the middle to the edge and vice versa), which ensures their uniform heating. During this period, the female rarely leaves the nest, and even then only out of urgent need (to eat and stretch).
Owners of lovebirds should not disturb the birds, much less touch the eggs. Feeding pets, cleaning the cage and monitoring the nesting should be done very carefully and silently. Sudden changes in air temperature are unacceptable, the optimal mode should be 18-20 ° C.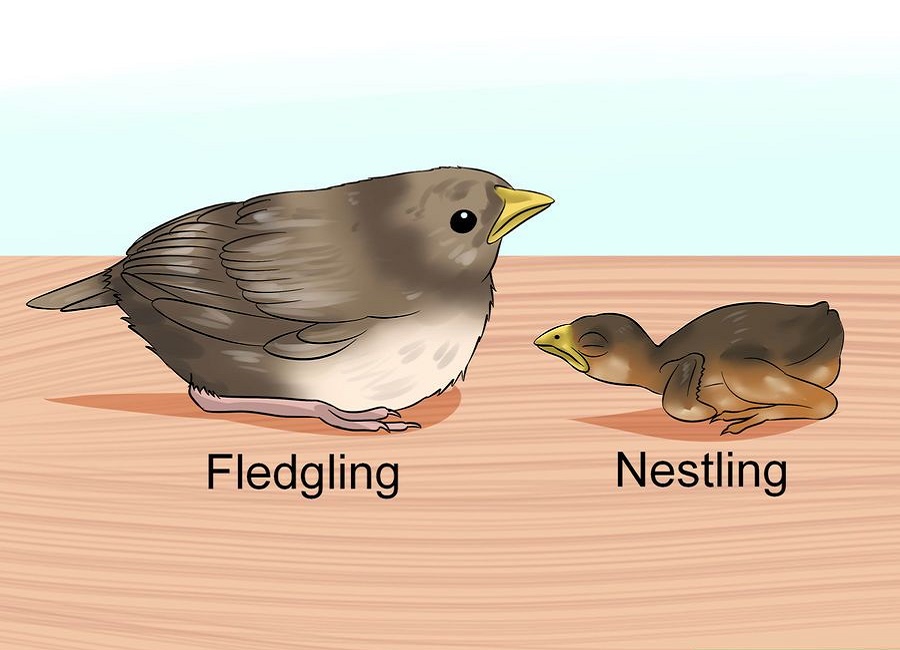 Even more scrupulous should be treated to comply with the norms of humidity. Moisture deficiency is fraught with the occurrence of pathologies of the embryos, and in extreme cases, their fading, especially in the first week of incubation. And excessively high humidity poses a threat to the viability of the embryo, mainly at the 3rd week of development. Excess moisture in the egg leads to the fact that the embryo swallows it more than required, due to which the liquid blocks the airways. As a result of this, lovebird chicks often die. Optimal for the full formation of the embryo is considered to be air humidity in the range of 50-60%.
The owners will also have to monitor good air circulation in the nest, since insufficient oxygen, excess carbon dioxide and the presence of toxic gases in its composition can also adversely affect the development of the chick.
7 days after the female sits on the nest, it will already be possible to check whether the eggs are fertilized or not.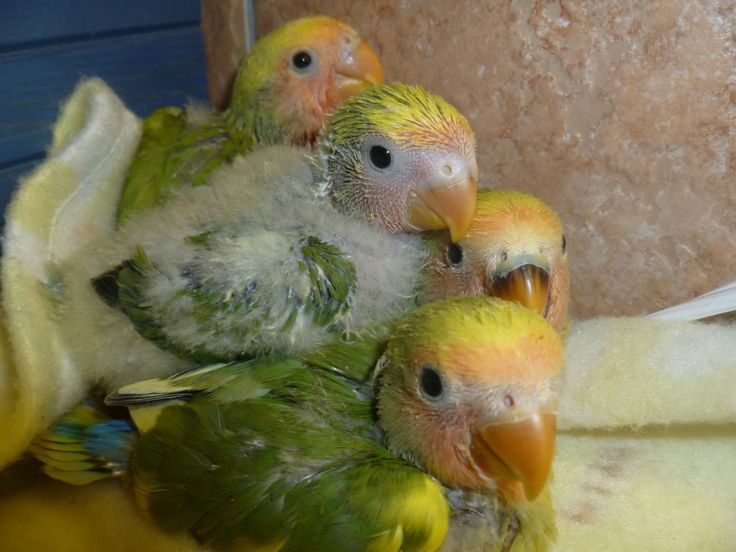 If everything is in order, then the egg has a matte surface that has a grayish-white tint. If the result is negative, the shell is shiny and yellowish in color (evenly or in spots). Bringing an unfertilized egg to a light source, you can see the dark branched veins. With a large number of eggs, “blank” specimens can be removed, and with a small number, it is better to leave them all.
It occasionally happens that there is not a single fertilized egg in the nest. No need to rush to throw them away right away. It is better to give the female the opportunity to sit out the prescribed three weeks so that she does not lose her rhythm. If possible, "empty" eggs should be replaced with several full-fledged specimens from the nest of another pair of lovebirds. The "stepmother" will not resist her new role, she simply will not notice the change. Since this type of parrot belongs to flocking birds, ideally several females should be planted on the nests at the same time, while they should be in plain sight of each other - in cages located next door.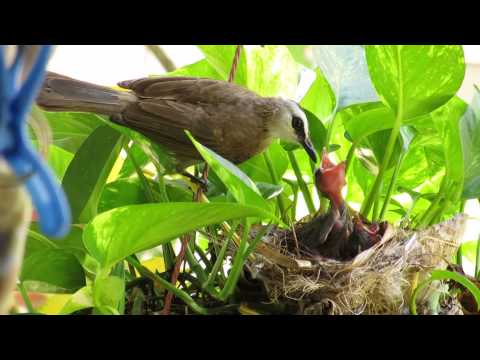
Feeding lovebird chicks
The hatched chicks are completely helpless. Their body is almost naked with a small amount of fluff, eyes and ear canals are closed. A few hours after birth, the female begins to feed them with goiter milk, and after a few days she transfers the cubs to incompletely digested food. The feathered father feeds his "half" from his beak, and a little later he takes on part of the responsibility for feeding offspring. Owners who do not know how to care for lovebird chicks at this stage should pay more attention to their feeding and nest hygiene. Finely chopped boiled chicken egg, millet porridge (it is important that the grains are whole, not overcooked), germinated oats, wheat and millet should be added to bird food.
If, for unknown reasons, the female does not take care of the babies, then they should be moved to the nest with another female. The "careless mother" is transferred to the abode of chicks that have reached 5 days of age. They, making a sonorous and persistent squeak, will be able to awaken the maternal instinct in the bird. The feeding period for small parrots is about 50 days.
By the tenth day, the eyes of the chicks are already fully open, and by the age of one month, the thin fluff is replaced by a full-fledged “adult” plumage. On about the 38th day, young parrots leave the nest, but for about 15 more days they receive food from their parents, as they are still learning to find food and peck.
Those who plan to breed these birds should take into account that in captivity they may not be able to reproduce, or the parental instinct of the couple will not be sufficiently pronounced.
If the lovebird chicks hatch in large numbers, they will quickly fill the nest with waste products. Therefore, you should take care in advance about the availability of a spare nest, so that if necessary, replace it with a dirty one, which should immediately be subjected to cleaning, disinfection and high-quality drying.