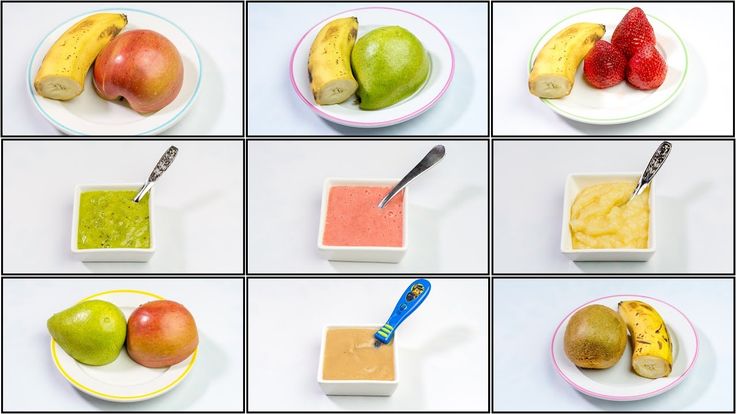
Canning homemade baby food recipes
Canning Homemade Baby Food - Learn about canning homemade baby food and if it is safe to can homemade baby food
Is canning homemade baby food safe?
Is it possible to can baby food, using a pressure or water bath canning method?
As growing seasons begin to come to a close and the home garden harvest is almost finished, many parents wonder what the process would be for canning homemade baby food. What, if any, advantages canning baby food would have over the “traditional” freezer/ice cube tray method of storing homemade baby food. Home canning of baby foods is not recommended.
Why not can homemade baby food?
Home Canned Foods Have a Higher Risk of Botulism – With infant botulism being a high risk, indeed botulism is a high risk with any home canned foods, I would not recommend canning any foods that you will serve to your baby. Botulism spores thrive in anaerobic conditions such as those found in home canned foods. Many people are not aware that certain bacteria and other harmful “contaminants” prefer low acidity and do not need air to thrive and grow; they grow best anaerobically. To avoid the risk of your baby contracting botulism, do not home can baby foods.
Kansas State University notes that “Garden produce may contain soil borne C. botulinum spores at the time of harvest. These spores are inactive. Spores can become vegetative and produce deadly toxins under the right conditions. Those conditions of high moisture, no oxygen, low-acidity (pH over 4.6), and room temperature may be present in improperly canned green beans, corn, peas or other low-acid products. Low-acid foods require high temperature processing using a pressure canner if they are to be canned and safe to eat. Pressure canning is necessary to achieve a high enough temperature to destroy heat resistant spores before they can become vegetative. (Refer to Extension publication Preserving Vegetables, MF-1181, for more information on home canning of vegetables).”
Canned Foods Should Be Boiled Prior to Consumption – For safety, it is always recommended that you boil home canned foods for a minimum of 10 minutes prior to eating those foods.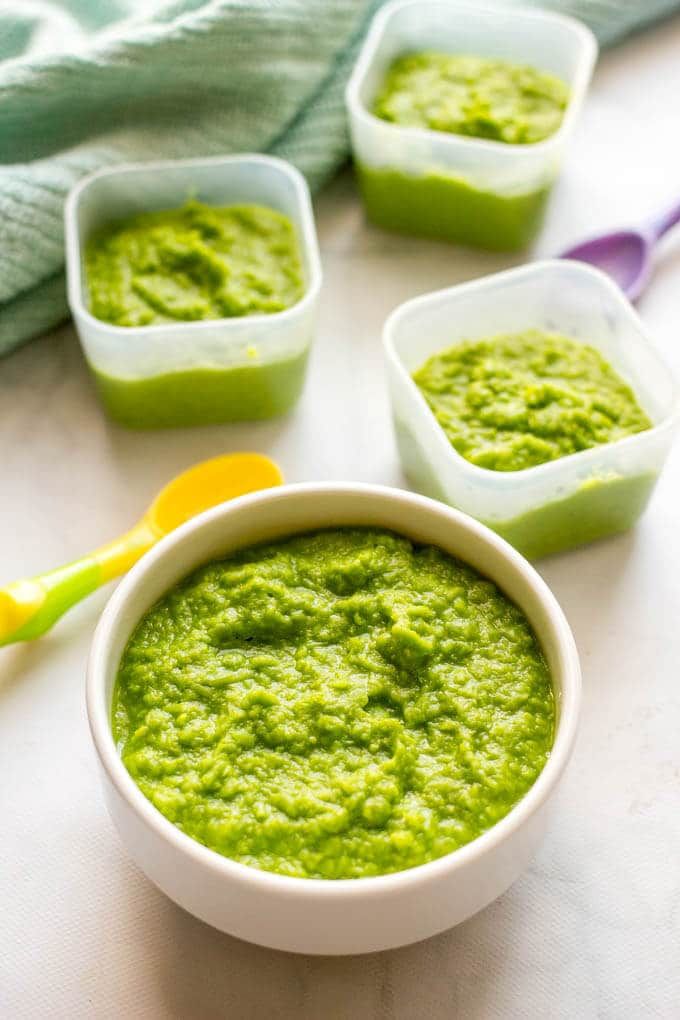 This additional step of boiling leads to a further reduction in available nutrients.
If I choose to can baby food, what are the best foods to can?
The best food candidates for home canning are foods that are high in acid. A high acidity helps to ensure that possible bacterial and other contaminants do not thrive and multiply.
The boiling water or water bath method of canning is best for high acid foods such as fruits and tomatoes. Some agricultural resources even caution against canning tomatoes using the water method. Tomatoes have undergone an evolution whereby many varietals are not as highly acidic as they once were. “Although tomatoes used to be considered an acidic food, some are now known to have pH values slightly above 4.6, which means they are low acid. To safely can them as acidic foods in a boiling water canner, you must add lemon juice or citric acid.”
According to the USDA (United States Dept. of Agriculture), “you may prepare any chunk-style or pureed fruit with or without sugar, using the procedure for preparing each fruit.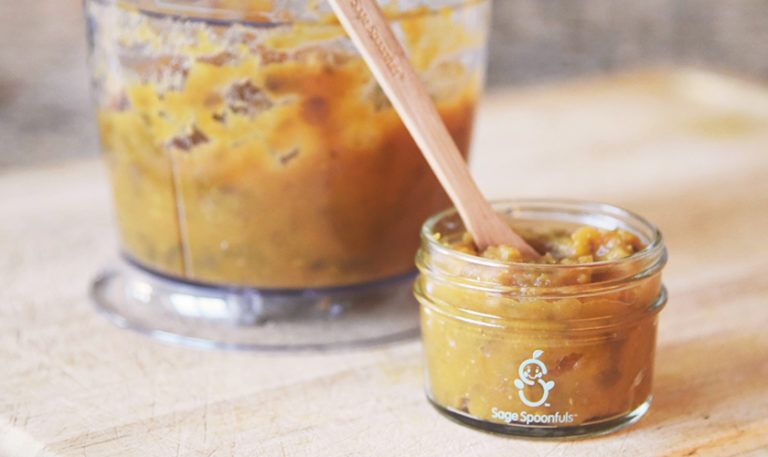 Pack in half-pint, preferably, or pint jars and refer to the processing times.”
Caution: Do not attempt to can vegetables, red meats, or poultry meats, because proper processing times for pureed foods have not been determined for home use. Instead, can and store these foods using the standard processing procedures; puree or blend them at serving time. Heat the blended foods to boiling, simmer for 10 minutes, cool, and serve. Store unused portions in the refrigerator and use within 2 days for best quality. USDA Agriculture Information Bulletin No. 539″
Follow these additional recommendations for safe home canning:
Home canning should follow strict hygienic recommendations to reduce risks.
Use a pressure canner. Botulism spores can only be killed by the high heat which can be obtained in a pressure canner. The toxin (that is produced in anaerobic conditions) can only be destroyed by boiling. Botulism & Canning from Ohio State Univ.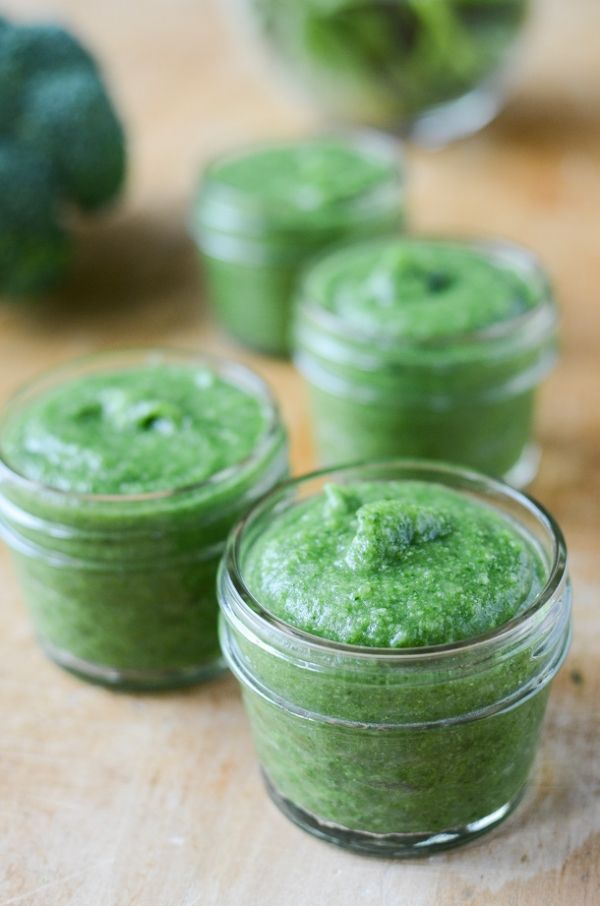 Extension
Using the ice cube tray/freezer method as the safest and most convenient method of storing homemade baby food.
We caution against using home canned foods for baby food due to the risk of possible botulism contamination. Once an infant has passed the age of one year old, the digestive system is better able to fight off botulism and is no longer as great a place for the spores to flourish and thrive. This development however does not mean that the dangers and risks of botulism have passed.
Resources & Learning More about Canning:
- USDA Complete Guide to Home Canning
- Canning Food at canning-food-recipes.com
- Canning Baby Food from Michigan State Univ. Extension
- Step-by-Step Home Canning from homecanning.com
- Botulism & Canning from Ohio State Univ. Extension
Remember, always consult with your pediatrician regarding introducing solid foods to your baby and specifically discuss any foods that may pose allergy risks for your baby.
This site complies with the HONcode standard for trustworthy health information:
verify here.
SHARE ON FACEBOOK SHARE ON PINTEREST
How to Make Your Own Baby Food and Two Recipes to Get You Started
by Guest Contributor
This post may contain affiliate links. Read my disclosure policy here.
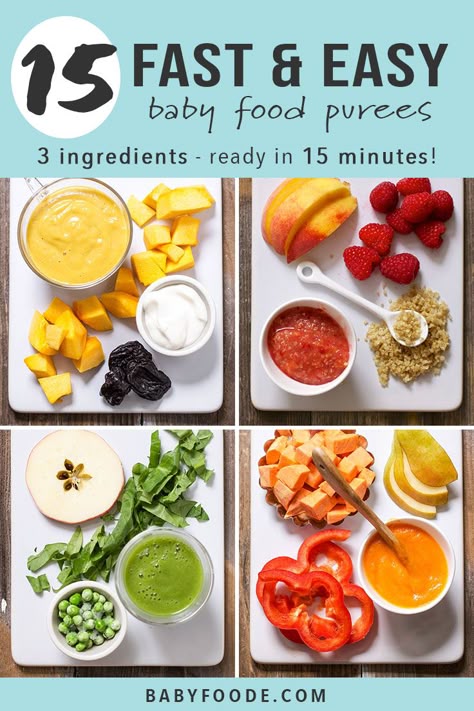
When it comes time to feeding your baby solid foods, your initial vision might be dipping a spoon into a little jar of pureed peas, carrots or bananas. Did you know that your baby will eat about 600 of these cute little jars of baby food? And that the cost of all these jars can add up to $400-$600?
If you are interested in making a HUGE dent in this baby budget line item, we recommend you make your own baby food. Now don’t laugh, roll your eyes or start trembling at the thought of cooking – most people find it surprisingly simple and quick to make baby food.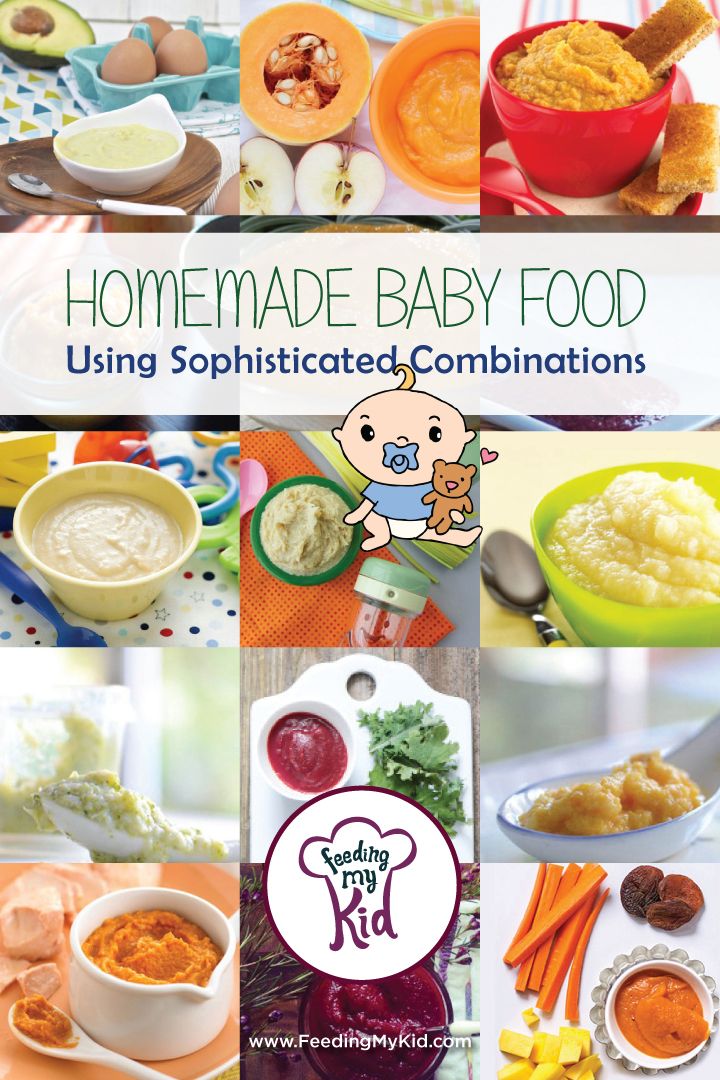
Homemade baby food will cost less than $100, saving your family up to a whopping $500! And before you ask ” but who has the time?”, think about using the tried n’ true ice cube tray method of making baby food. It will take only 30 minutes per week! There are not many things you can do in 30 minutes a week to save hundreds of dollars.
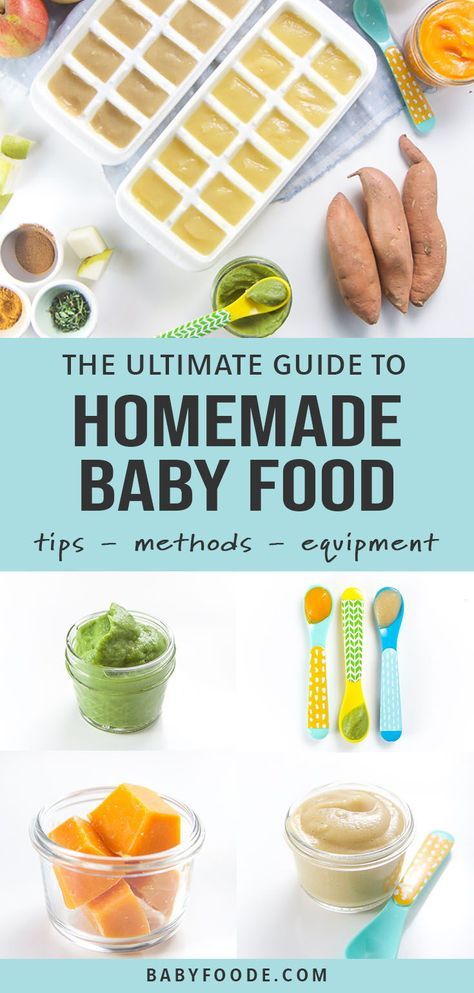
Here are the four basic steps to making baby food:
Step 1: Start with fresh fruits or vegetables. Depending on the type of food, you will need to wash, chop and peel the fruits and vegetables. If you are using frozen produce, simply open the package.
Step 2: Cook the food in the microwave or steam the food on the stove. Foods are done when the can be pierced or mashed easily with a fork.
Step 3: Pour the food and cooking juices into a food processor or a blender and puree to a soft and velvety texture. You may need to add water to get the right texture.
Step 4: Spoon the food puree into ice cube trays. Cover and place them in the freezer. When frozen, pop the baby food cubes out into a freezer storage bag. Baby food cubes stay fresh for up to two months in the freezer.
When it comes time to feed your baby, simply select baby food cubes from the freezer, defrost and the rest is YUM!
Here are a couple of recipes to get you started.
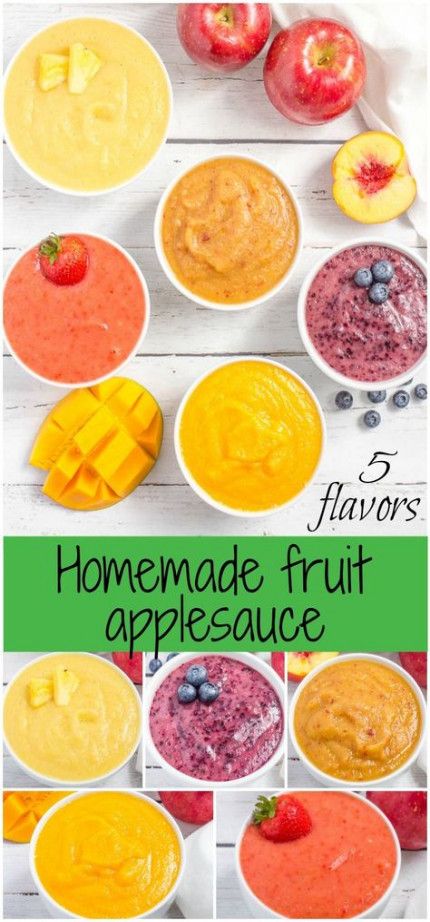
Apple Puree- 6 medium golden delicious apples
Prep - Wash, peel, core and cut apples into one-inch (3 cm) slices.
Cook - Place apples in a microwave safe dish. Cover. Cook 5 minutes and let stand for 5 minutes. Cook an additional 5 minutes. The apples are done when they can be pierced easily with a fork.
Puree - Place apples and cooking juices into a blender or a food processor. Puree to a smooth texture.
Freeze - Spoon into So Easy Baby Food Trays or ice cube trays. Cover. Place in freezer eight to 10 hours or overnight. Remove cubes from trays, place in storage container or freezer bag, and return immediately to the freezer.
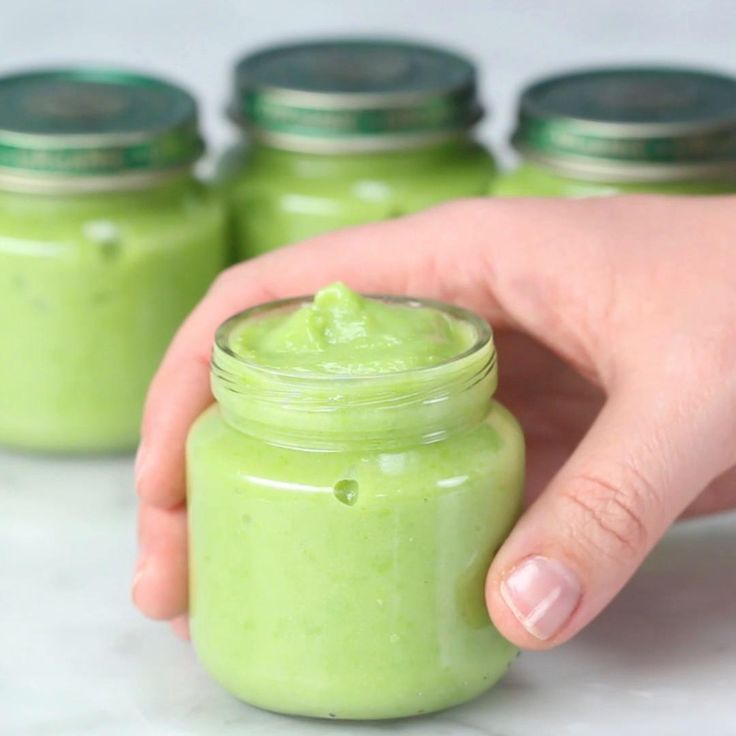
Makes 24 1-ounce servings. Stays fresh for two months in the freezer.
To serve, select frozen apple cubes from the freezer, defrost and warm, check the temperature and feed.
Age to introduce: About 6 months.
Sweet Potato Puree2-3 medium to large sweet potatoes
Step 1: PREP – Wash, peel and chop sweet potatoes into one-inch (3 cm) cubes
Step 2: COOK – In a medium-size saucepan, pour ½ cup water. Set a steamer basket in the saucepan and place sweet potatoes cubes in the basket. Cover. Bring water to a boil and turn down the heat and simmer for about 12-15 minutes. Let stand for 5 minutes. They are done if the sweet potatoes can be mashed easily with a fork. OR Place sweet potatoes and 2 Tablespoons (30ml) of water in a microwave-safe dish. Cover. Cook 8-10 minutes. Let stand for 5 minutes. They are done if the sweet potatoes can be mashed easily with a fork.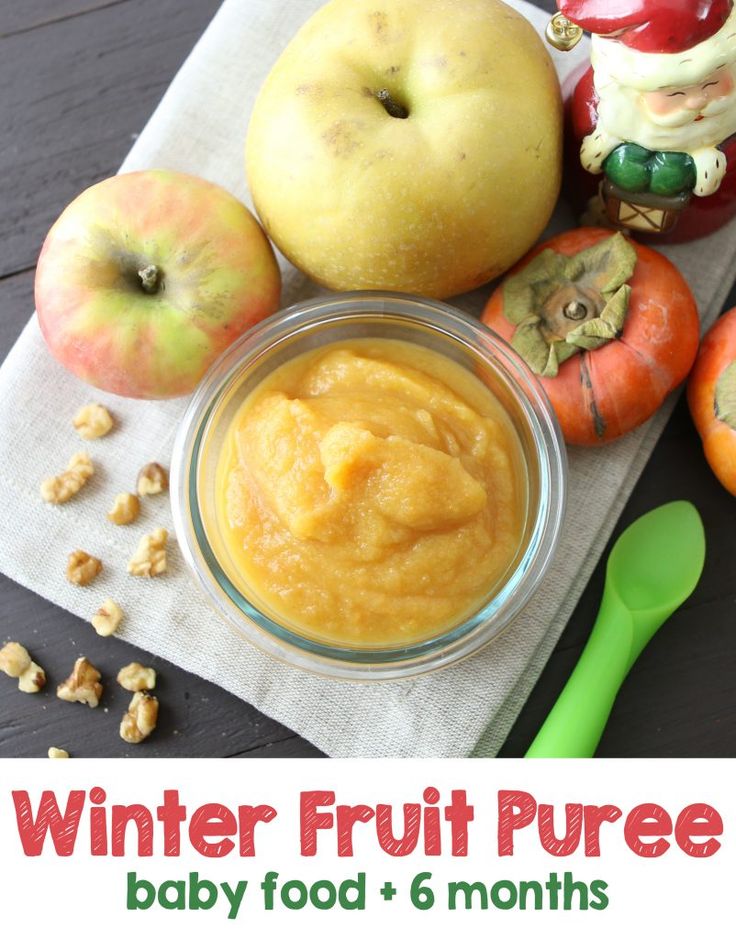
Step 3: PUREE – Place sweet potatoes and cooking juices into a blender of food processor. Add ½ cup (60 ml) of water. Puree. Add additional ¼ to ½ cup (60 – 100 ml) of water, as needed, to develop of smooth texture.
Step 4: FREEZE – Spoon into So Easy Baby Food Trays or ice cube trays. Cover. Place in freezer 8-10 hours or overnight. Remove cubes from trays, place in storage container or freezer bag, and return immediately to the freezer.
Makes 24 one-ounce servings. Stays fresh for 2 months in the freezer.
To serve, select frozen sweet potato cubes from the freezer, defrost and warm, check the temperature and feed.
Here are few more money saving secrets to making baby food:
- Buy fresh produce that is on sale or in season
- Use coupons for frozen fruits and vegetables
- Make baby food in large quantities and freeze it in single servings
Do you make homemade baby food? What recipes do you have to share?
Pin it for Later
Written by Cheryl Tallman, founder of Fresh Baby and originally published here on 5 Minutes for Mom on May 30, 2013. For more than 10 years, Fresh Baby helped has helped parents foster their children’s healthy eating habits and proactively respond to the childhood obesity epidemic that plagues our nation. Cheryl is the author and designer of the company’s award-winning cookbooks and nutrition education products that support many stages of family life including: pregnancy, breastfeeding, introducing solid foods, and feeding toddlers, preschoolers and school-aged children. You can follow Cheryl on Twitter https://twitter.com/FreshBabyBiz, Facebook: https://www.facebook.com/FreshBabyBiz, Pinterest http://pinterest.com/freshbaby/, or her blog http://freshbaby.typepad.com/.
Reader Interactions
Preservation of baby food - Encyclopedia Baby food
Levchuk Victoria © Preservation of baby food, I met her when I was 10 years old, and my pregnant aunt closed apricot juice in three-liter jars, as that year there was an apricot harvest , and the little one needs vitamins. This picture of a big, immense aunt and an old Soviet-type juicer, I remember, even now stands before my eyes.
Nowadays, everything is there, so why preserve baby food if you went to the store and bought baby juice with pulp or baby puree. But we, Russians, we cannot do without difficulties! And, well, if I'm the only one, then last year 120 cans of Frutonyanya were taken from me by a pregnant girl, in the back seat of a car with boxes of peaches. Apparently also for conservation. Pregnant women do things like that. And it seems to be ok!
Preservation of baby food Special preservation, since sugar, salt, spices, vinegar, aspirin, etc., everything that is usually put in jars, for long-term storage of the product should not be put.
canned Fruit juices are best made from apricot and peach. Sweet ripe fruits are taken, as sour juice is obtained from green or unripe ones. From overripe varieties, a jar can explode. Since the jars are closed without adding various additives, the fruit juice must be boiled well for 5-10 minutes. We have a special juicer, which already gives ready-made fruit juice with pulp at the exit, just close it in a jar. But it is old and Soviet.
Fruit purees are prepared in much the same way as juice with pulp. Those. the finished product is cut into small pieces, boiled for 5 minutes, whipped with a blender and closed in sterilized jars.
Preservation of baby foodIt is best to take sweet fruits, such as apricot, peach, sweet varieties of apples. My pears always explode, i.e. even in the refrigerator they do not stand for more than a month, it is worth considering this. I have experimented a lot with the preservation of baby food, so I used to cover plums, apricots, peaches, apples, pears, etc. I also made various mixes, from fruits and vegetables.
Basically the perfect vegetable for any mix is zucchini. But preserving a product without sugar is just a torment, as a result it turns out either sour, or not tasty, or something is not right. So the apricot turned out moderately sweet, the taste is similar to an apricot, but somehow artificial, so I had to mix apricot puree with a banana or apple to dilute the artificiality. Although I repeat, I closed it without additives, I just boiled it and closed it in warm sterilized jars.
Peach puree is the most delicious and lasts for a long time, it is easy and simple to store, so now I cover only peaches, I refused everything else, you can freeze or dry. The plums turned out sour, they don’t stand for a long time even in the refrigerator, the jar explodes, just like the pears. Somewhere there were pictures of this masterpiece of mine, so I'll try to find and post it. The combination of zucchini and something fruity is worth it. But the product must be one hundred percent sweet initially, otherwise the child will not eat such goodness. I didn’t go further than these experiments, since the child grew up, and I was too lazy to mess with 100 gram jars, and what’s my miracle is now a 100 gram jar, so for one tooth.
At first, I kept the jars in the refrigerator because I was afraid that without additives, the jars might explode.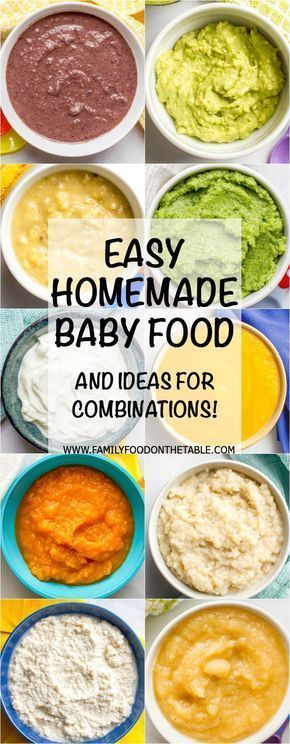 The place in the refrigerator was completely filled with 100 gram jars of baby food, this is annoying, since the child does not eat them every day, so they will definitely stand there for 2 months. But if the fruit or vegetable is chosen correctly, then the jar will stand for a long time in a cool place, the main thing is to follow. And if it is a little swollen, you can open it, digest it with sugar and eat it as an adult.
I don't regret that I messed around with preserving baby food. I had peach puree for a long time, I mixed it with various fruits, we still love peaches. The savings were significant, since peaches are very cheap on the market during the season, and a jar of fruit puree baby food turned out to be more expensive than my labors. Moreover, not much time is spent on conservation, a maximum of a couple of hours, maybe less. The longest wash is 100 gram jars, and then they are sterilized. Preservation of baby food at home is necessary if complementary foods start in the winter.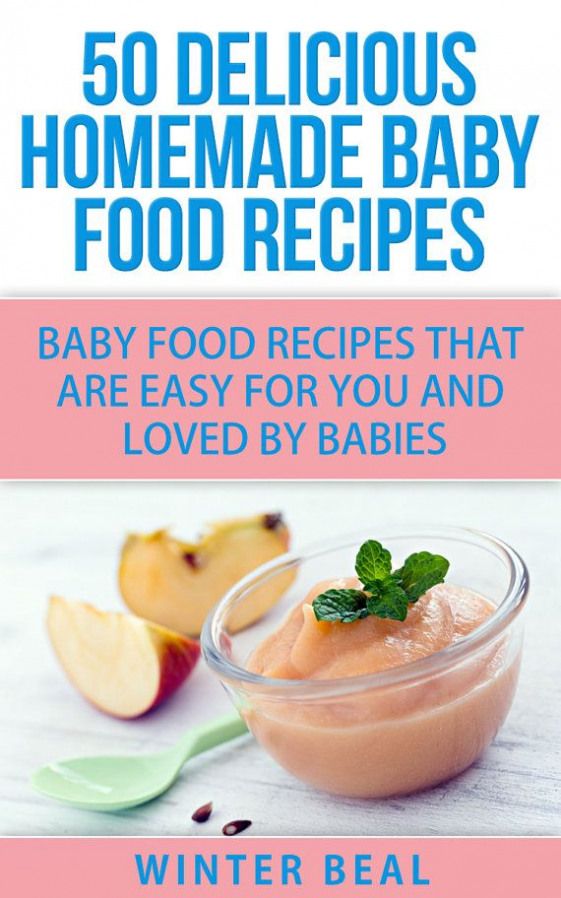 So if you decide to close baby food, then I hope my advice will help you.
Baby food at home: recipes, video
Growing up a little person is a delightful process that cannot but please the parents of the crumbs. However, the first feeling that mom and dad face when it comes time to introduce complementary foods into a child's diet is confusion.
Which food is the most healthy, hypoallergenic and delicious? Most often, the first "real" meal of the crumbs after mother's milk and formula is vegetable or fruit puree. The choice of baby food on store shelves is very wide - each manufacturer tries to convince the buyer that jars with beautiful labels contain only natural products, there are no dyes, sweeteners and other harmful additives. A variety of "meals" for babies in factory packaging marked "3+ months." does not guarantee the true usefulness of the product that is inside. Every mother understands that complementary foods prepared on her own, from natural products, are much better for her child.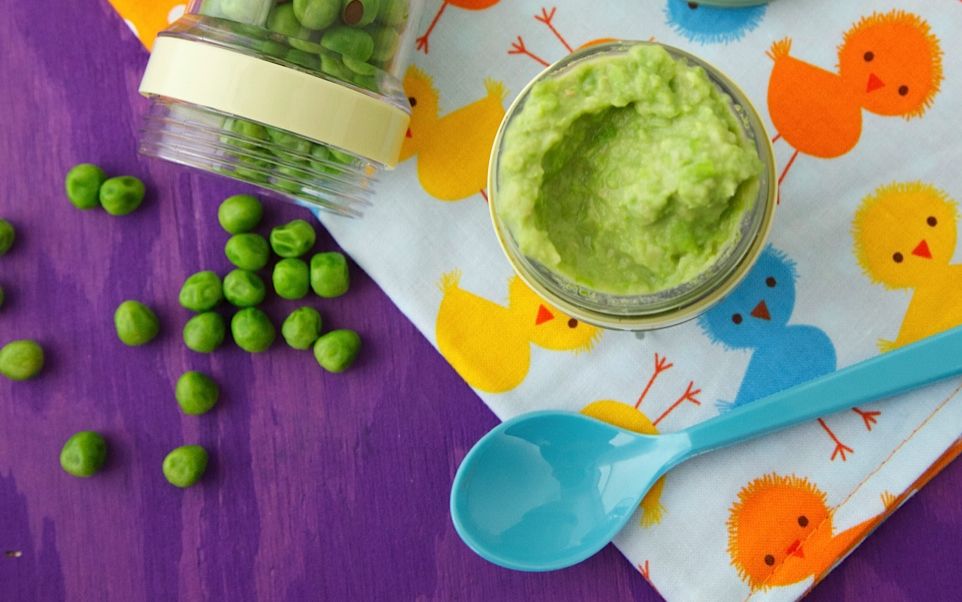
Another advantage of making your own baby food is that you can choose the best ingredients, wash fruits, berries or vegetables thoroughly, peel them well and remove damaged parts. In addition, the parents of the crumbs themselves can choose the way - how best to cook baby food: food can not only be boiled, but also baked in the oven or cooked in a double boiler.
It is also important that home-made baby puree is much tastier, it will undoubtedly be useful for a growing organism and will not cause allergies! Even the simplest children's dish, prepared by mom, keeps the warmth of caring hands and cannot be compared with expensive dishes from the store.
What should be the correct complementary foods for children? Of course, you should start with one ingredient (such purees are called one-component purees), then move on to more complex options. Experts emphasize that the most suitable product for the first "dish" is zucchini. Cauliflower can also be considered neutral.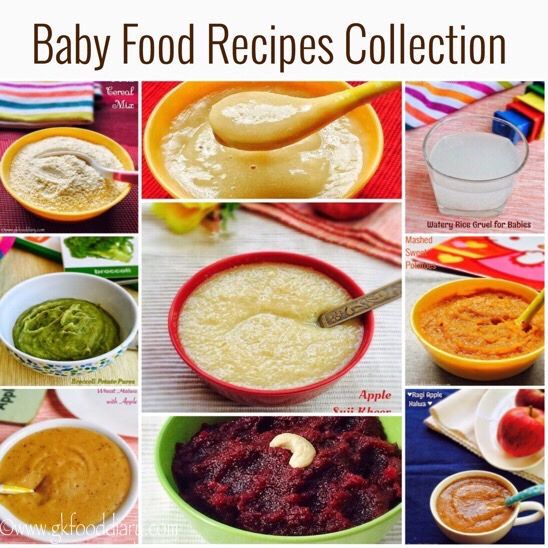 Gradually it will be possible to introduce carrots, pumpkins, potatoes, broccoli and green peas. At the first stage of the introduction of complementary foods, it is better to give preference to vegetable purees and switch to fruit purees when the child already treats “serious” food well.
The basic rules and principles of preparing high-quality baby food yourself:
- it is best to take fresh products for preparations: fruits from the tree, berries from the bush and vegetables from the garden are much healthier than those that have already been in the refrigerator for a week. If there are no seasonal vegetables at the time of preparation, the use of frozen foods is acceptable, but in this case, try to give preference to whole fruits - they retain the greatest amount of nutrients;
- only filtered water should be used for cooking vegetables;
- Preparing baby food requires, if not separate dishes, then thoroughly washed ones. Do not, for example, cut vegetables on a meat board.
 If there is a dog or cat in the house, then you need to restrict her access to the kitchen when food is being prepared;
 - It is not recommended to use vegetables and fruits in the diet of infants, in which the content of chemical additives is consistently high. These often include watermelons and melons, beets, spinach and lettuce;
- It is better to add water to vegetables purchased on the market before cooking: put carrots, potatoes, zucchini and cauliflower in filtered water for a couple of hours - this will remove nitrates;
- do not leave excess mashed potatoes for the next meal: the child should be given only freshly prepared food, and “yesterday's” mashed potatoes are best eaten by adults or given to pets;
- you can choose cream, boiled egg yolk, grated cheese or finely chopped dill as an additive to puree - this will diversify dishes for children from 8 months;
- try it! Children's food can and should be enjoyed by an adult.
There is another question that often worries parents: is it permissible to preserve baby puree and how to do it correctly? After all, such complementary foods for the developing body of a small child must be prepared daily for one or even two or three years: until the baby is ready to eat adult food from the common table.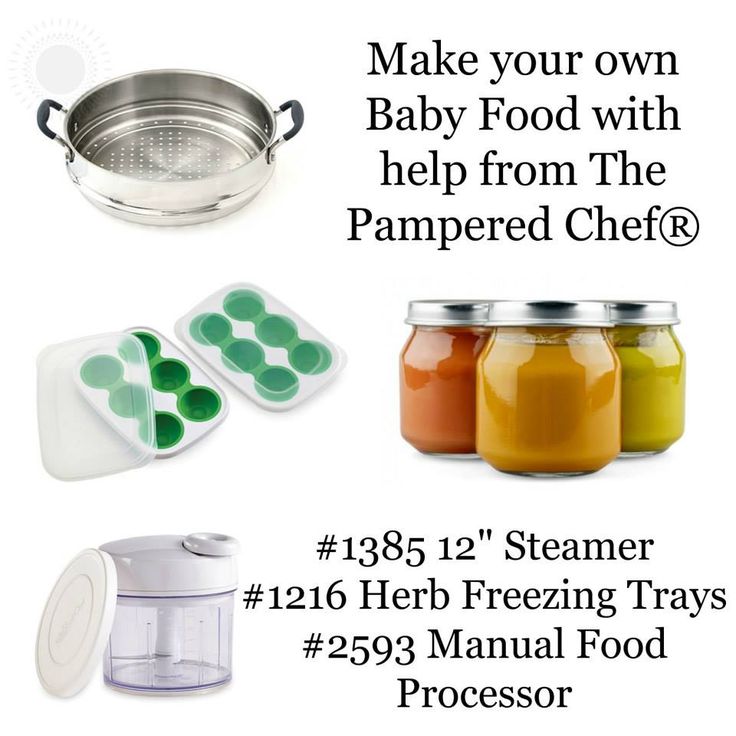 Not every mother has the time and opportunity to prepare baby puree daily, but you don’t want to buy food for the baby in the store. In addition, it is obvious that in the winter-spring period it is almost impossible to find fruits and vegetables grown without the addition of chemicals. The answer to the question is quite simple: the requirements for the conditions for preparing baby food are very strict (keeping the temperature, sterilizing jars, etc.), but using an autoclave solves all problems: all that is required is to load jars with blanks into the autoclave for 20 minutes and set temperature 120 degrees. After cooling, it is better to store baby food in a dark, cool place for about 12 months, daily delighting the child with homemade homemade food.
Pumpkin puree: delicate and fragrant
Pumpkin is a delicious vegetable that is good for babies. This fruit has a beneficial effect on digestion, is well absorbed by the child's body and is rich in various vitamins: A, C, B, B2, E, PP, T. In addition, the carotene content in pumpkin is 5 times higher than in carrots!
Baby pumpkin puree has a sweet taste, so the kids eat this dish with great pleasure. For preparations, it is better to buy small whole pumpkins, as they usually taste better than large ones and are easier to peel.
- Rinse pumpkin well under running water, peel, cut in half, remove seeds.
- Then you need to cut the fruit into small cubes, put in a saucepan and pour water. Cooking time after boiling - 20 minutes. You can also steam pumpkin: it will retain more nutrients with the same cooking time.
- The next step is to beat the cooked pumpkin with a blender until the consistency of a gentle puree. If the dish turned out to be thick, add water or milk (milk mixture).
- Vegetable oil and salt are added to pumpkin puree to taste, but these additives should be used with caution: only if they are acceptable for the age of the child.
For babies older than 8 months, pumpkin puree is supplemented with other fruits and vegetables, and also added to porridge.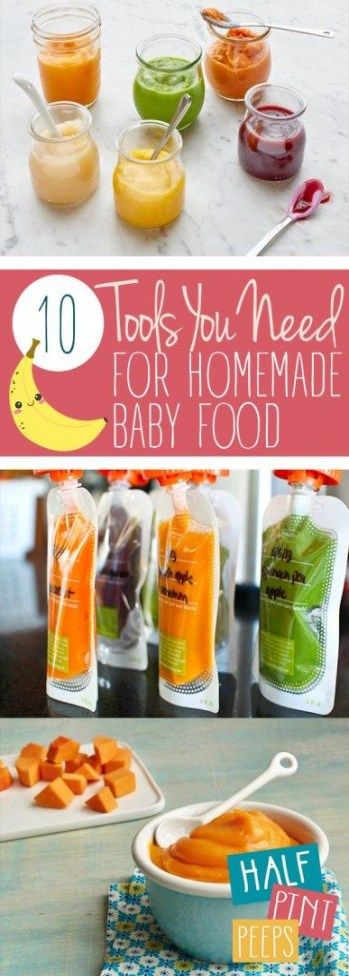
Broccoli puree: simplicity and elegance
Broccoli is not just cabbage, but a storehouse of vitamins and microelements! Beautiful on the outside and fantastic on the inside - the high content of protein and vitamin C (there is more in broccoli than in citrus!) deserves special attention. There are many articles on the Internet about the benefits of broccoli, and preparing this product is not at all difficult.
To prepare this type of cabbage for baby food, you need to choose the highest quality product: the inflorescences must be unopened, green, moderately elastic.
- Broccoli should be washed, cut into pieces and boiled. Steaming will take 20 minutes, in water - faster: fresh cabbage should be boiled for a little more than 5 minutes, and frozen - at least 10. When cooking, do not pour a lot of water, it should only cover the vegetables a little.
- When the cabbage is cooked, take it out, transfer it to a blender bowl and grind to a puree state, add a little warm boiled water.
- Add salt and butter to taste.
Pear puree: a fragrant dessert
It's no secret that babies love fruit puree - almost all children like sweet dishes. The pear is a suitable option for the first one-component fruit food - a sweet fragrant fruit that has a high concentration of vitamins, stimulates digestion and almost never causes allergies.
If you want to cook a safe puree for your child at home, then it is best to choose green pears, these are the fruits that are considered to be the least allergenic.
- Fruit must be peeled, core removed with seeds, cut into cubes.
- Transfer the pear to a heavy-bottomed enamel saucepan, add a little water and simmer for 15-20 minutes over low heat.
- Then transfer to a blender bowl and puree until smooth. If the puree is too thick, add a little warm boiled water.
- You can dilute the dish with milk or formula - it depends on the taste preferences of the baby.
A similar recipe is used for applesauce.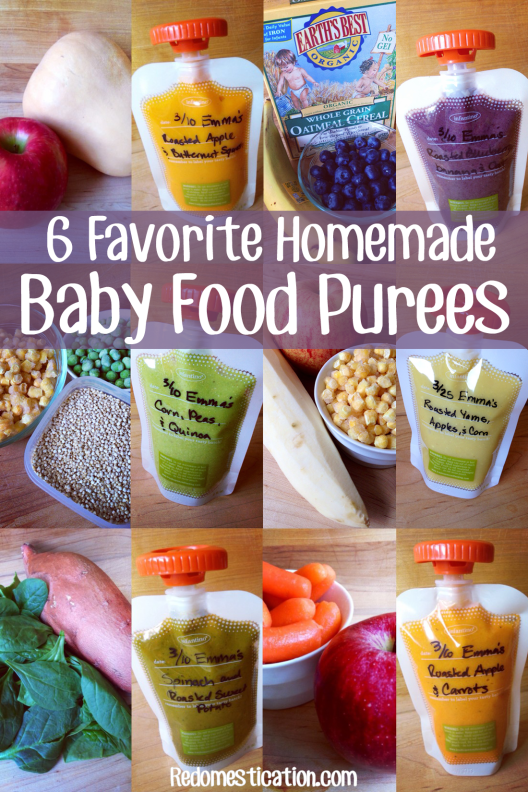 In the future, try to combine these two fruits in one dish.
Classic apple-zucchini puree
A good appetite of a baby pleases every mother, but little gourmets are often capricious, and it is not easy to please them. Zucchini and apple puree is a classic combination of products that will diversify the baby's menu already in the fifth or sixth month of life.
This complementary food contains only hypoallergenic products, has a positive effect on the functioning of the heart, and stimulates the strengthening of the immune system.
- Selected products should be thoroughly washed, peeled, core removed from apples.
- Cut zucchini and apples into cubes, put fruits in a cooking pot first - they should cook for 5 minutes longer, and then vegetables. The total cooking time is 20 minutes.
- When the products become soft, they must be ground to a puree with a blender.
- To taste - dilute with water, add salt, oil.
This puree can be considered an independent dish for the little ones or become a delicious side dish for older kids.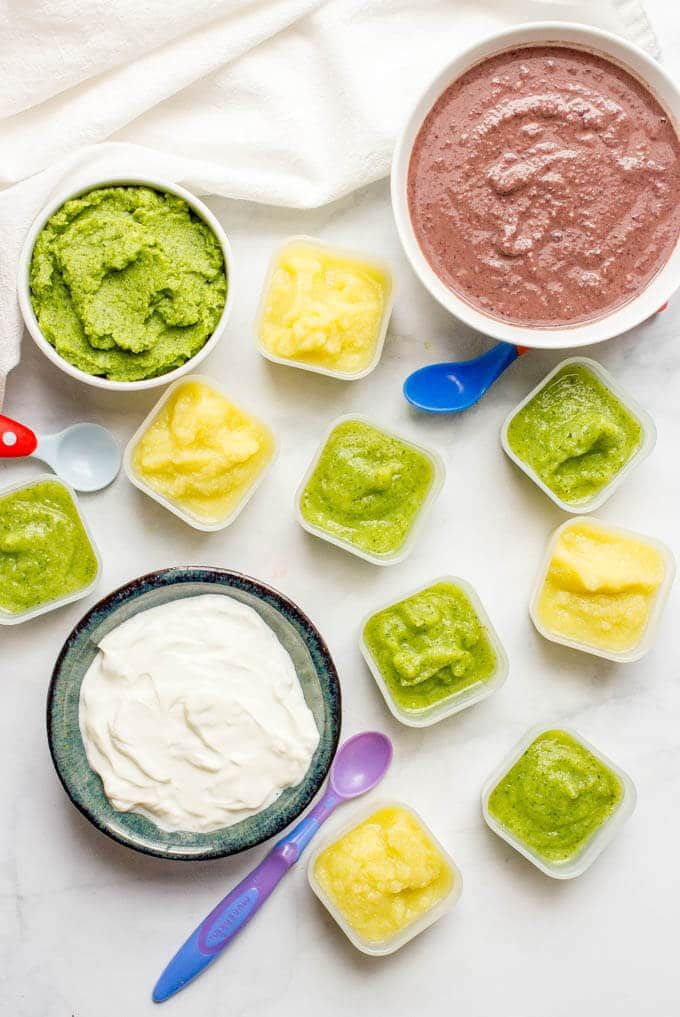
Colorful carrot-potato puree
For many parents, carrots and potatoes are the simplest and most understandable type of complementary food for the baby. However, if you cook and serve standard products a little differently than usual, you can improve the traditional taste of a classic dish.
Young potatoes should not be chosen for baby puree - they contain a lot of starch. Carrots, on the contrary, it is better to buy young ones.
- Wash the vegetables thoroughly, remove the skin and cut into cubes.
- It is better to steam the mashed potatoes and carrots, the vegetables should be boiled separately. Cook until tender, 20 minutes on average.
- Separately puree the vegetables in a blender, diluting with warm water if necessary.
Both types of puree are beautifully placed on a plate without mixing: the child can decide for himself whether to mix food or eat separately.
Exotic variety: mango puree
Tropical fruits should not be offered to a small child before the age of 7-8 months and only if there was no allergy to other foods.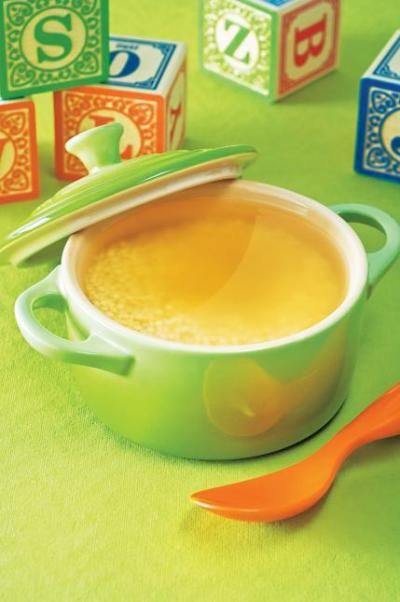
Mango is an aromatic fruit with an original pleasant taste. This fruit helps to overcome colds, reduce inflammation in the body, improve sleep and normalize the functioning of the stomach.
To feed the baby, ripened fruits should be selected - quite soft, yellow-red in color.
- Fruit should be peeled and pitted, cut into cubes.
- Put the raw mango into a blender, purée, transfer to a heavy-bottomed pot and boil for a few minutes.
Older children may be offered uncooked mango puree. This fruit is completely independent - no need to add sugar or water!
Sweet pumpkin puree with apple
This puree is called sweet, as both pumpkin and apples are foods with sufficient sugar content. Such a dish is well suited as a dessert for children who already eat “serious” food well - vegetable purees and cereals.
In addition, such complementary foods are a great option for the autumn-winter period: seasonal products contain enough choline, a lot of fiber, natural proteins and vitamins (groups A, B, C, E, etc.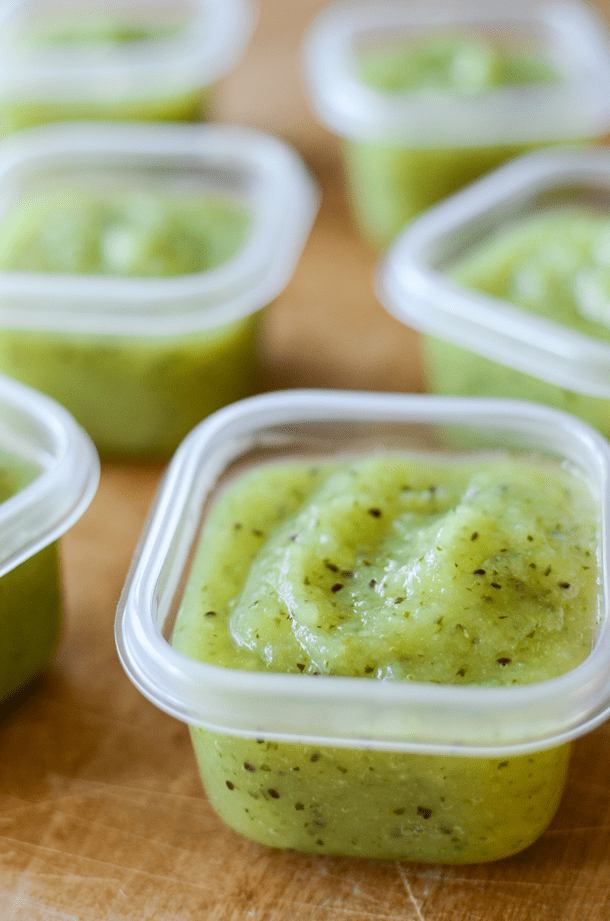 ), zinc, sodium, calcium and only!
- Pumpkins and apples must be peeled, peeled and seeds removed, cut into cubes and sent to a double boiler.
- Cook for about 20 minutes until the food is soft. Then place them in a blender bowl, add raisins and chop. If the child chews well, mash everything with a fork, and leave the raisins whole.
Hearty puree with celery and turkey
For older kids, meat is added to vegetable dishes - turkey fillet is an excellent option for developing a child's taste preferences. Appetizing and fragrant meat puree includes only three ingredients: celery root, turkey fillet, butter.
The proportion of meat and celery should be approximately 10:1, the amount of butter to your taste.
- The turkey fillet must be boiled in the "second stock" for about 20 minutes after boiling.
- Wash, peel and cut the celery root into cubes and put into the boiling broth 10 minutes before it is done.
- After cooking, beat the turkey and celery with a blender until puree, if necessary, add the broth.
