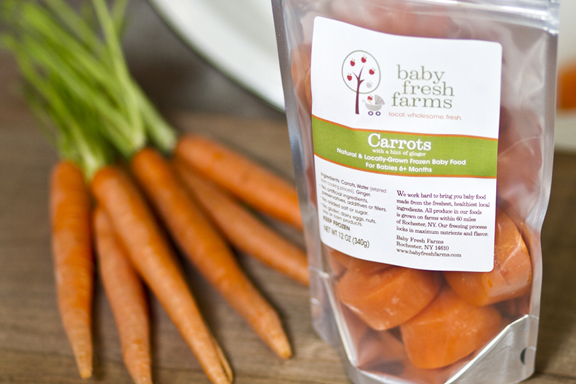
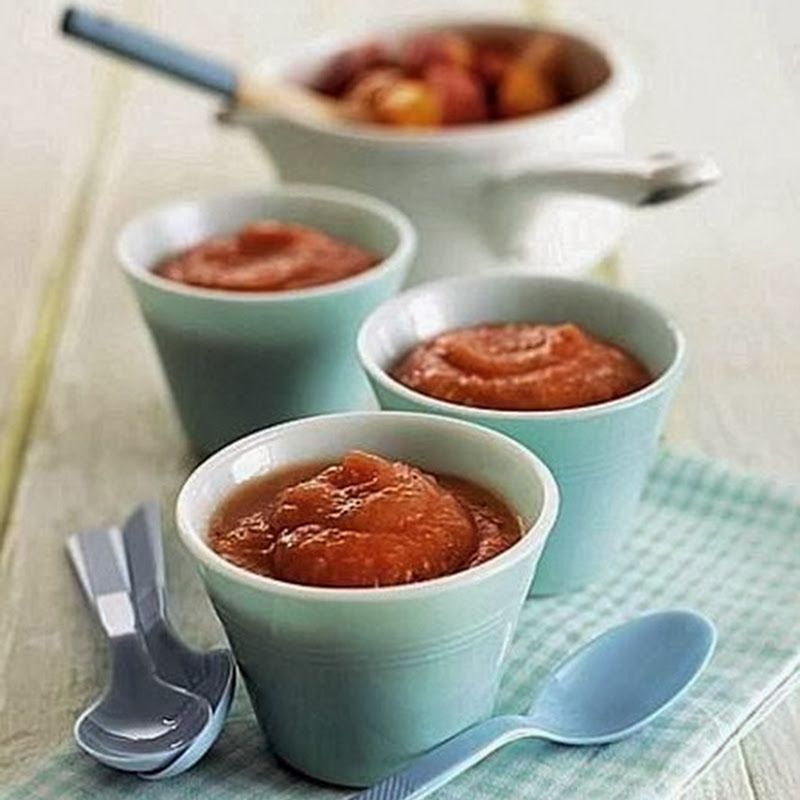
Freezing carrots for baby food
Favorite Carrot Baby Food (Puree and BLW)
Turn fresh carrots into a simple, nourishing Carrot Baby Food with this easy method—no special baby food makers required. Plus, learn how to make carrots for baby-led weaning, easy ways to add flavor, how to combine carrot puree with other baby food, and how to store it for future baby meals.
Carrot Baby Food
Making homemade baby food can seem so daunting, but I’ve found that it’s quite easy to make affordable, delicious baby food at home with cooking tools you likely already have on hand. And knowing a few simple ways to add flavor and keep things interesting for your little one can ensure the food you spend time making doesn’t go to waste.
I love this method of making a simple carrot puree for baby (or one year old), and I also love using it to make simple baby food combinations. It’s a nutritious food that’s rich in vitamin A that can be offered from 4-6 months of age and up, or the age at which your pediatrician clears your kiddo to start solids.
It’s also so versatile if you wind up with leftovers and is really easy to store. I still love this method of making carrots even though my kids are well past the baby stage.
And since I know so many families use the baby-led weaning style of introducing solids, I’ll share my go-to carrot recipe for that method as well.
So read on for the basic technique, flavoring options, baby food combinations, and storage tips.
Ingredients You Need
To make this baby food, here’s a look at what you’ll need:
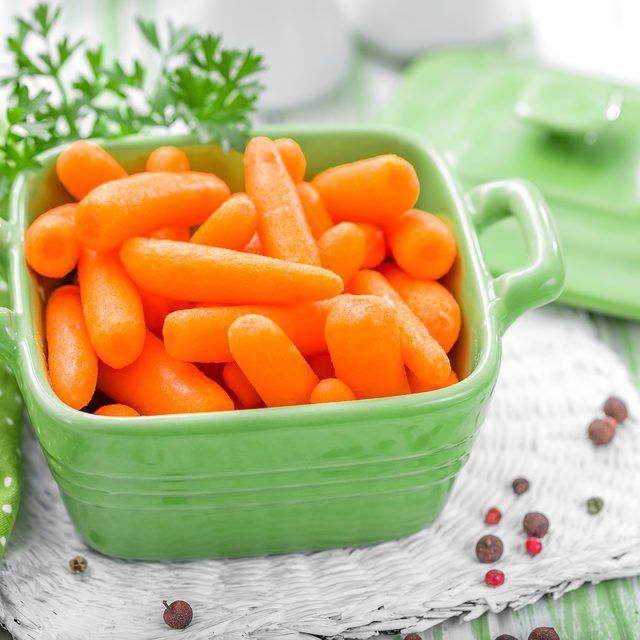
- Carrots: I use fresh carrots, but you could use frozen if that’s what you have on hand.
- Liquid of choice: You can use water, sodium-free chicken or vegetable stock, breastmilk, or even formula.
- Optional spices including cumin, cinnamon, and/or Chinese Five Spice
TIP: The carrot puree will taste as good as the carrots you start with, so try them to make sure they taste sweet before you start cooking.
Step-by-Step Instructions
This process is easy and just requires basic equipment—no special baby food makers necessary.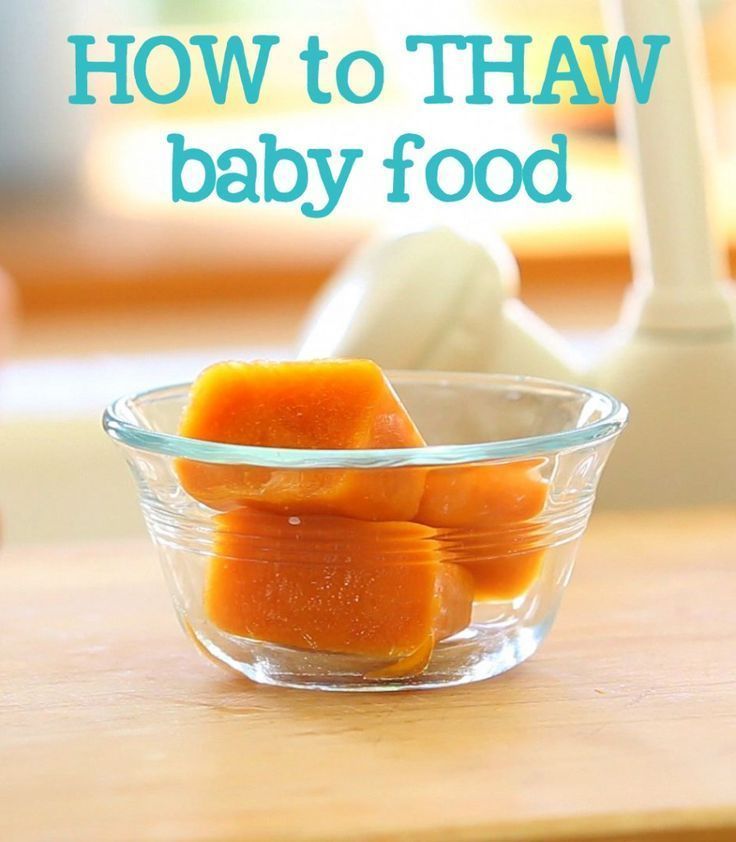 Here’s a look at what to expect; Scroll down to the bottom of this post for the full information.
- Trim the ends off of the carrots.
- Peel and dice them into even pieces.
- Add the carrots to a pot fitted with a steamer basket. Add water and cover. Cook until soft.
- Blend, thinning with desired liquid to achieve the desired consistency.
TIP: You can make it thinner to serve as a Stage 1 baby food by adding more liquid, or thicker as Stage 2 baby food by adding less liquid.
What’s the best way to store this baby food?
You can store this Carrot Baby Food it in small airtight containers in the fridge or in the freezer. To freeze it, I like to portion the puree out into an ice cube tray and freeze overnight. Then transfer the frozen cubes to a freezer bag for longer-term storage. See the Notes section of the recipe for the full details.
Can I make it without a steamer basket?
Yes, just boil the carrots directly in the water in the pot and proceed with the recipe.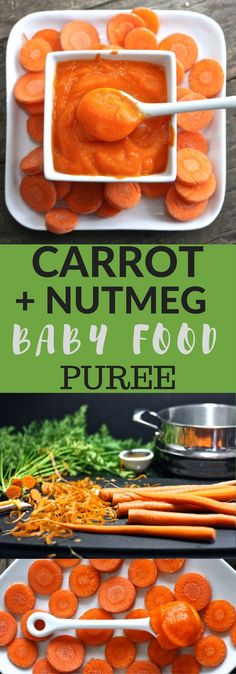
Can I combine this baby food with other purees?
Mix with Applesauce, Sweet Potato Puree, Banana Puree, Bean Puree, or Butternut Squash Puree or any other baby food that you like. You can also stir in olive oil or butter to add more flavor and fats (which little ones need for proper development).
TIP: Find my go-to no-cook Baby Food Recipes here.
How to Store
To store this carrot puree, place into airtight containers and store in the fridge for up to 5 days. Or portion into an ice cube tray and freeze overnight. Transfer to a freezer bag and seal, removing as much air as possible, and freeze for up to 6 months. Thaw overnight in the fridge and stir if any separation occurs.
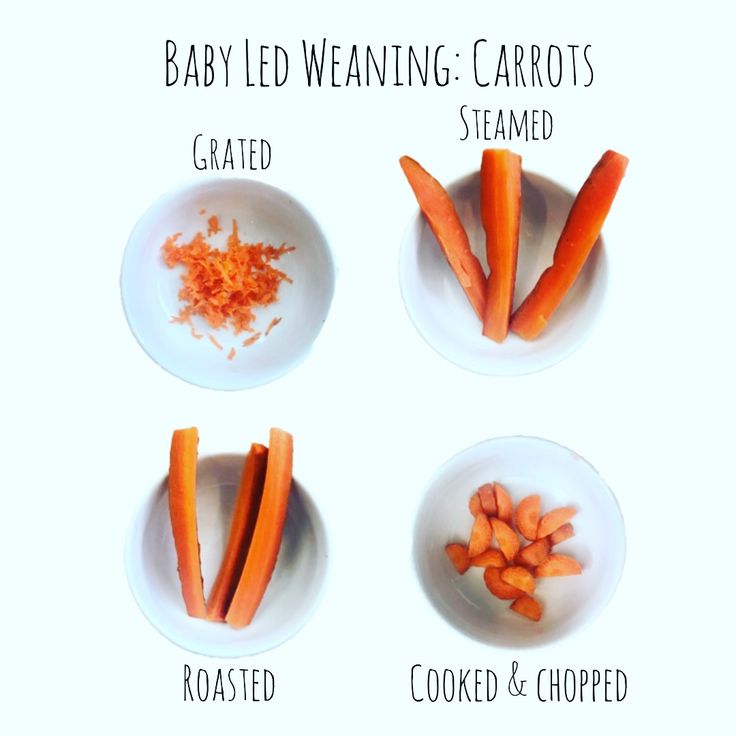
Carrots for Baby-Led Weaning
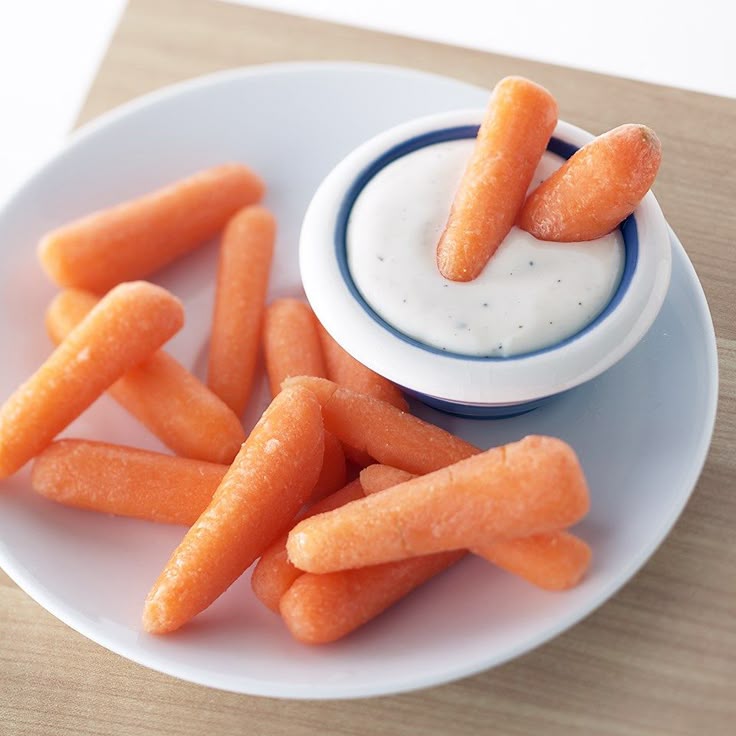
You can offer this puree by putting a little on a baby spoon and then handing the spoon to baby to feed themself. Or, you can try Roasted Carrots, which are a stick shape that is easy for small hands to hold.
Best Tips for Success
- You can use water, breastmilk, formula, or sodium-free chicken or vegetable broth as your liquid.
- Make it thinner as a Stage 1 baby food by using more liquid or thicker as Stage 2 or Stage 3 baby food.
- The carrot puree will taste as good as the carrots you start with, so try them to make sure they taste sweet before you start cooking.
- Stir in 1 tablespoon extra virgin olive oil to the finished puree to add healthy fats.
- Season the batch with 1/8-¼ teaspoon cinnamon, Chinese Five Spice, or ground ginger to add flavor. Or add a tiny pinch to each serving.
- Mix with Applesauce, Sweet Potato Puree, Banana Puree, Bean Puree, Butternut Squash Puree, or any other baby food that you like.
- You can stir this puree into baby oatmeal or add to a smoothie if you have leftovers.
- To serve this baby-led weaning style, put a little puree on a spoon, then hand it to baby to feel themself.
- You may also like my Broccoli Puree for Babies, Apples for Baby, Bananas for Baby, Easy Baby Food Combinations, and Prune Puree.
I’d love to hear your feedback on this recipe if you try it for your baby, so please comment below to share your experience.
 I love hearing from you!
This post was first published September 2020.
Prep Time 5 minutes
Cook Time 20 minutes
Total Time 25 minutes
Author Amy Palanjian
Cuisine American
Course Baby Food
Calories 17kcal
Servings 6
- ▢ 2 cups peeled and diced carrots (from about 2 medium carrots)
- ▢ 1/4-1/2 cup liquid such as water, breastmilk, formula, or sodium-free chicken or vegetable broth
- ▢ 1/8 teaspoon cinnamon, cumin, or Chinese Five Spice (optional)
- ▢ 1 teaspoon olive oil, coconut oil, or unsalted butter (optional)
Set a medium pot fitted with a steamer insert or basket over medium high heat. Add about 2 inches of water and bring to a simmer.
Turn down to medium heat, add the carrots to the steamer basket or insert and cover.
Cook for about 20 minutes, or until very soft when poked with a knife. Remove lid and cool slightly.
Add carrots to a blender. Add ¼ cup of your chosen liquid and blend, adding more liquid as needed to make a thin or thicker puree. (Stage 1 baby food is typically very thin and would use a little more liquid. Stage 2 or three would be thicker and use less liquid.)
Add optional spice and oil, then serve and/or store.
Calphalon 5-Quart Pot
Vitamix Blender
Silicone Ice Cube Tray
- To store, place into airtight containers and store in the fridge for up to 5 days. Or portion into an ice cube tray and freeze overnight. Transfer to a freezer bag and seal, removing as much air as possible, and freeze for up to 6 months. Thaw overnight in the fridge and stir if any separation occurs.
- Use more or less liquid to make the puree thinner as a Stage 1 baby food or thicker as Stage 2.
- To serve this baby-led weaning style, put a little puree on a spoon, then hand it to baby to feel themselves.

- The carrot puree will taste as good as the carrots you start with, so taste them to make sure they taste sweet before you start cooking.
- Mix with Applesauce, Sweet Potato Puree, Banana Puree, Bean Puree, or Butternut Squash Puree or any other baby food that you like.
- You can stir this puree into baby oatmeal or add to a smoothie.
Calories: 17kcal, Carbohydrates: 4g, Protein: 1g, Fat: 1g, Saturated Fat: 1g, Polyunsaturated Fat: 1g, Monounsaturated Fat: 1g, Sodium: 29mg, Potassium: 137mg, Fiber: 1g, Sugar: 2g, Vitamin A: 7128IU, Vitamin C: 3mg, Calcium: 14mg, Iron: 1mg
Tried this recipe?Rate in the comments and tag @yummytoddlerfood on IG!
How to Make Carrot Baby Food (Carrot Puree)
How to make carrot baby food by cooking and blending carrots into a smooth and creamy puree. Carrot puree make a great stage 1 starter food for babies.
A couple weeks ago I shared all about introducing solids to baby, my approach with Olivia and what foods we’d tried so far.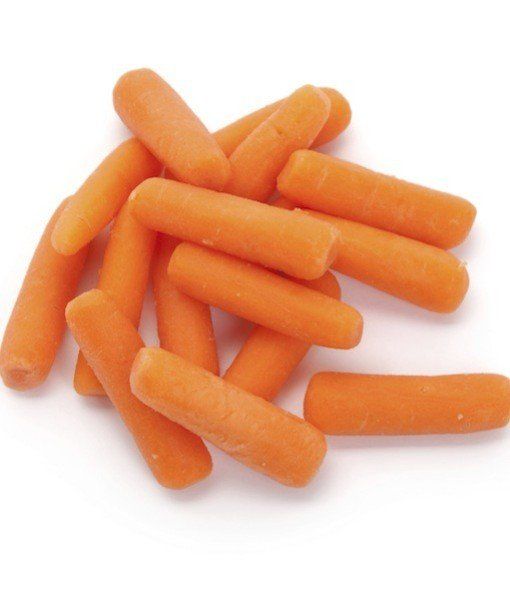 Honestly, I had no intentions of sharing baby food recipes, but I’ve been having so much fun making it for Liv and everyone has seemed really interested so here we are.
For this first post, I thought I would share a simple recipe for an easy stage 1 food for babies 4 month and up, homemade carrot puree.
Like sweet potato and winter squash, carrot puree makes a great stage 1 food for babies because it can easily be pureed until thin. Carrots are also low on the allergy scale and easily digested by a tiny tummy.
Olivia’s first food was sweet potato puree and then avocado, but carrots came quickly after these two foods.
Homemade Baby Food
Let me start by saying that I know homemade baby food isn’t always an option and that’s okay. When we were on vacation I bought a couple baby food pouches for Olivia. She gobbled them up. That said, the majority of her food is homemade because I really enjoy cooking and making food for Liv has been really fun for me. I also like knowing that she’s eating fresh, nutrient-rich food that’s been made with love. That might sound corny, but it’s true.
When researching how to make homemade baby food I also researched how shelf-stable baby food is made. The shelf-life of jarred store-bought baby food is 2 years, which means you could be feeding your baby shelf-stable food that’s older than they are! Isn’t that wild to think about?!
And while I haven’t tasted store-bought carrot baby food, I imagine that this homemade carrot puree tastes way better!
Carrot Nutrition for Infants
Carrots are a such a nutritious first food! They are high in beta-carotene, a red-orange antioxidant that converts to vitamin A in the body. Vitamin A is known to boost eye health and support the immune system. Carrots also contain vitamin C, iron, calcium and fiber, which can be helpful for normal bowel movements in babies.
What Kind of Carrots to Use
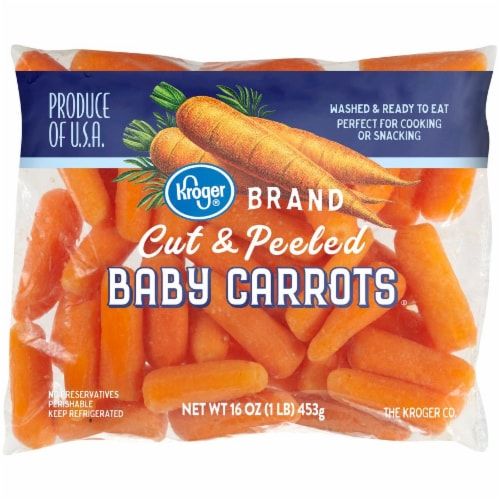
I like to use fresh, organic whole carrots.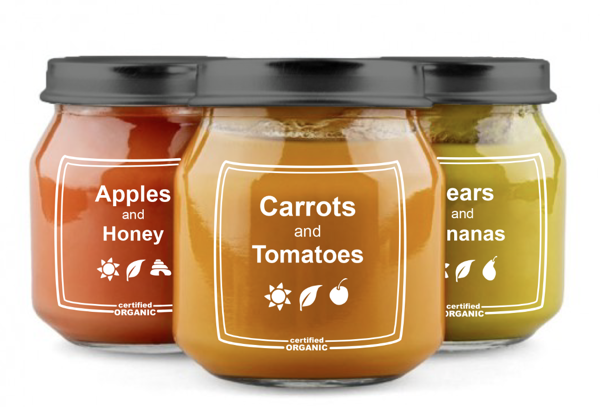 Just wash the carrots well and peel them before chopping and cooking. I know it’s an extra step, but I do recommend peeling them to remove any dirt particles and/or pesticide residue. I also think removing the peel of the carrots makes them taste better. They taste super earthy to me when the peel is on. You can also use baby carrots, which makes the chopping process faster because they’ve already been peeled.
I personally like to buy organic foods for making homemade baby food, but also realize this isn’t an option for everyone so buy what you can afford.
How to Make Carrot Puree- Peel and chop carrots.
- Cook the carrot chunks by steaming, boiling or roasting.
- Transfer cooked carrots to a blender or food processor. I’ve been loving my Vitamix for blending up baby food. It gets the purees super smooth!
- Blend until smooth, adding breast milk, formula or water to thin – the carrot puree will likely be a bit too thick for stage 1 eaters without adding some sort of liquid to thin the puree.
 I like using breast milk or formula for extra nutrients, but you can use water as well (water used for the steaming or boiling process works great).
 - Let carrot puree cool and serve right away or portion into storage containers or ice cube trays for later use.
- Carrot puree an be stored in the fridge for 3 days or in the freezer for 3 months.
How to Store Carrot Baby Food
Once you have the carrot puree blended to the consistency you want, let the mixture cool and then transfer into BPA-free storage containers or into an ice cube tray. I’ve been using silicone ice cube trays and these 4 oz glass storage containers. The ice cube trays are great for younger babies who aren’t eating as much volume because you can defrost one cube at a time. While the 4 oz jars are great for older babies who are eating more than 1 oz at a time.
We had the ice cube trays on hand and I just recently bought the WeeSprout glass storage containers that are specifically for baby food.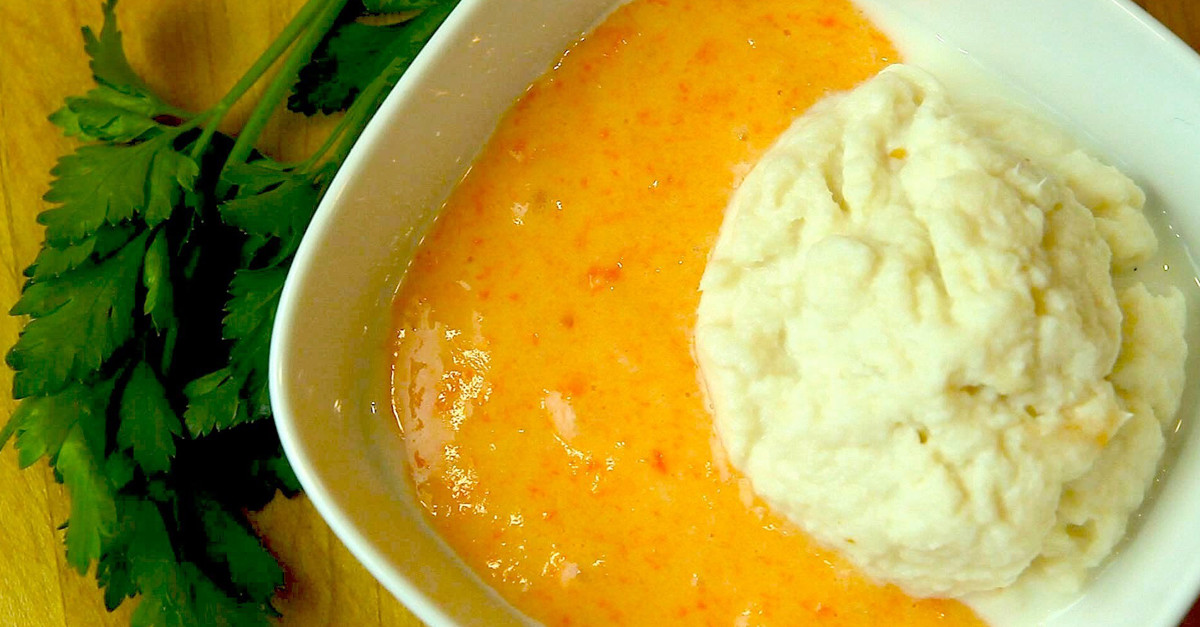 I like that they have measurements on the side of the jars and that they’re glass instead of plastic (no worry about BPA). They are also freezer, dish-washer and microwave-safe. Plus they come with colorful lids that you can write on with a dry eraser marker to note the item and date.
The fresh carrot puree will keep in the fridge for 3 days and in the freezer for up to 3 months.
Don’t Forget to Label
I highly recommend labeling any baby food you make before storing! It’s amazing how quickly you forget what day you prepped the food once it goes into the fridge or freezer. #mombrain
How to Reheat or Thaw Frozen Carrot Puree
To thaw frozen pureed carrots, I recommend taking the jar out of the freezer the night before you want to use it so it can defrost in the fridge overnight. If you need to use it right away, you can thaw it using a water bath. Some people will recommend microwaving the frozen puree using the defrost seating but I prefer these two methods:
- Defrost in the refrigerator: Place frozen puree cubes into a jar or baby’s serving dish, cover, and place in the refrigerator overnight.
 If you stored the puree in a jar or storage container, simply place the jar the fridge.
 - Water bath: Place frozen pureed cubes in a small container and set in another larger container with warm water. Replace the water as needed. Once defrosted, portion the food into individual bowls, cover, and refrigerate until serving.
Be sure to use any of the defrosted food within 48 hours of being defrosted and do not re-freeze.
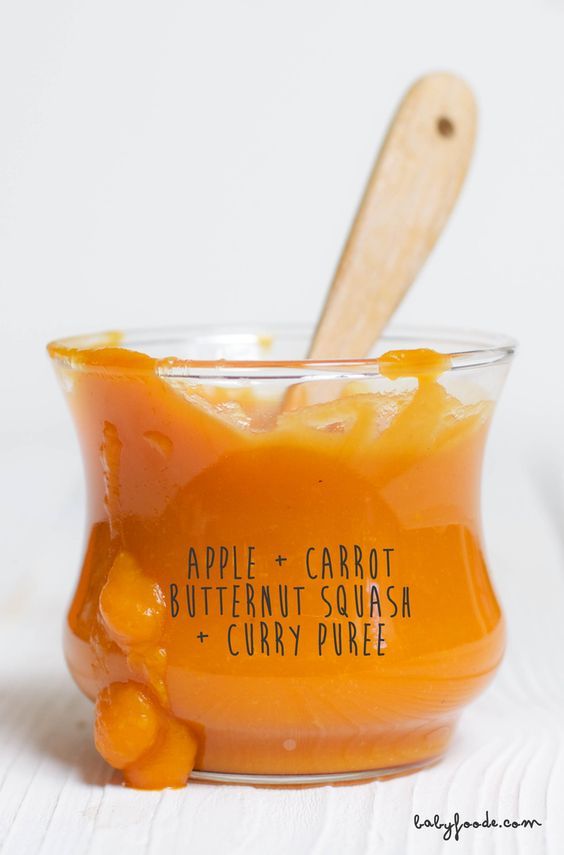
Baby Food Combinations with Carrots
Once your baby is ready for stage 2 foods that are combinations, you can blend different fruits and veggies into the carrot puree. Here are some ideas of foods and spices that pair well with carrots.
- Green veggies – peas, broccoli, green beans, zucchini, spinach
- Orange veggies – butternut squash, sweet potatoes
- Fruits – apples, peaches, pears
- Carbs – brown rice, lentils, quinoa
- Protein – beef, chicken
- Herbs and Spices – cinnamon, ginger, cardamom, cumin, paprika, nutmeg, curry, mint
More Baby Food Recipes and Resources
- Baby Oatmeal
- Introducing Solids to Baby
- 6 Baby Food Combinations (Stage 2)
- Sweet Potato Puree
- Avocado Puree
- Butternut Squash Puree
- Pea Puree
- Peach Baby Food
- Banana Puree
- Smash Cake
- Banana Pancakes For Babies
- Baby Yogurt Melts
Carrot Baby Food
4 from 40 votes
How to make carrot baby food by cooking and blending carrots into a smooth and creamy puree.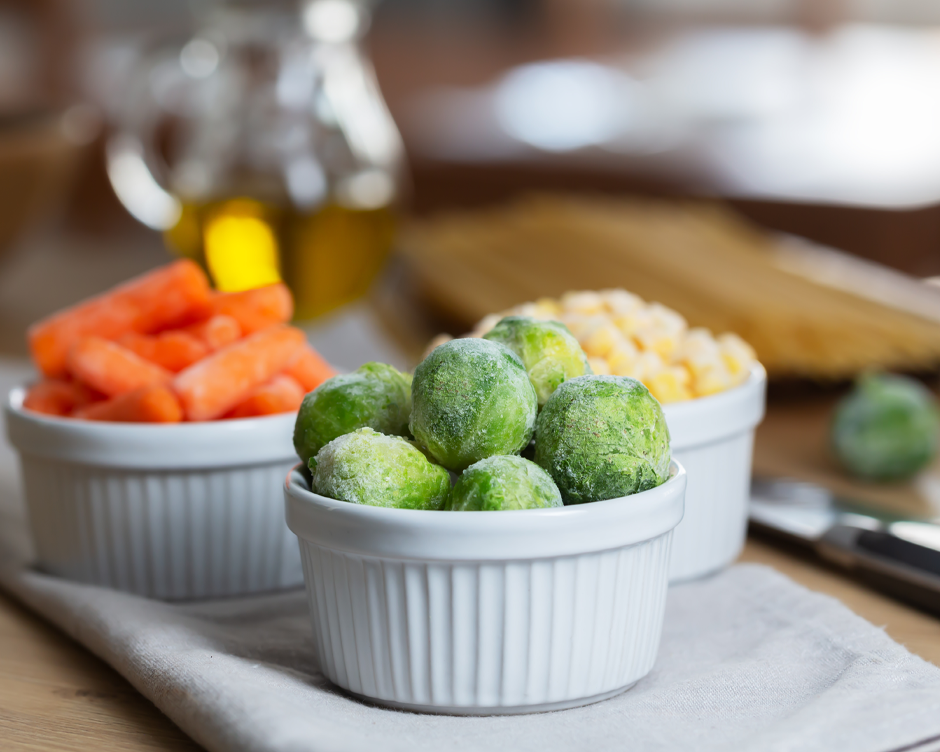 Carrot puree make a great stage 1 starter food for babies.
Print Recipe Pin Recipe
Prep Time 5 minutes
Cook Time 20 minutes
Total Time 25 minutes
Servings 12 oz
- 1 lb fresh organic carrots
- 1/4 – 1/2 cup breast milk, formula or water, to thin
- spices or herbs of choice, optional
Peel carrots and chop into chunks. Try to make the carrot chunks around the same size so they will finish cooking around the same time. The smaller the chunks, the faster they will cook.
Fill a pot with about 1 inch of water, add carrots to a steamer basket and place inside of the pot. Bring water to a low boil, cover with lid and steam carrots for 15-20 minutes, or until fork tender. The cook time will depend on the size of your carrots.
Once carrots are tender remove pot from heat and allow carrots to a cool a bit before transferring to a blender or food processor.
 Puree carrots in the blender or food processor, adding liquid (breast milk, formula or water) as needed to get the desired consistency. If using water, the water leftover from steaming or boiling the carrots works great.
Transfer carrot puree into storage containers and store in the fridge for 3 days or freezer for 1 month.
- You can boil or roast the carrots instead of steaming. See my tips in the blog post above.
Serving: 4oz Calories: 62kcal Carbohydrates: 14g Protein: 2g Sodium: 116mg Fiber: 4g Sugar: 9g
Author: Brittany Mullins
Course: Side
Cuisine: Baby Food
Keyword: carrot baby food
DID YOU MAKE THIS RECIPE?
Please leave a comment and star rating on this post and share on social media using the hashtag #eatingbirdfood. I love seeing your recipe shares!How to freeze carrots - recipe with step by step photos
go back
If the hostess is not too lazy and freezes carrots in the summer, devoting an hour and a half to this process, then in winter, preparing soup, pilaf or stew, she will thank herself.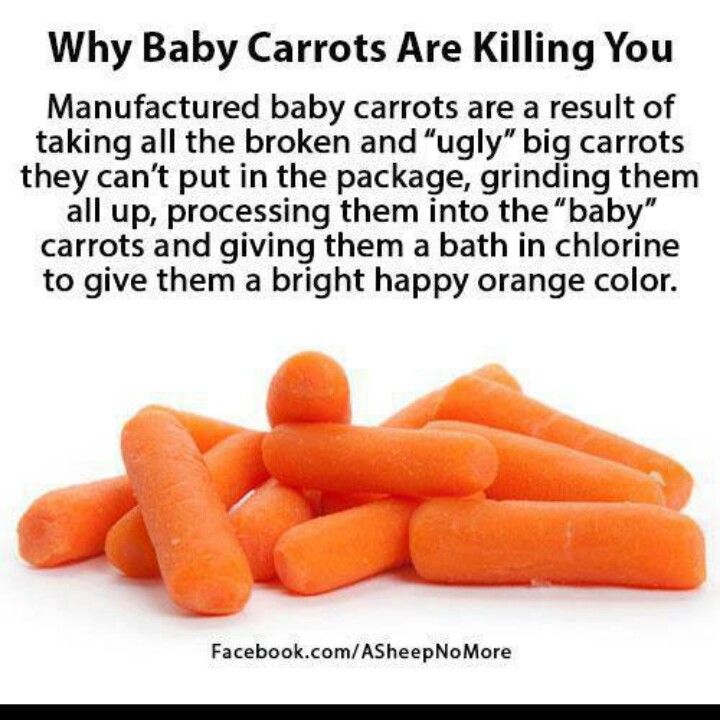 Carrots are washed, peeled and already cut - take it and add it to the dish. Beauty!
So what is the right way to freeze carrots?
Save this recipe to Telegram or VKontakte- General\Active cooking time: \
- Rating: 5 / 5 5 reviews Read more about the rating
★★★★★
5
Rate recipe
- Servings: 12 servings
- Calories (100g): 32 kcal
- Price: very economical
Ingredients:
- Carrots - 2 kg or any quantity
- Freezer container - 1 pc. any size
Preparation: Step 1
-
Well, now in detail about how to freeze carrots.
Make it a rule for yourself - when starting the process of freezing, stock up on ice in sufficient quantities.
 Carrots, like many other vegetables, are blanched in boiling water and then cooled in cold water with ice. Therefore, if you do not have these cold cubes, you risk overcooking the vegetable and losing its taste.
 The best root crops should be selected for freezing. Carrots should be of medium size, not sluggish or spoiled. If you have harvested carrots, and start freezing in a couple of days, then it is better to store the vegetable in the refrigerator or cellar, definitely in a cold place, in order to avoid the carrots withering and losing their taste.
Medium-sized carrots are ideal for cooking. It is easy to work with (clean, cut), it has already acquired a bright orange color, aroma and taste.
Small carrots are slightly paler in color and an order of magnitude inferior in taste. But the "babies" of carrots can also be frozen, whole, for example.
-
Step 2
Wash medium or small carrots without fail. Take water in a bowl and rinse the vegetable in a bowl or under running water, whichever is more convenient for you, but pay special attention to this process.
 All dirt, sand, debris - everything needs to be washed off. If dirt or clay has stuck to the carrots and it’s hard to just wash it off with your hands, then arm yourself with a vegetable brush - it will be much easier to wash.
 -
Step 3
Clean carrots should be peeled. Scrape off the top layer with a knife, cut off the ends on both sides and rinse in water.
While we are cleaning our carrots, you can put a pot of water on the fire.
-
Step 4
Next, cut the carrots into circles, stripes or cubes. The hostess must determine the form of cutting herself, depending on what dishes she will use the frozen vegetable. I chose circles and stripes 3 cm long. The thickness of all elements should be the same so that later they cook evenly in the dish. For example, circles 5 mm thick. etc.
-
Step 5
Transfer the carrot slices to a sieve and plunge into boiling water for 2 minutes. Blanch young whole carrots for 4-5 minutes.
-
Step 6
Carrot strips also blanched for 2 minutes.
-
Step 7
In the meantime, remove 6 to 12 ice cubes from trays and add to cold water.
-
Step 8
Carefully remove the carrots from the boiling water and cool in ice water.
-
Step 9
After drying on a clean kitchen towel, napkins or paper towels.
Do the same with the entire batch of carrots, remembering to bring the water back to a boil in the pot and add ice to the bowl of cold water.
-
Step 10
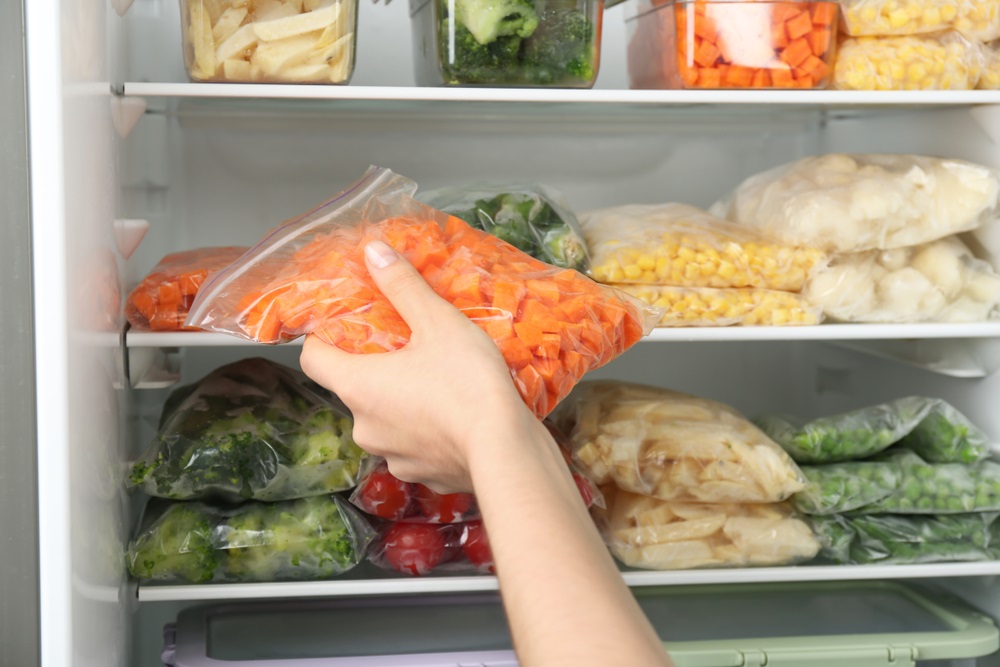
When all the moisture has drained from the carrots, they can be placed in the freezer. It is necessary to spread the carrots on the tray in an even layer and set to freeze for 2-3 hours.
Today's refrigerators and freezers have a "super freeze" mode, which allows you to freeze food much faster, and then arrange them in special containers (or bags) and store them for 10-12 months at a temperature of minus 18 degrees.
-
Step 11
When the carrot slices or strips are frozen, place them in trays for later storage (leaving a little space, as the carrots will expand when frozen) or arrange into bags, releasing excess air.
Be sure to stick a label and indicate that the package contains carrots (after all, you can confuse it with a pumpkin if you freeze it too) and the date of freezing.
Such carrots can be left unthawed and immediately added to dishes, continuing the cooking process. Frozen carrot sticks are suitable for cooking pilaf with meat and raisins or pilaf with chicken.
-
Step 12
I also freeze grated carrots.
-
Step 13
To do this, I simply grate unblanched peeled carrots on the coarse side of the grater. I pack a thin layer in bags with a lock (Zip-Lock), releasing excess air, and send it to the freezer.
-
Step 14
After about 3 hours, I take out the bags and, without opening them, “break” so that the carrots become crumbly in the middle of the bag.
 Thus, the carrots will not be one continuous layer and it will be possible to get it with a spoon, as much as necessary to prepare the dish. And don't forget to stick a label with the date of freezing.
 Grated frozen carrots are most often used for cooking stir-fry in first courses, such as soup with meatballs. You can also cook carrot cutlets. It is also not necessary to defrost the vegetable beforehand.
-
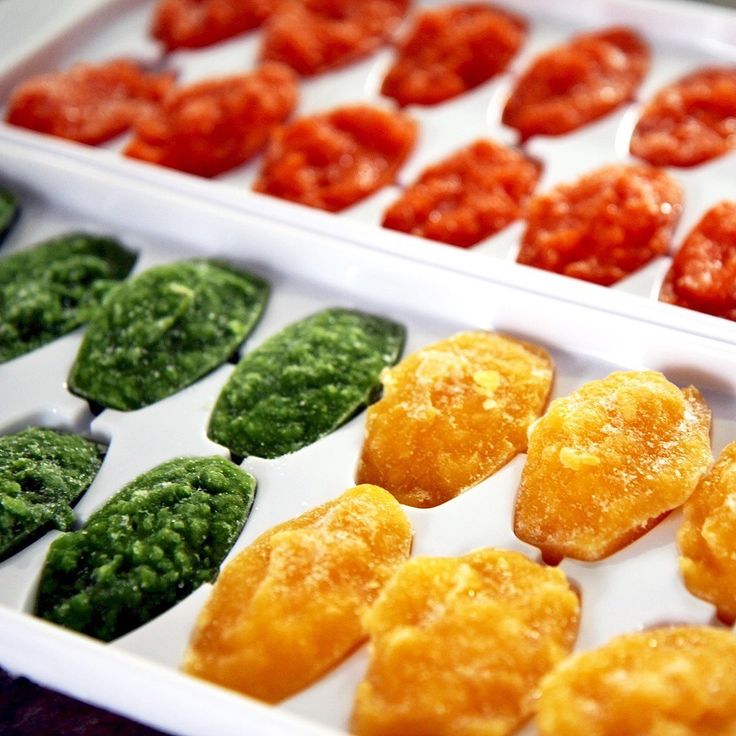
Step 15
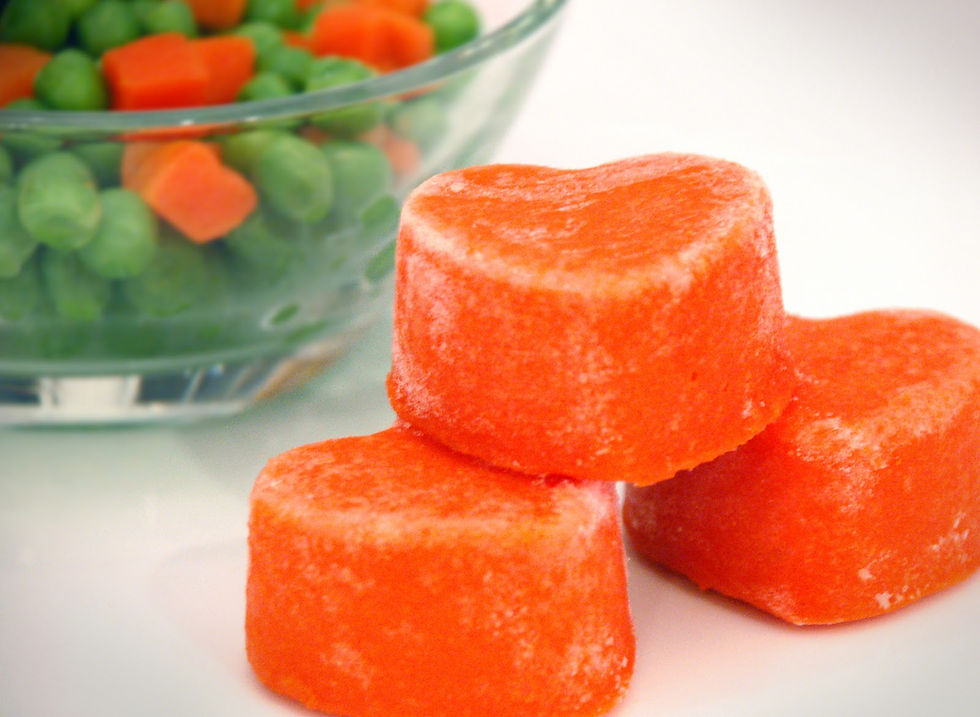
Carrots can also be frozen pureed in ice cube containers.
To do this, immerse the peeled and cut into large sticks of carrots in a pot of cold water. Transfer it to the fire and cook for an average of 25-35 minutes. Readiness to check with a knife or fork. If the flesh of the vegetable easily skips the knife, the vegetable is ready.
-
Step 16
Remove from heat, transfer the carrot pieces (without the liquid they were cooked in) to a blender bowl and puree until smooth. If you don't have a blender, use a food processor or grind through a fine sieve.
-
Step 17
Cool the puree by immersing the bowl of the blender in a bowl or saucepan of cold water. Rapid cooling is desirable. If you leave the puree to cool on its own, it will take longer and the mass may darken.
-
Step 18
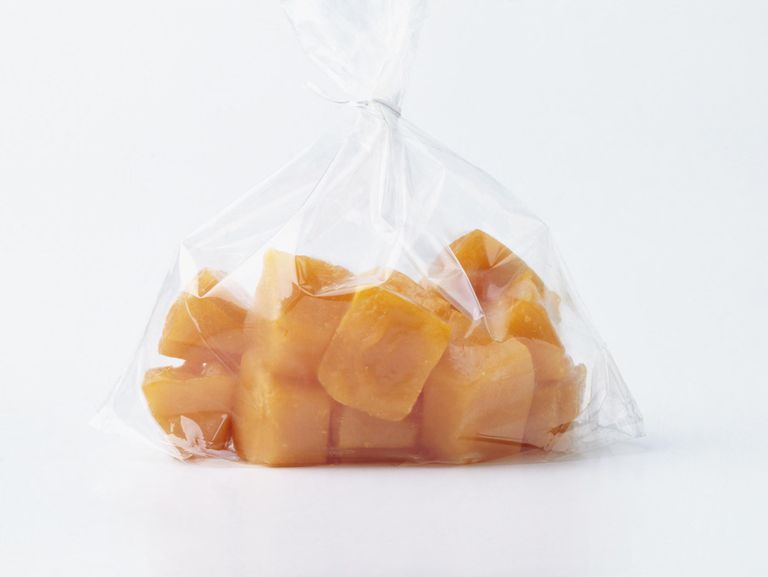
Transfer carrot puree to ice cube trays. Send to the freezer to freeze at minus 18 degrees.
-
Step 19
Take the carrot cubes out of the container and place them in a bag, sealing it tightly.
-
Step 20
This puree can be used to feed small children. After all, the topic of baby food is very relevant. Carrot cubes dissolve easily in cereals, mashed potatoes and milk. This will be a great vitamin supplement for your child.
For my 11-month-old baby, I made mashed potatoes and carrots with a steamed fishcake for dinner.
That's it for freezing carrots.
Categories: What to freeze in December
Author: Yulia Akhanova Save this recipe to Telegram or VKontakteDo you like these recipes?
Author: Yulia Akhanova
Freezing homemade baby food - Encyclopedia Baby Food
Viktoriya Levchuk©
There are some important guidelines for freezing baby food to follow, they are outlined on this page and there is even a diagram of the foods that can be frozen. We will show you how to freeze freshly made puree and store it. It will be interesting to read.
Good to know!
- Frozen baby food leftovers - what to do with them, we will find out in the article.
- Rubric Frozen food - all about baby food cubes.
- New thinking on allergens
Easy to use site map Baby Food Encyclopedia with a list of all articles and recipes.
How long do you keep baby food in the refrigerator or freezer?
Contents:
- Freezer: 4-6 months (ideally used within 1 month or 3 months)
- Refrigerator (fruits/vegetables): 24 hours
- Refrigerator (meat, poultry, fish eggs): 24 hours
For optimum quality and nutrient retention, store frozen baby food cubes in the freezer for no more than 1-3 months .
Frozen baby food is safe to use if kept in the freezer for about 3-6 months without thawing again.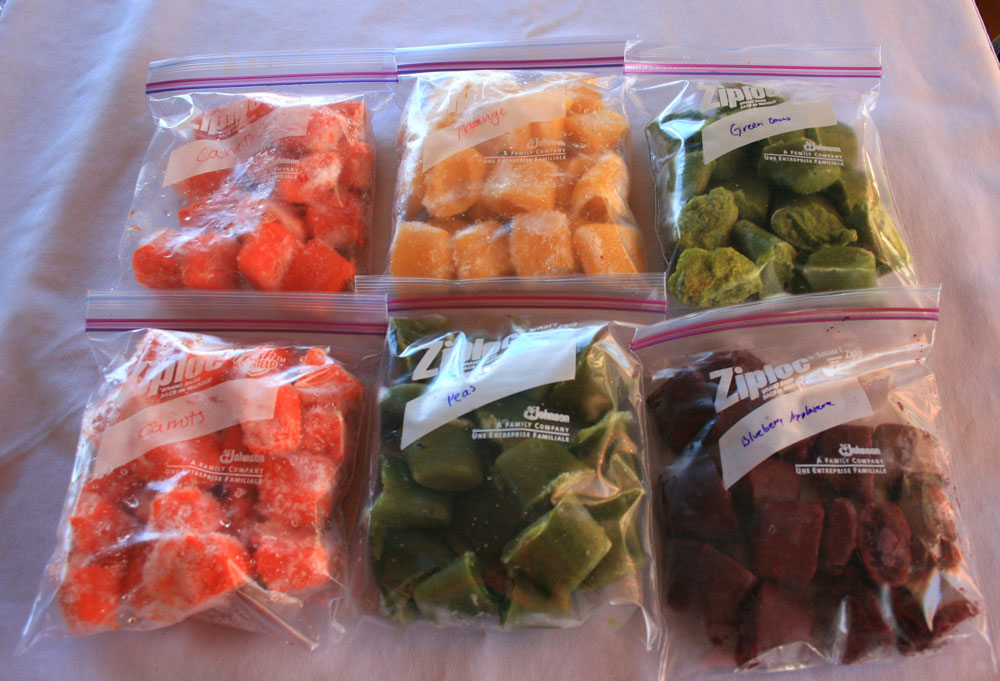 However, it is more reasonable to use them in the region of 1 month to 3 months inclusive. Due to the amount of water crystals that accumulate in baby puree, and the fact that nutrients and important substances can be leached/evaporated when thawed due to these same water crystals, it is wiser to use your frozen baby food whenever possible. - no more than 3 months of storage. However, it is best to use within the first month after freezing, we advise.
Most sources advise storing fruit and vegetables for 8 to 12 months in the freezer. This is mostly true of whole foods that are congealed in their natural state. This is also provided that the refrigerator compartment remains at a constant temperature below zero. Deep-freezing is best if you want to keep frozen food for a long time. However, it should be remembered that the instructions and recommendations for freezing food for long-term storage do not imply that the fruit or vegetable has been boiled and mashed.
How long can baby puree be kept in the refrigerator?
In the refrigerator, fresh pureed homemade baby food should not be stored for longer than 24 hours.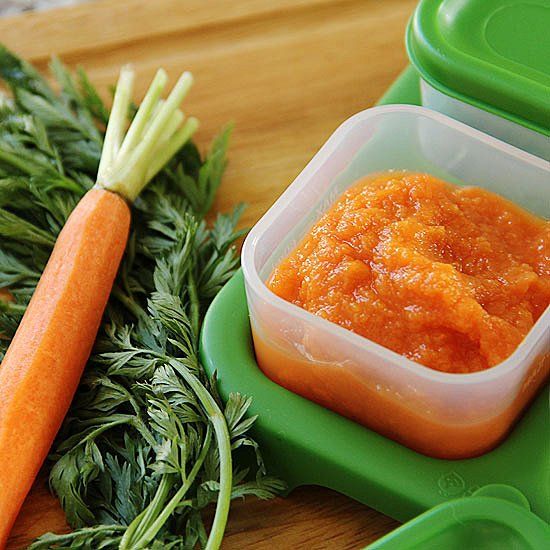 This limitation ensures that the growth of pathogens in the puree is kept to a minimum and that the food does not take on the “refrigerator flavor”. This "rule" applies to vegetables, fruits, meats, etc.
If it is not planned to freeze homemade baby food, then baby food for the baby is prepared every day if he is too small until 8-9months, or every other day, older than the specified age.
Why freeze baby food?
Save parent time, reduce food waste and ensure food safety.
For example, one potato was baked in the oven, and then the half was mashed and the other half was frozen.
Frozen vegetables or fruits are safe in baby food
Fruits and vegetables can be frozen. Using frozen fruits and vegetables is the second best option after eating fresh. The quick freezing process (food is frozen at a very low temperature and very quickly) actually preserves the nutrients optimally. Cooking destroys more important nutrients than freezing food. Contrary to myth, freezing food (particularly fruits and vegetables) does not destroy 100% of minerals and vitamins. The freezing process, subject to storage conditions at a constant temperature of zero degrees, does not contribute to the complete loss of nutrients and important substances - if this is the case, then most of the population is malnourished, since in winter we eat a huge amount of frozen foods.
Frozen vegetables not cooked at the time of packaging must be cooked before eating. Please remember to read the labels of frozen bags, as some brands of frozen vegetables may be pre-cooked.
One of the most frequently asked questions is "Can I use frozen fruits or vegetables for baby food and then freeze the puree?". Since there are no studies that show that repeated freezing is negative and / or can negatively affect health. The problem is that it is necessary to cook food from products that have been frozen once. But the reality is that a frozen product, going through all the stages from a fresh look to a frozen product in a refrigerator in a store, can survive several defrosting and freezing, as it was written earlier, it is through water crystals that nutrients leave. Therefore, purchased frozen vegetables and fruits must be carefully selected, and we would not recommend preparing baby food from them for subsequent freezing of baby puree. It is clear that sometimes parents have no choice and have to start complementary foods with purchased frozen food, so we carefully choose the packaging and the manufacturer, without holes, without pieces of ice.
For example, from frozen vegetables (home-made or a good quality store-bought bag) that were raw when frozen, we cook a roast, we freeze the leftovers of the roast and use it for its intended purpose next time, but it is not worth freezing the roast after the last defrosting.
Why not refreeze
Do not refreeze thawed food, this is a correct statement. Re-freezing a defrosted product can affect the quality and taste (and possibly nutritional value) of the product, and when it is thawed, pathogenic bacteria may begin to multiply. It is always necessary to prepare defrosted food before re-freezing. The preparation of a thawed product then allows it to be re-frozen in a single cycle. Storing a bag of frozen fruits or vegetables makes food preparation a quick and easy solution. You do not need to defrost the whole package, just get the required amount of the product, and leave the rest in the freezer.
The easiest way to freeze baby puree is to spread it with a spoon in an ice mold, cover with plastic wrap so that there is no air access.
Before using the ice molds, they must be thoroughly cleaned with soap and boiled water. Some parents even immerse their ice molds in boiling water for sanitization (Note: Make sure the sanitization is suitable for the molds before use.)
There are many benefits to storing your child's homemade food in an ice mold:
- Each cube is about the same size, which allows parents to determine the amount of food the child consumes.
- Minimal waste by using only 1 cube at a time and not having to waste a lot of food.
- Another advantage is that the ice molds are close at hand and you don't have to go out and buy them.
- The time spent in the kitchen is significantly reduced.
You can transfer baby puree cubes to freezer bags, freeing up molds for the next batch of food and also freeing up some freezer space.
Do not forget about the marking of packages with cubes of baby puree, write the date of freezing and the type of puree. This will help you quickly remove the cube from the package, as well as monitor their expiration date.
Ice crystals on baby food cubes
Don't worry if ice crystals are visible on baby food cubes. It's not frostbite, but excess liquid used in mashing that rises and solidifies at the top of the cubes. These crystals or frost are not dangerous and will not make baby puree cubes inedible or harmful.
Frostbite - what is it and how to determine?
Frostbite looks like greyish brown spots on frozen food.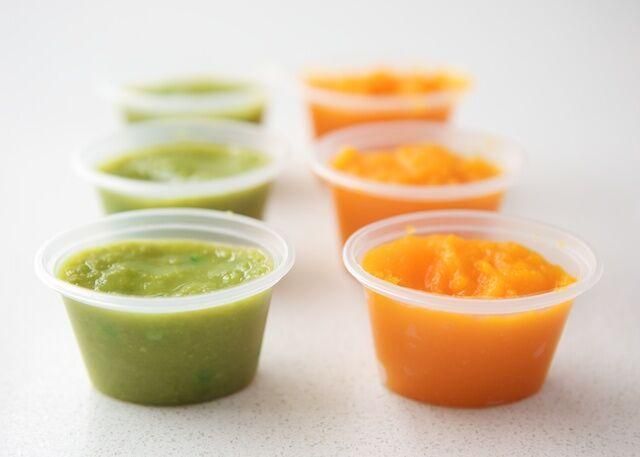 It looks like a leathery type of texture and is easily noticeable. Crystals on frozen foods are not frostbite, but are the result of excess liquid during the freezing process and the formation of ice crystals.
Frostbite does not make frozen foods bad or harmful; it just makes the affected areas very dry. The only thing that can suffer in food that is frostbitten is the quality. You can cut off frostbitten areas and use the undamaged area of food. Frostbite is the result of excess air in a frozen bag that sinks onto food. Eliminate air pockets in bags to help stop frostbite.
Can glass baby food freezer jars or baby food jars like Frutonyanya or Gerber be used? and also such banks are prone to rupture. Baby food jars are not manufactured for freezing or extreme heating. There are glass jars for freezing food in them, but they can be hard to find. Many people freeze in baby food jars, but I'm not a fan of this at all. After all, food is made for the baby because we want to give him the best healthy food; Do you really want to take the risk and freeze baby food in glass jars?
There are certain plastic jars that are specially made to withstand high temperatures and/or freezing.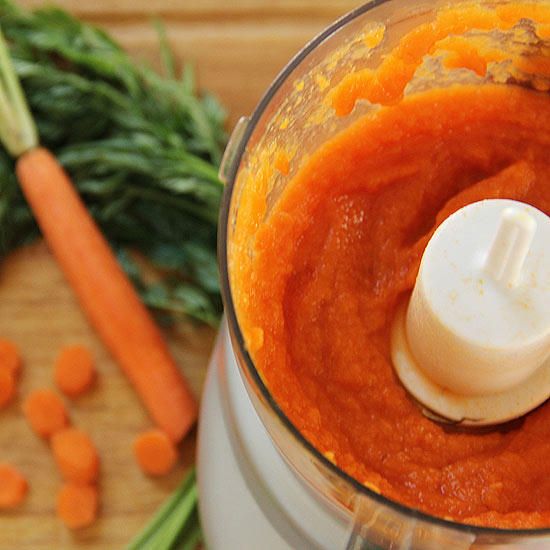 Therefore, it is best to use plastic containers or ordinary thick plastic bags, convenient and simple. There are also special freezer bags with a zip clip - an interesting option.
Can previously frozen breast milk or formula be used to make vegetable or fruit purees?
Do not use previously frozen breast milk to prepare puree to freeze later this baby food.
Breast milk must never be refrozen in any shape or form.
Milk formula
You can freeze puree to which defrosted milk formula has been added. However, formula should not be frozen in bottles or cans. It is impossible to add the mixture to the previously frozen mixture and freeze it. If frozen milk formula is used for mashing, then it is necessary to freeze it at a time without defrosting. Freezing milk formula causes separation of fats and liquids, and the texture suffers accordingly. Although there is no health risk, the same happens with breast milk and cow's milk, the texture and quality suffer a little.