Homemade baby food squeeze pouches
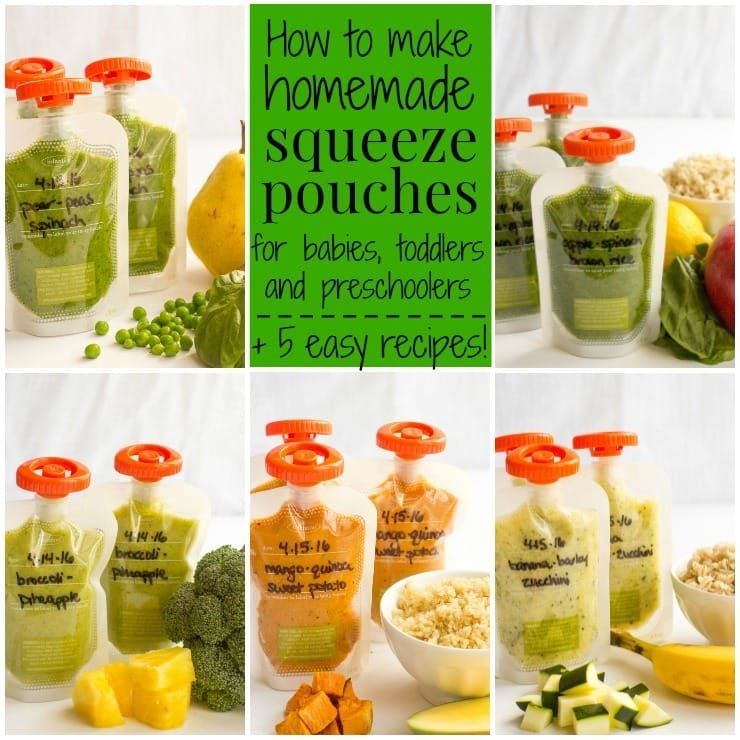
Homemade baby food pouches {how-to and 5 recipes}
Portable, squeezable and with lots of flavor options, homemade baby food pouches are easy to make and a great way to serve healthy fruits, vegetables and whole grains to your little ones!
I made ALL of the baby food for both of my little ones. Which was no small feat because they were very hearty eaters. A good thing, but whew, kept me busy in the kitchen!
I always made big batches of purees, to knock out a bunch at a time, and inevitably, I’d be left with extras when they were moving onto finger foods and self-feeding.
So I started turning those purees into homemade baby food pouches.
(I also have tons of other ideas of ways to use leftover baby food – I didn’t want to waste a bit!)
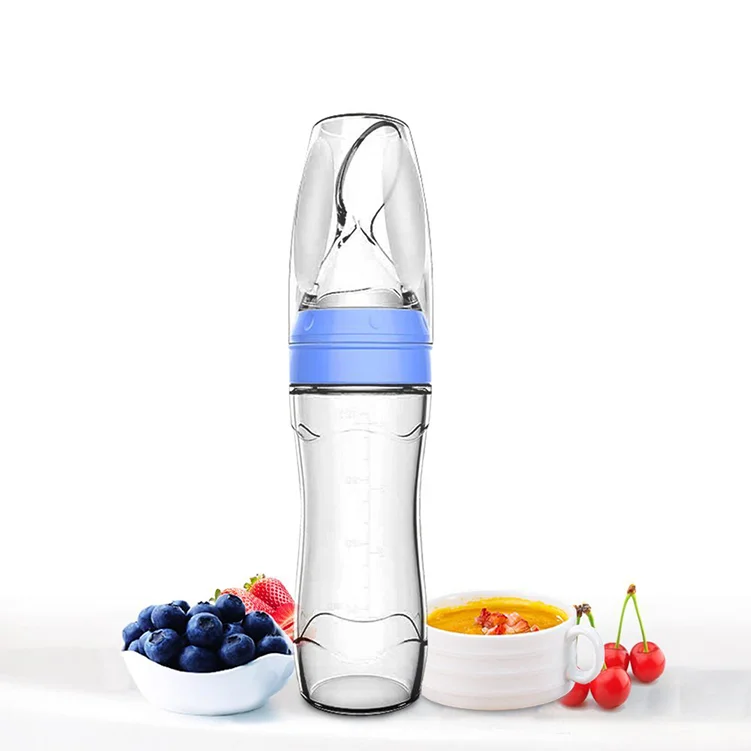
You can of course buy squeeze pouches in the store.
They have lots of different kinds of applesauce mixes, yogurt squeezies, and fruit and veggie combinations.
But you can make your own so quickly, easily and for much less money. Plus, you can customize them to your little one’s liking and feel good that you’re controlling the ingredients.
My kids are older now – M is 5 next week (yikes!) and J is coming up on 3 – but they still love these squeezies. M says she has lots of friends who bring them for lunch, so she’s always asking for me to send them to school.
And I’m happy to.
I love that it’s an easy way to ensure they are eating their veggies. They will take down one of these pouches in a matter of minutes but they don’t always dig into a big bowl of peas or a plate full of broccoli. #yet #Iwontgiveup
So today I’m giving you the run-down on what I use, how it works and five easy homemade squeezie combinations to get you started. (Check out these 5 additional homemade baby food pouches for more ideas!)
Equipment for baby food pouches
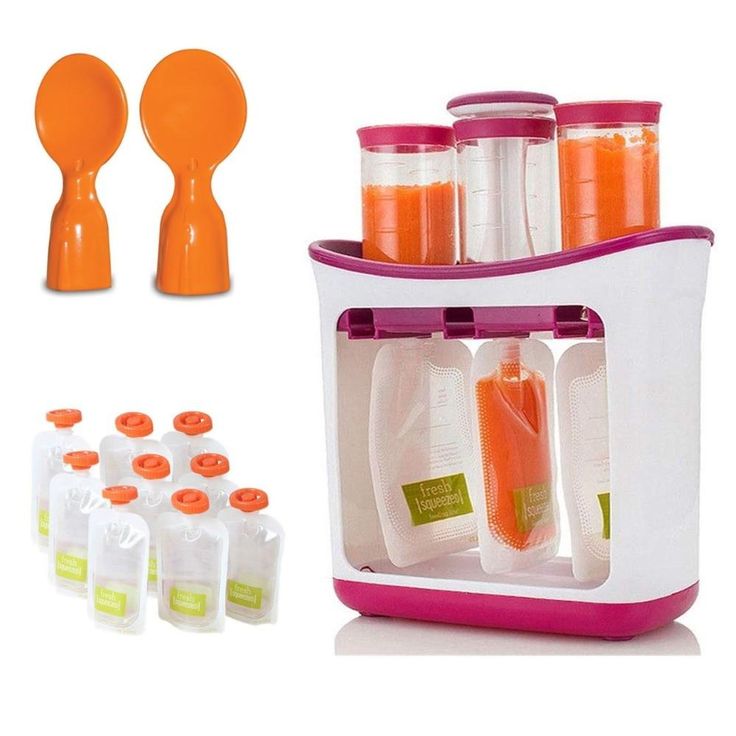
I have the Infantino Squeeze Station and it’s been great. It’s the only specific baby food equipment I’ve bought and was definitely worth it.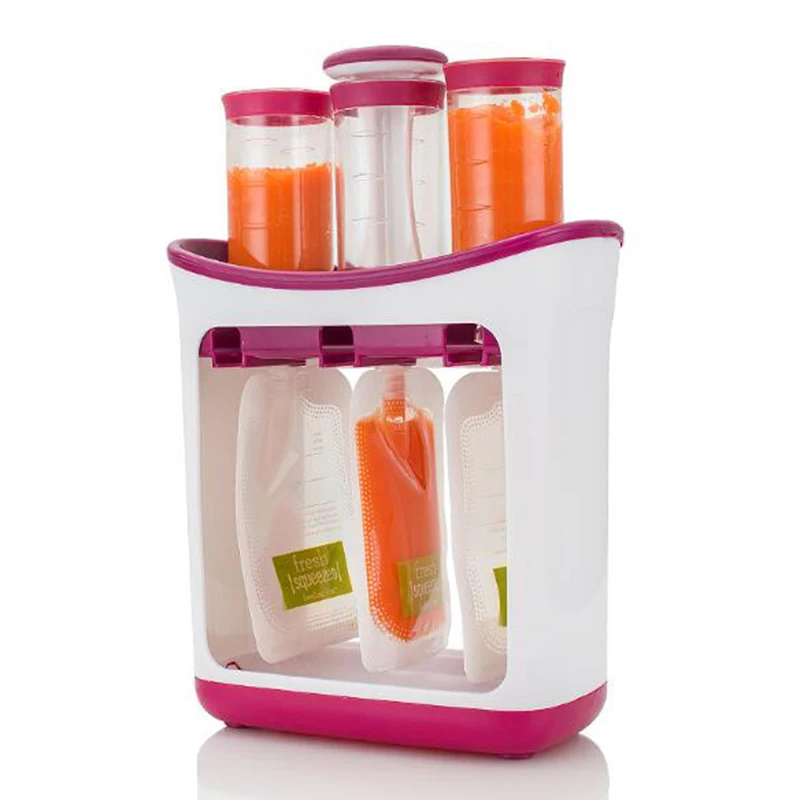
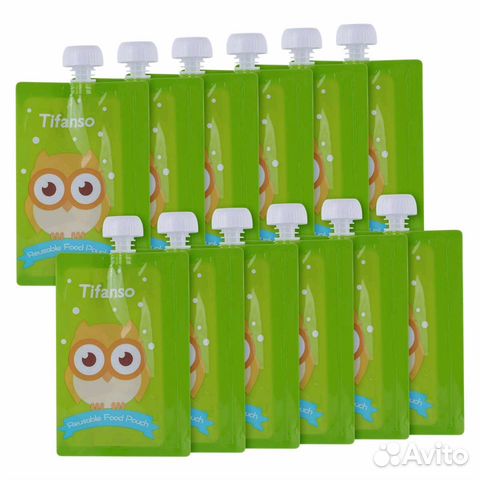
You’ll also need to buy refill pouches (they come in batches of 50 and you will go through them!)
They have other accessories, but I’ve stuck to these basics so far.
You’ll also need an immersion/hand blender or regular blender to make the purees to put into the squeeze pouches.
How to make baby food squeeze pouches
You set up the squeeze station by inserting three pouches into the bottom (they fit through some grooves and sort of snap in.) Then you put the empty containers on top and screw them onto the bags.
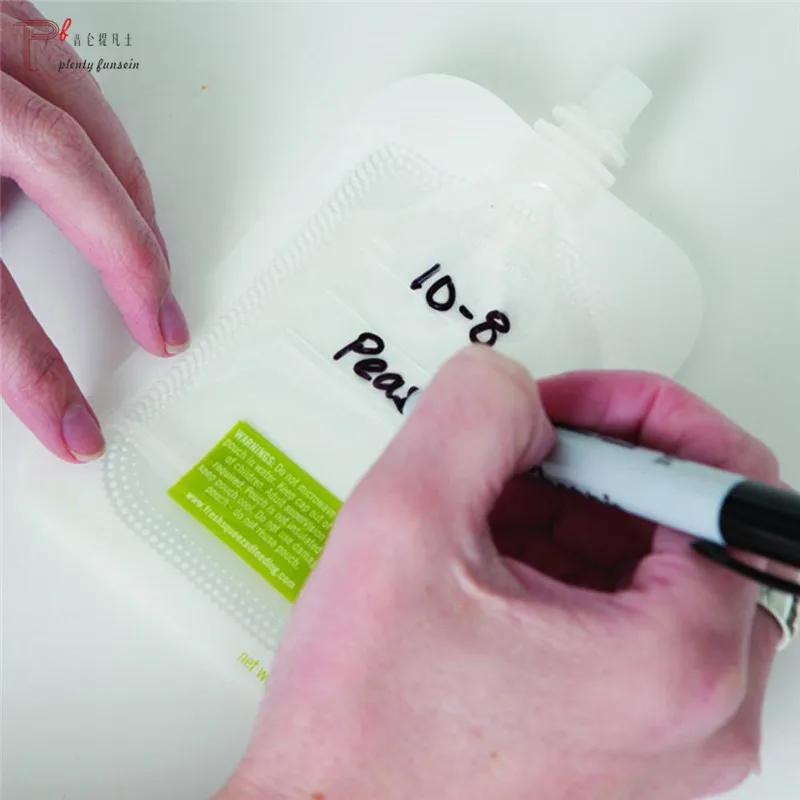
Note: Be sure to write the contents and date on your bags before you start to fill them. Much easier than after they’re done.
Next, you spoon your puree mix into each container, filling it almost to the top. You use the press tool and push the puree down into the pouch. It’s a weirdly gratifying feeling.
If the mixture gets stuck or won’t push, you probably have a small chunk in your puree that got caught in the hole. Just unscrew your tube, dump the contents back into your blender and reblend (or pick out the offending piece if you see it).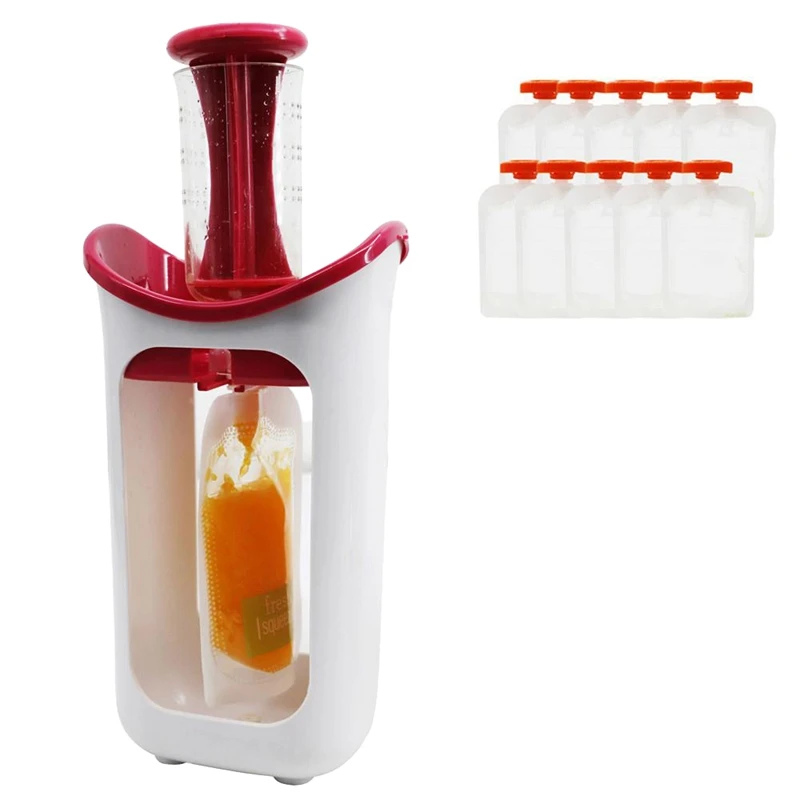
After the bags are filled, unscrew the tubes and carefully pull the bags out. Twist on the orange top and voila!
You can keep them in the fridge for a couple of days or pop them straight into the freezer to have on hand later.
It’s really easy and actually, really fun!
Notes about baby food pouch combinations:
- Add 1 tablespoon lemon juice to all of these to help preserve them. The only exception is the pineapple-broccoli mixture. The citrus from the pineapple is enough on its own.
- You can keep the peels on the pears and apples, just be sure to puree them very well so pieces don’t get stuck and prevent the mixture from going into the squeezie bags.
- The vegetables and grains need to be cooked and soft, so plan ahead. Or use leftovers. These can be a great way to use up scraps and reduce food waste.
- If any of your mixtures seem too thick (because the water content of fruits and veggies can vary), just add a bit of applesauce or a splash of water to the blender until its thin enough.

- Each pouch holds about 4 ounces. Most of these batches for me make about 3 squeezies worth. You can of course always double up if you want to knock out a bunch. They freeze great, so you might as well!
Check out the recipes below and get to making some baby food pouches. I hope your little one enjoys!
(And let me know if you want to see another round-up like this – we have lots of other flavor combinations we’ve made over the years that I can share!)
XO,
Kathryn
Prep Time 15 minutes
Total Time 15 minutes
Ingredients
For the apple-brown rice-spinach pouches:
- 1 apple, core removed and roughly chopped
- 1/2 cup cooked brown rice
- 1 cup packed fresh spinach leaves (raw)
- Juice of 1/2 lemon
For the pineapple-broccoli pouches:
- 1 cup cut pineapple (thawed if frozen)
- 2/3 cup cooked broccoli florets
For the mango-sweet potato-quinoa pouches:
- 1 ripe mango, peeled, seed removed and roughly chopped
- 1/2 cup cooked sweet potato
- 1/2 cup cooked quinoa
- Juice of 1/2 lemon
For the banana-barley-zucchini pouches:
- 1 ripe banana
- 1/2 cup cooked barley
- 1/2 cooked chopped zucchini
- Juice of 1/2 lemon
For the pear-peas-spinach pouches:
- 1 ripe pear
- 1/2 cup cooked peas
- 1 cup raw spinach
- Juice of 1/2 lemon
Instructions
- Make sure all of your grains and veggies are cooked, if indicated.
- Combine all ingredients for each pouch combination in a blender or immersion blender and blend until it’s a smooth, pourable consistency. (See notes.)
- Label your bags, set up your station and add the mixture to the squeeze station containers, filled to the indicated line. Push down with the press tool and fill each bag. Remove the bags from the station and twist on the tops.
- Store pouches in the refrigerator for 2-3 days or in the freezer for up to 3 months. To defrost, simply move the pouch to the refrigerator - it thaws in less than a day.
Notes
Add 1 tablespoon lemon juice to all of these to help preserve them. The only exception is the pineapple-broccoli mixture. The citrus from the pineapple is enough on its own.
You can keep the peels on the pears and apples, just be sure to puree them very well so pieces don’t get stuck and prevent the mixture from going into the squeezie bags.
The vegetables and grains need to be cooked and soft, so plan ahead.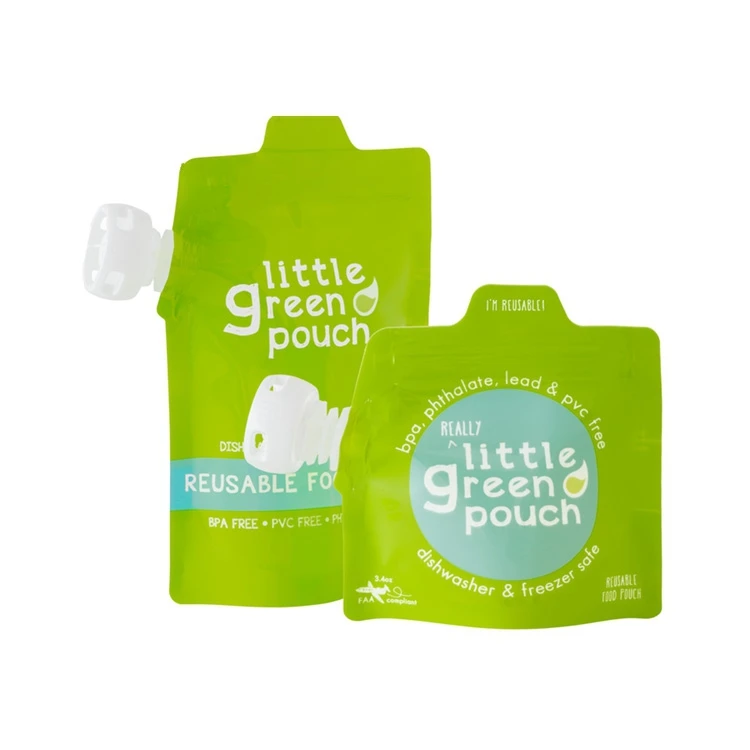 Or use leftovers. These can be a great way to use up scraps and reduce food waste.
If any of your mixtures seem too thick (because the water content of fruits and veggies can vary), just add a bit of applesauce or a splash of water to the blender until it's thin enough.
Each pouch holds about 4 ounces. Most of these batches for me make about 3 squeezies worth. You can of course always double up if you want to knock out a bunch. They freeze great, so you might as well!
Here are 5 more homemade baby food pouches if you want more flavor/combination ideas!
Nutrition Information:
Yield:
3Serving Size:
1 pouchAmount Per Serving: Calories: 50
The different varieties will yield different nutrition information.
5 more homemade baby food pouches
These homemade baby food pouches are portable, squeezable and a great way to serve healthy fruits, vegetables and grains to your baby, toddler or preschooler.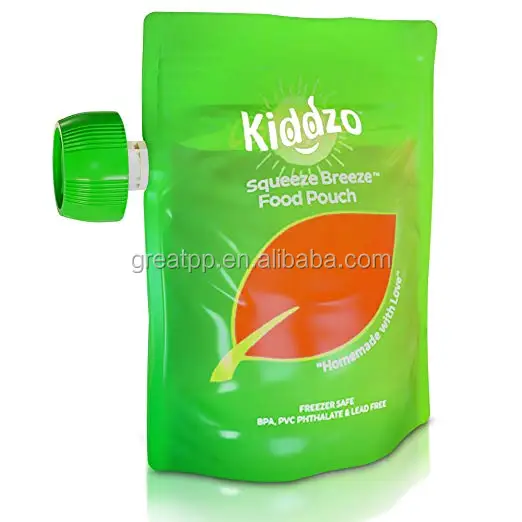 Includes 5 easy recipes and tips on making the pouches.
So, I made ALL of the homemade baby food for both my kids. Never bought a single jar.
Now there’s absolutely nothing wrong with some store-bought help — and you know I don’t judge for taking shortcuts; we parents have enough on our plates — but that was kinda my thing and I’m nothing if not stubborn. And maybe a little controlling. 😂
So when they made the transition to finger foods, I didn’t want to throw out all of that baby food I worked so hard on!
I got creative by adding some leftover purees to smoothies, sauces and more. (Check out ALL my ideas for ways to use leftover baby food.)
And since they still loved the same flavors and foods, I started making homemade baby food pouches.
Their favorite baby food combinations could go right into the pouch that their precious little chubby hands could hold so that they could feed themselves. Win win!
I shared my original how-to and 5 easy recipes for homemade baby food squeeze pouches and you guys have loved them!
I’ve had tons of requests to share more combination ideas, which I had always meant to do.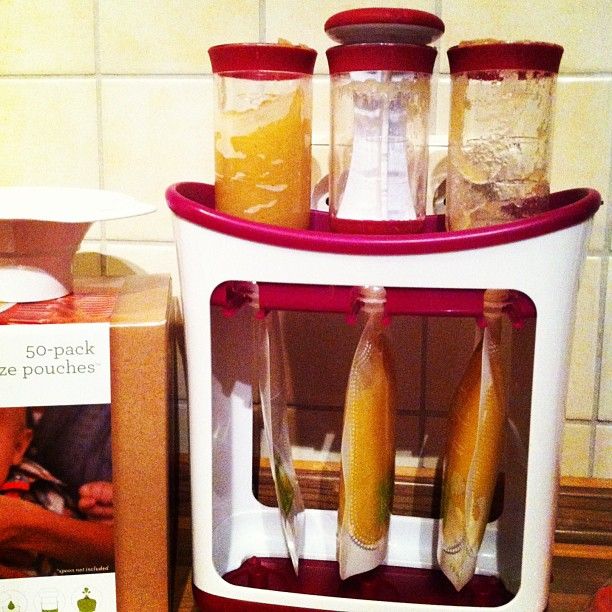 And I’m finally getting around to it!
Now, you can of course buy squeeze pouches in the store.
They have lots of different kinds of applesauce mixes, yogurt squeezies, and fruit and veggie combinations.
But you can make your own so quickly, easily and for much less money. Plus, you can customize them to your little one’s liking and feel good that you’re controlling the ingredients.
(Yup, I think I must be a total control freak. 🤷♀️)
Squeeze pouches are also a great way to get in some fruits, veggies and whole grains that your baby might not be as eager to pick up as whole finger foods.
For instance, my kids would chow down on some broccoli and pears puree when being spoon fed, but they weren’t exactly eager to pick up and eat broccoli florets by themselves.
So, I kept up with some of the purees and made them into these self-serve baby food pouches!
Today’s round of recipes includes 5 more ideas for delicious, healthful and kid-friendly mixes that will ensure your baby, toddler and/or preschooler keeps getting some well-rounded nutrition.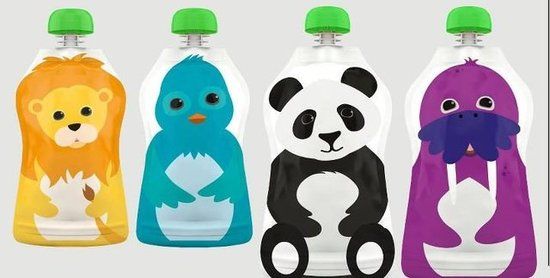
Here’s what we’re making:
- Apple and carrot
- Broccoli and apple
- Blueberry, banana and quinoa
- Black beans, blackberries and pears
- Pumpkin, apricot and chickpeas
You can choose to try any or all of these.
They are great to have on hand in the fridge or freezer to pull out for snack time, with lunches, sending to day care or just taking with you on the go. (They travel great!)
Hopefully you’ll find some new favorites for your little one! ❤️
Now, I’ve got some notes and tips coming up below on how to make homemade baby food pouches. Just tryin’ to be helpful.
Especially because it can be intimidating when you first start out. After you get the hang of it, you’ll be able to whip these up in no time and I bet you’ll start making up your own combinations.
If you want to jump on down to the recipes, simply scroll right on through the rest of the text. The recipe card is near the bottom of the page, above the comments section.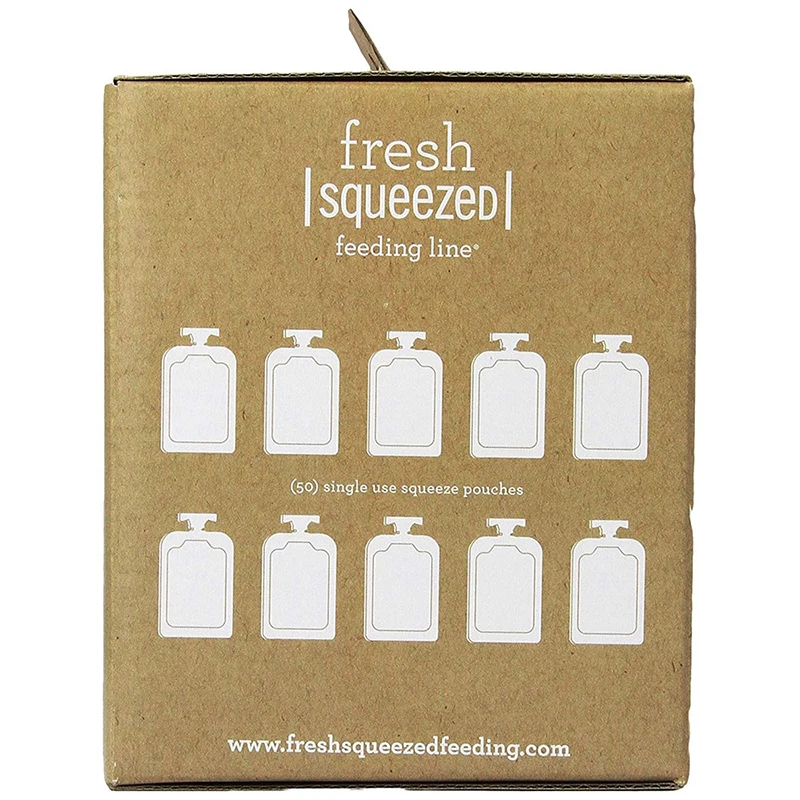
How to make homemade baby food pouches:
- The Infantino Squeeze Station is a really great, easy way to make pouches at home. It’s the only specific baby food equipment I’ve bought and was definitely worth it. (Bonus: it’s usually available for less than $20. You’ll save that much in just a few batches of making these yourself!)
- You’ll also need to buy refill pouches (they come in batches of 50 and you will go through them!)
- You’ll also need an immersion/hand blender or regular blender to make the purees to put into the squeeze pouches.
- See my earlier post on how to set up and use the baby food squeezie station if you’re new to using it.
OK, now we are ready to get these knocked out!
Tips on making homemade baby food pouches:
– Adding about 1 tablespoon of fresh lemon juice to each of these puree mixes helps preserve them. If you plan to use yours within a couple of days, you can skip this.
– You can keep the peels on the pears and apples, just be sure to puree them very well so pieces don’t get stuck and prevent the mixture from going into the squeezie bags.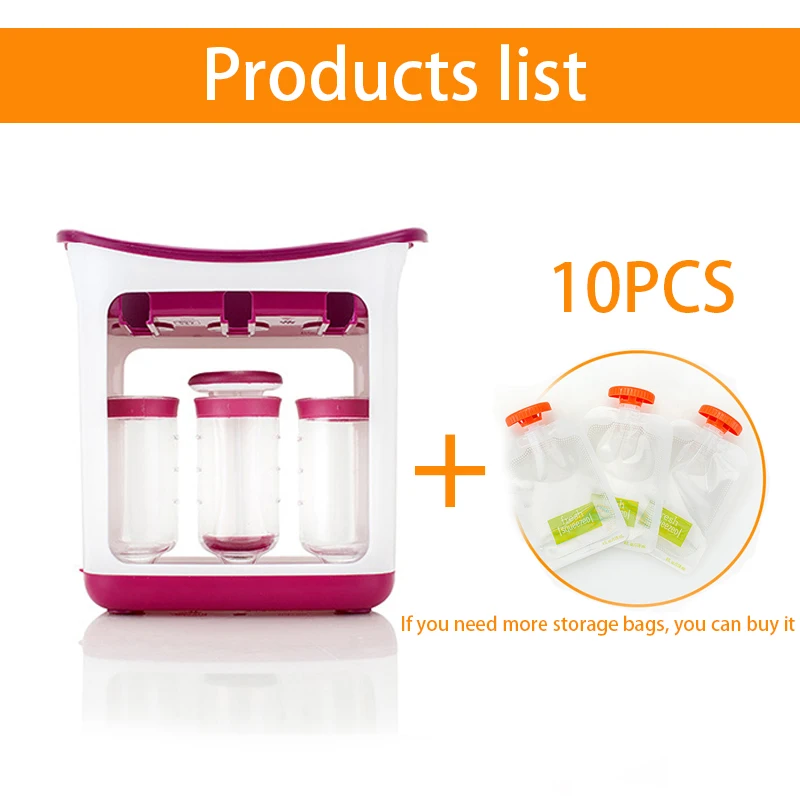
– The vegetables and grains need to be cooked and soft, so plan ahead. Or use leftovers. These can be a great way to use up scraps and reduce food waste.
– If any of your mixtures seem too thick (because the water content of fruits and veggies can vary), just add a bit of applesauce or a splash of water to the blender until its thin enough.
– Each pouch holds about 4 ounces. Most of these batches make about 3 squeezies worth. You can of course always double up if you want to knock out a bunch at a time. They freeze great, so you might as well!
Speaking of storage…
You can keep the baby food pouches in the refrigerator for 2-3 days or pop them straight into the freezer to have on hand for later.
Let them thaw in the refrigerator (they’ll thaw in less than a day) and then serve.
Oh, and these should all be served cold or at room temperature; they aren’t meant to be heated.
I hope that helps answer some of your questions and inspires you to make some homemade squeeze pouches yourself!
XO,
Kathryn
P.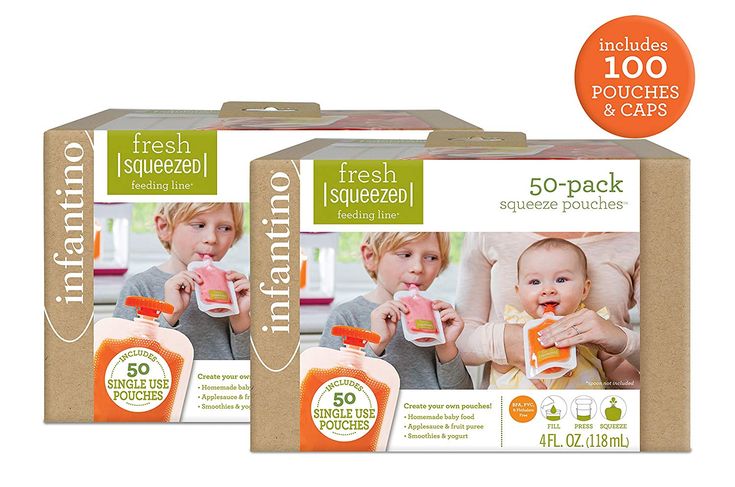 S. Does your baby or toddler love any specific food combination, whether one of these or something else? Leave a comment below so we can all get some new ideas!
Prep Time 15 minutes
Total Time 15 minutes
Ingredients
For the apple and carrot pouches:
- 3/4 cup cooked carrots (I use frozen and follow the package instructions)
- 1 small apple, cored and roughly chopped (or about 3/4 to 1 cup unsweetened applesauce)
- juice of 1/2 lemon
For the broccoli and apple pouches:
- 1/2 cup cooked broccoli florets
- 1 small apple, cored and roughly chopped (or about 3/4 to 1 cup unsweetened applesauce)
- juice of 1/2 lemon
For the blueberry, banana and quinoa pouches:
- 1/2 cup fresh blueberries (or frozen, thawed)
- 1/2 cup cooked quinoa
- 1 small ripe banana
- juice of 1/2 lemon
For the black bean, blackberry and pears pouches:
- 1/2 cup cooked black beans (rinsed and drained if from a can)
- 1/2 cup fresh blackberries (or frozen, thawed)
- 1/2 cup fresh or canned pears
- juice of 1/2 lemon
For the pumpkin, apricot and chickpea pouches:
- 1/2 cup canned pure pumpkin puree (not pumpkin pie filling)
- 1/2 cup apricot puree
- 1/2 cup pureed chickpeas
- juice of 1/2 lemon
Instructions
- Make sure all of your grains and veggies are cooked, if indicated.
- Combine all ingredients for each pouch combination in a blender or immersion blender and blend until it’s a smooth, pourable consistency. (See notes.)
- Label your bags, set up your station and add the mixture to the squeeze station containers, filled to the indicated line. Push down with the press tool and fill each bag. Remove the bags from the station and twist on the tops.
- Store pouches in the refrigerator for 2-3 days or in the freezer for up to 3 months. To defrost, simply move the pouch to the refrigerator - it thaws in less than a day.
Notes
Adding about 1 tablespoon of fresh lemon juice to these helps preserve them. If you plan to use yours within a couple of days, you can skip this.
You can keep the peels on the pears and apples, just be sure to puree them very well so pieces don’t get stuck and prevent the mixture from going into the squeezie bags.
The vegetables and grains need to be cooked and soft, so plan ahead. Or use leftovers. These can be a great way to use up scraps and reduce food waste.
If any of your mixtures seem too thick (because the water content of fruits and veggies can vary), just add a bit of applesauce or a splash of water to the blender until its thin enough.
Each pouch holds about 4 ounces. Most of these batches make about 3 squeezies worth. You can of course always double up if you want to knock out a bunch.
Storage tips: You can keep the baby food pouches in the refrigerator for 2-3 days or pop them straight into the freezer to have on hand later. Let them thaw in the refrigerator (they’ll thaw in less than a day) and then serve.
These should be served cold or at room temperature; they aren’t meant to be heated.
Equipment: The Infantino Squeeze Station is a really great, easy way to make pouches at home. It’s the only specific baby food equipment I’ve bought and was definitely worth it.
You’ll also need to buy refill pouches (they come in batches of 50 and you will go through them!)
You’ll also need an immersion/hand blender or regular blender to make the purees to put into the squeeze pouches.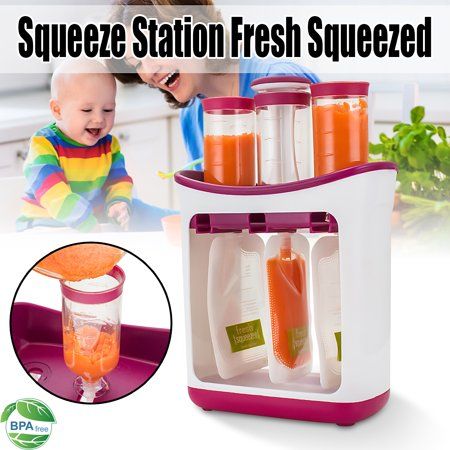
See my post on how to set up and use the baby food squeezie station if you’re new to using it.
Nutrition Information:
Yield:
3Serving Size:
1Amount Per Serving: Calories: 50
The different combinations will yield different nutrition information.
Five affordable options for seed storage
Once you have purchased and prepared the seeds of your favorite varieties for the next summer season, it's time to think about how to organize their storage. Five simple ideas will help protect your seed from the elements and provide easy access to your seed collection.
Contents
- Organizer with small compartments
- Baby food jars
- Sealable bags
- Paper envelopes
- Divided file binder
Organizer with small compartments
A similar type of container is sold in sewing stores, on the Internet at AliExpress and Ozon. You can find them in the "Organizers" or "Storage Cases" sections.
This case is quite easy to make with your own hands.
You will need any cardboard box with a lid and thick paper to divide the internal space into cells.
Baby food jars
In glass jars with a screw cap, the seeds are reliably protected from moisture, so in winter they can be placed not only in the apartment, but also in the country.
But there is one important nuance here: only well-dried seeds can be placed in such jars, otherwise mold will appear.
Containers with metal lids also reliably protect grains from small pests and rodents.
Sealable bags
Small plastic zip bags will take up the least amount of space in your storage.
The fastener consists of two plastic strips, one of which is pressed into the other, preventing the contents from spilling out.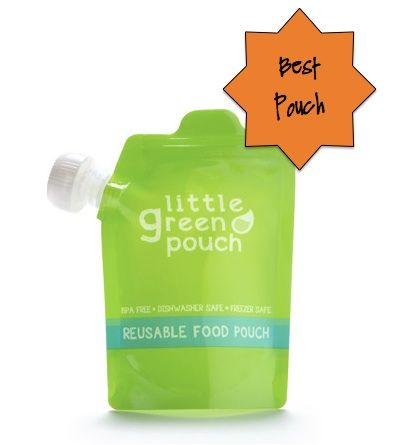
Advantages of zip bags: wide range of sizes, ease of closing, reusability, low cost.
Paper envelopes
This is the simplest budgetary way to store seed. All possible options will do: small souvenir, postal envelopes, wrappers from tea bags, homemade from newspapers or old notebooks.
Seeds in paper packaging should be stored in a dry place. Envelopes can be waxed for additional moisture protection.
Having previously divided the seed by type and manufacturer, the bags are fastened with an elastic band or a money clip.
Split folder
Storage in files allows you to see the entire seed collection. With this method of placement, it is possible to attach notes with observations and recommendations for growing each type of plant in the files to the bags of seeds.
Files are not sealed.Polyethylene protects against moisture loss, and seeds are breathed through the pocket.
Standard A4 files can be divided into 4 smaller pockets by making a dividing line with a soldering iron or tape. Photo albums can be used as an alternative for storage.
Rate the article:
[Votes: Average: ]
How to store baby puree correctly and for how long
When a baby grows up, in addition to breast milk, he is given various vegetable, fruit or meat purees. The proper development of the child's body will depend on the quality of complementary foods. Therefore, you should buy only fresh products from time-tested manufacturers. Where and how to store baby food puree, you can read on the jars. But it will not be superfluous to familiarize yourself with the general rules for storing food for babies in order to prevent poisoning, indigestion and other negative consequences of eating low-quality or expired products.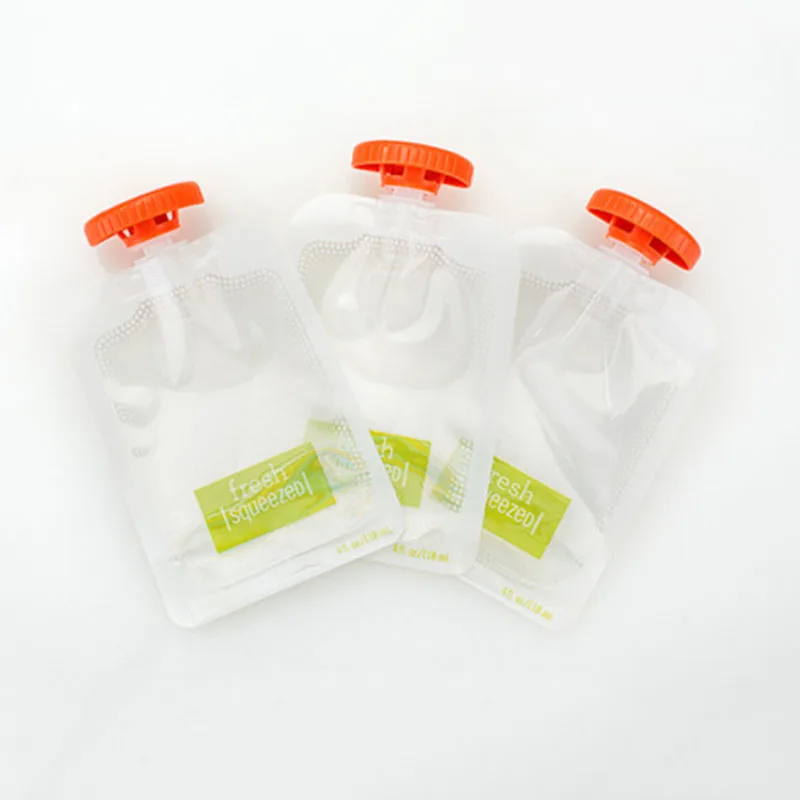
How to choose
When buying baby puree for future use, you must strictly follow the storage rules specified by the manufacturer. But if after opening the jar there are doubts about the quality of the product, you should not give it to a child. Better to play it safe and go for fresh mashed potatoes than put the child at risk of poisoning.
High-quality fruit or vegetable puree should not contain any additives other than water and, moreover, preservatives.
Making a choice in favor of one or another type of product, first of all, its useful qualities are evaluated. Exotic fruits, for example, will not bring as much benefit to the children's body as an apple or a pumpkin.
The fruits and vegetables that are grown in the area where the child lives are best absorbed by the child. Therefore, when choosing baby puree, preference is given to products of local manufacturers. More natural and useful for the digestive system of our child will be puree from ordinary carrots, apples, pears, zucchini than from mangoes, bananas and other exotic fruits.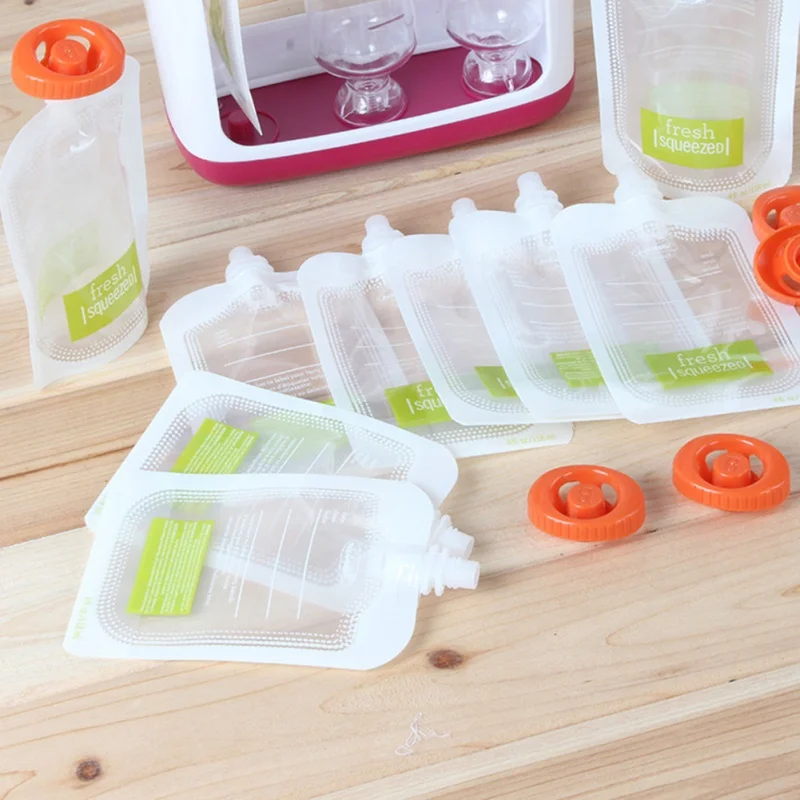
There are three types of baby puree packages:
- glass,
- metal,
- cardboard (Tetra Pak).
It is impossible to say exactly which package is better. Each of them has its own disadvantages and advantages.
- In glass container the product can be stored without fear that this material will somehow change the composition of the baby puree. At the same time, the small volume of the jar (100 ml) allows you to use its contents without residue. And in this case, you no longer have to store baby puree.
- In metal containers the shelf life of baby puree will be longer. In addition, it will not break in case of careless handling.
- Baby food in carton packs is the most budget option for low-income families. But this does not mean that the contents of the package are worse. Just monitor the safety of the product should be more carefully.
Purchased puree
Pre-sealed baby food containers can be stored even at room temperature. The manufacturer creates a vacuum environment inside each of them, which minimizes the development of harmful microorganisms. But if the storage of baby puree occurs without a refrigerator, the product is placed in a cool place, closed from sunlight. It should be understood that when heated, the contents of the containers will deteriorate faster than the period specified by the manufacturer.
Tetra Pak carton packs are as convenient as glass or metal packs. In it, the product can also be stored for a long time. Unlike a glass jar, cardboard does not let in sunlight and is cheaper.
The disadvantage of cartons is their relative fragility. They are easily deformed and may lose their tightness during transportation.
While still in the store, you need to familiarize yourself with the information that is present on the container with baby food.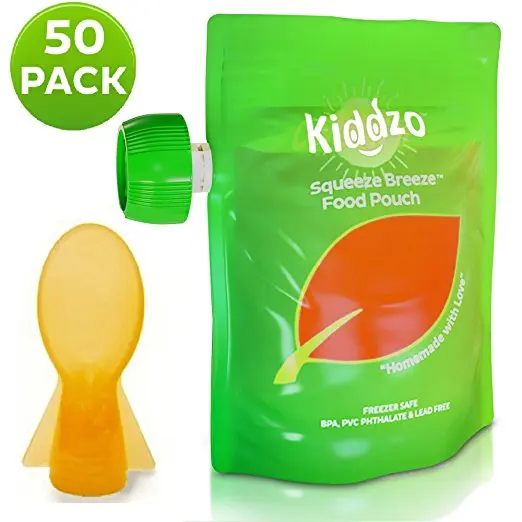 First of all, pay attention to the date of release of the product, and its expiration date.
Homemade puree
At home, prepare baby puree immediately before use. Storage is contraindicated for it, since cooling and subsequent heating deprive the product of useful properties.
How long can homemade puree be kept when there is no other way out? No more than 24 hours in the refrigerator, and within 3 months in the freezer.
To freeze the product, it is laid out in ice molds and sent to the freezer. After solidification, the cubes are transferred to special freezer bags or food containers, after which the date must be indicated on them. Then the product is sent to the freezer for 3 months.
When preparing and freezing baby puree, use only sterile containers and cutlery.
Product can be defrosted on the refrigerator shelf or at room temperature.
Opened baby puree
The answer to the question of how long open baby puree can be stored can be found on the product packaging.
Most manufacturers do not recommend storing baby puree after opening in general . Or it allows it to be in the cold for no longer than 1 day. This will allow you to divide the product into 2 feedings, but you should not heat it directly in the jar. The necessary part of the puree is transferred to another container and heated. If you heat the entire jar, the shelf life of the baby puree that remains in it will be reduced to a few hours.
The temperature at which baby puree should be stored after opening should be between 0°C and +4°C. If you keep it in a warmer place, it will lose quality after 5 - 6 hours. The product cannot be kept on the refrigerator door due to constant temperature changes every time the door is opened.
- In closed baby puree can be stored at a maximum temperature of +22°C
- A after opening at a maximum of +4°C.

You can read the manufacturer's instructions for how long puree can be stored in the refrigerator, but if the jar is opened, it will not be possible to give the product to the child in a day.
Out of the refrigerator, opened baby food will retain its quality for up to 6 hours at temperatures up to +20°C, and no longer than 4 hours in an even warmer place.
Storage rules
If your baby consumes poor-quality products, it can lead to serious consequences, so you need to know how to store baby purees in jars (other packaging).
- Closed baby food containers should be kept in dry places, protected from light. These are various closed cabinets, pantries, etc. There should not be heat sources nearby, otherwise bacteria will begin to actively develop even in closed packaging.
- Arrange the jars so that those with the earliest expiration date are closest. Accordingly, they must be used first.
- Lids on containers must always be tightly closed.