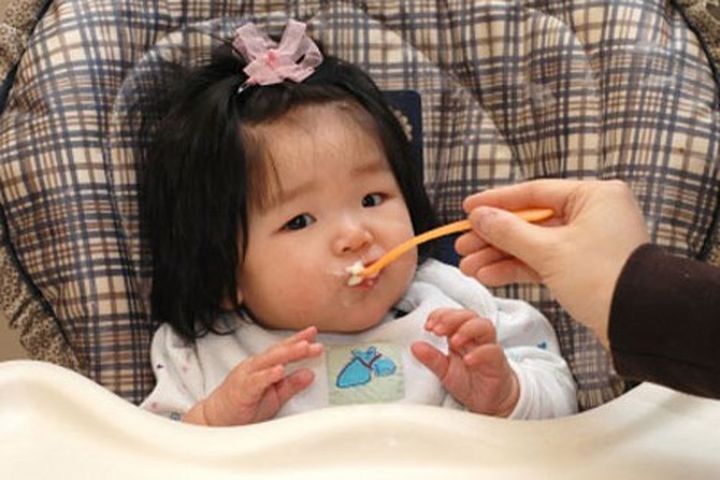
How to prepare baby food
How to Make Homemade Baby Food
Wiktory/Thinkstock
Breastfeeding is recommended exclusively until six months of age and along with solid foods until at least one year of age. Talk with your pediatrician about the best time for your baby to start solids and how to introduce them. Monitoring for possible food reactions is especially important, as is providing foods that contribute key nutrients like protein, iron and zinc.
If your little one is ready for solid foods, you have numerous nutritious options at the supermarket, such as iron-fortified cereal, to feed your baby. And, if you prepare homemade baby food, you have even more variety: Not only can you pick from an assortment of fruits and vegetables in the produce section, but you can also use frozen veggies and fruits canned in their own juices.
Making your own food can help expose babies to more flavors, which may help them become more adventurous eaters. Furthermore, by managing added sugars and salt, you're in greater control of your baby's nutrition.
Follow these guidelines if you choose to prepare homemade baby food:
Getting Started
If you are interested in preparing your own baby food but find the idea daunting, start with just a few homemade items. Mashing a very ripe avocado or banana is a good place to begin. After your baby responds well, you can try preparing nutrient-rich foods that might not be as common in the baby food aisle, such as beets, broccoli, turnips, asparagus, spinach, blueberries, kale, mango and papaya. Just be sure to mash or puree the foods for your baby and serve only one new single ingredient food at a time.
Use items that are in season or foods that you’re preparing for the rest of the family, but without the added sugars, salt and seasonings. Everyone in the family will get to enjoy the same nutritious foods, which will save you time and effort.
Preparing Food
Be vigilant about sanitation. Use only well-scrubbed and washed produce, clean hands, utensils, cutting boards and countertops.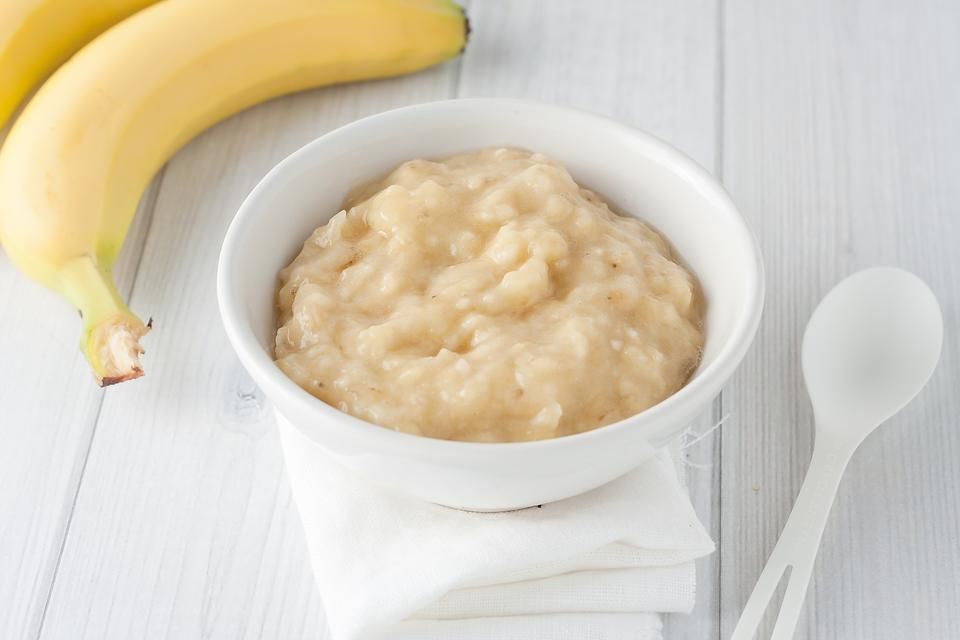
- Wash and peel produce and remove any seeds or pits. Take special care with fruits and vegetables that are grown close to the ground as they may contain spores of Clostridium botulinum or contain other harmful bacteria that can cause food poisoning.
- Cook food until it's very tender. Steaming and microwaving in just a little water are good methods to retain vitamins and minerals in fruits and vegetables. When cooking meats and fish, remove all gristle, skin and bones before cooking.
- Puree or mash fresh fruit or fruit canned in its own juice. Never add honey to foods or drinks for children under 12 months, as it may contain Clostridium botulinum spores. Also avoid adding corn syrup or other sweeteners as they only provide extra calories but not nutrients.
- Make sure the texture and temperature are appropriate. Some foods pose a choking risk and are not recommended for infants, such as whole grapes, raisins, and pieces of hot dog. Pureed foods can be thinned, if needed, by adding breastmilk, formula, or water.
 Cow’s milk and milk alternatives should not be used during the first year. After warming solid foods, be sure to mix thoroughly and recheck the temperature so as not to burn the infant’s mouth.
 - Cook eggs, meats and poultry until well done. Babies are especially susceptible to food poisoning caused by eating undercooked meats, poultry and eggs. Be certain that all meats and fish are cooked to proper temperatures; 145°F for fish and whole cuts of beef and pork, 160°F for ground beef and egg dishes and 165°F for all types of chicken and poultry or leftovers.
- For convenience, freeze prepared baby food for later use. Freeze it in small portions in a clean ice cube tray. Once frozen, put the cubes into clean, airtight, freezer-safe food containers for single-serving portions. As another method, use the "plop and freeze" technique: plop meal-size spoonfuls of pureed food onto a cookie sheet, freeze, then transfer the frozen baby food to clean freezer-safe containers for storage in the freezer.
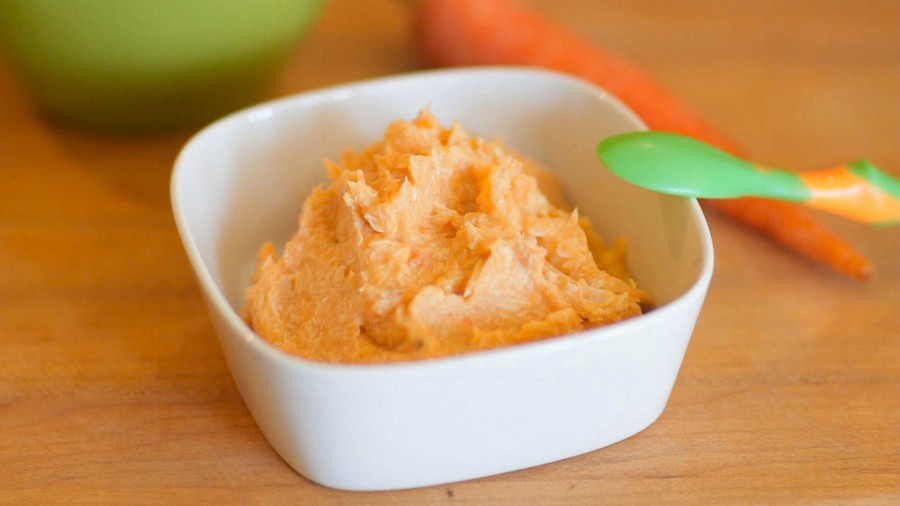
- If you're cooking the same food for the rest of the family, remove the baby's portion before adding salt and seasonings. A baby's taste buds can be very sensitive. As the baby grows and becomes more used to table food, feel free to add seasonings other than salt.
Keeping Baby Safe
Preparing homemade baby food requires extra care to keep baby's food safe and to retain the nutrients from fresh foods. After you've prepared the food, either serve it or refrigerate it right away. Keep homemade baby food in a covered container for one or two days in the refrigerator or one to two months in the freezer with a label and date. Small portions served in separate dishes are ideal because any food that was served, but not eaten, must be thrown out. Bacteria thrive in the mouth, so if a spoon goes into the baby's mouth and then touches the food, that food should not be saved for later.
It's Fine To Buy Store-Bought Baby Food Too
Commercial baby foods are nutritious options for feeding baby, too. Today's commercial baby foods provide balance and variety with carefully controlled and consistent nutrient content, so don’t worry if you supplement your baby's intake with commercial baby foods. Be sure to talk to your baby's health care provider about which foods are best for your baby and if any dietary supplements may be recommended.
Jill Weisenberger, MS, RDN, CDE, FAND, is a nutrition writer based in Virginia.
10 Easy Homemade Baby Food Ideas (No-Cook, Super Fast, Stage 1)
Learn how to make the EASIEST homemade baby food recipes (stage 1) for your little one with these super simple no-cook ideas. Plus: I have the best tips for making them ahead and freezing them so you can batch cook and simplify your days!
Homemade Baby Food
As a mom to three kids, I know firsthand how the urge to make homemade baby food can be both exciting and a little daunting.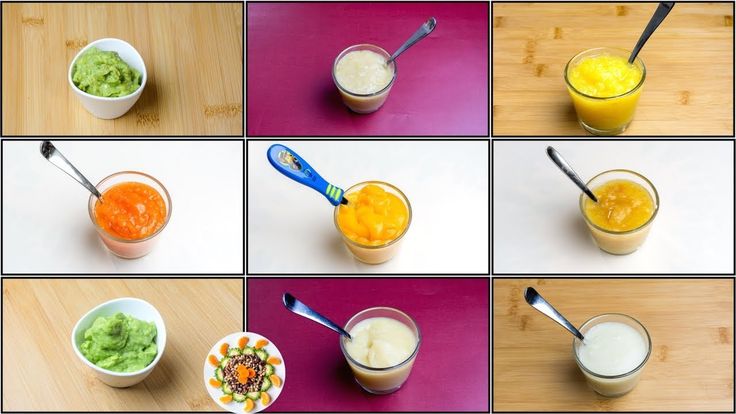 And if you have a busy schedule or other kids in the house, finding the time to actually do it can seem impossible. But, there are so many healthy foods that you can transform into stage 1 baby food purees with hardly any work or special equipment at all!
TIP: I use a regular blender for all of these recipes, so you don’t need to buy a special baby food maker unless you want to.
Baby Food Recipes for 6, 7, and 8 Month Old Babies
These homemade baby food ideas are designed for younger babies who are still eating thinner purees, but you can of course use them for older babies and toddlers too. Each can be served as is, or you can combine more than one together to create new flavors if you’re feeling creative!
TIP: If you want to add fat or protein to any of these fruit or veggie purees, simply stir in a little whole milk yogurt, coconut cream, or Avocado Puree.
Best Way to Make Baby Food
I’ve found that the easiest and most approachable way to make baby food is to simply use a blender.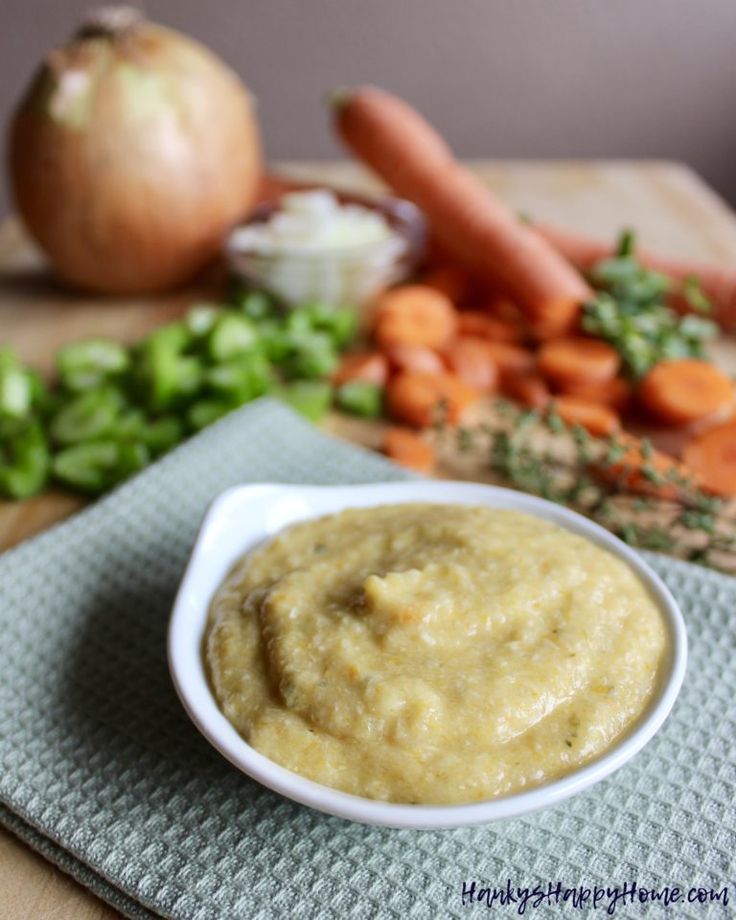 With fresh ingredients and a little water, breastmilk, or formula to thin it as needed, you can easily make your baby meals without investing in equipment you may not use very long.
TIP: You’ll want to start with at least 1 cup of any base ingredient to ensure that there’s enough in the blender to fully blend up.
Tools You Need to Make Homemade Baby Food
To make these baby food recipes you’ll need:
- Blender (you could also use an immersion blender if yours is very strong)
- Water, formula, or breastmilk to thin as needed
- Knife for chopping produce
- Spoon
- Bowls
- Ice cube tray
- Freezer bags for storage
- Baby food storage containers
Stage 1 Baby Food
These baby foods are meant for early eaters as they are typically very thin and easy for a baby to move around in their mouths. I follow the recommendations to wait until 6 months to start solids, so I personally don’t worry excessively about this distinction as I like babies to experience some texture in their purees.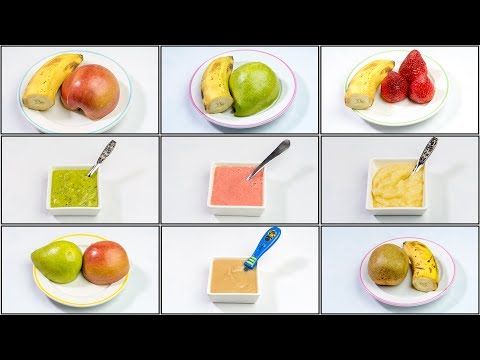 (The ones you find at the store are low allergenic foods and are meant for 4+ months.)
Stage 2 Baby Food
These baby foods are typically a little bit thicker, sometimes include more than one ingredient, and offer a wider variety of ingredients. Most babies are ready for these sorts of purees around 7-8 months, or once they’ve mastered thinner purees. (Again, since I like to do a combined baby feeding approach with both baby led weaning and purees, I don’t worry too much about following the calendar to decide when to introduce these.)
TIP: As a backup to my homemade baby foods, I love the options from Amara Organic Baby Food (paid affiliate link) since you simply need to stir it together with breast milk, formula, or water and it’s ready to serve.
And now, for my ten go-to homemade baby food purees that you don’t even need to cook!
1. Avocado Puree
To make avocado puree for a baby, you just need a fresh avocado, a blender, and some lemon juice if you plan to store it for later.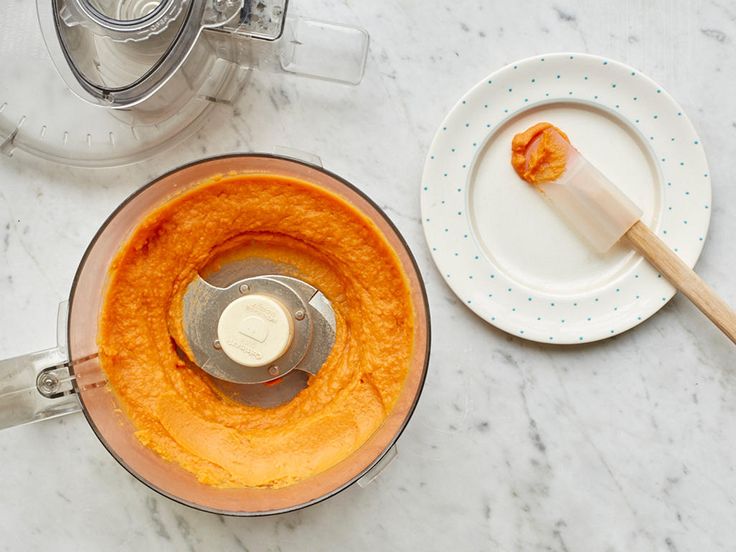 I sometimes even do this with just a fork if the avocado is super soft! It’s a perfect way to introduce a low allergenic food that’s rich in healthy fats.
TIP: Get the full recipe for Avocado Puree here.
2. Bean Puree
Baby’s early foods don’t have to be all one food group and beans are a great food to have in the mix. You can do this easy bean puree with chickpeas, pinto beans, black beans, or even white beans, thinning it as needed with water, formula, or breastmilk. This is a great puree to mix with a little sweet potato or butternut squash.
TIP: Get the full recipe for Bean Puree here.
3. Blueberry Puree
Using fresh or frozen blueberries, this easy berry puree is loaded with fresh flavor and antioxidants. It’s delicious on its own or stirred into plain whole milk yogurt or baby oatmeal. (Note that it thickens up as it sits in the fridge, so you’ll need to stir it well to serve.)
TIP: Get the full recipe for Blueberry Puree here.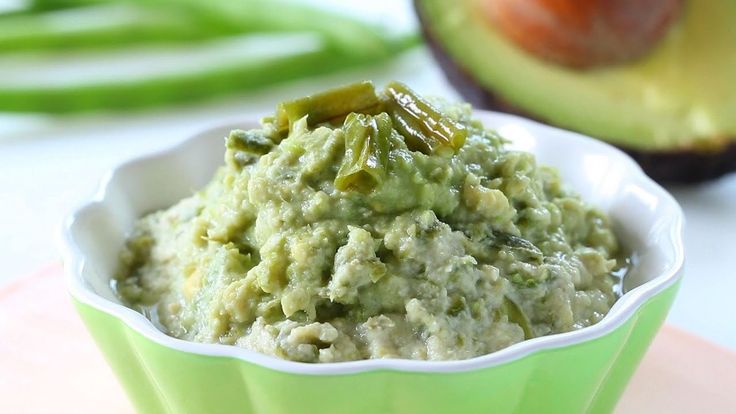
4. Kiwi Puree
With a bright flavor, this puree is great for babies who seem to love flavor—and it’s a fun one to make and store for later. You’ll want to make sure that you choose very ripe and sweet kiwi and taste it before you make the puree to ensure that it’s not too tart. (If it seems tart, you can mix with banana or applesauce.)
TIP: Get the full recipe for Kiwi Puree here.
5. Mango Puree
Using fresh or thawed frozen mango, this baby puree blends up in seconds. It’s bright, flavorful, and a great source of immune-boosting vitamins. Taste your mango to be sure that it’s sweet and not too tart. (If it’s tart, you can add Applesauce or ripe Banana Puree.)
TIP: Get the full recipe for Mango Puree here.
6. Peach Puree
Turn fresh or frozen and thawed peach slices into a super smooth Stage 1 baby food with this easy blender method. You’ll want to strain out the skin since it’s hard to blend up smooth, even with a high powered blender, but that’s so easy to do! This baby food recipe is a nice alternative to applesauce.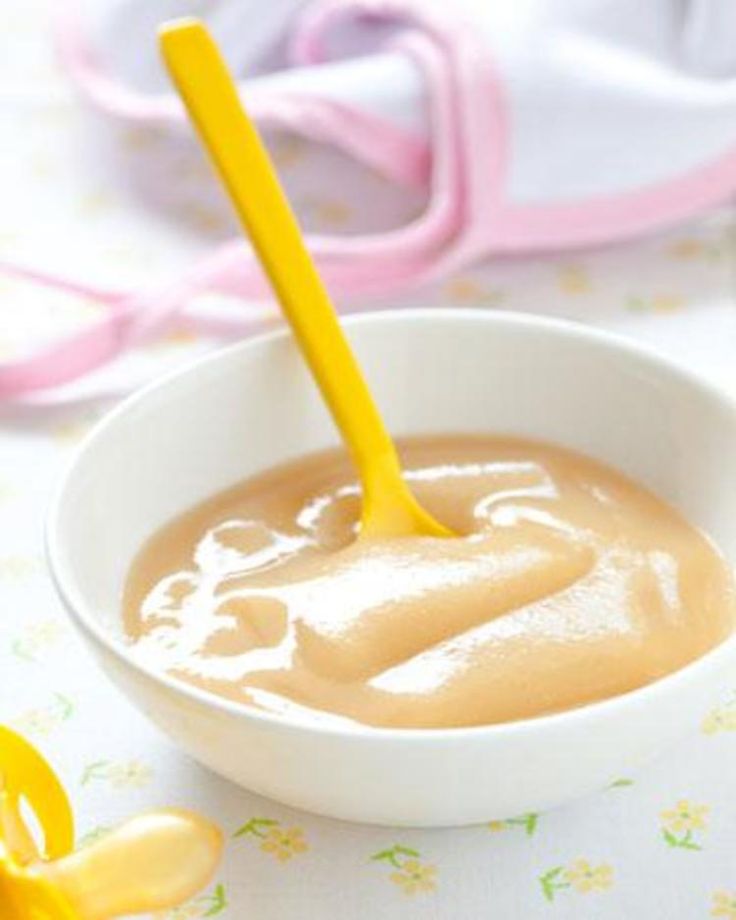
TIP: Get the full recipe for Peach Puree here.
7. Whipped Peanut Butter
This may not have occurred to you, but whipped peanut butter is a great baby food! This is a perfect way to introduce baby to peanut butter and to offer it safely there after. You just need to stir water into unsweetened creamy peanut butter until it forms a whipped consistency like yogurt. It’s smooth, not too sticky, and packed with protein.
TIP: Get the full scoop on introducing peanuts to baby here.
8. Pineapple Puree
Blend up fresh or frozen pineapple chunks into a tropical baby food puree that’s smooth and creamy. This is yummy on its own or paired with whole milk plain yogurt. Taste your pineapple to ensure that it’s not too tart. (If it’s tart, you can add Applesauce or ripe Banana Puree.)
TIP: Get the full recipe for Pineapple Puree here.
9. Strawberry Puree
Fresh strawberries blend up into a perfectly smooth homemade puree without the need for any additional liquid.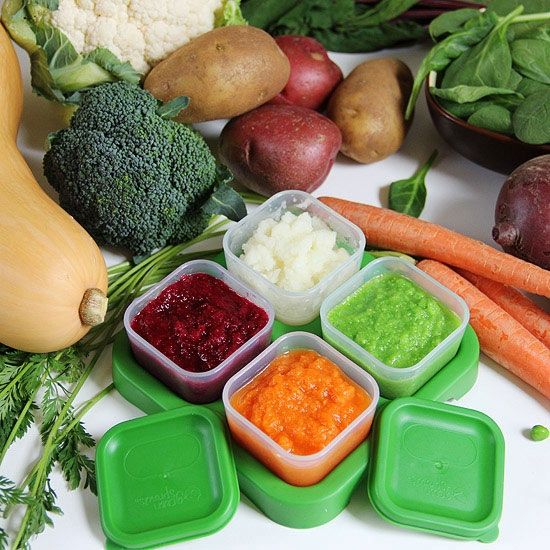 You can serve this as is, or mix with applesauce if desired. The flavor of your berries will determine the flavor of your puree, so be sure to taste them for sweetness.
TIP: Get the full recipe for Strawberry Puree here.
10. Banana Puree
Ripe bananas make great homemade baby food with the help of just a blender. This is a super simple baby food to make at home and it’s easy to digest as a Stage 1 baby food. Use ripe bananas with brown spots to ensure that the puree tastes sweet and is easy for baby to digest.
TIP: Get the full recipe for Banana Puree here.
Homemade Baby Food Storage
The easiest way to store homemade baby food is to add fresh purees to an ice cube tray and freeze. Once frozen, simply pop out the cubes and store in labeled freezer bags for up to 3 months. These are a perfect way to make it easy to send homemade baby food to daycare or to simply get ahead for the coming week.
TIP: Find more information about storing baby food—including the best small food storage containers—here.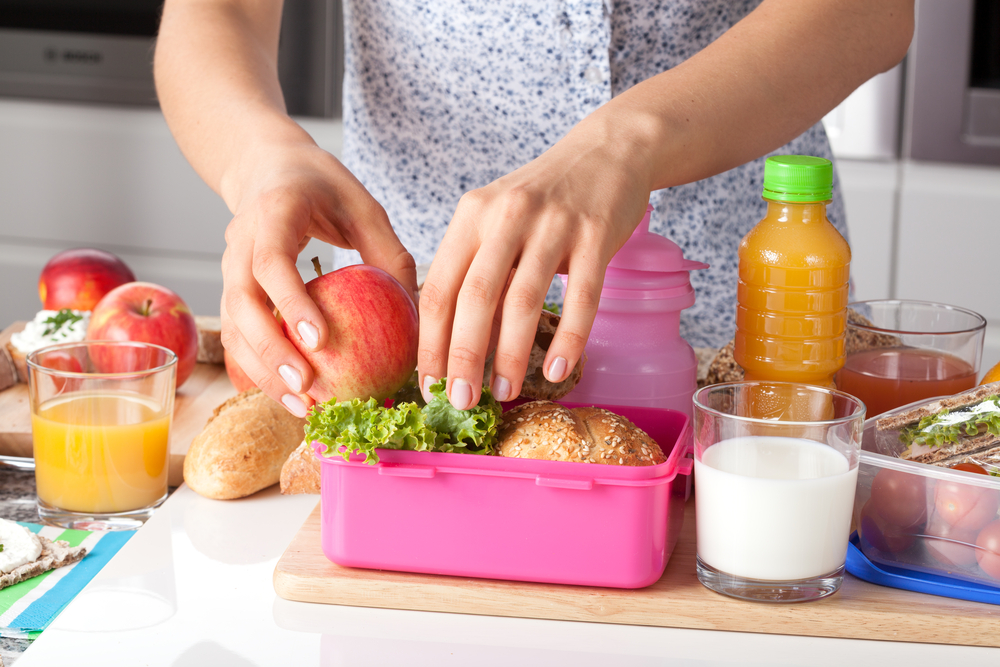
]
Tips for Making the Best Homemade Baby Food
- Use at least 1 cup base ingredient to ensure that a blender has enough volume to blend well.
- Thin any homemade puree with water, formula, or breast milk.
- Freeze any baby food you won’t use within 3 days in an ice cube tray. Transfer frozen cubes into freezer storage bags for up to 3 months. Thaw these frozen baby food recipes in an airtight container in the fridge overnight before you plan to serve.
- Taste all fresh foods for sweetness and to ensure that your puree isn’t too tart. To tame tartness, mix any puree with Banana Puree , Avocado Puree, Applesauce, or Mashed Sweet Potato.
- If you want to add fat or protein to any of these fruit or veggie purees, simply stir in a little whole milk yogurt, coconut cream, or Avocado Puree.
- Use breastmilk or formula in place of the water if desired.
- Mix two purees together for more complex flavors.
- Add texture to any puree by stirring in baby oatmeal or hemp seeds.
- For more details on each of these, find them here: Avocado Puree; Banana Puree, Bean Puree; Blueberry Puree, Kiwi Puree, Mango Puree, Pineapple Puree, Peanut Butter Puree, Peach Puree, Strawberry Puree
I’d love to hear your feedback on this way of making simple baby food, so please comment below. I so appreciate hearing your experience with my recipes!
Prep Time 5 minutes
Cook Time 0 minutes
Total Time 5 minutes
Author Amy Palanjian
Cuisine American
Course Baby Food
Calories 42kcal
Servings 4
- ▢ 1 cup blueberries, diced strawberries, diced peaches (peeled), diced kiwi (peeled), diced pineapple (peeled), diced banana (peeled), diced mango (peeled), diced avocado (peeled), OR beans (rinsed and drained)
- ▢ water, formula, or breast milk (as needed)
Choose one fruit, the avocado, or beans and add to a blender.
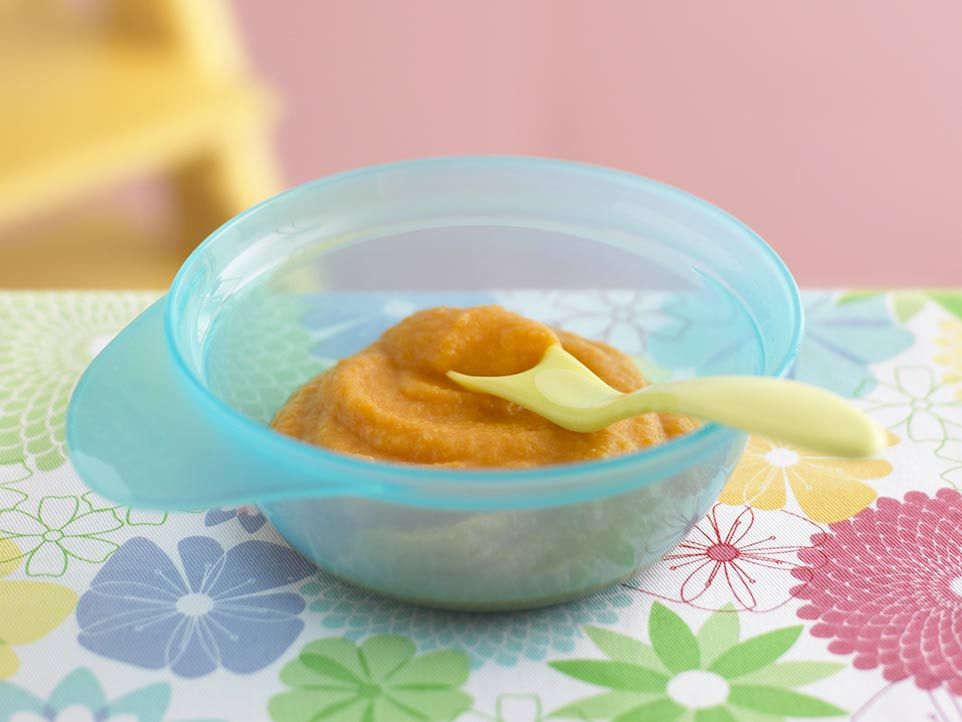
If making the puree with blueberries, strawberries, peaches, kiwi, pineapple, mango, or beans, add ¼ cup water and blend, adding more water as desired to make a thin, very smooth puree. If making avocado or banana, just blend (without water) until very smooth.
Serve or store in an airtight container for 3-5 days in the fridge, or up to 3 months in the freezer.
Vitamix Blender
Storage Containers
Silicone Ice Cube Tray
- Use at least 1 cup base ingredient to ensure that a blender has enough volume to blend well.
- Thin any homemade puree with water, formula, or breast milk.
- Freeze any baby food you won't use within 3 days in an ice cube tray. Transfer frozen cubes into freezer storage bags for up to 3 months. Thaw these frozen baby food recipes in an airtight container in the fridge overnight before you plan to serve.
- Taste all fresh foods for sweetness and to ensure that your puree isn't too tart.
 To tame tartness, mix any puree with Banana Puree , Avocado Puree, Applesauce, or Mashed Sweet Potato.
 - If you want to add fat or protein to any of these fruit or veggie purees, simply stir in a little whole milk yogurt, coconut cream, or Avocado Puree.
- Use breastmilk or formula in place of the water if desired.
- Mix two purees together for more complex flavors.
- Add texture to any puree by stirring in baby oatmeal or hemp seeds.
- For more details on each of these, find them here: Avocado Puree; Banana Puree, Bean Puree; Blueberry Puree, Kiwi Puree, Mango Puree, Pineapple Puree, Peanut Butter Puree, Peach Puree, Strawberry Puree
Serving: 0.25cup, Calories: 42kcal, Carbohydrates: 11g, Protein: 1g, Fat: 1g, Saturated Fat: 1g, Polyunsaturated Fat: 1g, Monounsaturated Fat: 1g, Sodium: 1mg, Potassium: 57mg, Fiber: 2g, Sugar: 7g, Vitamin A: 40IU, Vitamin C: 7mg, Calcium: 4mg, Iron: 1mg
Tried this recipe?Rate in the comments and tag @yummytoddlerfood on IG!
Baby puree at home: recipes
Baby puree from vegetables and fruits at home: cooking secrets
Vegetable and fruit puree often becomes the first meal of the baby after breast milk or formula, so many mothers prefer to cook it on their own.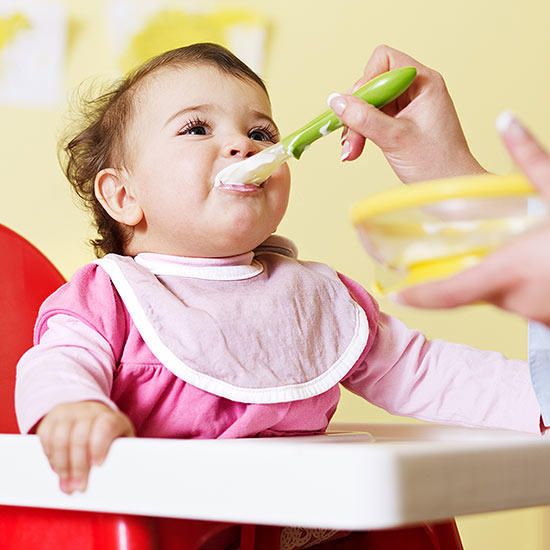 Although modern manufacturers convince us that baby food is devoid of preservatives and harmful additives, fresh vegetables and fruits are much healthier, especially when it comes to infant nutrition. Yes, and cooking baby puree at home is not so difficult.
Vegetables or fruits?
Let's try to make baby puree for our beloved baby. Despite the fact that pediatricians of the last century recommended starting complementary foods with fruits, it is better to first introduce the child to vegetables - modern doctors and nutritionists have come to this conclusion. Boiled vegetables do not irritate the gastrointestinal tract, are better absorbed, satisfy hunger, do not cause allergies and increased gas formation. In addition, vegetables do not contain fructose, which irritates the pancreas. And one more weighty argument in favor of the fact that it is better to start with vegetables - fruits are tastier, and if the baby tries them first, he will refuse vegetables, because they will seem to him more insipid.
How to prepare baby vegetable puree
What can baby puree be made from? The ideal puree for the first feeding is from cauliflower or zucchini. A little later, you can introduce pumpkin, broccoli, carrots, potatoes and green peas. Before cooking, vegetables are washed well, peeled, cut into pieces and cooked - steamed, in the oven or in the usual way, in water. The first two methods are preferable because oven roasting and steaming preserve the vitamins, minerals, nutrients, and natural color in the vegetables. And most importantly - such vegetables are much tastier. Some nutritionists recommend boiling vegetables with their skins on before peeling them, so choose your own cooking method.
If you do have to cook vegetables in a saucepan, use an enamel pot, add less water and put the vegetables in boiling water. Boil until soft, but do not overcook vegetables and fruits, otherwise they will become tasteless and lose a lot of vitamins. Ready vegetables are chopped with a blender until smooth and slightly diluted with water, vegetable broth, breast milk or mixture to a gruel state, since the child does not yet know how to digest thick food. Small pieces of vegetables in puree sometimes cause the baby to refuse to eat, so the knives in the blender should be well sharpened, and if there is no technique, you can grind the vegetables through a sieve. Salt and spices are usually not added to baby vegetable puree, and if the baby is more than 6 months old, you can put a little butter in the puree.
A few rules for making baby puree at home
- Use only fresh vegetables and fruits.
- Water for cooking vegetables must be filtered or bottled.
- If you are using frozen foods, choose only whole fruits and vegetables as they retain the most nutrients.
- All utensils for preparing baby food should be perfectly clean, so if the knife falls on the floor, it should be washed well. Also, the presence of pets in the kitchen during the cooking process is not allowed.
- Avoid vegetables and fruits high in nitrates, such as spinach, lettuce, beets, melons, and watermelons, in infants' diets.
- Store-bought vegetables are recommended to be soaked in water to remove nitrates: 1-2 hours for this, up to 24 hours for potatoes.
- Mix sour-tasting fruits and berries with sweet fruits - for example, blackcurrant goes well with a banana or pear. Sour puree is unlikely to please the baby.
- Give your child only fresh food, but yesterday's puree from the refrigerator is better to eat yourself.
DIY fruit puree for children
Children are more likely to eat fruit puree, because fruits are tastier and sweeter. Fruits contain a large amount of vitamins, minerals, trace elements, fiber and antioxidants, so they are very useful for a growing organism. However, fruits are strong allergens, especially berries, bananas, pomegranates and apricots, so they should be given with caution, watching the child's reaction. The most low-allergenic fruits are apples and pears, so it is better to start complementary foods with them, and then introduce all other fruits.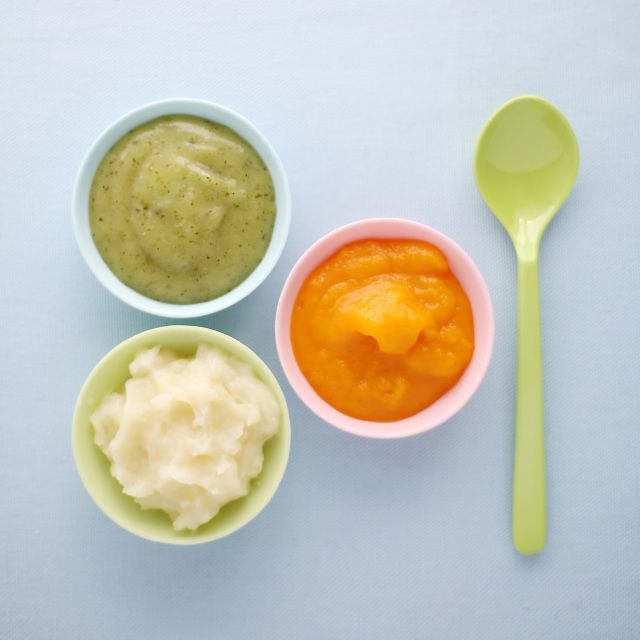 First, the baby is fed with a one-component puree made from only one product, and then you can mix different vegetables and fruits, and not only among themselves. Very tasty combinations of fruits and vegetables, such as apples and zucchini, pumpkins and pears.
Fruits must be of good quality, without damage, ripe and juicy, and the rules for preparing fruits do not differ from the rules for cooking vegetables. Naturally, fruit puree is not sweetened with honey and sugar - the later the child learns the taste of sugar, the stronger his health will be.
Aromatic pumpkin puree
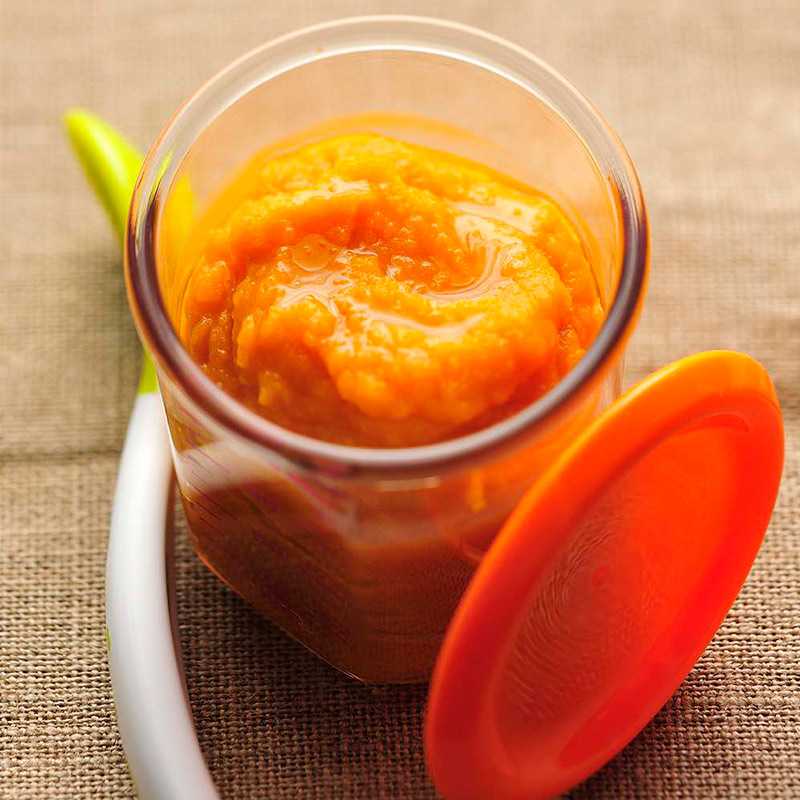
Babies love to eat pumpkin because of its pleasant sweet taste, besides pumpkin is very healthy. It contains a whole storehouse of various vitamins, including vitamin T, which normalizes the metabolism in the body. For pumpkin puree, small pumpkins are suitable, since large fruits are not as tasty and difficult to peel.
Cut the pumpkin in half, and then into small slices, one or two of which (depending on the appetite of the crumbs) cut into cubes.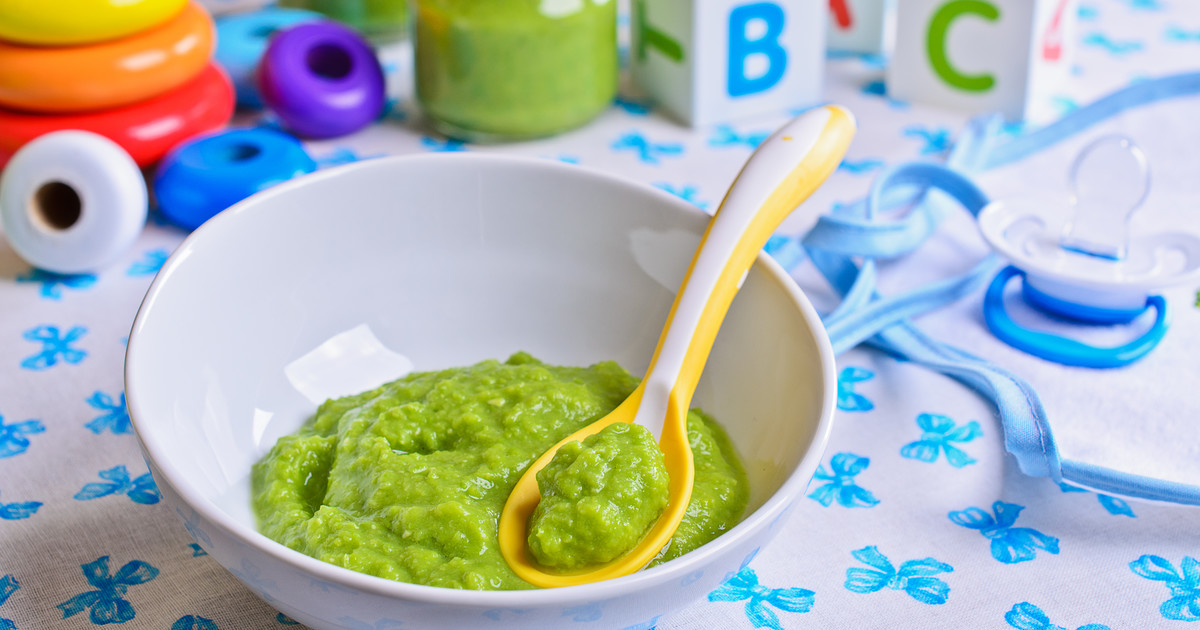 Boil the pumpkin in a double boiler or in water for 20 minutes, while warm, beat with a blender to a smooth puree and dilute if necessary with water or a mixture. Add oil and salt depending on the age of the child.
Gentle Broccoli Puree
One of my favorite homemade baby puree recipes is broccoli. This cabbage is extremely useful because it contains potassium, iron, calcium and other valuable substances. It has much more vitamin C than lemon, and the reason for its nutritional value is its high protein content.
Separate the broccoli into florets, wash thoroughly and steam for 20 minutes. Cabbage cooks faster in water - fresh broccoli will take 7 minutes, and frozen - about 15 minutes. Broccoli puree does not need much water, it should lightly coat the vegetables. After the cabbage becomes soft, chop it in a blender or pass through a sieve. If you're mashing for kids older than a year old, be sure to add butter - the little ones will gobble up broccoli on both cheeks!
How to make baby pear puree at home
Pear is a very delicate, tasty and healthy fruit that rarely causes intolerance.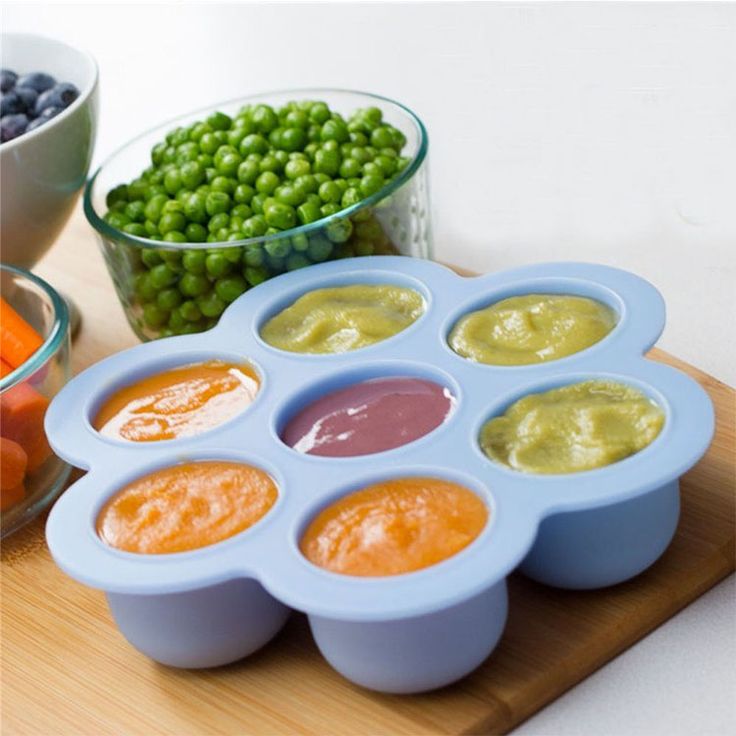 In addition to the high vitamin value, the pear has other beneficial properties - it facilitates digestion and removes toxins from the body.
For baby food, choose green pears to reduce the risk of allergies, which are rare among babies. Peel the fruits from the peel and core with seeds, and then stew the pear in a bowl with a thick bottom in a small amount of water for 15 minutes. Let the pear cool slightly and puree it in a blender with a little of the remaining pear broth. For large kids, fruits can not be boiled, but add half a teaspoon of natural honey to the puree.
Zucchini and apple puree
Little gourmets will love this delicious puree, besides, zucchini is considered the most hypoallergenic vegetables, which, due to their high potassium content, have a beneficial effect on the heart. Apples contain iodine, iron and phosphorus, and due to the high concentration of vitamin C, apples help in the prevention of colds and viral infections.
Wash the zucchini and apples well, de-seed them, cut into pieces and cook in a saucepan for about 20 minutes, considering that the zucchini will cook 5 minutes faster. By the way, apples are steamed for 15 minutes, zucchini - 10 minutes. Next, vegetables and fruits are chopped in a blender, mixed and brought to a boil. For allergic children, this is the best side dish!
Exotic mango
Sometimes you can pamper your baby with exotic fruits - for example, make mango puree. This is a very delicate fruit with an original taste, containing 12 amino acids and improving sleep.
Choose only ripe fruits that are soft and reddish-yellow in color. Peel the mango from a thick skin and a large bone, put the pulp in a blender, add 2 tbsp. l. water and mash it, and then heat it in a saucepan for several minutes. For a baby up to a year old, it is better to give mashed potatoes with heat treatment to facilitate digestion, and older children can be fed raw mangoes.
Carrot and Potato Puree
Make normal potato puree without oil. Peel the carrots, grate them and stew them with butter and vegetable broth - about 1 tsp is required for 200 g of carrots. butter and 150 g of broth. When the carrot becomes very soft, wipe it through a sieve, and then put it on a plate, put mashed potatoes on the second half. Let the child choose whether to mix two types of puree for him or eat separately!
Pumpkin and apple puree
This sweet, sugar-free pumpkin-apple puree, cooked in a double boiler, is suitable for children who are already accustomed to “adult” food and are able to perceive a new unusual dish. It is better to take a pumpkin with a gray or green skin and with bright pulp - such fruits contain more vitamins and other useful substances. Apples are green because they have fewer allergens.
Cut pumpkin and apple flesh without peel or seeds into pieces, place in a steamer and cook for 20 minutes. Grind pumpkin, apples and raisins in a blender or by hand with a pusher if the child has already learned to chew. They say that this puree is very good for skin and hair, and you can check the truth of this statement yourself if you start feeding this dish to your baby.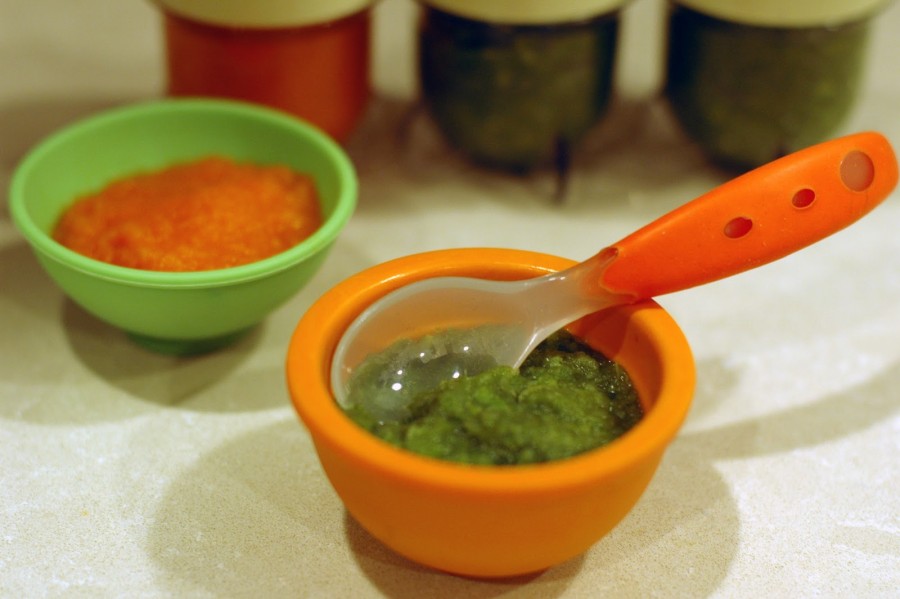
In autumn, you can take care of preparing vegetables for baby purees. Some vegetables, such as pumpkin, carrots and apples, are stored fresh, and zucchini, broccoli, berries are frozen in small portions, because due to frequent freezing and thawing, vegetables lose vitamins and become tasteless. You can roll up fruit and vegetable puree in jars, but this snack should not be given to babies. Remember that the taste of vegetables determines whether the baby will love them in the future, so try to prepare an appetizing and tender puree - for health and good mood!
How to cook baby food - Encyclopedia Baby food
Viktoria Levchuk© Broccoli, zucchini and cauliflower pureeTaking care of your child's health in today's world means starting complementary foods right with whole, healthy foods prepared with love. Most mothers will immediately ask how to prepare baby food that is of high quality, easily digestible and tasty.
Canned food can sometimes seem easy to feed a baby, but when you start reading the ingredients of each tiny can (not to mention the cost of each can), it makes more sense to try your hand at making homemade baby food yourself.
When you think about how to prepare baby food, it seems so complicated. However, everything is much easier. In fact, baby food is the easiest recipe to prepare. Many mothers who hate to cook learn how to cook with healthy complementary foods for their beloved child.
Let's start with a few practical tips on what you need, what products to choose and what else to keep in mind to make the process as easy as possible.
Contents:
So, how to prepare baby food? Simple - choose a fruit or vegetable that needs to be introduced into complementary foods, cook until tender, make a smooth puree and voila ... a batch of baby food is ready. And now to the details, the following tips will teach you how to cook baby food in no time.
1. Buy the right tools
-
Blender
This “devil machine” is the best assistant in the kitchen. Only a blender can bring fruits, vegetables, grains, meat and other products to the ideal consistency.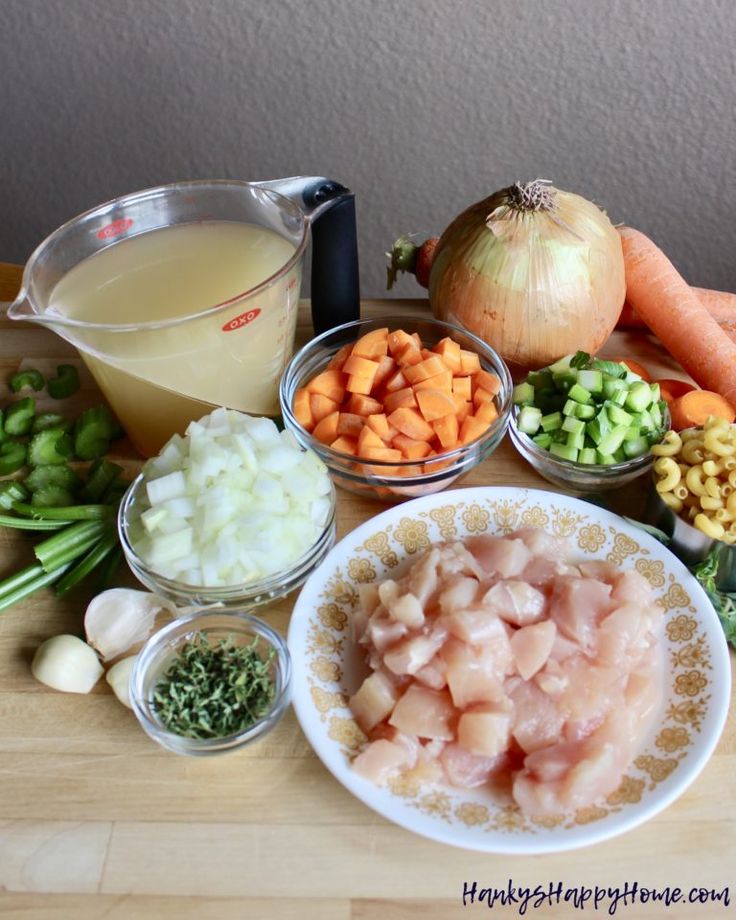 During the first few months, solid foods are made smooth and tender without lumps so that the baby's digestion slowly gets used to the complex textures.
-
Stainless saucepan
Good, regular dishes will always be washed. The first experiments burn, stick and are almost not washed off. Buy one good quality baby food pot. I have never regretted in 6 years. She washes with a brush, dishwasher, iron brush and she is still like new. We choose high-quality, stainless dishes, small up to 1 liter, with a good handle and lid. I have a lid with heat protection, I can take it with my bare hands, it is not hot, and neither is the pen.
Broth with peas and rice-
Baby food freezer tray with lid
One good plastic or flexible silicone tray will last a long time. Moreover, it is needed for the first 4-6 months; you will not need to freeze baby purees anymore. You can buy without a lid, but then you have to suffer from bags, as baby purees love to absorb odors from the freezer.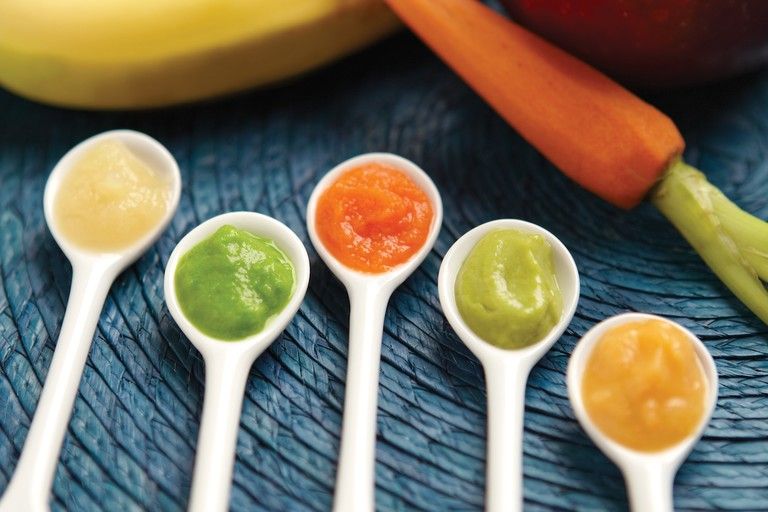 During meals, portions can be diced and heated in the microwave before serving.
-
Food thermometer
Many new mothers are advised to buy a food thermometer. I didn't buy. My wrist was an indicator, always, if I'm hot, then the child will be very hot. But for speed and convenience, a food thermometer comes in handy to make sure the food is at the right temperature for small mouths.
-
Steamer or multicooker
A modern kitchen cannot do without these devices, because it is easier and more useful for us. In principle, a slow cooker will always help out when you need to cook porridge, and a double boiler - a lot of vegetables and fruits. These tools always help out, save the time of an eternally busy mother. I advise!!!
2. Choose Your First Foods Carefully
Choose fruits and vegetables for your first weaning foods that are rich in nutrients.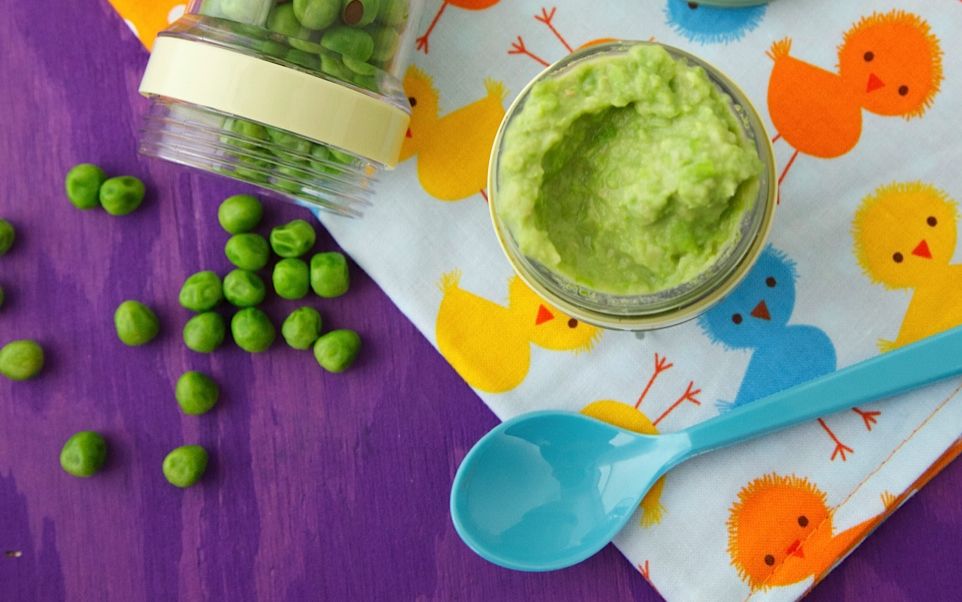 Brightly colored vegetables are fresh vegetables. For the first feeding, foods such as broccoli, zucchini, zucchini, pumpkin are suitable, they are rich in vitamins, and at the same time look attractive. Fruits such as apple and pear can be introduced from about six months of age and are also very rich in vitamins, such as blueberries and peaches.
It's a good idea to talk to your doctor about which foods to introduce first and what is the best age to start complementary foods (this can be between four and six months) and don't forget to start with one.
We offer the child the same food for four days - if any signs of allergy appear, the mother will immediately notice it.
3. Safety first
Making homemade baby food is a convenient way to provide your baby with a healthy diet free of additives and preservatives.
Preparing and freezing small batches of food in advance makes the task much easier. However, do not forget to throw away any food that has been touched with a used feeding spoon, food that has already been reheated, and food that has been in the freezer for too long.

