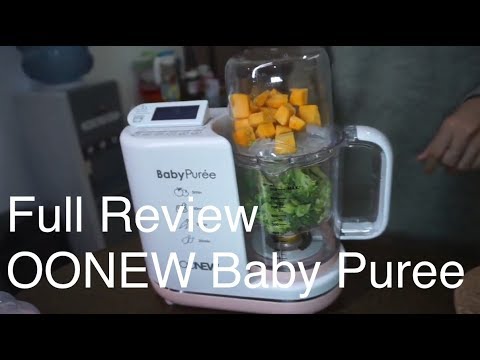
How to puree baby food with blender
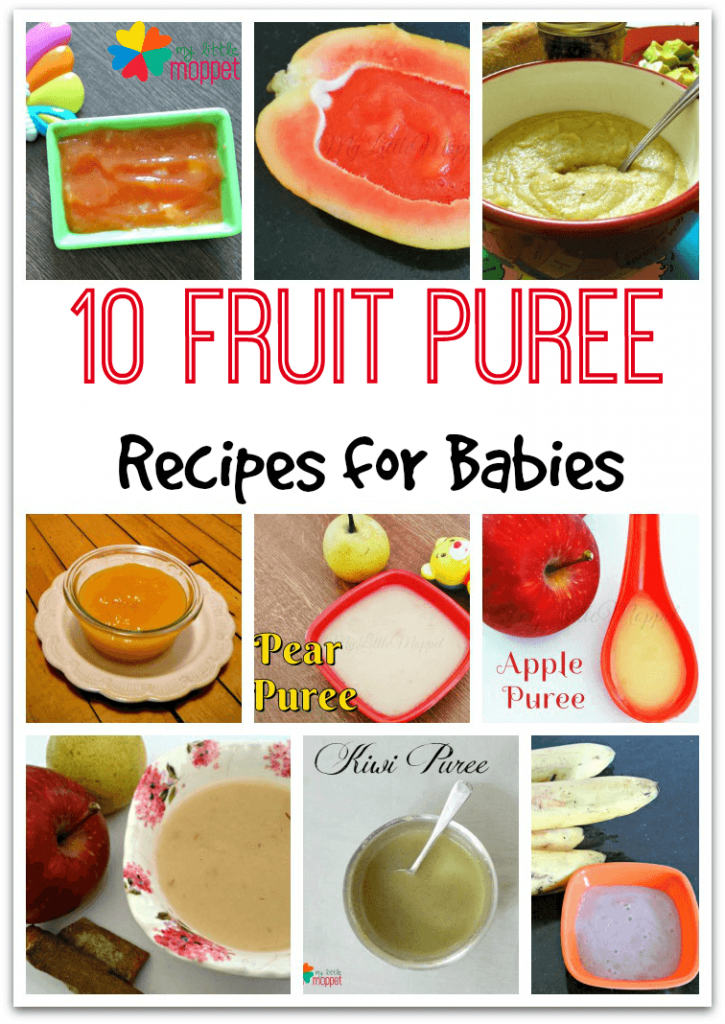
10 Easy Homemade Baby Food Ideas (No-Cook, Super Fast, Stage 1)
Learn how to make the EASIEST homemade baby food recipes (stage 1) for your little one with these super simple no-cook ideas. Plus: I have the best tips for making them ahead and freezing them so you can batch cook and simplify your days!
Homemade Baby Food
As a mom to three kids, I know firsthand how the urge to make homemade baby food can be both exciting and a little daunting. And if you have a busy schedule or other kids in the house, finding the time to actually do it can seem impossible. But, there are so many healthy foods that you can transform into stage 1 baby food purees with hardly any work or special equipment at all!
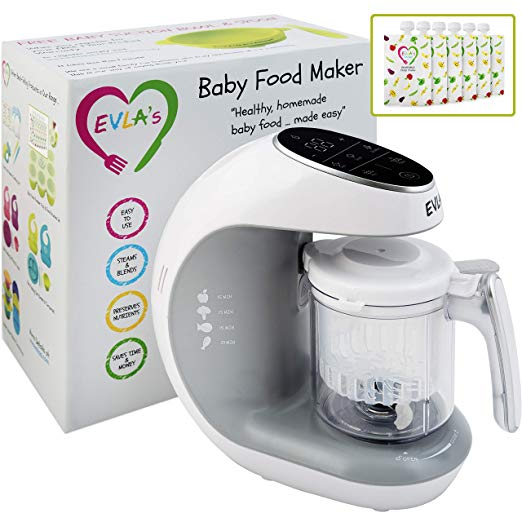
TIP: I use a regular blender for all of these recipes, so you don’t need to buy a special baby food maker unless you want to.
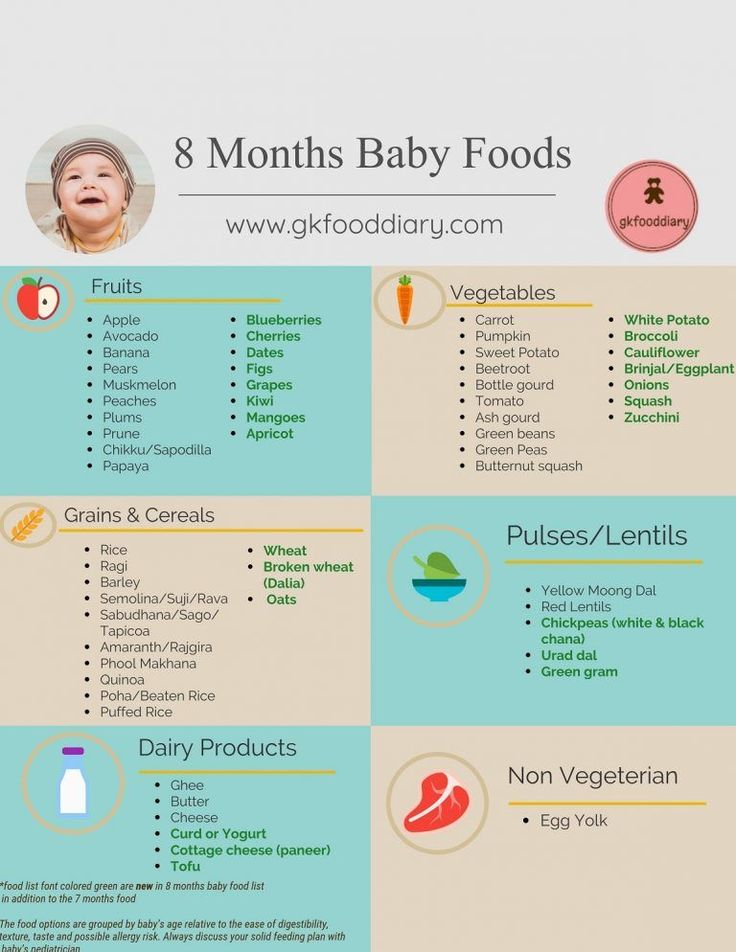
Baby Food Recipes for 6, 7, and 8 Month Old Babies
These homemade baby food ideas are designed for younger babies who are still eating thinner purees, but you can of course use them for older babies and toddlers too. Each can be served as is, or you can combine more than one together to create new flavors if you’re feeling creative!
TIP: If you want to add fat or protein to any of these fruit or veggie purees, simply stir in a little whole milk yogurt, coconut cream, or Avocado Puree.
Best Way to Make Baby Food
I’ve found that the easiest and most approachable way to make baby food is to simply use a blender. With fresh ingredients and a little water, breastmilk, or formula to thin it as needed, you can easily make your baby meals without investing in equipment you may not use very long.
TIP: You’ll want to start with at least 1 cup of any base ingredient to ensure that there’s enough in the blender to fully blend up.
Tools You Need to Make Homemade Baby Food
To make these baby food recipes you’ll need:
- Blender (you could also use an immersion blender if yours is very strong)
- Water, formula, or breastmilk to thin as needed
- Knife for chopping produce
- Spoon
- Bowls
- Ice cube tray
- Freezer bags for storage
- Baby food storage containers
Stage 1 Baby Food
These baby foods are meant for early eaters as they are typically very thin and easy for a baby to move around in their mouths. I follow the recommendations to wait until 6 months to start solids, so I personally don’t worry excessively about this distinction as I like babies to experience some texture in their purees. (The ones you find at the store are low allergenic foods and are meant for 4+ months.)
Stage 2 Baby Food
These baby foods are typically a little bit thicker, sometimes include more than one ingredient, and offer a wider variety of ingredients. Most babies are ready for these sorts of purees around 7-8 months, or once they’ve mastered thinner purees. (Again, since I like to do a combined baby feeding approach with both baby led weaning and purees, I don’t worry too much about following the calendar to decide when to introduce these.)
TIP: As a backup to my homemade baby foods, I love the options from Amara Organic Baby Food (paid affiliate link) since you simply need to stir it together with breast milk, formula, or water and it’s ready to serve.
And now, for my ten go-to homemade baby food purees that you don’t even need to cook!
1.
 Avocado Puree
To make avocado puree for a baby, you just need a fresh avocado, a blender, and some lemon juice if you plan to store it for later. I sometimes even do this with just a fork if the avocado is super soft! It’s a perfect way to introduce a low allergenic food that’s rich in healthy fats.
TIP: Get the full recipe for Avocado Puree here.
2. Bean Puree
Baby’s early foods don’t have to be all one food group and beans are a great food to have in the mix. You can do this easy bean puree with chickpeas, pinto beans, black beans, or even white beans, thinning it as needed with water, formula, or breastmilk. This is a great puree to mix with a little sweet potato or butternut squash.
TIP: Get the full recipe for Bean Puree here.
3. Blueberry Puree
Using fresh or frozen blueberries, this easy berry puree is loaded with fresh flavor and antioxidants. It’s delicious on its own or stirred into plain whole milk yogurt or baby oatmeal.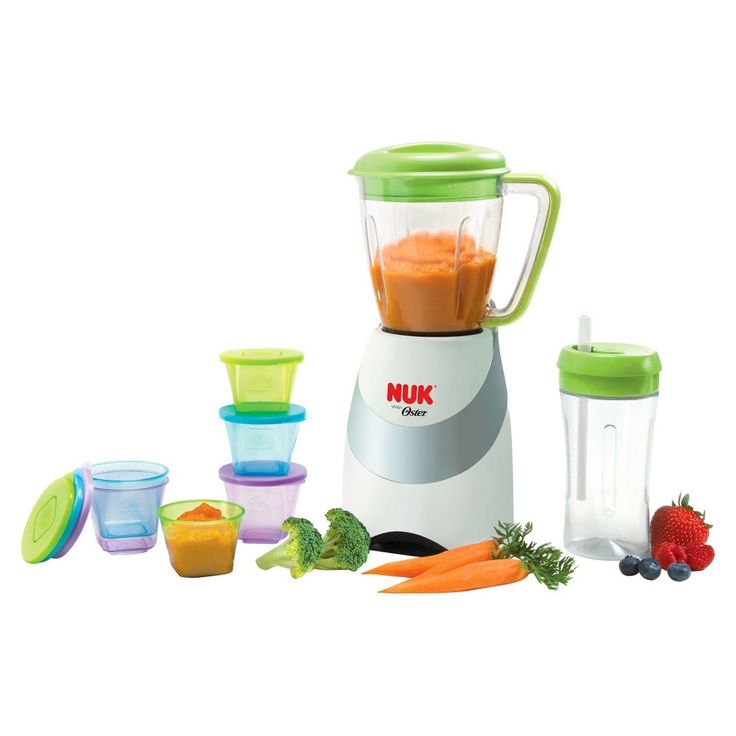 (Note that it thickens up as it sits in the fridge, so you’ll need to stir it well to serve.)
TIP: Get the full recipe for Blueberry Puree here.
4. Kiwi Puree
With a bright flavor, this puree is great for babies who seem to love flavor—and it’s a fun one to make and store for later. You’ll want to make sure that you choose very ripe and sweet kiwi and taste it before you make the puree to ensure that it’s not too tart. (If it seems tart, you can mix with banana or applesauce.)
TIP: Get the full recipe for Kiwi Puree here.
5. Mango Puree
Using fresh or thawed frozen mango, this baby puree blends up in seconds. It’s bright, flavorful, and a great source of immune-boosting vitamins. Taste your mango to be sure that it’s sweet and not too tart. (If it’s tart, you can add Applesauce or ripe Banana Puree.)
TIP: Get the full recipe for Mango Puree here.
6. Peach Puree
Turn fresh or frozen and thawed peach slices into a super smooth Stage 1 baby food with this easy blender method. You’ll want to strain out the skin since it’s hard to blend up smooth, even with a high powered blender, but that’s so easy to do! This baby food recipe is a nice alternative to applesauce.
TIP: Get the full recipe for Peach Puree here.
7. Whipped Peanut Butter
This may not have occurred to you, but whipped peanut butter is a great baby food! This is a perfect way to introduce baby to peanut butter and to offer it safely there after. You just need to stir water into unsweetened creamy peanut butter until it forms a whipped consistency like yogurt. It’s smooth, not too sticky, and packed with protein.
TIP: Get the full scoop on introducing peanuts to baby here.
8. Pineapple Puree
Blend up fresh or frozen pineapple chunks into a tropical baby food puree that’s smooth and creamy. This is yummy on its own or paired with whole milk plain yogurt. Taste your pineapple to ensure that it’s not too tart. (If it’s tart, you can add Applesauce or ripe Banana Puree.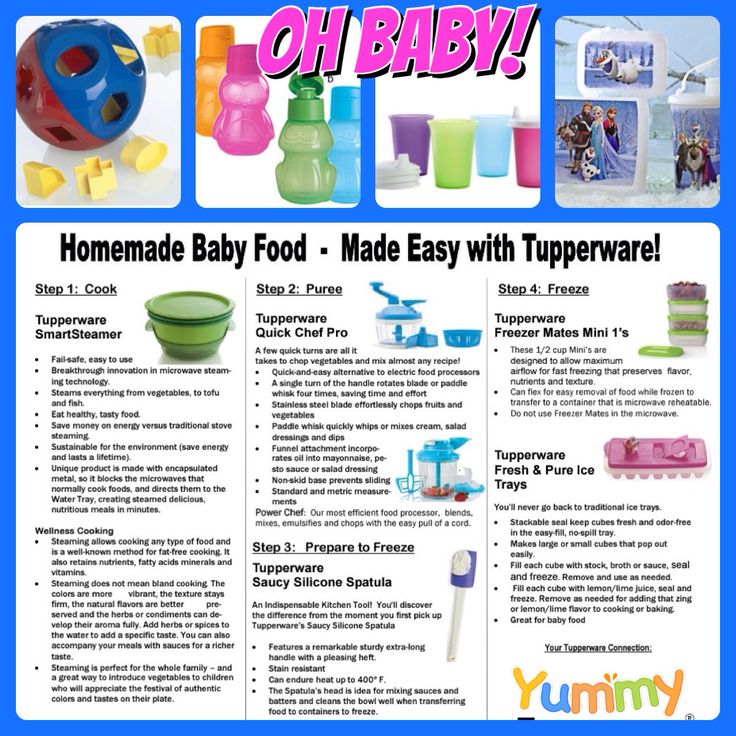 )
)
TIP: Get the full recipe for Pineapple Puree here.
9. Strawberry Puree
Fresh strawberries blend up into a perfectly smooth homemade puree without the need for any additional liquid. You can serve this as is, or mix with applesauce if desired. The flavor of your berries will determine the flavor of your puree, so be sure to taste them for sweetness.
TIP: Get the full recipe for Strawberry Puree here.
10. Banana Puree
Ripe bananas make great homemade baby food with the help of just a blender. This is a super simple baby food to make at home and it’s easy to digest as a Stage 1 baby food. Use ripe bananas with brown spots to ensure that the puree tastes sweet and is easy for baby to digest.
TIP: Get the full recipe for Banana Puree here.
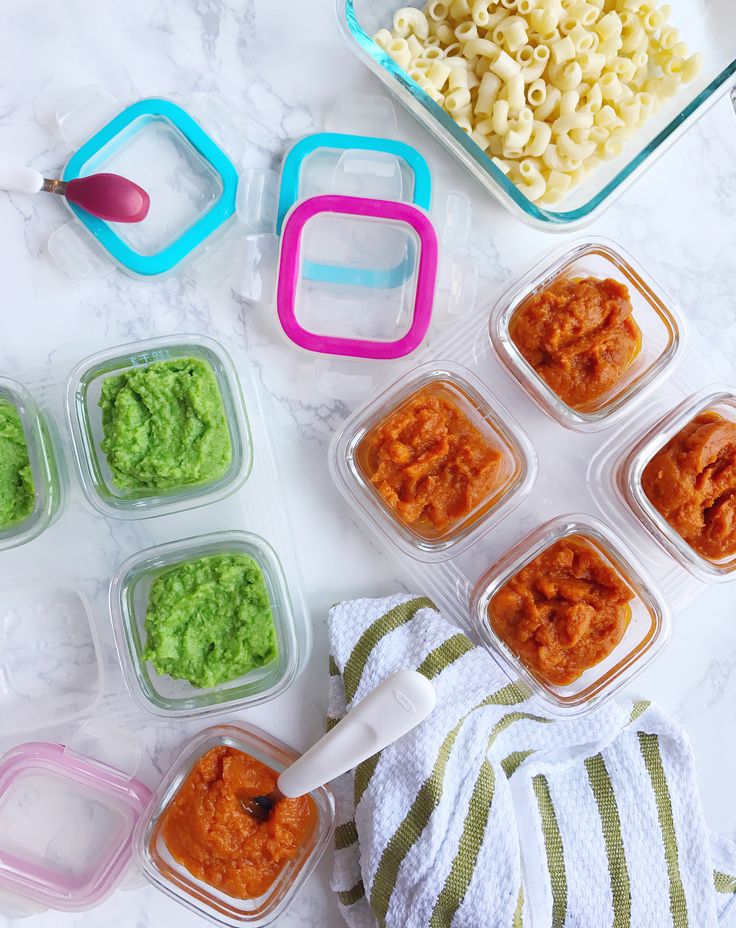
Homemade Baby Food Storage
The easiest way to store homemade baby food is to add fresh purees to an ice cube tray and freeze.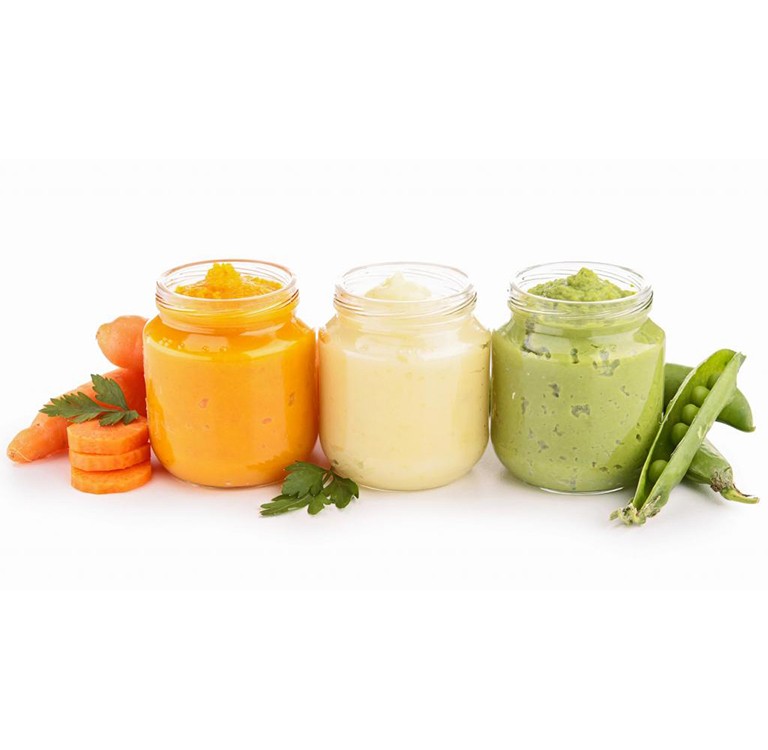 Once frozen, simply pop out the cubes and store in labeled freezer bags for up to 3 months. These are a perfect way to make it easy to send homemade baby food to daycare or to simply get ahead for the coming week.
TIP: Find more information about storing baby food—including the best small food storage containers—here.
]
Tips for Making the Best Homemade Baby Food
- Use at least 1 cup base ingredient to ensure that a blender has enough volume to blend well.
- Thin any homemade puree with water, formula, or breast milk.
- Freeze any baby food you won’t use within 3 days in an ice cube tray. Transfer frozen cubes into freezer storage bags for up to 3 months. Thaw these frozen baby food recipes in an airtight container in the fridge overnight before you plan to serve.
- Taste all fresh foods for sweetness and to ensure that your puree isn’t too tart. To tame tartness, mix any puree with Banana Puree , Avocado Puree, Applesauce, or Mashed Sweet Potato.
- If you want to add fat or protein to any of these fruit or veggie purees, simply stir in a little whole milk yogurt, coconut cream, or Avocado Puree.
- Use breastmilk or formula in place of the water if desired.
- Mix two purees together for more complex flavors.
- Add texture to any puree by stirring in baby oatmeal or hemp seeds.
- For more details on each of these, find them here: Avocado Puree; Banana Puree, Bean Puree; Blueberry Puree, Kiwi Puree, Mango Puree, Pineapple Puree, Peanut Butter Puree, Peach Puree, Strawberry Puree
I’d love to hear your feedback on this way of making simple baby food, so please comment below. I so appreciate hearing your experience with my recipes!
Prep Time 5 minutes
Cook Time 0 minutes
Total Time 5 minutes
Author Amy Palanjian
Cuisine American
Course Baby Food
Calories 42kcal
Servings 4
- ▢ 1 cup blueberries, diced strawberries, diced peaches (peeled), diced kiwi (peeled), diced pineapple (peeled), diced banana (peeled), diced mango (peeled), diced avocado (peeled), OR beans (rinsed and drained)
- ▢ water, formula, or breast milk (as needed)
Choose one fruit, the avocado, or beans and add to a blender.
If making the puree with blueberries, strawberries, peaches, kiwi, pineapple, mango, or beans, add ¼ cup water and blend, adding more water as desired to make a thin, very smooth puree. If making avocado or banana, just blend (without water) until very smooth.
Serve or store in an airtight container for 3-5 days in the fridge, or up to 3 months in the freezer.
Vitamix Blender
Storage Containers
Silicone Ice Cube Tray
- Use at least 1 cup base ingredient to ensure that a blender has enough volume to blend well.
- Thin any homemade puree with water, formula, or breast milk.
- Freeze any baby food you won't use within 3 days in an ice cube tray. Transfer frozen cubes into freezer storage bags for up to 3 months. Thaw these frozen baby food recipes in an airtight container in the fridge overnight before you plan to serve.
- Taste all fresh foods for sweetness and to ensure that your puree isn't too tart.
 To tame tartness, mix any puree with Banana Puree , Avocado Puree, Applesauce, or Mashed Sweet Potato.
 - If you want to add fat or protein to any of these fruit or veggie purees, simply stir in a little whole milk yogurt, coconut cream, or Avocado Puree.
- Use breastmilk or formula in place of the water if desired.
- Mix two purees together for more complex flavors.
- Add texture to any puree by stirring in baby oatmeal or hemp seeds.
- For more details on each of these, find them here: Avocado Puree; Banana Puree, Bean Puree; Blueberry Puree, Kiwi Puree, Mango Puree, Pineapple Puree, Peanut Butter Puree, Peach Puree, Strawberry Puree
Serving: 0.25cup, Calories: 42kcal, Carbohydrates: 11g, Protein: 1g, Fat: 1g, Saturated Fat: 1g, Polyunsaturated Fat: 1g, Monounsaturated Fat: 1g, Sodium: 1mg, Potassium: 57mg, Fiber: 2g, Sugar: 7g, Vitamin A: 40IU, Vitamin C: 7mg, Calcium: 4mg, Iron: 1mg
Tried this recipe?Rate in the comments and tag @yummytoddlerfood on IG!
How To Make Baby Food With a Food Processor
Using a food processor for baby food is a quick, easy solution to creating flavorful and nutritious blends for your baby right at home. A food processor allows you to do minimal prep work—just cut to size, slightly cook tougher ingredients, then toss them into the food processor. Puree to your desired consistency and serve or store for later.
Making your own baby food with a food processor means that you can be sure every ingredient is fresh and wholesome in addition to creating unique tastes your baby will love. Busy parents will appreciate the ease and speed a food processor brings to preparing homemade baby foods.
DO YOU NEED A BABY FOOD MAKER?
You don’t need a separate baby food maker or baby food processor if you have some basic kitchen equipment like a pot or steamer, a kitchen range or microwave, and of course—a food processor. You can finely puree a wide range of ingredients with results perfect for baby food using a food processor. You can also opt for a food processor with more capacity than many baby food makers offer. This will allow you to create in bulk and store for later, so you always have homemade baby food on hand.
Full-sized food processors can do more than chop, mix or puree. They’ll also allow you to slowly incorporate shredded, sliced or even diced foods into your baby’s diet. Select food processors, like options from KitchenAid brand include a dough blade to help prepare baked baby snacks as they grow.
Select KitchenAid® food processors and choppers can help further streamline baby food prep with features that make them easy to use, clean and store including a one-click, twist-free bowl assembly with a latched lid, dishwasher-safe parts and in-bowl accessory storage. In addition, various accessories can help you to achieve a range of results and help introduce your baby to new tastes and textures over time.
HOW TO MAKE BABY FOOD
While your recipes may vary, you can follow these basic steps to learn how to puree baby food in a food processor. You can also create your own inventive flavor combinations suited to your baby’s developing palate using these steps.
Note: Always make sure to consult with your pediatrician or healthcare professional on your baby’s diet, food safety and storage recommendations.
STEP 1. COOK, STEAM OR ROAST INGREDIENTS (IF NEEDED)
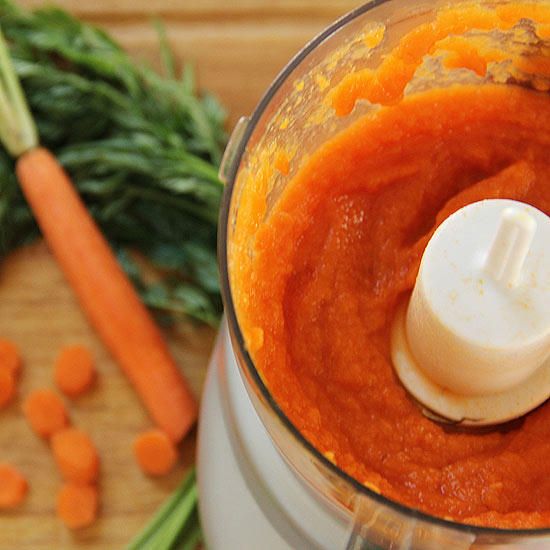
If your baby food recipe calls for firm ingredients like carrots, apples or sweet potatoes, you’ll need to soften them up first. Your options here are nearly endless. Experiment with techniques like roasting, boiling, steaming or even microwaving to bring out the right, soft texture needed for food processor baby food.
STEP 2. ADD INGREDIENTS TO YOUR FOOD PROCESSOR
If you cooked your ingredients in liquid, set it aside—you’ll use it later. Add your softened fruits, vegetables or other ingredients to the work bowl of your food processor with the multipurpose s-blade in place. Make sure not to fill more than ⅔ full. Securely close the lid.
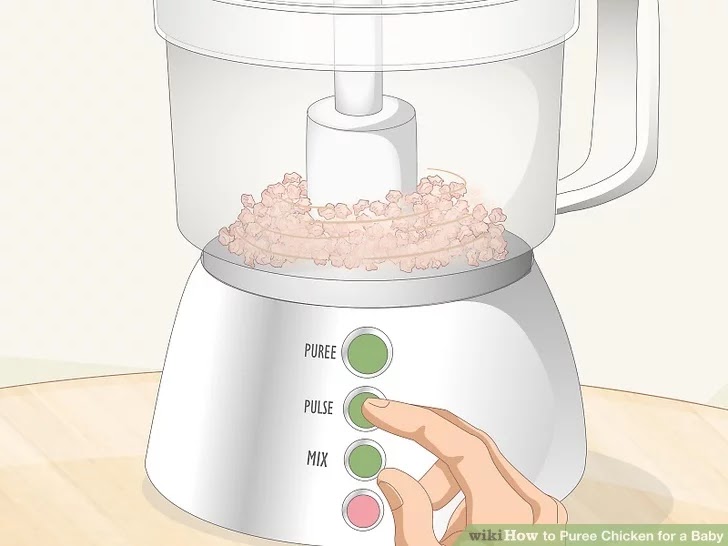
STEP 3. PUREE YOUR BABY FOOD INGREDIENTS
If you want perfectly smooth baby food, run your food processor continuously on high for 30 seconds to 1 minute. If you want a chunkier result, pulse 5-6 times or until your desired consistency is reached.
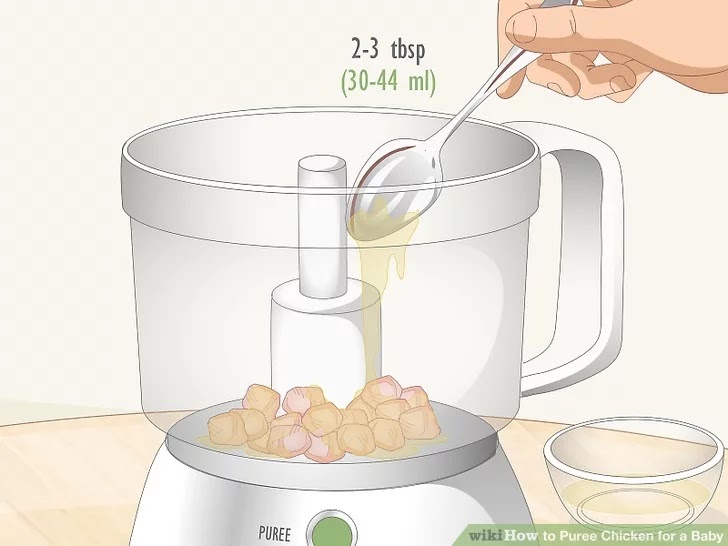
STEP 4. ADD LIQUID TO THIN BABY FOOD
For young babies, you’ll likely want a slightly thinner consistency. While your food processor is running or between pulsing, add the reserved cooking liquid a little at a time until your desired consistency is reached. You can use plain water, formula or breast milk for your liquid if you prefer, or if your cooking technique did not leave any liquid behind.
TIP: If you plan to refrigerate or freeze your baby food for later, you can wait to add the liquid. Storing before adding liquid means your mixture will take up less space and you can vary the consistency with every serving.
STORING HOMEMADE BABY FOOD PUREE
When you’re a busy new parent, planning ahead is key. Make enough food processor baby food to store, then streamline meals by simply thawing or reheating. Here are a couple of ways you can make your bulk homemade baby food puree last:
REFRIGERATING BABY FOOD:
According to the U. S. FDA, homemade baby foods can be refrigerated for 24-48 hours, though this may depend on the ingredients. Either keep the recipe in a large container that you dish servings out of, or portion your recipe into single-serve containers. Whichever you choose, make sure your storage containers are airtight.
FREEZING BABY FOOD:
To make it last even longer, you can typically freeze baby food for up to 1-3 months and possibly as long as 6 months, depending on the ingredients and other factors. Try freezing baby food in covered ice trays for convenient 1 ounce servings. Once frozen, transfer cubes into an airtight container or freezer bag. When it’s time to serve, simply pull out the number of cubes you need and reheat them.
This method also means you can have several types of baby food on hand to keep meals interesting, or for when your baby is feeling picky. For more information about baby food safety and storage, read this article from the U.S. Food and Drug Administration.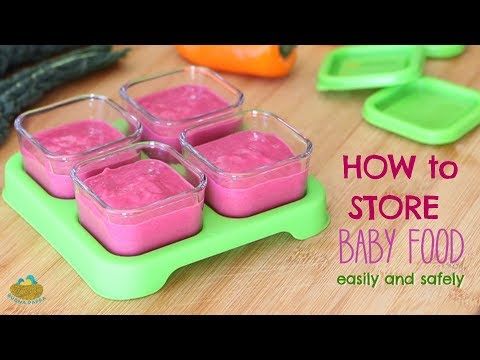
WHAT IS THE BEST FOOD PROCESSOR FOR BABY FOOD?
That depends on your recipe and quantity along with a few other factors. Most can puree baby food easily with a standard food processor blade. For more shapes and sizes, reach for one that can slice and shred. Choose a food processor size based on whether you'll serve food right away or want to make homemade baby food in bulk.
KitchenAid® 3.5 Cup Food Chopper
This mini food chopper is just the right size for a few servings—or just one at a time for ultra fresh pureed baby food meals. With a single stainless steel blade, and simple in-lid operation with two speeds and pulse, you can simplify your approach to food processor baby food.
KitchenAid® Cordless 5 Cup Food Chopper
Make a little bit more with a 5 Cup Food Chopper that features the same easy in-lid operation. Free yourself up to move around the kitchen with the cordless model, or opt for a corded version. Both the 5 Cup Food Chopper and the Cordless 5 Cup Food Chopper from KitchenAid also come with a whisk accessory that's perfect for creating fun textures and treats for babies to explore.
KitchenAid® 7 Cup & 9 Cup Food Processors
The 7 and 9 Cup Food Processors from KitchenAid will allow you to prepare several baby food servings at once. Continuous-run speed options let you operate with the press of a button. A feed tube and disc accessories make slicing and shredding possible for when your baby is ready to try new foods.The 7 Cup Plus and 9 Cup Plus Food Processors come with additional accessories for even more versatility.
KitchenAid® 13 Cup Food Processor
To make sure you always have homemade baby food on hand, opt for a large food processor like the 13 cup models from KitchenAid. Reduce prep time with the 3-in-1 feed tube to process a variety of ingredient shapes and sizes—including popular baby food ingredients like sweet potatoes and more. The KitchenAid® 13 Cup Food Processor with Dicing Kit will grow with your baby to help them enjoy fruits and veggies cut perfectly for healthy finger-food snacks.
FOOD PROCESSOR VS BLENDER FOR BABY FOOD
If you have a blended or pureed baby food recipe, you can likely use either a blender or a food processor. A blender may achieve smoother consistency for fibrous ingredients like kale or celery. But for most baby food recipes, both a blender and a food processor will yield the right consistency for baby food.
If you opt for a blender, the Small Batch Jar Expansion Pack for the KitchenAid® K150 Blender and the KitchenAid® K400 Blender are perfect for making just a few servings of homemade baby food. A sealed lid lets you store any leftovers or prepare batches in advance to keep them fresh for meal times.
You can also use an immersion blender to puree or blend baby food right in a bowl, cup or other container. This is useful if you are preparing ingredients in another dish like a pot on the stove since there is no need to transfer ingredients. An immersion blender is also useful when you want to quickly blend just one serving of baby food. Learn more about how to use an immersion blender, or compare different types of blenders.
Keep in mind that if you’re looking to achieve a chunkier result as your baby ages, a food processor’s pulse function can be helpful. Pulse allows for more incremental processing so you can stop before your mixture is completely smooth. Because food processor blades usually spin more slowly than a blender’s, you’ll be able to have more control over the results.
TRY THESE BABY FOOD RECIPES IN YOUR FOOD PROCESSOR
You can adapt most blender baby food recipes for use in your food processor. Follow the general steps in this article to adapt pureeing baby food in a food processor vs blending. To get started, try this simple Sweet Potato Pureed Baby Food with just a few ingredients. When you’re ready to add some more techniques and flavors, adapt this versatile Roasted Vegetable Baby Food recipe for your baby’s unique tastes. Make sure your baby gets their greens with a nutritious Green Bean and Pea Puree elevated by a bit of fresh mint.
Shop KitchenAid® Food Processors and Blenders for Baby Food Prep
Explore food prep for your growing family with KitchenAid® food processors and blenders.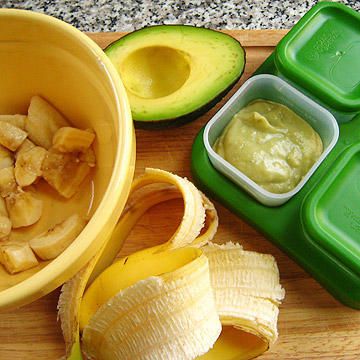 From food processors that can chop, puree, shred and slice, to blenders with a 3-part blending system, KitchenAid brand has the tools you need to create delicious meals for kids.
KFP1319WH
KFP1319ER
KFP0718BM
KSB1325BM
KSB4027VB
MORE KITCHEN HELP FOR NEW PARENTS
-
Small Appliance Gift Ideas for Busy New Parents Find the perfect gift for a new parent—or a busy one—with this guide that’s full of useful kitchen gift ideas.
-
Food Processor Pie Crust: How to Make Pie Dough Use our easy food processor pie crust recipe to learn how to make homemade pie dough from scratch in minutes for buttery, flaky crust.
-
Food Processor Sizes: Find the Right Fit With so many sizes of food processors, which is the right fit for you? Explore your options and find the best size food processor for your kitchen.

`
function pdpSignUpRedirect(storageItem, countdown){
let item = storageItem
let pdpSignUpUrl = sessionStorage.getItem(item) || localStorage.getItem(item)
if(!pdpSignUpUrl){
return
}else{
let cd = countdown.time
document.body.prepend(pdpTyModal.content.cloneNode(true))
let redirectMsg = document.querySelector('.redirect-msg')
function countDown(){
if(cd >=0){
redirectMsg.textContent = redirectMsg.textContent.split(` in ${cd + 1} seconds`)[0] + ` in ${cd} seconds`
cd--
}else{
clearInterval(countDown)
}
}
countDown()
localStorage.removeItem('pdpSignUp')
sessionStorage.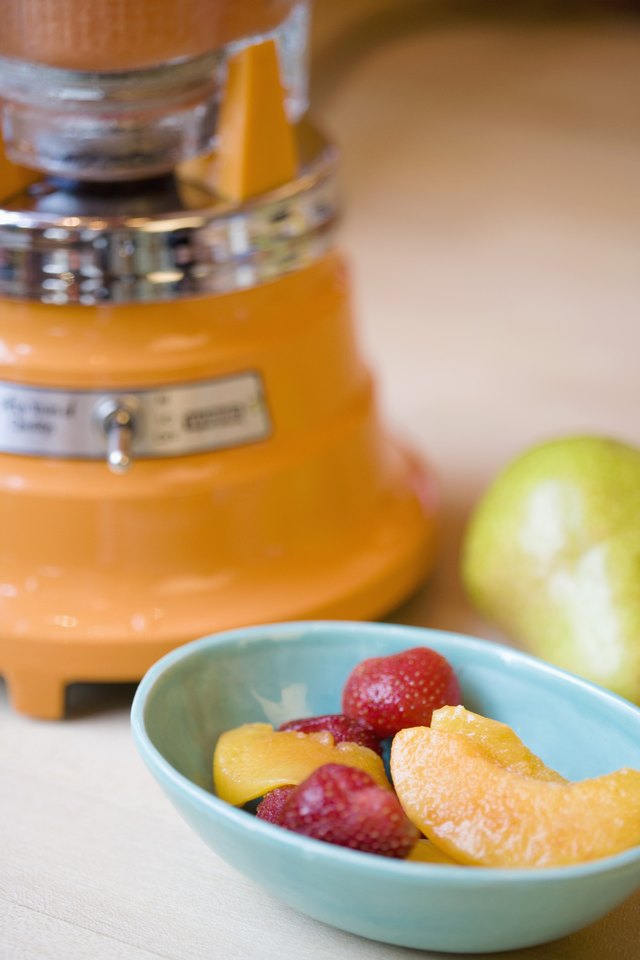 removeItem('pdpSignUp')
setTimeout(()=>{
navigator.navigate(navigation.navigate(location.origin+pdpSignUpUrl))
}, 2800)
setInterval(countDown, 1000)
}
}
document.addEventListener('readystatechange',()=>{
if(document.readyState === 'interactive' || document.readyState ==='complete'){
if(!window.location.href.includes('/your-account/dashboard'))return
pdpSignUpRedirect('pdpSignUp',{time: 3})
}
})
removeItem('pdpSignUp')
setTimeout(()=>{
navigator.navigate(navigation.navigate(location.origin+pdpSignUpUrl))
}, 2800)
setInterval(countDown, 1000)
}
}
document.addEventListener('readystatechange',()=>{
if(document.readyState === 'interactive' || document.readyState ==='complete'){
if(!window.location.href.includes('/your-account/dashboard'))return
pdpSignUpRedirect('pdpSignUp',{time: 3})
}
})
What can a child cook in a blender
August 6, 2014 Food Health
Instead of buying expensive baby food, you can make fruit and vegetable purees at home with a regular blender. Here are five healthy vitamin mix recipes for kids.
Iya Zorina
Author of Lifehacker, athlete, CCM
When your child is 4–6 months old, he starts to pay attention not only to milk, but also to other foods. After finishing his bottle of milk, the child may try to take something from your plate. If you've had this before, it's time to add some soft foods to your baby's diet. But before you go shopping for baby puree, try making it at home. Here are five healthy baby food recipes that can be made in minutes in a blender. nine0003
Store-bought infant formula contains more sugar and salt and less of the natural fibers that homemade formula would have.
In addition, shop mixes are sterilized, due to which vitamins and other useful substances are killed. And, of course, the price - homemade baby formula will cost you half the price.
So if you have a blender and a few minutes to spare, why not try making your own blend? Here are five recipes that are quite suitable for a child.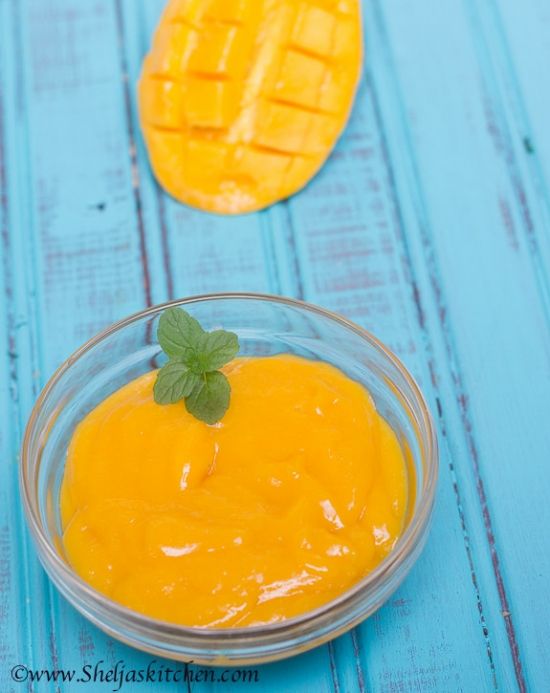 nine0003
1. Apple puree
Apple pureeIngredients:
- water - 100 g;
- 3 medium red or yellow apples, peeled and cut into small cubes;
- cinnamon - 1 pinch.
Combine the ingredients in a saucepan and simmer for about 12 minutes until the apples are tender. After that, we send the mixture to a blender and make a puree.
During cooking, you can add as much water as needed. Serve the puree as is, or you can freeze it in ice cube trays and serve it on a hot day. nine0003
2. Raspberry-banana puree
Ingredients:
- 1 banana;
- raspberries - 0.5 cup.
Place the ingredients in a blender and blend until smooth. The child will surely like the natural sweetness of the mixture, and not only him - not only children, but also adults can enjoy the fruit and berry smoothie. For example, you can add a vitamin sweet mix to ice cream or Greek yogurt.
3. Fiesta fruit breakfast
Fiesta Fruit BreakfastIngredients:
- water - 75 g;
- oatmeal - 1 tsp;
- crushed raisins - 1 tsp;
- small banana (mashed) - 0.
 5 pcs.;
 - ground flaxseeds (prevent constipation) - 0.5 tsp.
Combine all ingredients in a saucepan and bring to a boil. After that, reduce the heat to a minimum and cover with a lid, cook for another 10 minutes. Pour the mixture into a blender and blend until desired consistency. nine0003
This puree is especially useful for preventing constipation. In addition, the mixture is rich in minerals and vitamins that strengthen the growing body. You can give it to older children, without first rubbing it in a blender.
4. Puree of chickpeas and vegetables
Puree of chickpeas and vegetablesIngredients:
- unsalted chicken broth - 1 cup;
- milk (breast or baby food) - 0.25 cup;
- chickpeas - 1 cup;
- small onion (sliced) - 0.5 pcs.; nine0024
- carrots (peeled and chopped) - 1 pc.;
- celery (washed and chopped) - 1 sprig;
- garlic (chopped) - 1 clove;
- bay leaf - 1 pc.;
- dried thyme - 1 pinch.
Combine all ingredients except milk and thyme in a saucepan and bring to a boil, then reduce heat and simmer for 10 minutes, covered, until all ingredients are soft.
Drain the broth into a separate saucepan, remove and discard the bay leaf. Add milk and thyme and heat for five minutes. nine0003
Pour the mixture into a blender and add some of the remaining broth. The final consistency depends on the amount of broth. Blend in a blender until pureed.
5. Egg, vegetable and rice puree
Egg, vegetable and rice pureeIngredients:
- 1-2 hard-boiled egg yolks;
- brown rice (boiled) - 1 cup;
- vegetables (boiled and chopped) - 0.25 cups.
Blend all ingredients in a blender until pureed. If you don't want to use egg yolks, you can make the mixture without them. nine0003
In any case, before formulating formulas, check with your pediatrician about the foods you can and shouldn't give your baby.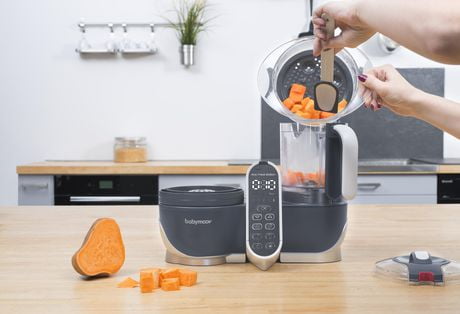
How to prepare meat puree for babies
About nutrition
- Photo
- Parents
Babies will have to try meat puree not earlier than 7-8 months. At this age, the child grows and develops intensively, and the iron reserves that he accumulated while he was in his mother's tummy and during breastfeeding are depleted in his body. It is during this period that it is recommended to introduce baby meat puree into his diet. Meat is the main source of complete animal protein, which is necessary for a growing man to protect against infections, normal development and formation of teeth and bones. Properly prepared meat puree for the first feeding contains easily digestible iron, phosphorus, potassium, magnesium, zinc, B vitamins. It also contains extractives that stimulate the production of digestive enzymes and the digestive system.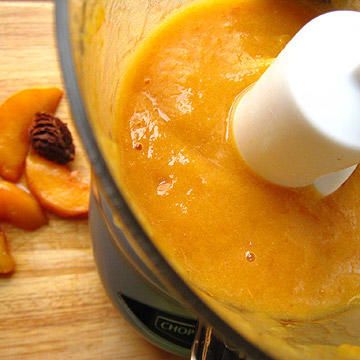 nine0003
It is worth remembering the rules for the introduction of complementary foods. A new product is introduced gradually (over 5-7 days) starting with a small amount. It should be given in the morning to mark an unwanted reaction. Complementary foods are given from a spoon before breastfeeding or formula milk.
When feeding with mashed meat, start with a portion of 3–5 g (that’s 1/2 teaspoon), so that, gradually increasing its size, reach 60–80 g by 1 year. you can buy in the store, ready-made. Is it worth it to "fool around" with home cooking? It's up to you. There is no single answer to the question of which meat purees are best for your baby. But we think you will agree that a homemade recipe guarantees confidence in every ingredient. Yes, and cooking mashed potatoes at home is not difficult. nine0003
Puree meat for the first feeding: recipe and step-by-step instruction
You will need:
-
Glass or ceramic cup capacity 200-500 ml
-
Glass or enameled potion 0.
 5-1 l
5-1 l -
plastic or metal spoon
-
meat cutter
-
plastic cutting board (more hygienic, wood is more difficult to clean and germs can accumulate on it)
-
blender
-
actual piece of meat
1. Choosing meat
For the first feeding, it is recommended to choose hypoallergenic rabbit or turkey meat, which are easy to digest and contain little fat. Lamb and lean veal and beef are also not forbidden. Pork for babies will be too fatty and can cause a malfunction in the digestive system, chicken quite often causes allergic reactions.
It is recommended to buy meat for baby meat puree in a trusted store. Since any meat must pass veterinary control, the seller must carry a certificate confirming this procedure. Give preference to whole cuts of meat (not in cubes), fresh and juicy in appearance, not weathered. The cut of a piece of meat should be even, pink. A dark red or whitish cut indicates that the meat was either stored incorrectly, or is far from the first freshness.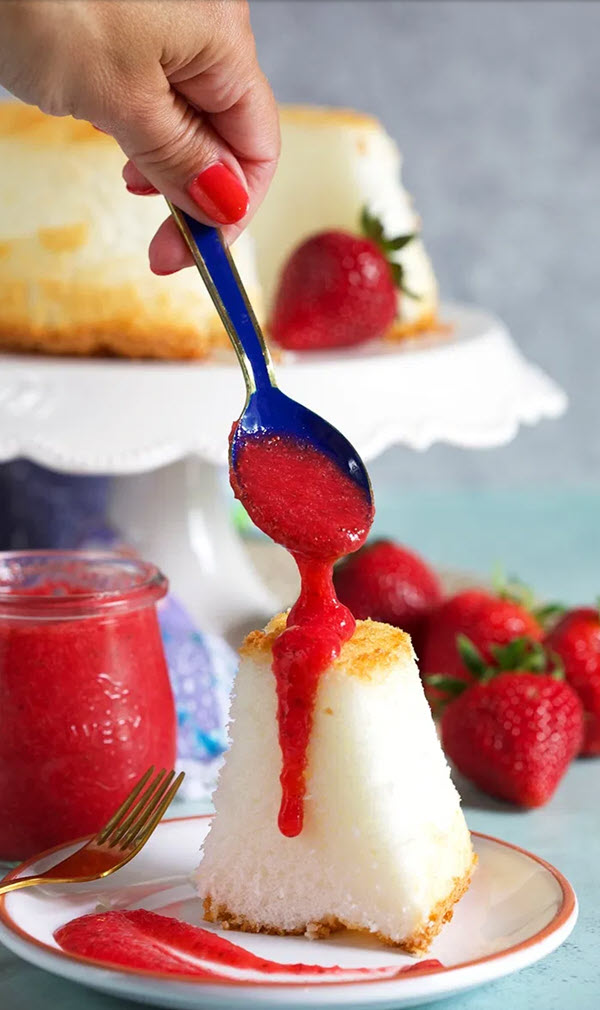
To help a mother who is worried about the question “what to feed her baby”, we have prepared a material “What to feed a baby: a baby’s nutrition diary from birth to a year”
- Photo
- Parents
2. Preparing meat
Before preparing the meat puree for the first feeding, it is necessary to thoroughly rinse the meat under running cold or warm water. Remove fat, veins, skin, films from it and free it from bones.
Then cut a piece of about 10 cm from the whole piece of meat. Meat puree, like other foods for babies, should not be stored. For this reason, at one time you will need a very small piece of meat. The remaining meat can be cut into larger pieces and put in the freezer. Just keep in mind that any food for babies can only be thawed once. A defrosted product cannot be re-frozen: temperature changes create a favorable environment for the reproduction of pathogens.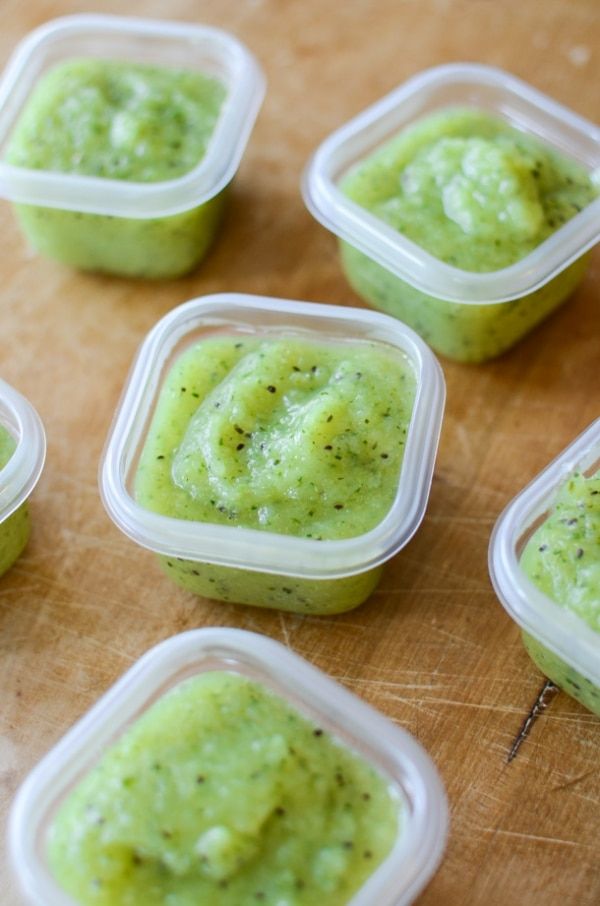 So every time, intending to prepare meat puree for feeding, we take out 1 piece of meat from the freezer. For the first time, this amount is more than enough. nine0003
3. Rules for cooking meat for baby puree
Put the meat in a pot of cold water (remember, it must be filtered or bottled) and wait until it boils. After 5 minutes, drain the water (this is necessary to get rid of fat and extractives that impede digestion) and fill the meat with new water, it should cover it. Cook the meat until tender over low heat for about 2 hours (turkey, veal and lamb should be cooked until tender for 1-1.5 hours). If the water boils away, add it again. And remember that kids do not need to salt and add spices to the meat. nine0003
Find out how to make a menu for a one-year-old baby here: “Almost an adult menu: what to feed a child from one to two years old”
- Photo
- Parents
4.
 Cooking meat puree
 When the meat is cooked cut it into small pieces. Then grind the pieces in a blender.
To make puree a homogeneous consistency, similar to thick porridge, add a few tablespoons of mixture or vegetable broth to it (meat broth is not allowed for babies!). nine0003
Ready-made meat puree can be mixed with vegetable puree, which is already familiar to the baby. So the child will more easily accept the new product. You can also pour a few drops of vegetable oil into the meat puree (7-month-old children are entitled to 5 ml).
The first serving of meat puree should be 0.5 teaspoon. Pay close attention to your child's reaction. If everything is in order, after a week you can increase the portion. By the year the child should already consume portions of 60-80 g of meat. It is best to feed baby meat puree at lunchtime. nine0003
Read also: “When a child begins to chew and how to prepare for this”
- photo
- Parents
- Photo
- Parents
Each mother has its own recipe for the MARK .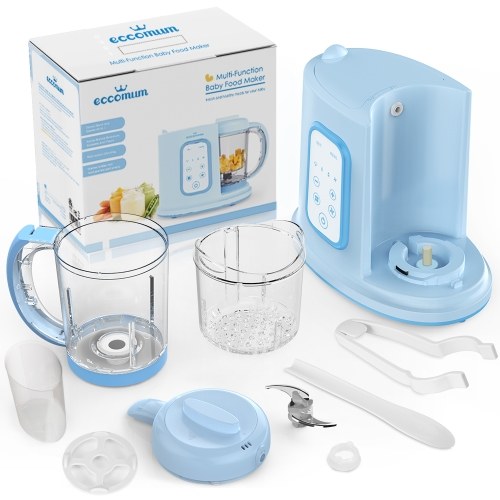 We will present some of them.
Homemade beef mash for babies
What you need: 40 g beef, water, 1 teaspoon butter
Cleaned meat, free of bones, membranes and sinews, cut into small pieces. Stew the pieces in a small amount of water until fully cooked, about 2 hours. Cool the finished meat and scroll twice through a meat grinder, and then chop in a blender. This way you will achieve a uniform consistency. Add a little vegetable broth to the resulting puree and bring to a boil. Thoroughly mix everything, add butter.
You can also add some breast milk to the meat puree. But in this case, boiling mashed potatoes is no longer required. nine0003
Turkey meat puree recipe
You will need: 100 g turkey fillet, 0.5 cup of water.
Meat can be cooked on the multicooker rack, steamed or boiled in a pot of water on the stove. We cook in a slow cooker by setting the “steam” mode for 40 minutes. We cut the boiled meat into pieces, which we grind with a blender until a homogeneous consistency is obtained.