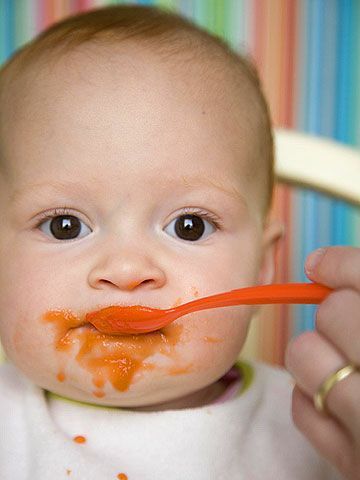
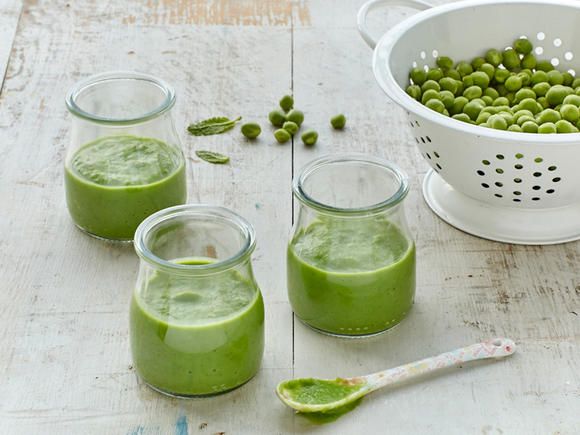
How to puree your own baby food
Ultimate Guide on Baby Food Purees (4-6+ months)
Home » Feeding Style » Baby Food Purees » Stage One » Ultimate Guide on Baby Food Purees
Here it is, the Ultimate Guide on How to Make Your Own Baby Food! Everything you need to know to get started on making homemade baby purees is right in this guide. Tips, tools, storage methods, recipe combinations, starter purees, introducing new foods — name it, and you’ll find it here! This in-depth guide is perfect for babies ages 4-6+ months!
Medically reviewed and co-written by Jamie Johnson, Registered Dietitian Nutritionist (RDN), and Lauren Braaten, Pediatric Occupational Therapist (OT).
Purees for BabyAre you wanting to make your baby homemade baby food purees but don’t know where to start?
In this guide I’ll share everything you need to know to begin, starting from the best cooking tools to have on hand and safe storage. I will also share how to know when baby is ready for solids, how to introduce purees, the best first foods for baby, starter purees, and more! They’re all ideal for babies at least 4 months old (stage 1 baby food). You can also check out my best-selling cookbook for even more information and recipes!
In short, this comprehensive guide will teach you how to make and serve homemade baby food without stressing out about it.
That’s the key here — don’t stress out. It’s supposed to be fun, and it’s going to be! Hopefully, after going through this guide, you’ll realize that making homemade baby food is as easy as pie. Plus, seeing your baby wanting to devour your appetizing homemade purees is a priceless moment that is worth the work.
Here’s a tip: Grab a cup of coffee (or glass of wine), and break this post down into smaller sections so you can digest it (pun intended) over time.
As you start making your own baby food purees, you’ll realize that this once daunting task can actually become second nature to you.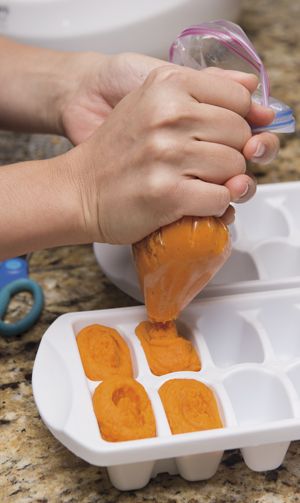 Don’t panic, you’ve got this!
Guide on Baby Food Purees Video
Watch this video to find out more about how to freeze, store and thaw your own purees!
5 Reasons to Make Your Own Baby FoodNowadays, it’s easy to buy food for your baby. Many brands now tout that their baby food purees, pouches, and snack bars are organic. Given that you do have a choice, why should you cook at home?
TASTENothing tastes better than a healthy, homemade meal, and that goes for baby purees as well.
- Tastes Better – Food always tastes better using fresh, wholesome ingredients.
- Tastes Real – If you want your baby to experience what a real apple tastes like, then make a baby food puree using real apples. The industrial process of making store-bought baby food kills off most of the flavors, nutrients, and aromas of the produce, making purees taste bland and unnatural.
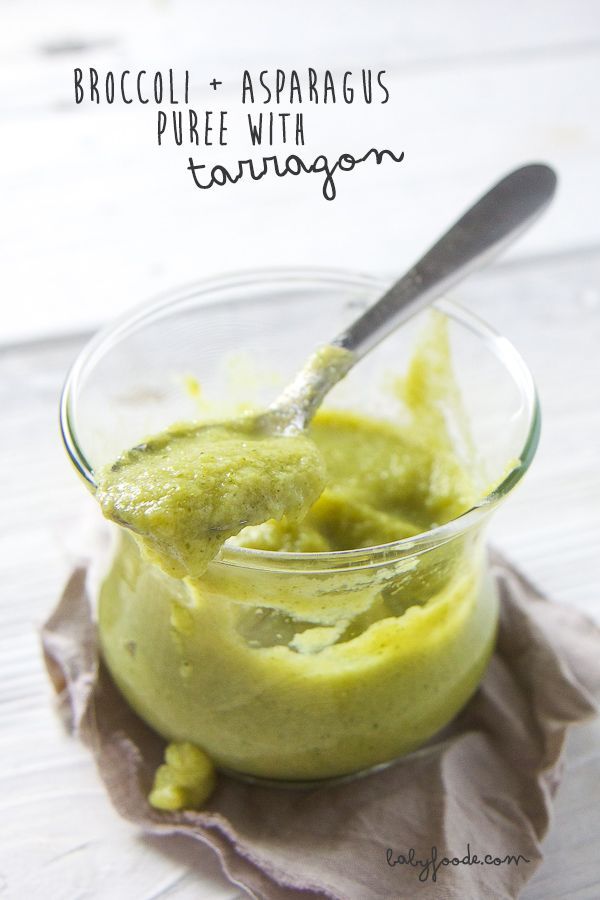
- Tastes Fresh – Most commercial baby food purees are heated to extremely high temperatures to have upwards of three-year shelf life. That means the food from the store is most likely older than your baby.
Don’t get me wrong — store-bought baby food is convenient if you are in a pinch. But you can’t beat the taste of any homemade baby food.
TEXTUREThe ability to control the thickness of your baby’s puree is an advantage that will not only help you get through the picky-eating days but also help transition your baby from purees to solid food.
- Some babies prefer thinner purees, while other babies like thicker ones. When you make your own, you are in control of how thin or thick your baby’s puree will be.
- Different textures are as new to your baby as the flavors themselves. So, varying a puree’s texture will not only give your baby a new eating experience but will also excite their taste buds.
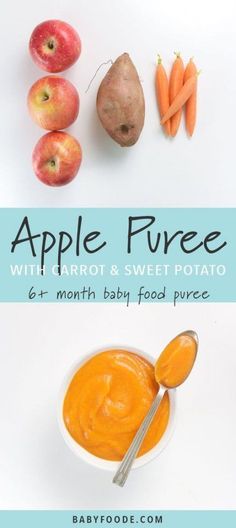
Homemade baby food is undoubtedly healthier for your baby than any brand of store-bought food, whether jarred or in pouches. But the biggest nutrition win I feel you get is that you can tailor them to your child’s needs anytime.
- Is your baby feeling a little under the weather? Make a puree high in vitamin C.
- Low on iron? Add some beef, spinach, or beans.
- Maybe your baby is a little constipated. Making a puree with anything that starts with a “P” — pears, prunes, peas, peaches — will soon get your little one back on their adorable feet.
Since you’re the one who buys the ingredients and handles, preps, and cooks the purees, you can rest assured that you know exactly what’s going into all of your baby’s food.
What you make is what your babies get! There are no fillers, thickeners, suspicious ingredients with names you can’t pronounce, shelf stabilizers, or unnecessary water.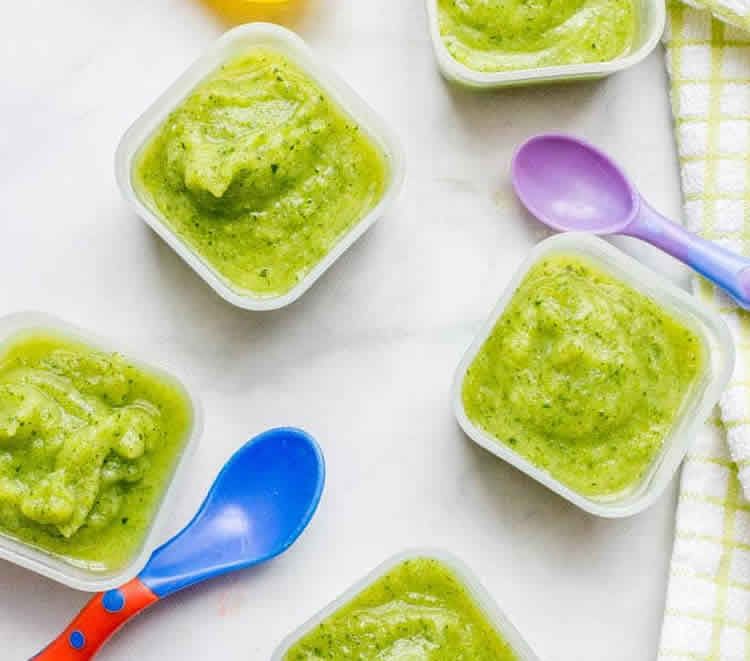 Just healthy, flavorful homemade baby food that you can also enjoy!
Lastly, this might come as a surprise, but making your own baby food with all organic ingredients is more than 50 percent cheaper than buying their store-bought counterpart!
Depending on how much your baby eats, homemade baby purees can save you some serious money.
What is Traditional WeaningTraditional weaning (also sometimes called “spoon-feeding”) involves introducing food to your baby via puree form first and then gradually progressing the texture and types of foods over time. Since food is pureed with traditional weaning, the parent typically needs to spoon-feed their baby. Initial foods offered with this approach typically include thin, smooth purees, such as fruits, vegetables, oatmeal or rice cereal. Textures gradually progress to thicker purees, then mashed or chopped foods, and eventually soft finger foods, such as cooked vegetable pieces, toast, pasta, and meats.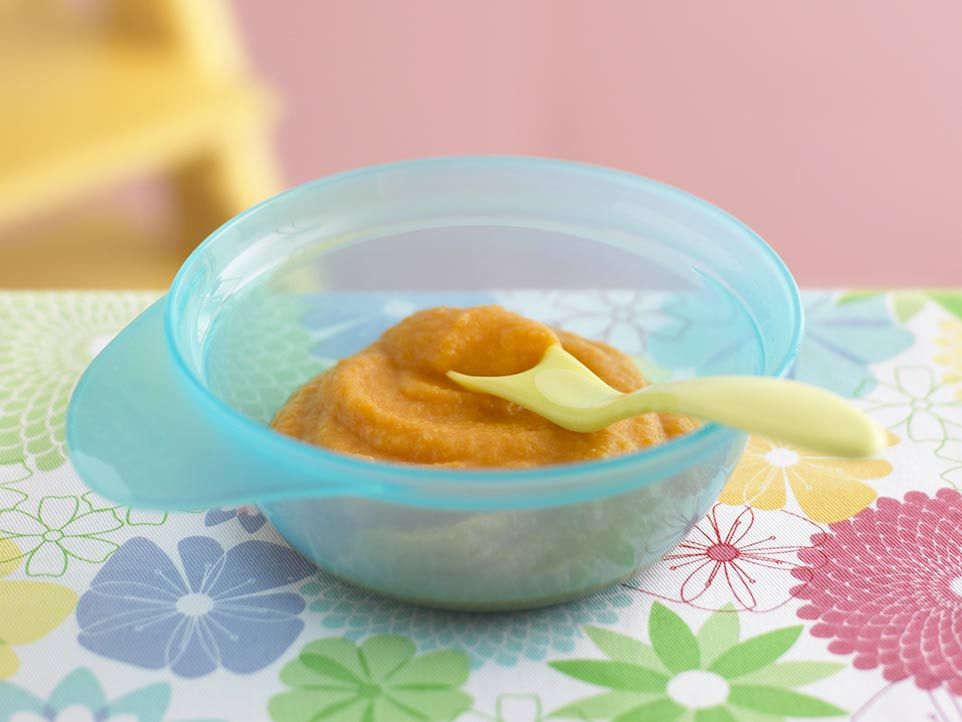
- Baby learns how to swallow safely first, then works on chewing skills later. Purees can be very helpful for teaching swallowing, as they help intrinsic tongue muscles develop, preparing your baby to chew and swallow more efficiently. It’s also less common to gag or choke on purees, which may help some babies feel more comfortable when starting the feeding process.
- You know how much your baby has eaten. Whether using store-bought or homemade purees, you’ll be able to get a good estimate on how much your baby consumed.
- Baby can get a lot of flavor from the start. Who says purees have to be boring and bland? Especially if you make homemade purees, there are some pretty tasty flavor combinations that you can offer baby as some of their first foods.
- Less Mess (well, maybe). Although letting baby touch and explore foods is an important part of the process, if you’re feeling hesitant on just how messy things are going to get initially, starting with spoon-feeding purees might help you ease into the process.
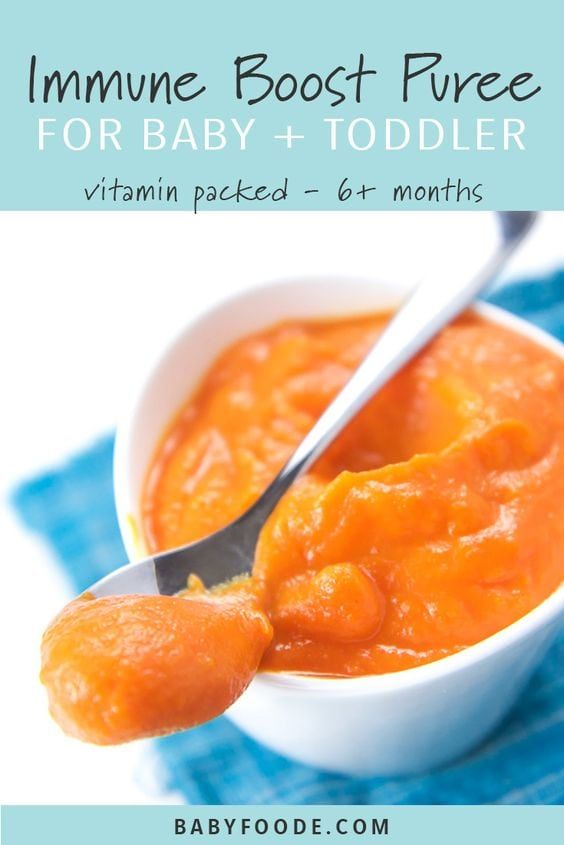
- Preparing lots of different purees can be time consuming. In addition to making other meals for yourself and the rest of the family, it might feel challenging to make separate meals just for your baby. Although with homemade purees, you will often make a big enough batch so that you’ll have several weeks’ worth of food.
- Spoon feeding baby can make it tough to feed yourself during a family style meal. Sitting and eating when baby eats is possible, but you will likely have many interruptions as you pause to spoon-feed baby throughout the meal.
- Baby won’t get as much opportunity to engage in sensory exploration. Unless you progress to giving baby their own bowl or spreading purees on the tray and encouraging baby to taste the food off their fingers, they won’t get as much opportunity to feel the puree on their hands, fingers, and face.
- Feeding baby past signs of fullness. Reading baby’s cues is important no matter what approach you’re using, but there can be a tendency to continue to feed baby past signs of fullness when spoon-feeding and sneak in “just one more bite” from that almost empty container.
- Getting “stuck” in a comfortable zone. Once baby seems to have mastered taking purees from a spoon, it can get tempting to stick with what you know. But baby can get too comfortable with the smooth texture of purees if not encouraged to progress to other textures. This may lead to difficulties managing these textures later on in life.
Whether you decide to go with traditional weaning (purees), baby-led weaning or a combination of both, look for these readiness signs in your baby:
- Around 6 months of age
- Sitting with minimal assistance
- Good control of their head and trunk
- Bringing hands and toys to their mouth
- Appears interested in food, possibly by reaching for or leaning forward towards food
Before you start weaning your baby, you should consult with your pediatrician to make sure your child is developmentally ready.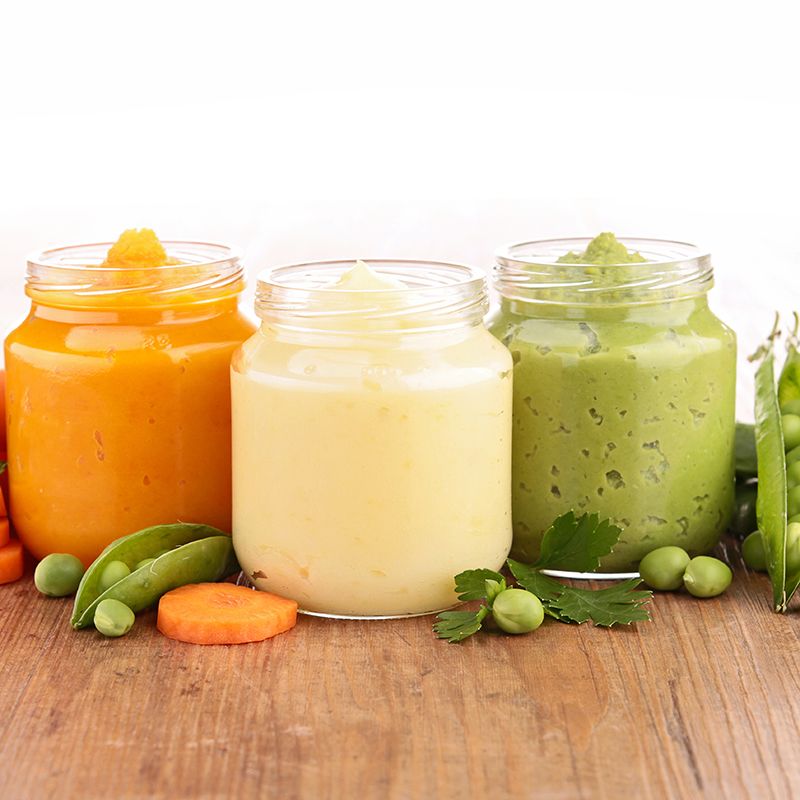
Fortunately, most of the tools you need to make homemade baby food can already be found in your kitchen. Score!
Tools Needed- blender or food processor
- baking sheet
- saucepans
- steamer insert with lid
- knives
- veggie peeler
- spatula
- freezer tray
- storage containers for fridge
- stasher bag
- reusable pouches
- baby food maker
- highchair
- suction bowl or baby bowl
- baby spoon
- open lid cup
- bib with catch pocket
- sleeved bib
- splat mat to cover the floor
Learning Resources: looking for the best high chair, cups or spoons for your baby? Then we’ve got you covered! Here you will find How to Find the Best High Chair for Baby, an easy guide on Best First Open Cups for Baby (plus 4 tips when introducing a cup) as well as 3 Tips on How To Spoon Feed Baby (plus – our favorite spoons for purees or BLW).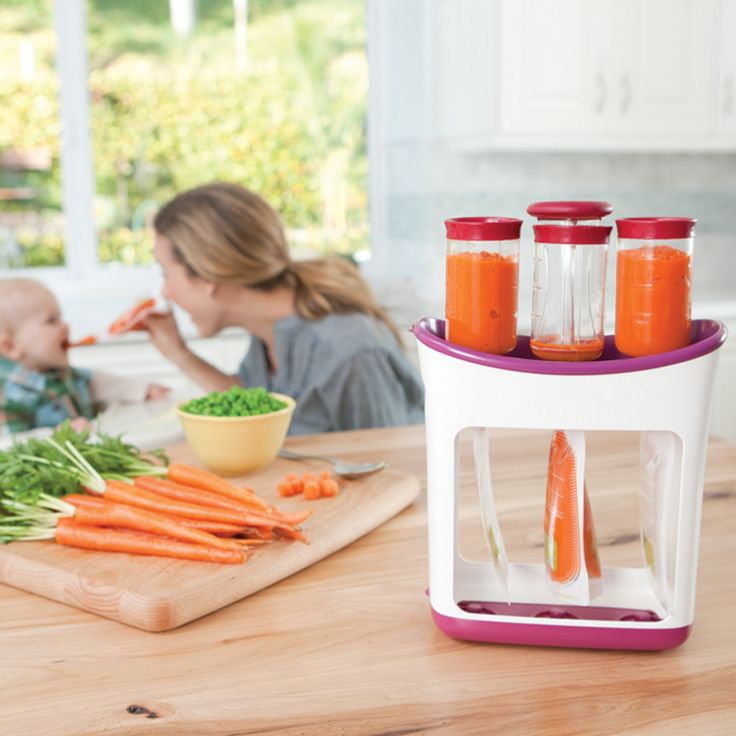
All of the baby food recipes on this site and in my cookbooks are designed to enhance the natural taste of the fruits and veggies while keeping as many nutrients intact as possible. In other words, the goal is to make a puree that’s both healthy and delectable.
There are several ways you can cook baby food purees, but the main techniques I use are:
- Steaming
- Roasting
- Simmering
- Raw
Keep in mind, that as long as the produce is cooked until soft, that there isn’t a right or wrong way to cook it for baby food.
If a recipe for broccoli calls for steaming but you want to roast it because you will already be roasting some broccoli for yourself for dinner, then go ahead and roast the broccoli for your baby’s puree. Play around and have some fun with it!
Adding Spices to Baby PureesIt’s encouraged that you can serve your baby a homemade puree with a pinch of spices or herbs from the very first bite.
Benefits of Spices
- boost and compliment any fruit or vegetable puree
- broaden baby’s emerging palate
- add more flavor and depth into their foods
- decrease picky eating in the years to come
- have medicinal properties in them — they can help with digestive issues, boost brain functions, repair muscle tissues, and so on.
While each puree recipe on this site has a selection of spices or herbs that complement the flavors of the fruit or vegetable in the puree, it’s up to you if you want to add them. You do you! Either way, the puree recipes on this site will be delicious.
Top Spices to Add to Baby’s Puree
- Cinnamon
- Cloves
- Nutmeg
- Basil
- Mint
- Parsley
- Mild Curry Powder
- Fresh Lemon Juice
- Garlic
- Rosemary
Pureeing homemade baby food is a very straightforward event. However, it can take some practice to get the smoothest, creamiest puree for your baby.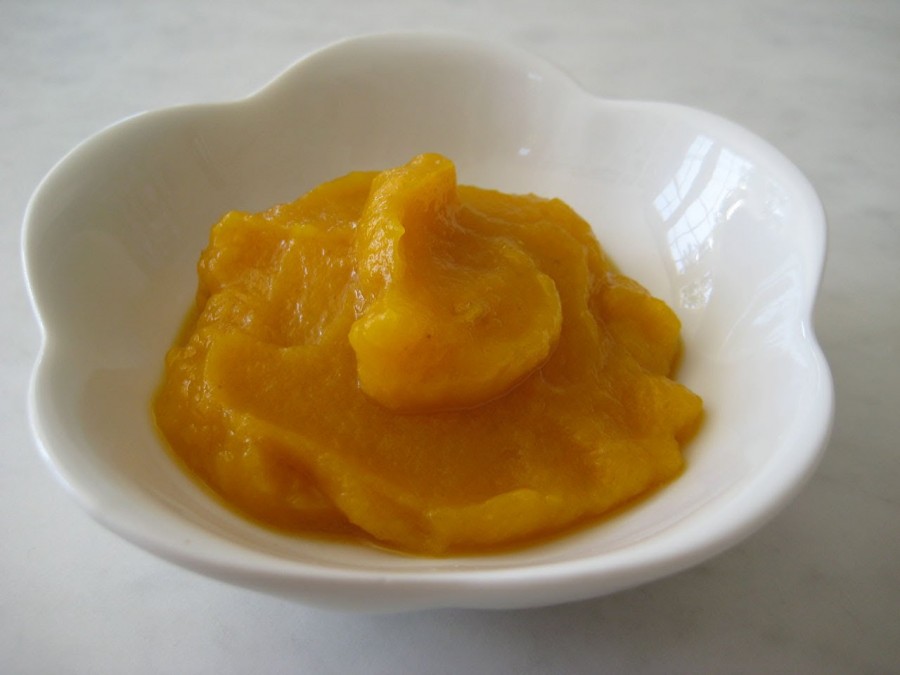
Step-by-Step Instructions
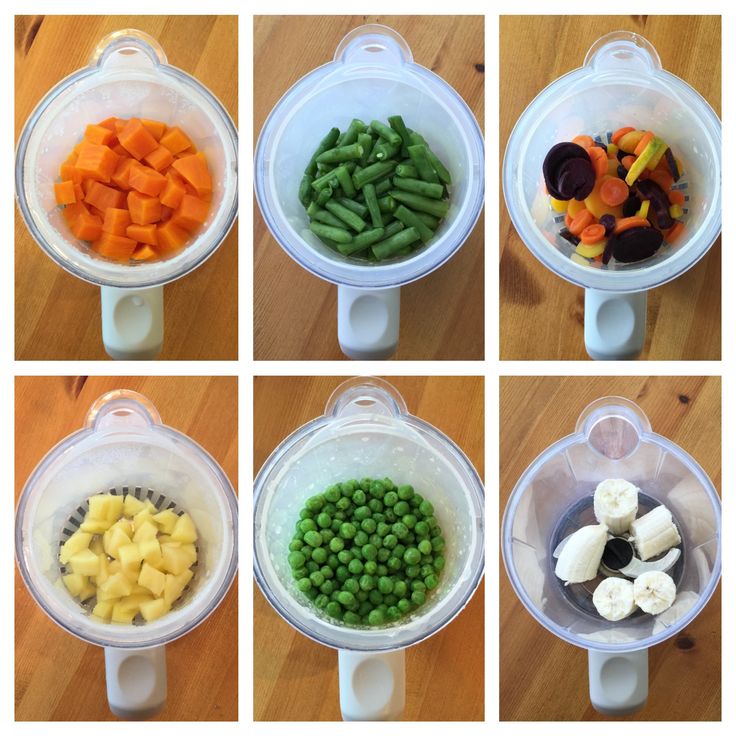
- Place Produce In Blender: place cooked produce into a blender or food processor.
- Start Machine: turn the machine starting on low and increasing until you reach the highest setting.
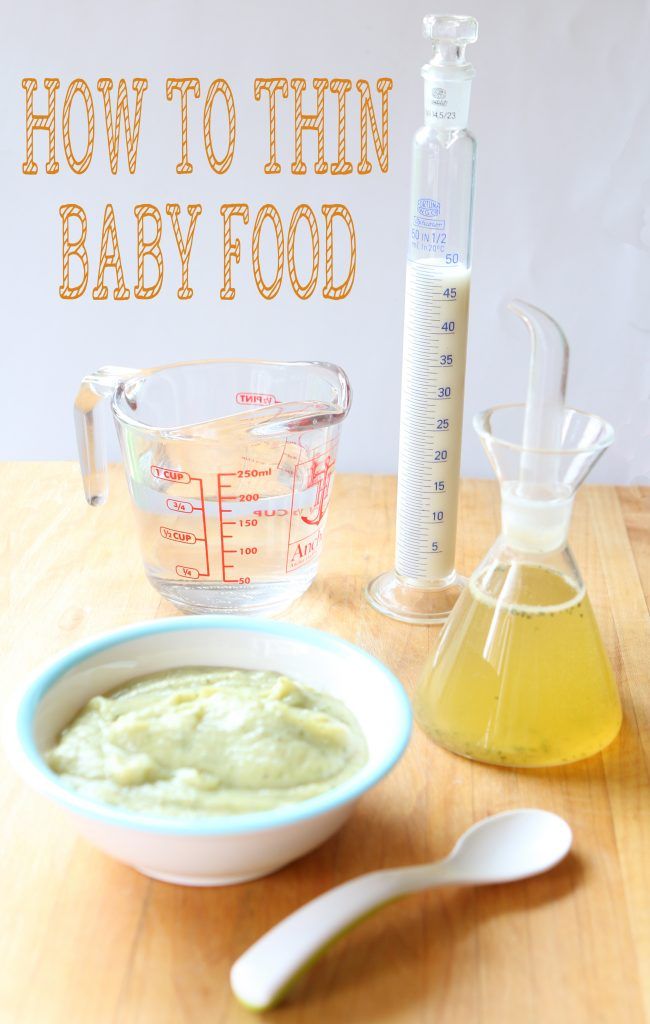
- Add Liquids: add liquids (water, fresh breast milk or formula) in small increments if needed to help smooth out the puree. Root veggies may been up to a cup of liquid while fruits may not need any. Add in 1/4 cup of liquids at a time to make sure not to add too much liquids.
- Blend: it usually takes 1-2 mintues to fully blend a puree for baby. If you are getting a chunky puree, add in a little bit more water and keep blending.
Note on Blending: you will always get a smoother puree when you use a blender over a food processor. Most babies will not notice a difference between the texture of baby food made in a blender versus a food processor but if your baby is having trouble with the texture of a puree made in a food processor, you may want to try using a blender.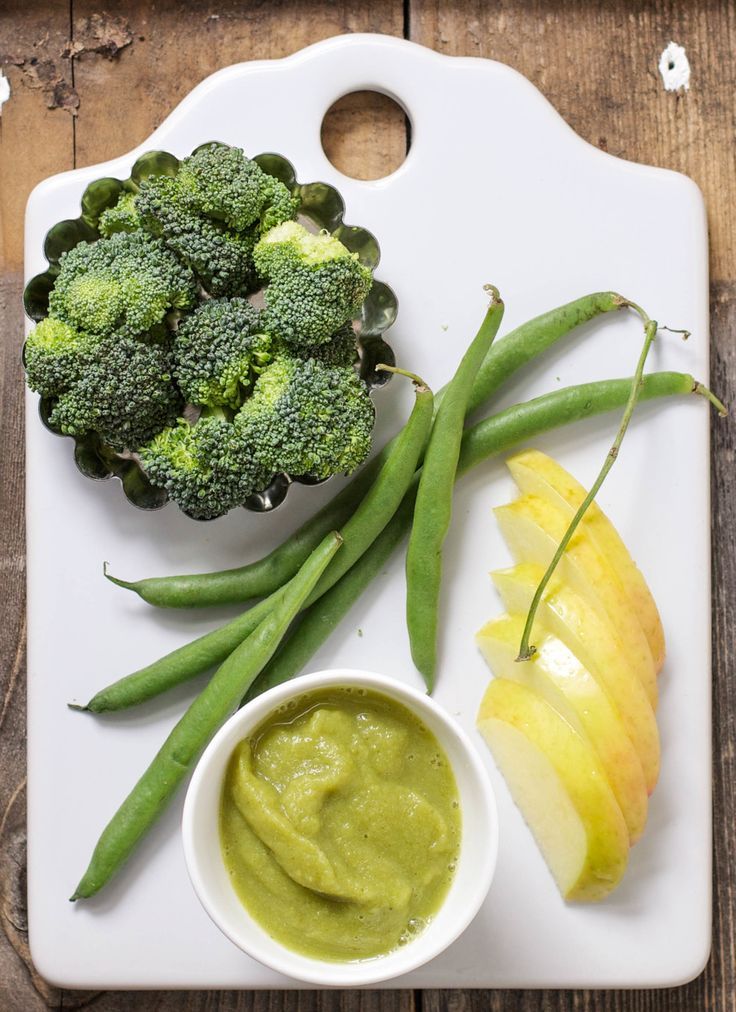
- Give It Time: Give your blender or food processor some time to work its magic. It takes 1-2 minutes of blending for each puree to get the smoothest puree. But it may take longer if you have an older blender model or you are using a food processor.
- Add Liquids: You may have to add extra liquids like water, fresh breast milk, or formula into the blender or food processor in order to get the blender really going. Hard root vegetables like carrots, sweet potatoes, beets, etc., often take at least 1-2 cups of liquids because they do not have high water content. I recommend adding liquid into the blender in 1/4 cup increments or smaller so you don’t get a runny puree.
- Cyclone Effect: You will know you have the right amount of liquid and are at the right speed when you get the cyclone effect. This is when all the ingredients are completely circling the blending without any interference.
- Scrape Down Sides: While blending, make sure to scrape the sides with a spatula to get all the produce and spices incorporated into the puree.
- Blender vs. Food Processor: A high-speed blender will give you the smoothest puree. A food processor will also work but the result is a slightly thicker puree. The upside of the food processor is that you don’t have to add as much liquid to the puree.
Just Starting: Roasted sweet potato and 1/2 cup of water.
30 Seconds: Scraped down the sides and added 1/4 cup more of water.
60 Seconds: Scraped down the sides and added 1/4 cup more of water.
90 Seconds: Added 2 tablespoons of water, and it was perfect. The puree was clearly running through the blender and the puree was getting super smooth.
Finished: A smooth puree for the win!
See the video in this post to get a step-by-step look at how to blend baby food.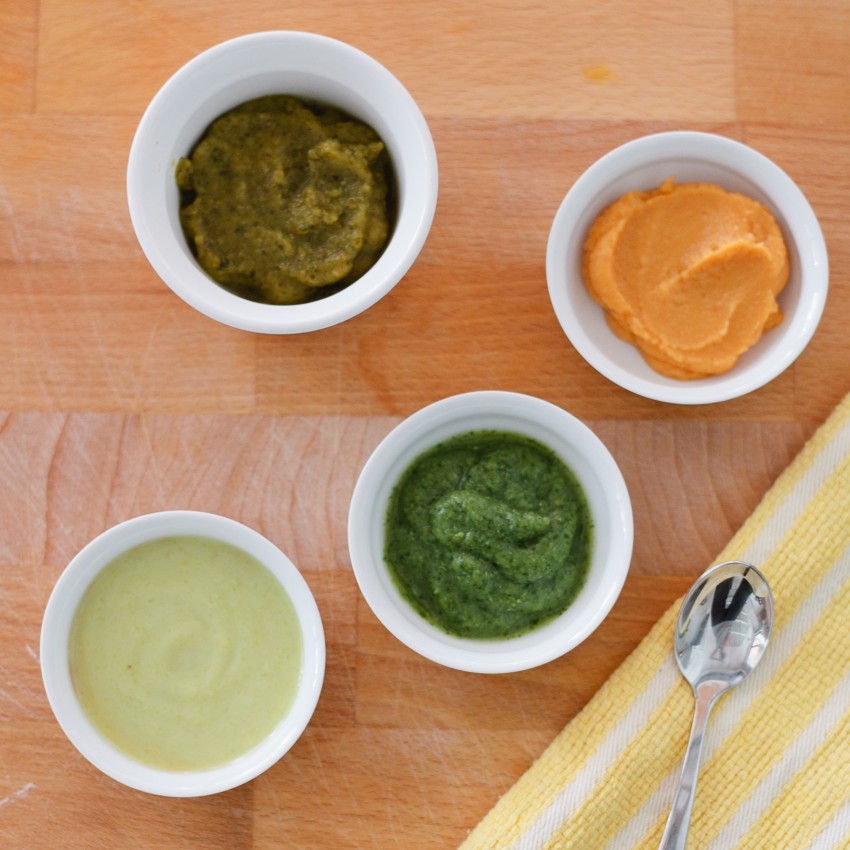
Your freezer is about to become your new best friend, allowing you to keep several weeks’ worth of baby purees at the ready.
How to Freeze Baby FoodWhenever you make a puree, put several ounces in the fridge for your little one to enjoy that week, then freeze the rest of the batch for your baby to eat at a later date. Please make sure you get it in the puree into the fridge or freezer within 1 hour of cooking to prevent bacteria growth.
- Make a puree.
- Let it cool slightly.
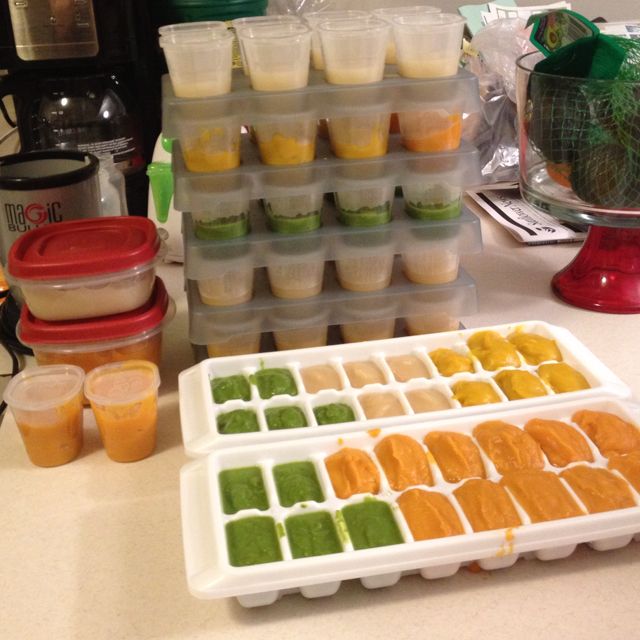
- Transfer the puree to freezer trays or freezer jars.
- Cover the freezer trays with a lid or plastic wrap.
- Label with date and name of puree.
- Place the tray in the freezer.
- Let it freeze for at least 5 hours.
- Take the tray out of the freezer.
- Crack the purees out of the trays.
- Place the frozen purees into zip-lock baggies or stasher bags.
How to Store
Baby FoodPurees can be stored for up to four days in an airtight container in the fridge or 4 months in the freezer.
How to Thaw Baby FoodThawing may seem like a no-brainer, but it never hurts to know your options. There are three different ways to thaw purees.
Microwave- Take the frozen puree cubes that you want to serve out of your freezer.
- Place them in a glass microwave-safe container.
- Microwave in 20-second increments, stirring every time.
- The puree is ready when it is just warm to your touch.
- Grab two clean spoons, one for you and one for your baby, and test your puree before serving.
Heating Tip: To prevent the microwave from unevenly heating the puree, which can leave it with cold and really hot spots and can burn your baby’s mouth, make sure you stir between each interval and taste test it before serving to your baby.
This one takes the longest time, but it is an excellent alternative to using a microwave.
- Take the frozen puree cubes you want to serve out of your freezer.
- Place the cubes in an air-tight glass container.
- Place the container in the fridge and let the cubes thaw for 8 to 12 hours, usually overnight.
- Do not leave the puree in the container to thaw on the counter or anywhere out of the fridge, as bacteria will start to grow at a rapid rate — which is definitely not recommended.
- Note that the puree will be cold but thawed. So if your baby likes their puree warmed, you’ll have to finish the job using the microwave or stovetop method.
- In a small saucepan, add the frozen puree cubes you want to serve to your baby.
- Over medium-low heat, gently cook the puree until warm, stirring occasionally.
Thawing Tip: Some infants like their puree cold, warm, or really warm, and some will eat it no matter the temperature. You will get to know your baby’s personal preferences as the two of you bond over food.
WeeSprout Glass Baby Food Storage Jars
These 4oz containers with lids allow you to prepare the perfect amount of food for your little ones. No more food waste! Made with food-grade glass and a plastic lid. Microwave, freezer, and dishwasher-friendly!
View Product
How to Introduce PureesHigh chair? Check. Bib? Check. Fully charged cell phone? Check.
With this holy trinity of baby-feeding accouterment, you’re ready for that first feed.
The faces, oh, the faces your baby is about to make! Out of all the firsts, feeding is the most fun — and the messiest. So grab a few wipes, double-check that your phone has enough storage for dozens of photos and videos, and let’s get started!
Before you begin, make sure your baby has a little bit of breast milk or formula in their belly, about half of what you’d normally give in a regular feeding.
Not too full. Not too hungry. Just right.
This is not going to be a clean and simple process. Your baby may eat food one day, refuse it the next, and paint their face with it the next. It’s all okay. Playing with food is a good thing; it is simply a way for babies to explore, learn, smell, and taste the world around them. So have those wipes close by, and remember:
- Start Slowly – Two teaspoons once a day is enough food for babies for the first couple of meals. Their bodies need time to adjust and digest new food. If they are still acting hungry, give them some more breast milk or formula.
- Let the Baby Decide – Your little one should determine how fast or slow they want to eat.
- All Spoons on Deck – Have more than one spoon ready. Your baby will surely snatch one out of your hands to play with, which is a-okay.
- Have Fun – Smile at your baby throughout the experience, and try to relax.
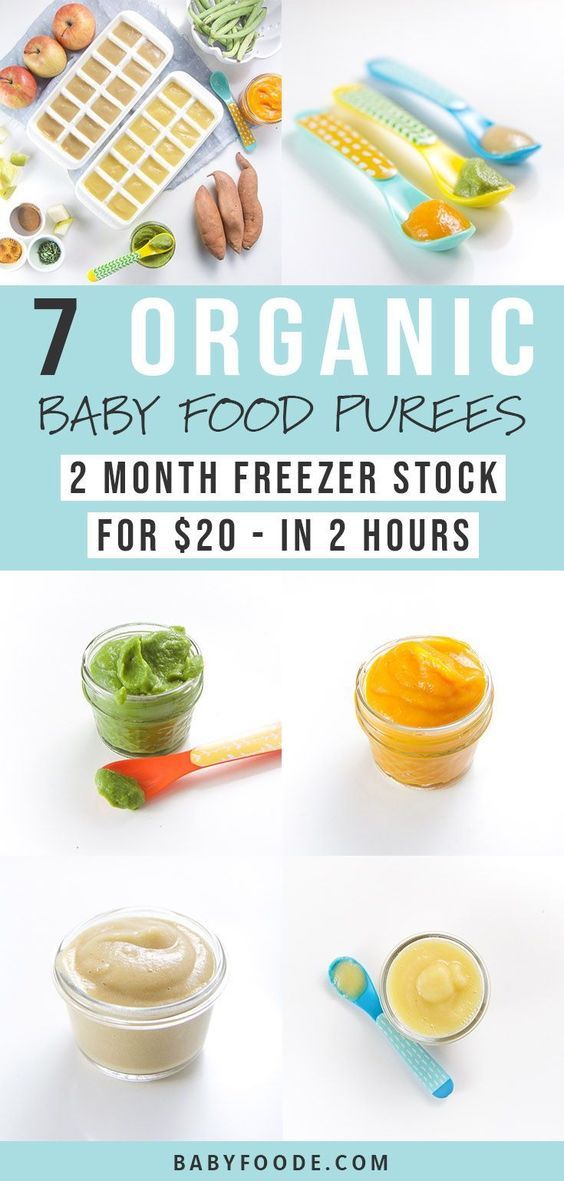 The more fun you have, the greater the likelihood your baby will enjoy it, too (even if they barely eat or don’t eat at all).
 - Build Up – After a couple of days, build up the quantity of food you offer one tablespoon at a time.
Are you ready to start the feeding? Select a puree you’ve already made. Place just one or two teaspoons of it into its own bowl and slightly warm this small amount. You can choose whether to gently spoon it into your baby’s mouth or hand the spoon over to them to attempt self-feeding. If your baby tries to grab the spoon from you and gets it into their mouth by themselves, whoa — you’ve got success on your hands. If the experience is a bit milder, and they let you spoon some puree into their mouth, enjoy it. This is a winning experience, too.
The LikelySome babies will simply not open their mouths. Some babies will take one bite, clamp their mouths, and turn away.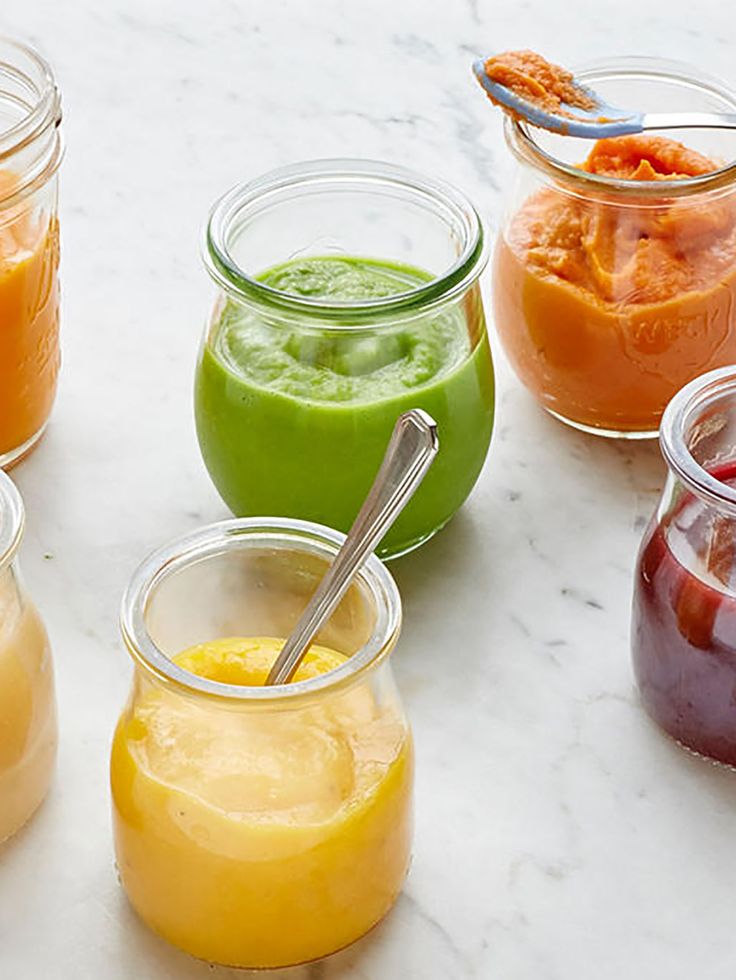 If (and when) any of this happens, don’t force the spoon into their mouth, and don’t stress out. Here are a couple of things to try:
- Put a bit of the puree at the end of your finger and see if your baby will suck it off. This is an unintimidating way to begin, especially as spoons can be scary for little ones.
- Pour a tablespoon of puree onto the high chair tray, and allow your baby to play with it if they want. This is a less micromanaging approach to letting the baby explore new food. As babies love to put everything in their mouths, odds are at least some will get in (or near) it.
- If your baby has no interest in these options, end the feeding. Dispose of the one or two teaspoons you warmed. Put the remaining, unheated puree in the refrigerator to try again tomorrow.
Remember that before their first birthday, babies receive their main source of calories, vitamins, fat, and protein from your breast milk or formula. At this point, any puree or solid food you give your baby is mainly used to teach them how to eat and explore real food.
Not sure which foods to offer first? These 10 foods are nutrient-dense, easy to make, and tasty purees are a choice for your baby.
- Avocado
- Banana
- Sweet Potatoes
- Apple
- Broccoli
- Pear
- Carrot
- Yogurt
- Oats
- Green Bean
You will want to avoid these foods until your baby is developmentally ready for them:
- Whole nuts, seeds
- Clumps of nut butter
- Dried fruit
- Hard candy
- Hard, raw fruits and veggies
- Popcorn
- Hot dogs
- Whole grapes
- Added salt and sugar
- Honey until 1 year of age
- Cow’s milk until 1 year of age
Aim to feed baby a variety of flavors to help expand her palette, which can help reduce picky eating. Try to make sure you serve at least one iron-rich food per meal to help prevent iron deficiency anemia. To begin, serve thin pureed foods that
Most babies are ready to start purees around six months of age. Start with 1-2 meals a day and keep the same amount of formula or breast milk feedings, usually five. Note that there is no one right schedule for your baby.
7am- 7:30-wake-up, bottle/breastfeed
7:30am- 8:30am- play
8:30am- 9am- avocado puree
9am- 10:30am- morning nap
10:30am- 11am- bottle/breastfeed
11am- 12pm-play
12pm-2pm- afternoon nap
2pm- 2:30pm-bottle/breastfeed
2:30- 3pm- banana puree
3- 3pm -play
4pm- 5pm- cat nap
5pm- 5:30pm- bottle/breastfeed
5:30pm- 6:30 pm- play
6:30pm- bath
7pm-7:30pm- bottle/breastfeed
7:30pm- bedtime
If your baby is not eating 2 solid meals a day yet, go ahead and increase purees to twice a day. Once you have introduced a variety of single-ingredient purees, you can start offering combination purees.
7am- 7:30am- wake-up, bottle/breastfeed
7:30-8:30am- play
8:30am– 9am- apple and carrot puree
9am-10:30am- morning nap
10:30am- 11am- bottle/breastfeed
11am-12pm-play
12pm- 2pm- afternoon nap
2pm- 2:30pm- bottle/breastfeed
2:30- 4pm- play
4pm- 5pm- cat nap
5:00pm- 5:30pm- bottle/breastfeed
5:30pm- 6:00 pm- play
6:00pm- 6:30pm- sweet potato and chicken puree, yogurt on the side
6:30pm- bath
7pm- 7:30pm- bottle/breastfeed
7:30 pm-bedtime
By now, your baby should be getting 3 meals a day, in addition to formula or breast milk, which is usually reduced to 4 feedings per day. Around 9-10, your baby should be introduced to chunky purees and then quickly to finger foods.
7am-7:30am- wake up, bottle/breastfeed
7:30am-8:30am- play
8:30am- 9am- breakfast of a quartered hard-boiled egg, halved raspberries, whole grain pancakes
9am-10am- play
10am-12pm- morning nap
12pm- 12:30pm-bottle/breastfeed
12:30pm-1pm- play
1pm- 1:30pm- lunch of cut up baked chicken, steamed broccoli and rice
1:30pm-2:45 pm- play
2:45pm- 3pm- snack of whole grain O’s, cut up cheese stick and sliced strawberries
3pm- 4:30pm- afternoon nap
4:30pm- 5pm- bottle/breastfeed
5pm-6pm- play
6pm- 6:30pm- dinner of ground hamburger meat, baked sweet potato sticks, steamed peas and carrots
6:30pm- bath
7pm-7:30pm- bottle/breastfeed
7:30 pm-bedtime
Babies are less likely to gag or choke on purees compared to solid foods.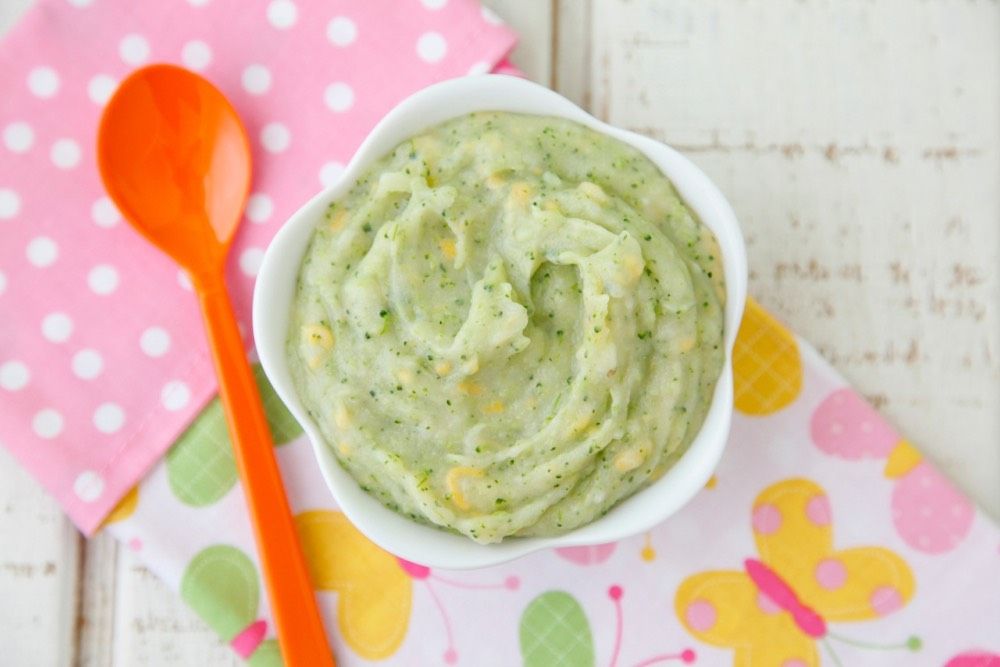 When babies first suck on the breast or bottle, they are learning how to swallow liquids. Transitioning to purees can help teach your baby an effective swallowing technique, by propelling foods backward with the tongue and swallowing.
Although it may still look and feel intense or scary the first time a parent witnesses it, gagging is different than choking.
GaggingWhen a baby gags, it is most likely because food that has not been chewed well has gotten too far back in the mouth. The gag reflex is a built-in protective mechanism to protect the airway from food. With practice, your baby learns that they need to chew first, then swallow the food. Fortunately, with continued practice with eating, the gag reflex should lessen over time.
Signs of gagging include:- sounds, such as coughing or hacking
- baby’s skin may turn red or a darker shade
- baby’s eyes might water
Babies usually recover fairly quickly, and you may see the food come forward in their mouth.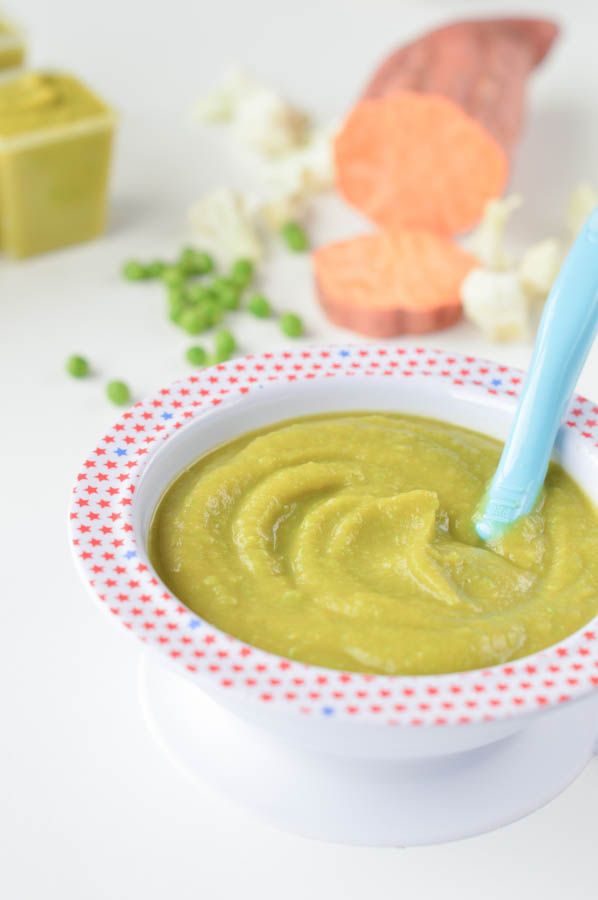 Although not as common, vomiting after gagging may happen. During this time, watch closely and do your best to stay calm.
On the other hand, choking happens when there is a blockage of the upper airway, from food or an object. Complete blockage of the airway prevents a person from breathing effectively. Therefore, choking is a true medical emergency and requires quick intervention on your part.
Signs of choking include:- baby is quiet
- baby’s skin may turn blueish in color
- baby won’t be able to cry or make much sound
Your baby may become unresponsive or lose consciousness if the food is not cleared. This is why it’s recommended to know CPR before starting solids of any kind.
How to Keep Baby SafeAs a parent of two, I know how scary it can be to introduce solid foods to your baby. With the proper precautions and knowledge, the fears will loosen and feeding your baby can become a wonderful adventure for both of you.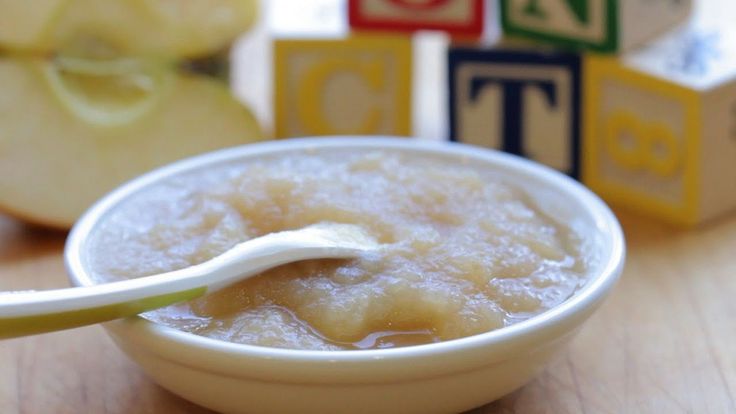 To be prepared, we recommend you attend a live class in your area or take this online Baby CPR Course.
- Always supervise with food – sit with your baby and try not to multi-task while your baby is eating.
- Baby should be sitting in an upright position for all meals and snacks, not reclined. If your baby starts to get sleepy during eating, remove food.
- No eating in the car seat unless an adult is in the backseat supervising your baby.
- Do not let baby eat on the go. Once your baby is crawling or walking, avoid letting them move around with food in their mouth or holding food in their hands.
- Check the temperature of foods before offering them.
- Check baby’s mouth after they are done eating. Some babies may pocket food in the sides of their cheeks or get food stuck to the roof of their mouth as they are learning to eat. If you see any food remaining, encourage your baby to keep chewing, spit it out if they need to, or take sips of water or milk.
 Avoid sticking your finger in your baby’s mouth to get the food out – we want baby to learn how to manage taking care of the food.
Safety 101: CPR and Choking (0-12 years)
On online course for today’s modern parent! This course goes over all the information you need to help your child if they are choking.
- Expert-taught course from a Certified CPR Instructor
- 30+ minutes of on-demand content
- 10+ downloadable guides and checklists
- 2-years of access to course material – refer back when you need it most
Enroll Today
How to Teach Babies to ChewWhen babies first start chewing, the movement you see is a basic up and down jaw movement, sometimes called munching, that will eventually progress into a mature chewing pattern, called rotary chewing. Throughout this process, babies are also developing side-to-side tongue movements, called tongue lateralization. Tongue lateralization helps your baby push food over to their gums, where the molars will eventually come in, and where the heavy work of chewing happens.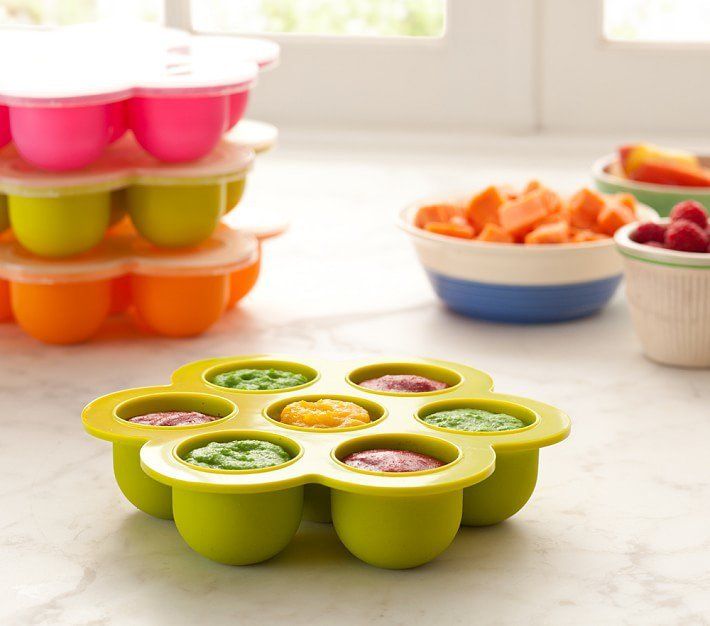 As your baby chews the food multiple times, it forms into a little ball or “bolus” of food, which is then transferred to the back of the mouth for swallowing.
Purees can also be used to develop the skills needed for chewing. You can place a spoonful of puree to the sides of the mouth as you would with a teether or soft piece of food. The purpose of this is not to expect your baby to start “chewing” the puree in the way that we think of chewing as adults, but rather to encourage your baby to start working tongue lateralization.
Frequently Asked Questions
How many ounces will baby actually eat?
This varies with each baby so it just depends! Some babies will only have a taste and be done, and others will want more and more. Some babies have a larger appetite than others so it’s hard to know but start with one teaspoon and work your way up to a tablespoon, and then more if your baby is still interested.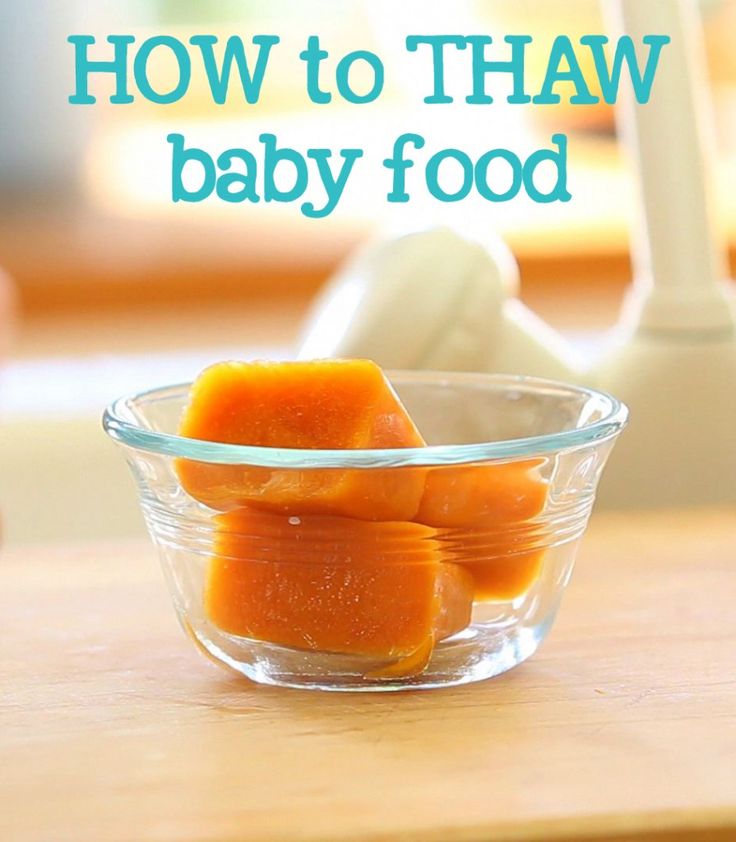 Baby will eat more as they get older but always pay attention to your baby’s hunger and fullness cues to know when to stop feeding.
How many ounces of purees should baby eat?
By the time baby is ready for finger foods, she should be eating around 4 ounces of food at each meal. If it is more or less than this, do not worry. Babies get most of their nutrition from formula or breast milk until they turn 1 year old.
Does baby need teeth to eat?
The question of how babies can chew foods without teeth makes any parent scratch their heads! But in reality, we all chew food with our back molars, not our front teeth, which baby doesn’t get until 18-22 months of age. Good thing babies have super tough and strong gums, which they use to mash, gnaw and chew foods.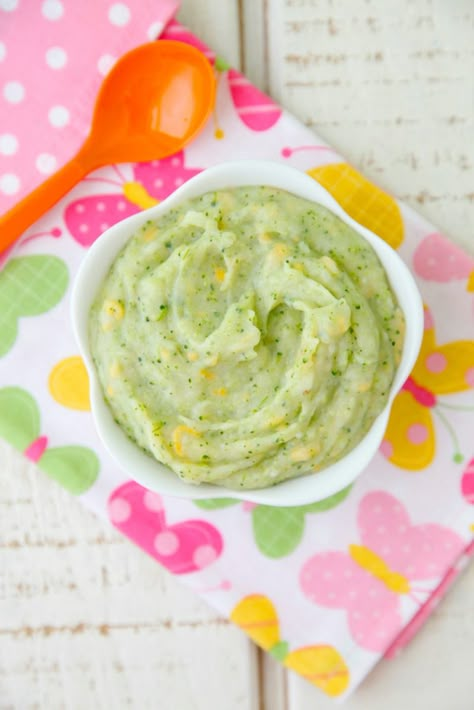 Baby’s gums are better at chewing food than you would think, and your baby will be able to chew more foods the older they get, even without their molars.
Can you mix baby-bed weaning and purees?
Absolutely! Both purees and solid foods are great ways to introduce your baby to new flavors and textures. Babies actually learn to swallow liquids first, whether in the form of breastmilk or bottles. Purees are similar to offering liquid that’s been thickened a bit, so this can help with introducing your baby to a texture change and getting practice with swallowing solid food. Just consider limiting the amount of times you switch back and forth between soft solids and purees during each meal, at least when your baby is first learning to eat. Instead, you could offer a veggie puree as the “appetizer” before soft solids at one meal, or yogurt as the “dessert” at another meal.
Puree Feeding
Tips- Relax: try to relax and don’t worry too much about how much baby eats. It should be fun for you and baby.
- Timing: babies tend to tolerate purees best 1 hour breastfeeding or bottle, when they aren’t too hungry or too full.
- Limit distractions: turn off screens, put away toys, and sit down face to face with baby during the meal.
- Follow baby’s lead: it can be easy to overfeed when using traditional weaning vs baby led weaning, so always follow baby’s cues for when they are done eating. Turning away from the spoon, closing his mouth, or pushing food away are all signs that baby is finished with the meal.
- Start with a small amount: and small servings. 1-2 oz of food per meal is adequate. Remember, these servings will be smaller than you think and at this stage, breast milk or formula will still be your baby’s primary source of calories and nutrition.
- Offer the spoon and allow waiting time: after you bring the spoon toward baby’s mouth, wait for her to open and accept it. Allow baby to close her top lip and suck puree off the spoon, while you guide the spoon straight out of the mouth. Avoid scraping the spoon on the roof of the mouth as you bring it back.
- Use shallow spoons or flat spoons: these help baby with clearing puree off with the top lip. A couple options we love include Olababy and ezpz mini spoon.
- Give time to practice: at first you might notice baby pushing the food back out and then swallowing. With time and practice, this forward/backward reflexive motion with the tongue will fade and baby will start swallowing more food than he pushes back out.
- Have a back spoon (or two!): even very young babies may want to be involved in the process as much as possible. Giving baby an extra spoon to hold can be helpful in giving baby sense of control and promoting hand-eye coordination.
- Let baby get messy! Encourage touching and playing with purees for a full sensory experience.
Or watch a shortened version of this video here.
Make Baby Food
Make baby food puree per the recipe. This could be by steaming, roasting or sauteing.
Freeze Purees
Pour puree into freezer tray or small baby food jars.
Lable the freezer tray or baby food jars with the recipe name and date.
Place the tray or jars in the freezer and freeze for at least 5 hours.
Pop the frozen baby food cubes out and place them into a zip-lock baggie or stasher bag.
Thaw Baby Food
Microwave –
Take the frozen puree cubes that you want to serve out of your freezer.
 Place them in a glass microwave-safe container. Microwave in 20-second increments, stirring every time The puree is ready when it is just warm to your touch. Grab two clean spoons, one for you and one for your baby, and test your puree before serving.
Fridge –
Take the frozen puree cubes you want to serve out of your freezer. Place the cubes in an air-tight glass container. Place the container in the fridge and let thaw for 12 to 16 hours. Do not leave the puree in the container to thaw on the counter or anywhere out of the fridge, as bacteria will start to grow at a rapid rate – which is definitely not good. The puree will be cold but thawed, so if your baby likes her puree warmed, you’ll have to finish the job using the microwave or stovetop method.
Stovetop –
In a small saucepan, add the frozen puree cubes you want to serve to baby.
 Over medium-low heat, gently cook the puree until warm, stirring occasionally.
Serve and enjoy!
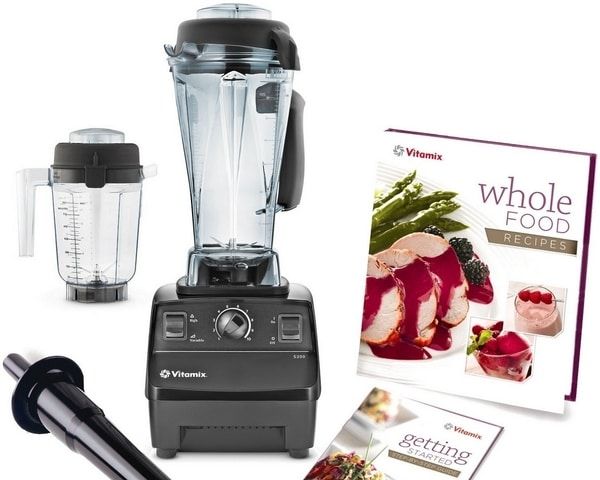
Blender
Bumkins Baby Bowl
Freezer Tray
Tripp Trapp High Chair
Did you make this recipe?
Tag @babyfoode on Instagram and hashtag it #babyfoode!
Pin Recipe Email a Friend
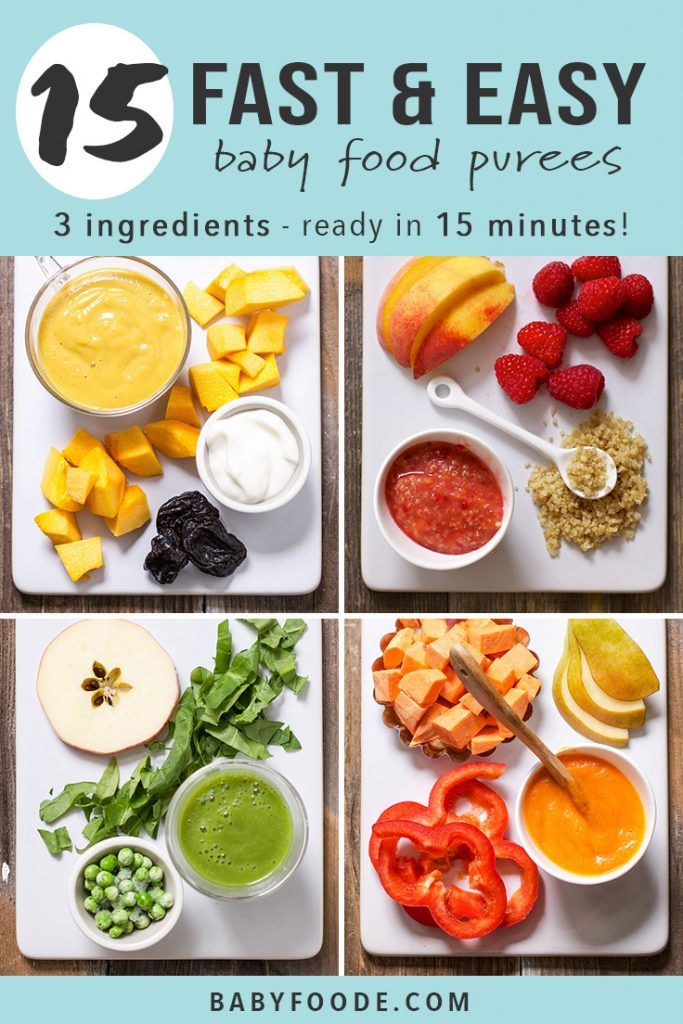
15 Stage One Baby Food Purees (4-6 Months)
Home » Feeding Style » Baby Food Purees » Stage One » 15 Stage One Baby Food Purees
These 15 Stage One Baby Food Recipes will tempt your baby’s taste buds! These simple, homemade baby food recipes are made with nutrient-dense fruits and vegetables with an added pinch of spice that makes these purees out-of-this-world delicious! They’re great for babies 4-6+ months of age!
Medically reviewed and co-written by Jamie Johnson, Registered Dietitian Nutritionist (RDN), and Lauren Braaten, Pediatric Occupational Therapist (OT).
Are you looking to make your baby homemade purees, but don’t know where to start? Does the process intimidate you?
Then you have come to the right place! Here you will find 15 of my all-time favorite starter baby food purees that have been viewed (and made) millions of times by my readers and combined have over 400 5-star reviews!
I would also like to personally welcome you to the wonderful world of baby food, this is a fun (and yummy) club to be in.
Does your baby’s first bite need to be boring?
Of course not!
Baby’s food can (and should be) delicious from the very start!
While it may seem daunting at first, making your own baby food is super easy once you get the hang of it.
And I’m here to walk you through it every step of the way.
First time making homemade baby food? Then I suggest you start this journey by reading my in-depth Guide on How to Make Homemade Baby Food.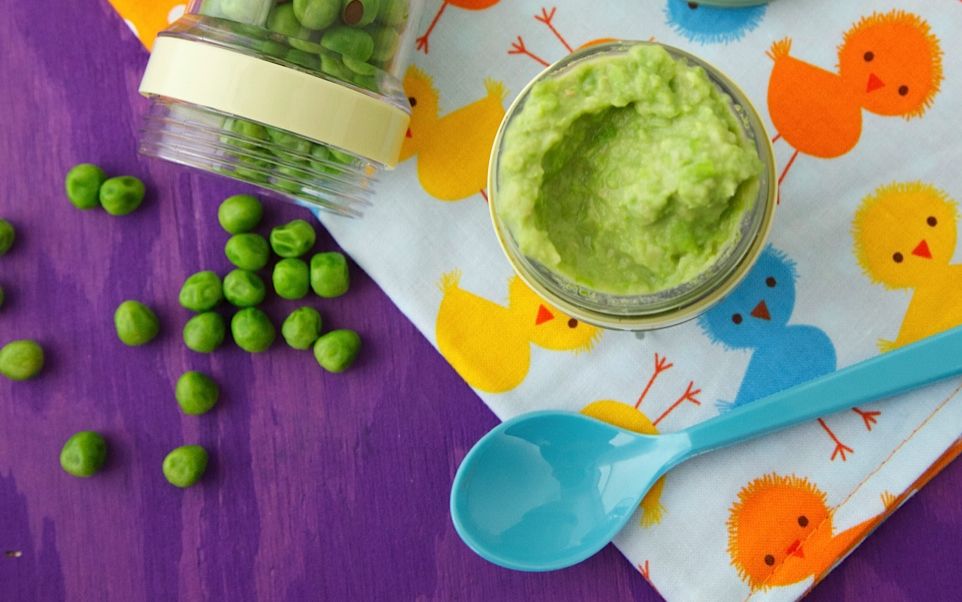 The detailed guide goes over all the important information such as the best cooking tools to have on hand, safe storage, how to know when baby is ready for solids, how to introduce purees, the best first foods for baby, and so much more! You can also check out my best-selling cookbook for even more information and recipes!
15 Stage One Baby Puree Video
While the recipes themselves are simple, in this video I will show you how to add in a pinch of cinnamon, rosemary, curry, or mint to quickly roasted or steamed fruits and vegetables that enhance their natural flavors. In other words, these are simple purees that I am pretty sure you will want to eat as well!
What is In Each Puree Recipe
After going through this guide, you will want to check out some (or all!) of the homemade baby food recipes below. Each recipe goes into detail about the:
- produce that is in the puree
- benefits of that produce for your baby
- recipe cooking options
- detailed photos and videos with step-by-step instructions
Reminder: The homemade baby food recipes below are made for babies that want to try the most delicious food from the very first bite! 😋
Helpful ToolsLet’s start with a few of my favorite kitchen essentials to make the best homemade baby food purees! These kitchen tools will help make the process of cooking, blending, and freezing baby food hassle-free. You can find a full list of my favorite baby and toddler food making tools in my online Shop.
- Blender or Food Processor
- Freezer Storage Tray
- Fridge Storage Containers
- Stasher Bag
- Baking Sheet
- Steamer Basket
- Medium Saucepan
- Reusable Pouches
- High Chair
- Suction Bowl and Spoon Set
- Bib with Food Catcher
Learning Resources: looking for the best high chair, cups or spoons for your baby? Then we’ve got you covered! Here you will find How to Find the Best High Chair for Baby, an easy guide on Best First Open Cups for Baby (plus 4 tips when introducing a cup) as well as 3 Tips on How To Spoon Feed Baby (plus – our favorite spoons for purees or BLW).
Frequently Asked QuestionsCan babies have spices in their food?
Yes, yes, yes! Babies can absolutely have spices mixed into their purees from the very first bite.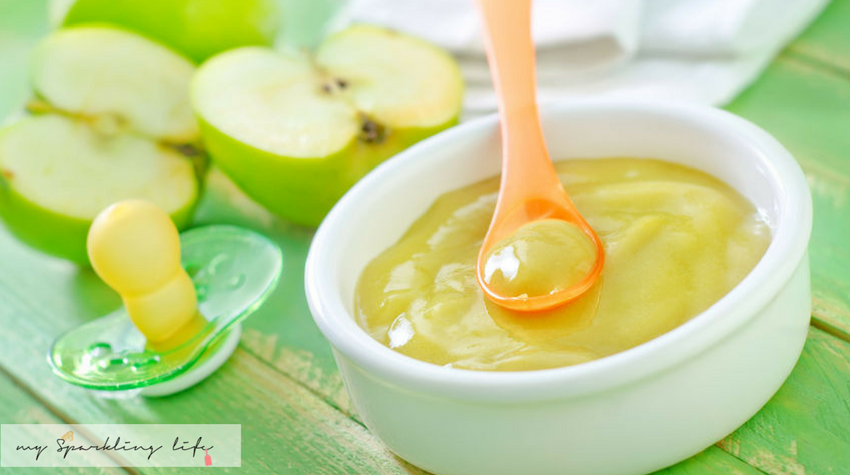 Adding a pinch of spice or herbs to a baby’s food makes it taste better and gives the food additional medicinal properties. Read more here. But as I always say — you do you! If you don’t want to add spices to your baby’s food, you can certainly leave them out. Don’t worry, I give instructions on each recipe card for both.
What about allergies? Can spices cause an allergic reaction?
My rule of thumb is that unless there is an immediate family member that has a true allergy to a certain spice or food, then introducing your baby to spices at the same time as new food is completely acceptable. Spice and herb allergies in babies and adults are very rare. But remember, it’s always recommended to keep an eye on your baby when introducing any new food or spices.
At what age should I start my baby on baby food purees?
When a baby can start on solid foods is determined by their own rate of development, which generally comes between 4-6 months of age.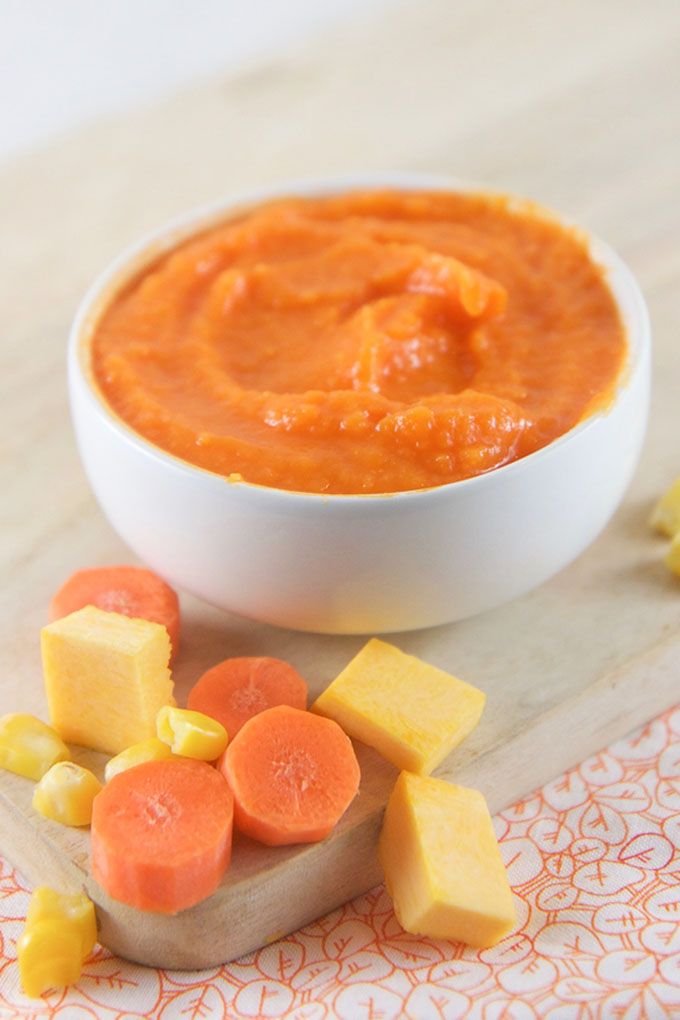 Some of the developmental milestones babies need to reach to start solids include: if your baby has solid control of their head and neck, if your baby has doubled in weight, and if your baby is reaching for or opening their mouth when you eat (see my guide here). Before you start your baby on purees, you should consult with your pediatrician to make sure your child is developmentally ready for solids.
All of our baby food recipes are designed to enhance the natural taste of the fruits and veggies while keeping as many nutrients intact as possible. In other words, the goal is to make a puree that’s both healthy and delectable.
There are several ways you can cook baby food purees, but the main techniques I use are:
- Steaming
- Roasting
- Simmering
- Raw
Keep in mind, that as long as the produce is cooked until soft, that there isn’t a right or wrong way to cook it for baby food.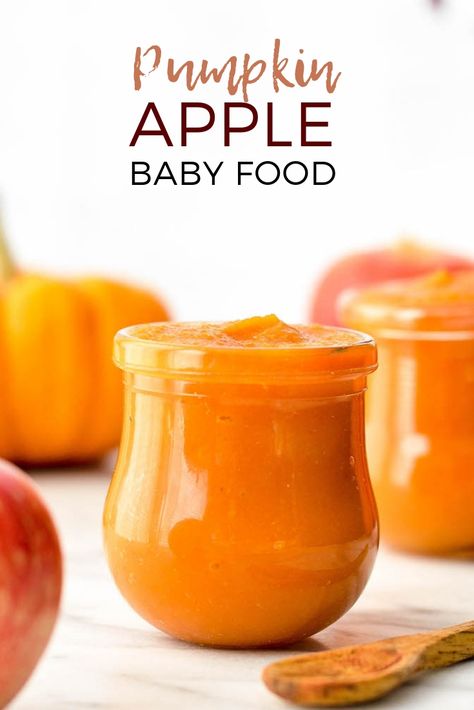
If a recipe for broccoli calls for steaming but you want to roast it because you will already be roasting some broccoli for yourself for dinner, then go ahead and roast the broccoli for your baby’s puree. Play around and have some fun with it!
Adding Spices to Baby PureesIt’s encouraged that you can serve your baby a homemade puree with a pinch of spices or herbs from the very first bite.
Benefits of Spices
- boost and compliment any fruit or vegetable puree
- broaden baby’s emerging palate
- add more flavor and depth into their foods
- decrease picky eating in the years to come
- have medicinal properties in them — they can help with digestive issues, boost brain functions, repair muscle tissues, and so on.
While each puree recipe on this site has a selection of spices or herbs that complement the flavors of the fruit or vegetable in the puree, it’s up to you if you want to add them.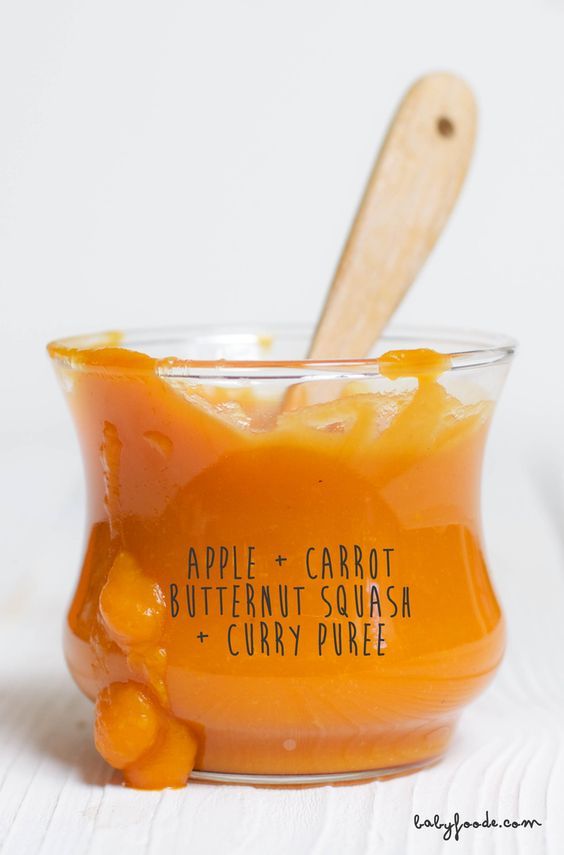 You do you! Either way, the puree recipes on this site will be delicious.
Top Spices to Add to Baby’s Puree
- Cinnamon
- Cloves
- Nutmeg
- Basil
- Mint
- Parsley
- Mild Curry Powder
- Fresh Lemon Juice
- Garlic
- Rosemary
Every recipe below has specific instructions on how to store that particular puree, but these are the general guidelines.
How to Freeze Baby FoodYour freezer is about to become your new best friend, allowing you to keep several weeks’ worth of baby purees at the ready. Whenever you make a puree, put several ounces in the fridge for your little one to enjoy that week, then freeze the rest of the batch for your baby to eat at a later date. Please make sure you get it in the puree into the fridge or freezer within 1 hour of cooking to prevent bacteria growth.
- Make a puree.
- Let it cool slightly.

- Transfer the puree to freezer trays or freezer jars.
- Cover the freezer trays with a lid or plastic wrap.
- Label with date and name of puree.
- Place the tray in the freezer.
- Let it freeze for at least 5 hours.
- Take the tray out of the freezer.
- Crack the purees out of the trays.
- Place the frozen purees into zip-lock baggies or stasher bags.
How to Store Baby Food
Purees can be stored for up to four days in an airtight container in the fridge or 4 months in the freezer.
How to Thaw Baby Food
Thawing may seem like a no-brainer, but it never hurts to know your options. There are three different ways to thaw purees.
Microwave- Take the frozen puree cubes that you want to serve out of your freezer.
- Place them in a glass microwave-safe container.
- Microwave in 20-second increments, stirring every time.
- The puree is ready when it is just warm to your touch.
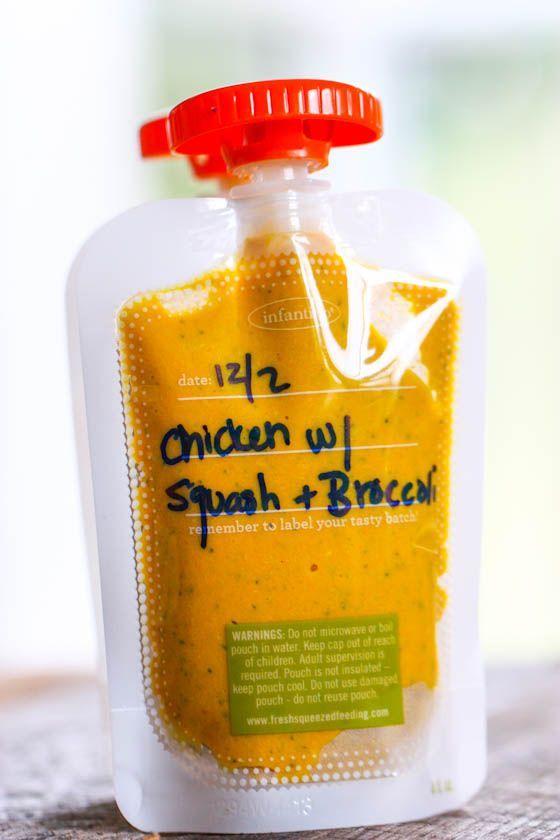
- Grab two clean spoons, one for you and one for your baby, and test your puree before serving.
Heating Tip: To prevent the microwave from unevenly heating the puree, which can leave it with cold and really hot spots and can burn your baby’s mouth, make sure you stir between each interval and taste test it before serving to your baby.
Refrigerator
This one takes the longest time, but it is an excellent alternative to using a microwave.
- Take the frozen puree cubes you want to serve out of your freezer.
- Place the cubes in an air-tight glass container.
- Place the container in the fridge and let the cubes thaw for 8 to 12 hours, usually overnight.
- Do not leave the puree in the container to thaw on the counter or anywhere out of the fridge, as bacteria will start to grow at a rapid rate — which is definitely not recommended.
- Note that the puree will be cold but thawed. So if your baby likes their puree warmed, you’ll have to finish the job using the microwave or stovetop method.
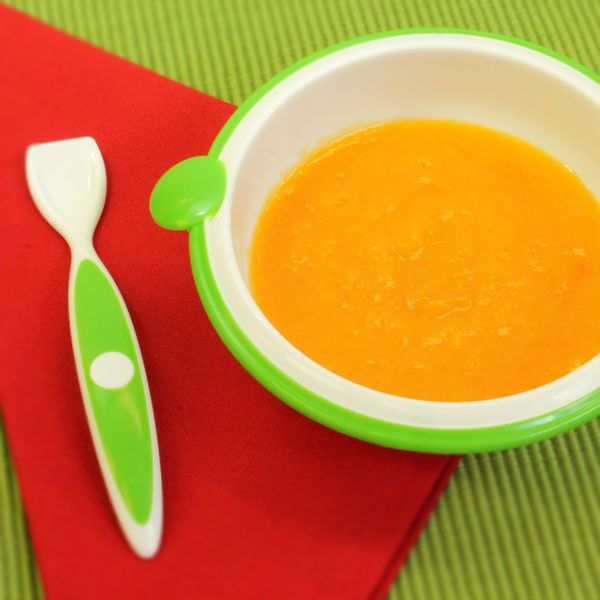
- In a small saucepan, add the frozen puree cubes you want to serve to your baby.
- Over medium-low heat, gently cook the puree until warm, stirring occasionally.
Thawing Tip: Some infants like their puree cold, warm, or really warm, and some will eat it no matter the temperature. You will get to know your baby’s personal preferences as the two of you bond over food.
Feeding Tips
- Make sure baby is showing readiness signs for eating – good control of their head and trunk, sitting with minimal assistance, bringing hands or toys to their mouth, and appearing interested in your food when you’re eating.
- Follow your baby’s lead – when feeding purees from a spoon, sometimes there’s a tendency to keep offering bites past the point of your baby being full. Always follow your baby’s cues for when they are done eating. Turning away from the spoon, closing her mouth, or pushing food away are all signs that your baby is finished with the meal.

- Throwing spoons – is a common phase that all babies go through at one point or another. One of the best ways to handle spoon throwing is to ignore it and keep feeding your baby as usual (with an extra spoon you already have at the table). If your baby ends up also throwing back up spoons #2 AND #3, simply encourage your baby to eat with their hands until they appear to be finished with the meal.
Top Rated Baby Food Purees
Pea Baby Puree (Stage One)
4.91 stars (83 ratings)
A delicious way to introduce peas to baby. Mild peas paired with a fresh hint of mint – a mouth-watering combo!
Get the recipe
Apples Baby Food Puree
4.76 stars (57 ratings)
This Apple Baby Puree recipe is a wonderful first food for baby! A delicious nutrient-dense puree that baby will go gaga over!
Get the recipe
The Best Sweet Potato Baby Food
5 stars (55 ratings)
This Homemade Sweet Potato with Curry Baby Food Puree is a fun and exotic first puree for baby! Great for 4+ months and is completely freezer-friendly!
Get the recipe
Broccoli Baby Food
4. 80 stars (70 ratings)
This Broccoli Baby Food with olive oil recipe is a great way to introduce healthy green vegetables into your baby's diet. A delicious puree full of essential vitamins and healthy fats for growing baby
Get the recipe
Oatmeal for Babies (Stage One)
5 stars (40 ratings)
This Oatmeal Recipe for Baby is made with simple nutrient-dense ingredients in less than 10 minutes, and it's perfect for baby's first bite or added into their favorite fruit or veggie puree. Great for 4+ months and up.
Get the recipe
Avocado for Baby – Puree & BLW
5 stars (16 ratings)
Avocados are a superfood and great first food for babies 6 months and up. Serve them pureed, smashed, or as a finger food for baby-led weaning.
Get the recipe
WeeSprout Baby Food Freezer Tray
My all-time favorite freezer tray! Individual servings pop out easily.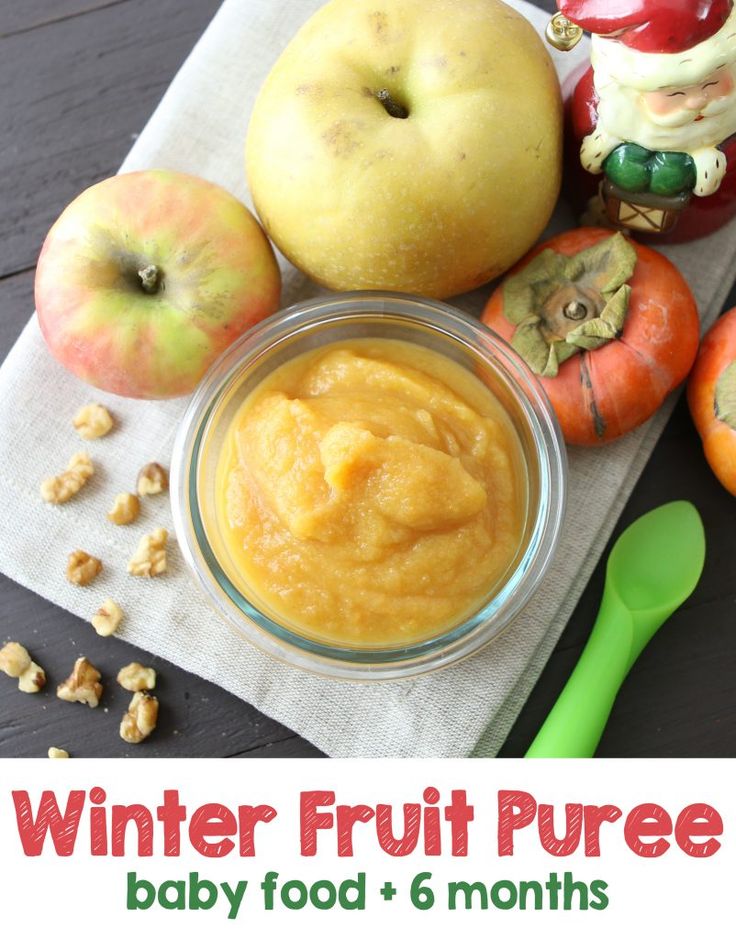 The hard plastic lid snaps on with ease and allows for convenient stacking of freezer trays. Dishwasher safe!
View Product
Butternut Squash Baby Food
5 stars (30 ratings)
This homemade Roasted Butternut Squash Baby Food Puree not only contains calcium, folate, vitamins A and C and fiber but it is also a deliciously smooth way to introduce butternut squash to your baby!
Get the recipe
Green Bean Baby Food
5 stars (34 ratings)
Green beans are steamed until just tender, this puree has a mild taste for baby's palette.
Get the recipe
Creamy Mango-licious Baby Food Puree
4.86 stars (27 ratings)
This 5-minute Mango Baby Food Puree is a great way to introduce baby to the magical taste of one of the world's healthiest fruits – MANGOS!
Get the recipe
Pear Baby Puree (Stage One)
5 stars (19 ratings)
This smooth and creamy homemade Pear Baby Puree is a wonderful first puree for baby – easy on the taste buds and great for their growing bodies!
Get the recipe
Peach Baby Puree (Stage One)
5 stars (15 ratings)
Smooth and creamy, this homemade Peach Baby Puree delivers big on taste with naturally sweetened peaches and flecks of vanilla bean.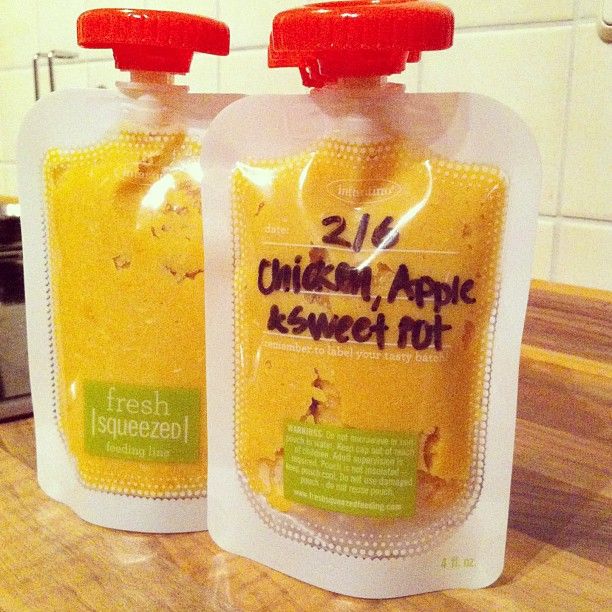
Get the recipe
Basic Chicken Baby Food
4.41 stars (195 ratings)
This homemade Basic Chicken Baby Food is a great puree to add to any of your baby’s favorite fruit or veggie purees. Great for extra protein and flavor!
Get the recipe
Homemade Baby Rice Cereal
4.88 stars (48 ratings)
Using only 1-ingredient, this Homemade Baby Rice Cereal is a simple and easy recipe to make baby!
Get the recipe
Red Pepper Baby Puree
4.88 stars (33 ratings)
This Red Pepper Baby Puree recipe is a smooth, creamy and naturally sweet puree that is loaded with vitamin A, B6 and C. Great for 4+ months and older (or stage 1 puree).
Get the recipe
More Baby Fooe Purees
- Strawberry Baby Puree
- Blueberry Baby Puree
- Pumpkin Baby Puree
- Rasberry Baby Food
- Banana Puree
- Homemade Quinoa Baby Cereal
Pea Baby Food Puree
- 2 cups peas, fresh or frozen
- 1 medium zucchini, roughly chopped (optional)
- 4 mint leaves, roughly chopped (optional)
Sweet Potato Baby Food Puree
- 2 large sweet potatoes
- 1/4 tsp mild curry powder (optional)
- 1/4-1 cup liquid, (water, fresh breast milk, formula or sodium-free chicken stock) for pureeing
Roasted Banana Puree
- 4 bananas, cut lengthwise
- 1/8 tsp fresh rosemary, finely chopped (optional)
Carrot Baby Food Puree
- 2 pounds carrots, trimmed, peeled and roughly chopped
- 1/4 tsp nutmeg (optional)
- 1/2-1 cup liquid, (water, reserved water, fresh breast milk, formula or low-sodium stock) for pureeing
Apples Baby Food Puree
- 6 apples, peeled, cored and chopped
- 1/2 cup water
- 1/4 tsp cinnamon (optional)
Broccoli Baby Food Puree
- 2 cups broccoli, chopped into small florets
- 1 small white potato, apple or pear, peeled and roughly chopped, roughly 1/2 cup (optional)
- 1 tbsp good quality olive oil (optional)
Butternut Squash Baby Puree
- 1 butternut squash
- 1 tsp fresh thyme, roughly chopped (optional)
- 1-2 tsp olive oil (optional)
- 1/2-1 cup liquid (water, fresh breast milk, formula, low or no-sodium stock or bone broth), for pureeing
Green Bean Baby Food Puree
- 1 pound green beans, fresh or frozen, trimmed
- 1 big pinch fresh basil, cilantro or parsley, finely chopped (optional)
Creamy Mango-licious Baby Food Puree
- 2 cups fresh or frozen mango, deseed, peeled and roughly chopped.
 If using frozen mangos, thaw first
 - 1 medium banana (optional)
- 1 pinch nutmeg (optional)
Pear Baby Food Puree
- 6 pears, peeled and roughly chopped
- 1/8 tsp cardamom or cinnamon (optional)
- 1/4 cup water
Peach Baby Puree
- 3 fresh peaches or 12oz frozen peaches, do not thaw frozen peaches – use frozen
- 1/4 cup water
- 1/2 tsp vanilla bean pod (optional)
- 1 pinch pinch nutmeg (optional)
Basic Chicken Baby Puree
- 1 8-ounce boneless skinless chicken breast or thighs, cubed
- 1 cups chicken or veggie stock, low-sodium or sodium-free
- 1 tsp dried parsley (optional)
Homemade Baby Rice Cereal
- 1 cup brown rice, I prefer organic short grain
- 2 cups water for cooking
- 1-2 cups of liquid for blending, (water, fresh breastmilk or formula)
Red Pepper Baby Puree
- 2 red bell peppers, deseeded and roughly chopped
- 1/2 cup white potato, apple or pear, peeled and roughly chopped
Oatmeal for Babies
- 2 cup water
- 1 cup old fashioned oats
- 1/2 tsp chia seeds (optional)
- 1/2 tsp hemp seeds (optional)
Avocado for Baby
- 1/4 avocado
- 1 tsp breast milk, formula or water
Pea Baby Food Puree
In a medium saucepan, bring 2″ of water to a boil over medium heat.
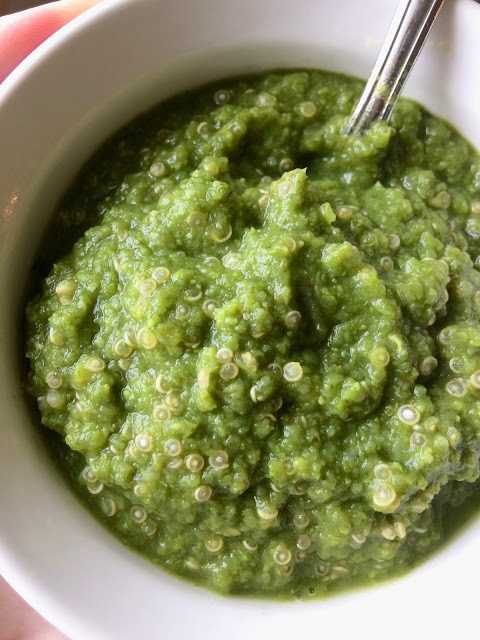
 Place the zucchini in a steamer basket, and place over boiling water. Cover and steam for 5 minutes.
Add in the peas, and steam for an additional 3-5 minutes. Reserve steamer water. Let cool slightly.
Add the zucchini, peas and mint leaves to a blender or food processor and puree for 1 minute or until you have achieved the desired texture. If the puree is too thick, add in 1/4 cup of the reserved steamer water until you have the right consistency.
Note on Zucchini: while this is a 2 vegetable starter puree, zucchini allergies are very low, so I added it to this recipe to give the peas a mild taste and smoother texture. You can completely leave them out if you prefer. Just steam the peas as directed.
Sweet Potato Baby Food Puree
Heat oven to 400°. Line baking sheet with tin foil, parchment paper or a silicone mat.
Wash and dry the sweet potatoes.
 Prick with a fork in several places and then place the sweet potatoes on the baking sheet. Bake for 45 minutes – 1 hour or until a fork can easily prick the sweet potato. Let sit until cool to touch.
Make a cut into the skin of the potato lengthwise and peel away the skin of the potato. Scoop out the sweet potato meat and place into a blender or food processor, adding in the mild curry powder and water.
Puree on high for 1-2 minutes or until smooth, adding in additional liquid in 1/4 cup increments if needed. I had to add in 1 cup of water to the puree pictured. Serve or freeze for a later meal.
Additional Spices: Feel free to use the following spices instead of the curry – 1/2 tsp of cumin, 1/4 tsp of nutmeg, 1/2 tsp of cloves, 1 fresh garlic clove, 1/2 tsp of chopped fresh thyme, 3-4 basil leaves, 1/2 tsp chopped rosemary or even a big pinch of fresh ginger or 1/2 tsp ginger powder.
 Or you can leave out the spices altogether.
Roasted Banana Baby Puree
Heat oven to 325 degrees F. Line baking sheet with parchment paper.
Place bananas on a baking sheet and roast for 10-12 minutes or until golden brown. Let cool slightly.
Place bananas and rosemary into a blender or food processor and puree for 1-2 minutes or until completely smooth. You may need to add additional water, so start by adding in 1/4 cup increments until you get the desired consistency.
Additional Spices: This recipe is also great with 1 tsp cinnamon, 1/2 tsp cloves, 1/2 tsp nutmeg, or for a fun twist, 1/2 tsp mild curry.
Note on Bananas: while any ripeness of bananas will work, I have found that the bananas that are ripe to very ripe tend to work best in this recipe.
Carrot Baby Food Puree
In a medium saucepan, bring 2″ of water to a boil over medium heat.
Place the carrots into a steamer basket, cover and cook for 9-11 minutes or until tender. Reserve steamer water. Let cool slightly.
Place the carrots, nutmeg and 1/2 cup of liquid into a blender or food processor and puree for 1-2 minutes on high, adding 1/4 cup liquid at a time until you achieve the desired consistency. Serve and enjoy, or freeze for later.
Notes on Nutmeg: adding in spices to babies first purees are completely optional, but totally safe. Nutmeg rounds out the acidic taste carrots sometimes have and make this puree taste grounded and full-bodied.
Additional Spices: Feel free to substitute 1/2 tsp ginger powder or 1/4 fresh ginger, 1/2 tsp mild curry powder, 1/4 tsp cloves, 1/2 tsp finely minced fresh chives or 1/2 garlic clove instead of the nutmeg.
Apples Baby Food Puree
In a medium saucepan, place the apples, water and cinnamon.
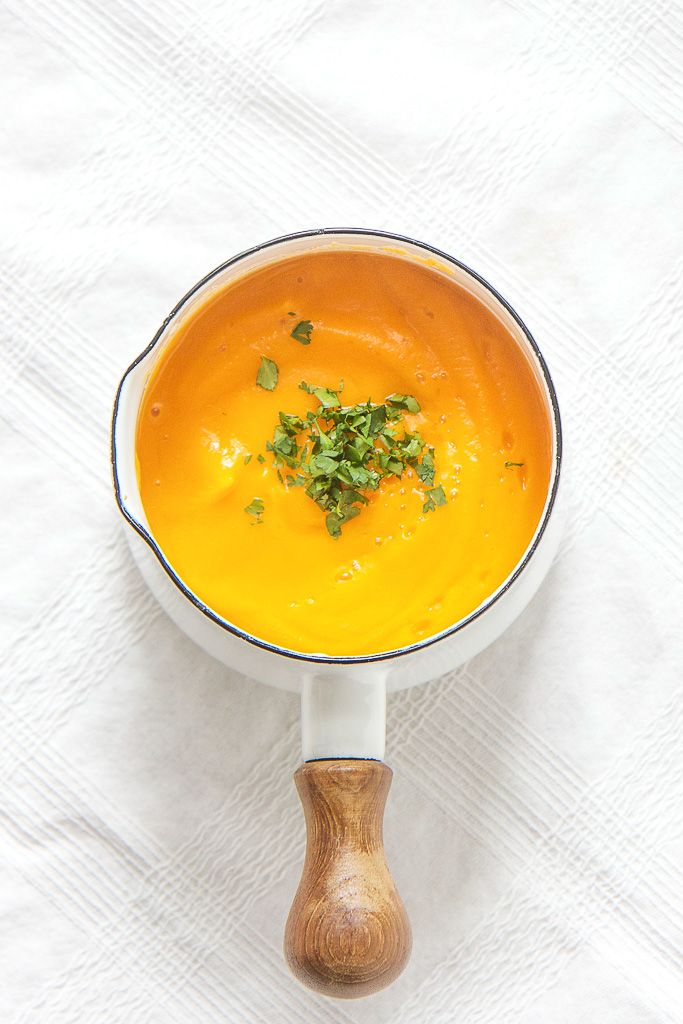 Cover and heat on medium-low for 15-20 minutes or until apples are tender. Let cool slightly.
Transfer all of the ingredients into a blender or food processor and blend for 1-2 minutes or until completely smooth. For a chunky puree, quickly pulse the ingredients 10-15 times or until you receive your desired consistency. Serve or freeze for later.
Additional Spices: Feel free to sub in these spices instead of the cinnamon for this recipe – 1/8 tsp of cloves, 1/8 tsp of nutmeg, 1-2 leaves of fresh mint, 1-2 leaves of fresh basil, a pinch of fresh or 1/4 tsp of ginger powder or even 1/4 of coriander for a fun twist.
Apples: you can use any sweet apple in this recipe – Gala, Honeycrisp, Fuji, McIntosh, etc.
Broccoli Baby Food Puree
In a medium saucepan, bring 2 inches of water to a boil over medium heat. Place the broccoli and potato (or apple/pear) into a steamer basket and place over boiling water, cover and steam for 10-12 minutes or until the broccoli and potato are tender.
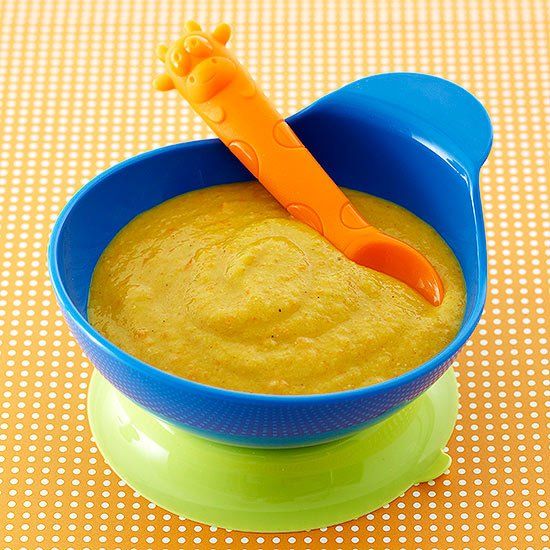 Reserve water from the steamer. Let cool slightly.
Add the broccoli, potato and olive oil into a blender or food processor and puree until smooth, adding the reserved water from the steamer basket in 1/4 cup increments if needed.
Adding In Spices: Feel free to add in 1 tsp of chopped chives, 2-3 mint leaves, 1 tsp of chopped cilantro, 1/2 tsp cumin or a squeeze of fresh lemon juice.
Butternut Squash Baby Puree
Heat oven to 450 degrees F. Line baking sheet with a silicone mat, tin foil or parchment paper.
Cut butternut squash in half, deseed and place flesh side up, skin side down. Optional – Feel free to drizzle the squash with 1-2 teaspoons of olive oil for some added healthy fat.
Bake for 45 minutes or until you can easily prick the squash with a fork. Let cool until you can handle the squash with your hands.

Scrape off the skin and discard. Place the butternut squash into a blender or food processor. Add thyme and puree for 1-2 minutes, adding water in 1/4 cup increments until you have your desired consistency. I had to add 3/4 cup of water to my puree shown below.
Additional Spices: Feel free to sub the thyme for 4 basil leaves, 1 tsp chopped rosemary, 1 tsp ginger powder, or 1 big pinch of fresh ginger, 1/2 teaspoon nutmeg, or even 1/2 tsp of coriander.
Green Bean Baby Food Puree
Fill a medium saucepan with 2” of water and bring to boil over medium heat. Place the green beans (fresh or frozen) into a steamer basket over the boiling water, cover, and cook for 10 minutes or until tender. Let cool slightly. Reserve steamer water.
Transfer the green beans and herb to a blender or food processor and puree for 1-2 minutes or until smooth, adding reserved steamer water in 1/4 cup increments if needed until you reach your desired consistency.
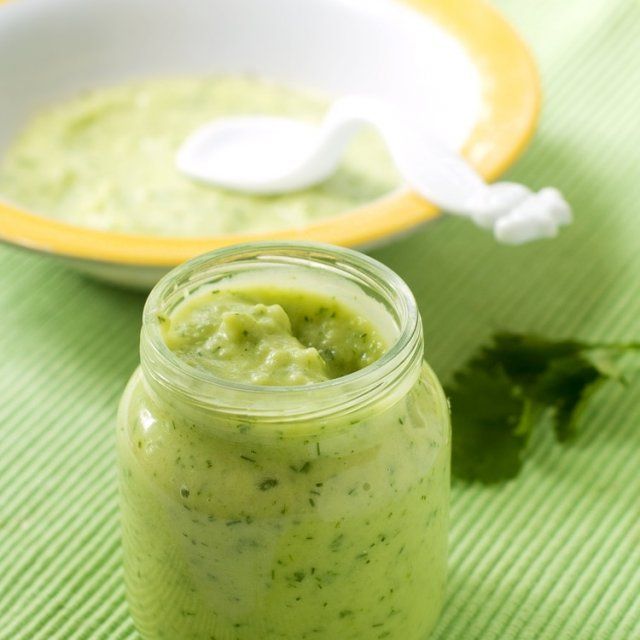
Adding Spices: you can add a big pinch of roughly chopped basil, cilantro, mint, parsley, or chives to this puree before blending.
Creamy Mango-licious Baby Food Puree
Place the mango, banana and nutmeg (if using) into a blender or food processor. Puree for 1 minute or until completely smooth. If your mango is not ripe enough, you might need to add in up to 1/4 cup of water while blending to get the right consistency. Serve or freeze for later.
Mango Tip: I usually find that organic frozen mangos are easier and cheaper to find than fresh organic mangos, but if mangos are in season when you are making this recipe, by all means, you can use fresh over frozen. For fresh mangos, simply peel and chop.
Pear Baby Food Puree
In a medium saucepan, place the pears, cardamon and water, cover and heat on medium-low heat for 10-15 minutes, or until tender.
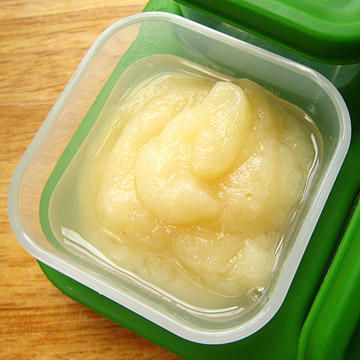 Let cool slightly.
Using a slotted spoon, scoop the pears out of the saucepan, leaving water behind, and into a blender or food processor. Blend for 1-2 minutes until you have your desired consistency. If your pear puree is too thick, add the leftover cooking water in 1/4 cup increments.
Peach Baby Puree
If using fresh peaches, peel, pit and slice the peaches. If using the fresh vanilla bean pod, cut in half and then slice open lengthwise. Take the back of your knife or spoon and scrape out all of the vanilla bean, reserve.
In a medium saucepan, add the peaches and water, cook over medium-low heat for 5 minutes (fresh peaches) – 10 minutes (frozen peaches). Right before the peaches are done cooking, add in the vanilla and nutmeg (or any other spices you prefer) and stir until incorporated—Cook for 1 more minute.
Using a slotted spoon, transfer the peaches to a blender or food processor, leaving all excess water in the saucepan.
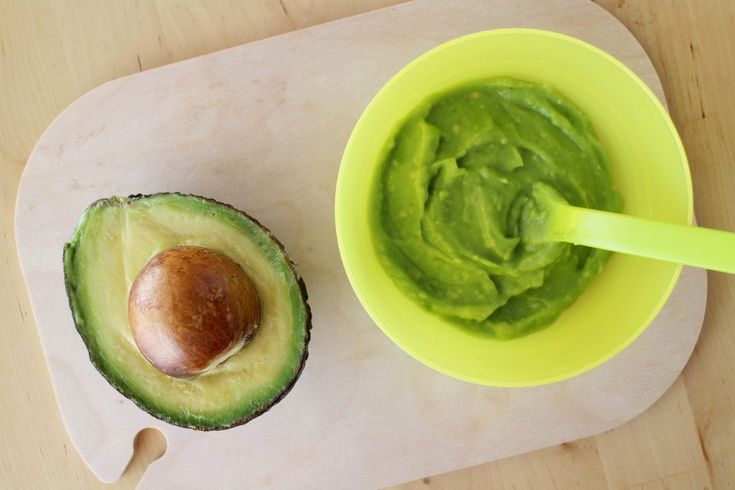 You do not want to add any additional liquids, or the puree might be too thin. Starting on low and increasing to high speed, puree the peaches until smooth and creamy. Serve to baby or freeze for later.
Basic Chicken Baby Puree
In a medium saucepan, bring the cubed chicken, broth, and parsley to a boil over medium heat. Turn the heat down to low and simmer, covered, for 15 minutes or until chicken is just cooked through. Let cool slightly.
Using a slotted spoon, transfer the chicken to a blender or food processor, leaving the broth in the saucepan. Reserve the broth.
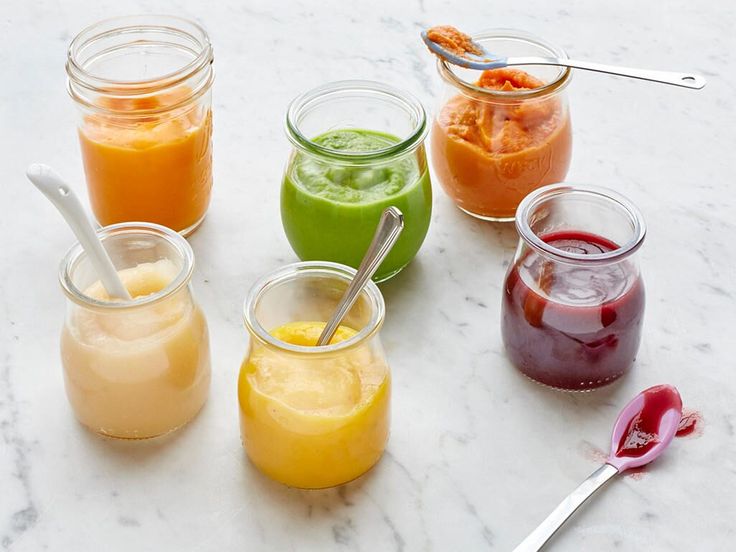
Starting on low and working your way up to high-speed, puree the chicken until you reach your desired consistency, adding in broth in 1/4 cup increments if needed. I had to add in just 1/4 cup of broth to get the consistency seen in this photo.
Extra Healthy Fat: For some extra healthy fat, this puree is also wonderful, with a teaspoon of grass-fed butter (salt-free) added to the blender right before pureeing.
Homemade Baby Rice Cereal
IMPORTANT STEP: Place the rice in a fine-mesh colander and rinse with water until the water runs clear.
Transfer the rice to a medium saucepan and add 2 cups of water. Bring to a boil over high heat, then reduce heat to low, cover with a lid and simmer for 35-45 minutes or until the rice is tender and the water is evaporated. Each batch of rice cooks a little differently, so taste at 35 minutes to see if the rice is tender. Remove the saucepan from the heat and let rest for 10 minutes, covered. If using fresh breast milk or formula for blending, I would remove the lid and let the rice cool for 15 minutes.
Place the rice into a blender or food processor and add 1/2 cup of liquid of choice. Blend for 1-2 minutes on medium-high speed until completely smooth and creamy, adding in the additional liquid in 1/4 cup increments, if needed, until you have your desired consistency.
Red Pepper Baby Puree
In a medium saucepan, bring 2″ of water to a boil.

If using a potato: place it in a steamer basket and steam for 10 minutes before adding peppers, and cooking for another 5-7 minutes.
If using pear or apple: add in the red peppers and apple or pear and steam for 5-7 minutes or until tender. Reserve steamer water. Let cool slightly.
Add in all of the ingredients into a blender or food processor and puree for 1 minute or until completely smooth, adding in a tablespoon of water at a time if needed.
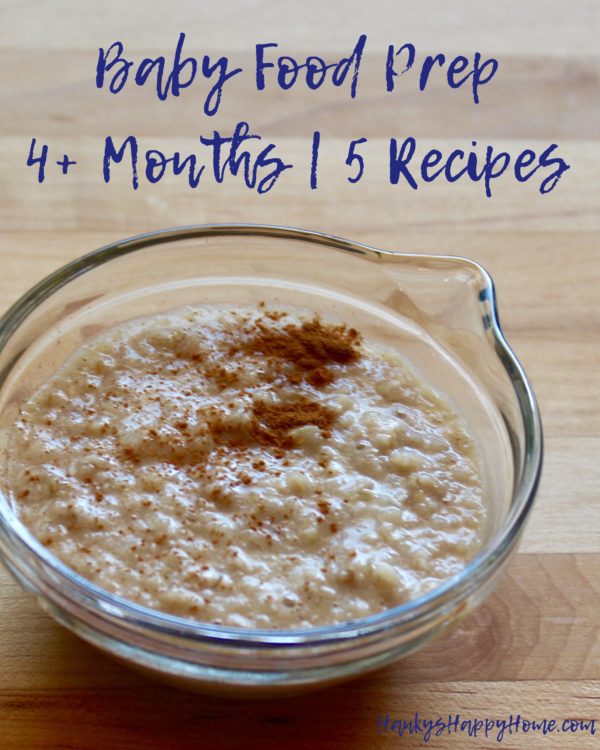
Oatmeal for Babies
In a medium saucepan, bring 2 cups of water to a boil. Add in 1 cup of old-fashioned oats along with the chia seeds, hemp seeds and any spices you are using. Turn down the heat to medium-low and cook the oats for 5 minutes, stirring occasionally, or until all of the water is gone and the oats are soft. Let cool slightly.
Transfer the oats to a blender or food processor and puree for 1-2 minutes, adding water in 1/4 cup increments if needed, until completely smooth.
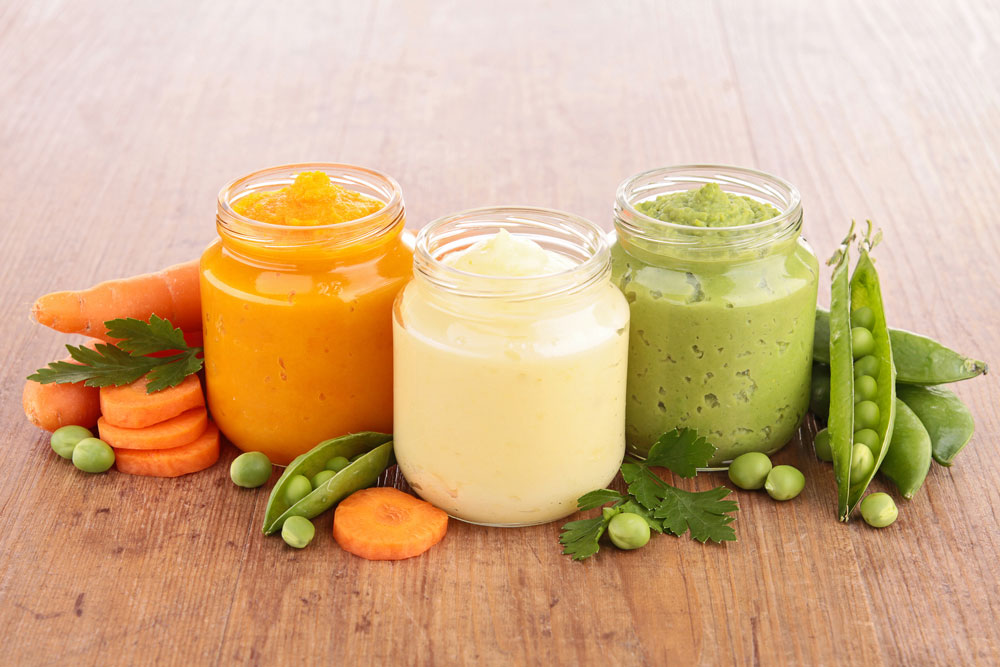 I had to add 1/2 cup of water to my oatmeal. You will want the oat cereal to be on the thinner side, so it doesn't become sticky. The oats will continue to absorb liquid as they cool, so you can add more water, fresh breast milk, or formula as needed. Serve to baby or freeze for later.
 Type of Oats: This recipe is for old-fashioned oats: for steel-cut or instant oats, read the full post.
Adding Spices: you can add a big pinch of cinnamon or pumpkin pie spice mix or a smaller pinch of nutmeg or cloves to these oats before blending.
Chia and Hemp Seeds: are added for a nutritional boost, but you can add or omit them if you prefer. You can get both of these at any health food store or online here (chia/hemp).
Avocado for Baby
Age: 4-6 months and up
Yield: roughly 15-25 ounces, depending on the recipe
Freezer Tray
Bumkins Baby Bowl
Blender
Saucepan
Did you make this recipe?
Tag @babyfoode on Instagram and hashtag it #babyfoode!
Pin Recipe Email a Friend
Baby puree at home: recipes
Baby puree from vegetables and fruits at home: cooking secrets
Vegetable and fruit puree often becomes the first meal of the baby after breast milk or formula, so many mothers prefer to cook it on their own. Although modern manufacturers convince us that baby food is devoid of preservatives and harmful additives, fresh vegetables and fruits are much healthier, especially when it comes to infant nutrition. Yes, and cooking baby puree at home is not so difficult.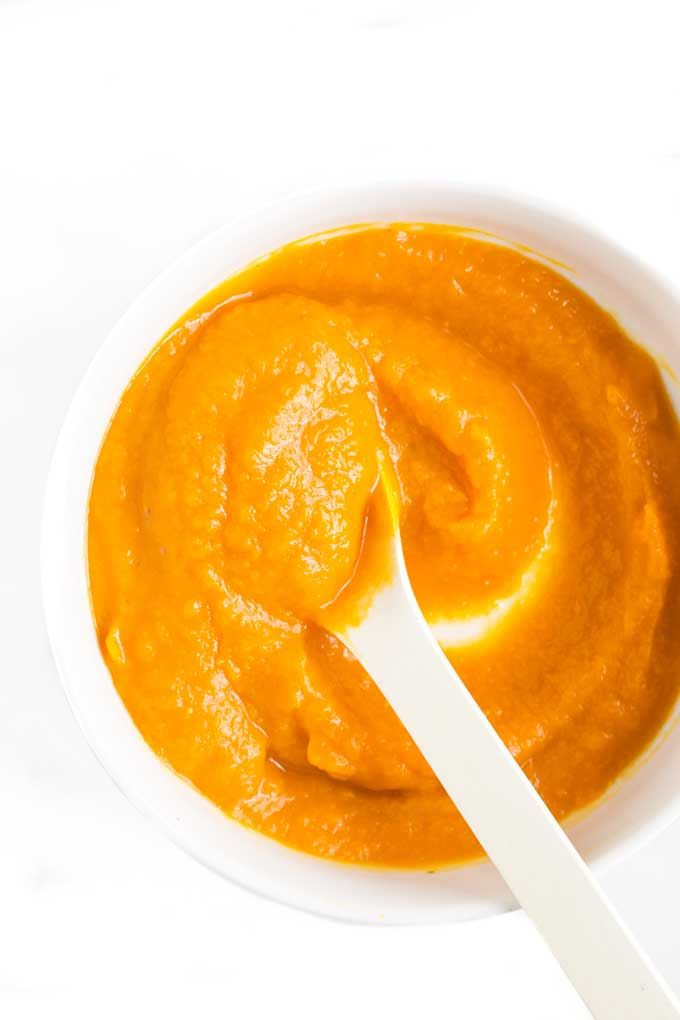
Vegetables or fruits?
Let's try to make baby puree for our beloved baby. Despite the fact that pediatricians of the last century recommended starting complementary foods with fruits, it is better to first introduce the child to vegetables - modern doctors and nutritionists have come to this conclusion. Boiled vegetables do not irritate the gastrointestinal tract, are better absorbed, satisfy hunger, do not cause allergies and increased gas formation. In addition, vegetables do not contain fructose, which irritates the pancreas. And one more weighty argument in favor of the fact that it is better to start with vegetables - fruits are tastier, and if the baby tries them first, he will refuse vegetables, because they will seem to him more insipid.
How to prepare baby vegetable puree
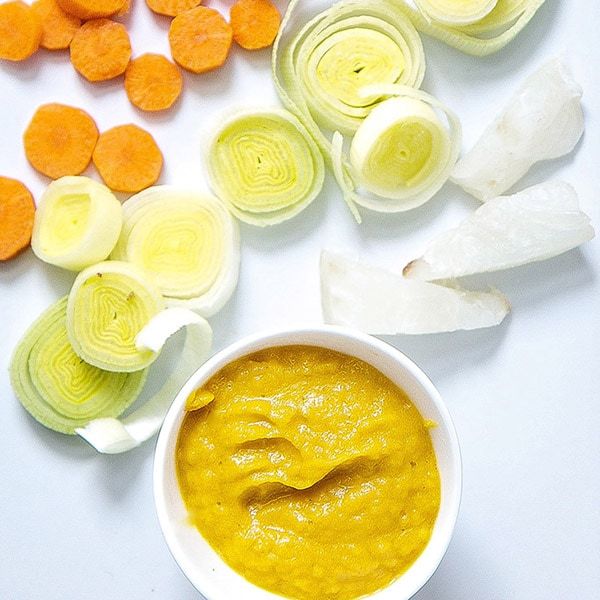
What can baby puree be made from? The ideal puree for the first feeding is from cauliflower or zucchini. A little later, you can introduce pumpkin, broccoli, carrots, potatoes and green peas.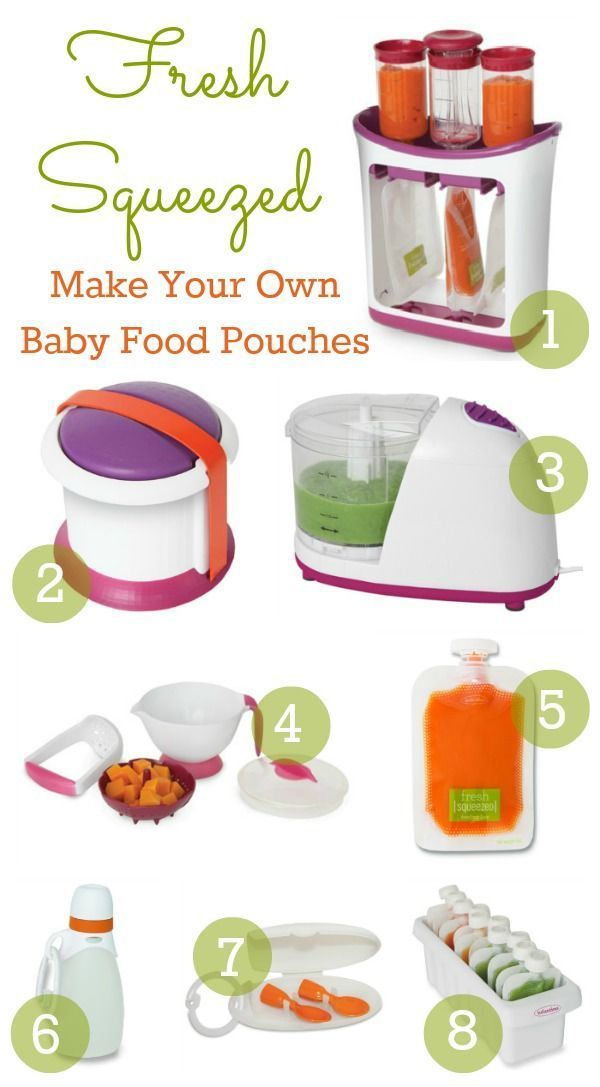 Before cooking, vegetables are washed well, peeled, cut into pieces and cooked - steamed, in the oven or in the usual way, in water. The first two methods are preferable because oven roasting and steaming preserve the vitamins, minerals, nutrients, and natural color in the vegetables. And most importantly - such vegetables are much tastier. Some nutritionists recommend boiling vegetables with their skins on before peeling them, so choose your own cooking method.
If you do have to cook vegetables in a saucepan, use an enamel pot, add less water and put the vegetables in boiling water. Boil until soft, but do not overcook vegetables and fruits, otherwise they will become tasteless and lose a lot of vitamins. Ready vegetables are chopped with a blender until smooth and slightly diluted with water, vegetable broth, breast milk or mixture to a gruel state, since the child does not yet know how to digest thick food. Small pieces of vegetables in puree sometimes cause the baby to refuse to eat, so the knives in the blender should be well sharpened, and if there is no technique, you can grind the vegetables through a sieve.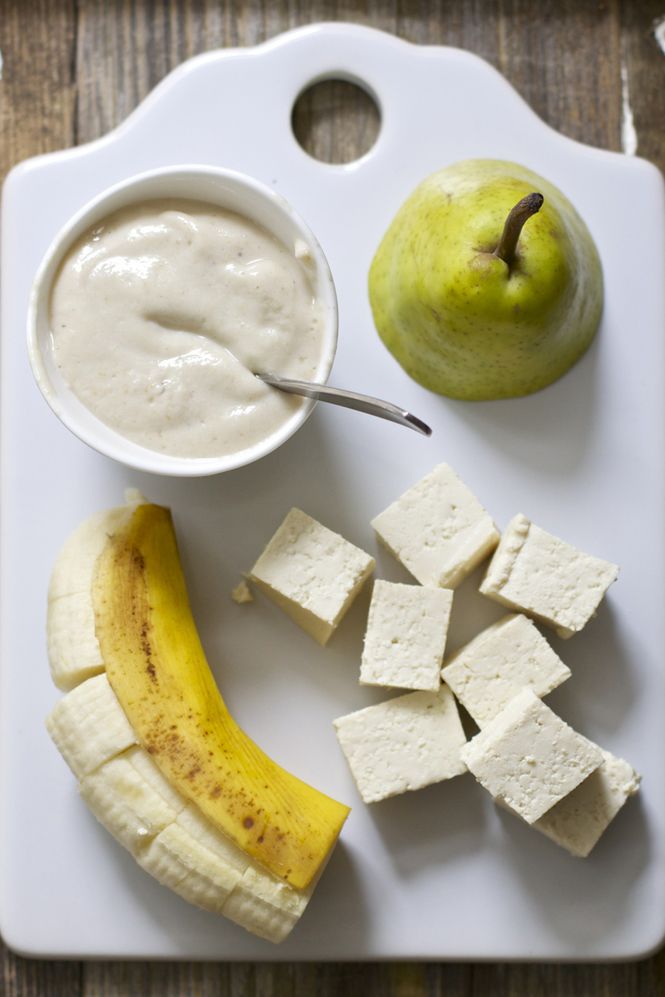 Salt and spices are usually not added to baby vegetable puree, and if the baby is more than 6 months old, you can put a little butter in the puree.
A few rules for making baby puree at home
- Use only fresh vegetables and fruits.
- Water for cooking vegetables must be filtered or bottled.
- If you are using frozen foods, choose only whole fruits and vegetables as they retain the most nutrients.
- All utensils for preparing baby food should be perfectly clean, so if the knife falls on the floor, it should be washed well. Also, the presence of pets in the kitchen during the cooking process is not allowed.
- Avoid vegetables and fruits high in nitrates, such as spinach, lettuce, beets, melons, and watermelons, in infants' diets.
- Store-bought vegetables are recommended to be soaked in water to remove nitrates: 1-2 hours for this, up to 24 hours for potatoes.
- Mix sour-tasting fruits and berries with sweet fruits - for example, blackcurrant goes well with a banana or pear.
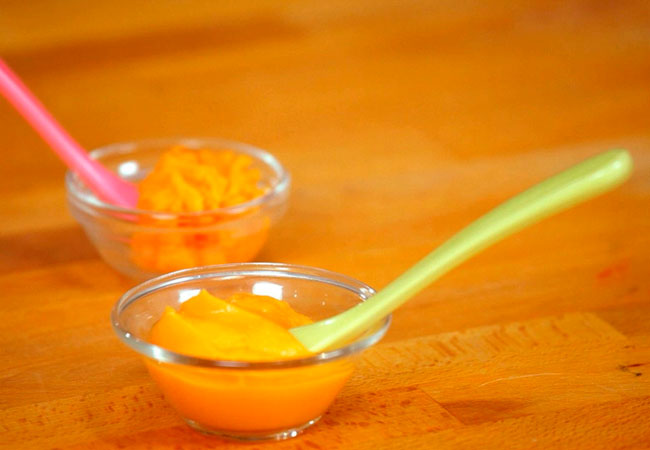 Sour puree is unlikely to please the baby.
 - Give your child only fresh food, but yesterday's puree from the refrigerator is better to eat yourself.
DIY fruit puree for children
Children are more likely to eat fruit puree, because fruits are tastier and sweeter. Fruits contain a large amount of vitamins, minerals, trace elements, fiber and antioxidants, so they are very useful for a growing body. However, fruits are strong allergens, especially berries, bananas, pomegranates and apricots, so they should be given with caution, watching the child's reaction. The most low-allergenic fruits are apples and pears, so it is better to start complementary foods with them, and then introduce all other fruits. First, the baby is fed with a one-component puree made from only one product, and then you can mix different vegetables and fruits, and not only among themselves. Very tasty combinations of fruits and vegetables, such as apples and zucchini, pumpkins and pears.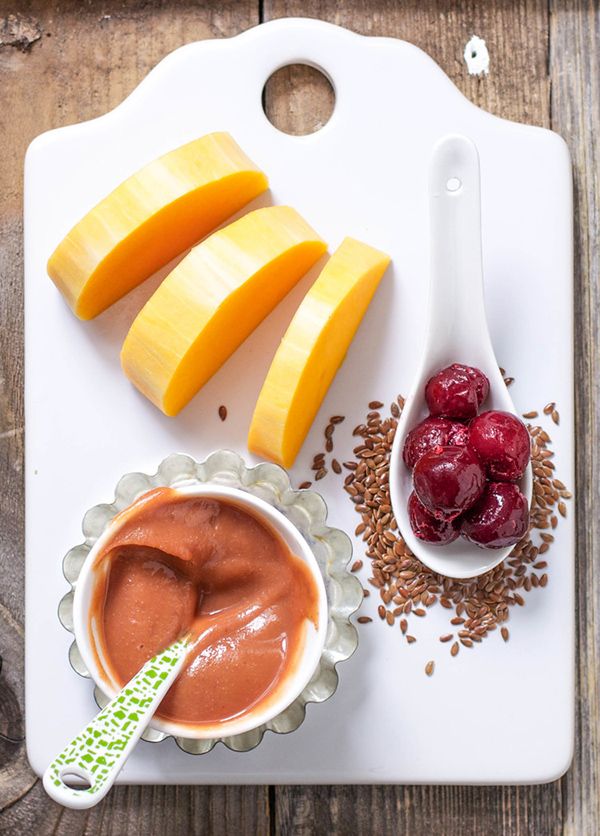
Fruits must be of good quality, without damage, ripe and juicy, and the rules for preparing fruits do not differ from the rules for cooking vegetables. Naturally, fruit puree is not sweetened with honey and sugar - the later the child learns the taste of sugar, the stronger his health will be.
Aromatic pumpkin puree
Babies love to eat pumpkin because of its pleasant sweet taste, besides pumpkin is very healthy. It contains a whole storehouse of various vitamins, including vitamin T, which normalizes the metabolism in the body. For pumpkin puree, small pumpkins are suitable, since large fruits are not as tasty and difficult to peel.
Cut the pumpkin in half, and then into small slices, one or two of which (depending on the appetite of the crumbs) cut into cubes. Boil the pumpkin in a double boiler or in water for 20 minutes, while warm, beat with a blender to a smooth puree and dilute if necessary with water or a mixture. Add oil and salt depending on the age of the child.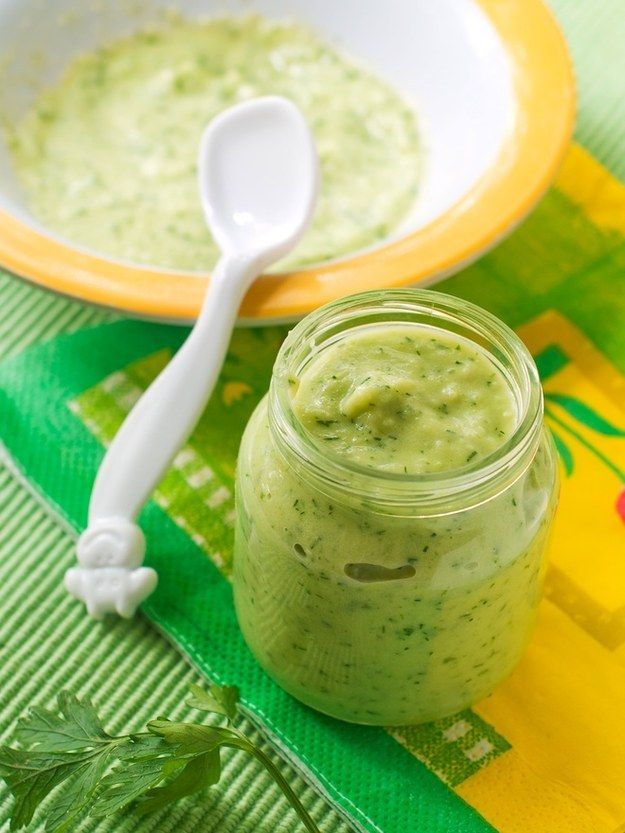
Gentle Broccoli Puree
One of my favorite homemade baby puree recipes is broccoli. This cabbage is extremely useful because it contains potassium, iron, calcium and other valuable substances. It has much more vitamin C than lemon, and the reason for its nutritional value is its high protein content.
Separate the broccoli into florets, wash thoroughly and steam for 20 minutes. Cabbage cooks faster in water - fresh broccoli will take 7 minutes, and frozen - about 15 minutes. Broccoli puree does not need much water, it should lightly coat the vegetables. After the cabbage becomes soft, chop it in a blender or pass through a sieve. If you're mashing for kids older than a year old, be sure to add butter - the little ones will gobble up broccoli on both cheeks!
How to make baby pear puree at home
Pear is a very delicate, tasty and healthy fruit that rarely causes intolerance. In addition to the high vitamin value, the pear has other beneficial properties - it facilitates digestion and removes toxins from the body.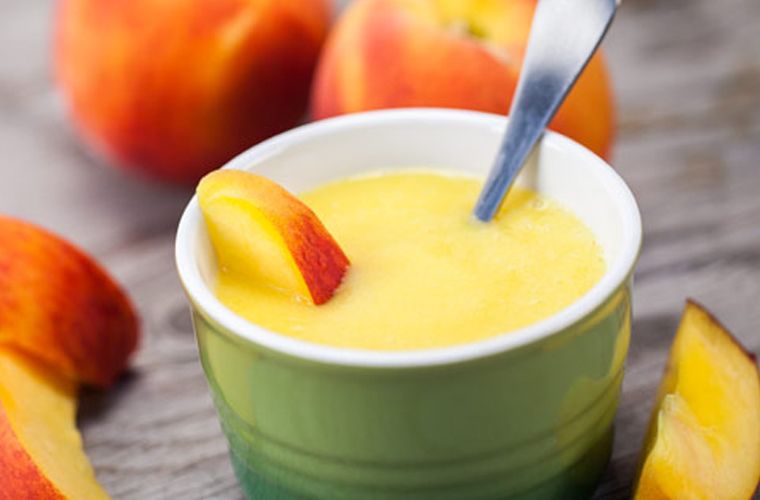
For baby food, choose green pears to reduce the risk of allergies, which are rare among babies. Peel the fruits from the peel and core with seeds, and then stew the pear in a bowl with a thick bottom in a small amount of water for 15 minutes. Let the pear cool slightly and puree it in a blender with a little of the remaining pear broth. For large kids, fruits can not be boiled, but add half a teaspoon of natural honey to the puree.
Zucchini and apple puree
Little gourmets will love this delicious puree, besides, zucchini is considered the most hypoallergenic vegetables, which, due to their high potassium content, have a beneficial effect on the heart. Apples contain iodine, iron and phosphorus, and due to the high concentration of vitamin C, apples help in the prevention of colds and viral infections.
Wash the zucchini and apples well, de-seed them, cut into pieces and cook in a saucepan for about 20 minutes, considering that the zucchini will cook 5 minutes faster. By the way, apples are steamed for 15 minutes, zucchini - 10 minutes. Next, vegetables and fruits are chopped in a blender, mixed and brought to a boil. For allergic children, this is the best side dish!
Exotic mango
Sometimes you can pamper your baby with exotic fruits - for example, make mango puree. This is a very delicate fruit with an original taste, containing 12 amino acids and improving sleep.
Choose only ripe fruits that are soft and reddish-yellow in color. Peel the mango from a thick skin and a large bone, put the pulp in a blender, add 2 tbsp. l. water and mash it, and then heat it in a saucepan for several minutes. For a baby up to a year old, it is better to give mashed potatoes with heat treatment to facilitate digestion, and older children can be fed raw mangoes.
Carrot and Potato Puree
Make normal potato puree without oil. Peel the carrots, grate them and stew them with butter and vegetable broth - about 1 tsp is required for 200 g of carrots.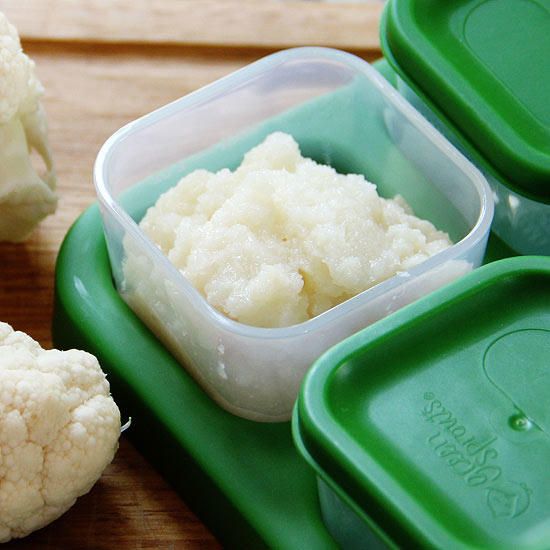 butter and 150 g of broth. When the carrot becomes very soft, wipe it through a sieve, and then put it on a plate, put mashed potatoes on the second half. Let the child choose whether to mix two types of puree for him or eat separately!
Pumpkin and apple puree
This sweet, sugar-free pumpkin-apple puree, cooked in a double boiler, is suitable for children who are already accustomed to “adult” food and are able to perceive a new unusual dish. It is better to take a pumpkin with a gray or green skin and with bright pulp - such fruits contain more vitamins and other useful substances. Apples are green because they have fewer allergens.
Cut pumpkin and apple flesh without peel or seeds into pieces, place in a steamer and cook for 20 minutes. Grind pumpkin, apples and raisins in a blender or by hand with a pusher if the child has already learned to chew. They say that this puree is very good for skin and hair, and you can check the truth of this statement yourself if you start feeding this dish to your baby.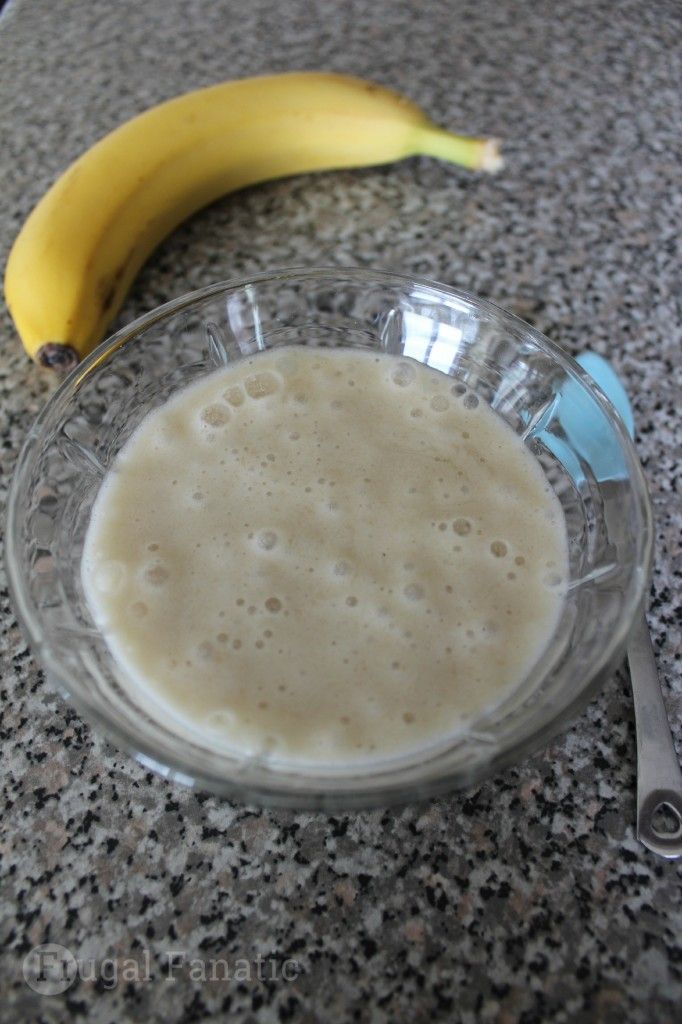
In autumn, you can take care of preparing vegetables for baby purees. Some vegetables, such as pumpkin, carrots and apples, are stored fresh, and zucchini, broccoli, berries are frozen in small portions, because due to frequent freezing and thawing, vegetables lose vitamins and become tasteless. You can roll up fruit and vegetable puree in jars, but this snack should not be given to babies. Remember that the taste of vegetables determines whether the baby will love them in the future, so try to prepare an appetizing and tender puree - for health and good mood!
How to cook meat puree for babies
About nutrition
- Photo
- Parents
Babies will have to try baby meat puree not earlier than 7-8 months. At this age, the child grows and develops intensively, and the iron reserves that he accumulated while he was in his mother's tummy and during breastfeeding are depleted in his body.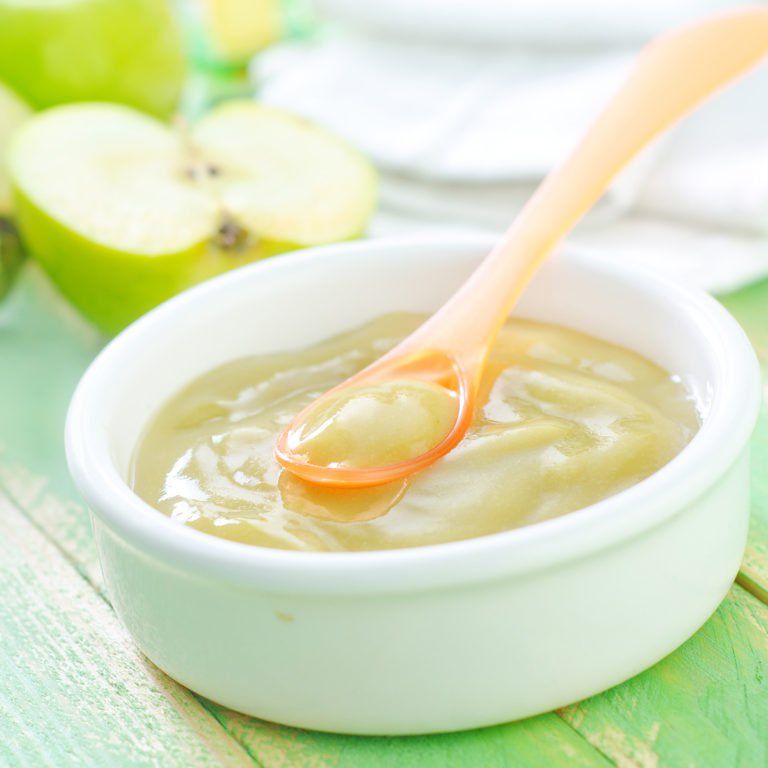 It is during this period that it is recommended to introduce baby meat puree into his diet. Meat is the main source of complete animal protein, which is necessary for a growing man to protect against infections, normal development and formation of teeth and bones. Properly prepared meat puree for the first feeding contains easily digestible iron, phosphorus, potassium, magnesium, zinc, B vitamins. It also contains extractives that stimulate the production of digestive enzymes and the digestive system.
It is worth remembering the rules for the introduction of complementary foods. A new product is introduced gradually (over 5-7 days) starting with a small amount. It should be given in the morning to mark an unwanted reaction. Complementary foods are given from a spoon before breastfeeding or formula milk.
When feeding with mashed meat, start with a portion of 3–5 g (that’s 1/2 teaspoon), so that, gradually increasing its size, reach 60–80 g by 1 year. you can buy in the store, ready-made. Is it worth it to "fool around" with home cooking? It's up to you. There is no single answer to the question of which meat purees are best for your baby. But we think you will agree that a homemade recipe guarantees confidence in every ingredient. Yes, and cooking mashed potatoes at home is not difficult.
Puree meat for the first feeding: recipe and step-by-step instruction
You will need:
-
Glass or ceramic cup capacity 200-500 ml
- 9000
plastic or metal spoon
-
meat cutter
-
plastic cutting board (more hygienic, wood is more difficult to clean and germs can accumulate on it)
-
blender
-
actual piece of meat
1. Choosing meat
For the first feeding, it is recommended to choose hypoallergenic rabbit or turkey meat, which are easy to digest and contain little fat. Lamb and lean veal and beef are also not forbidden.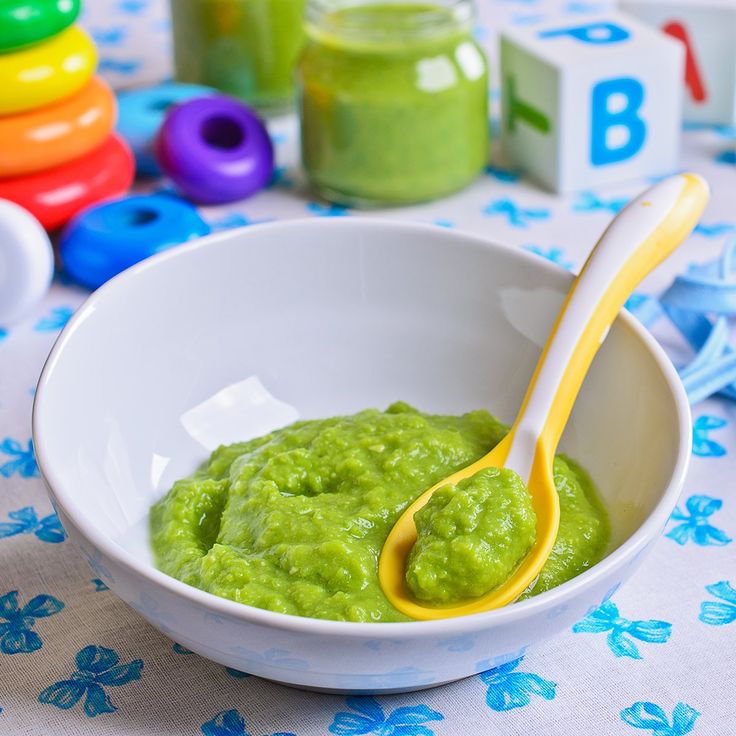 Pork for babies will be too fatty and can cause a malfunction in the digestive system, chicken quite often causes allergic reactions.
It is recommended to buy meat for baby meat puree in a trusted store. Since any meat must pass veterinary control, the seller must carry a certificate confirming this procedure. Give preference to whole cuts of meat (not in cubes), fresh and juicy in appearance, not weathered. The cut of a piece of meat should be even, pink. A dark red or whitish cut indicates that the meat was either stored incorrectly, or is far from the first freshness.
To help a mother who is worried about the question “what to feed her baby”, we have prepared a material “What to feed a baby: a baby’s nutrition diary from birth to a year”
- Photo
- Parents
2. Preparing meat
Before preparing the meat puree for the first feeding, it is necessary to thoroughly rinse the meat under running cold or warm water.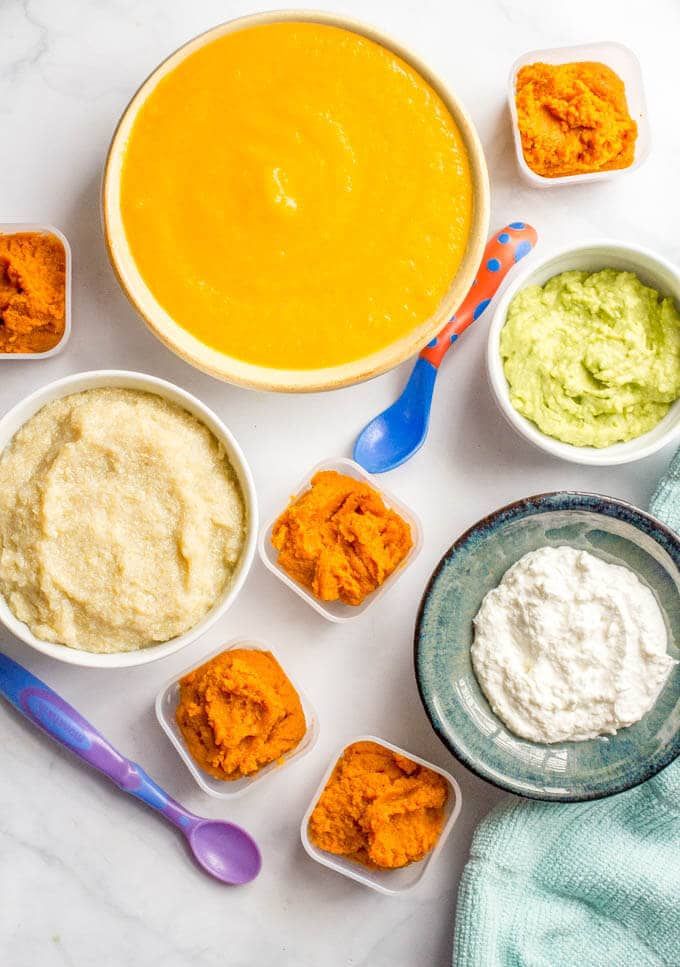 Remove fat, veins, skin, films from it and free it from bones.
Then cut a piece of about 10 cm from the whole piece of meat. Meat puree, like other foods for babies, should not be stored. For this reason, at one time you will need a very small piece of meat. The remaining meat can be cut into larger pieces and put in the freezer. Just keep in mind that any food for babies can only be thawed once. A defrosted product cannot be re-frozen: temperature changes create a favorable environment for the reproduction of pathogens. So every time, intending to prepare meat puree for feeding, we take out 1 piece of meat from the freezer. For the first time, this amount is more than enough.
3. Rules for cooking meat for baby puree
Put the meat in a pot of cold water (remember, it must be filtered or bottled) and wait until it boils. After 5 minutes, drain the water (this is necessary to get rid of fat and extractives that make digestion difficult) and fill the meat with new water, it should cover it.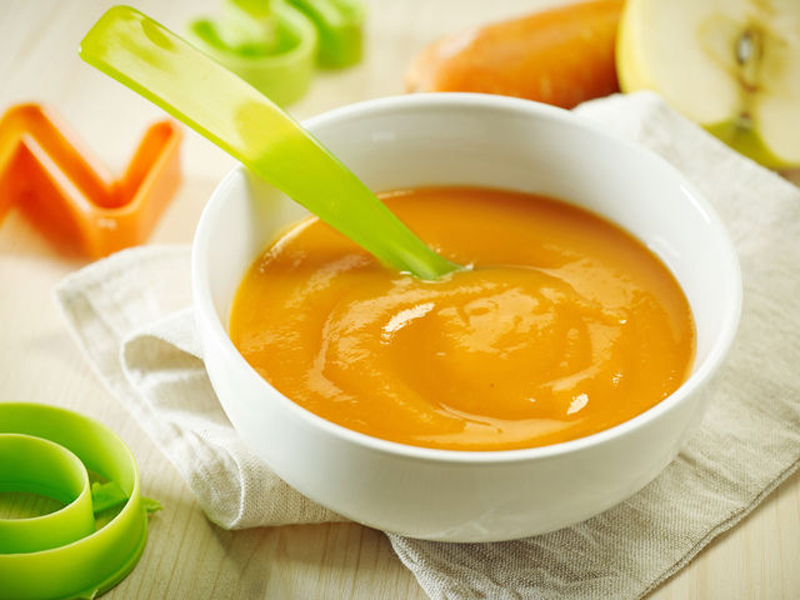 Cook the meat until tender over low heat for about 2 hours (turkey, veal and lamb should be cooked until tender for 1-1.5 hours). If the water boils away, add it again. And remember that kids do not need to salt and add spices to the meat.
Find out how to make a menu for a one-year-old baby here: “Almost an adult menu: what to feed a child from one to two years old”
- Photo
- Parents
4. Cooking meat puree
When the meat is cooked cut it into small pieces. Then grind the pieces in a blender.
To make puree a homogeneous consistency, similar to thick porridge, add a few tablespoons of the mixture or vegetable broth to it (meat broth is not allowed for babies!).
Ready-made meat puree can be mixed with vegetable puree, which is already familiar to the baby. So the child will more easily accept the new product.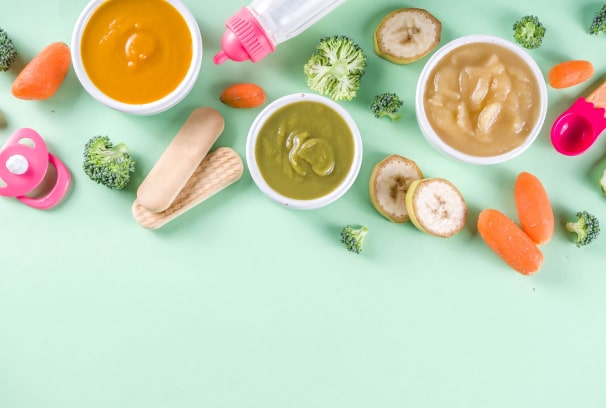 You can also pour a few drops of vegetable oil into the meat puree (7-month-old children are entitled to 5 ml).
The first serving of meat puree should be 0.5 teaspoon. Pay close attention to your child's reaction. If everything is in order, after a week you can increase the portion. By the year the child should already consume portions of 60-80 g of meat. It is best to feed baby meat puree at lunchtime.
Read also: “When a child begins to chew and how to prepare for this”
- photo
- Parents
- 0
- Photo
- Parents
9000 . We will present some of them.
Homemade beef mash for babies
What you need: 40 g beef, water, 1 teaspoon butter
Cut the washed meat, without bones, membranes and sinews into small pieces.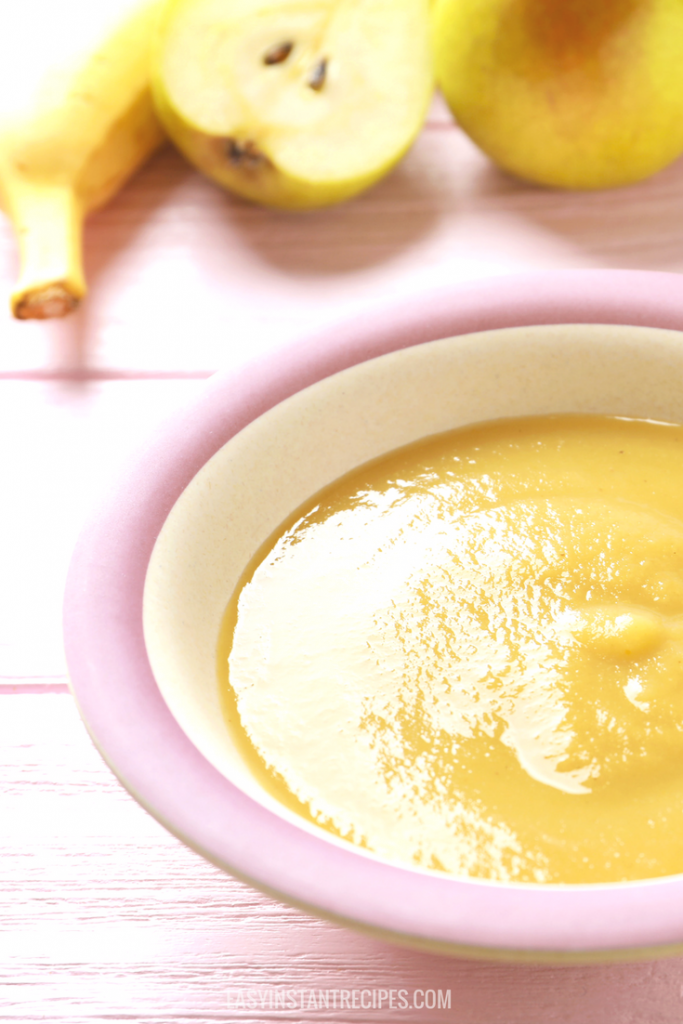 Stew the pieces in a small amount of water until fully cooked, about 2 hours. Cool the finished meat and scroll twice through a meat grinder, and then chop in a blender. This way you will achieve a uniform consistency. Add a little vegetable broth to the resulting puree and bring to a boil. Thoroughly mix everything, add butter.
You can also add some breast milk to the meat puree. But in this case, boiling mashed potatoes is no longer required.
Turkey meat puree recipe
What you need: 100 g turkey fillet, 0.5 cup water.
Meat can be cooked on the multicooker rack, steamed or boiled in a pot of water on the stove. We cook in a slow cooker by setting the “steam” mode for 40 minutes. We cut the boiled meat into pieces, which we grind with a blender until a homogeneous consistency is obtained. Dilute with water. Since the turkey puree is a little dry, you can pour a few drops of vegetable oil into it. Ready-made meat puree can not be stored in the refrigerator for more than a day.