Making baby food with ninja blender
Ninja Blender For Baby Food
Nobody likes thinking about the mess that comes with making baby food.
You have to spend hours cooking, and then you also need to let it cool before feeding it to your child.
This is a lot of work for something that can be so easily avoided by using a ninja blender!
Making your own baby food at home has many benefits: you save time, money, and avoid additives from store-bought jars.
The best part? You get to make healthy recipes tailored for your child’s needs without worrying about added sugar or salt because you control what goes in the jar!
This article will go over how easy it is to make delicious homemade baby food right in your kitchen – even if you’re not an expert chef or know anything about cooking!
Let’s first answer the question – is Ninja blender good for baby food?
Can You Use A Ninja Blender For Baby Food?
How To Make Baby Food With A Ninja Blender
How To Choose The Best Ninja Blender For Baby Food?
Frequently Asked Questions
What Kind Of Blender Do You Need To Make Baby Foods?
Can I Put Raw Vegetables In A Blender To Make Baby Food?
Can You Use A Regular Food Processor To Make Baby Food?
What Is The Best Way To Puree Baby Food?
How Do I Store Homemade Baby Food?
What’s The Best Puree To Start Baby On?
Using Ninja Blender For Baby Food – Wrap Up
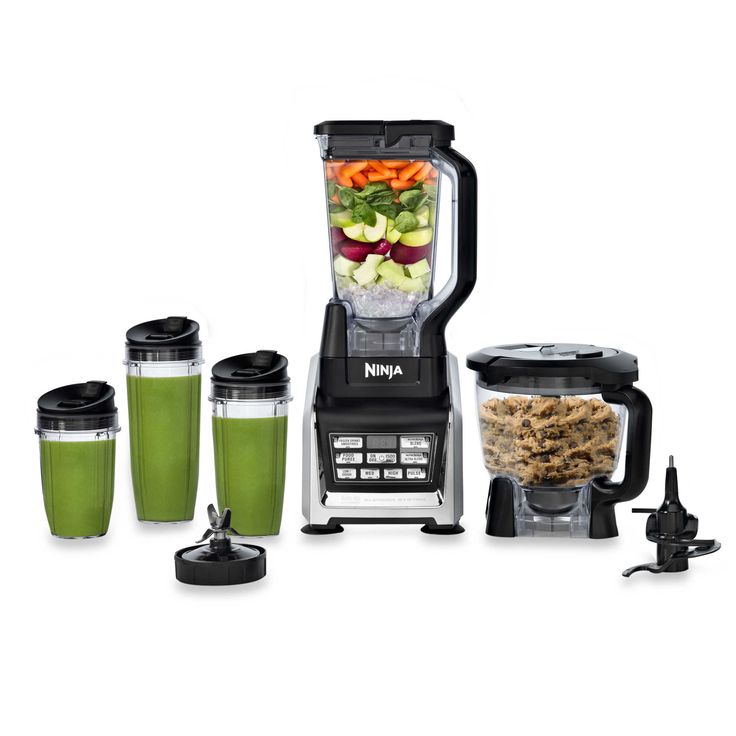
Can You Use A Ninja Blender For Baby Food?The answer is yes! Making baby food in Ninja blender is possible. These blenders are extremely versatile and can be used for many different things.
You’re able to make smoothies, salsa, even bread crumbs!
Now imagine just how simple it is to use a ninja blender to make baby food – you wouldn’t have to spend hours in the kitchen anymore because this gadget does all the hard work for you.
All you need is some fresh ingredients and your child’s favorite fruits or vegetables!
The last thing you want is a blender that doesn’t have enough power or one that breaks easily when using it multiple times.
We’ve exclusively used Ninja blenders for years and we can honestly say they’re some of the best appliances on the market!
They’re able to take any ingredients and puree them with ease – even if I just put in fruit, water, and ice cubes at once.
The blades are powerful enough to remove anything from its path which is what you need in order to make sure your baby gets healthy meals each day.
Plus, they’re designed with maximum results in mind which makes them much more enjoyable than basic blenders.
Overall, Ninja blenders have a ton of positive traits that make them the best ones on the market.
They’re powerful and durable enough to last for years with no problems at all – plus you can even clean them in the dishwasher! The results are amazing each time which is perfect for making baby food from scratch.
The biggest downside is that they’re more expensive than regular blenders but it’s something that we don’t mind paying because of how long they last compared to other appliances on the market.
You’ll be able to use them daily without worrying about damaging any parts or having to replace anything for multiple years!
Related Post: Ninja Blender For Puree
How To Make Baby Food With A Ninja BlenderHere is a step-by-step guide on how to make baby food in Ninja blender –
Step 1: Start by putting the ingredients you want to use into a saucepan. Water is always the first ingredient because it’s needed for boiling purposes.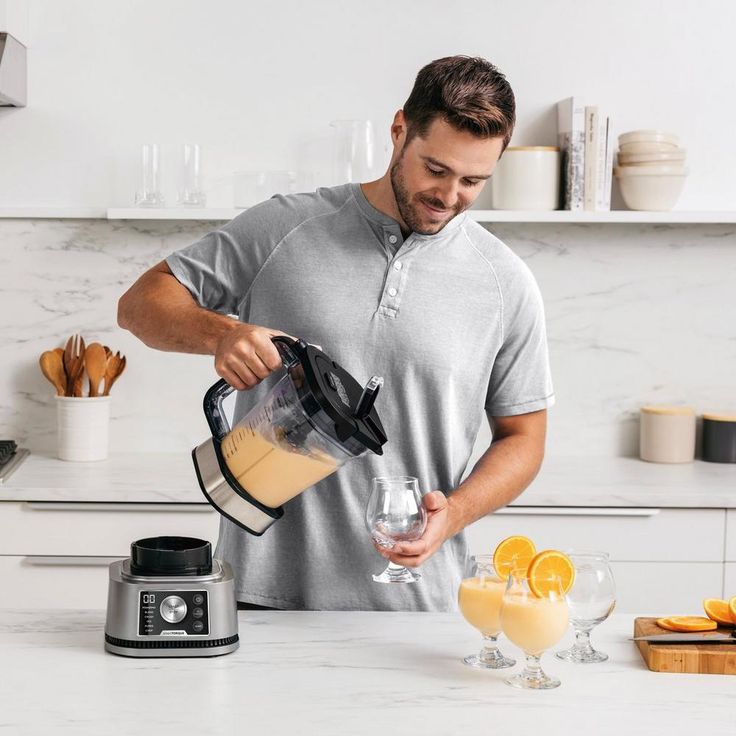 If you’re interested in making a puree, then now’s also the time to put in your fruit or veggies. Otherwise, you can just choose to steam them and skip this step.
Step 2: Put some water into a pot so that it covers all of the items inside completely (if using steaming). Then place it on top of a stove and wait until it boils. Be sure not to leave the stove unattended at any point or take your eyes off of it! The food will start getting mushy as soon as it reaches boiling temperature – normally about 5-10 minutes.
Step 3: Once this happens, you’ll be able to pour it into the ninja so that all of the food can reach a puree consistency. If you want to make baby food mixtures, then continue doing this until well everything in your saucepan has been blended together.
Step 4: When everything is mushy enough so that none of the chunks are visible anymore, take out the blade and begin filling your jars. You can either choose to put them in Tupperware or keep them on a plate for storage purposes if you’re going to eat later.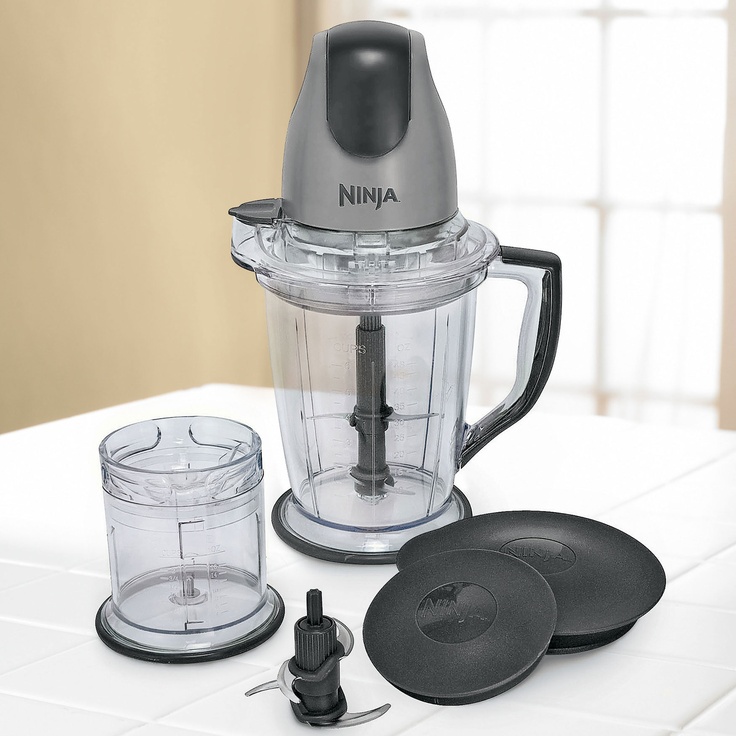
That’s it! Now your babies have access to healthy homemade snacks and meals right from their age when they’re ready!
This saves you money and time because you don’t need to bother looking for those expensive jars of baby food anymore.
Be sure to check out our other articles if you want more helpful advice on pretty much anything!
How To Choose The Best Ninja Blender For Baby Food?Ninja blenders are one of the best kitchen appliances you could purchase.
You’re able to make delicious soups, salsa, even bread crumbs with them – and now baby food is added to that list.
Be sure to check out other articles on our site if you want more information about ninja blenders in general.
Many people wonder whether their basic blender will be ideal for making baby food or not.
The answer is no since these blenders don’t normally take off big chunks which is what makes your job hard as a parent when trying to feed your child healthy homemade snacks or meals.
Plus, these items are usually powerful enough to remove all of the nutrients from your food which is exactly what you need to avoid.
There are a ton of different Ninja blenders on the market and it’s impossible for us to go over all of them.
The first thing you want to consider is how powerful it is. At a minimum, we recommend going with at least 800 watts so that your job becomes much easier when trying to create delicious baby food in a blender.
Anything around 1000-1400 watts would be perfect because it allows you to use the blender as more than a baby food maker – such as chopping up vegetables or making salsa.
You’ll also want to think about the size of your blender.
Since you’re only doing baby food making, it’s very unlikely that you’ll need a huge blender – 8-12 cups is more than enough as long as they come with a powerful motor like mentioned above.
The next thing to consider is what functions you’d like the Ninja blender to have in addition to creating healthy homemade snacks and meals for your child.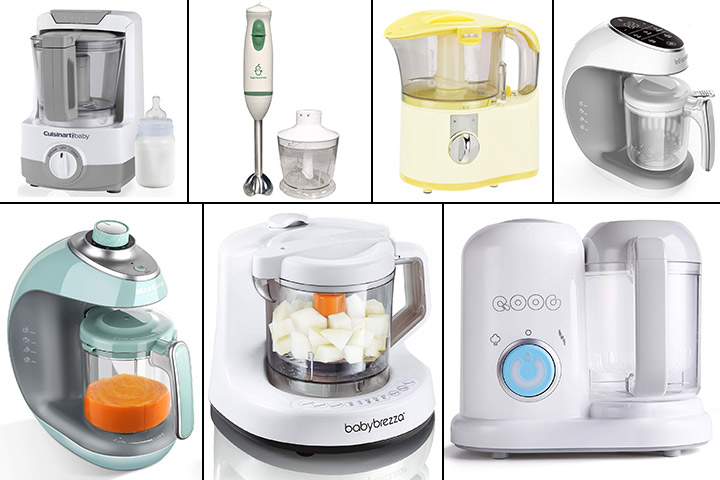
Do you plan on using this blender beyond its primary function? Does it include additional accessories such as measuring cups or even lids so that you can store leftovers? How easy is it for cleaning purposes since many people don’t like spending too much time doing this after the meal is over?
One thing you definitely don’t want to forget is the warranty! Blenders aren’t cheap so it’s important that you can turn them in if there are any problems or defects.
Most blenders come with anywhere from 1-3 years of limited warranty depending on the brand and quality, but some even exceed this mark which is great for peace of mind!
Related Posts
How To Puree Baby Food Without A Blender
Is Ninja Blender A Food Processor?
Vitamix And Baby Food
Is A Blender Or Food Processor Better For Making Baby Food
Frequently Asked QuestionsWhat Kind Of Blender Do You Need To Make Baby Foods?You can use any type of blender to make homemade baby food, but some are better suited for the task than others.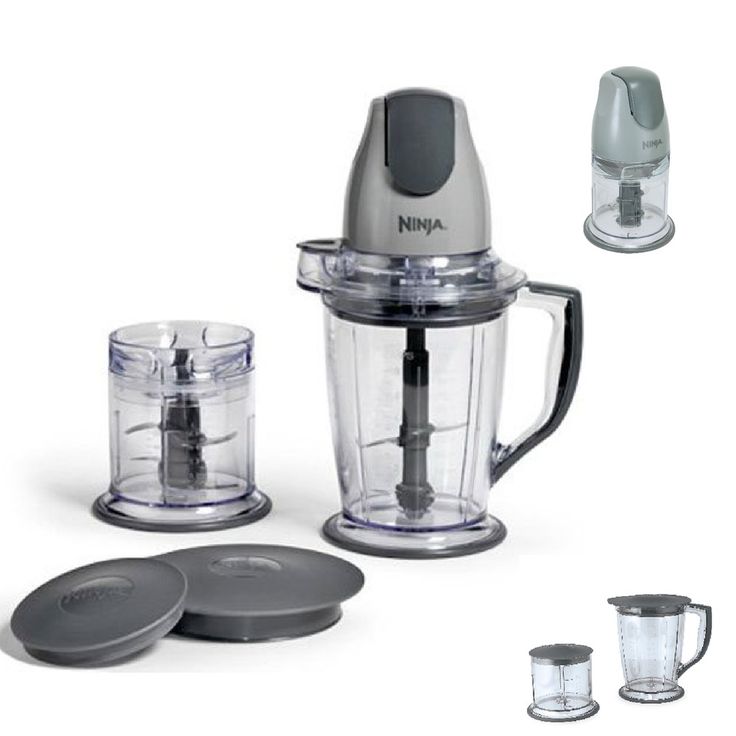 For example, a powerful blender like the Ninja will be able to handle tougher ingredients and create a smoother consistency. A less powerful blender may struggle with certain ingredients and leave your baby food with a chunkier texture.
Yes, you can put raw vegetables in a baby food blender. However, you’ll want to cook them first so that they’re soft enough to blend properly. If you don’t cook them first, then you may end up with chunks of vegetable in your baby’s food.
Can You Use A Regular Food Processor To Make Baby Food?You can use a regular food processor to make baby food, but it’s not the best option. A food processor is not as powerful as a blender and may not be able to blend all of the ingredients properly. As a result, your baby’s food may have a chunkier texture.
What Is The Best Way To Puree Baby Food?The best way to puree baby food is to use a blender.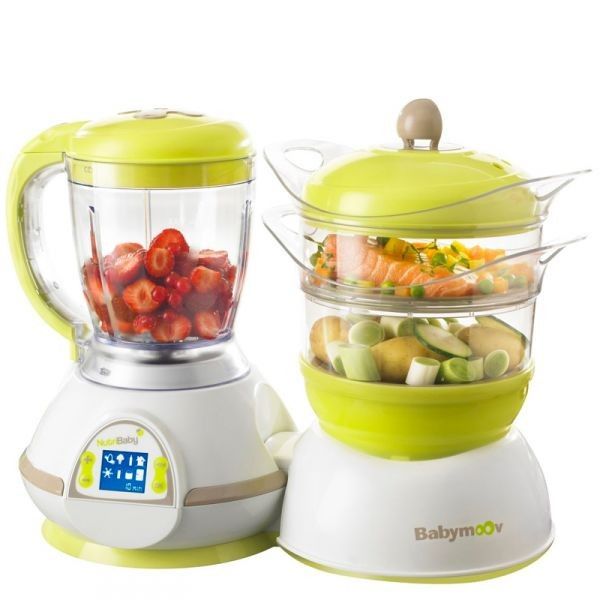 A blender will create a smooth and consistent texture, which is perfect for baby food. If you don’t have a blender, then you can use a food processor or even a fork to mash the ingredients together. Just be aware that the texture of your baby’s food may not be as smooth.
Homemade baby food can be stored in the fridge for up to 48 hours or in the freezer for up to 6 months. When storing baby food in the freezer, be sure to use freezer-safe containers or bags. You’ll also want to label and date the containers so you know when they were made.
What’s The Best Puree To Start Baby On?There is no one “best” puree to start baby on. You can start with a simple vegetable puree or a combination of different purees. Just be sure to introduce new foods one at a time so you can track any potential allergic reactions.
Using Ninja Blender For Baby Food – Wrap UpAll in all, Ninja blenders are without a doubt the best kitchen appliances to purchase for your baby’s healthy homemade snacks and meals.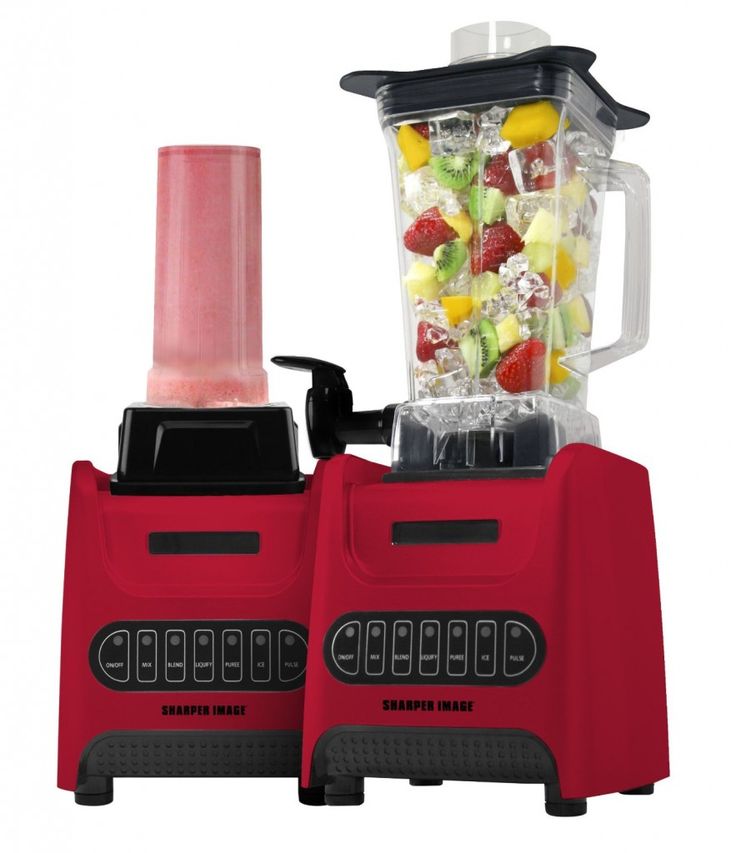
Plus, they’re usually very powerful which is perfect since it allows you to blend to puree consistency as well as remove any of the unwanted materials from your food mixtures – such as sugar or salt.
Be sure to check out our other articles if you want more helpful advice on pretty much anything!
How To Puree With A Ninja Blender 5 Easy Steps
by Jhon
For a step-by-step guide on How to puree with a Ninja blender? Read the following article.
The first food that we give to our babies is a different type of purees. To make quick puree you need a quality blender at your home because blenders are way better than complicated food processors. They will help you make pure and smooth purees within a few seconds.
If you are thinking of investing in a quality blender that will go along with you for a long period, then invest in a Ninja blender and you will never be disappointed.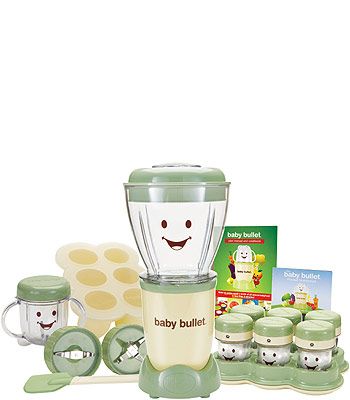 Ninja company has an extensive range of blenders with different features. And they will also be affordable to you. Below-mentioned guide will help you learn how to puree with a Ninja blender easily and quickly.
Table of Contents
Which Ninja blender is best to puree food?
Before experimenting with how to puree with a ninja blender, you should explore which is the best ninja blender to make perfect purees. Ninja professional blenders are the best option for you if you wanna buy a blender for making purees. Ninja has a wide range of professional blenders. All these blenders have an amazing feature known asAuto-IQ puree. This feature is specially made for pureeing food. If you want to spend your earnings wisely then better go for Ninja blender as they can play multiple roles at a time.
- You can make your baby food in the form of puree with a Ninja professional auto-in blender.
- You can crush the ice with this blender and can make flavorful juices for your family.
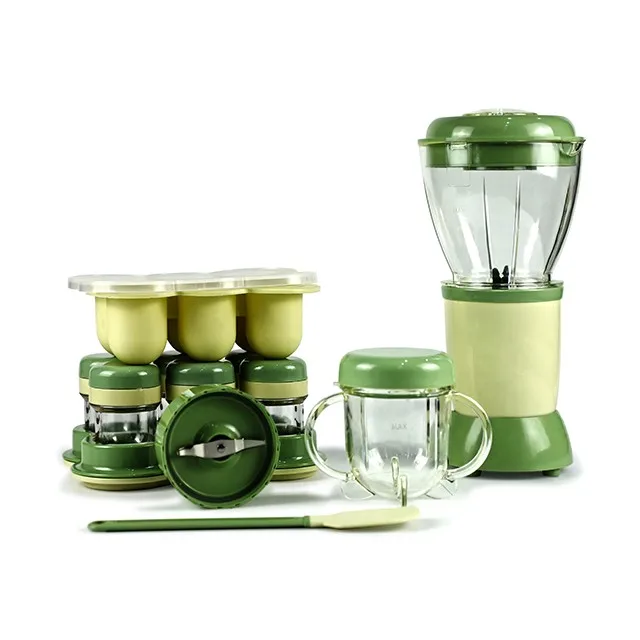
- You can use it for different other purposes as well.
Some of the Ninja Professional blenders are listed below with their detailed features and pros and cons:
EDITORS CHOICE
Ninja professional BL610
Features
- 1000 watts
- 64 ounces
- Space saving blender
- Quickly washable
- Works both automatically and manually
Ninja Professional BL610 has 1000 watts power with 64 ounces capacity and it is the best blender to puree food. It is a compact blender and can perform various task like crushing ice or pureeing meat without any hustle. It is worth buying kitchen blender with easily removable blades. This blender facilitates you with quick cleaning and BPA free jar. You can use this blender manually but it also works automatically. The disadvantage of this blender is it has small cord and it can be move at any other place away from the switch board.
Pros
- High selling blender
- Easy crush hard ingredients well
- Easily washable
- BPA free jar
Cons
- Cord is too short
Premium Choice
Ninja Professional BL660
Features
- 1100 watts
- 72 ounces
- Three speed settings
- Separate pulse feature
- Stainless steel blades
Ninja Professional BL660 is one of the best-selling professional blenders with 72 ounces capacity and 1100 watts of power. You can buy this blender for making baby purees or even puree for your elder family member who have difficulty with chewing food. It is worth buying blender with three speed settings and separate pulse feature. It has sharp stainless steel blades with easy to clean facility. This blender is quite affordable blender with two complimentary cups but it does not work for making thick creamy green smoothies.
Pros
- Three-speed setting
- Pulse feature
- BPA free jar
- Stainless steel blades
- Affordable
Cons
- Not good for green smoothies
Ninja Foodie power nutri DUO
Features
- 1200 watts
- 24 ounces jar
- Single serving compact blender
- Easy to wash
- Best for smoothies
This blender is perfect for single-serving food with 1200 watts of power and 24 ounces capacity. If you are looking for an ideal blender for your small kitchen then buy this blender without any second thought. You can use this blender to perform various tasks like making smoothies, perfect slushies, yummy soups etc but this blender is made up of plastic and it is not much durable.
Pros
- Crush ice like snow
- single serving facility
- compact blender
- Easy to wash
- Make thick creamy smoothies
Cons
- Speed is not variable
- Loud noise
Ninja Professional Plus
Features
- 1200 watts
- 72 ounces
- Three sets of blades
- Specialized ice crushing blades
- Nine control settings
Ninja professional plus has 1400 watts power with 72 ounces capacity. It is a big size blender for good for making purees in a huge quantity in one go. You will get two 24 oz cups with a food processor when you buy this blender. This blender is highly professional with three speed setting and Auto IQ program. It is easy to operate and easy to clean blender but it needs too much space in your kitchen due to it’s size and it irritates with it’s extra noise while blending.
Pros
- High power blender
- Two 24 oz cups
- Food processor included
- Auto IQ program
- Good for crushing ice
Cons
- Too much noisy
- Take lots of kitchen space
Below mentioned are the steps on how to puree with ninja blender?
How to puree with a Ninja blender?(step-by-step guide)
A Ninja blender with Auto-IQ is the best blender for pureeing food. If you want to make baby food or want to have a creamy soup then you can easily blend your ingredients in a blender and can make your desired dish.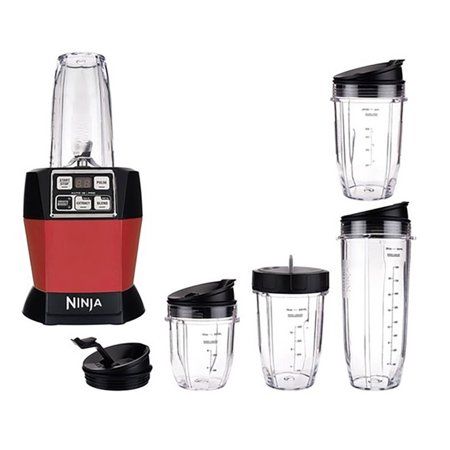 If you are curious about how to puree with a NInja blender, follow these steps and get your satisfactory result.
Gather ingredients
First, decide which fruit you want to use to make a puree. Apple, bananas, oranges or you wanna make a puree of vegetables.
Best blenders to puree food
Wash, peel, and cut
After you decide, wash your fruit or vegetables properly. Now peel them if needed. After that, make small pieces or cube shapes of your fruit or vegetable.
Soften them
It’s better to soften your fruit or vegetable before blending them to make a puree. It will give you better results. So take a little amount of the water in a pan and then put your fruit or vegetable in them and boil them for a while.
Blend them
Now put your fruit or vegetable in a blender and put some water to give your puree a perfect liquid consistency. Now cover the lid correctly. It’s time to press the puree button and let the blender do the rest.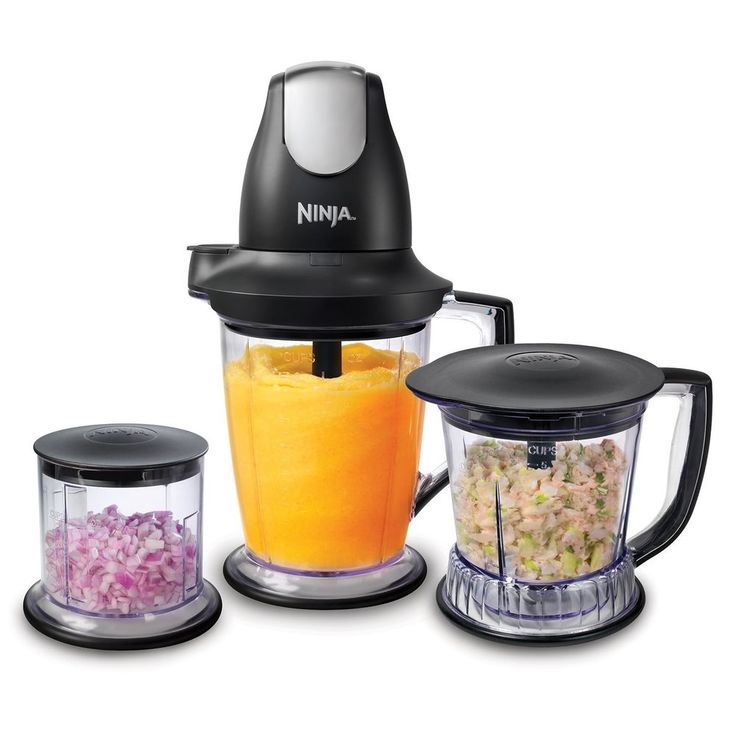 Make sure your fruit or vegetable will not be too hot to put in the blender. It’s better to let them come at room temperature before blending.
Enjoy
When you feel that your blender did the perfect job then you can switch off the blender and pour your thick creamy puree into a bowl and give it to your baby.
So, these are the simple steps on how to with a ninja blender. Let’s discuss some of the recipes for purees with a ninja blender.
Different Puree Recipes
You can make your baby food in a thousand ways to give your baby different flavors. You can make food purees and vegetable purees. Some of the recipes for baby purees are mentioned below:
Carrot and bananas
You can make a healthy puree by mixing carrots and bananas. First, boil the carrots to soften them. Now add these carrots with water in a blender and add bananas in it as well. And blend them well until they become soft, and thicken the smooth paste.
Carrot pureeLentils puree
You can also give your baby lentil soup or in other words lentils puree. Boil some of the lentils in a pan with some carrot, and tomatoes (if you want to add) until it gets softened, and then add a pinch of black pepper and salt. Now let them cool. After that pour them into a blender and blend them until they get smooth puree-like consistency.
Apple and peach
You can also make fruit puree for your baby by mixing apples and peaches. Boil the apple for a little period. And cut them into small cubes. Now cut peaches into cubes as well. And put them both in a blender and press the puree button. Your apple and peach puree is ready. It is the way: how to puree fruit in a blender.
Related FAQs
Can I use my ninja to make baby food?Ninja blenders are fantastic blenders for making baby food. It has a feature of automatic pureeing baby food so that you can make undoubtedly make baby food through ninja blenders.
How to puree with Ninja professional blender?Ninja professional blenders are the best option to make perfect baby purees.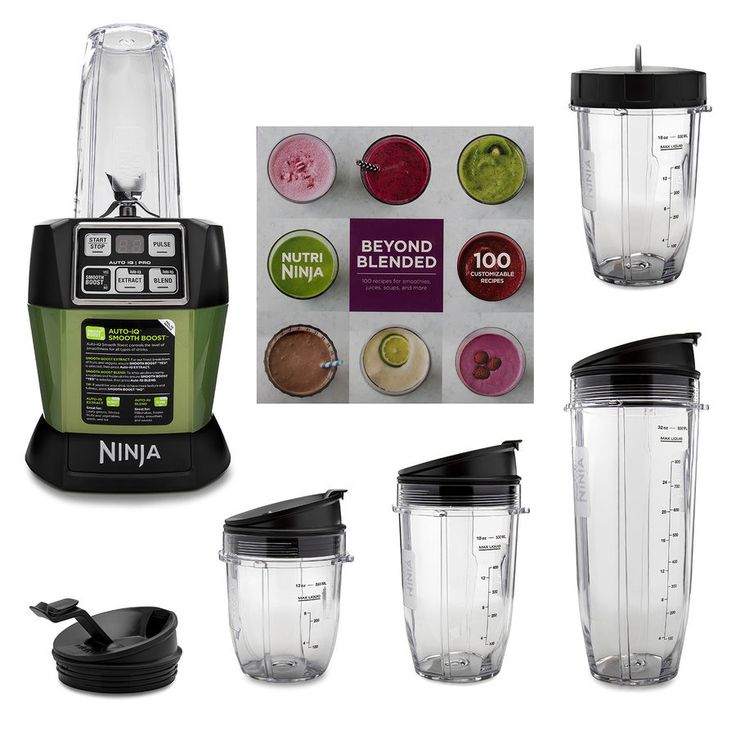 Ninja professional blender has a feature IQ program that allows you to make baby puree by clicking a single button.
Conclusion
It is the common concept that food processors are used to making purees but now time has changed. Humans invented so many facilities for themselves. If you are thinking: Can I use a blender to puree food? The answer is yes. You can easily puree food with a blender these days. Follow our above-mentioned guide on how to puree with a ninja blender and make your living easy.
principle of operation of the hand blender, how to assemble and turn on the submersible
How to use the blender correctly and keep the equipment in working order for a long time? This question worries many housewives and owners who plan to create mouth-watering culinary masterpieces with the help of a new skillful assistant.
In this article we will analyze how to assemble and put into operation a blender, its device, principle of operation and requirements for the care of kitchen appliances.
Contents
- Assembly of the device
- The sequence of actions, how to use
- Stationary
- submersible
- How to collect, turn on, turn off
- Care
- PROPRANIZATION measures for operation
The equipment equipment depends on the principle of operation. Stand blender includes work base and food jar . Submersible models are more diverse. Here, in a set with a working base, there can be various nozzles: graters, whisks, choppers, mills.
Consider the additional options of in more detail:
- Mixing glass. It is desirable that the mixing utensils have high sides. In open low containers, liquids will splatter and it will not be possible to mix them well.
- Blender attachment for making soups, smoothies, baby food. Its functionality is similar to the capabilities of stationary models. The knives of such a nozzle can be removable and monolithic.
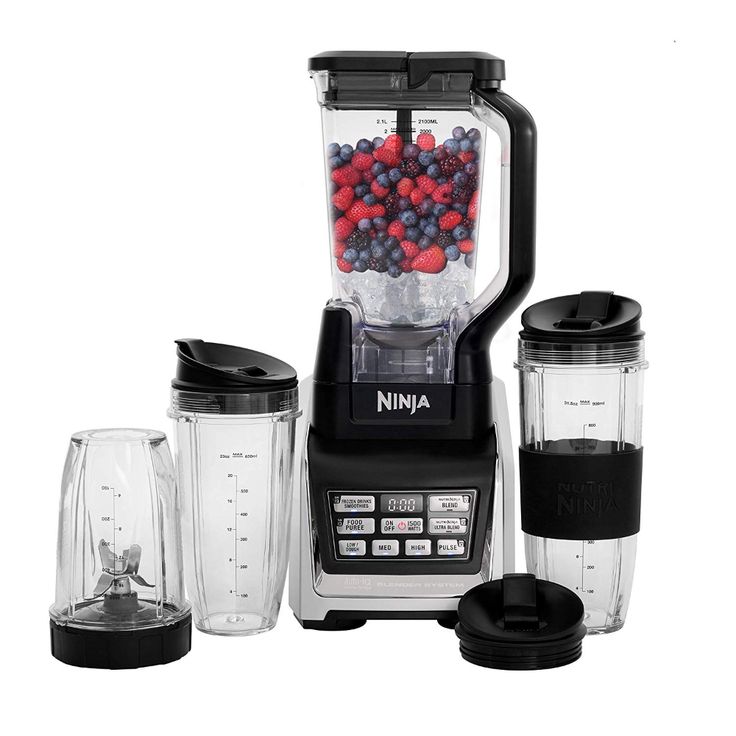
- Whisk attachment helps you whip cream for a cake or prepare a fluffy egg mass for meringues. It is indispensable for home confectioners and everyone who loves to pamper their household with delicious desserts.
- Chopper bowl is used as a meat grinder for minced meat and is used for cutting products for salad or home preservation. By volume, they can be completely different: from compact 0.35 liters to roomy - 2.2 liters. The bowl may come with a grater, an ice pick or a slicing knife.
- The grinder is used to grind harder products in small quantities. In it, you can quickly prepare a portion of freshly ground coffee or turn sugar into powder.
- Puree attachment helps you prepare a really tasty side dish, not an unpleasant paste. Plastic knives do not beat, but gently rub the potatoes, retaining their taste and attractive appearance.
Operating sequence, how to use
Depending on the type of device, the blender can be immersed or stationary .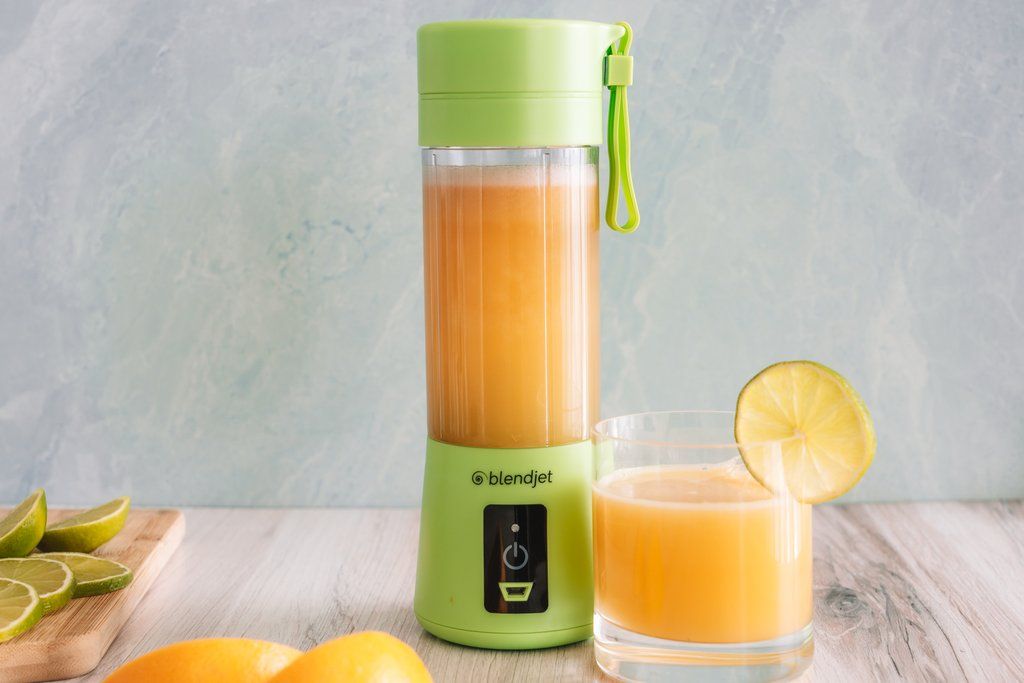 Their principle of operation and capabilities are somewhat different.
Stationary
In these machines, the motor is placed on a stand, on which the bowl is placed on top. They are used to make cocktails, smoothies, sauces, soups, purees. Depending on the manufacturer and additional options, you can choose budget and expensive models.
The key advantage of the stationary blender is the autonomy of the . It does not need to be held in your hand and control the movement of mechanisms, and a tight-fitting lid will protect against splashing of the contents of the bowl, which often happens with immersion blenders.
But also has a few drawbacks:
- takes up more space in the kitchen, not as compact;
- has almost no additional features;
- only one standard bowl is used for mixing.
Interesting site:
How to make your own ham maker at home
What does half load mean in a dishwasher
Grill mode in the oven - what is it and what is it for
Immersion
Immersion models are much more compact and functional.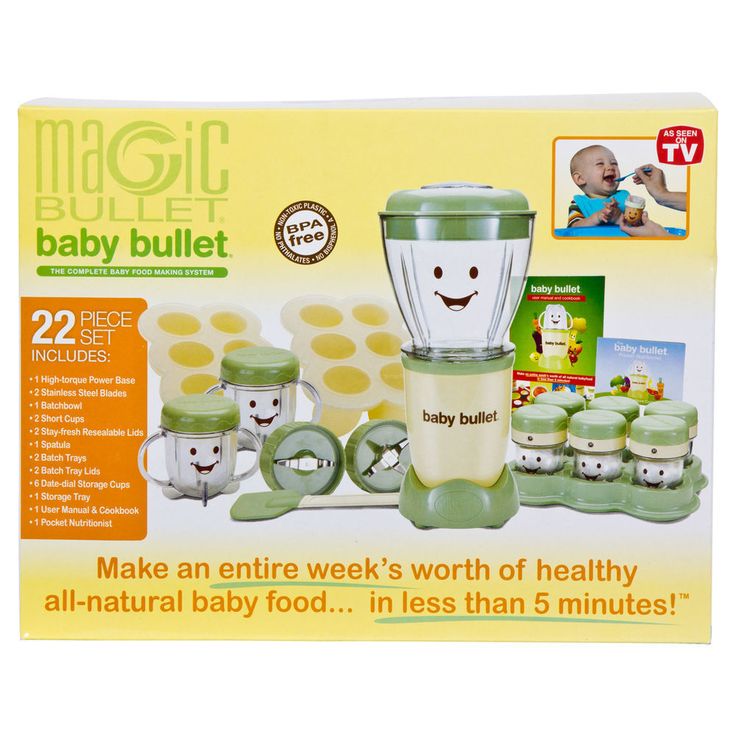 They can not only grind into puree, but also mix batter with a whisk, whip cream, grate and chop. Benefits of manual immersion models :
- Any cookware will work. Even puree soup is cooked right in the pan without any extra effort.
- Models with a shredding function will help you quickly prepare a salad or chop vegetables for borscht. They are indispensable during the period of harvesting seasonal conservation.
- Whisks easily and conveniently whip mass for pancake dough, lift cream or egg desserts.
- Despite the variety of attachments, they can be stored separately and in any convenient place. When disassembled, they take up no more space than a pot or pan.
How to use the immersion blender and all of its attachments can be found in the description of the specific model. Technology is constantly improving, and manufacturers are creating more and more new ways to make the process of preparing food and drinks easier.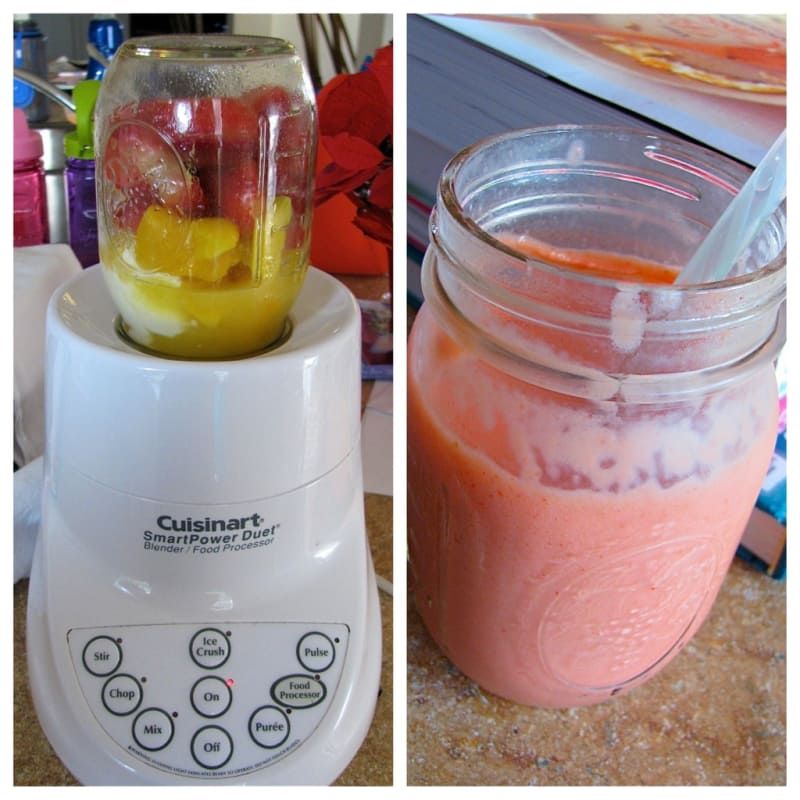
See also:
The best steamers for the home: how to choose
What to look for when choosing a multicooker
How to choose the right pressure cookers
How to assemble, switch on, switch off
Please refer to the instruction manual for correct operation of the specific model. Some mechanisms are closed "to a click", others are twisted to the marks. To find out, for example, how to turn on and off a Polaris blender, you can use the instructions for only this model. Methods of working with equipment from other manufacturers can damage the mechanisms and working parts of your device.
Before switching on the blender, make sure that all wires are intact, without damage. If you find strange behavior of appliances, for example, a burning smell during operation, unplug the appliance from the mains as soon as possible and take it to a household appliance repairman.
Important! Do not turn on the appliance if you feel that the bowl or nozzle is not installed correctly, is moving or slipping out of place.
All manipulations with knives and sharp objects are recommended before connecting the device to the mains. Safety is something that should never be forgotten. At the end of the work, wait until the mechanism stops, turn off the power supply, and only then remove or change the attachments.
If you have the speed change function, you should start with low power and gradually increase the speed. So the products are better crushed, and the mechanisms will not suffer from excessive loads.
Care
All detachable parts of the blender can be washed in the dishwasher , unless otherwise indicated in the instructions for use. But the basic elements with electric motors must be protected from moisture. Dirt can be easily removed with a damp cloth.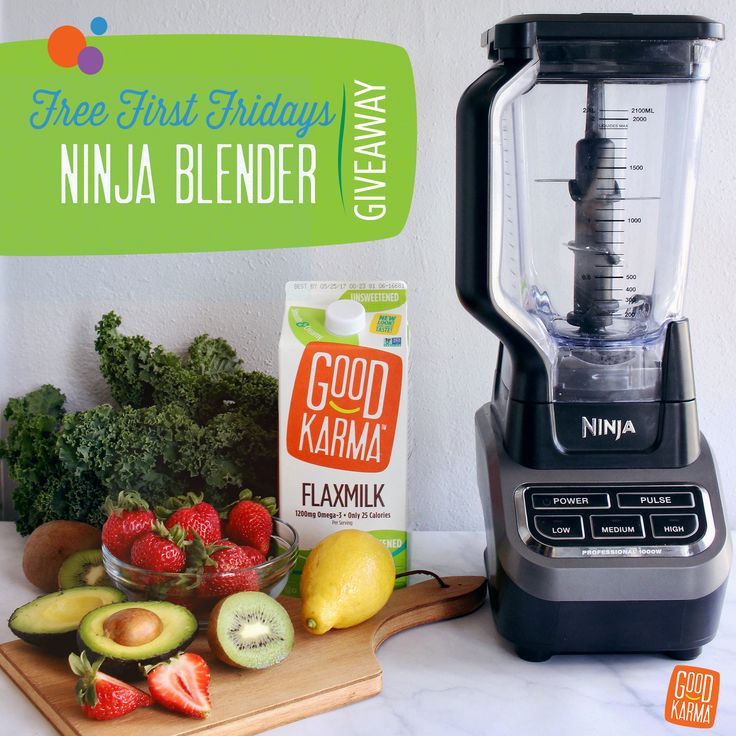 After cleaning, completely dry all parts that come into contact with operating mechanisms.
Important! Keep sharp knives and attachments out of the reach of children.
Handling Precautions
Use Precautions when handling blenders. They will save your health and keep your equipment working for a long time:
- Do not put hot food into the blender bowl. This can melt it and overload the motor.
- Please refer to the labels when loading products. There should not be too many or few ingredients in the bowl - choose the golden mean.
- When chopping fruit, pay special attention to the absence of stones. They can seriously damage the motor and equipment will fail.
- Do not open the bowl while the mechanism is running. Wait for a complete stop and only then add the desired ingredients.
- If you need to grind foods that are too hard, such as roots, add a silent liquid (water, cream or other liquids according to the recipe) to the bowl.

- Crush ice and frozen foods with extreme care. And in inexpensive and low-power models it is better not to load them at all. Grind coffee, beans, crackers only in special mills, if there are any in the set.
There are no strict rules for grinding food before sending it to a blender. Cut into medium-sized pieces, and the selected attachment will do the rest for you.
Conclusion
Now you know how to use the blender correctly, what rules to follow in order to get the desired result and keep the equipment from damage. Carefully read the instructions for using the blender, follow the safety precautions, then the kitchen assistant will serve you for many years.
Watch this video on YouTube
What can you cook for a child in a blender
6 August 2014 Food Health
Instead of buying expensive baby food, you can make fruit and vegetable purees at home with a regular blender. Here are five healthy vitamin mix recipes for kids.
Iya Zorina
Author of Lifehacker, athlete, CCM
When your child is 4–6 months old, he starts to pay attention not only to milk, but also to other foods. After finishing his bottle of milk, the child may try to take something from your plate. If you've had this before, it's time to add some soft foods to your baby's diet. But before you go shopping for baby puree, try making it at home. Here are five healthy baby food recipes that can be made in minutes in a blender.
Store-bought infant formula contains more sugar and salt and less of the natural fibers that homemade formula would have.
In addition, shop mixes are sterilized, due to which vitamins and other useful substances are killed. And, of course, the price - homemade baby formula will cost you half the price.
So if you have a blender and a few minutes to spare, why not try making your own blend? Here are five recipes that are quite suitable for a child.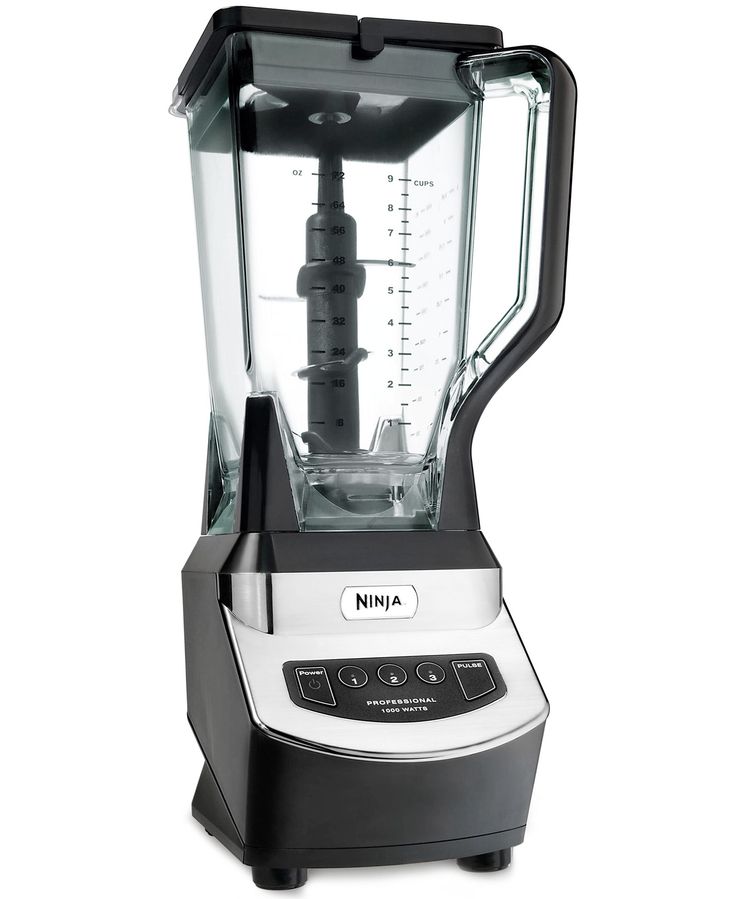
1. Apple puree
Apple pureeIngredients:
- water - 100 g;
- 3 medium red or yellow apples, peeled and cut into small cubes;
- cinnamon - 1 pinch.
Combine the ingredients in a saucepan and simmer for about 12 minutes until the apples are tender. After that, we send the mixture to a blender and make a puree.
During cooking, you can add as much water as needed. Serve the puree as is, or you can freeze it in ice cube trays and serve it on a hot day.
2. Raspberry-banana puree
Ingredients:
- 1 banana;
- raspberries - 0.5 cup.
Place the ingredients in a blender and blend until smooth. The child will surely like the natural sweetness of the mixture, and not only him - not only children, but also adults can enjoy the fruit and berry smoothie. For example, you can add a vitamin sweet mix to ice cream or Greek yogurt.
3. Fiesta fruit breakfast
Fiesta Fruit BreakfastIngredients:
- water - 75 g;
- oatmeal - 1 tsp;
- crushed raisins - 1 tsp;
- small banana (mashed) - 0.
 5 pcs.;
 - ground flaxseeds (prevent constipation) - 0.5 tsp.
Combine all ingredients in a saucepan and bring to a boil. After that, reduce the heat to a minimum and cover with a lid, cook for another 10 minutes. Pour the mixture into a blender and blend until desired consistency.
This puree is especially useful for preventing constipation. In addition, the mixture is rich in minerals and vitamins that strengthen the growing body. You can give it to older children, without first rubbing it in a blender.
4. Puree of chickpeas and vegetables
Puree of chickpeas and vegetablesIngredients:
- unsalted chicken broth - 1 cup;
- milk (breast or baby food) - 0.25 cup;
- chickpeas - 1 cup;
- small onion (sliced) - 0.5 pcs.;
- carrots (peeled and chopped) - 1 pc.;
- celery (washed and chopped) - 1 sprig;
- garlic (chopped) - 1 clove;
- bay leaf - 1 pc.;
- dried thyme - 1 pinch.
