Printable labels for baby food jars
Baby Food Jar Labels - Etsy.de
Etsy is no longer supporting older versions of your web browser in order to ensure that user data remains secure. Please update to the latest version.
Take full advantage of our site features by enabling JavaScript.
Find something memorable, join a community doing good.
(109 relevant results)
Baby Food Label - Bilder und Stockfotos
2. 789Bilder
- Bilder
- Fotos
- Grafiken
- Vektoren
- Videos
Durchstöbern Sie 2.789
baby food label Stock-Fotografie und Bilder. Oder starten Sie eine neue Suche, um noch mehr Stock-Fotografie und Bilder zu entdecken.Sortieren nach:
Am beliebtesten
kinder essen buchstaben in saft spritzen. vektor-illustration - baby food label stock-grafiken, -clipart, -cartoons und -symboleKinder essen Buchstaben in Saft Spritzen. Vektor-illustration
Kinder Essen Buchstaben in Saft spritzen. Vektorillustration.
gemüse-vertikale banner-sammlung. lineare grafik. gemüse-hintergründe. skandinavischen stil. gesunde ernährung. vektor-illustration - baby food label stock-grafiken, -clipart, -cartoons und -symboleGemüse-vertikale Banner-Sammlung.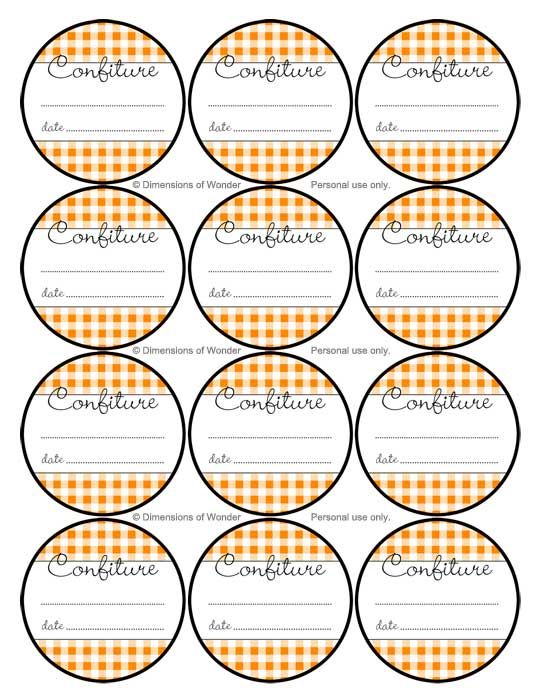 Lineare Grafik. Gemüse-Hintergrü
Einkaufszentrum und Public Icons Set
asiatischen vater & niedlich, die kleine 18 monate/1 jahr altes kleinkind jungen kind milch produktauswahl im lebensmittelgeschäft, papa milch ernährung, die fakten mit kind sitzen gelesen in den warenkorb - baby food label stock-fotos und bilderAsiatischen Vater & niedlich, die kleine 18 Monate/1 Jahr altes...
Asiatischer Vater & süßes kleines 18 Monate / 1 Jahr altes Kleinkind, das Milchprodukt im Lebensmittelgeschäft wählt, Vater liest Milchnährwertangaben mit Kind im Einkaufswagen, Kind erste Erfahrung Konzept
kids zone bunte banner. karamell text auf hintergrund der farbigen sprays. plakat für kinderspielzimmer. leuchtende dekoration für kindliche spielplatz. vektor eps 10. - baby food label stock-grafiken, -clipart, -cartoons und -symboleKids Zone bunte Banner. Karamell Text auf Hintergrund der...
Familie im Lebensmittelgeschäft
Junge Familie mit einem Kind beim Einkaufen. Vater trägt seine kleine Tochter. Sie sind im Supermarkt und kaufen Lebensmittel. Auswahl von Babynahrung. Frau hält Box und sie lesen Nährwertkennzeichnung.
mädchen mode symbole vektor aufkleber patches niedliche bunte abzeichen spaß cartoon symbole pony, pferd horn, lippen, liebe und küssen design doodle elementsymbole trendige mädchen moderne hipster print illustration - baby food label stock-grafiken, -clipart, -cartoons und -symboleMädchen Mode Symbole Vektor Aufkleber Patches niedliche bunte...
Mädchenmode Symbole Vektor Aufkleber Patches süße bunte Abzeichen Spaß Cartoon Icons Pony, Horn Pferd, Lippen, Liebe und Kuss Design Doodle Element trendy Mädchen moderne Hipster Icons drucken Illustration.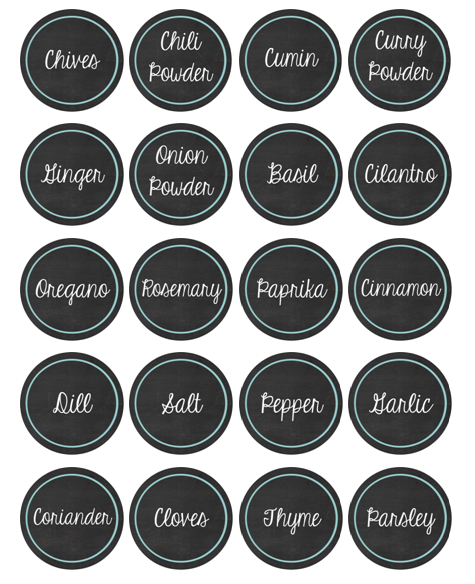 Comic Stoff Textil Pin.
Süßes Märchen-Aufkleberpaket für Mädchen. Magische mädchenhafte...
Süßes Märchen-Aufkleberpaket für Mädchen. Magische Girly Pink Kollektion mit Prinzessin und Einhorn.
sticker-kollektion mit niedlichen leerzeichen - baby food label stock-grafiken, -clipart, -cartoons und -symboleSticker-Kollektion mit niedlichen Leerzeichen
Aufklebersammlung mit niedlichen Leerzeichen. Weltraumabzeichen mit Kinderastronauten, Tieren, Planeten und Aliens. Lustiges rundes Etikettenset für Kinderdesign. Vektorillustration
junge familie shopping lebensmittel - baby food label stock-fotos und bilderJunge Familie Shopping Lebensmittel
Junge Familie mit einem Kind im Einkaufen. Vater trägt seine kleine Tochter in der Babytrage. Sie sind im Supermarkt und kaufen Lebensmittel. Auswahl von Babynahrung und Lesen der Nährwertkennzeichnung.
Y2K bunte Aufkleber Set. Bearbeitbare Vektorillustration
Y2K bunte Aufkleber Set. Ende der 90er Anfang der 2000er Jahre. Trendige, kostenlose, sprudelnde, lustige Ästhetik. Nostalgie-Konzept. Bearbeitbare Vektorillustration in den Farben Rosa, Limette, Violett. Helle Symbole, Schildersammlung
süßes monster-set. - baby food label stock-grafiken, -clipart, -cartoons und -symboleSüßes Monster-Set.
Süßes Monsterset, Zeichentrickfigur für Kinder. Perfekt für Kindergrußkarte, Aufkleber, Einladung, T-Shirt-Druck, Modedesign, Kinderkleidung. Handgezeichneter Stil, Vektorillustration.
süßes märchenset für mädchen. magische girly-kollektion mit prinzessin und einhorn. kawaii fantasy aufkleber bundle. - baby food label stock-grafiken, -clipart, -cartoons und -symbole
Süßes Märchenset für Mädchen. Magische Girly-Kollektion mit...
Süßes Märchenset für Mädchen. Magische Girly Kollektion mit Prinzessin und Einhorn. Kawaii Fantasy Aufkleber Bundle.
kinder lieben es, gemüse gesundes essen zu essen, kind hält tomatenkarotte brokkoli rettich - baby food label stock-grafiken, -clipart, -cartoons und -symboleKinder lieben es, Gemüse gesundes Essen zu essen, Kind hält...
Süße Kinder lieben es, Gemüse gesunde Nahrung Vektor Illustration zu essen. Cartoon kleine lustige Junge Mädchen Kinderfiguren stehen mit Gemüse, halten Tomaten Karotte Brokkoli Rettich isoliert auf weiß
vater und seine kleine tochter lebensmittel einkaufen - baby food label stock-fotos und bilderVater und seine kleine Tochter Lebensmittel Einkaufen
Vater und sein kleines Mädchen kaufen Lebensmittel ein.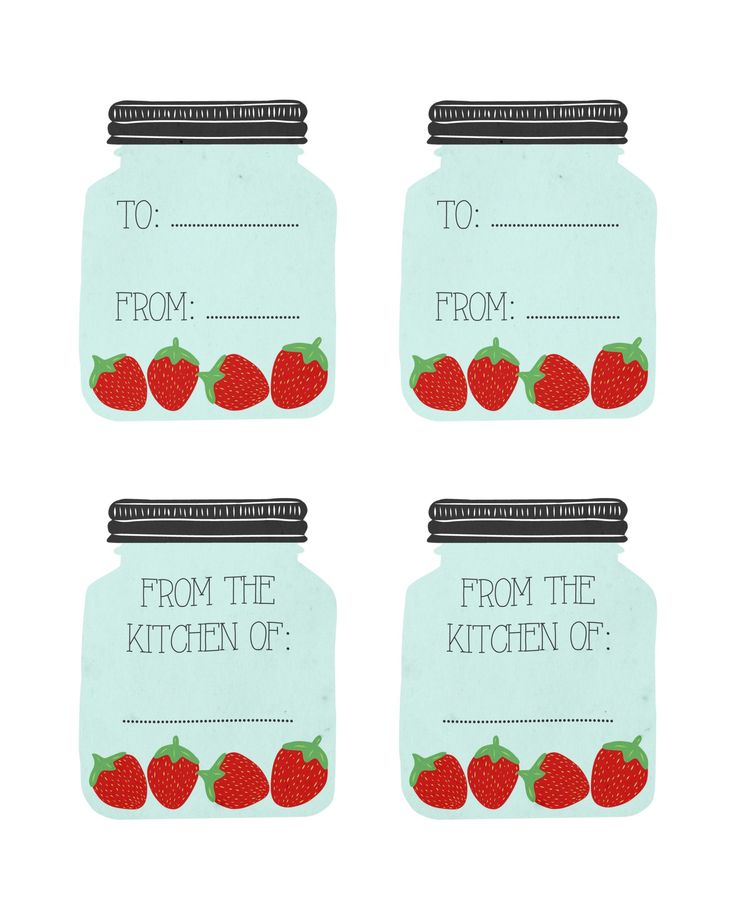 Er trägt seine Tochter und liest Nährwertkennzeichnung auf Babynahrung.
Patch Sticker Vektor klebrige Patch Abzeichen oder Stickerei für...
cartoon süßes einhorn, das fliegt und lächelt. vektorillustration eines magischen entzückenden rosa tieres mit flügeln und horn, die auf weiß isoliert sind - baby food label stock-grafiken, -clipart, -cartoons und -symboleCartoon süßes Einhorn, das fliegt und lächelt....
cartoon süßes einhorn set - baby food label stock-grafiken, -clipart, -cartoons und -symboleCartoon süßes Einhorn Set
Cartoon niedliches Einhorn Set. Vektorillustrationen von magischen entzückenden rosa Tier mit Flügeln und Horn, fliegende süße Feenpferd Charaktere isoliert auf weiß. Fantasy, Märchen für Mädchen Konzept
mama liest label auf über den ladentisch medikamente - baby food label stock-fotos und bilderMama liest Label auf über den Ladentisch Medikamente
süßes cartoon-sushi5 - baby food label stock-grafiken, -clipart, -cartoons und -symboleSüßes Cartoon-Sushi5
Kawaii großes Sushi mit kleinem Koch Cartoon Vektor Illustration, Niedliche Zeichentrickfiguren für Aufkleber, Pin, Abzeichen oder Es kann als Teil des Gesamtdesigns verwendet werden.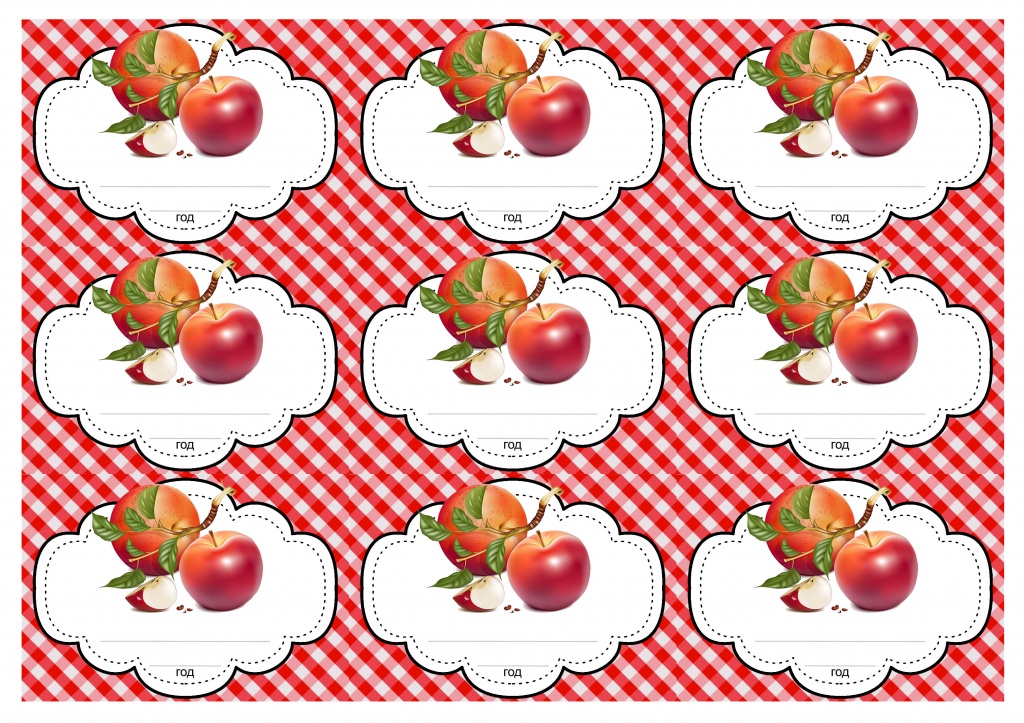
Süße lila Kaninchen oder Hase Aufkleber handgezeichnete Cartoon-Il
Niedliches lila Kaninchen oder Hasenaufkleber handgezeichnete Cartoon-Illustration
monat des familienspaßes. frohe sommerferien, die jährlich im august gefeiert werden. günstige zeit, um die familie mit zusätzlichem spaß und aktivitäten zu genießen. poster, grußkarte, banner und hintergrund. vektor-illustration - baby food label stock-grafiken, -clipart, -cartoons und -symboleMonat des Familienspaßes. Frohe Sommerferien, die jährlich im...
Monat des Familienspaßes. Frohe Sommerferien, die jährlich im August gefeiert werden. Günstige Zeit, um die Familie mit zusätzlichem Spaß und Aktivitäten zu genießen. Poster, Grußkarte, Banner und Hintergrund. Vektorillustration
junge asiatische schwangere frau, die frisches und gesundes obst und gemüse einkauft und in einer gesunden und ausgewogenen ernährung lebt.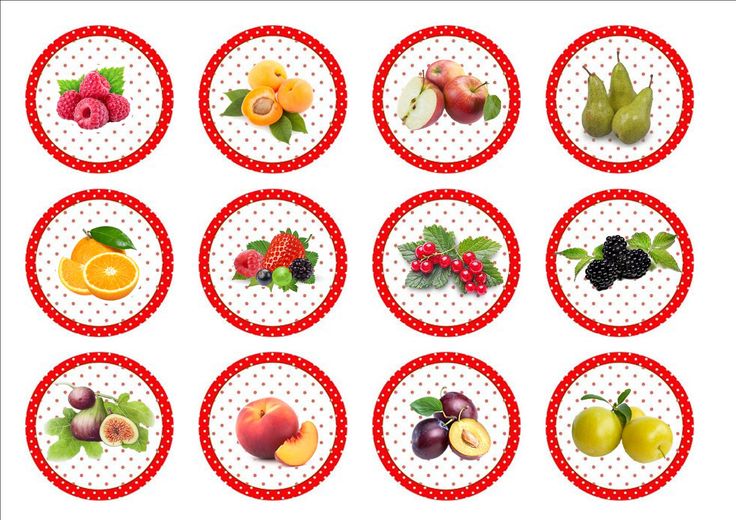 gut essen. wohlsein. gesunder schwangerschaftslebensstil - baby food label stock-fotos und bilder
Junge asiatische schwangere Frau, die frisches und gesundes Obst...
kawaii eiscreme illustration. smiley-emojis. bunter eis am stiel. bild im japanischen stil. - baby food label stock-grafiken, -clipart, -cartoons und -symboleKawaii Eiscreme Illustration. Smiley-Emojis. Bunter Eis am Stiel.
Illustration für Eis, Etikett oder Verpackung, Café, Cafeteria, Eisdiele. Smiley-Emojis.
baby honigbiene aquarell clipart - baby food label stock-grafiken, -clipart, -cartoons und -symboleBaby Honigbiene Aquarell Clipart
schöne mutter liest etikett auf medikamente beim einkaufen in einem lebensmittelgeschäft apotheke hält ein süßes baby - baby food label stock-fotos und bilderSchöne Mutter liest Etikett auf Medikamente beim Einkaufen in...
Schöne Mutter liest Etikett auf Medikamenten, während sie in einer Lebensmittelapotheke einkauft und ein Baby hält
vektor auf der farm schneiden und kleben aktivität.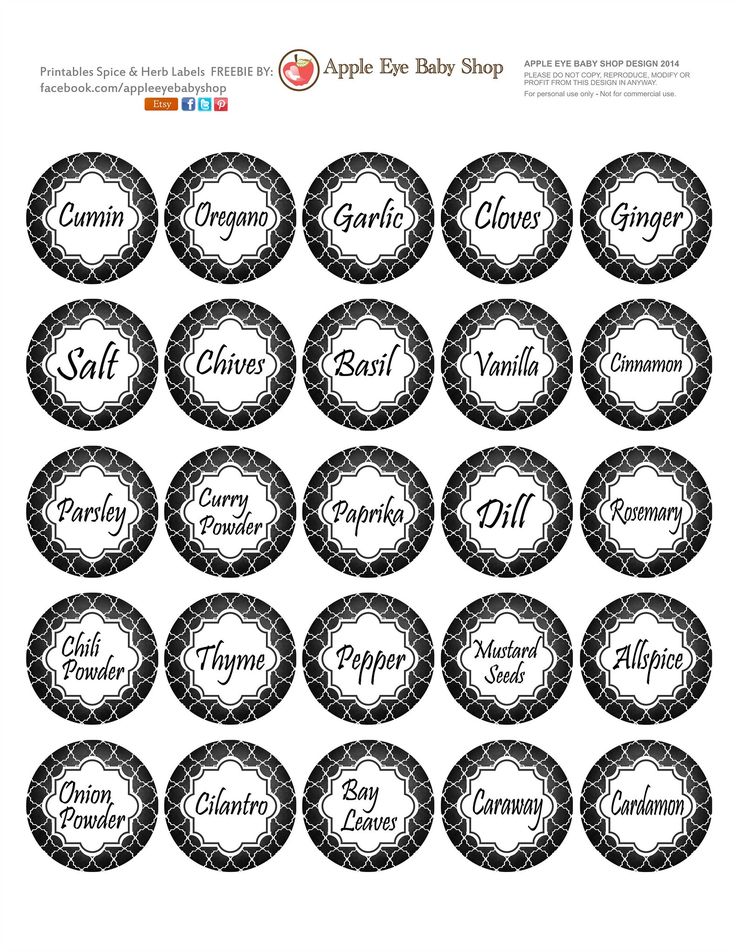 garten-bastelspiel mit niedlichem bauer und apfelbaum. lustiges druckbares arbeitsblatt für kinder. finden sie das richtige puzzleteil. vervollständigen sie das bild - baby food label stock-grafiken, -clipart, -cartoons und -symbole
Vektor auf der Farm Schneiden und Kleben Aktivität. Garten-Bastels
Vektor auf dem Bauernhof Schnitt- und Klebeaktivität. Gartenbastelspiel mit niedlichem Bauern und Apfelbaum. Lustiges druckbares Arbeitsblatt für Kinder. Finden Sie das richtige Puzzleteil. Vervollständigen Sie das Bild
bunte nahtlose muster - baby food label stock-grafiken, -clipart, -cartoons und -symboleBunte Nahtlose Muster
baby dusche element kartenset, konzept hallo neugeborenes und es ist junge text postkarte gruß poster flache vektorillustration. - baby food label stock-grafiken, -clipart, -cartoons und -symboleBaby Dusche Element Kartenset, Konzept Hallo Neugeborenes und es...
illustration der box mit babypuder - baby food label stock-grafiken, -clipart, -cartoons und -symboleIllustration der Box mit Babypuder
baby süße grußkarte für neugeborene mit einem zitat oh baby.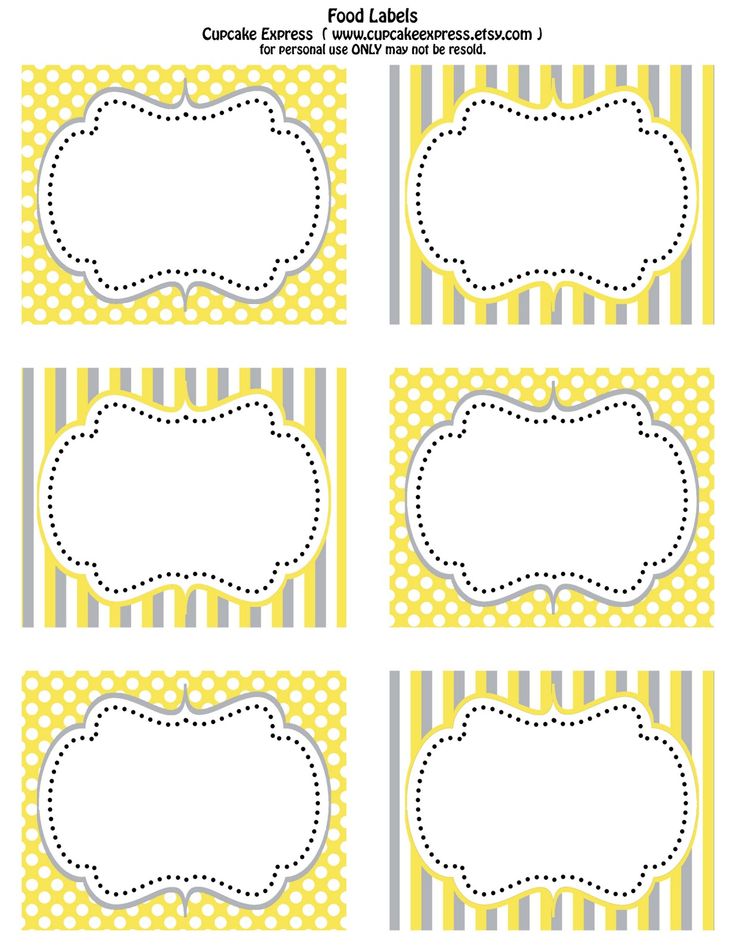 gelbe, grüne handgezeichnete cartoon-bäume. design für postkarte, poster, einladung, karte - baby food label stock-grafiken, -clipart, -cartoons und -symbole
Baby süße Grußkarte für Neugeborene mit einem Zitat oh Baby....
lustiger kawaii-stil frucht-cartoon - baby food label stock-grafiken, -clipart, -cartoons und -symboleLustiger Kawaii-Stil Frucht-Cartoon
ein wunderschönes schwangeres mädchen streichelt ihren bauch in einem häuslichen interieur. - baby food label stock-fotos und bilderEin wunderschönes schwangeres Mädchen streichelt ihren Bauch in...
babysachen symbole. aufkleber-design. vektorillustration. - baby food label stock-grafiken, -clipart, -cartoons und -symboleBabysachen Symbole. Aufkleber-Design. Vektorillustration.
illustration der box mit babypuder - baby food label stock-grafiken, -clipart, -cartoons und -symboleIllustration der Box mit Babypuder
eine reihe lustiger cartoon-aufkleber. ein weißes spielzeugpferd, ein engel und neujahrsgeschenke.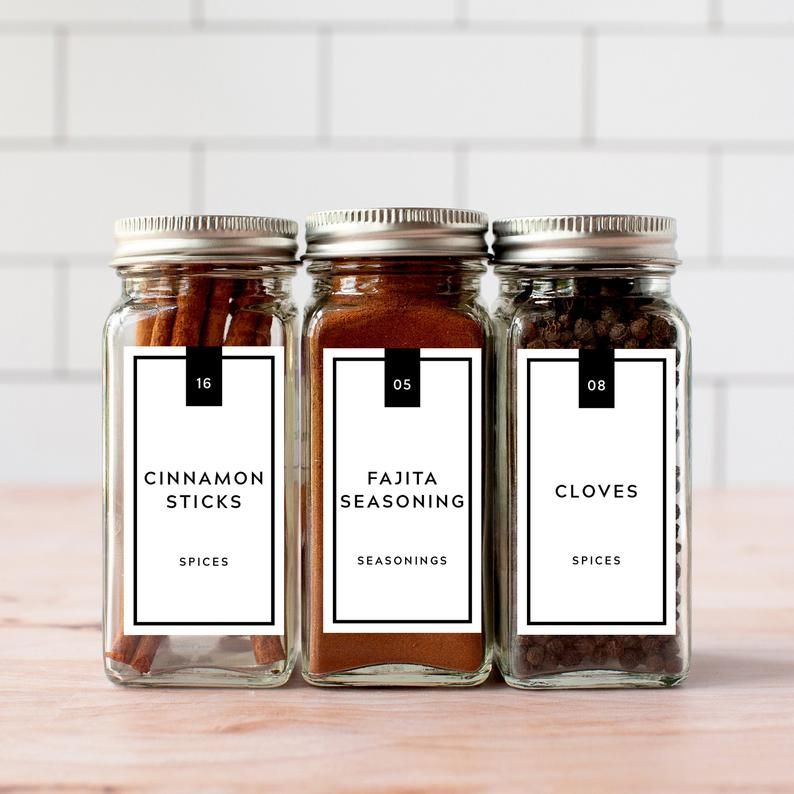 flache vektorillustration isoliert auf rosa hintergrund. - baby food label stock-grafiken, -clipart, -cartoons und -symbole
Eine Reihe lustiger Cartoon-Aufkleber. Ein weißes Spielzeugpferd,
süßer lächelnder oktopus isoliert auf weißem hintergrund. aquarell handgezeichnete illustration. perfekt für kinderkarten, babyparty, kleiderdrucke, aufkleber. - baby food label stock-grafiken, -clipart, -cartoons und -symboleSüßer lächelnder Oktopus isoliert auf weißem Hintergrund....
süßes kleines mädchen und hase essen muffin. inschrift yum yum. baby freunde mädchen und kaninchen essen gerne cupcake mit schlagsahne - baby food label stock-grafiken, -clipart, -cartoons und -symboleSüßes kleines Mädchen und Hase essen Muffin. Inschrift Yum yum....
einmachglas baby food - baby food label stock-grafiken, -clipart, -cartoons und -symboleEinmachglas Baby Food
süßer cartoon kaninchenmädchen sitzt mit donut auf rosa, vektor - baby food label stock-grafiken, -clipart, -cartoons und -symboleSüßer Cartoon Kaninchenmädchen sitzt mit Donut auf rosa, Vektor
Do-it-yourself jars for bulk products.
 Cereal jar decoration. For cosmetics and bath accessories
 Storing bulk cereals in special containers is a great way to keep kitchen drawers clutter-free and to be able to easily find the product you need. Shops offer a huge variety of boxes to choose from, which differ in material, design, and, as a result, cost. However, it is very easy to make such jars for cereals with your own hands, even special materials are not needed. Any container and various decorative elements that are sure to be found on the shelves of everyone will do.
And step-by-step workshops on making such useful kitchen appliances can be found in this article.
WE MAKE JARS FOR CEREALS FROM GLASS CONTAINERS
Each of us probably buys a product in a store, packed in glass containers. It can be coffee, tea, mayonnaise or jam. It is often a pity to throw out such containers, so they are sent to the shelf in the pantry to wait in the wings.
Perhaps their time has come. After all, these glass jars can be used to make stylish containers for storing cereals, which are best designed in the same style. One of the possible ways of decor will be presented in this master class.
You will need:
- Glass containers with lids;
- Paint in a can;
- Wooden small handles;
- Glue (better "Moment").
Step by step instructions:
- First, apply a small amount of glue to the wooden handles and attach them to the center of the lids.
- We cover the work surface with unnecessary newspapers or paper. Lay dried lids upside down. On top of them we spray paint from a spray can. One layer will be quite enough, if re-applying paint is required, it is better to do this after 15-20 minutes, when the first layer dries. The main thing is that the paint does not get on the inside of the lid.
That's it. We fill the jars with bulk products and close them with decorated lids. It turned out very simple, but at the same time stylish containers for storing cereals.
DECORATE THE JAR
If you do not want the contents of the container to be visible, you can decorate the jar itself, and not just the lid, as in the previous method.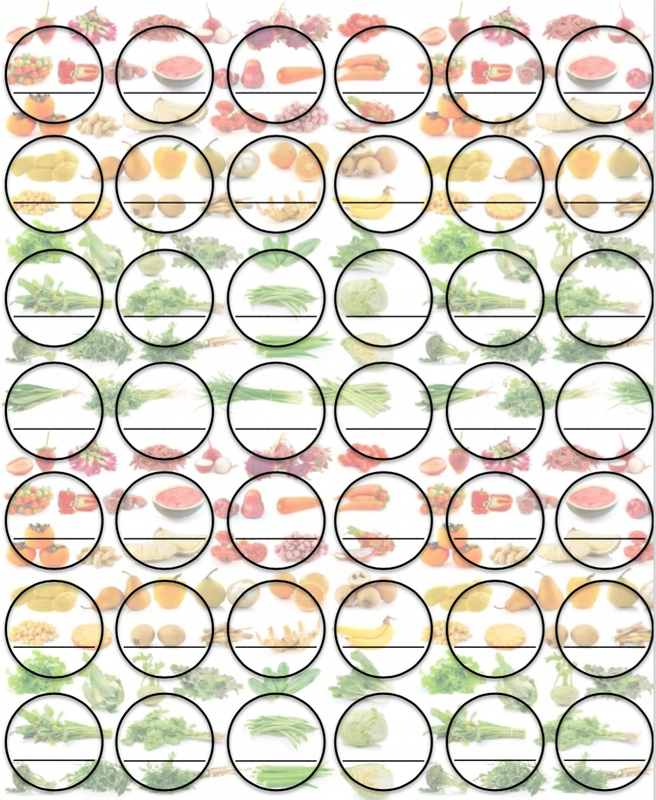 And to recognize the contents of the container already by special labels, which will indicate the necessary information.
You will need:
- Jars with lids;
- Spray paint;
- Black slate effect paint;
- Cardboard;
- Scissors;
- Brush, glue;
- Pencil, chalk.
How to make slate effect paint:
If you can't find a special paint with which you can achieve the effect of a blackboard and write with chalk, you can make it yourself. To do this, mix acrylic paint and tile grout solution, observing the proportion (2 tablespoons of grout for 1 cup of paint). Add a little PVA glue and mix thoroughly.
Production steps for the cereal container:
- Rinse and dry the jars. Then turn them upside down and cover with white spray paint. You can choose any other color, but this particular one will go especially well with black labels.
- Paint the lids in the same way, using multi-colored tones. You can decorate them with black color to match the labels. Do not allow paint to get on the inside of the lids.
- Now let's start making labels. We draw the desired shapes on the cardboard and cut it out. Then we cover them with black slate paint and let dry.
- Finally, glue the labels on the surface of the dried cans and write on them the name of the cereals that we plan to store.
MAKE CONTAINERS USING WINE BOTTLES
If you don't have jars you don't need, you can get by with bottles. The result will be unusual kitchen appliances that do not let in ultraviolet rays and will protect cereals.
You will need:
- Wine bottles;
- Cork sheet;
- Glass cutter.
Work steps:
- Using a glass cutter or grinder with a special disc, saw off the neck of the bottle, getting an even container.
 Sanding the edges.
 - Cut out even circles from the cork sheet, the diameter of which will be equal to the size of the resulting bottle holes. We insert impromptu lids into the container, tightly closing the hole.
Cereal jar is ready! In the manufacture, you can use bottles of an unusual shape or with a pattern, which will give the finished product even more originality and beauty.
PHOTOS
Below are photos that will showcase decor options for cereal jars and inspire you to create your own original helpers in the kitchen.
VIDEO RELATED TO ARTICLE
This article showed how to make glass containers for cereals. However, they can be made from almost any materials at hand, be it plastic bottles, tin cans, and even cardboard. Master classes on the implementation of such work are presented in the selection of videos below.
The kitchen is a small world of every housewife. And everyone, no doubt, wants to make this place perfect: beautiful, comfortable and neat.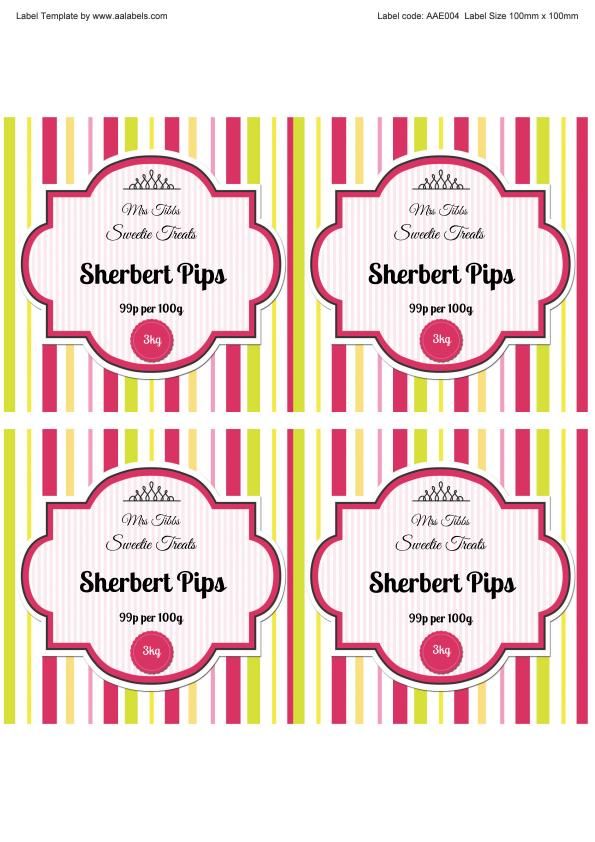 But the kitchen is not only a place for culinary masterpieces. It is also a great platform for creativity. Every day in the process of cooking, the necessary and unnecessary jars remain. Someone stores them on the top shelves of pantries, someone on the balcony, some of them throw them away. In this article, we will tell you how to make beautiful and convenient jars for cereals with your own hands, both from unnecessary jars and from those familiar to us.
In addition to making the storage of cereals beautiful and even decorating the kitchen, it is also a more hygienic storage method. Food moths or other insects will not start in such a container.
One of the most common methods for making cans for bulk products is decoupage. This art has become very popular. Due to the ease of execution, the cheapness of the material and the constant revival of old things, decoupage was called the art of the poor. The Germans were the first to notice him, who began to transfer the drawings first to furniture, and then to glass and metal.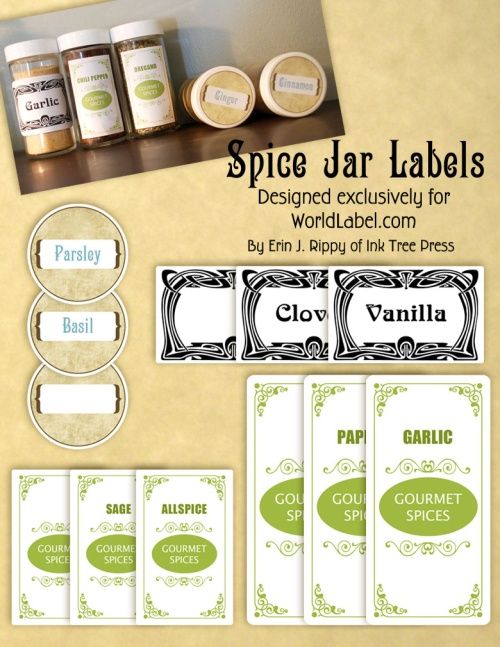
Introduction to decoupage
Let's present a master class on making jars for cereals using decoupage technique.
Necessary materials and tools: glass jars, patterned napkins for decoration, white napkins, PVA glue and Moment, gouache, brushes, ribbon, scissors.
Let's start decorating. Draw a semicircle at the bottom of the jar. This is done for convenience - the contents of the jar will be visible through such a window.
Glue the rest of the can with white napkins and PVA glue. After drying, you can cover the top of the napkins with white gouache or acrylic paint. This is done so that in the future the applied pattern is not translucent.
From the patterned napkins that have been selected and prepared, we cut out the necessary fragments. Carefully remove the two bottom balls of napkins from them.
You can start the decoration process only after the complete drying of the prepared can.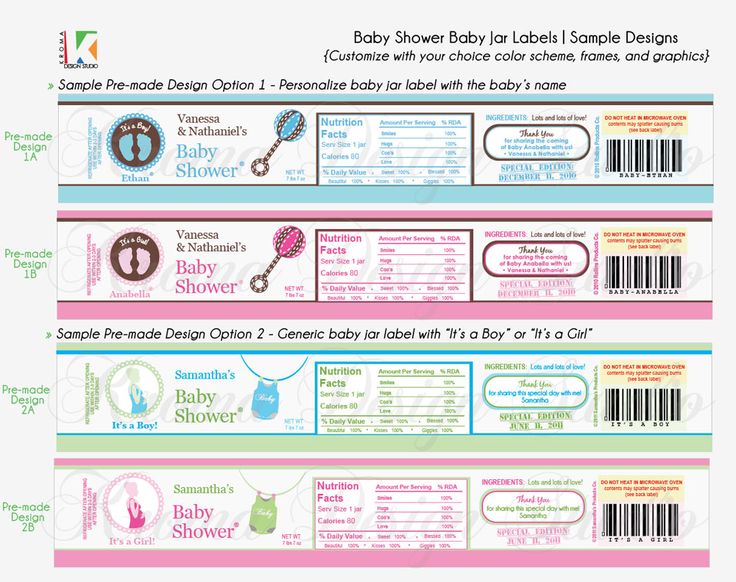 Lubricate the area on which the fragment will be glued with plenty of PVA glue and carefully glue the pattern. We smooth it with a brush, abundantly moistened with PVA glue.
With such consistent actions, we glue the entire prepared surface of the can.
We decorate the window. To do this, grease the border line with Moment glue and glue the tape.
Let the work dry completely. Of course, this can complete the decoration process, but we suggest continuing. With the help of acrylic paints, we give the drawing more “life” - we draw the petals and the middle of the flowers, as in the photo below.
Again, let's wait until the jar is completely dry. We complete the work - we open it with varnish, preferably acrylic, but you can also build it. After the varnish has completely dried, the jar is ready for use! The lid can be customized in color to match the picture! We leave it unchanged, but by applying fantasy, it can also be decorated.
You can also use tins of coffee or, for example, baby food for decoupage.
Decoupage technology will not change, you just need to paste them well with white napkins and be sure to paint over them.
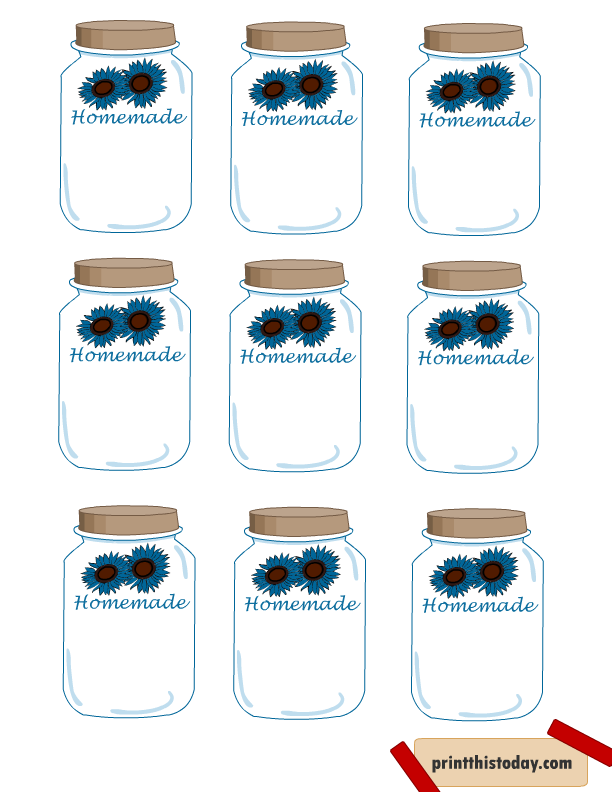
But in this case there is one drawback - there is no possibility to leave a "window" in order to see the contents of the jar. However, there is a way out! You can buy stickers and sign the contents. Or simply print them from the Internet. Below are some templates.
The simplest decor for a jar with a metal lid can be just a beautiful ribbon, ribbon or fabric around the neck. It will be most effective if the jar is glass. Then paint the lid with acrylic paint. And the jar is ready!
Minimalist
This decor will allow you to view the entire contents of the jar. If this is not necessary, they can be decorated in any color. Such decor does not require much effort and does not imply any skills or abilities.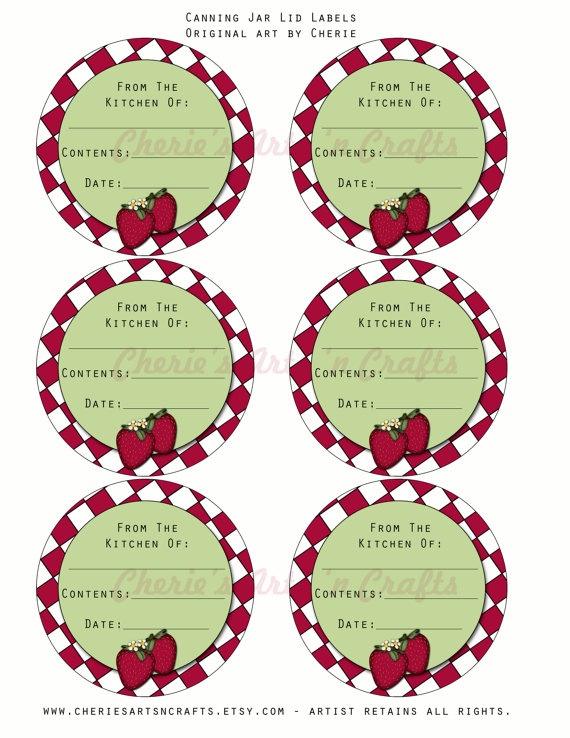
Materials: the right amount of jars with lids, spray paint, paper, cardboard, lettering templates, black slate paint, PVA glue, scissors, chalk and pencil.
If you couldn't find the slate paint, don't despair. You can make it yourself by simply mixing black paint and tile grout. For a glass of paint, you need 2 tablespoons of grout and a little PVA glue. Stir the mixture thoroughly. If everything is ready, let's start decorating.
Clean and dry jars turn upside down during the day. You need to do this on spread out old newspapers or unnecessary paper. Then with spray paint we cover them completely in one tone. In our case, white. So the bank will look as impressive as possible in combination with a black sticker. If it was decided to leave the jar transparent, skip this item.
Another example of a simple decor for spice jars can be prepared jars with inscriptions on cords. But the inscription needs to be processed. This can be done using building or acrylic varnish, or glued with wide adhesive tape on both sides.
An original and beautiful decoration can be the decoration of spice jars with textiles. The fabric should be dense, you can simply stick it on a jar, make inscriptions and open it with varnish.
Another beautiful and original solution can be the design of a jar with decoupage.
Materials: glass jars for spices, PVA glue, scissors, brush, acrylic paints and varnish, beautiful decorative napkins, white napkins.
The manufacturing process is very simple. We glue several balls of napkins onto a clean jar using PVA glue. Let's dry. In the meantime, remove 2 inner balls from napkins for decoration and cut out elements for decoration. Carefully glue the jar with elements, smooth it with a brush with glue. Let the jar dry completely and cover with glue. A decoupage spice jar is ready.
There are many decor options. From simple painting of lids, sticking stickers and decorating with textiles, artificial flowers, polymer clay, cords, ropes, beads, pearls and everything else you can imagine.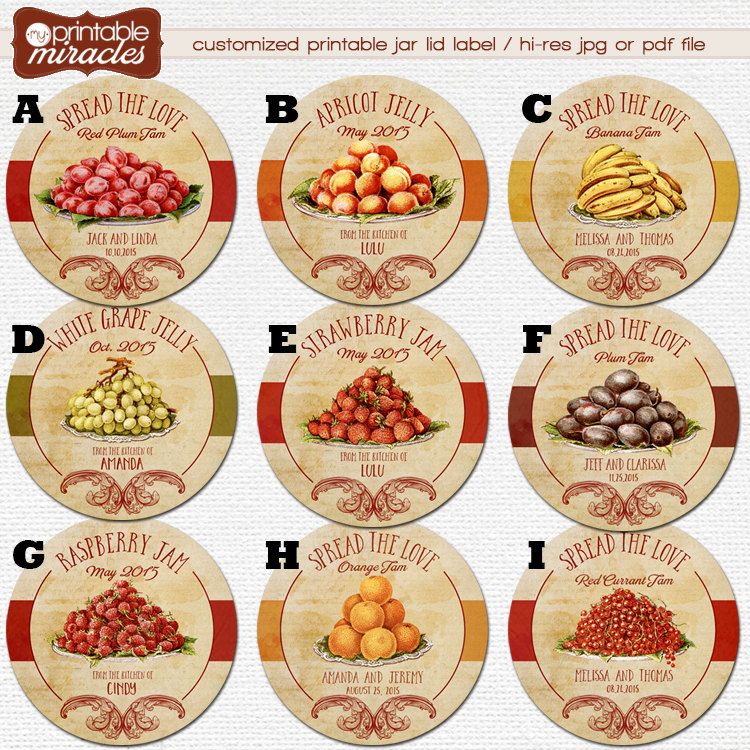
Let's provide some examples of varying complexity for inspiration.
It is very easy to create beauty and comfort with your own hands from simple materials! The main thing is not to be afraid of experiments. Everything will definitely work!
Article 9 video0007
It is more difficult if the room is small - you will have to carefully consider the location of all the necessary items.
Usually, cereals take up a lot of space, and spice bags wreak havoc, as they spontaneously spread on all surfaces (plus odors).
Here are our tips on the subject. Let's start from the opposite, that is, what can not be done.
Where cereals and spices must not be stored
It is impossible to begin the decision on the placement of bulk products without understanding which places are best avoided.
- First of all, remember that storage in bags and cardboard boxes is strictly prohibited. Avoid this if you don't want .
Please note: Spices also do not tolerate such storage conditions - they quickly lose their flavor. And in general, the taste of products deteriorates if they are not stored. - Poor choice - drawers and shelves above the kitchen sink. High humidity contributes to the formation of dampness and, as a result, mold. And if cheese with it can be considered a delicacy, then moldy buckwheat is unlikely to be considered an exquisite delicacy.
- Not the best option and storage of cereals in the refrigerator. Firstly, condensation may form there and they will become damp. Secondly, they simply take a place there - bulk products do not have to be kept cold for preservation, just a dry place and sealed containers are enough.
Now that we've figured out where to keep your grains and spices out of the way, let's pick nine of the best options to help keep them organized in a small kitchen.
There are many interesting ideas for storing cereals and spices that are easy to implement with your own hands. Let's see the most original and comfortable?
Secret drawer
You don't have to expose your culinary supplies to the public - they can be completely disguised. For example, by integrating a pull-out shelf into the kitchen set, which will look like an ordinary decorative panel.
This method is quite unusual, but it costs a lot: you will have to buy a custom-made kitchen. However, the final result is worth it - few people will hold back their surprised exclamation when they see how you get pasta or seasonings for them from the seemingly solid wall of the headset.
Hanging shelves for fridge
If you have free access to the side wall of the refrigerator, a hinged structure that can accommodate airtight jars for bulk products can be a great way out for a small kitchen.
So they do not take up precious shelf space, but at the same time they will always be in order and in sight. This method is a kind of organizer that will greatly facilitate the search for the necessary ingredients for cooking.
Tip: For a white refrigerator, choose shelves that match the main color scheme in the kitchen. If you bought a more original color unit, pick up a hanging structure in a contrasting shade.
Retro locker
A hanging wooden cabinet with glass doors and iron handles looks good. It goes well with a classic style kitchen. You can arrange the drawers symmetrically, or you can arrange them in a chaotic manner, alternating the sizes and colors of the doors.
This option looks spectacular, but you need to take into account some nuances. The first one is the price. Most likely, the cabinet will need to be custom-made so that it adequately fits into the color scheme of your kitchen. The second can be considered more significant - if the product is of poor quality, you will not be able to ensure the tightness of the products, which will negatively affect their shelf life and may cause kitchen moths to appear.
Alchemy Laboratory
Probably, almost everyone in childhood dreamed of becoming a wizard.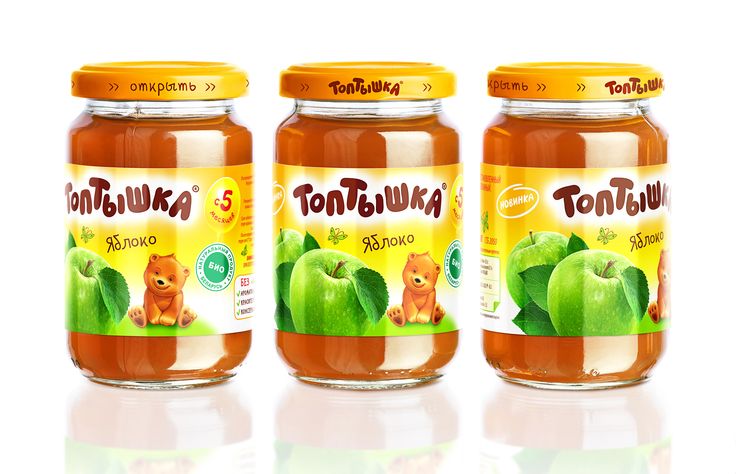 Now you can at least partially realize your dreams! Small narrow test tubes with spices and wide flasks with cereals and pasta will look very impressive on a hanging shelf.
You can also add mysterious bottles of vinegar and vegetable oils. This design looks very interesting and mysterious. However, be careful: you should not hang it over the stove, even if your beakers are heat-resistant: constant heating does not improve the properties of the products.
An interesting trick: Containers with glass of different colors can add originality to an already interesting idea. If you decide to place vegetable oils on this shelf, make them aromatic - add spicy herbs or berries to them. So your shelf will look even more like a wise wizard's rack.
Hanging stand
Containers suspended by strong hooks on a metal or wooden canvas on the wall look unusual. You may need to make it protruding in order to organically place containers with cereals. It is better to choose oblong narrow containers.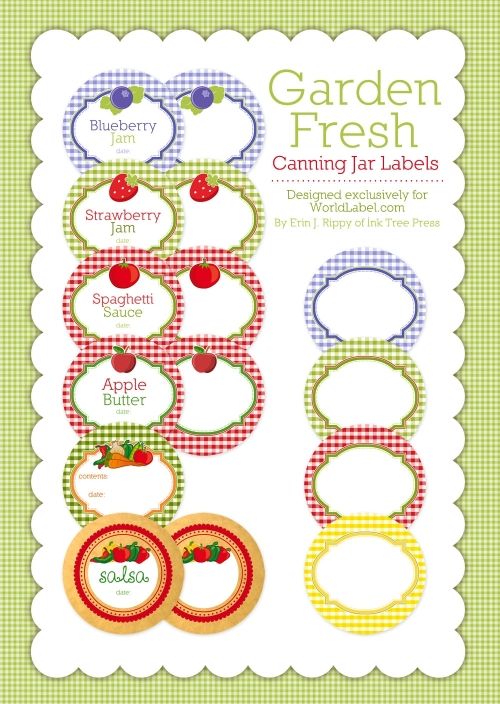
When using this design technique, keep in mind that it looks best in kitchens decorated in a modern style. In addition, it will be difficult to arrange beautifully different-sized containers - it may be better to use the method only for cereals or spices. In this case, for the second type of products, it is better to come up with another option.
Magnetic board
This method of storage is more suitable for spices - after all, large containers will look a bit strange, and it is much easier to place small containers on the board.
The essence of the reception is quite simple: a canvas with magnetic properties is attached to the wall in a convenient place for you. Then small jars with metal lids or magnets on the walls are selected. Then everything is simple: attach them in an arbitrary or strictly defined order, depending on your taste.
It is not necessary to purchase special containers for this. Clean jars of tick-tock dragees, signed in a beautiful font, look original. Just attach a tape with an inscription on one part, and a small magnet on the other.
For a large kitchen: If you want to use this technique for cereals as well, you will need a lot of space, a magnetic board and more powerful magnets. Pick up not too heavy containers and think over the location so that it is convenient for you to reach each jar.
Shelving unit with sliding shelves
A small narrow cabinet with sliding shelves will also look original. These can be seen in the supermarket. Make several large boxes for cereals and pasta, a couple of smaller ones for coffee and tea, and very tiny ones for spices.
Such a cabinet, especially if it is designed as a kitchen set, will look organic. Pull-out shelves make it easy to find the right products and organize the arrangement of products.
If you are not a fan of large stocks, you can make such a rack in the form of a small decorative cabinet placed on the kitchen panel or built into the set. In any case, such shelves are convenient and easy to implement.
For kitchen decor
Love a rustic space? Then place beautiful jars for spices, cereals, tea and coffee on open small shelves. Match them with cute covers - for example, wrapped in cloth. It is not necessary to buy them the same: on the contrary, different ones, but decorated in the same style, will look better.
Do not place more than two or three containers on one shelf - this creates an effect of congestion and does not look as impressive as five or six shelves with several cans.
As for the size, also show your imagination - pick up containers of different sizes, but the same shape. In this case, the kitchen will not look boring, but you can avoid frivolity.
Interesting addition: Do not try to place so spices. Small lightweight jars are difficult to keep in order on an open shelf. It is better to place them in a small wall basket. Alternatively, it can be hung from one of the shelves. Just make sure the fasteners are strong enough.
Drawers
Probably, almost everyone has seen tea and coffee racks - a large number of small sealed boxes with transparent side doors.
You can allocate a separate area in the kitchen for such tanks, or you can order an original kitchen set, where such tanks are mounted in random order. This will add originality to the kitchen and will look like an original design technique.
The price for such a set will be high, but the final result will please any lover of original furniture.
However, there is one caveat. If accuracy is not inherent in you, this option will have to be abandoned. You will have to carefully monitor the cleanliness of the transparent doors and ensure that the containers are filled. Half-empty, they will not look so aesthetically pleasing.
As you can see, there are many ideas that completely refute the standard ideas about what you can store spices and bulk products in the kitchen.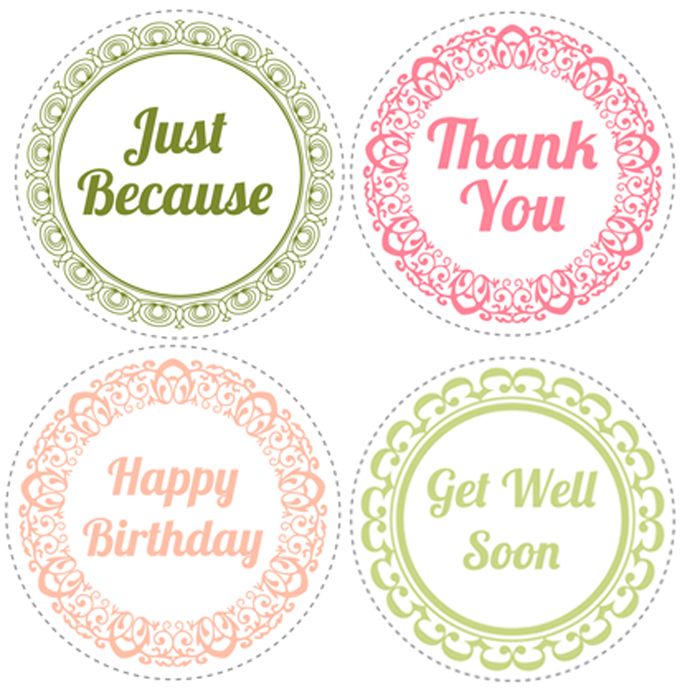 We tried to collect the most original solutions for you, but this does not mean that you should limit yourself exclusively to them.
You can use one of our storage ideas for cereals and dried herbs, or create your own. Do not be afraid to experiment with interior design - perhaps it is you who can say a new word in kitchen design.
Storing bulk cereals in special containers is a great way to keep kitchen drawers clean and to be able to easily find the product you need. Shops offer a huge variety of boxes to choose from, which differ in material, design, and, as a result, cost. However, it is very easy to make such jars for cereals quickly and easily with your own hands, even special materials are not needed. Any container and various decorative elements that are sure to be found on the shelves of everyone will do.
For step-by-step tutorials on how to make these useful kitchen tools, check out this article.
We make jars for cereals with our own hands from glass containers
Each of us probably buys some product in the store, packed in glass containers.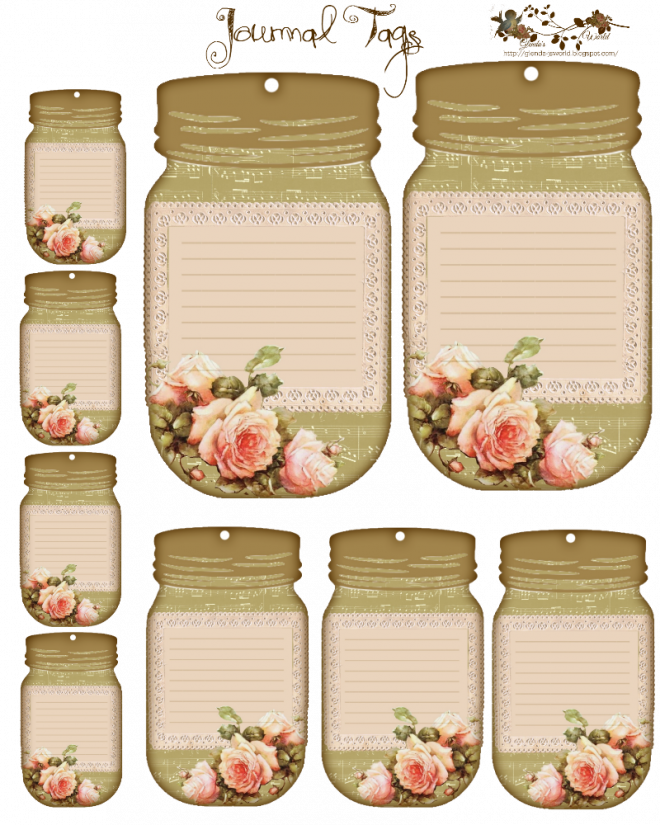 It can be coffee, tea, mayonnaise or jam. It is often a pity to throw out such containers, so they are sent to the shelf in the pantry to wait in the wings.
Perhaps their time has come. After all, these glass jars can be used to make stylish containers for storing cereals, which are best designed in the same style. One of the possible ways of decor will be presented in this master class.
You will need:
1) Glass containers with lids;
2) Paint in a can;
3) Small wooden handles;
4) Glue (better "Moment").
Step by step instructions:
1) First, apply a small amount of glue to the wooden handles and attach them to the center of the lids.
2) We cover the work surface with unnecessary newspapers or paper. Lay dried lids upside down. On top of them we spray paint from a spray can. One layer will be quite enough, if re-applying paint is required, it is better to do this after 15-20 minutes, when the first layer dries.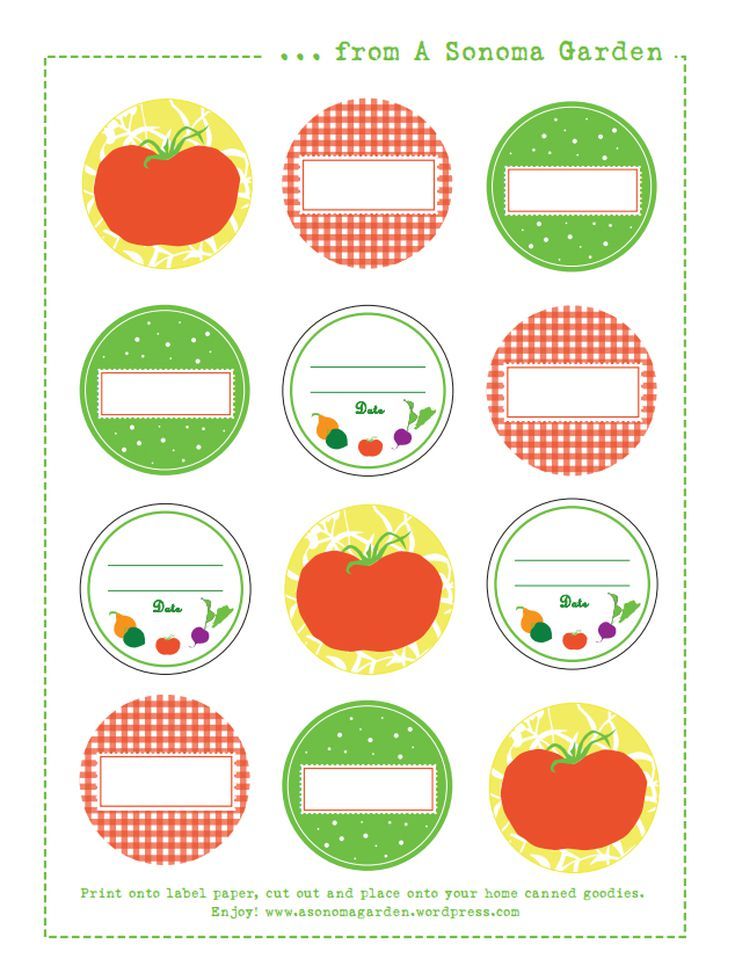 The main thing is that the paint does not get on the inside of the lid.
That's it. We fill the jars with bulk products and close them with decorated lids. It turned out very simple, but at the same time stylish containers for storing cereals.
Decorating a jar quickly and easily in the master class
If you don't want the contents of the container to be visible, you can decorate the jar itself, and not just the lid, as in the previous method. And to recognize the contents of the container already by special labels, which will indicate the necessary information.
You will need:
1) Jars with lids;
2) Spray paint;
3) Black slate effect paint;
4) Cardboard;
5) Scissors;
6) Brush, glue;
7) Pencil, chalk.
How to make slate effect paint:
If you can't find a special paint that can make it look like a blackboard and write with chalk, you can make your own. To do this, mix acrylic paint and tile grout solution, observing the proportion (2 tablespoons of grout for 1 cup of paint). Add a little PVA glue and mix thoroughly.
Steps for making a container for cereals:
1) Rinse and dry the jars. Then turn them upside down and cover with white spray paint. You can choose any other color, but this particular one will go especially well with black labels.
2) Paint the lids in the same way, using different colors. You can decorate them with black color to match the labels. Do not allow paint to get on the inside of the lids.
3) Now let's start making labels. We draw the desired shapes on the cardboard and cut it out. Then we cover them with black slate paint and let dry.
4) Finally, glue the labels on the surface of the dried jars and write on them the name of the cereals that we plan to store.
Making containers using wine bottles
If there are no unnecessary jars, you can do with bottles. The result will be unusual kitchen appliances that do not let in ultraviolet rays and will protect cereals.
You will need:
1) Wine bottles;
2) Cork sheet;
3) Glass cutter.
Work steps:
1) Using a glass cutter or grinder with a special disc, saw off the neck of the bottle, getting an even container. Sanding the edges.
2) From the cork sheet, cut out even circles, the diameter of which will be equal to the size of the resulting bottle holes. We insert impromptu lids into the container, tightly closing the hole.
Cereal jar is ready! In the manufacture, you can use bottles of an unusual shape or with a pattern, which will give the finished product even more originality and beauty.
Below are photos that will showcase decor options for cereal jars and inspire you to create your own original helpers in the kitchen.
Related video article
This article showed you how to make glass containers for cereals. However, they can be made from almost any materials at hand, be it plastic bottles, tin cans, and even cardboard. Master classes on the implementation of such work are presented in the selection of videos below.
Anything can be used for such needlework: ordinary glass jars, simple dishes, any bottles, glass, and even jars of chips and coffee. Try to decoupage kitchen jars, decoupage plastic jars - and you will see how cool it looks on the shelves or on the table.
The meaning of this technique is pasting with cut-out napkins, printed drawings, selected dishes or any interior item. After gluing, most often the entire surface is covered with a layer of protective varnish. This is if you want the thing to serve you longer.
Do not cut out a flower from a napkin, just cut off the edges.
Master class No. 1 - decoupage of enamelware
If you just want to try your hand at this technique, you will only need napkins or printouts, clippings from a glossy magazine, any acrylic paint, ordinary PVA stationery glue.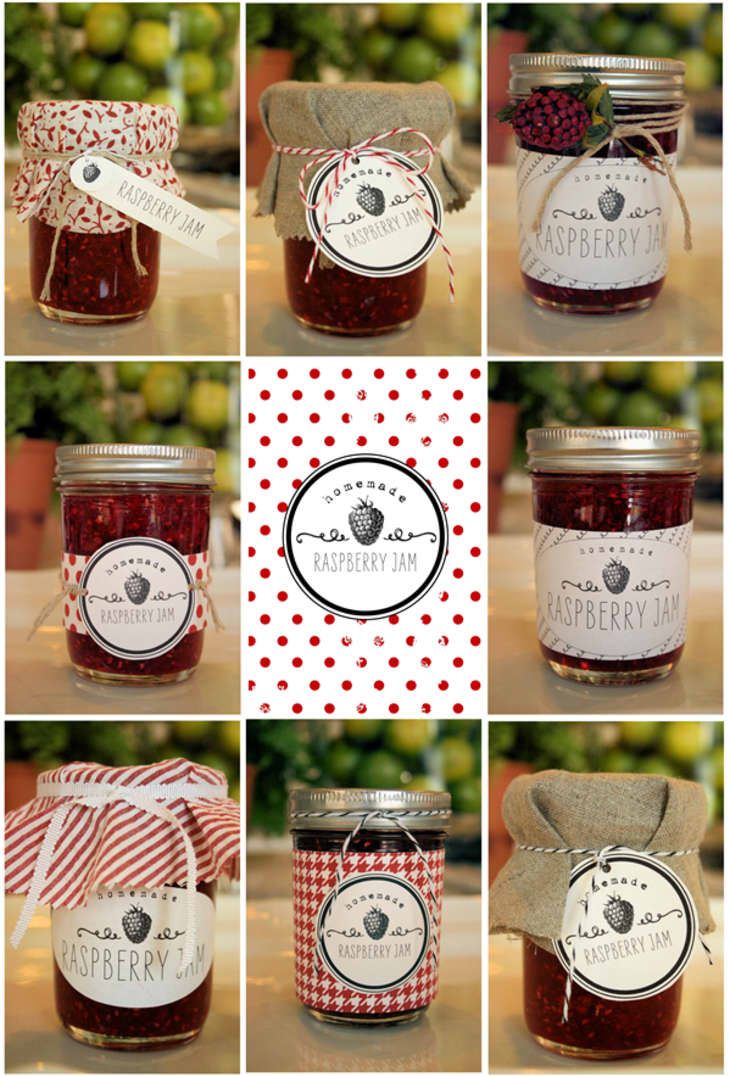
Varnish for decoupage (if you buy it in a special store - the price bites) you can buy it in a repair shop, or you can make it yourself. There are 2 options for homemade varnish.
How to make Mod Podge (lacquer) based on glue :
- 225 ml PVA glue.
- 112.5 ml water.
- 2 tablespoons of water-based varnish (optional).
Mix everything in one jar, shake well and close the lid. The varnish is ready.
How to make Mod Podge with flour :
- 1 ½ (210 grams) cup flour
- ¼ cup (56.25 grams) granulated sugar.
- 1 cup (225 ml) cold water.
- ¼ teaspoon olive oil (optional)
- ¼ teaspoon vinegar (optional)
We mix all the ingredients in a ladle, beat a little with a fork, do not forget about the vinegar. Turn on medium heat and bring to a boil. If it's too thick, add water. Bring to a boil, while stirring, remove from heat. We are waiting for it to cool, and pour into a jar with a lid.
You can start the master class for beginners. We select the surface that we want to decorate and prepare the materials. Any pattern can decorate the dishes, for example, cards, wrapping paper, magazine clippings, postcards, napkins, etc.
Images are printed only on a laser printer, they will be smeared on an inkjet printer.
For work you will need:
- White acrylic paint.
- Sandpaper (sandpaper).
- Brown acrylic paint.
- Brush.
- Mod Podge or DIY from 2 options.
- Sponge
- PVA glue (diluted 1:1 with water).
- Can, jug, mug - any enamelware.
We equip a work area: we lay newspaper or paper. Degrease the surface (we wash it with water, then you can wipe it with alcohol or cologne).
We print pictures, cut them out. We try to cut all the pictures at an angle so that the varnish lays down better.
We take a foam rubber sponge (you can use a sponge for dishes) and “wet” the corners of the picture with brown paint.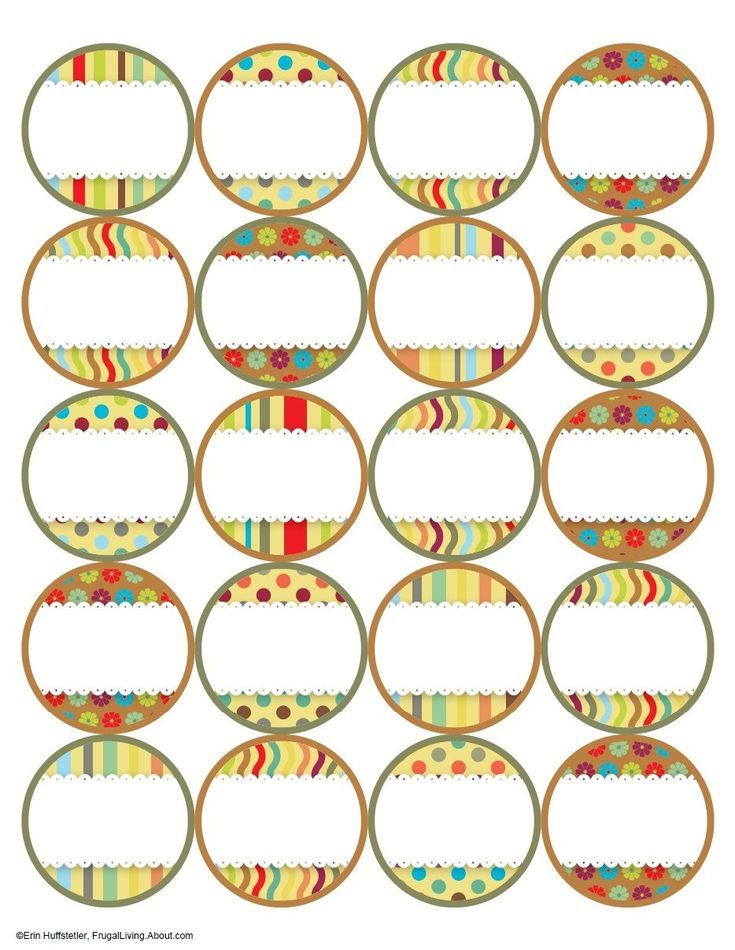 We put the tablet in water for 1-2 minutes. We need to remove the top layer, on which there is a picture. There are several ways to thin an image.
You can simply split it (for example, office paper, cardboard), or you can, by attaching a picture with the back side, “roll up” the top layer with your fingertips.
Another “dry” way to split paper is with adhesive tape. The pattern on the reverse side is tightly sealed across or along with strips of adhesive tape. It is better to take a wide adhesive tape. Press firmly on the tape and paper so that they stick together better. Starting from the corner, we separate the layers of paper and carefully separate the top layer. Just do not tear sharply, otherwise the pattern can be torn.
We smear the place chosen for the picture with PVA glue, apply the picture to this place, we also coat it with glue on top. After 30 minutes, cover with decoupage varnish or homemade varnish (recipe above). We put it aside and wait for the varnish to dry (2-3 hours), you can walk again, the final one.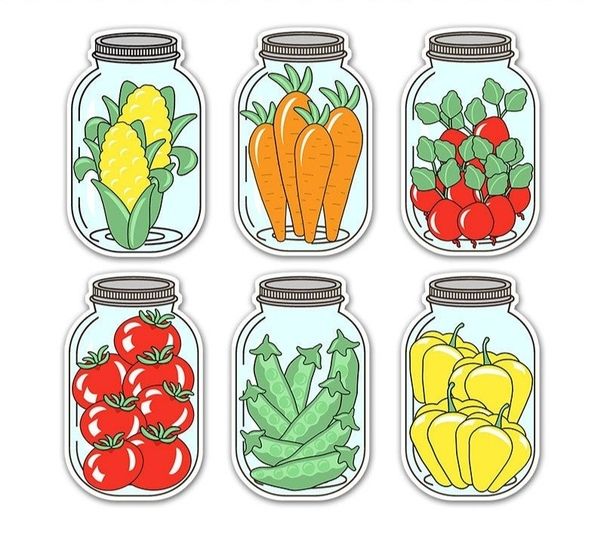 From an old can we got a vase.
Master class No. 2 - decoupage of a glass jar
The next decoupage of a glass jar we will make a master class from ordinary glass jars, you can make vases or stands for spoons and forks from them. Decoupage of glass jars should be started by soaking them in warm water, followed by removal of old labels.
Decoupage of a glass jar is a good idea. For work, we need everything that in the first master class, PVA glue can be replaced with decoupage varnish (Mod Podge or homemade). If you use PVA glue, then it must be diluted with water 1: 2 so that it is not very thick.
So, print out pictures or cut out from magazines, postcards, napkins, etc.
For work we take:
- Acrylic paints - white and black.
- Sandpaper.
- PVA glue.
- Decoupage varnish (can be replaced with homemade varnish: see above).
- Prints or clippings from magazines.
- Brush, sponge.

Apply primer to glass. If you are a novice artist, you can skip this moment, it is enough to cover the glass with black paint.
We apply black acrylic paint to the glass surface of the jar. Let dry properly.
We pass along all sides, bulges of a glass jar - with sandpaper. We need this for the aging effect.
We print pictures, cut out fragments with scissors. We put the cut out fragment on the file, take a brush and decoupage varnish (homemade varnish number 1, made from PVA glue: see above). We apply the solution to the fragment. We are waiting for it to dry, and apply again, and so on up to 3 times.
Then put the fragment in warm water for 5-10 minutes. Apply PVA glue to the center of the can with a brush. Carefully, so as not to tear the picture, apply it to the jar and remove the top layer.
From above we varnish the picture first, and then the whole jar. Let dry and varnish again.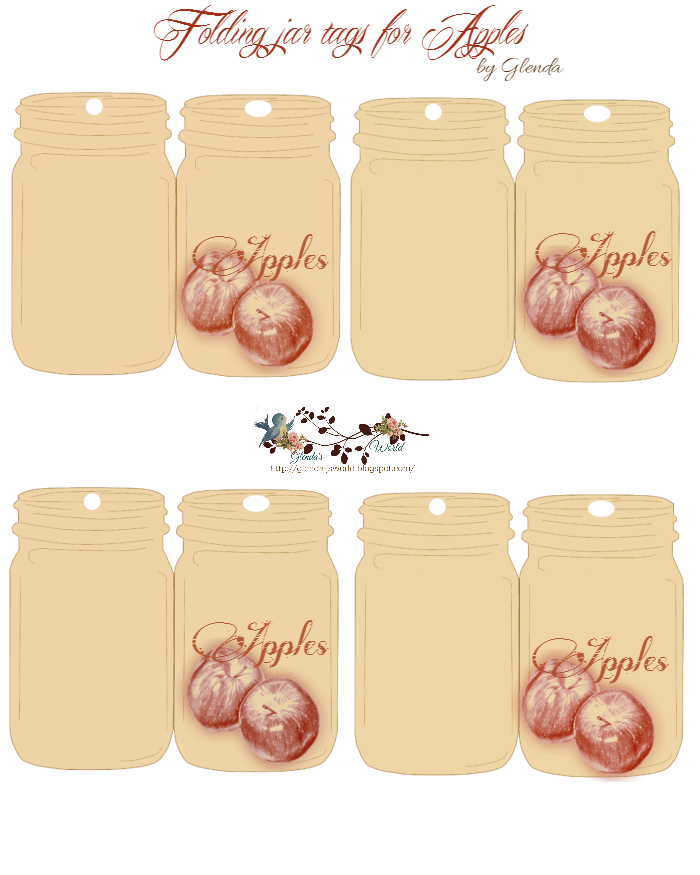 This is how you can decoupage small and large glass jars.
Master class No. 3 - decorating a tin
Next - we wash, degrease and dry jars, bottles, metal cans, flower pots, in general, everything that you are going to decoupage. In this master class, we will decoupage a tin can. These banks usually sell canned fruits or vegetables.
We start decoupage of cans by making sure that there are no sharp edges or burrs. There are many ways to finish the edges: you can use pliers and bend the sharp tin edges inward, you can cut the wire with a diameter of 3-4 mm., And glue the vinyl top of the wire to the top of the can:
or a tin can with cologne, and decorated the top - you need to apply dark acrylic paint to the surface of the can. This can be done with a brush or sponge. We are waiting for the paint to dry.
After the dark paint has dried, apply a layer of white acrylic. And also waiting for it to dry. Can be covered with white acrylic one more time.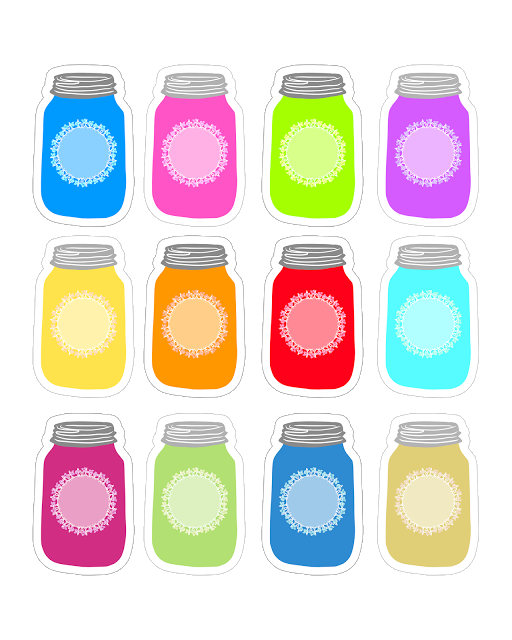
We glue pictures using the “file method”. We put the picture on the stationery file face down, pour water on top. Hold the pictures for 3 minutes in water and thin them after that. We drain the water, apply it to the right place, press it, remove the file. smooth with a brush and expel air bubbles, apply glue to the drawing. Smooth evenly, straighten the folds. We work from the center point to the edges. We pass through the picture with a brush with glue. Let's dry. We apply varnish. We dry. We repeat again.
Professionals apply 25-30 layers of lacquer on the product, but we are beginners, 2-3 layers are enough for us.
Glass jars and bottles are processed in the same way. If the color of the glass is dark, then dark acrylic can not be covered. Only white paint, and then sanded with sandpaper.
Master class No. 4 - decoupage of cans for bulk products
And one more master class using chips packaging. It is convenient to store tea, sugar, coffee in it.