Simple homemade baby food recipes
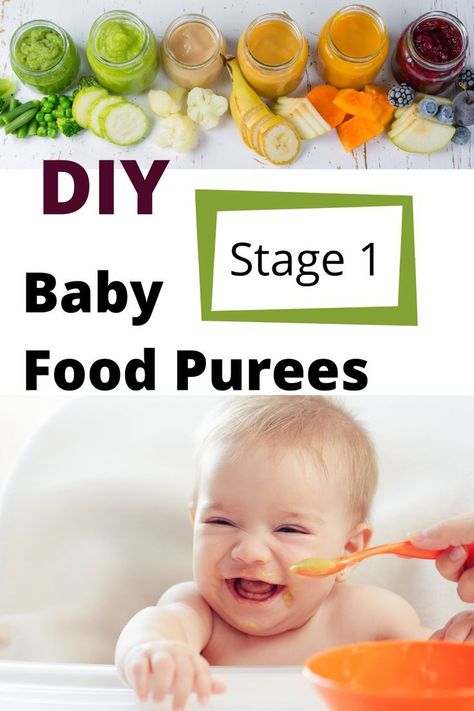
10 Easy Homemade Baby Food Ideas (No-Cook, Super Fast, Stage 1)
Learn how to make the EASIEST homemade baby food recipes (stage 1) for your little one with these super simple no-cook ideas. Plus: I have the best tips for making them ahead and freezing them so you can batch cook and simplify your days!
Homemade Baby Food
As a mom to three kids, I know firsthand how the urge to make homemade baby food can be both exciting and a little daunting. And if you have a busy schedule or other kids in the house, finding the time to actually do it can seem impossible. But, there are so many healthy foods that you can transform into stage 1 baby food purees with hardly any work or special equipment at all!
TIP: I use a regular blender for all of these recipes, so you don’t need to buy a special baby food maker unless you want to.
Baby Food Recipes for 6, 7, and 8 Month Old Babies
These homemade baby food ideas are designed for younger babies who are still eating thinner purees, but you can of course use them for older babies and toddlers too. Each can be served as is, or you can combine more than one together to create new flavors if you’re feeling creative!
TIP: If you want to add fat or protein to any of these fruit or veggie purees, simply stir in a little whole milk yogurt, coconut cream, or Avocado Puree.
Best Way to Make Baby Food
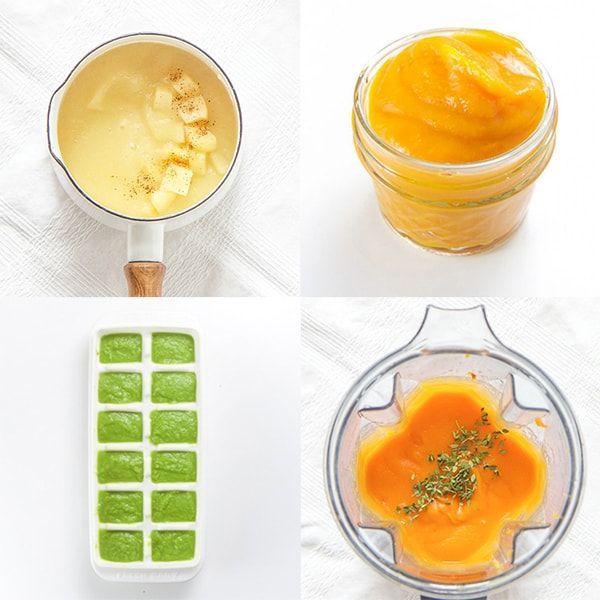
I’ve found that the easiest and most approachable way to make baby food is to simply use a blender. With fresh ingredients and a little water, breastmilk, or formula to thin it as needed, you can easily make your baby meals without investing in equipment you may not use very long.
TIP: You’ll want to start with at least 1 cup of any base ingredient to ensure that there’s enough in the blender to fully blend up.
Tools You Need to Make Homemade Baby Food
To make these baby food recipes you’ll need:
- Blender (you could also use an immersion blender if yours is very strong)
- Water, formula, or breastmilk to thin as needed
- Knife for chopping produce
- Spoon
- Bowls
- Ice cube tray
- Freezer bags for storage
- Baby food storage containers
Stage 1 Baby Food
These baby foods are meant for early eaters as they are typically very thin and easy for a baby to move around in their mouths.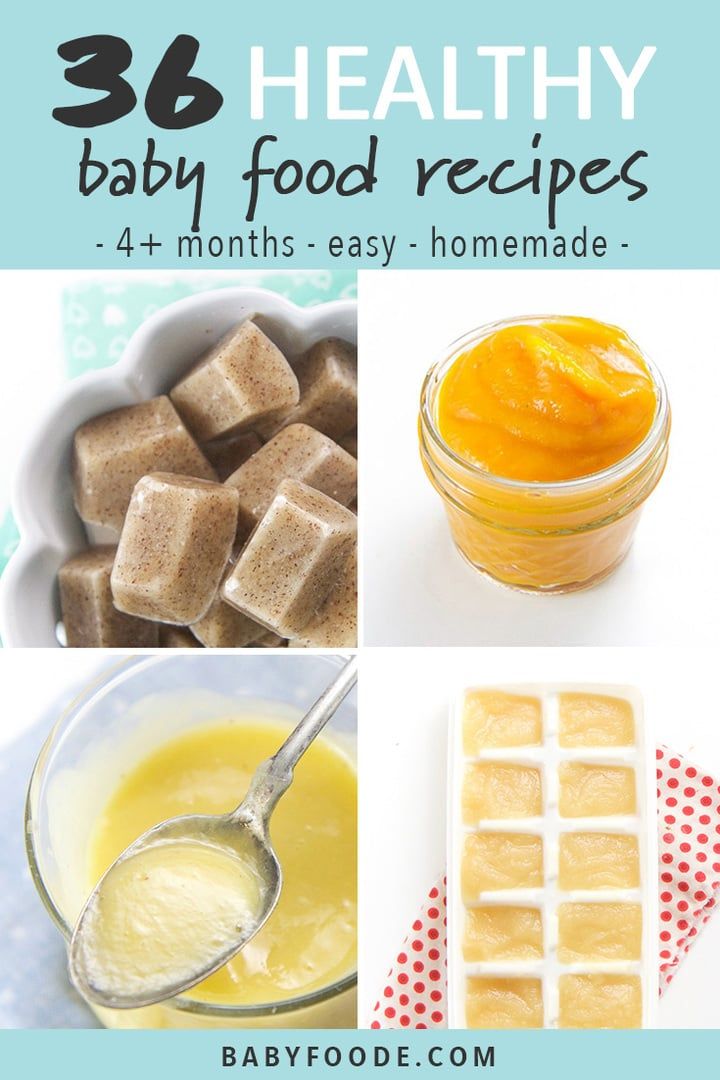 I follow the recommendations to wait until 6 months to start solids, so I personally don’t worry excessively about this distinction as I like babies to experience some texture in their purees. (The ones you find at the store are low allergenic foods and are meant for 4+ months.)
Stage 2 Baby Food
These baby foods are typically a little bit thicker, sometimes include more than one ingredient, and offer a wider variety of ingredients. Most babies are ready for these sorts of purees around 7-8 months, or once they’ve mastered thinner purees. (Again, since I like to do a combined baby feeding approach with both baby led weaning and purees, I don’t worry too much about following the calendar to decide when to introduce these.)
TIP: As a backup to my homemade baby foods, I love the options from Amara Organic Baby Food (paid affiliate link) since you simply need to stir it together with breast milk, formula, or water and it’s ready to serve.
And now, for my ten go-to homemade baby food purees that you don’t even need to cook!
1.
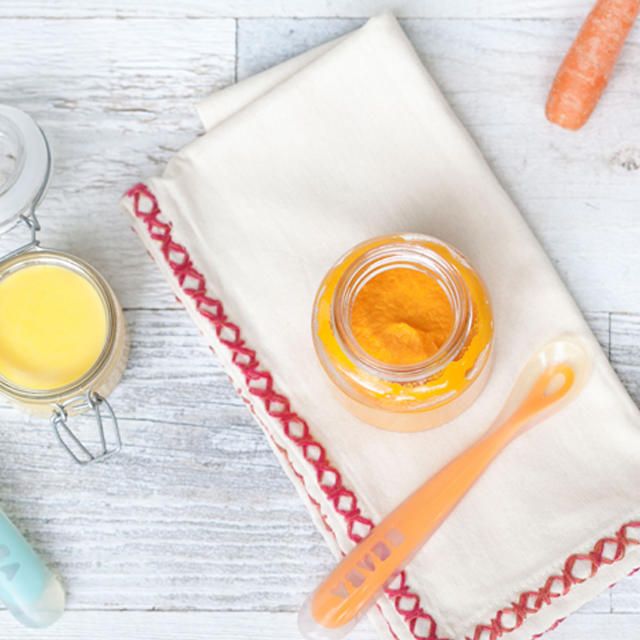
 Avocado Puree
To make avocado puree for a baby, you just need a fresh avocado, a blender, and some lemon juice if you plan to store it for later. I sometimes even do this with just a fork if the avocado is super soft! It’s a perfect way to introduce a low allergenic food that’s rich in healthy fats.
TIP: Get the full recipe for Avocado Puree here.
2. Bean Puree
Baby’s early foods don’t have to be all one food group and beans are a great food to have in the mix. You can do this easy bean puree with chickpeas, pinto beans, black beans, or even white beans, thinning it as needed with water, formula, or breastmilk. This is a great puree to mix with a little sweet potato or butternut squash.
TIP: Get the full recipe for Bean Puree here.
3. Blueberry Puree
Using fresh or frozen blueberries, this easy berry puree is loaded with fresh flavor and antioxidants. It’s delicious on its own or stirred into plain whole milk yogurt or baby oatmeal. (Note that it thickens up as it sits in the fridge, so you’ll need to stir it well to serve.)
TIP: Get the full recipe for Blueberry Puree here.
4. Kiwi Puree
With a bright flavor, this puree is great for babies who seem to love flavor—and it’s a fun one to make and store for later. You’ll want to make sure that you choose very ripe and sweet kiwi and taste it before you make the puree to ensure that it’s not too tart. (If it seems tart, you can mix with banana or applesauce.)
TIP: Get the full recipe for Kiwi Puree here.
5. Mango Puree
Using fresh or thawed frozen mango, this baby puree blends up in seconds. It’s bright, flavorful, and a great source of immune-boosting vitamins. Taste your mango to be sure that it’s sweet and not too tart. (If it’s tart, you can add Applesauce or ripe Banana Puree.)
TIP: Get the full recipe for Mango Puree here.
6. Peach Puree
Turn fresh or frozen and thawed peach slices into a super smooth Stage 1 baby food with this easy blender method.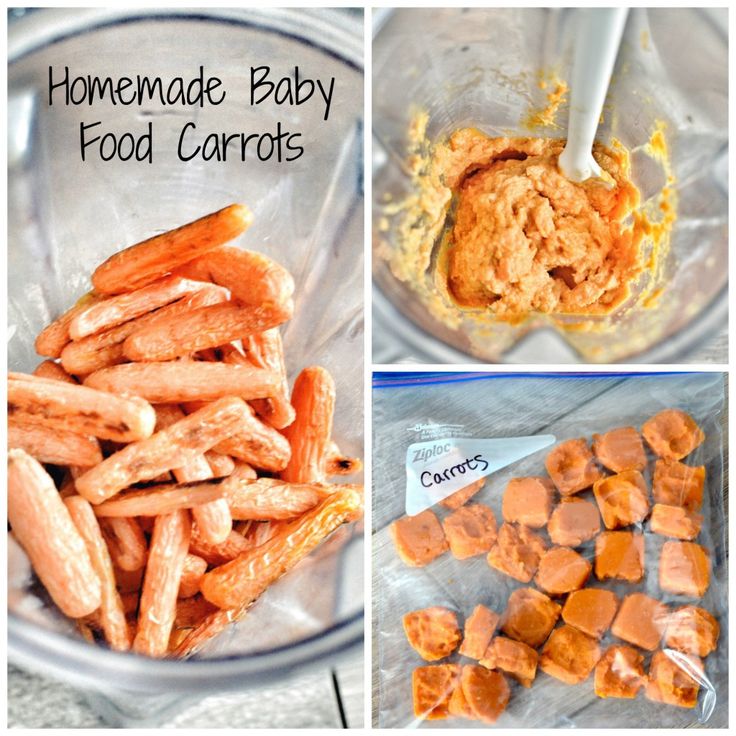 You’ll want to strain out the skin since it’s hard to blend up smooth, even with a high powered blender, but that’s so easy to do! This baby food recipe is a nice alternative to applesauce.
TIP: Get the full recipe for Peach Puree here.
7. Whipped Peanut Butter
This may not have occurred to you, but whipped peanut butter is a great baby food! This is a perfect way to introduce baby to peanut butter and to offer it safely there after. You just need to stir water into unsweetened creamy peanut butter until it forms a whipped consistency like yogurt. It’s smooth, not too sticky, and packed with protein.
TIP: Get the full scoop on introducing peanuts to baby here.
8. Pineapple Puree
Blend up fresh or frozen pineapple chunks into a tropical baby food puree that’s smooth and creamy. This is yummy on its own or paired with whole milk plain yogurt. Taste your pineapple to ensure that it’s not too tart. (If it’s tart, you can add Applesauce or ripe Banana Puree.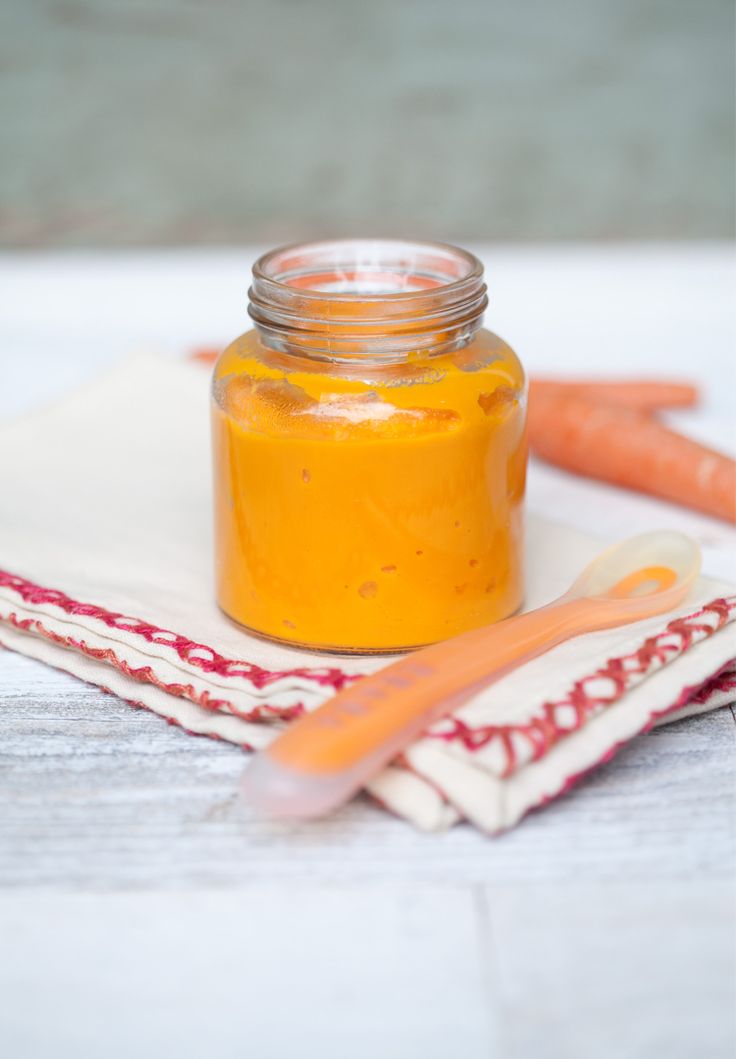 )
)
TIP: Get the full recipe for Pineapple Puree here.
9. Strawberry Puree
Fresh strawberries blend up into a perfectly smooth homemade puree without the need for any additional liquid. You can serve this as is, or mix with applesauce if desired. The flavor of your berries will determine the flavor of your puree, so be sure to taste them for sweetness.
TIP: Get the full recipe for Strawberry Puree here.
10. Banana Puree
Ripe bananas make great homemade baby food with the help of just a blender. This is a super simple baby food to make at home and it’s easy to digest as a Stage 1 baby food. Use ripe bananas with brown spots to ensure that the puree tastes sweet and is easy for baby to digest.
TIP: Get the full recipe for Banana Puree here.
Homemade Baby Food Storage
The easiest way to store homemade baby food is to add fresh purees to an ice cube tray and freeze.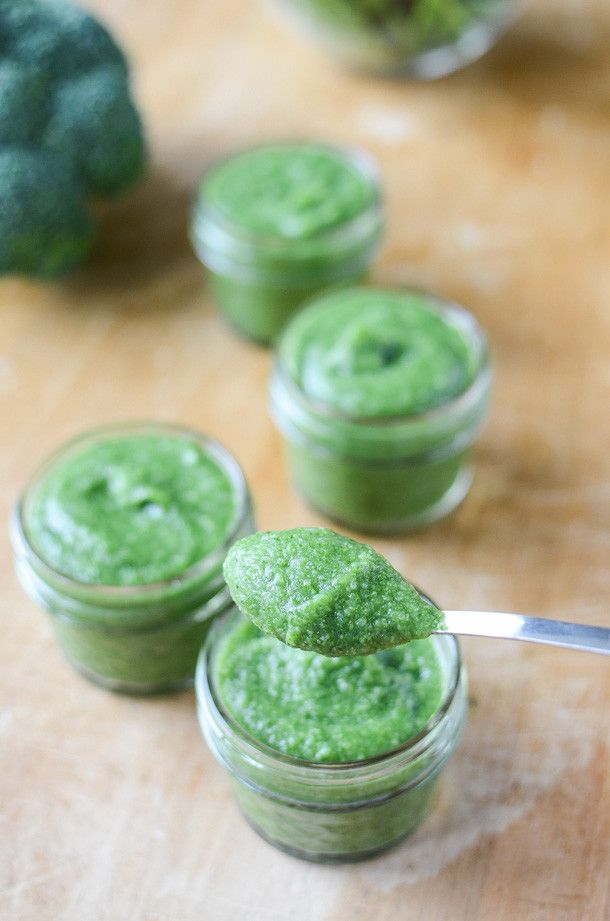 Once frozen, simply pop out the cubes and store in labeled freezer bags for up to 3 months. These are a perfect way to make it easy to send homemade baby food to daycare or to simply get ahead for the coming week.
TIP: Find more information about storing baby food—including the best small food storage containers—here.
]
Tips for Making the Best Homemade Baby Food
- Use at least 1 cup base ingredient to ensure that a blender has enough volume to blend well.
- Thin any homemade puree with water, formula, or breast milk.
- Freeze any baby food you won’t use within 3 days in an ice cube tray. Transfer frozen cubes into freezer storage bags for up to 3 months. Thaw these frozen baby food recipes in an airtight container in the fridge overnight before you plan to serve.
- Taste all fresh foods for sweetness and to ensure that your puree isn’t too tart. To tame tartness, mix any puree with Banana Puree , Avocado Puree, Applesauce, or Mashed Sweet Potato.
- If you want to add fat or protein to any of these fruit or veggie purees, simply stir in a little whole milk yogurt, coconut cream, or Avocado Puree.
- Use breastmilk or formula in place of the water if desired.
- Mix two purees together for more complex flavors.
- Add texture to any puree by stirring in baby oatmeal or hemp seeds.
- For more details on each of these, find them here: Avocado Puree; Banana Puree, Bean Puree; Blueberry Puree, Kiwi Puree, Mango Puree, Pineapple Puree, Peanut Butter Puree, Peach Puree, Strawberry Puree
I’d love to hear your feedback on this way of making simple baby food, so please comment below. I so appreciate hearing your experience with my recipes!
Prep Time 5 minutes
Cook Time 0 minutes
Total Time 5 minutes
Author Amy Palanjian
Cuisine American
Course Baby Food
Calories 42kcal
Servings 4
- ▢ 1 cup blueberries, diced strawberries, diced peaches (peeled), diced kiwi (peeled), diced pineapple (peeled), diced banana (peeled), diced mango (peeled), diced avocado (peeled), OR beans (rinsed and drained)
- ▢ water, formula, or breast milk (as needed)
Choose one fruit, the avocado, or beans and add to a blender.
If making the puree with blueberries, strawberries, peaches, kiwi, pineapple, mango, or beans, add ¼ cup water and blend, adding more water as desired to make a thin, very smooth puree. If making avocado or banana, just blend (without water) until very smooth.
Serve or store in an airtight container for 3-5 days in the fridge, or up to 3 months in the freezer.
Vitamix Blender
Storage Containers
Silicone Ice Cube Tray
- Use at least 1 cup base ingredient to ensure that a blender has enough volume to blend well.
- Thin any homemade puree with water, formula, or breast milk.
- Freeze any baby food you won't use within 3 days in an ice cube tray. Transfer frozen cubes into freezer storage bags for up to 3 months. Thaw these frozen baby food recipes in an airtight container in the fridge overnight before you plan to serve.
- Taste all fresh foods for sweetness and to ensure that your puree isn't too tart.
 To tame tartness, mix any puree with Banana Puree , Avocado Puree, Applesauce, or Mashed Sweet Potato.
 - If you want to add fat or protein to any of these fruit or veggie purees, simply stir in a little whole milk yogurt, coconut cream, or Avocado Puree.
- Use breastmilk or formula in place of the water if desired.
- Mix two purees together for more complex flavors.
- Add texture to any puree by stirring in baby oatmeal or hemp seeds.
- For more details on each of these, find them here: Avocado Puree; Banana Puree, Bean Puree; Blueberry Puree, Kiwi Puree, Mango Puree, Pineapple Puree, Peanut Butter Puree, Peach Puree, Strawberry Puree
Serving: 0.25cup, Calories: 42kcal, Carbohydrates: 11g, Protein: 1g, Fat: 1g, Saturated Fat: 1g, Polyunsaturated Fat: 1g, Monounsaturated Fat: 1g, Sodium: 1mg, Potassium: 57mg, Fiber: 2g, Sugar: 7g, Vitamin A: 40IU, Vitamin C: 7mg, Calcium: 4mg, Iron: 1mg
Tried this recipe?Rate in the comments and tag @yummytoddlerfood on IG!
Tips on Freezing and Best Containers
Learn the secrets to storing and freezing homemade baby food for ultimate freshness—AND the best baby food storage containers to use to ensure that you never waste what you make!
Baby Food Storage
Going through the effort to make homemade baby food really only works if you have a good plan for how to store the food to ensure that it stays fresh and that baby has plenty of opportunities to enjoy it.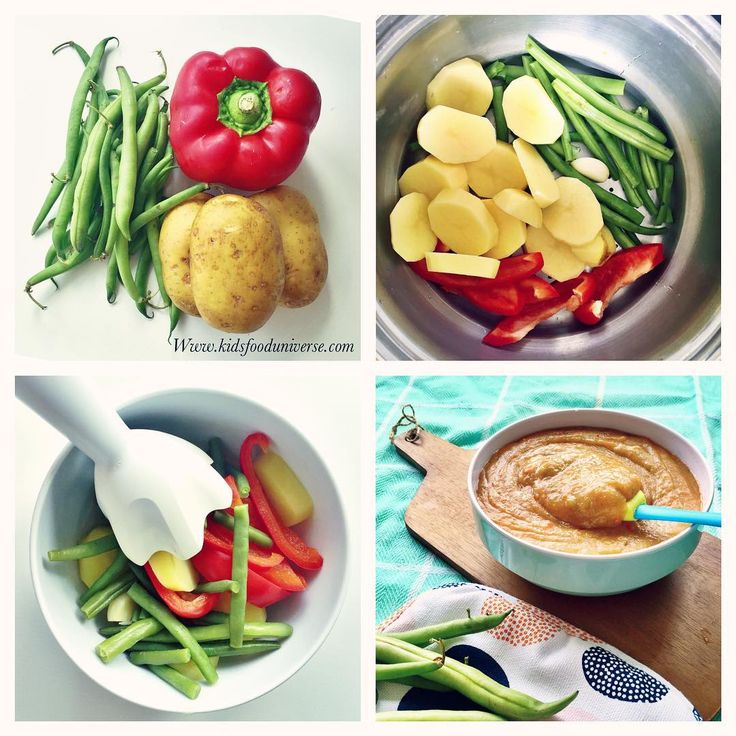 After making a LOT of baby food for my third kiddo to send with him to daycare, I got into a good routine of making and storing baby food—both in the fridge and freezer. Here’s how you can do it too.
TIP: You can find my favorite baby food recipes here.
Homemade Baby Food Storage: In the Fridge
You can store baby food in the fridge in airtight containers for up to 3 days. You can use masking tape and a Sharpie to label the containers with the contents and the date if you have a hard time keeping track of when you made something. (It’s definitely helpful to do that!)
Best Baby Food Storage Containers
I have a four favorite baby food storage containers that I use regularly.
1. Wean Green Baby Food Cubes
These are small, incredibly durable, and made from glass. They’re easy to clean and last forever. (Seriously, I’ve been using the same set for 7 years and they’re still as good as new!) $19.99 for a set of 4
2.
 Easy Lunchboxes Mini Dippers
These small containers are a perfect size for 1-2 frozen baby food cubes and they’re my go to for packing food for a baby to take to daycare. They also nest nicely when stored in the cabinet. $7.95 for a set of 8
3. Beaba Food Storage Containers
I have two sets of these and I use them regularly for larger amounts of baby food (you could probably fit 4 cubes of frozen food) and for toddler snacks. When assembled, they snap together, so they’re an easy way to stay organized. $14.95 for a set of 6
4. Oxo Tot Baby Food Blocks
This neat system is easy to keep contained in the fridge and is also made from a polypropylene body that is PVC, BPA, and phthalate free. They are dishwasher and microwave safe. $9.99 for a set of 6
Homemade Baby Food Storage: For Freezing
Storing homemade baby food in the freezer allows you to make a bigger batch at once, and then serve it to baby over the course of a few weeks or months.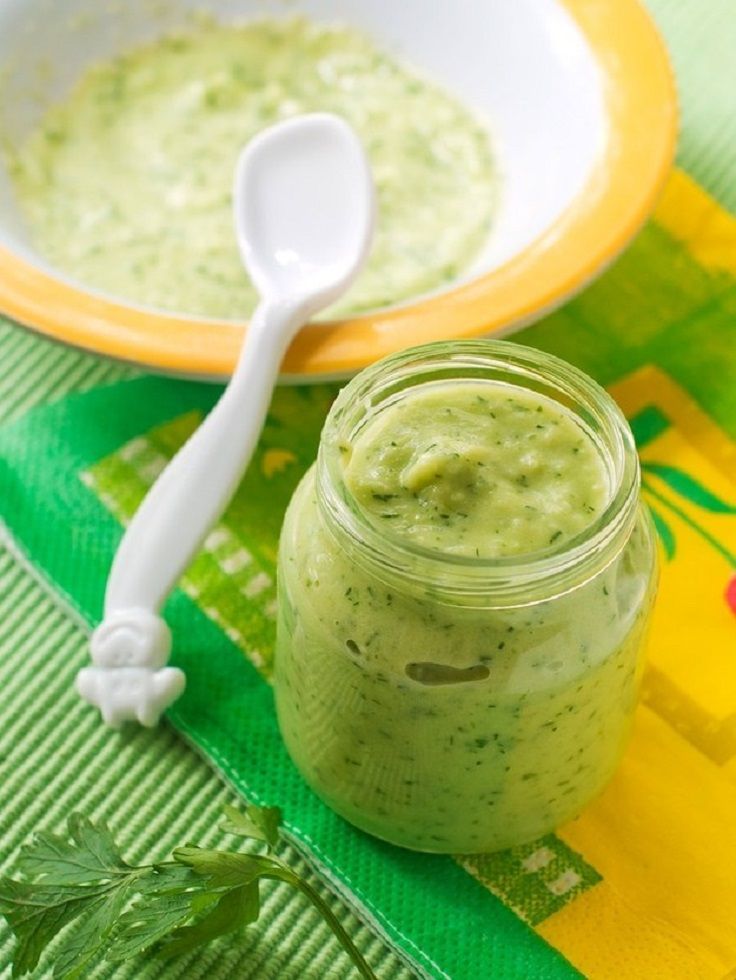 The easiest way is to use an ice cube tray, which has the added benefit of portioning out the baby food nicely.
TIP: Any ice cube tray will do. You can use silicone ice cube trays if you prefer a non-plastic option.
Baby Food Storage Without An Ice Cube Tray
If you don’t have an ice cube tray or you’d just rather not use one, you can place a predetermined amount of baby food into a pint-size freezer bag. Remove as much air as possible, press flat, and seal. Place flat in the freezer to freeze. Then you can thaw the entire bag in the fridge overnight, or break off a portion of it to thaw.
How to Store Baby Food in the Freezer Step by Step
- Place baby food into each compartment of the ice cube tray, or fill as many as you need to with the amount of baby food you have.
- Cover (if your ice cube tray has a cover) and freezer for 4-6 hours or overnight.
- Pop out frozen cubes and transfer to freezer storage bags. Label as desired with the type of baby food and the date.
- Store in the freezer for up to 3 months.
TIP: I like to have a bag of sweet fruit purees and more savory vegetable purees to avoid having too many separate bags in the freezer at any given time. Then you can combine them into baby food combinations easily!
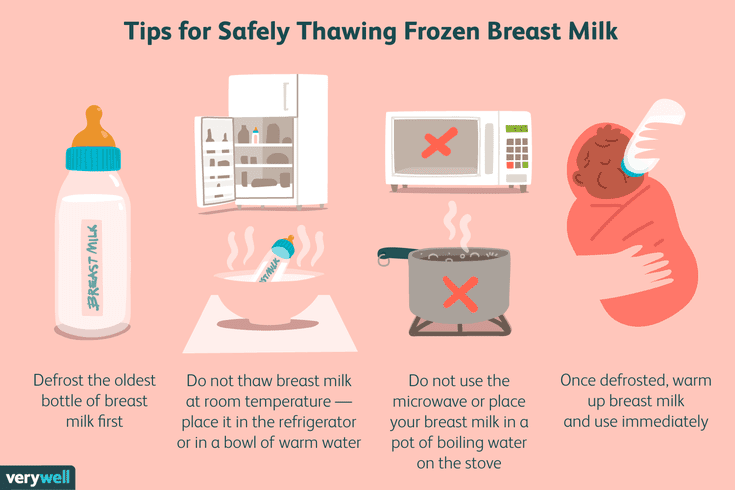
How to Thaw Baby Food
To thaw baby food, simply remove a cube (or as many as you need) and place into airtight containers. Thaw overnight in the fridge and serve. 1 cube may be plenty for a baby aged 6-7 months and older babies may enjoy two cubes.
Tips for the Best Baby Food Storage
- Keep fresh baby food in an airtight container for up to 3 days in the fridge.
- Use a regular ice cube tray to freeze, a silicone ice cube tray with a lid, or a small freezer bag with the contents pressed flat.
- Store frozen baby food in a freezer storage bag in the freezer for up to 3 months.
- To avoid freezer burn, try to remove as much air as possible from the storage bags.
- Label your bags with the contents and the date.
- To thaw baby food, simply remove a cube (or as many as you need) and place into airtight containers. Thaw overnight in the fridge.
- Use leftover baby food to flavor yogurt, baby oatmeal, baby rice cereal, smoothies, or cottage cheese.
- See some of my favorite Baby Food Pouch recipes here for more ideas on how to serve your baby food!
I’d love to hear your feedback if you have another storage technique or container that you love, so please comment below!
How to cook baby food - Encyclopedia Baby food
Viktoriya Levchuk© Broccoli, zucchini and cauliflower pureeTaking care of your child's health in today's world means starting complementary foods right with whole, healthy foods prepared with love. Most mothers will immediately ask how to prepare baby food that is of high quality, easily digestible and tasty.
Canned food can sometimes seem easy to feed a baby, but when you start reading the ingredients of each tiny can (not to mention the cost of each can), it makes more sense to try your hand at making homemade baby food yourself.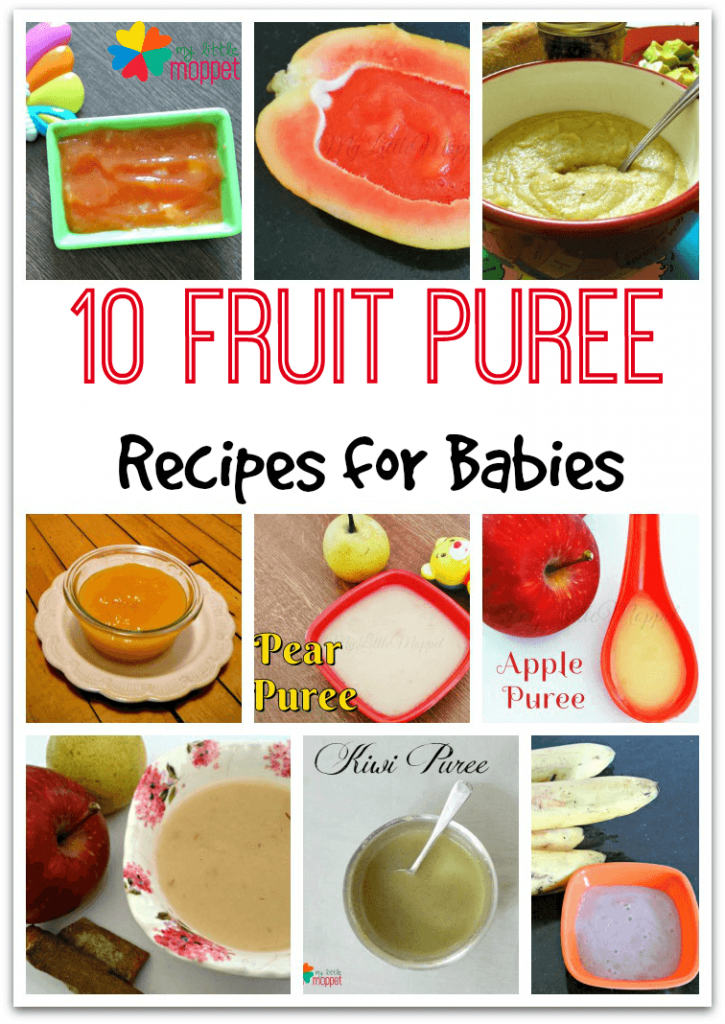 nine0005
When you think about how to prepare baby food, it seems so complicated. However, everything is much easier. In fact, baby food is the easiest recipe to prepare. Many mothers who hate to cook learn how to cook with healthy complementary foods for their beloved child.
Let's start with a few practical tips on what you need, what products to choose and what else to keep in mind to make the process as easy as possible.
Contents:
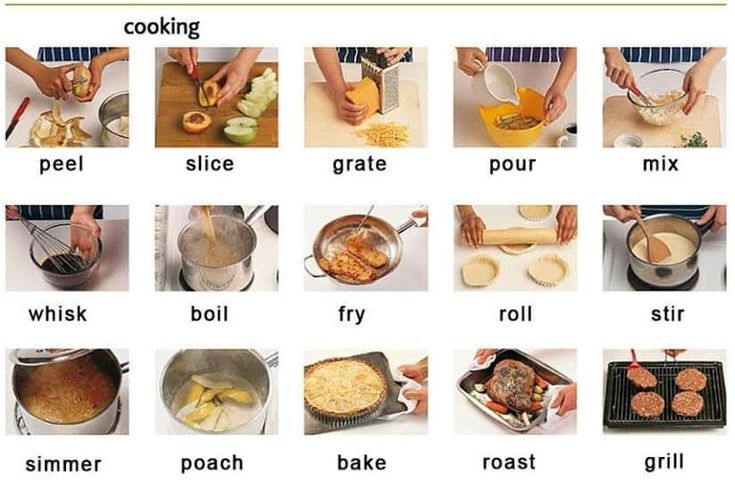
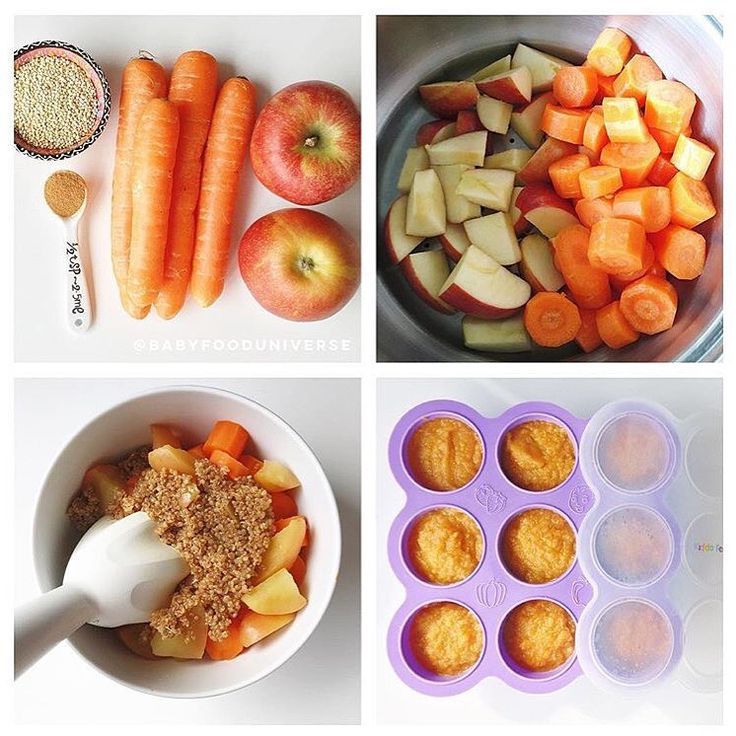
So, how to prepare baby food? Simple - choose a fruit or vegetable that needs to be introduced into complementary foods, cook until tender, make a smooth puree and voila ... a batch of baby food is ready. And now to the details, the following tips will teach you how to cook baby food in no time. nine0005
1. Buying the right tools
-
Blender
This “devil machine” is the best assistant in the kitchen. Only a blender can bring fruits, vegetables, grains, meat and other products to the ideal consistency.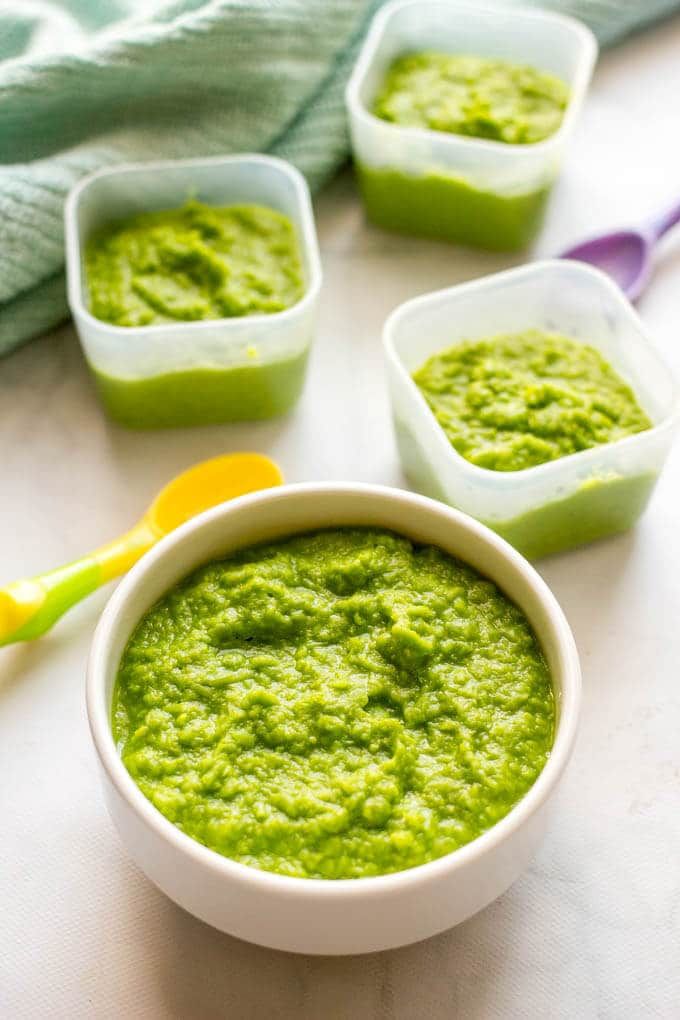 During the first few months, solid foods are made smooth and tender without lumps so that the baby's digestion slowly gets used to the complex textures.
-
Stainless saucepan
Good, regular dishes will always be washed. The first experiments burn, stick and are almost not washed off. Buy one good quality baby food pot. I have never regretted in 6 years. She washes with a brush, dishwasher, iron brush and she is still like new. We choose high-quality, stainless dishes, small up to 1 liter, with a good handle and lid. I have a lid with heat protection, I can take it with my bare hands, it is not hot, and neither is the pen.
Broth with peas and rice-
Baby food freezer tray with lid
One good plastic or flexible silicone tray will last a long time. Moreover, it is needed for the first 4-6 months; you will not need to freeze baby purees anymore. You can buy without a lid, but then you have to suffer from bags, as baby purees love to absorb odors from the freezer. During meals, portions can be diced and heated in the microwave before serving. nine0005 freeze mold
-
Food thermometer
Many new mothers are advised to buy a food thermometer. I didn't buy. My wrist was an indicator, always, if I'm hot, then the child will be very hot. But for speed and convenience, a food thermometer comes in handy to make sure the food is at the right temperature for small mouths.
-
Steamer or multicooker
A modern kitchen cannot do without these devices, because it is easier and more useful for us. In principle, a slow cooker will always help out when you need to cook porridge, and a double boiler - a lot of vegetables and fruits. These tools always help out, save the time of an eternally busy mother. I advise!!!
2. Choose Your First Foods Carefully
Choose fruits and vegetables for your first weaning foods that are rich in nutrients.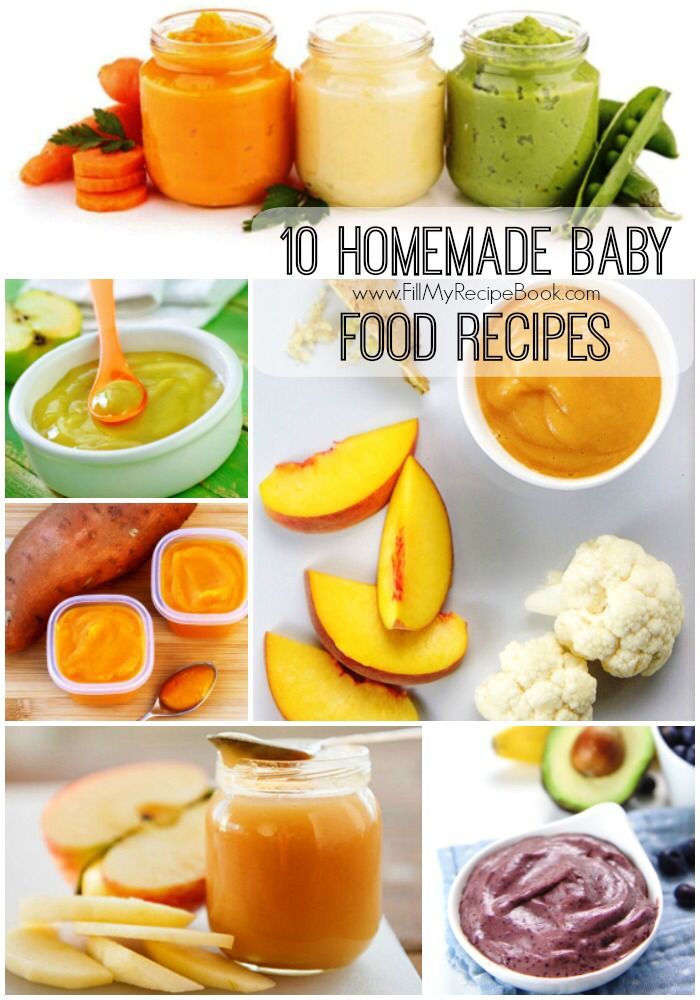 Brightly colored vegetables are fresh vegetables. For the first feeding, foods such as broccoli, zucchini, zucchini, pumpkin are suitable, they are rich in vitamins, and at the same time look attractive. Fruits such as apple and pear can be introduced from about six months of age and are also very rich in vitamins, such as blueberries and peaches. nine0005
It's a good idea to talk to your doctor about which foods to introduce first and what is the best age to start complementary foods (this can be between four and six months) and don't forget to start with one.
We offer the child the same food for four days - if any signs of allergy appear, the mother will immediately notice it.
3. Safety first
Making homemade baby food is a convenient way to provide your baby with a healthy diet free of additives and preservatives. nine0005
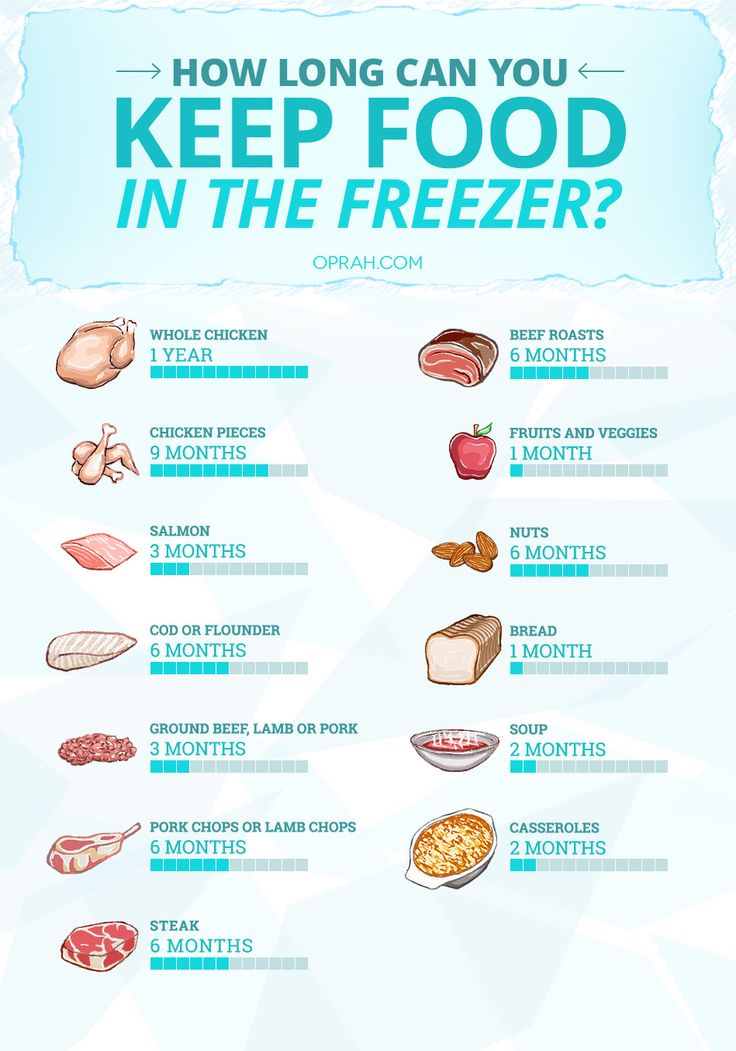
Preparing and freezing small batches of food in advance makes the task much easier. However, do not forget to throw away any food that has been touched with a used feeding spoon, food that has already been reheated, and food that has been in the freezer for too long. At first, it is recommended to keep frozen baby puree for no more than 1 month in the freezer.
Children's dishes can be washed in the dishwasher, the only thing you have to do is choose a cleaning agent for children. If there is no dishwasher, then wash the dishes under hot water, at first you can pour boiling water over before use. nine0005
Food should always be warm, but not hot. If there is no thermometer, we measure the temperature of the food with the back of the wrist before serving.
Avoid food or utensils that contain harsh chemicals that can react in microwaves or ovens and always keep your hands clean before handling any food.
I remind you that your child should wash their hands before preparing food. They should be washed frequently, as well as products that are cleaned and then cut. nine0005
What happens when products are rejected?
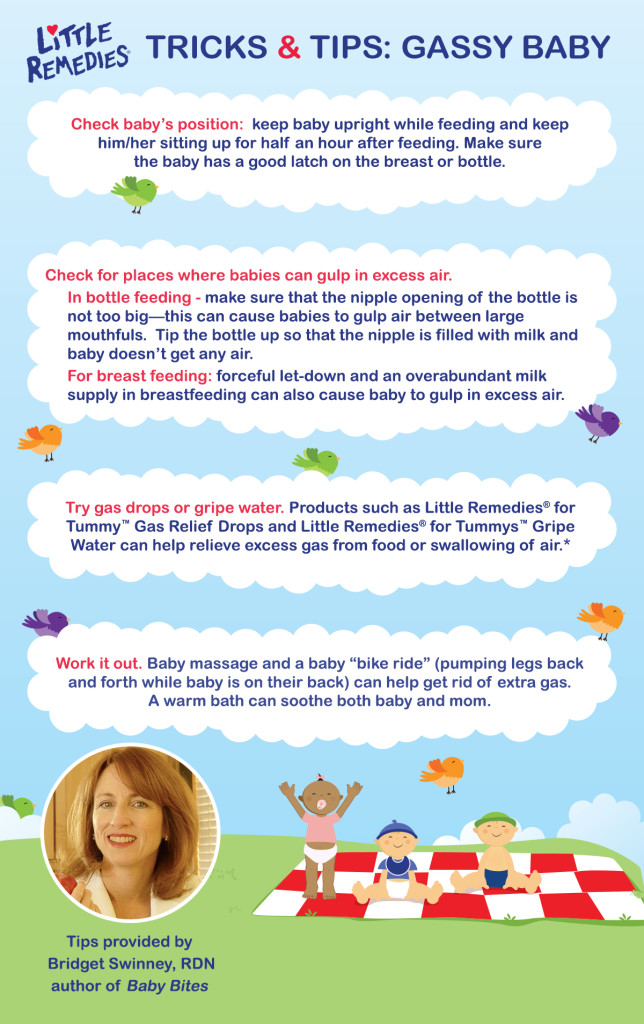
It is important to understand that a child likes and dislikes certain foods, but it is important to consider that as the baby develops, his tiny taste buds also grow and new taste preferences appear.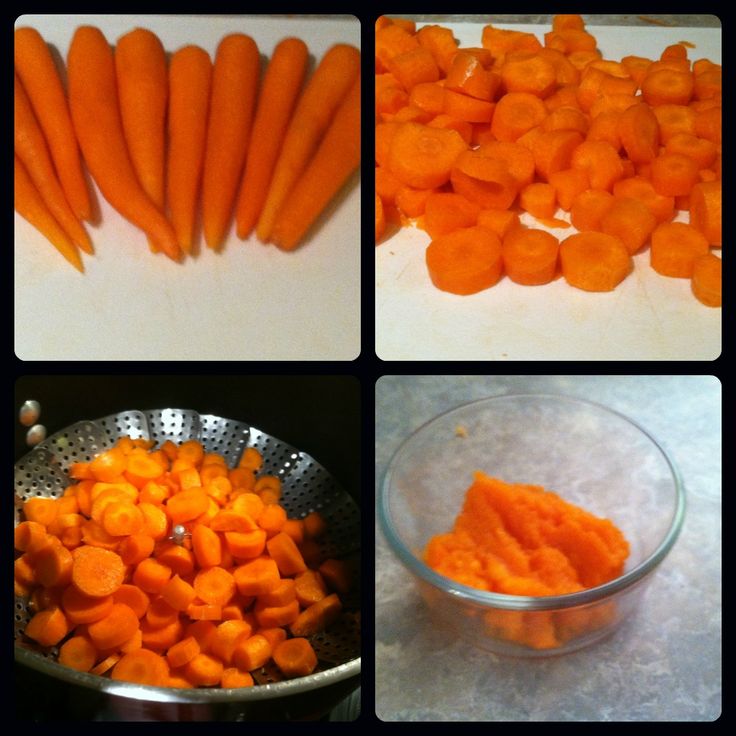 Parents need to be patient, the first feeding is a messy experience, so you need to have enough rags and bibs on hand to enjoy the baby's first taste sensations.
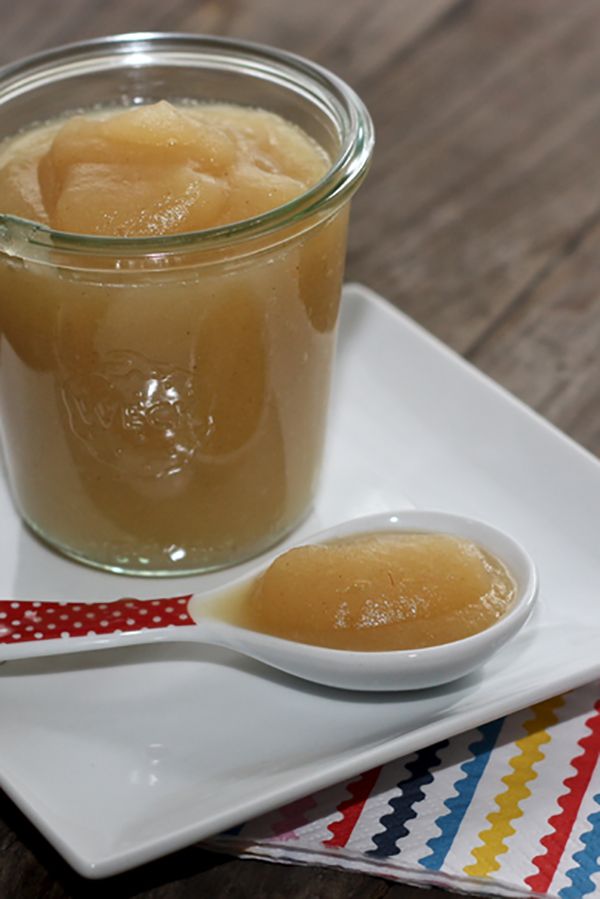
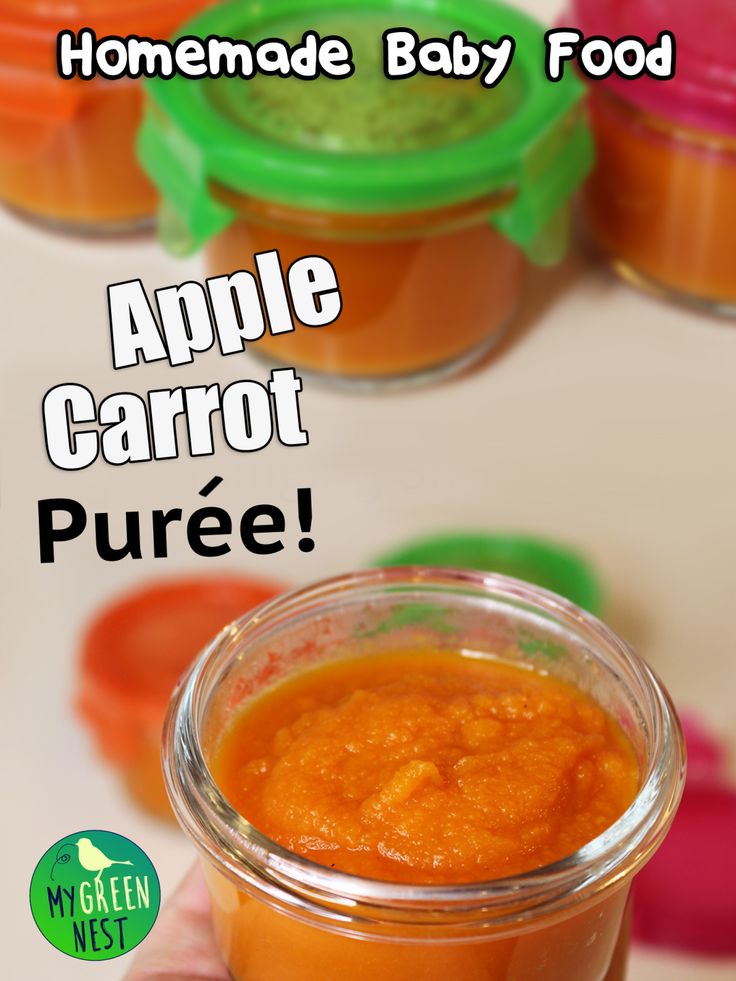
Baby fruit puree from pears and apples at home - step by step recipe with photo
Rate it
Buy groceriesFruit puree is a healthy food product made from fresh or frozen berries and fruits that have undergone heat treatment. Fruit puree is prepared from one type of fruit and berries or from their combination with each other. In addition to the main components, fruit puree contains various flavorings such as sugar, juice, rice water or ascorbic acid. Puree is especially useful to include in the children's diet, as it contains a maximum of vitamins and minerals needed by a growing body. nine0005
Author: Anastasia Stets,
reader and author of Food.ru
Nutritional value per 100 g. Calories calculated for raw foods.
Will be ready in
Time in the kitchen
20 minutes
Difficulty
We estimate the complexity of recipes so that you can calculate your time and effort.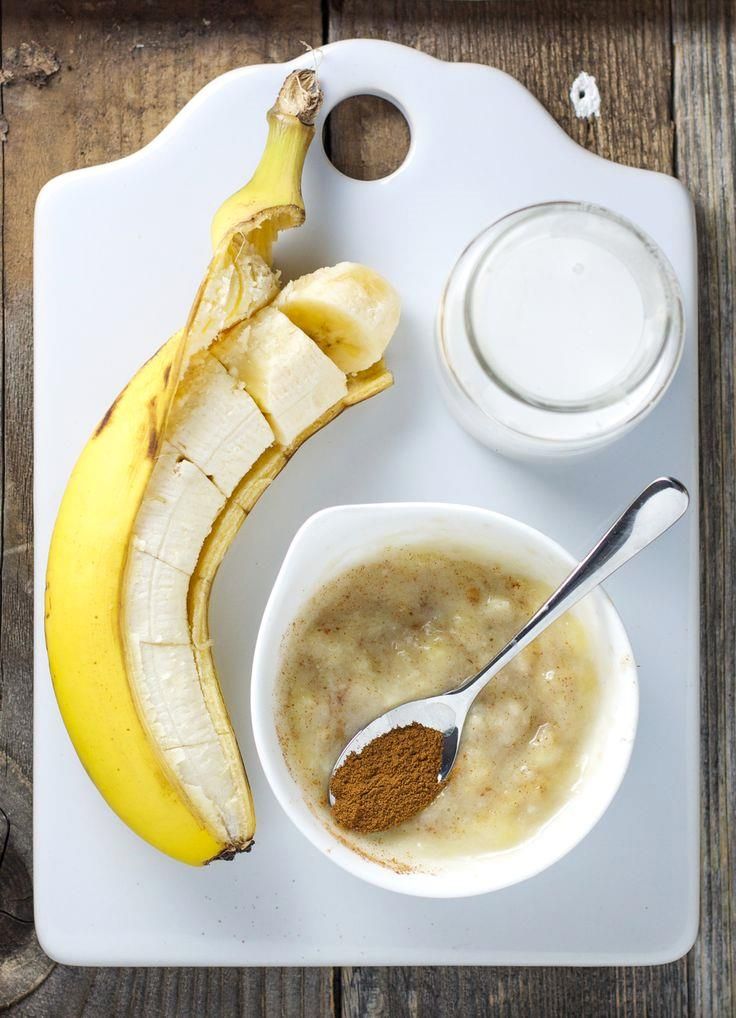
Levels 1-2: very simple and simple dishes.
Level 3: preparation is clear, but experience is needed, it may not work the first time.
Levels 4 and 5 will require special technique, skill and time.
Sharpness
Assessing how spicy the dish will turn out, to which pepper or spices are added according to the recipe.
1 - food was peppered quite a bit.
2 - pepper is felt, but the dish does not have a sharp aftertaste.
3 - A slight "sharp" aftertaste appears.
4 - pepper is strongly felt, but the dish can still be eaten without drinking.
Number 5 is very spicy food, not everyone will eat it! nine0005
Cuisine
Russian
Common allergen
Here we draw your attention to whether the dish contains common and dangerous allergens. Before cooking, make sure that you do not have an individual intolerance to other products from the list of ingredients.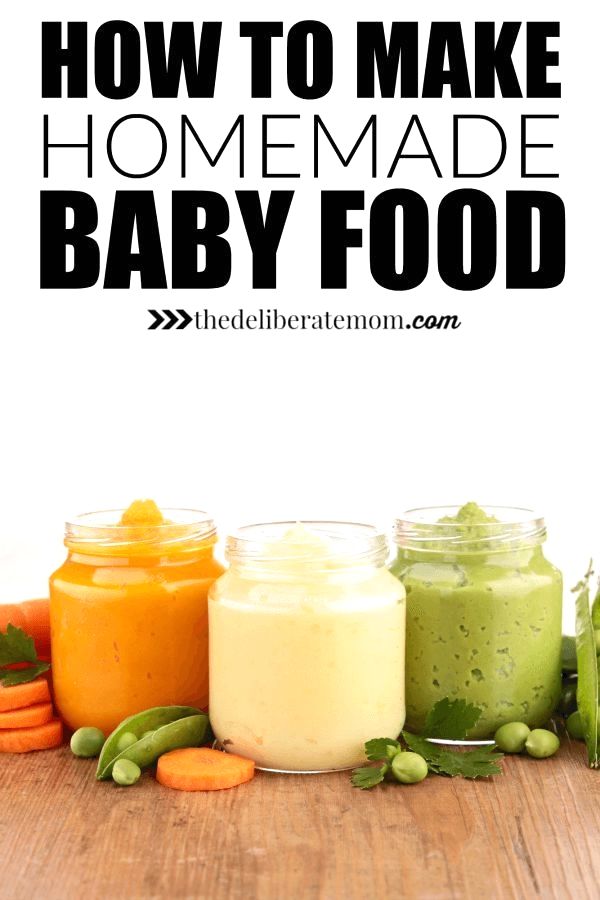
No
Make sure you don't have an intolerance to other ingredients.
Products for the recipe
Portions
For the dish
9015Step by Step Photo Recipe
prepare
Prepare the ingredients for the fruit puree in the required quantities. Wash pears and apples with water to remove debris and dirt, peel, cut in half and remove seeds and core.
Step 1
Cut the peeled apples and pears into small pieces, put them in a saucepan and add a little water to the fruit. Send the pot of fruit to the stove, bring the mass to a boil and, covering the fruit with a lid, simmer them over low heat for half an hour until soft. After the time has elapsed, remove the fruit mass from the stove and grind it with a blender to a puree state. nine0005
Step 2
Add sugar to the fruit puree, put the pot of fruit puree on the stove and bring to a boil. Boil the pear-apple puree for about 3 minutes, stirring constantly.