Tools for making baby food
Easy Baby Food 10 Useful Everyday Tools for Making Homemade Baby Food
When I was pregnant, I remember excitedly talking to another pregnant mom about homemade baby food and how great it would start making baby food at home. A few months after we both became new moms, I brought up the subject of making baby food at home and she told me that she just couldn’t handle the thought of making her son’s food along with everything else that came with caring for a baby.
I totally understand that having a new baby means having your hands full, but there was no convincing her that making homemade baby food is easier than you think! This is the first article showing you the many different ways you can make baby food for your little one at home. By the end of the series, I’m hoping you’ll not only be amazed at the variety of foods you can make for your baby, but also at the variety of ways you can make it!
If you like this post, please share it with others by pinning it on Pinterest.
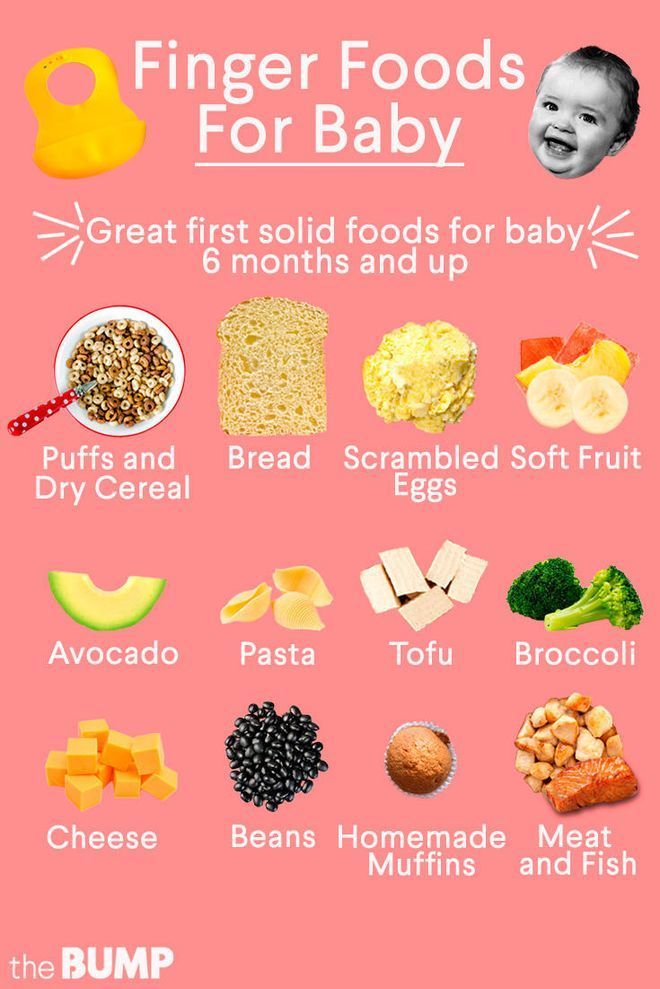
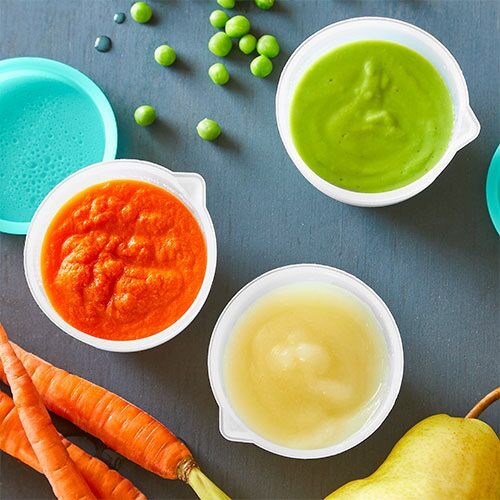
If you’re looking for easy baby food recipes, they’re all easy! Just puree and mash individual fruits and vegetables and mix them together. I have more advice coming up in a future article, but, really, you can’t go wrong if you stick with basic fruits and vegetables.
You’ll need a few tools for any method of baby food-making, but you probably already have at least a few of them in your home (you have a fork, right?). I strongly advise you to keep your budget in check before you purchase any specialty supplies for making baby food. After all, one really good reason to make homemade baby food is to save money!
If you do want or need to purchase something, look at the value it might add beyond the baby food years. For example, I have a nice food processor that I used to make baby food, and I still use it all the time for cooking prep and baking! It was an investment, but definitely worth it for the mileage I’ve gotten out of it. On the other hand, if you spring for a Beaba Babycook or other baby food maker you likely won’t use it after your little one starts eating regular table food.
Here are 10 useful tools you can use to make baby food at home:
Basic Tools: How to Cook Homemade Baby Food
- Basic saucepan :: almost every fruit or vegetable you serve to your baby needs to be cooked. A no-frills saucepan with a 1.5 to 2-quart capacity is step #1 in basic baby-food making.
- Slow cooker or Crock Pot :: Slow cookers are perfect for those who “don’t have time” to make baby food at home. Most foods just need to be rinsed and possibly peeled before tossing into the slow cooker. You don’t even need to slice most of them (they’ll just need a longer cooking time). I have this 2.5 quart Crock Pot and it worked wonderfully for baby food.
- Food steamer :: You can definitely use steam to cook everything without a food steamer.
 At around $40, I understand that this isn’t the cheapest option. I just wanted to share that I used this Oster steamer because it was really nice to set the timer on it and get other things done while letting the steamer do the work. Plus, a steamer one of those appliances that can be used before and after the baby food-making stage.
 - Steamer basket :: This is a great companion to your saucepan. Steaming is an incredibly healthy way to cook almost any fruit or vegetable, and you can even steam meat to make it extra tender. I received a food steamer like the one above as a gift, but, at $6, a steamer basket is a much more affordable option!
Basic Tools: How to Mash or Puree Homemade Baby Food:
- Table fork or Potato Masher:: Yes, an everyday table fork is easily the most affordable and accessible tool in this list! A fork is perfect for already-soft foods like bananas and avocados. You can also try using a potato masher or fork to mash cooked foods, but your baby might insist on a totally smooth texture.
 In that case, you’ll be better off with an electric option like a blender or food processor.
 - Food Processor or Blender :: If you don’t have one of these, you probably shouldn’t buy one with the express purpose of making baby food. While it makes the process easier, Either one is a hefty investment when you should be saving money! If you have both of these, the food processor is a better option because is requires a lot less liquid to get a smooth consistency. If you only have a blender, never fear! It will work just fine to make your baby food.
- Immersion Blender :: If you already have an immersion blender or if you were planning on buying one for other purposes, it’s is a fabulous option for making ultra-smooth baby food. The only catch is that you’ll need to add a significant amount of liquid to get it pureed, but your baby might prefer it that way. One other option is to cook the food, add water, blend it with the immersion blender, then keep it on a low heat to let some of the excess water steam off before cooling and storing the baby food.
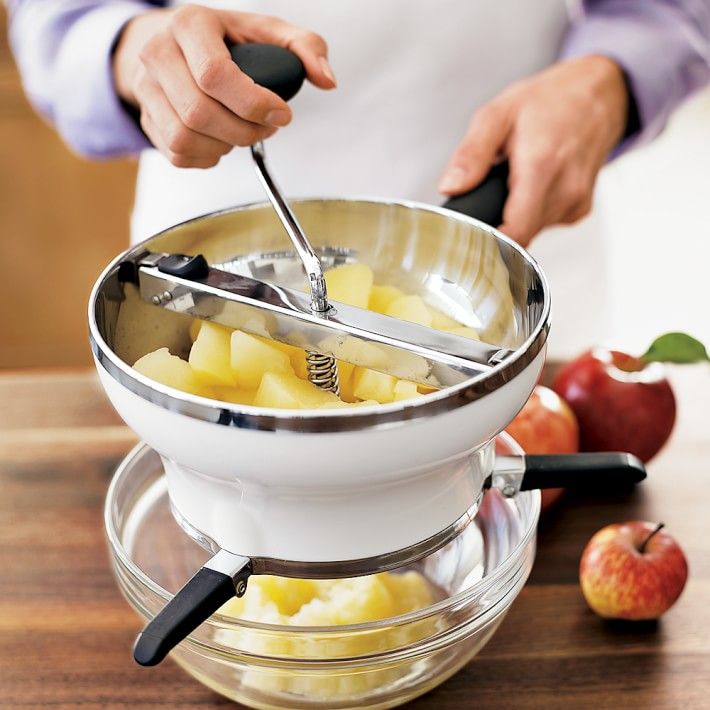
- Baby food grinder or Food Mill :: While this is a tool that has one specific purpose, a handheld, rotary baby food mill is far more affordable than other options and it’s an easy way to finely mash up baby food. One advantage to a baby food grinder is that you can make any food into baby food “on demand.” If you’re having chicken noodle soup for dinner, you can just run some of the chicken, noodles and vegetables through the grinder on the spot for baby.
Basic Tools: Storing Homemade Baby Food
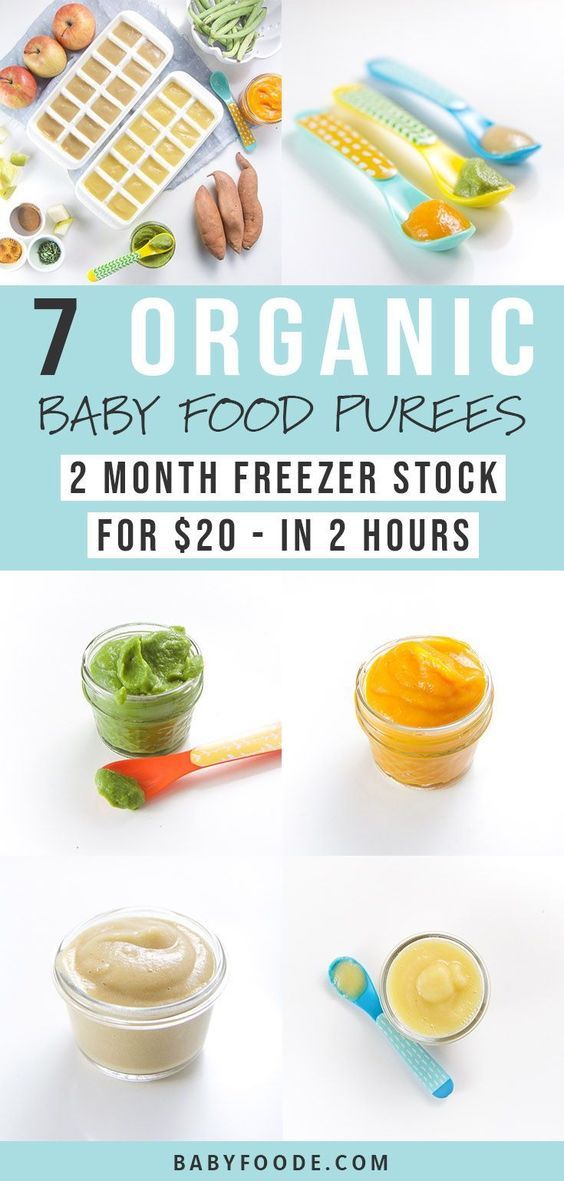
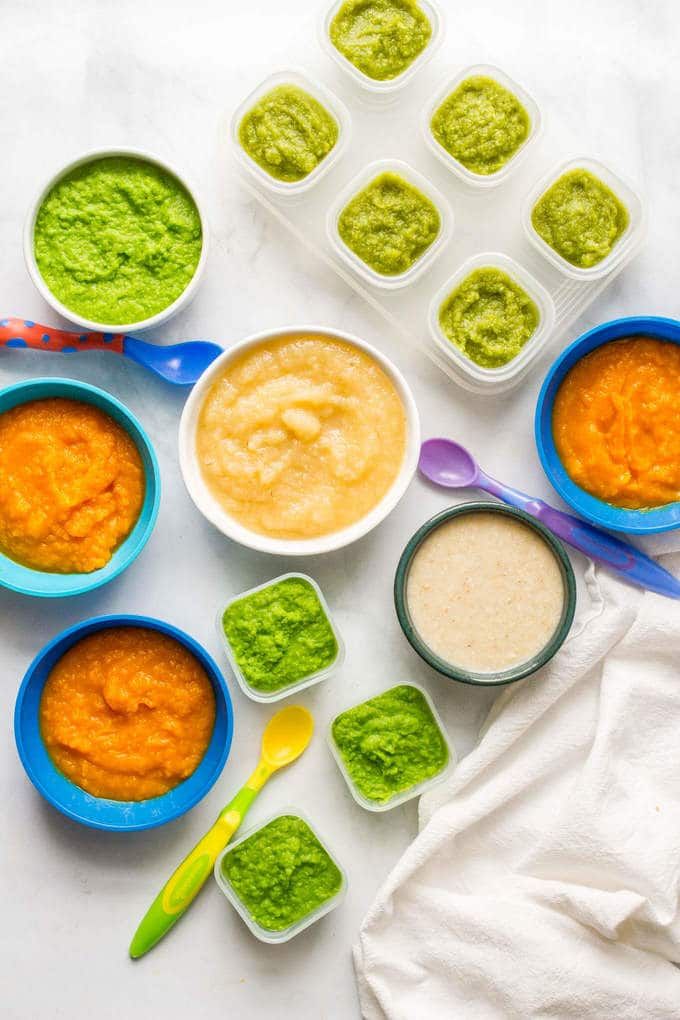
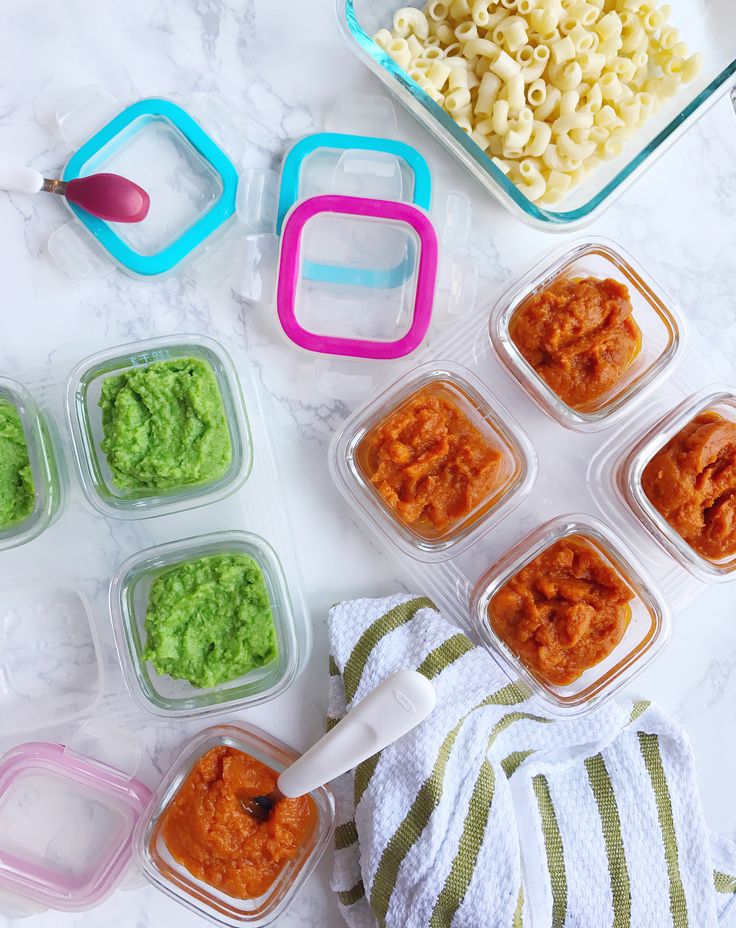
- Ice cube trays :: If you’re planning on making more than one serving of baby food at a time, then you need a way to store them. Forget the expensive baby “food cubes”. If you want to freeze more than 8 or 10 cubes at a time you’ll end up spending a small fortune on multiple cubes. Go ahead and grab some basic ice cube trays instead; Dollar Tree usually carries two ice cube trays for $1! Pour the pureed food in the trays and pop them in the freezer.
- Zip top freezer bags :: After the baby food frozen in the ice cube trays, run hot water over the bottom and pop the cubes out into a Ziploc freezer bag. You can keep separated by food type or mix them all together. If you only have regular ziplock bags just double-bag the baby food cubes to prevent funky-tasting baby food.
As you can see, you have a lot of options in the methods you can use to make your own baby food. You might not even have to spend a thing, depending on what’s already in your kitchen!
Keep an eye out for more homemade baby food articles!
(Photo credit)
Have you made homemade baby food? What tools did you use? Are there any that you recommend?
Best Feeding Essentials for Baby (Purees or BLW)
Sign up Today Course!
Home » Feeding Style » Baby Food Purees » Stage Two » Best Feeding Essentials for Baby (purees & baby-led weaning)
by Michele Olivier on March 12, 2019 (updated Apr 18, 2022)
Looking to make your own homemade baby food but not sure what kitchen items you will need? This guide will go into detail on which equipment, tools, and feeding essentials you will need to feed your baby successfully. Great for 6-12 months.
Feeding Essentials for Baby
Do you want to make homemade baby food, but you’re not sure what equipment and tools you need?
Then look no further!
This guide has it all for you – what feeding essentials you need for your baby and what tools and equipment you need to have in your kitchen to start making your own food.
I have spent 10 years and hundreds of hours making my baby food, which means I have tried out all the gear for you. My hard work is your gain!
While most of the feeding essentials and tools are the same for both baby food purees as well as baby-led weaning, I will go into detail about what you need for both.
Is it your first time making homemade baby food? If you answered yes, then I suggest you start this journey by reading my in-depth Guide on How to Make Homemade Baby Food. The detailed article goes over all the essential information such as the best cooking tools to have on hand, safe storage, knowing when your baby is ready for solids, introducing purees, making the best first foods for baby, and more! You can also check out my best-selling cookbook for even more information and recipes.
How to Make Baby Food Video
Watch this video to see how easy it really is to make homemade baby food!
Baby Feeding Essentials
From high chairs to spoons – this is a shortlist of the essentials you need to feed your baby.
- High chair: You will need a high chair to help keep your baby from moving around while eating. It’s also there to give baby the support they need to have proper form while they eat.
- Suction bowl or baby bowl: A small bowl with high sides is perfect for serving your homemade purees to your baby. We like suction bowls as they tend to stay on the table or high chair once baby starts to self-feed.
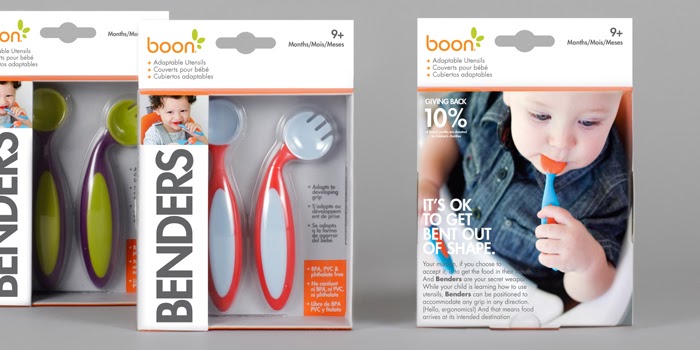
- Baby spoon: You are going to need several spoons for your baby. There are spoons made for baby purees, spoons that are made for baby-led weaning as well as some spoons made to help teach baby to self-feed.
- Open lid cup: To help your baby transition from breast or bottle to a cup, you will need a sippy cup or open lid cup.
 For more information, read our guide on Best Sippy Cups for Baby.
 - Bib with catch pocket: Great for keeping those cute baby clothes clean. A catch pocket is great for when they start to eat finger foods.
- Sleeved bib: If you are doing baby-led weaning or a combo of purees and BLW, then we recommend this sleeved bib to keep your baby clean when things get messy.. and they will get messy.
- Splat mat to cover the floor: A ‘fun’ phase most babies go through is dropping things on the floor – cups, spoons, plates, foods, etc. This just helps keep your floors looking not so messy.
- Baby wipes: To wipe down baby, the table, your floor, your face and hair, you name it – baby wipes are up for the job.
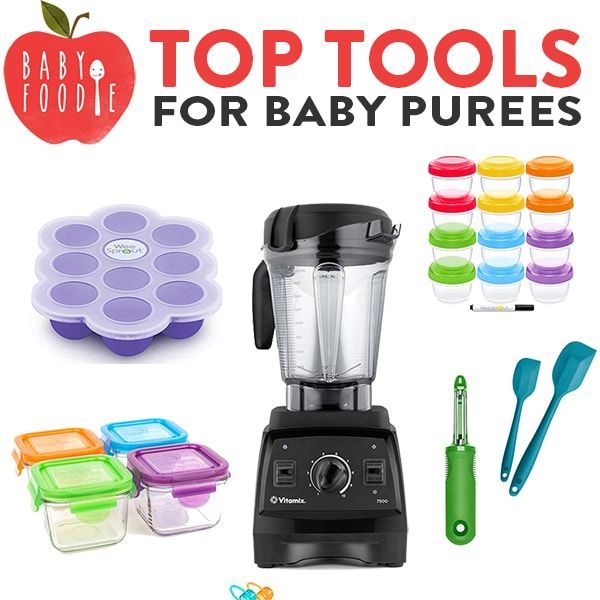
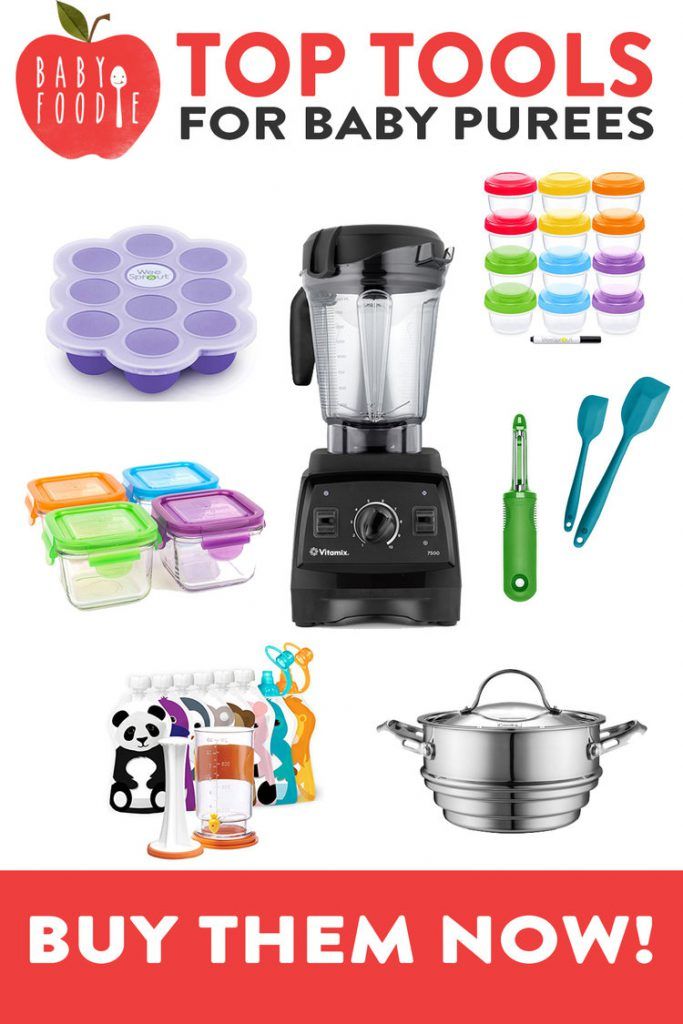
Top Tools for Making Baby Purees
While most of these kitchen tools you may already have in your kitchen, here is what you will need in order to make homemade baby food.
- Blender or food processor: It doesn’t need to be fancy, but if you are going to make homemade baby purees, you will need a blender or a food processor.
 Since this is a piece of kitchen equipment that you will use for years, I think the price makes up for the value. For a budget-friendly blender, I would recommend the Ninja Professional Countertop Blender.
 - Baking sheet: Most likely you already have these in your kitchen, but you will use them to roast and bake fruits and vegetables before you blend them.
- Saucepans: You will need a saucepan or two to cook the produce before you puree it.
- Steamer insert with lid: I love my steamer insert and use it all the time. For baby, you will be using it to steam the fruit and veggies to make them soft enough to blend. You can also use these Two-Pack Vegetable Steamer Baskets instead of an insert. I do think the insert holds more produce than the baskets do.
- Knives: Another item you probably already have, but you will need something to cut up fruits and veggies.
- Veggie peeler: Invest in this good set, and your fingers will thank you.
- Spatula: For scraping the inside of the blender or food processer.
- Freezer tray: Once you blend your purees, you can freeze them in these freezer trays. WeeSprout is my favorite tray as they have a good size portion, a lid that clicks on so you can stack your trays and the frozen purees are easy to pop out. You can also use this tray for freezing breast milk. I would recommend you get 4-6 of these trays. Another budget-friendly option is the 3 Pack of Silicone Ice Cube Molds Tray with Lid. For more information, read our guide on Best Baby Food Storage Containers.
- Storage containers for fridge: While the above is good for freezing, these containers are great to use for keeping a stash of baby purees in the fridge or because they are leak-proof, they are also great for filling with your favorite puree before tossing it into your diaper bag for an on-the-go meal for baby. For a BPA-Free plastic version, I recommend the WeeSprout Baby Food Storage Containers.
 Again, for more information, read our guide on Best Baby Food Storage Containers.
 - Stasher bag: Once you freeze your purees, you can pop them out of the trays and put them inside a stasher bag or zip-lock baggie to store for 3-4 months in the freezer.
- Reusable pouches: These pouches are great for both babies and toddlers. For babies, you can store all of your baby purees in these pouches and then just take them out and defrost in the fridge as needed. Great for daycare, outings in the park, or traveling. For toddlers, you have yourself a quick and healthy snack! You will seriously get your money’s worth out of these reusable pouches. If you tend to be messy in the kitchen, a Mini Collapsible Funnel is nice to help get the purees into the pouches.. just saying;)
- Baby food maker: If you want an option to have a little help making homemade baby food then this is my all-time favorite baby food maker. Read more about the Best Baby Food Makers here.
Top Tools for Baby-Led Weaning
While baby-led weaning is all about serving your baby the foods you are eating, you will need a few helpful items to really master feeding your baby with this style.
- Baking sheet: Most likely you already have these in your kitchen, but you will use them to roast and bake fruits and vegetables before you serve them to your baby.
- Saucepans: Another item you will most likely have in your kitchen. You will use this to cook harder produce so it’s soft enough for your baby to eat.
- Steamer insert with lid: I love my steamer insert and use it all the time. For baby, you will be using it to steam the fruit and veggies to make them soft enough to blend. You can also use these Two-Pack Vegetable Steamer Baskets instead of an insert. I do think the insert holds more produce than the baskets do.
- Sectioned plate: We love this sectioned plate because it has walls that help your baby be able to push food against to make it easier for them to pick up the food to eat it.
- Easy to hold fork and spoon: The larger bottoms on these spoons and forks make it easier for babies that are using their palmar grasp to hold onto their utensils.
- GOOtensils: Another great utensil that I highly recommend. The design of this spoon allows for a thicker puree such as yogurt, applesauce as well as mashed foods to stick to the spoon in the allotted spaces, making it easy for your baby to spoon-feed themselves these sometimes tricker foods.
- Wavy crinkle cutting tool: A great tool to have on hand when cutting finger foods like sweet potatoes, carrots, apples, mango, etc, that give these foods a little extra grip.
- Grape cutter: This tool makes it easy to cut grapes so they are less of a choking hazard.
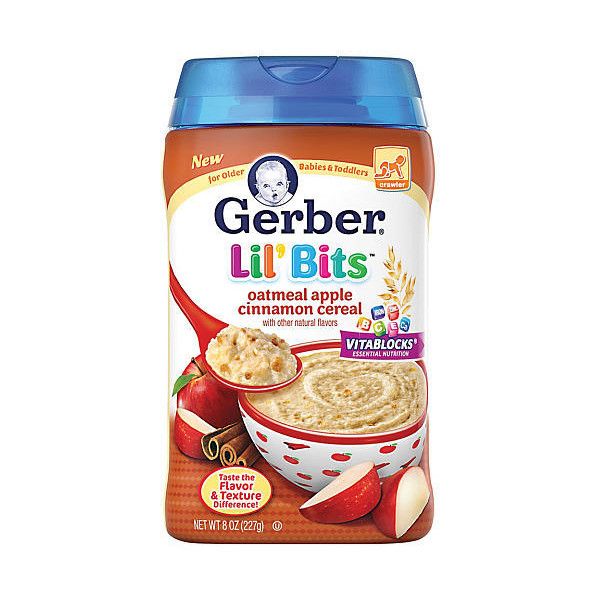
« Previous PostMulti-Grain Probiotic Baby Cereal
Next Post » Whole Grain Cheese Crackers (Baby + Toddler)
How to choose a baby food maker
Motherhood is much easier when there are helpers nearby. And they can be not only close people, but also equipment. Having at hand a couple of useful devices, you can save about an hour every day (plus or minus), which you can devote to yourself or your child.
Organization of nutrition for the baby is just the process that takes the most time. And it's great that it can be significantly simplified. Let's take a look at the different types of baby food and how to choose the right one. nineOl000 expressed milk, but the bottle must be sterile, and the food itself must be at body temperature (36-37 ° C). Many mothers heat milk the old-fashioned way - in a microwave oven or in a mug of hot water. But this process takes a lot of time, besides, you need to go to the kitchen, and it is unpleasant to do this at night. nine0003
Modern technology comes to the aid of mothers - bottle warmers and sterilizers. They can be placed in the room, so you don’t have to go far.
Consider the main types of heaters and sterilizers, and how to choose them correctly.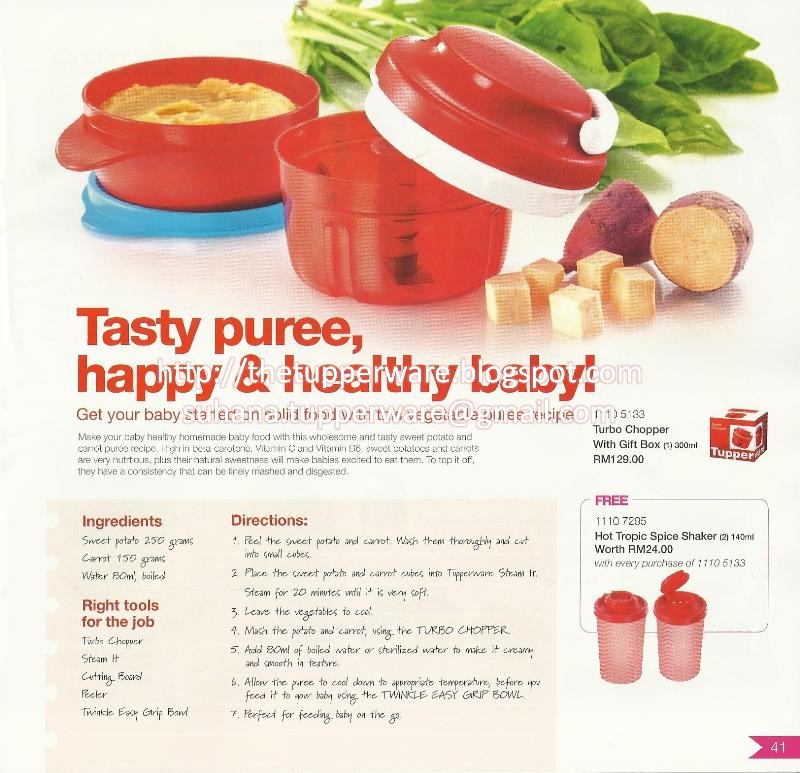
Bottle warmers
Bottle warmers are:
-
Steam: bottles are heated by hot steam. The device maintains the desired temperature, so the mixture does not overheat. Such models are not designed for a large number of bottles. nine0003
-
On hot water: the food will be heated by water at 80-90°C. Here you need to get the hang of it a little, because you can overheat the mixture, the bottles are hot and hot water drips from them.
-
On warm water (50-60°C). There are no risks here, but heating is slow.
-
Electric: the bottles are heated by a heating element. These are fast and convenient models. No need to mess with water, the device can be taken in a car or a trip. But the bottom of the mixture will be hotter than the top, so it needs to be shaken and checked for temperature. nine0003
The choice of one or another type of heater depends on personal preferences for the convenience and speed of the process.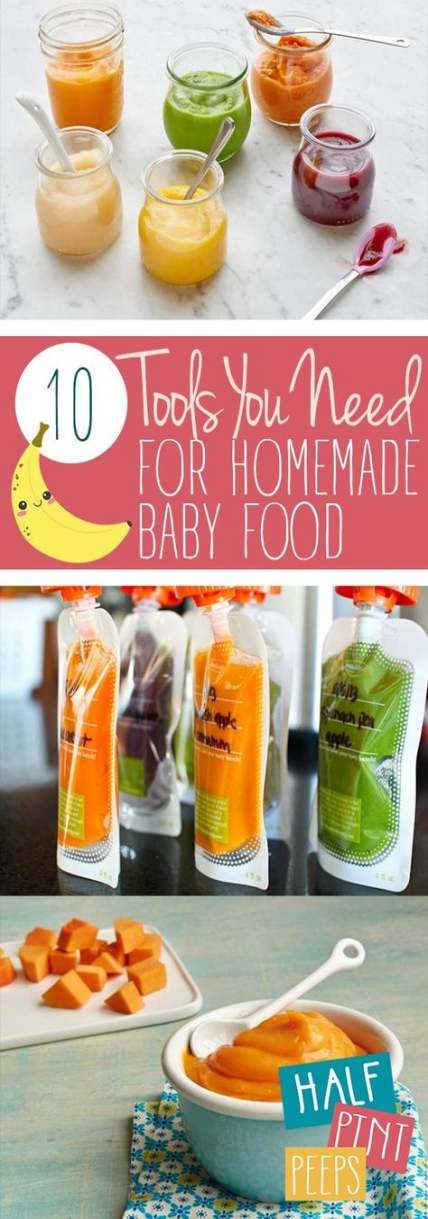
It is also important to pay attention to the number of bottles that the device can hold. If there are several of them, you will provide the baby with food for the whole night. Models with one bottle take up less space, but then there will be no supply of warm mixture.
It is very convenient to have a temperature maintenance mode. With it, the food will be at the right temperature for a couple of hours. You just need to get a bottle and give it to your baby. nine0003
Sterilizers
Sterilizers are also available in three varieties:
-
Steam: convenient models that allow you to process 6-8 bottles at a time, including metal ones.
-
For microwave ovens: the most affordable models. Processing also comes at the expense of steam (you need to pour water), only in the microwave.
-
Ultraviolet: sterilization is carried out by irradiation with an ultraviolet lamp.
 Only one bottle can be processed at a time, which is not very convenient. nine0003
Attention: it is impossible to sterilize in a microwave oven without a sterilizer. Bottles and nipples are easily damaged.
The processing time depends on the device type:
-
in the steam - 5-15 minutes;
-
in microwave sterilizers - up to 30 minutes;
-
in ultraviolet - 5 minutes.
When choosing the right model, it is important to pay attention to the number of bottles that the device will process at a time. nine0003
It will not be superfluous to pay attention to the auto-off function. It will turn off the device at the end of the treatment or if the water runs out.
There are also combined devices - sterilizers-heaters. Their capacity is small (up to 2 bottles), but even such a small device will greatly simplify the care of the baby.
Useful tools for mothers of babies to feed
Babies under 1. 5 years old need very small portions of food. Someone feeds the child from a portioned jar, while someone prefers to cook on their own. To simplify this process, the blender-steamer comes to the rescue .
This is a combined instrument. It consists of a compartment with water and a bowl with knives. First you need to cut the vegetables, turn on the steamer mode and wait for the end of cooking. Then switch the lever to blender mode and grind them. The whole process takes no more than 20 minutes.
With a steamer blender, food preparation takes much less time than with a conventional steamer or slow cooker. In one bowl, food is chopped and cooked, so there is less washing up. In addition, it is more convenient to cook small portions in such a device, and not in traditional ways. nine0003
In the steamer blender, you can cook all kinds of steamed dishes, with or without pre-grinding.
When choosing a device, pay attention to its power. The higher it is, the faster the water will boil.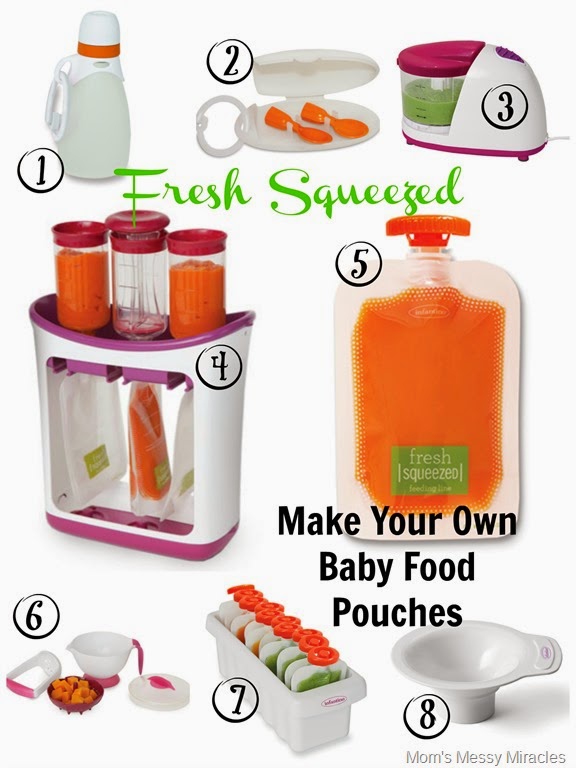 Suitable values are 400-500 watts.
In chopping, power does not play a special role, since sinewy meat will not be used for children, and any model will cope with vegetables and turkey.
When the baby is 7-8 months old, he can be given yogurt. Store-bought options are of little use due to more sugar and starch. To prepare healthy fermented milk products (yogurt, kefir, cottage cheese), you can purchase a separate yogurt maker. This device is budget-friendly, does not take up much space, and its benefits are huge. nine0003
Grown up children can be pampered with natural homemade ice cream, which is more convenient to prepare in an ice cream maker. The device constantly stirs the contents, and the ice cream is tender, which cannot be achieved with a mixer.
As you can see, manufacturers have taken care to facilitate the work of mothers. Assign routine duties to the technician, and enjoy communication with your children, because they grow up so fast!
01/27/2020
Cooking appliances | kidsroom.
 de
de Healthy and gentle preparation of baby food
The priority is the freshness of the ingredients! Vitamins, minerals and nutrients that a child needs daily are lost during long storage or long cooking. Use your imagination and prepare a variety of dishes for your treasure! Even in baby food, there are many variations. In the first year of life, the ingredients should be cooked in a small amount of water or steamed. Your child cannot digest fried or grilled foods yet. In addition , when frying, grilling or breading, harmful nitrosamines and acrylamide are formed. Also note that some water should be used when cooking vegetables, as the valuable vitamins B and C are water soluble. Therefore, it is important that the water, which contains important nutrients , does not drain. With the Braun MQ 700 Soup hand blender, valuable broth can be blended together with vegetables. However, when cooking beans, spinach or other foods containing nitrate, the water after cooking should be drained. nine0010 Vegetables should not be cooked too long to retain as many vitamins and minerals as possible. They are then puréed with a hand blender. If the puree is too thin, you can add a little slimy rice water. In the finished dish, since it is not recommended to subject the oil to heat treatment, energy-containing vegetable oil (preferably rapeseed) should be added. The most important is the preparation of the ingredients - they must be as fresh as possible. Longer storage in the refrigerator leads to the loss of important nutrients. nine0156 Frozen vegetables contain more vitamins than refrigerated vegetables a few days later. Vegetables with skins and legumes your baby cannot digest until the second year of life. Prior to this, it is recommended to puree the legumes with a hand blender, and remove the skin from the vegetables.
Children's household appliances for the little ones
The following kitchen equipment for preparing healthy meals is especially recommended:
Water filter with cartridges
Treat your tap water with a BRITA water filter to reduce heavy metals such as copper and lead! The filter will also protect the appliances from limescale deposits. Simply pour tap water into the filter and it will purify the water using a cartridge containing a mixture of activated carbon and an ion exchanger. The result is tasty and soft water that will benefit your baby.
Baby Food Cooker
Delicious home-cooked meals that meet your child's needs can be easily prepared with the steamer blender Philips Avent . Avent Gesunder 4in1 combines four functions - defrosting, steaming, pureeing and heating. With it, you will be able to cook healthy and tasty food for your little gourmets in no time. The specific way of steam cooking with Avent makes baby food especially healthy. All ingredients will cook evenly without boiling in water, as Philips' unique technology circulates steam from bottom to top. The broth, texture and flavor are preserved for puree at steamer blender AVENT Gesunder 4in1 . In one device you will find everything you need to prepare healthy meals for your child with Avent. After all the ingredients have been steamed, the blender bowl must be removed, turned over and reinstalled. The cooked baby food can then be ground to the desired consistency. You only need one tool to cook tasty and healthy food at home.
Kitchen machine - easy preparation of healthy baby food
It can be used to make larger portions. Philips AVENT 4-in-1 can defrost, steam, chop and reheat. Thanks to the fast cooking process, cooking takes only 15 minutes. Thanks to the gentle heat treatment of , baby food retains all the necessary vitamins.
Hand Blender & Mixer
Quickly and easily you can make porridge for your little one. Food can be puréed with just one hand to suit your child's needs thanks to the stepless speed adjustment. Pressing the blender button lightly will produce a coarser blend, pressing hard will result in a soft puree. nine0010 You can prepare wonderful desserts for your baby using a hand mixer. Thanks to its ease of use and handy shape, it will be a practical cooking companion for the little ones.
Kettle
Bring large amounts of water to a boil with ease, so you can prepare meals faster if your little one is hungry.