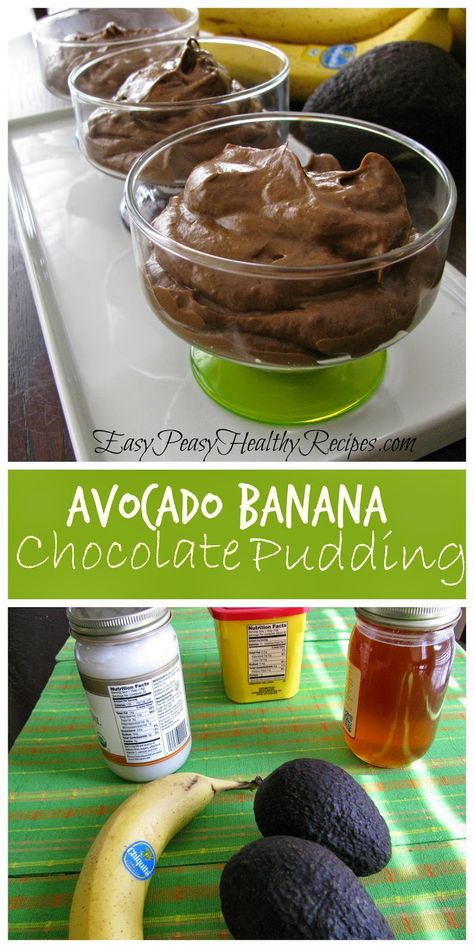
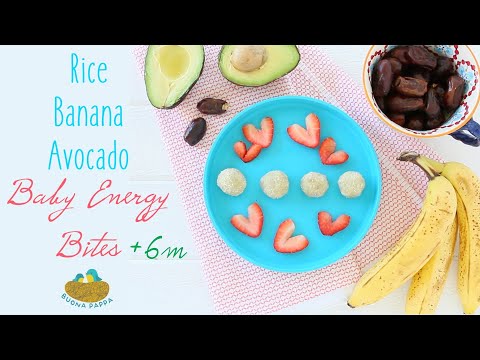
Avocado banana baby food freeze
How To Make The Perfect Banana Avocado Baby Puree
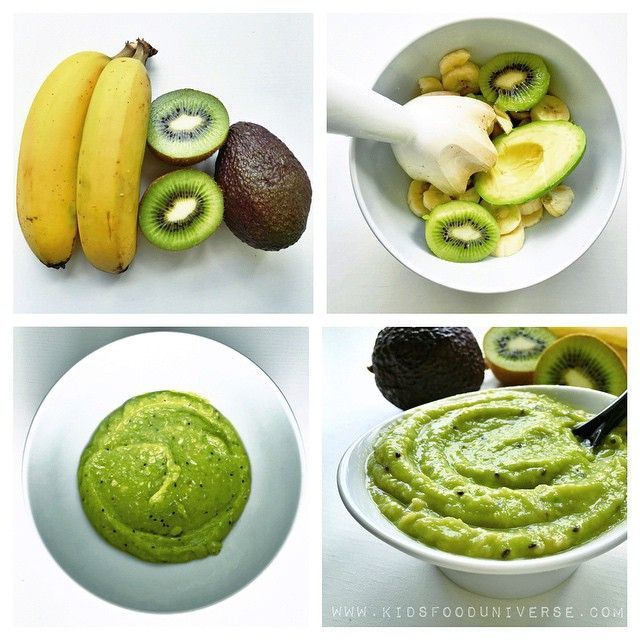
With only 2 ingredients and 5 minutes of preparation you have a creamy, highly nutritious Banana Avocado baby puree.
Of all the purees I ever prepared for my son (and there were a lot, believe me), this Banana Avocado Baby Puree is definitely my favorite.
Why?
It's probably the only one I made that didn't require any cooking, steaming, baking etc... Or washing! 😀
Just take it out of the fruit basket, peel, cut and you're almost done. Yay!
The only problem you might see here is that sometimes your avocado might not be just the right amount of ripe. Ok, probably most of the time it's under-ripe or over-ripe. But don't worry. This Banana Avocado Baby Puree has you covered.
If you have an under-ripe avocado you can easily ripen it with a trick, it will just take a little bit of planning ahead.
The day before you plan on making your puree, take your banana and your avocado and place them together in a paper bag. Set aside and come back tomorrow just as you're about to make your Banana Avocado Baby Puree. It should be just the right amount of ripe.
This recipe can be made for babies 6 months and older.
See our Starting Solids Ultimate Guide if you want more information on how, when, and with what to start solids.
Banana Avocado Baby Puree Ingredients
To make this Banana Avocado Baby Puree, you'll need the following ingredients:
- Banana: although we recommend using a ripe banana for this Banana Avocado Baby Puree, a not-so-ripe one will also do as the blender will do its magic. It might take a little longer but the outcome should be the same. A ripe banana will have a sweeter taste because the starches have turned into sugars with the ripening process so that's also one of the reasons we recommend it.
- Avocado: if you don't have a ripe avocado that you can easily scoop out from the skin with a spoon just place the whole avocado with the banana in a paper bag the day before.
 The banana and the paper bag should speed up the process.
Banana Avocado Baby Puree Nutritional Benefits
- Banana: they're a great source of carbs (starches or simple sugars, depending on the stage of ripeness) and a wonderful source of multiple vitamins and minerals. Mainly B vitamins, and the minerals potassium and copper.
- Avocado: it's our go-to fruit when we want to add some healthy fats and calories to the puree. Since it mainly consists of fats the calorie content per gram is higher than with most other fruits. It's also a great source of fat-soluble vitamins such as the antioxidant vitamin E.
How To Make Banana Avocado Baby Puree
Banana and Avocado are two of the rare fruits that don't require any cooking for a 6-month-old baby.
Peel the banana. Simple as that. No washing, rinsing, drying. Just peel that banana.
Cut the avocado. There are numerous ways to cut the avocado and scoop out the flesh and I've pretty much tried all of them. So I'd like to tell you what I found to be the easiest way. Take a knife and cut the avocado lengthwise all around. That grab the top half with one hand and the bottom with the other and twist in opposite directions. Divide the halves and take out the seed. Now simply scoop the flesh from both halves with a spoon. If you have an avocado slicer like this one, just skip everything I told you above and use your slicer.
Blend. Now that you've prepared both of your ingredients, just throw them in the blender. You'd probably want to cut the banana into a few pieces or just divide it with your fingers to make it a bit easier for the blender. And blend until smooth. You can add a tablespoon of water to make it smoother but it will most likely not need it.
There are certain blenders that were created just for baby food but we have always used this blender for both our baby foods and every day for our (adult) smoothies.
Serving size is just for guidance, if you baby needs more or less food please follow their cue.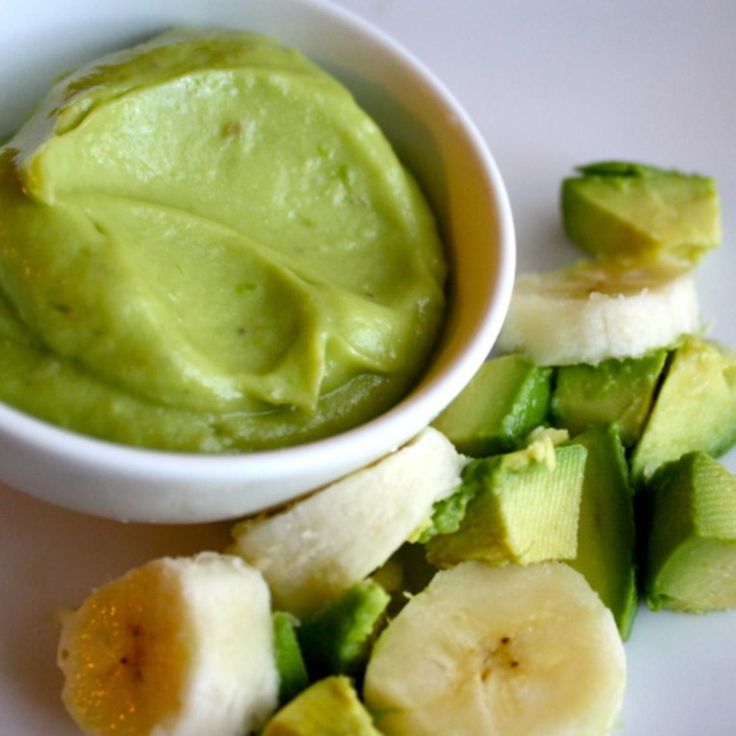
Possible Banana Avocado Variations
These two foods come together so well that they don't even have to be made as a puree.
Mashed. If you're over the puree stage or transitioning from purees to finger food then this recipe is perfect if you modify the "how-to" part. Instead of putting in the blender, you can simply mash the food up together. You'd probably want your banana and avocado to be a little bit riper here so that it's easier to mash.
Lumps. If you're just a step away from finger food, you can also blend or mash one half of the banana and avocado and the leave the rest in pieces and then join. That way your child will get used to new textures.
Finger food. Both the banana and avocado are great finger food. Cut the avocado into longer sticks after you've scooped the flesh, or into small cubes if your baby has mastered the pincer grips.
To avoid sticky bananas being hard to grab, cut the banana in half, then simply press your finger through the middle. You should be left with 3 banana sticks that are easier to grab.
More Banana and Avocado Recipes
Looking for more recipes featuring banana and avocado? Here's a list of our favorite ones:
- Apple Banana Oatmeal
- Quinoa Pudding
- Blueberry Avocado Oats
- Avocado Fruit Salad
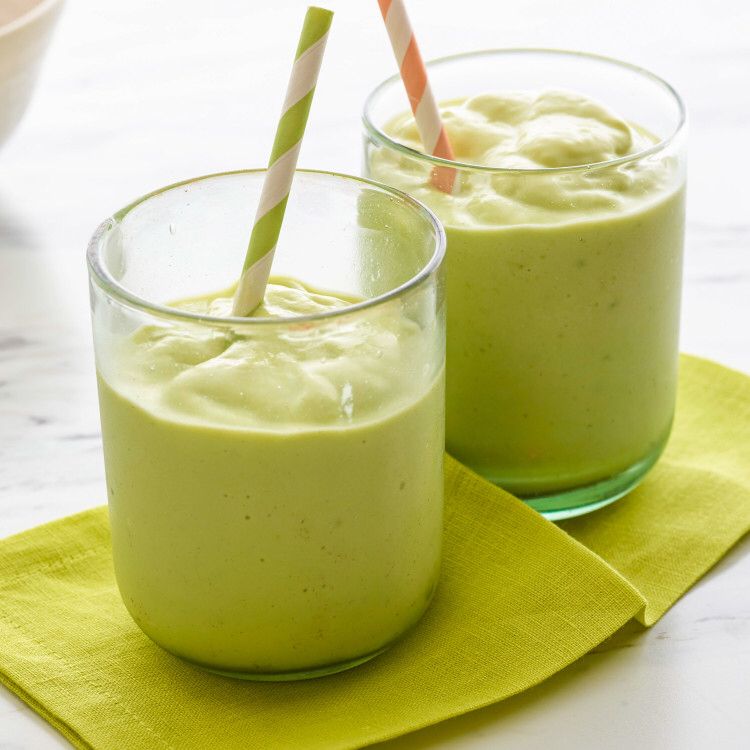
- The Easiest Peanut Butter Banana Smoothie
Banana Avocado Baby Puree
With only 2 ingredients and 5 minutes of preparation you have a creamy, highly nutritious Banana Avocado baby puree.
4.70 from 10 votes
Author: Dora
Print Recipe Pin RecipePrep Time 5 mins
Total Time 10 mins
Servings 4 servings
Fridge Life? 3 days
Freezable? 3 months
- ▢ 1 ripe avocado
- ▢ 1 large banana
Peel the banana
Cut the avocado lengthwise all around and twist the halves in opposite ways
Divide the 2 avocado halves and remove the seed
Scoop the avocado flesh from the skin from both halves with a spoon
Put both the banana and avocado flesh in a blender and blend until smooth
Calories: 107kcalCarbohydrates: 11gProtein: 1gFat: 7gSaturated Fat: 1gPolyunsaturated Fat: 1gMonounsaturated Fat: 5gSodium: 4mgPotassium: 349mgFiber: 4gSugar: 4gVitamin A: 92IUVitamin C: 8mgCalcium: 8mgIron: 1mg
Tried this recipe?Let us know how it was!
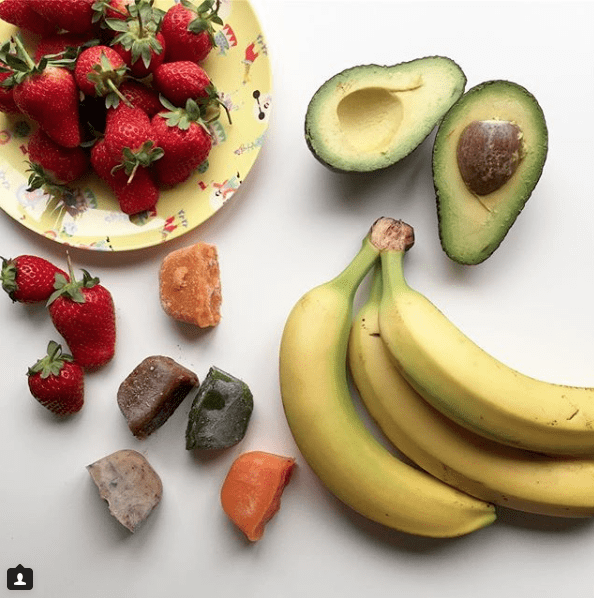
Avocado & Banana Baby Food Recipe – Little Mashies
Why is avocado a great baby food choice for reusable food pouches?
As soon as your baby is 4-6 months old you can give her avocado.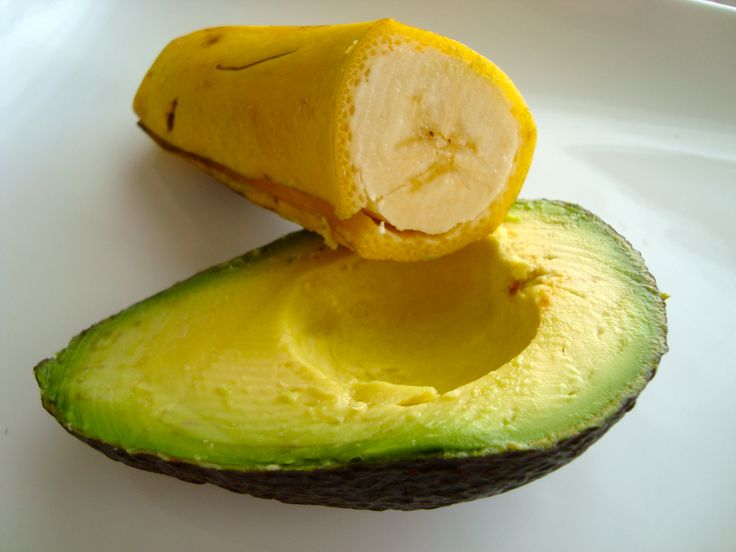 It is smooth and creamy, rich in good fats, carbohydrates and proteins. It has everything that is important for good growth and development of the central nervous system and brain. We absolutely LOVE avocado in our house! We mash it, freeze it and put it into smoothies. We send it to daycare inside Little Mashies containers as a dip (the Mashies stop it from going brown), we make our own guacamole dip to use with vegetables, we use it on spicy food to calm it down. Gosh honestly I could go on and on about how great avocado is not only as a baby food but also as a healthy kids snack.
Ingredients:
1 Ripe Avocado, seeded and peeled
1 Ripe Banana, peeled
Instructions:
Step 1: Peel and cut a ripe avocado and banana into small pieces.
Step 2: Mash with a fork and add a little breast milk or formula to get a smooth consistency. You may also purée the avocado and banana in a food processor or blender such as Beaba Baby Cook or the Baby Bullet system.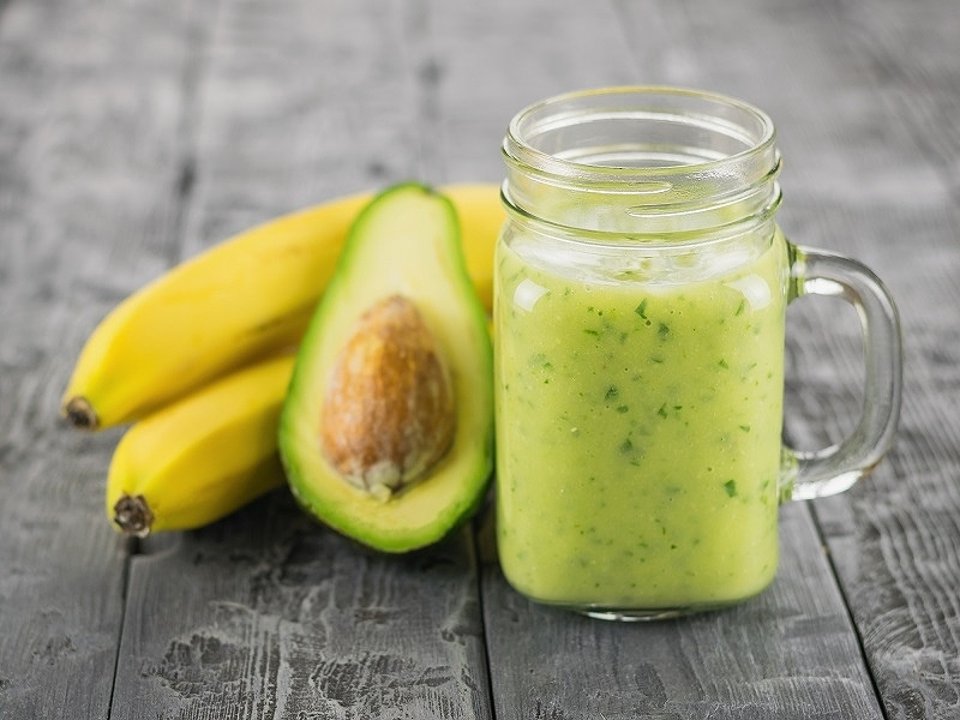
Step 3: If preparing baby food in bulk freeze the puree into ice-cube trays or straight into Little Mashies reusable food pouches.
Step 4: If preparing your baby food recipe in bulk freeze the puree into ice-cube trays or spoon it straight into Little Mashies reusable food pouches and then store them in the fridge or freezer. For instructions on how to fill a refillable pouch you can read our blog. For info on how long to freeze specific baby foods for we have the information here.
Step 5: Label and date your homemade pouches so that you know when to use the puree by. There is a space on the back of the Little Mashies yoghurt and baby food pouches so that you can write all the details.
Step 6: To clean your reusable food pouches you can check out our Little Mashies video here. Little Mashies are see through when held towards light, so it is very easy to see that all of the food is washed out.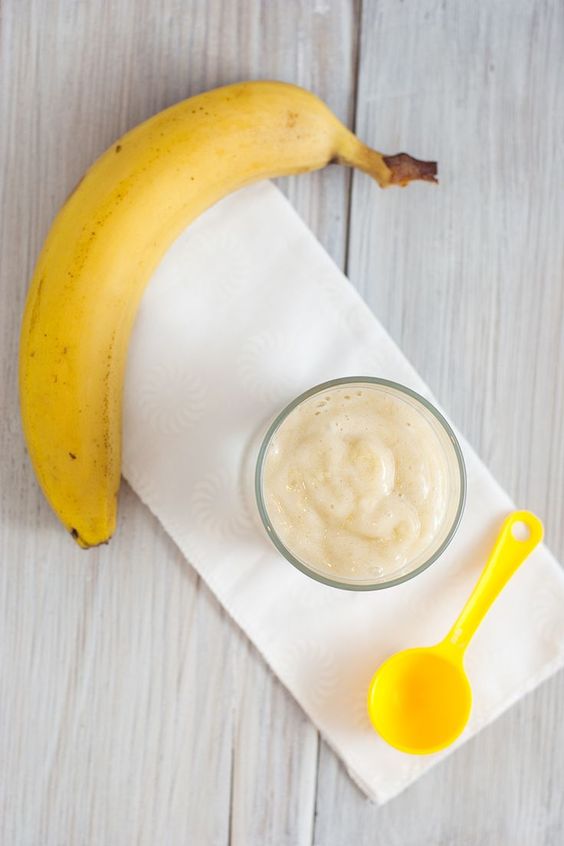 Because of the specifically designed curved shape, all of the food washes straight out when held upside down under a tap. Little Mashies can also be used in the dishwasher and steam sterilisers, and are BPA free, Phthalate Free, and PVC free.
Here is a selection of recipes from our bestselling Baby Food Recipe Book (see video flick through here). Right now, you can use the coupon code RECIPE to remove 100% of the price of the digital version (save $19.95). Simply add it to cart, apply the code, and pop in your details as though you were a paying customer. We only ask that if you have time after using our book could you please leave us a review. Thanks so much in advance!
For Baby Led Weaning and Older Kids
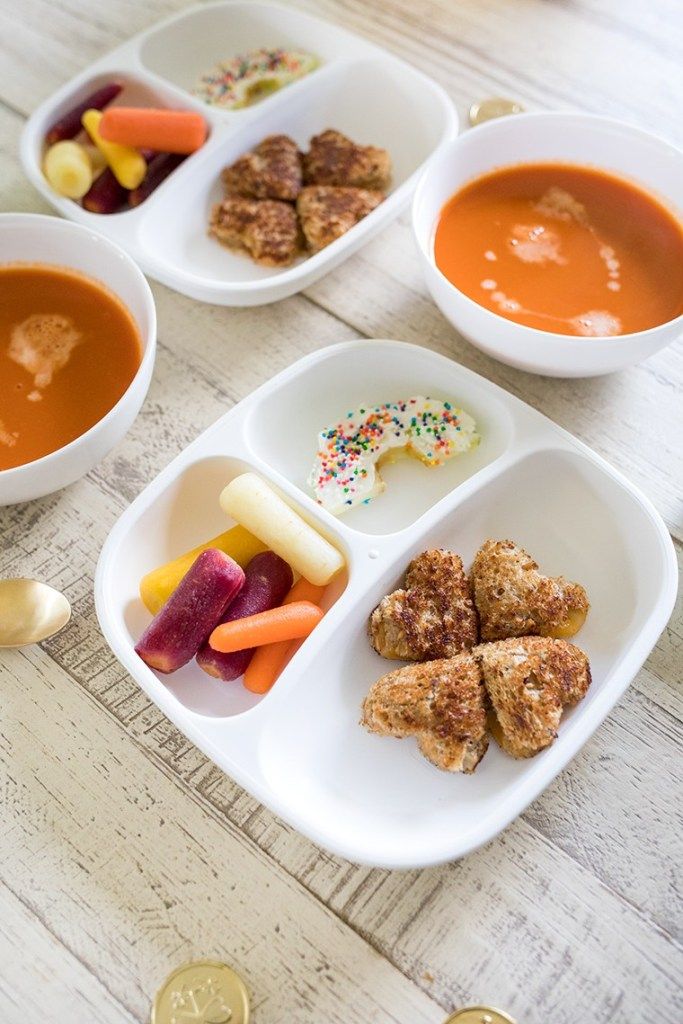
For baby led weaning you skip the baby food puree altogether and start with large (2 finger sized) pieces of the food. We would of course do this on our Little Mashies sucky platter! So from 6-9mths of age in baby led weaning foods should be the size of about 2 fingers so that the baby can pick it up and self feed.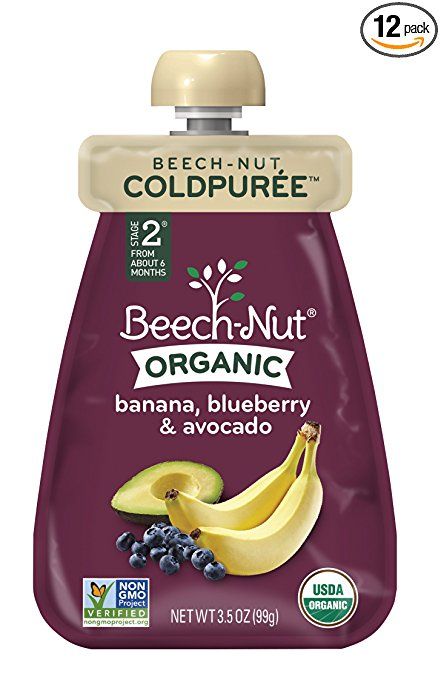 They also need to be well cooked so they are soft, and with no loose pieces (for example tiny florets that can break off on broccoli, or a slice of apple that's so thin it can break when gnawed on).
From around 9mths with baby led weaning you chop the food very small (to avoid choking). I would suggest 2-4 grains of rice in size. It's a small piece so that if they swallow it whole they won't choke. In traditional baby food recipes this is the stage where we mash food so it has a little texture. At around 12mths of age in baby led weaning the food goes up to bite sizes (and this is the same in non baby led weaning kids), about fingernail sized pieces. Of course some babies will be on a different timeline depending on whether they have heaps or a few teeth. Every baby is different and you just have to watch carefully and get to know how your baby is with food. Never leave them alone whilst eating, and I also recommend sitting them at a table with you for all meals if you can. It helps set the expectation for later in life and you can be a role model for how to eat well.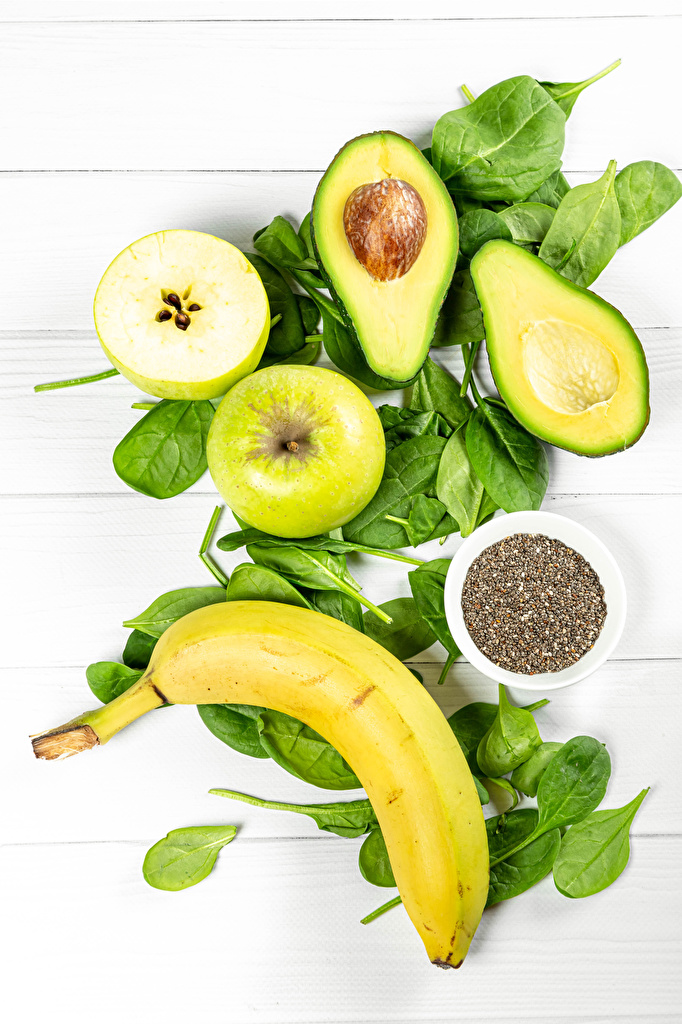 Around 18mths you can offer your little one larger serves again (so a whole apple for example) so that they can learn to take smaller bites themselves, to chew, and to swallow.
Little Mashies reusable food pouch reviews
Amazing Product
POSTED BY KYLIE
I purchased these pouches for my 6 month old son. They are so easy to fill, clean and use. They are great for his little hands too. My 5 year old son also loves them and the surprise he gets when he opens them up. We think the design is super cute too. We were lucky enough to get a couple of the paris pouches in our order and my 13 and 10 year old daughters love them also needless to say I will be making another purchase soon. We also love the cookbook that you have available we have made a couple of things from it so far and they have both been a big hit. Thank you so much for such an amazing product and we will definitely be recommending them to others. :)
Kid Friendly Package
POSTED BY CHRISTINE HAMILTON
I use the Little Mashies to have pre-made snacks, frozen, for grandkids visits, greek yoghurt with fresh berries, coconut-chia-chocolate pudding, or nice thick soups.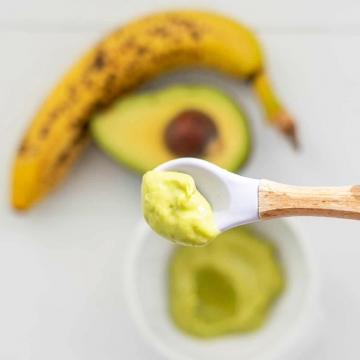 Healthy home made stuff in a kid-friendly package.
Great Convenient Product
POSTED BY KERRY-LEE
The pouches are such a great convenient product. So easy to use and it means we can take our healthy green smoothies with us on the go without having to pack bulky water bottles!
Reusable Baby Food Pouches 10pk
$35.95
Little Mashies Reusable Yoghurt Pouch Boho 10pk
$35.95
Sale
Leakproof Stainless Steel Lunchbox Set
Regular price $119.90 Sale price$100.00 Save $19.90
Sippy Cup (4 in 1)
$29.95
View all
57 products
Simply add it to the cart, pop in the coupon code, and it will remove 100% of the price.
At 6 mths of age you can introduce a range of puree's to your baby (see our baby food recipe book and use coupon code RECIPE to remove 100% of the price at the checkout).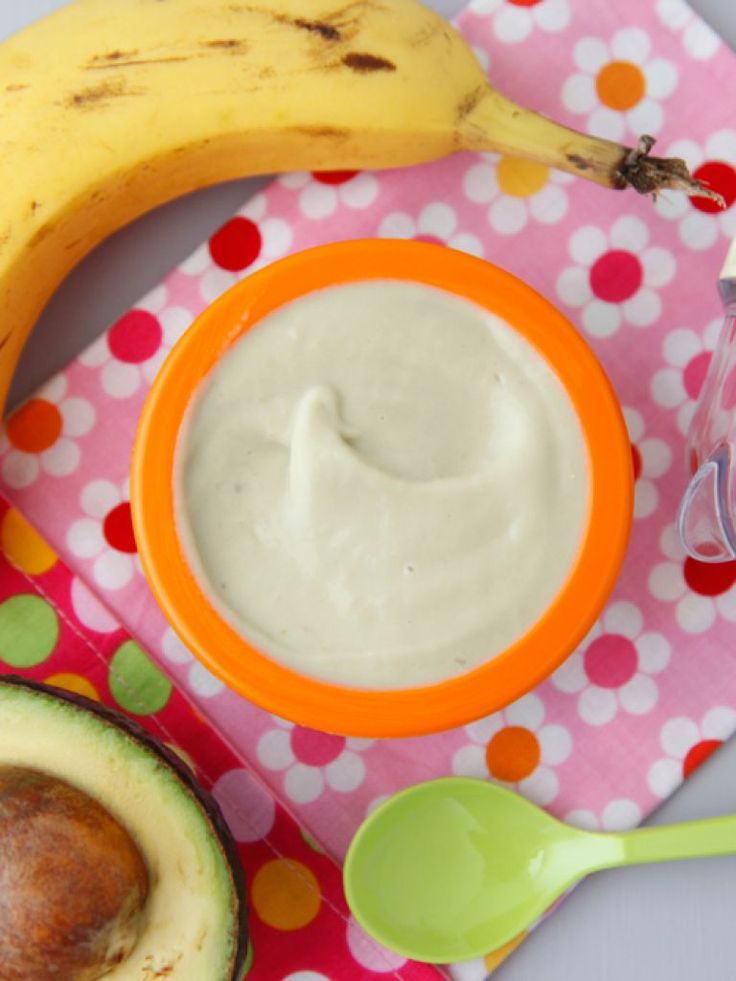
For baby led weaning you skip the baby food puree altogether and start with large (2 finger sized) pieces of the food. We would of course do this on our Little Mashies sucky platter! So from 6-9mths of age in baby led weaning foods should be the size of about 2 fingers so that the baby can pick it up and self feed. They also need to be well cooked so they are soft, and with no loose pieces (for example tiny florets that can break off on broccoli, or a slice of apple that's so thin it can break when gnawed on).
From around 9mths with baby led weaning you chop the food very small (to avoid choking). I would suggest 2-4 grains of rice in size. It's a small piece so that if they swallow it whole they won't choke. In traditional baby food recipes this is the stage where we mash food so it has a little texture.
At around 12mths of age in baby led weaning the food goes up to bite sizes (and this is the same in non baby led weaning kids), about fingernail sized pieces. Of course some babies will be on a different timeline depending on whether they have heaps or a few teeth.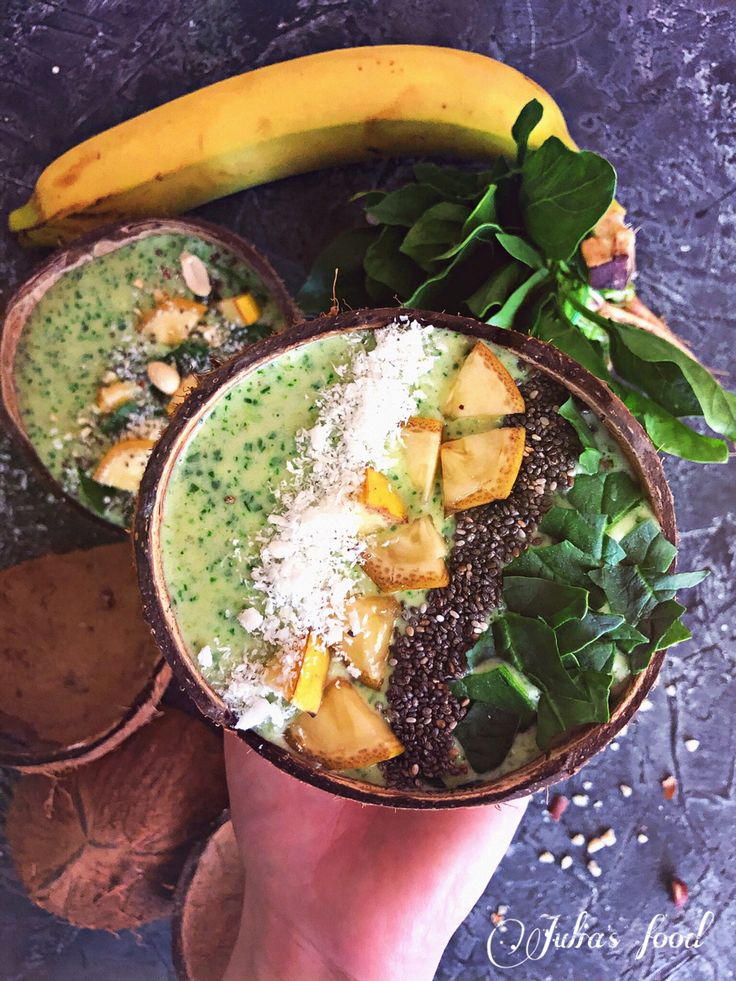
Every baby is different and you just have to watch carefully and get to know how your baby is with food. Never leave them alone whilst eating, and I also recommend sitting them at a table with you for all meals if you can. It helps set the expectation for later in life and you can be a role model for how to eat well. Around 18mths you can offer your little one larger serves again (so a whole apple for example) so that they can learn to take smaller bites themselves, to chew, and to swallow.
It is widely recognised that babies should start solids around 6 months of age. At this time reusable baby food pouches can be really convenient to take your homemade healthy puree with you when you are out and about. Spoon attachments are available so you can feed your baby directly from the pouch from 6 months old. Without a spoon attachment babies usually start feeding themselves pouched food around 8 months old. This is when they hit their independant phase and what to do everything themselves.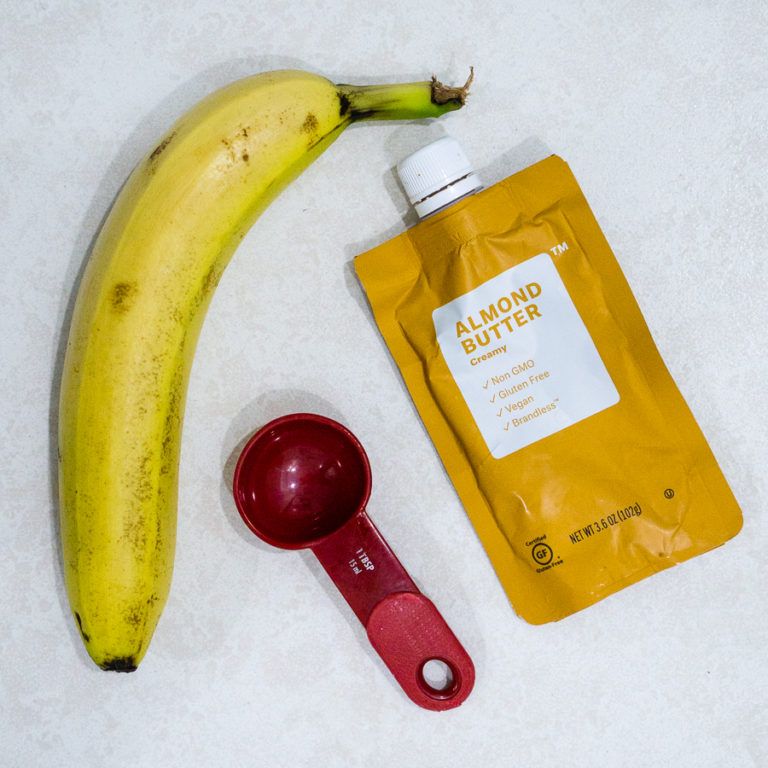 A pouch is a lot cleaner than a bowl and spoon in these circumstances. We do however advise that you give your baby a variety of meals, not just ones that are in a refillable pouch.
Refilling your reusable yoghurt pouches is easy! Simply turn the reusable food pouch upside down and open the wide double ziplock at the bottom of the pouch. Once the zipper is open you can spoon yoghurt into the pouch or pour it in (out of a jug or bottle).
If you are concerned about making a mess you can use a kitchen funnel so that all of the yoghurt stays away from the yoghurt pouch zipper.
Another idea that we commonly do at home when filming videos (but it would also be useful when holding a baby in one arm), anyway.. the idea is that you put the pouch upside down in a glass (with the lid on), open the ziplock and the glass acts like a second hand, holding the pouch still whilst you spoon the yoghurt in. This is what I do when I only have one hand to use for the refill!I also tend to refill my reusable yoghurt pouches in bulk. I'll buy a good quality yoghurt from Coles or Woolworths and will fill a whole 10pk of pouches in one go so they are all ready for snacks on the go.
My kids always want to eat when they are out and refilling the reusable pouches one at a time just doesn't work for us. The only time i do that actually is when I've pureed a meal that my toddler refused, put it in a reusable pouch, and given it to her again. Oh and the other time I do singles.. there are two actually. When we go for ice-cream (it is so much cleaner when in a pouch), and when I have leftover smoothie (again, it stops me getting smoothie all through my car, pram, or playroom).
Little Mashies refillable yoghurt pouches are compatible with pouch filling machines that are on the market. Our spout is universal so even though we don't think you need a filling machine, our reusable pouches will fit. All of our yoghurt and baby food pouches come with anti-choke lids as standard.
Cleaning reusable baby food pouches is easy! We have designed Little Mashies refillable yoghurt pouches without corners so there are no places for food to get stuck (we would hate your little one to get sick from old food stuck in corners)!
When you open the ziplock you can see all the way through the pouch to ensure it is clean.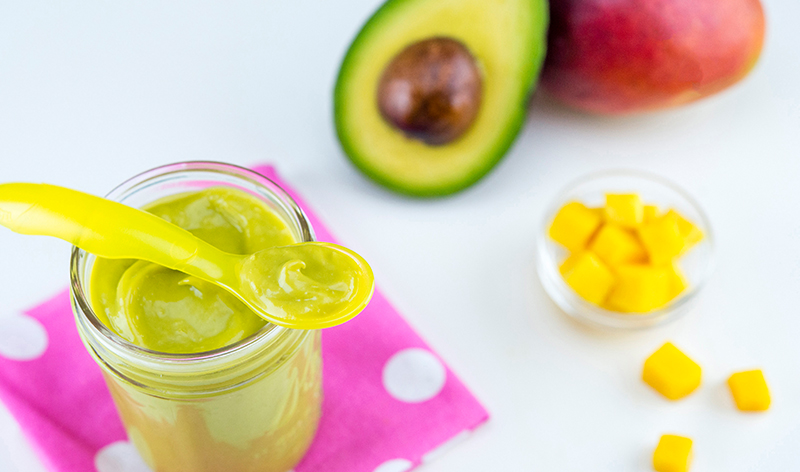 If you have a dishwasher you can clean the pouch using that, otherwise you can wash your reusable baby food pouches by hand and this takes around 20 seconds. Little Mashies squeeze pouches are BPA Free and are safe to wash with warm water.
If you need some meal ideas for your refillable pouch you can find home made yoghurt here, baby food recipes here, and pouch smoothie recipes here.
Now, to clean your Little Mashies food pouches by hand simply open up the ziplock at the bottom and take off the cap. Run warm water through the open ziplock with the baby pouch facing downward so the water comes out of the spout and into the sink. The shape of Little Mashies reusable pouches acts like a funnel, pushing out food and making the pouch very easy to clean.
To start washing your reusable pouch, squirt some dishwashing liquid into the refillable pouch, then use a baby bottle brush to clean the inside walls (just like a baby bottle). To clean the spout use a straw brush (like the ones we have here), and clean it in the same manner that you would clean the teat from a baby’s bottle. Give the reusable pouch a rinse and place it over a kitchen utensil in the drying rack to dry. If you don’t have time to dry it fully place it in the freezer until you are ready to use it again. Do not put wet reusable food pouches in dark cupboards or draws. They are very easy to dry if you have removed the cap, and placed something inside the zipper to keep the pouch open (we use a whisk, tongs or a spatula).
Note that if you continuously wash your pouches in the dishwasher the high temperature will make the zipper wear out more quickly. At home we wash our pouches mostly by hand because it is so quick and easy and then just use the dishwasher when we have had loads of kids over and served reusable yoghurt pouches or smoothies to them all.
Oh and while I remember if you use the code RECIPE at the checkout it will remove 100% off the price of the baby food recipe ebook so you can get some inspiration for your refillable pouches.
Some parents start introducing a sippy cup or straw cup to their babies around 6 mths of age. This can make it easier to transition from breastmilk or bottle feeding around 12 mths of age. Most paediatricians recommend babies 18 mths or older use an open sippy cup rather than a bottle, so anytime before then is fine. This is why we have a 4 in 1 sippy cup, so that you don't have to purchase seperate products as your baby moves through the stages of learning how to swallow and drink. To shop the Little Mashies silicone sippy cup, check out our baby feeding range here.
All of our baby food recipes are contained within our ebook. You can get a free download by using the coupon code RECIPE at the checkout. Simply add it to the cart, pop in the coupon code, and it will remove 100% of the price.
Sale
Gift of love
Regular price $79.90 Sale price$49.95 Save $29.95
5 x 30cm Reusable Baking Sheets
$64.75
Sale
5 x Reusable Smoothie or Snack Bags
Regular price $74. 75 Sale price$64.75 Save $10.00
5 x Snack Bags
$64.75
View all
14 products
How to freeze an avocado for future use correctly
Shelf life in the freezer: up to 6 months.
Avocados are not always readily available in the supermarket, especially when they are ripe. The question is how to provide a supply of fruits at home for the whole winter, and how to freeze them correctly for future use.
Contents
- How to freeze an avocado: 3 ways0012
- puree for a child
- Oil from avocado
- 4 Fasting advice
- Shelf life in the freezer
- How to defrost AVOKADO
- entire
- Guacamole and puree for children 9 How to freeze an avocado: 3 ways
- Wash fruits with soap and water.
- Cut in half and carefully remove the pit. In this case, the pulp will darken, turn brown due to oxidation, which destroys cell membranes. To avoid this, drizzle it with lemon or lime juice (if you don't have either, use a drop of table vinegar).
- Wrap each avocado half in plastic wrap and place on a plate in the freezer. Leave on for a few hours or overnight.
- When the product is completely frozen, you can remove it from the plate and arrange the halves in zip bags to take out as needed.
 This will keep avocados longer.
 - Place the slices on a parchment-lined baking sheet or tray.
- The flesh may darken after thawing, so also use lemon juice before freezing.
- Place the tray in the freezer.
- When the pieces are frozen, place them in zip-lock freezer bags.
Quick freezing avocado slices usually requires 1-2 hours.
- Prepare the dish: crush the garlic clove, green chilli and salt in a mortar and pestle, add the avocado with lime juice and beat well.
- Place the puree or guacamole in a ziplock bag, date.
- Freeze: place the bag in the freezer.
- Place the peeled and chopped avocado in a food processor or blender.
- To prevent browning, add 1 tablespoon lemon or lime juice for 1 medium sized fruit. And whip up. Then the sour juice will be evenly distributed throughout the pulp.
- The flesh can be mashed by hand, but stir more thoroughly to avoid brown spots.
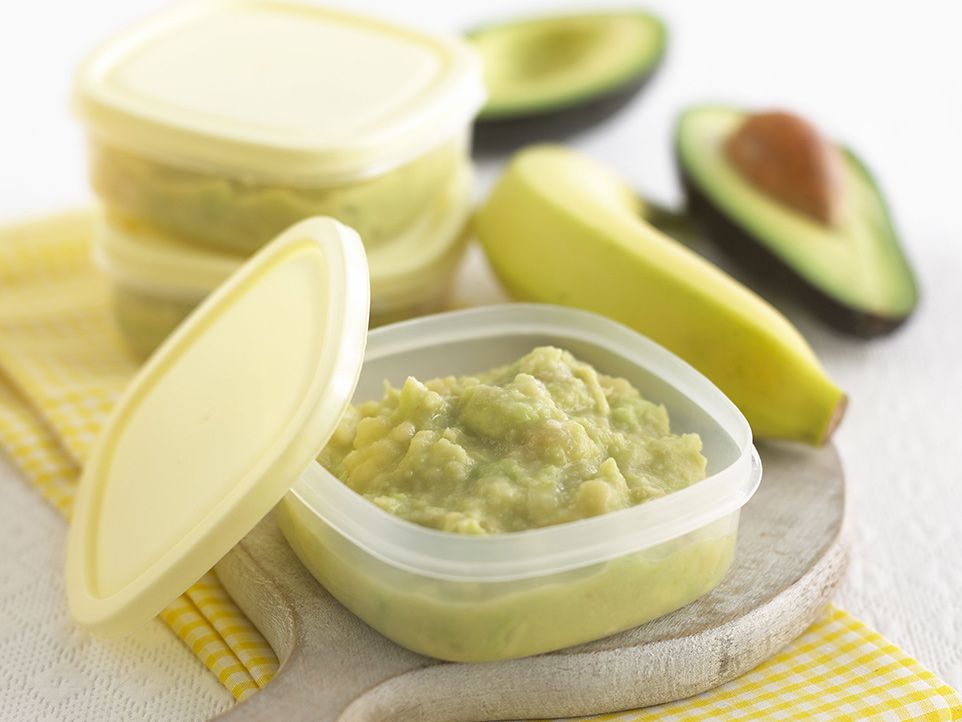
- Freeze puree in ice cube trays. The serving cubes are perfect for adding to smoothies, spreading on sandwiches or serving as baby food.
Depending on the degree of maturity and variety of avocado, the color of the puree may vary: from pale green to light yellow.
- If you plan to later make guacamole or other sauces from the stock, freeze the puree in the amount needed for the recipe.
 Pack in freezer bags or containers. Leave 1-1.5 cm of space to the top edge of the container.
 - Always use ripe fruit as the freezer stops the ripening process.
- Squeeze out the lemon juice ahead of time as the avocado will brown rather quickly.
- Ignore the appearance of a thawed avocado as the color will be duller but the flavor will remain the same.
- Avoid freezing slices. The more cuts in the pulp, the greater the chance of browning. It is better to freeze avocado halves.
- Slightly sour on toast due to the addition of citric acid. But if you use mashed avocado with egg and hot sauce, the difference between fresh and thawed product will be barely noticeable.
- Tacos, quesadillas, nachos or burritos.
- Puree with lime juice and salt as sauce for chips. Add cheese, tomatoes, fried garlic or onions.

- Guacamole, which can be slightly watery but still enjoyable.
- Can bananas be frozen
- Whole or sliced?
- Freezing without peel
- How to freeze bananas
- Whole
- Pieces
- How to freeze banana peel
- How to thaw bananas
- Thawing naturally
- In the microwave oven
- in water
- Banana puree
- Secrets of carbonization of puree
- How to defrost banana puree
- Banans 900 freeze bananas
- If the fruits are peeled, wrapped and placed immediately in the freezer, the beautiful creamy color of the product will be preserved.
- If you can't get the bananas ready for freezing right away, and they've been out a little longer peeled, drizzle them with lemon, lime or pineapple juice. This will help keep the color lighter and remove bacteria.
- 1 bunch of bananas;
- parchment paper;
- sealed bag or container.
- Peel the required amount of bananas.
- Place them in a container, lining each fruit with parchment paper.
- Stick the date on a bag or container and place in the freezer.
- Arrange sliced fruit on a plate or baking sheet lined with parchment paper.
- Put in the freezer for two hours until they harden. This will help prevent sticking into one piece.
- Then put the frozen pieces in a zip bag and squeeze out as much air as possible.
- Seal, date, put back in the freezer.
- Buy ripe fruits of good color. Leave cleanings to freeze.
- Remove the stalk, cut the peel into 5 cm slices.
- Place them on a baking sheet in a single layer so that they do not touch each other.

- Place the sheet in the freezer for several hours.
- Remove the frozen skins from the pan, place them in an airtight container or bag, and return to the freezer.
- Remove the bananas from the freezer.
- Place in a wide container. Arrange the pieces so that they do not touch each other and have enough room to thaw.
- Leave to thaw naturally for 2 or more hours depending on room temperature.
- Place frozen food in a bowl.
- Put the container in the microwave, turn on the defrost mode. On low power, it takes 3-4 minutes to defrost banana slices.
- Place the frozen bananas in a plastic bag, which in turn is placed in a bowl of warm water.
- As a rule, 10 minutes will be enough to defrost a small quantity.
- Do not puree to maintain texture. Just mash the bananas with a fork.
- For each cup of pureed fruit, add 1 tbsp. l. lemon juice or 1/2 tsp. ascorbic acid.
- Spoon puree into the slots of the ice cube tray until each is about 80% full.
- Wrap the tray in cling film to prevent spillage and to protect it from foreign odours.
- Place in the freezer for several hours.
- Remove the tray and transfer the frozen cubes to an airtight container, seal, stick a sticker with the date.
- Store in the freezer.
- If you're going to add puree to a smoothie, use it straight out of the freezer to chill your drink. Put a cube or two in a blender with the usual ingredients, and turn on the appliance.
- If serving banana puree to your child, place the cube in a bowl and place in the refrigerator overnight to thaw.
- At room temperature 1-2 days away from sunlight.
- Refrigerate for up to 1 week, peeled for 3-4 days in a sealed container or container.
- Freezer - up to 6 months.
- oatmeal pancakes;
- chocolate chip banana bread;
- cupcakes with cocoa, nuts and bananas, etc.
- protein shakes;
- smoothies;
- ground peanut paste;
- ice cream, etc.
- Appearance.
Avocados freeze well. It can be safely stored in the freezer for up to six months with whole fruits, halves or small slices.
Whole
This long-term storage method can only be used if the avocado is fully ripe.Can I freeze whole avocados?
Yes, you can. But do not hide it immediately in the freezer. Prepare first: Wrap in cling film or foil, then place in a ZIP freezer bag, squeeze as much air out of it as possible, and close.
Halves
Freeze avocado halves. It's fast and convenient.Will freeze fruit halves correctly. To do this, you first need to prepare the product for freezing:
In pieces
Some prefer quick freezing in avocado slices:
See also:
How to freeze mangoes for the winter?
The best ways to freeze this exotic at home.
Secrets of freezing avocado dishes
What if you need to freeze a ready-made avocado dish? It's possible.
Guacamole
Fortunately, guacamole or even avocado puree is much easier to freeze than fruit halves.
The main thing is to block the access of air so that oxidation does not occur and the color does not change.
Freezing guacamole involves three simple steps:
To save space, try to flatten your blanks for stacking.
Baby puree
To freeze baby puree, use the method of freezing guacamole minus the garlic, chilli and seasonings.
It's important to label your baby food so you don't accidentally feed your baby guacamole with chili instead of puree.
Other types of baby fruit puree can be frozen in the same way. You may be interested in the article on freezing mashed bananas.
You can also make avocado paste with tarragon and garlic and freeze it.
Avocado oil
Avocado oil will last about a year after opening. So, it doesn't make much sense to freeze it.
But you can do this, as with many other natural oils, using ice cube trays.
4 Freezing Tips
For best results when freezing avocados, remember these tips:
Freezer shelf life
Frozen foods should preferably be labeled so that they can be remembered when they are stored in the freezer.
Avocados can be frozen for up to 6 months, purees for 4-5 months.
How to defrost an avocado
Whole
If you have frozen a whole fruit, place it in a bowl of cold water or leave it overnight in the refrigerator.
See also:
Is it possible to freeze whole kiwifruit?
Kiwi fruit can go bad in the refrigerator, so these berries are frozen for long-term storage. But putting them in the freezer whole is not a good idea. And that's why.
Halves
To thaw avocado halves, place them on a plate in the refrigerator and leave overnight.
If you plan to add the product to a smoothie, you can use it straight from the freezer by placing it in a blender and blending with other ingredients.
Since many drink recipes provide for the addition of ice to cool it.
Guacamole and baby puree
Guacamole is thawed like baby puree.
Remove from freezer, place on a plate and refrigerate for approximately 18 hours until completely thawed.
The process can be accelerated by placing the bag in a bowl of cold water. Do not use hot or warm water to quickly defrost.
Can avocados be re-frozen?
What to cook with frozen avocado
You can add avocado to a green or milkshake. It will also give the drink a nice creamy taste.
Here are the dishes you can use it in:
Frozen avocado or mashed avocado is not recommended for use in cold salad and muesli recipes.
Also read: Is it possible to freeze pineapple in the freezer.
Is it possible to freeze bananas: whole, without peel, slices
Shelf life in the freezer: up to 6 months, in the form of puree - no more than 3 months.
Bananas are inexpensive. But this does not mean that such delicious tropical fruits should be wasted. If they start to darken, don't throw them away. Freeze better.
Frozen bananas can be used in everything from breakfast smoothies to homemade banana bread recipes.
Contents
Yes, you can. Freezing does not require much space, and the process will take less than 5 minutes.
When thawed, bananas become very soft, taste and texture change. They are no longer suitable for food, for example, with peanut butter, but they can be used as an ingredient in baked goods such as banana bread, cake, peanut muffin, etc.
Whole or sliced?
This is what unpeeled bananas look like after being frozenDo they freeze whole bananas? Whole fruits are slightly easier to freeze, but they will take up more space in the freezer as they will need a larger storage container.
This is how frozen banana slices look likeThe best way to freeze peeled bananas is to line them with sheets of waterproof paper (parchment). So they do not stick together into one hard lump. And you can always defrost only one fruit.
Bananas, when chopped, take up less space in the freezer. Sliced fruits are great for recipes such as smoothies, cold shakes or ice cream.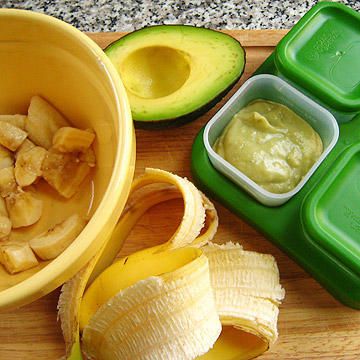
Freezing without peel
Bananas should be frozen immediately after peeling. Otherwise, in the air they will begin to brown.
Read also:
Can blackberries be frozen?
How to store vitamin-rich black chokeberries for future use in the freezer.
How to freeze bananas
How to freeze bananas directly depends on the consistency of the product.
Whole
Here's how to freeze whole bananas for later use in recipes.
Ingredients:
Preparation:
Pieces
I also advise you to read: How to freeze avocados for storage.
How to freeze banana peels
Banana peels are an excellent fertilizer for rose bushes and other plants. Freezing the peel allows the gardener to use it all year round.
Ways to defrost bananas
Here are some ways to quickly defrost your product.
Natural thawing
Microwave
If you need to speed up the defrosting process of bananas, use the microwave.
In water
This defrosting method is suitable for both peeled and sliced bananas and whole bananas in their skins.
Banana puree
Puree freezing secrets
Can banana puree be frozen? Yes, but the texture will go from silky and smooth to more grainy and the taste will become a little less pleasant.
However, the product can still be frozen for further use in ice cream recipes or as baby food.
If the puree is too thick, drizzle with cow's milk. Almond will do too. To improve the taste, you can add a pinch of nutmeg or cinnamon (an option not suitable for baby food).
How to defrost mashed banana
Banana Shelf Life
Ripe Banana Shelf Life:
Unlike ripe bananas, it is not advisable to store green bananas in the refrigerator, as low temperatures slow down the ripening process, and the peel turns black. It is better to leave them at room temperature for 2-5 days. When yellow, put in the refrigerator.
Banana puree can be kept frozen for up to 3 months. The longer it is in the freezer, the higher the risk that air will get inside. As a result, the product may begin to oxidize and darken.
Keep bananas away from other ripe fruits. When ripe, they release ethylene, which accelerates the deterioration of other fruits.
What can be made from frozen bananas
So, what can be done from frozen bananas?
Frozen bananas are the most commonly used for banana bread.Once thawed, bananas can be added to baked goods for extra moisture:
Other recipes with bananas.
How to tell if bananas have gone bad
Here's how to check if bananas are edible: