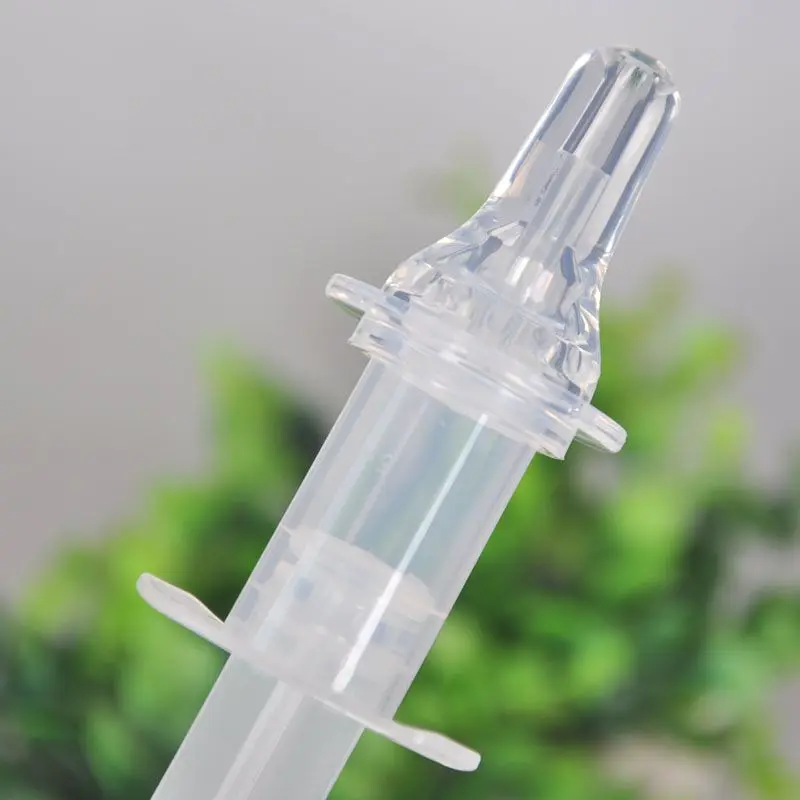
Baby feeding device
Which one is right for you? — Mattos Lactation
You’ve got breasts, you’ve got bottles, but what other ways are there to feed a baby?
In today’s blog, I am going to introduce you to ALL of the possible feeding methods and the pros and cons to each approach.
My goal is that you will never have to worry about how your baby will receive your milk during times of separation, even if they don’t take a bottle.
And if you need to supplement with your expressed milk, donor milk, or formula, you can find the best tool to meet your needs and put you closer to reaching your breastfeeding goals.
A little disclaimer, though it's ultimately up to you and your partner on which feeding method you choose, each of these methods (including bottle feeding) require instruction and practice to ensure that babies are fed adequately and safely.
Luckily all methods are relatively easy and with a bit of practice, feeding your baby in any situation will feel second nature to you!
Types of feeding devices
There are two main categories feeding devices fall into; alternative feeding devices and at-breast supplementers.
Alternative feeding devices
Alternative feeding devices are indicated whenever you and your baby are separated or if your baby can’t feed at the breast/chest well.
If your baby is not latching at all, then an alternative feeding device is clearly needed, whereas, if your baby can latch but has transfer issues requiring additional milk, you can provide that either via an alternative feeding method or using an at the breast supplementer.
BottlesBottles are the most common alternative feeding device. Because they are culturally acceptable, widely available, and rather inexpensive, most parents automatically consider bottles if not directly breastfeeding. Bottles provide a simple, convenient, mess-free way to feed your baby when not breastfeeding.
The accessibility of bottles, however, and the seeming ease of use, often leads parents to choose the wrong type of bottle or to using bottles in a manner that leads to harder breastfeeding for their baby.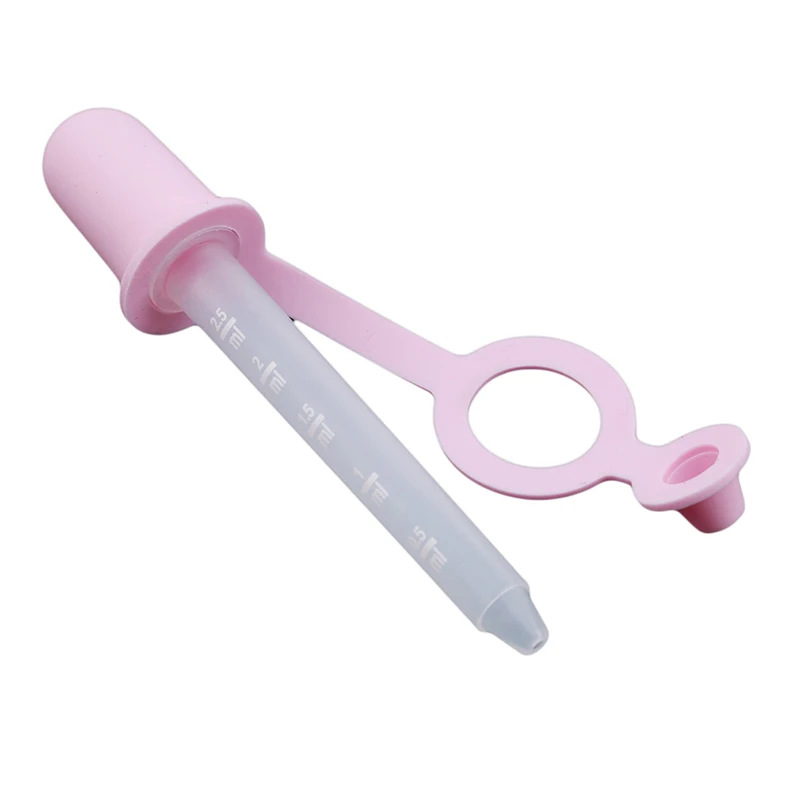
Bottle feeding requires your baby to use different muscles to feed effectively, and long term use can impact their oral development and dentition. The fact that babies need to learn how to feed on a bottle, while they are still learning how to breastfeed, means that a percentage of babies will develop poor feeding habits at the breast. This may result in pain or discomfort for you or transfer issues from ineffective nursing.
Additionally, the speed at which most bottles flow may lead to overfeeding and oxygen desaturation. This is why paced bottle feeding is ultra important and something I will cover more in depth in a future post.
Cup feeding
A cup is a device that falls under the “sipping/lapping methods” of feeding. I will cover some other tools that fall into this category following this.
In general, the pro’s and cons for cup feeding applies to all of the devices that comprise the sipping/lapping groups so jump to the end of this section to if you want to read the quick recap for all the following devices.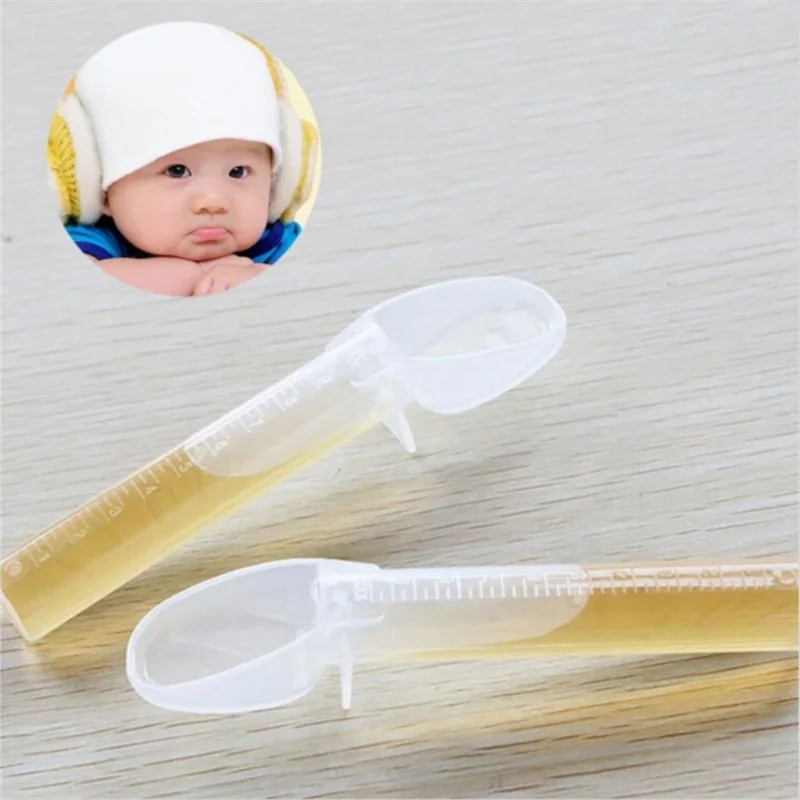
Compared to some of the other feeding device options, you, like most parents, might have the most hesitation regarding cup feeding. Many parents either envision using a full-sized cup to feed their baby or worry about pouring too much liquid into their baby’s mouth and overwhelming them, which gives them pause.
In reality, cup feeding is a great feeding tool that allows babies to practice the skills needed for effective breastfeeding. It’s inexpensive, and most people already have an appropriate sized cup (medicine cup or shot glass) on hand.
Here’s an image from Instagram showing a baby being cup fed.
And because it makes little sense to write a full description for the following devices which are variations on the same concept, here are images of the other devices in action.
Paladai aka (a cup with a spout)
This device often is used in more of a pouring manner and studies have shown that this has lower rates of spilling when compared to cup feeding.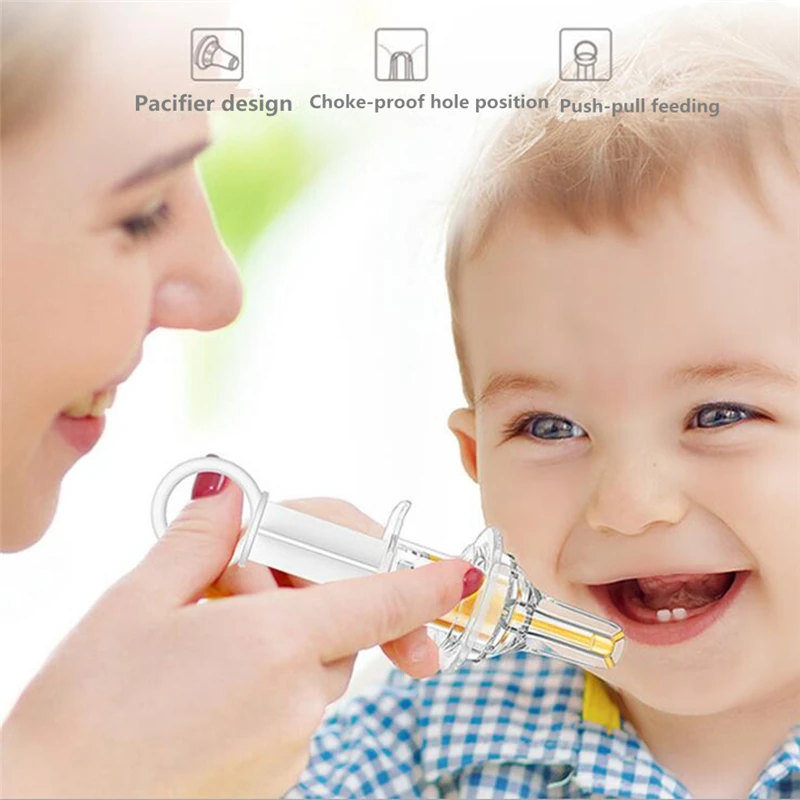 With that said, the technique is, and there may be a higher learning curve to ensure you’re following your baby’s cues as they drink.
Finger feeding
Finger feeding is less of a “sipping/lapping method,” but It doesn’t fall into the “at the breast” feeding devices either. Generally speaking, finger feeding often is either syringe feeding with a finger inserted in the baby’s mouth or uses more of components of the at-breast supplementation attached to a finger.
Which style you choose will depend on your baby’s needs and which method you feel most comfortable with.
Pros
Easy to clean
Widely available
Inexpensive
Can make the transition to the breast easier
Requires usage of oral muscles in a manner more similar to breastfeeding
Baby’s can manage the rate of flow better
Temporary solutions
At-breast/chest supplementation devices
At-breast supplementation devices also can be broken down into subparts: Suction required and suction not required.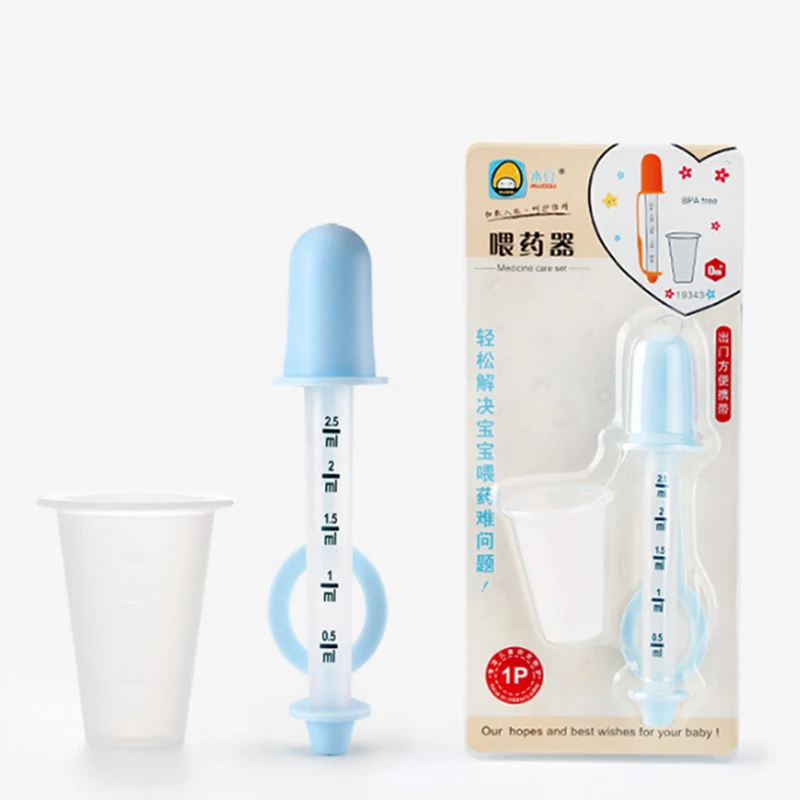
All the commercial feeding devices are suction required, as there are currently no manufacturers making the alternative kind.
Though many parents are familiar with Medela's Supplemental Nursing System, there are many options available for purchase. A more inexpensive and convenient option is to make your own, which can be done quickly using a 5 -french feeding tube and a cup/bottle.
At-breast feeding devices aka “feeding tube devices” aka “nursing supplementers” have the benefit of providing additional milk for babies who can latch well but may have challenges transferring or weight gain issues, while stimulating the breast to increase/maintain milk production. This is especially true for babies with special needs (cleft palate, Down syndrome, Cardiac issues) or if you’re inducing lactation/relactation.
If your baby is easily frustrated at the breast due to flow or supply issues but needs help in their feeding ability, an at-breast feeding device can help your baby learn to suck more actively and consistently.
One of the biggest cons of tube feeding is that it often takes a bit of prep, which can be a challenge when out in public. Many parents may also find using them stressful and time-consuming. Also, of all of the feeding devices mentioned in this whole post, at-breast feeding devices have the most considerable possibility of error. If not used properly, there may not be enough suction generated for your baby to get the extra milk which defeats the purpose of its use or your baby may get a high rate of flow without having to use any of the oral mechanics they need while at the breast.
Pros
Reduces feeding time by reducing or eliminating additional time to feed supplementation after breastfeeding
Reinforces breastfeeding
Can improve sucking skills in some babies
Stimulates milk production
A variety of ways to use them/range of options
I hope this post helped introduce you to the variety of feeding options available to you.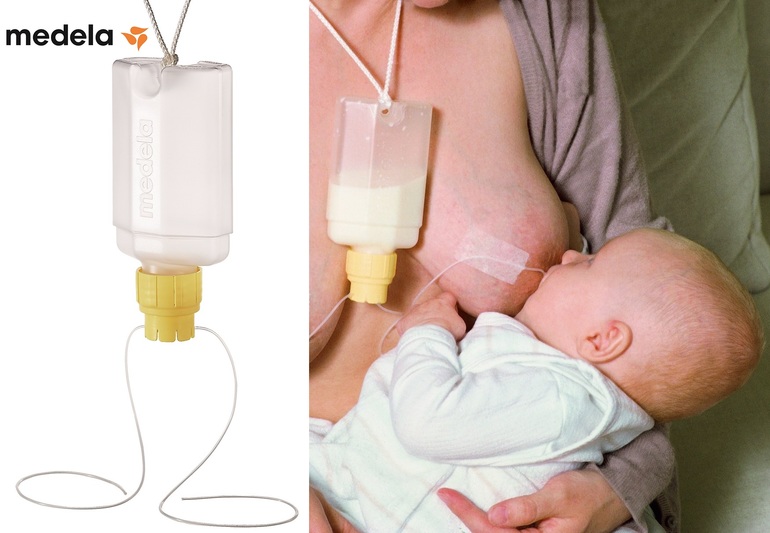 If you still have questions about which feeding device to meet your needs best or if you have feeding challenges you want to overcome, please contact me today at (210)763-0548, or you can shoot me a message . I would love to help guide you through your struggles.
If you’re not following me already, please jump over to my Instagram to check out all the neat things I post there.
Tube feeding | Bliss
Your baby may be fed using tube feeding while on the neonatal unit. Find out why this might be and information about caring for your baby while they are being tube fed.
What is tube feeding?
During tube feeding, breast milk or formula is given through a tube passed into your baby’s nose or mouth to their stomach. Types of tube feeding include the following:
- Nasogastric tube feeding (also called an NG tube) - This is when a baby is fed through a small soft tube, which is placed in the nose and runs down the back of the throat, through the food pipe (oesophagus) and into the stomach.
- Orogastric tube feeding - This is when a baby is fed through a small soft tube, which is placed in the mouth and runs down the back of the throat, through the food pipe (oesophagus) and into the stomach.
Babies who are very premature or sick may need to be fed using parenteral nutrition (PN) at first.
Why does my baby need to be fed using tube feeding?
Tube feeding is often used to feed premature and sick babies as they can be too small and sick to breastfeed or bottle feed at first. Babies born premature or sick have a low supply of energy and nutrients, so it is important that they are able to have small nutritional feeds often, without lowering their energy levels.
In babies born premature, the coordination of sucking, swallowing and breathing needed for effective feeding is usually not fully established until about 32 to 34 weeks’ gestation (although this is different for different babies). Babies born at term and sick may also take longer to co-ordinate feeding. Tube feeding will help your baby receive enough nutrition to grow and develop.
Can I be involved in caring for my baby if they are being tube fed?
Yes, you can. Staff on the neonatal unit will encourage you to be as involved as possible in the care of your baby on the neonatal unit. If you feel comfortable doing so, they should show you and your partner how to give tube feeds. Staff on the neonatal unit will explain how tube feeding works and will teach you how to:
- Check the tube is in the correct position before feeding
- Prepare the milk and fill the syringe that is connected to the feeding tube
- Position your baby correctly for tube feeds
- Give the milk slowly to support comfortable digestion
- Know what to look for during a feed.
This can feel quite scary at first, but with practice you should gain confidence. You will have the time to give the milk very slowly which helps your baby to digest more comfortably.
If your baby is well enough to come out of the incubator, you and your partner can also practice skin-to-skin contact with your baby while they are tube feeding. Skin-to-skin contact has lots of benefits for you and your baby, and helps parents to feel closer to their baby and more confident in caring for them.
When can my baby stop tube feeding?
In time, you may notice your baby demonstrating feeding cues during a tube feed. For example, they may open and close their mouth, put out their tongue or suck their fingers during a tube feed. This shows that they might be ready to practise breastfeeding or bottle feeding.
If you are planning to breastfeed and your baby is well enough to come out of the incubator, giving them lots of opportunities to be close to the breast may help them to learn to breastfeed. During a tube feed may be a good time to do this. When they are more mature and interested enough, some babies will start licking milk and in time practice sucking.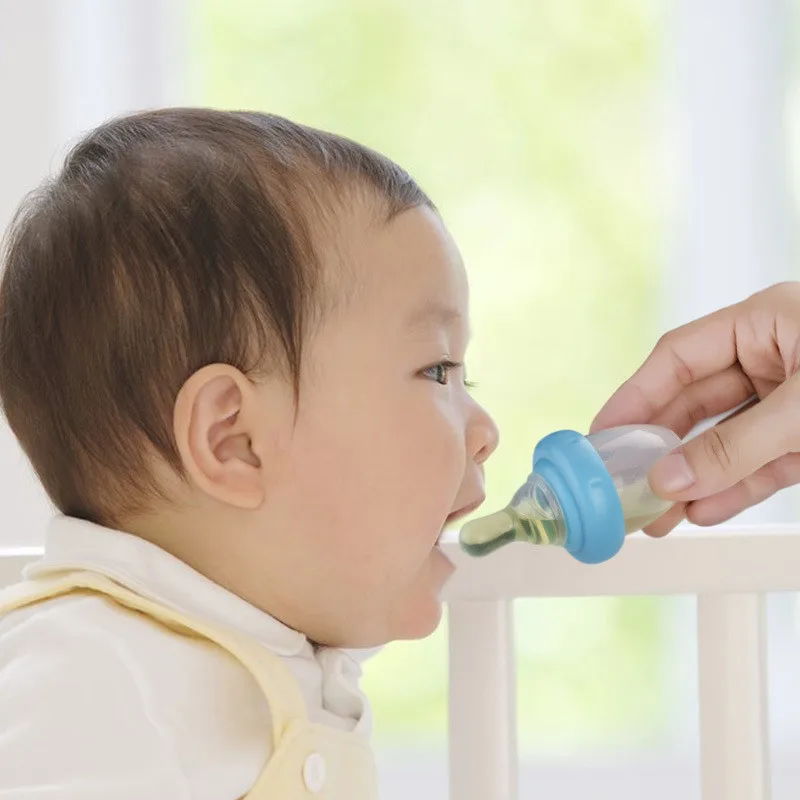 As your baby starts to take more breast and bottle feeds, they will not need as many top-ups of milk from the feeding tube. This will depend on your baby’s energy levels and their ability to coordinate sucking, swallowing and breathing.
Some parents have concerns about their baby changing from tube feeding to breastfeeding, as it is more difficult to measure how much milk their baby is having. Your baby will show signs that they are receiving enough milk, such as feeding cues and wet and dirty nappies. The healthcare team supporting you will monitor your baby’s feeding and will manage any top-ups that might be needed. Talk to a member of staff on your unit if you have any concerns.
What will happen if my baby needs to go home from the neonatal unit with a feeding tube?
If your baby is going home with a feeding tube, a member of unit staff will show you how to feed and care for the tube yourself. It may be you or your community neonatal nurse who will replace the tube when you go home.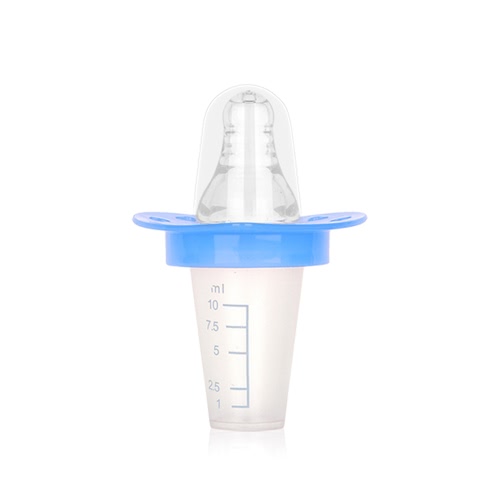 This will depend on your baby’s needs, your preferences, and the support the unit provides.
Support will always be available if you do not feel comfortable with replacing the tube yourself. If you have any questions or concerns, talk to the unit staff.
Related content
What is a nibbler for feeding: how to choose a nibbler (photo)
The first months of a baby's life have passed and it's time to introduce him to solid food. Yes, and how you want to pamper him with new delicacies - fresh fruits and vegetables. If the baby has already tasted plant foods in the form of all kinds of purees, and you want to treat him, for example, with a fresh apple or carrot, then the nibbler will become an indispensable and safe assistant in this matter.
Contents of the article
- 1 Nibbler: what is it, what is it for and how to choose the right nibbler
- 2 What can be put in a nibbler
- 3 How to use a nibbler
- 4 At what age can a baby be given a nibbler
- 5 Safety rules when using a nibbler
- 6 Is it worth teaching a child to a dummy
The baby, without the risk of choking and swallowing a piece of unground food, chews on a mesh filled with it of a special invention - a nibbler.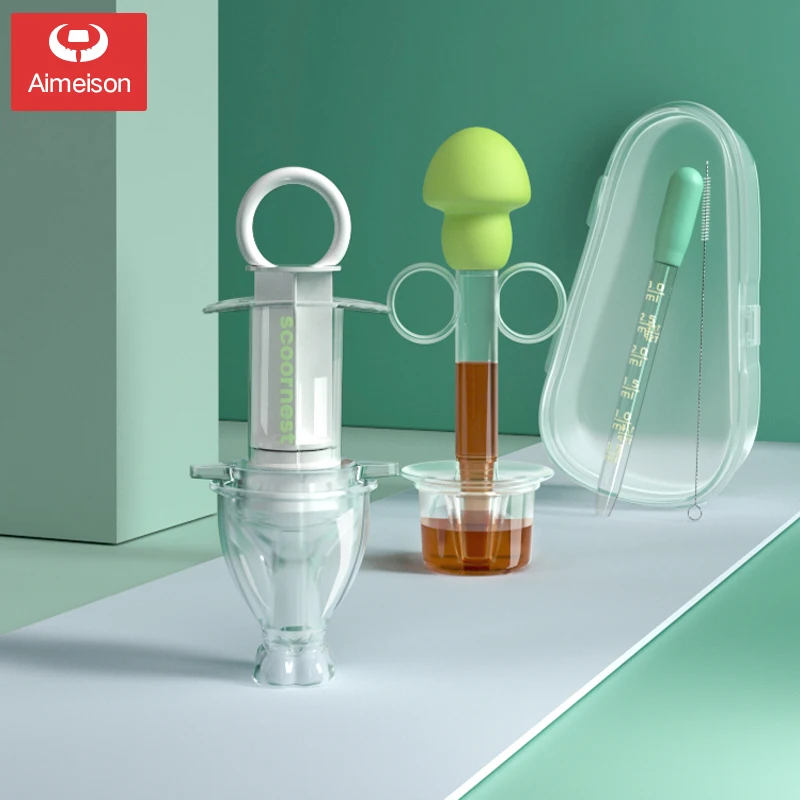 Simply put, this is a special mesh for safe chewing, where the product is placed. Using this device helps to teach the baby to chew. It is sometimes called a fruittaker. It is more correct to call the device feeder. The name comes from the English feeder (feeder, feeder, breadwinner). Initially, feeders were sold in Russia under the Nibbler brand of the Nuby company. So the name "nibbler" appeared.
The device helps the child learn a new form of food and allows the mother to find time for other activities or leisure. After all, a daughter or son will be happy to chew a net with a treat, and at this time, mom will have time to cook dinner or enjoy the silence.
Attention: never leave a child with a nibbler unattended.
There are two types of nibblers available in children's stores:
- Nibbler with mesh made of special fabric
- Nibbler with silicone mesh
Both types are available in different colors with ring or wand handle. Which one to choose, each mother decides for herself.
Feeder with fabric mesh looks like this:
Nibbler consists of a replaceable mesh, fixing ring, ergonomic handle. In some devices, there is an internal lid or a water container built into the handle, which, when cooled, allows you to keep the product fresh longer. The cap-cap is put on the grid itself and tightly adjoins the handle.
Replacement mesh can be used up to 3 months. After it is recommended to replace it. Replacement nets for nibbler are sold separately or in a set of several pieces. They are white and colored, universal or for a particular brand of nibbler. Mesh parts are made of durable and safe materials, do not contain harmful substances. Replaceable mesh is securely attached to the plastic handle. Pieces of food will not pass through the holes in the grid.
Silicone mesh feeder looks like this:
Silicone feeder (nibbler) It is also made from environmentally friendly materials. This mesh is easy to clean. It is necessary to replace the mesh if it is damaged or purchase a new nibbler. When the first teeth appear, a child chewing with zeal can gnaw through the silicone part.
Many moms find the silicone nibbler more practical and comfortable.
What can be put in a nibbler
At a time when our grandmothers were still young mothers, children put some bread in a piece of gauze, wrapped it up and gave it to chew. It was the first kind of mesh for chewing. With the help of a modern nibbler, the baby can enjoy many products:
- Fruit: apple, banana, pear, avocado
- Berries
- Fresh or cooked vegetables: carrots, cucumbers, courgettes, etc.
- A piece of boiled meat
- Drying or bread
Attention: it is worth putting in the nibbler products suitable for the age of the baby.
How to use the nibbler
Before giving it to your baby, follow a few simple steps:
- After separating the nibbler into parts, wash with hot water and soap or a special detergent for washing children's dishes
- Rinse thoroughly with boiled water.
 This should be done after each use of the mesh
 - Put the prepared food into the mesh by screwing the lid with handle tightly
- If the fixture has a liquid cooling container, you can first place the nibbler briefly in the refrigerator (not the freezer). This will keep the fruit or vegetable fresh longer
- We offer the baby to take the nibbler in the pen, and the mesh in the mouth. Keeping an eye on the baby does not choke on fruit juice or saliva
- After use, wash every part of the fixture, paying particular attention to the mesh itself
- Cleaned feeder should be dried
Attention: Over time, the fabric of the mesh may darken or stain with berry juice. In this case, replace the grid.
At what age can you give your baby a Nibbler
You can give a Nibbler to your baby after weaning. To avoid allergic reactions, you need to give products that the child has already met in a puree state.
Traditionally, complementary foods should be started at 6 months of age.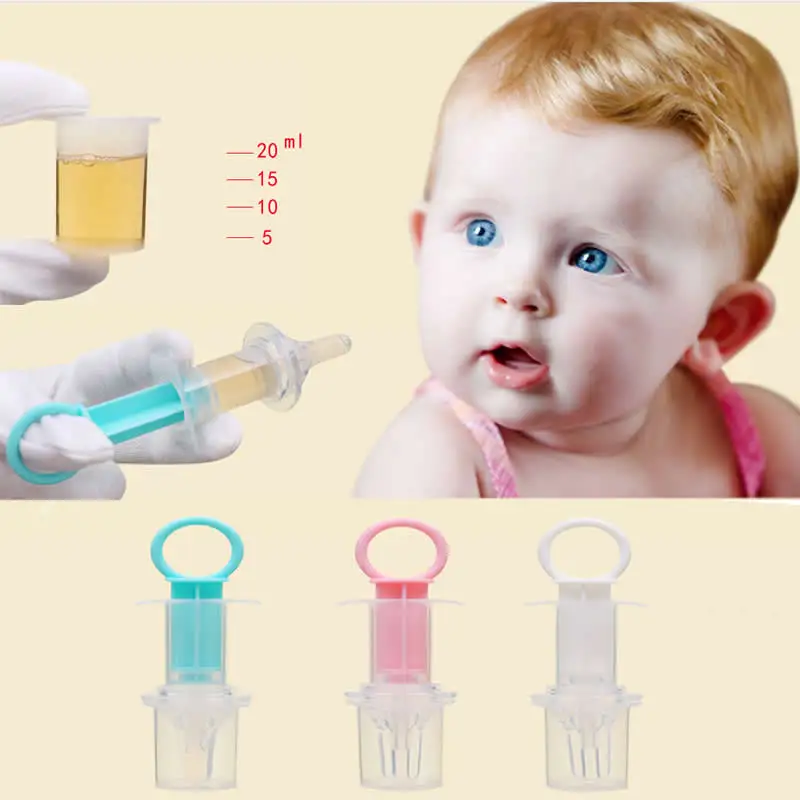 It is this age that is indicated on the packaging of the feeder. However, for some babies, due to individual characteristics, the doctor recommends starting complementary foods from 4 to 5 months. Such children can start using the nibbler earlier.
Tip: when choosing a nibbler for a baby under six months old, it is worth choosing a smaller model. For a 6 month old, buy a larger chew net.
Nibbler Safety Rules
The nibbler is a safety device, but it is essential to supervise the baby while using it and follow some safety precautions:
Advantages of using a nibbler
Every baby will sooner or later learn to chew food, but a nibbler will speed up this process.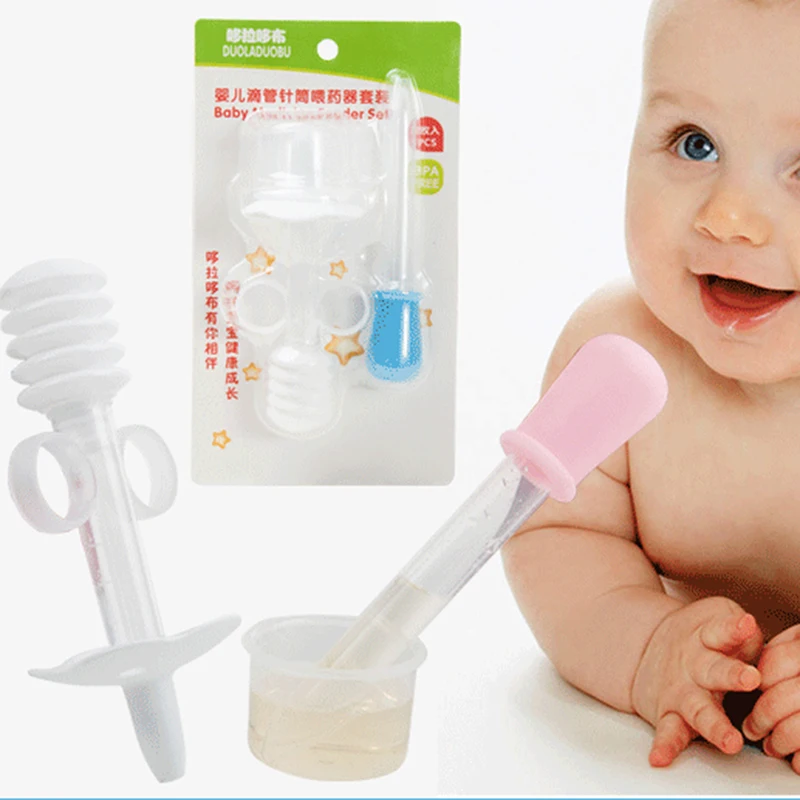 Here are the undoubted advantages of its use:
- Chewing on the nibbler mesh, the baby is safe, and the parents are calm. He will not choke on a large particle. The baby gnaws on the mesh, turning its contents into mush and sucking out the juice
- In difficult times of teething, the feeder will be a great helper. The braided mesh massages baby's itchy and swollen gums, making it easier for baby teeth to come in. Place chilled fruit slices in the net: this will relieve the pain of the child's sore gums
- Convenient to use the nibbler while walking. Sitting in the stroller, the baby enjoys his favorite fruit, and the mother does not worry that he will choke
- The bright colors and details of the nibbler are pleasing to the eye and attract the attention of the child, bringing joy
- Nibbler is very convenient to use. All parts are easy to clean
Is it worth teaching a baby to use a pacifier
In addition to the nuances of starting complementary foods, all mothers are interested in the issue of using a pacifier. Should the baby be forced to suck on a pacifier or under no circumstances should it be given? You can often hear from grandmothers and girlfriends that this is extremely harmful. Is it so?
Even in ancient times, there were various prototypes of a modern latex or silicone pacifier: pebbles smoothed with water, leather teats from the udder of cows, shreds in honey syrup. They, like the modern pacifier, were designed to satisfy the main reflex of the baby - the desire to suck. The pacifier has nothing to do with feeding the child, but can only give the baby peace of mind, and parents the cherished minutes of silence. For babies, sucking on a pacifier helps them fall asleep because it satisfies the primary sucking reflex.
Lactation consultants do not recommend giving a pacifier to a baby if the mother is not getting enough milk. Let the baby satisfy the reflex by applying to the mother's breast, thereby stimulating lactation. Most pediatricians around the world have nothing against a pacifier for babies in the first six months of life.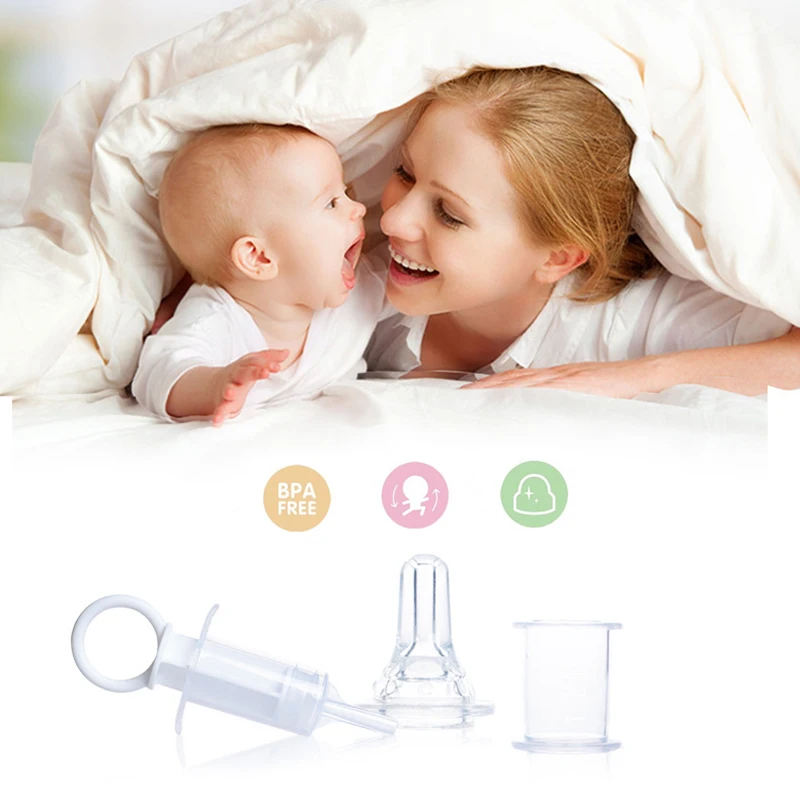 But do not force the baby to suck on the pacifier against his will. If the baby refuses to take a pacifier, he simply does not need it.
Modern nipples are harmless and do not affect bite formation in any way. Soothers are convenient, because first of all they were invented to free mom and dad some time.
Nowadays, mothers are lucky, because there are many thoughtful and convenient devices and gizmos. The kid will never get bored, he will be satisfied and full. Nibbler is the right tool. Of course, you can do without it, but you should not deny yourself the convenience, and the baby in pleasure.
Nibler - an introduction to the world of bright flavors!
- Main
- To help mom
- Feeding
- Nibbler - an introduction to the world of bright flavors!
For the first few months of life, a small child is satisfied with the most important and useful treat in his life - mother's milk. However, closer to the age of six months, the time comes for the baby to get acquainted with solid food, which in the future will become the basis of his daily diet. Vegetable and fruit purees not only give the child the opportunity to get acquainted with new amazing tastes, but also allow his gastrointestinal tract to adapt to solid "adult" food. But, you see, sometimes you really want your beloved baby to try fruits or vegetables in their original form, without heat or mechanical processing! In addition, a whole piece of an apple or carrot will bring much more benefit to the child's body than grated homogeneous puree. It is in this case that a modern gadget will come to the rescue - a nibbler! Thanks to this device, the child can enjoy new tastes, and parents do not have to worry about choking on a piece of solid food.
Nibbler selection rules
Let's start with the fact that the history of the name of this gadget resembles the history of such names as diapers and copiers.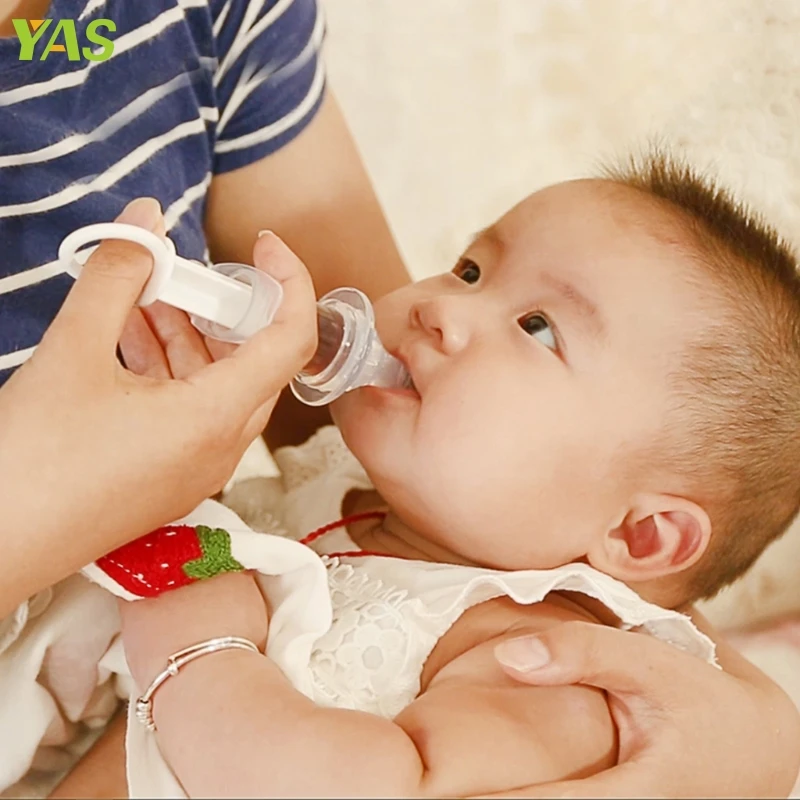 The device itself is called a feeder from the English word feeder, which translates as “feeder”, “breadwinner”. The first feeders in the CIS countries appeared several years ago, and the company that supplied them to the post-Soviet market was called Nibbler. Since then, all feeders have been called nibblers.
Nibbler, feeder or fruittaker, as it is sometimes called, is a device consisting of an ergonomically shaped handle, a fixing ring and a mesh for safe eating. Inside the mesh, which is screwed to the handle, put a piece of fruit or vegetable, then screw the fixing ring tightly and offer the baby. A child who does not yet have teeth, with pleasure kneads food with gums and sponges, enjoying natural vegetable or fruit juice and the smallest puree-like particles. At the moment, the trading network presents two varieties of this gadget. They differ from each other in the material from which the mesh is made. In the first case, it is fabric, in the second - silicone. The nibbler handle can be round or stick-shaped.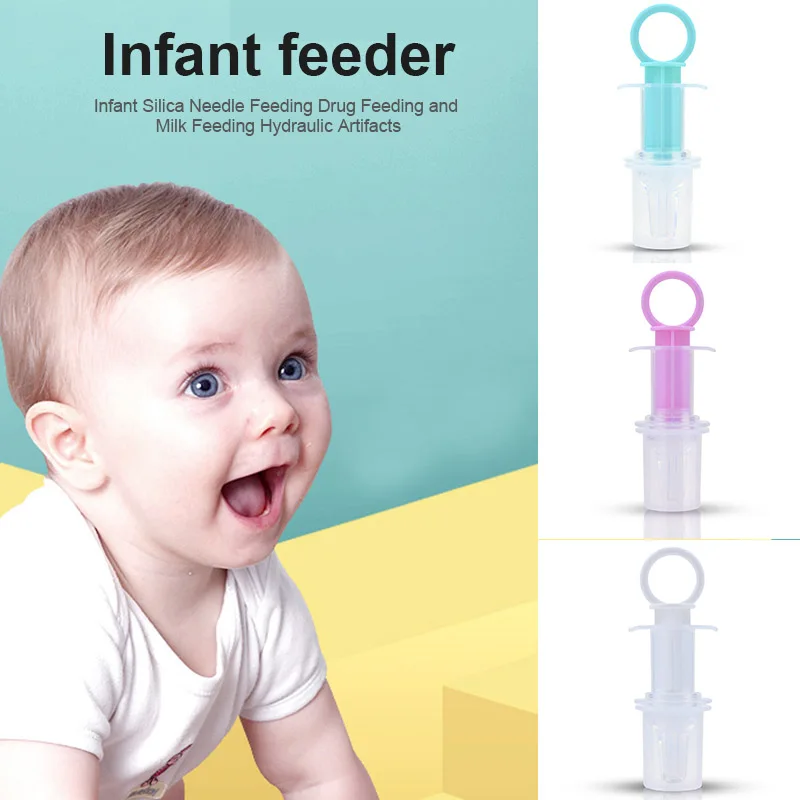
Which option should you choose? If we talk about nibblers with fabric meshes, they have a number of advantages. Firstly, the fabric has a rough texture, so it perfectly massages the child's itchy gums. Secondly, this material is absolutely safe, as it is made of natural cotton. However, this advantage is also a disadvantage. The fact is that many fruits and vegetables contain natural pigments that color the mesh. After cleaning and even boiling, it is unlikely that it will be possible to achieve the original color of the fabric. In addition, fabric nets have a limited service life - they can be used for no longer than three months. After that, it is necessary to replace the mesh with a new one. Fortunately, today this is not a problem, as the nets are sold separately. Yes, and cases when children use a nibbler for more than three months are rather an exception. In addition, you can purchase a mesh of any color, which will solve the problem with its coloring.
Silicone mesh nibblers are great because they are very easy to clean. It is enough to remove impurities with running water and treat the mesh with boiling water. The life of the mesh is unlimited, but it is impossible to use such a nibbler when the first teeth appear, because the child can gnaw through the mesh and choke on a small piece of it. Despite this drawback, many mothers prefer silicone meshes, considering them more practical. Sets of interchangeable silicone meshes are presented in a wide range.
Nibbler is simply indispensable if the crumbs have begun the process of teething. His itchy gums are perfectly massaged with a rather rigid mesh. To enhance the effect, you can cool the pieces of food to the minimum acceptable temperature. In addition, thanks to the nibbler, parents will have free time, because a child engaged in an exciting activity will not be distracted from cleaning, preparing dinner or other household chores. However, do not forget that leaving the baby alone with the nibbler, despite all its safety, is prohibited!
Baby Treats
What can I fill the nibbler mesh with? In the distant past, our grandmothers treated our little parents to a piece of bread wrapped in gauze and tied with a knot. Today, thanks to the advent of nibblers, the range of treats for kids has expanded significantly. You can put pieces of fruit, berries, vegetables, boiled meat, cookies, and the same bread in the net. In general, everything that can be given to a child of the appropriate age!
If you still do not know how to use a nibbler, but have become the owner of this modern gadget, we suggest that you familiarize yourself with the simple rules for its operation. The first step is to process all the details of the gadget, taking it apart, washing it with soap and pouring boiling water over it. After that, it is necessary to put products in the mesh, and then screw it tightly to the handle. You can put the nibbler in the refrigerator for a few minutes to cool the product and deliver maximum pleasure to the child's gums. Invite the child to take the nibbler, placing his hand comfortably on the handle of the device, and put the net in his mouth. In less than a minute, the little explorer will understand how to use this miracle contraption! After use, the nibbler should be disassembled, thoroughly washed and dried in all its parts.