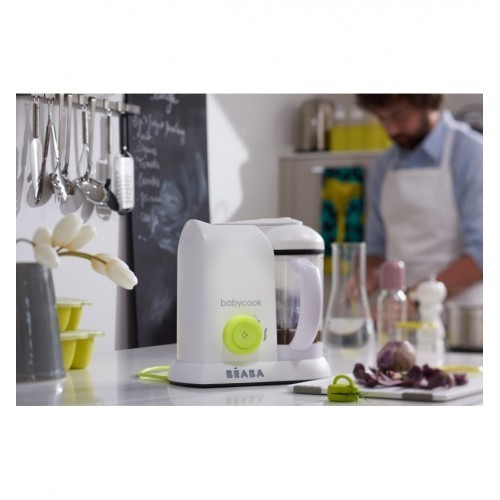
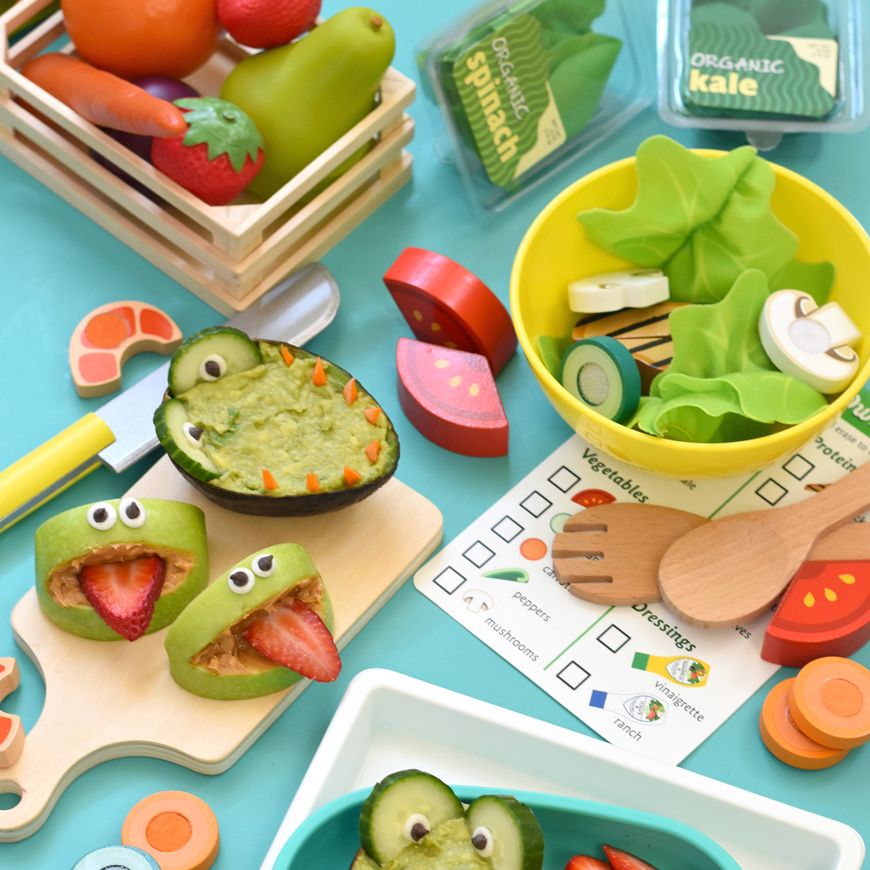
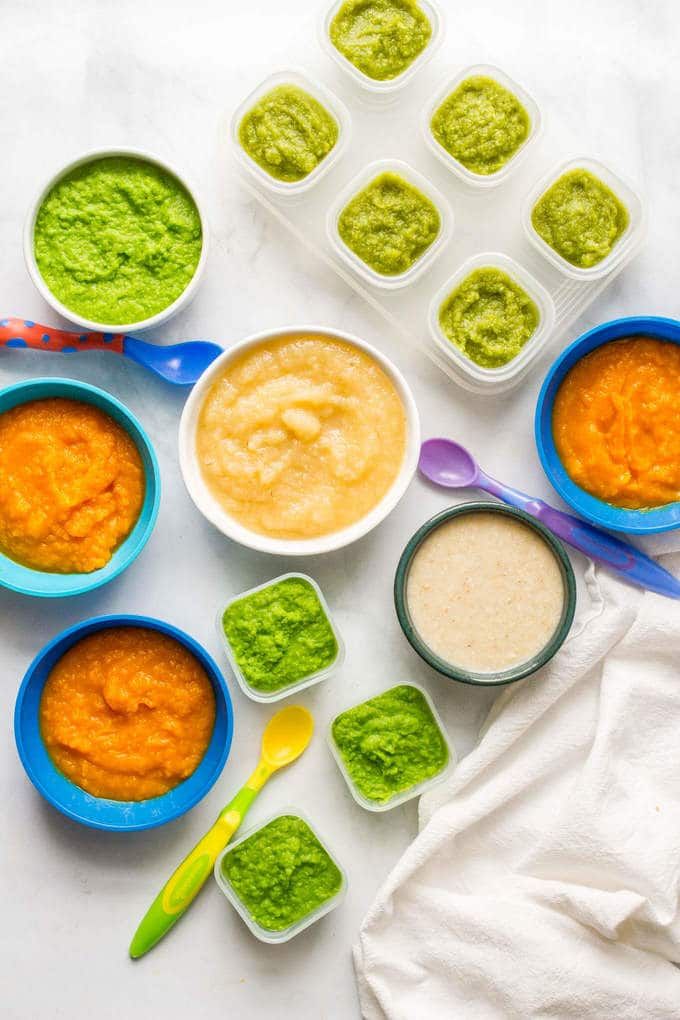
Baby food making class
Blog — Peasful Kitchen
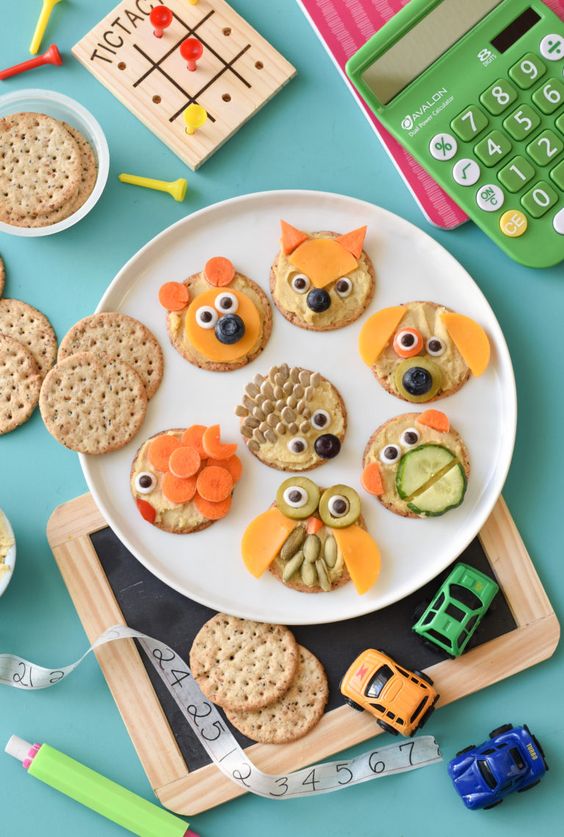
/ NicoleDIY playa bowls are a breakfast treat or fun snack that kids can assemble on their own!
Read More
/ Nicole/
Family Meals, Healthy Snacks and More
fruit, summer, mango, banana, snack, toddler food, dairy free, breakfast, spring, freezer friendly, glu, granola
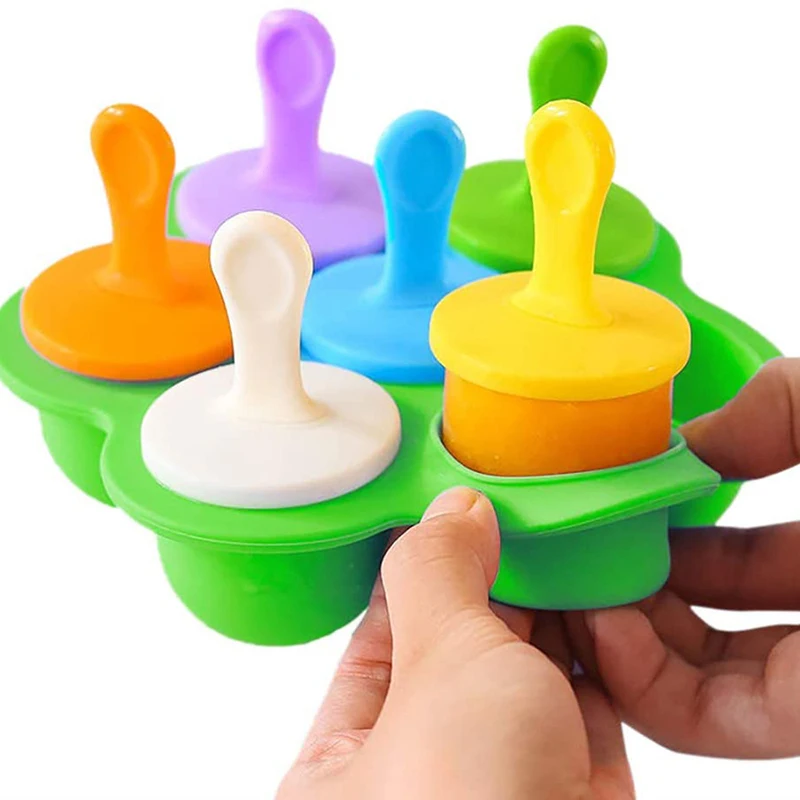
/ NicoleSummer days call for peaches and coconut cream ice pops!
Read More
/ Nicole/
Healthy Snacks and More
summer, peaches, popsicles, dairy, dessert
/ NicoleThis family-friendly make-ahead breakfast gives you all the protein you need to fuel you until lunchtime!
Read More
/ Nicole/
Family Meals, Toddler Food, Baby Food, Holidays and Celebrations
breakfast, summer, oats, 4th of july, make-ahead
/ NicoleIt’s pesto that packs a nutrient-dense punch! This kale-avocado version will spruce up your weeknight meals.
Read More
/ Nicole/
Family Meals, Toddler Food
kale, undercover veggies, summer, avocado, dinner, pasta, spring
/ NicoleKids love to dip! This flavorful white bean dip is packed with satiating protein and fiber and perfect for dipping pita and veggies!
Read More
/ Nicole/
Toddler Food, Healthy Snacks and More, Holidays and Celebrations
dip, snack, dairy free, egg free, St. Patrick's Day, st patrick's day, beans, Vegetarian Food
This pretty pink berry smoothie tastes like a milkshake but is loaded with lots of fruit and even a veggie (can you guess which type?)
Read More
/ Nicole/
Healthy Snacks and More, Toddler Food, Baby Food
breakfast, smoothie, undercover veggies, picky-eater approved, freezer friendly, VALENTINE'S DAY, strawberry
/ NicoleThis toddler-friendly mac and cheese is loaded with three types of cheese and squash (you didn’t think I’d leave out a veggie, did you?) which is virtually tasteless and mimics that neon orange color that kids love from the boxed stuff.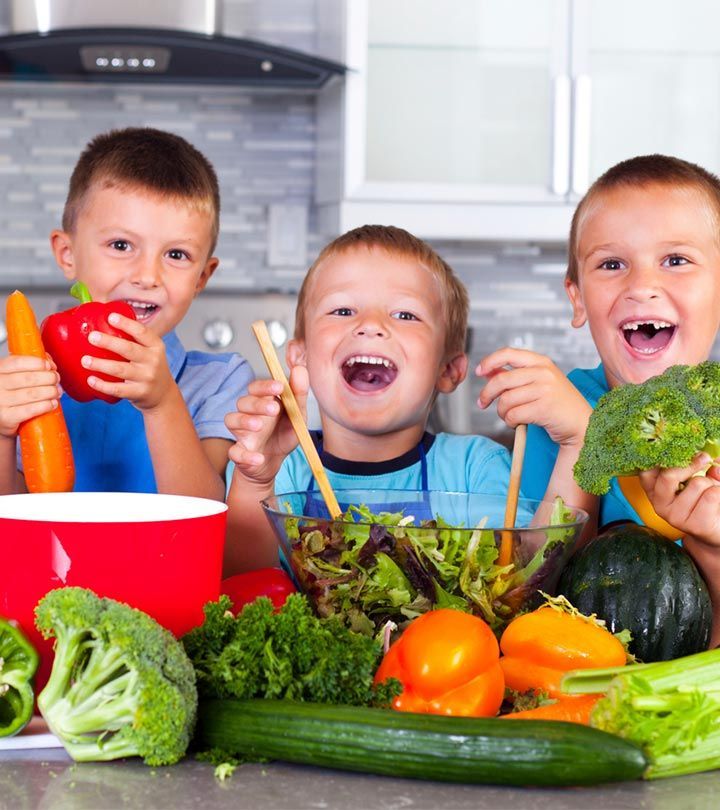
Read More
/ Nicole/
Toddler Food, Family Meals
pasta, dinner, winter, fall, butternut squash, toddler food, freezer friendly, picky-eater approved, undercover veggies, 5 ingredients or less
/ NicoleMy favorite muffin recipe combines carrots, apples, raisins, coconut and more for a delicious morning—or anytime!—treat.
Read More
/ Nicole/
Toddler Food, Healthy Snacks and More
muffins, snack, school lunch, toddler food, fall, winter, freezer friendly
/ NicoleA bowl that’s packed with 8 different veggies and enough protein for a healthy winter meal.
Read More
/ Nicole/
Family Meals, Toddler Food
winter, soup, dinner, lunch, vegetable, fall
/ NicoleCreate a DIY parfait bar with this crunchy, hearty granola that’s loaded with dried sweet cranberries, filling pumpkin seeds, and delicious coconut! Just add yogurt and fruit for a balanced breakfast!
Read More
/ Nicole/ /Source
Holidays and Celebrations, Healthy Snacks and More, Family Meals
oats, granola, breakfast, christmas, gluten free
/ NicoleDo your kids stick their nose up at their holiday meal? Here’s how to get your kids to actually eat more than bread and dessert.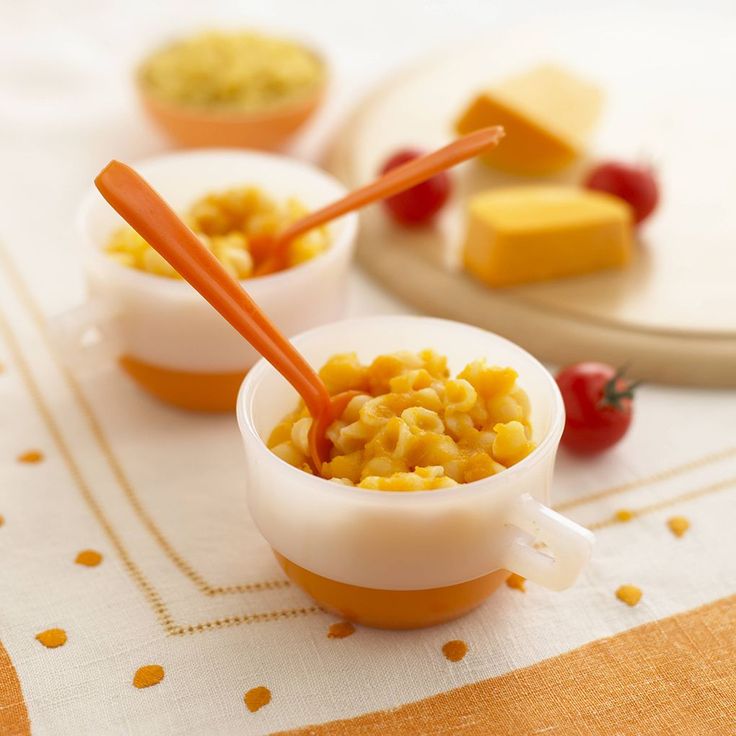
Read More
/ Nicole/
Nicole's Tips and (Uns..., Holidays and Celebrations
thanksgiving, christmas, picky-eater approved
/ NicoleYour family will become a casserole convert with this version that’s soup free, and made of real wholesome ingredients! It’s comfort food at its best.
Read More
/ Nicole/
Family Meals, Toddler Food
chicken, rice, gluten free, dinner, broccoli, fall, winter, make-ahead, freezer friendly, BLW Recipes
/ NicolePacked with chocolate flavor kids love plus filling protein and a heap of leafy greens!
Read More
/ Nicole/
Healthy Snacks and More, Toddler Food
smoothie, breakfast, snack, 5 ingredients or less, banana, Spinach
/ stacey merkinI’d like to preface this post by stressing that I realize that many busy parents get their groceries delivered. But since that takes planning and organization, I often end up lugging along my three kids. It’s never pretty.
Read More
/ stacey merkin/
Nicole's Tips and (Uns...
/ NicoleOverhead Cheesy Chili Corn Chowder with corn chips and bowls and spoons
/ Nicole/
Baby Food, Family Meals, Holidays and Celebrations, Toddler Food
Cheddar, Cheese, Chipotle Chile, Chowder, Cilantro, Corn, Corn Chowder, Food, Garlic, Hass Avocado, Lime, Monterey Jack Cheese, Onion, Prepared Potato, Red Bell Pepper, hominy, lunch, soup, vegetable, avocado
Nicole
/ NicoleWelcome to week 4 of our What’s Up World series—each week my children and I read about a different county and cook a meal from that location. Our travels this week took us down to South Africa, a country that’s on my personal bucket list to visit one day (and for now, this will have to do!). We read about the idea that South Africa is sometimes called the rainbow country because people from so many different countries have settled there. You could say the same about the city where my family lives, too—we’re a part of a community where there is a lot of diversity of race, nationality, and religion—and I appreciated the opportunity to reinforce what I always tell my children at home: that God made everyone different and everyone special. In the book, the narrator's meal choices also hit home—he ate cereal for breakfast and macaroni and cheese for lunch. And then we got to the narrator’s dinner and the kids almost fell out of their seats. On his family table was tripe, a disguised word for sheep stomach. My kids begged me that the meal we choose to make NOT be tripe, and I agreed that it was something that none of us could stomach (<—see what I did there?).
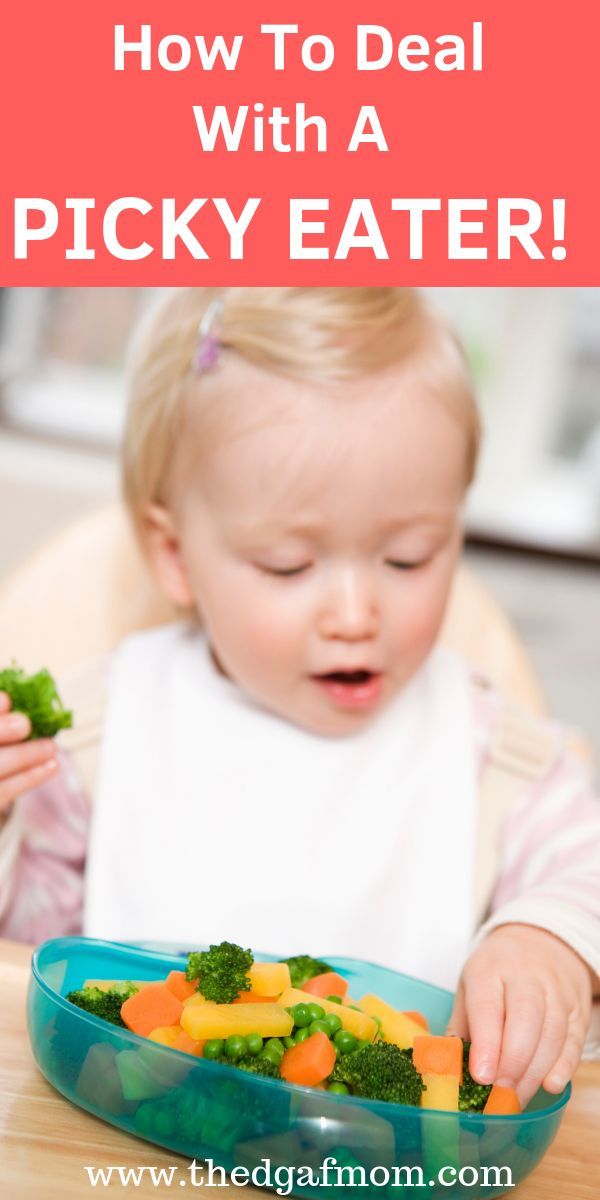
So instead I consulted with my friend Sharon from www.cookingwithkidsNY.com who teaches international cooking classes and whose trips have taken her around the globe. She suggested that we make Githeri, an African stew made of beans, vegetables and spices. It sounded perfect!
Admittedly, this recipe required a lot of chopping, but my kids didn't mind one bit. The boys are thrilled any time they get to use their knives (we use these kid-friendly ones from Curious Chef), and they went to work chopping up peppers and scallions while I handled the the heartier potatoes and carrots.
Once the veggies were all in the pot, we took turns smelling spices: curry, ginger, and coconut cream. I love watching their reaction. My 3 year old loved the smell of the curry while my 6 year old wrinkled up his nose at the same smell. They both agreed that coconut cream was something we should have every day, and it was hard to get them to stop sneaking tastes.
Lastly, we dumped everything in a slow cooker and let it do its thing.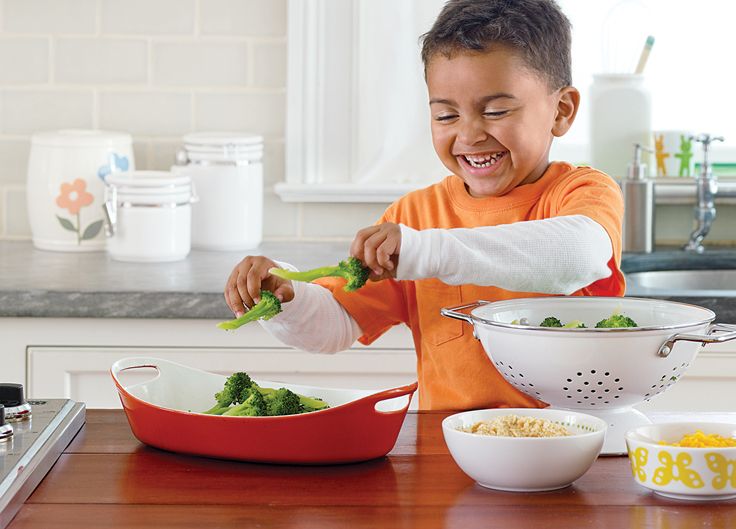 On busy summer days it’s such a treat to come home to a done dinner and spend an extra half hour at the park rather than forcing everyone to retreat early so I can cook.
For fun, I served this over alphabet-shaped pasta, but rice, quinoa or pita bread would make a nice substitution.
Getting kids to eat new flavors can be challenging, but getting them involved in the cooking process almost always guarantees that they'll try it. If I were to serve this blindly, I can bet that it would have been a struggle for them to take a bite. But this time, they ate it happily and proudly showed my husband what they had made.
I too enjoyed the flavors and I plan to experiment with other vegetables depending on what's in season. This meal would freeze easily, so you could even make it in bulk and then freeze a portion for the future.
But for now, we're closing out our chapter in South Africa, and flying back to Asia. China, we're coming for you!
GITHERI (vegetable and bean stew) makes 6 servings
Ingredients: 2 ears of corn, cut off the cob (or 2 cups of frozen corn kernals 2 cans of pinto or kidney beans* 1 28-ounce can crushed tomatoes 1 onion, diced 3 cloves garlic, minced 2" ginger, peeled and grated 3 scallions, sliced 1 potato, chopped 2 carrots, chopped 1 green pepper, chopped 1 tbsp curry powder 1 1/2 cups of coconut cream 1/2 tsp salt 1/4 tsp pepper handful of cilantro, chopped (additional ingredients only needed if cooking on a stovetop) 1 tbsp butter 1 tbsp olive oil 1 1/2 cups vegetable or chicken broth
Directions: (for the slow cooker) Add all ingredients to a slow cooker through cilantro and mix well.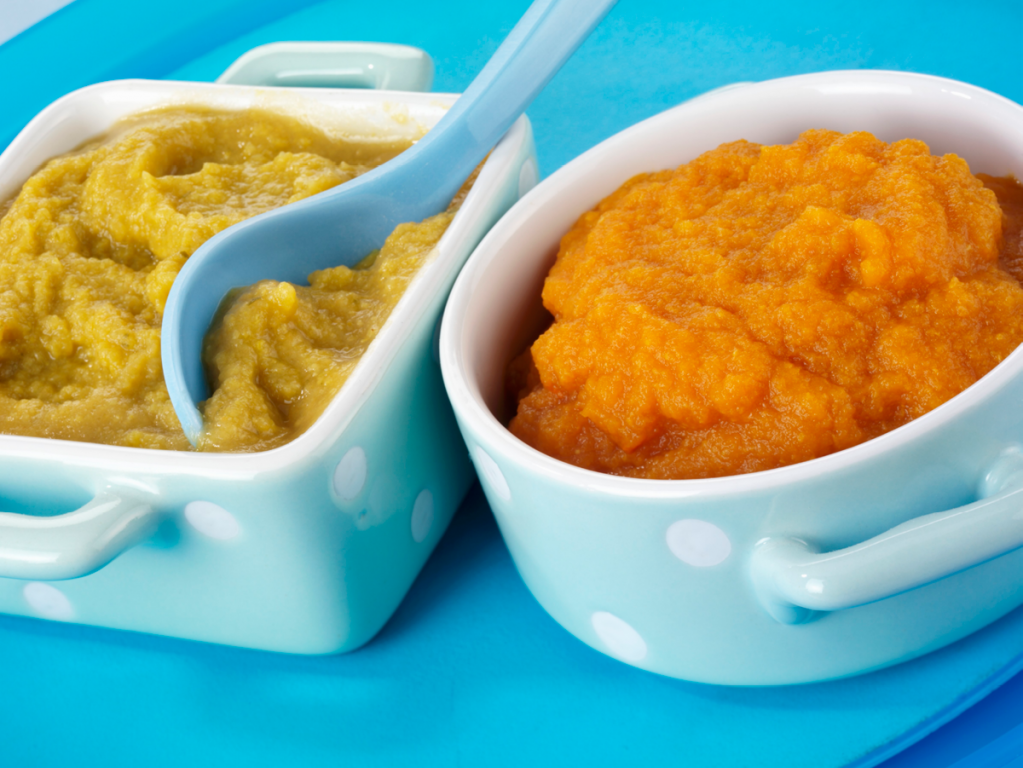 Set on low and cook for 8 hours. Season to taste with salt and pepper. Garnish with cilantro.
(for the stovetop) Heat a large dutch oven on medium heat and add the vegetable oil and butter. Add onions and cook until translucent. Add the ginger and garlic and cook for 1 minute more. Add curry powder and cook another 1-2 minutes. Add tomato puree to the pot. Reduce the heat to a low simmer for 5 minutes or until the mixture thickens a bit. Add the potato, pepper, carrots, scallion, corn, beans, vegetable stock, coconut cream, salt and pepper. Cook, stirring occasionally for 20-30 minutes until vegetables are soft. Add cilantro and cook several minutes for the flavors to mix. Season to taste with salt and pepper.
*Traditional canned beans contain a high amount of sodium. Rinse before using or look for low sodium or organic beans instead.
/ Nicole/
Family Meals, Toddler Food
Nicole
/ NicoleIt's hard to believe that we're already halfway through our What's Up World series! This week, we landed in Italy, and the pressure to perform is really on.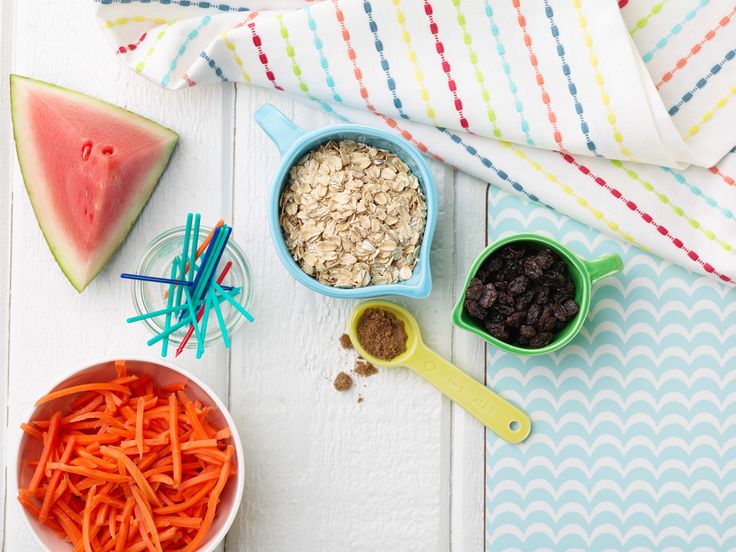 For one, the majority of my background is Italian. And also, we live in a city with a heavy Italian influence. It's a place where older ladies line up outside the Italian deli on Saturday mornings to buy fresh-baked focaccia bread, where masses are said in Italian on Sundays, and where names like Frank Sinatra and the Cake Boss hail from. As we began reading through the book about Italy, I felt distracted, wondering what kind of food we would cook from the country. It was too hot for heavier Italian fare, and pizza was out of the question because we admittedly eat it too much. A quick search had me counting 22 pizza parlors within a 1 mile radius of our home. Luckily, the book helped me decide. The school aged narrator began her day as most children do in Italy with a breakfast full of cookies, cakes and bread. You can imagine the initial excitement from my kids as they read this—a response that was soon followed by the realization of the unfairness of it all. Why do THEY get to eat cake for breakfast and we don't?
"My dear children," I said as I wrapped my arms around them and pressed them closer to me.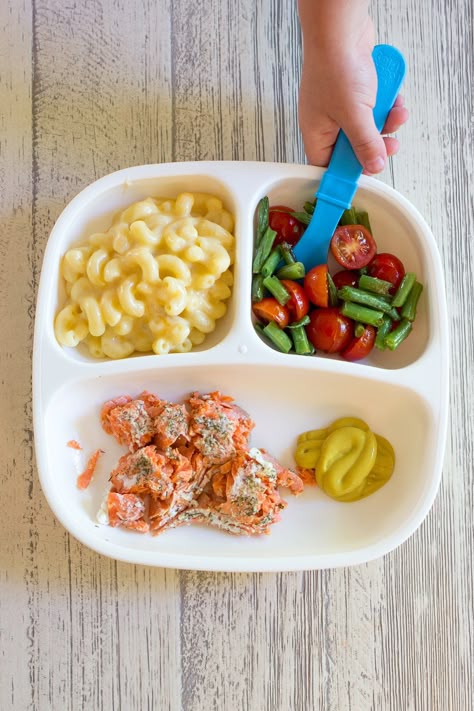 "One day when you're a parent like me, you can drop your kids off at school, go straight to the coffee shop, and eat the biggest and the best breakfast pastries every single morning. And you can eat the whole thing by yourself without anyone asking for a bite. Didn't you know that's what mommy does while you're at boring school? I eat cake all day long."
Okay I didn't actually say that, but a part of me may have taken the smallest pinch of pleasure in watching their reaction to this imaginary tale. So instead, I said yes, that we can make a dessert, but that we would eat it after dinner. And so we went to it.
We went with a lemon semifreddo--an ice cream-like dessert that requires no ice cream maker, which is good, because I don't have one. Traditionally, to make a semifreddo, you would line a loaf pan with plastic wrap and pour the mixture inside the pan until it's frozen. Then you simply lift out the mold, unwrap it from the plastic, and be left with a beautiful rectangular cake. For our version, we went with individual glass ramekins so there would be no fighting over who got the bigger slice, and also because of that wonderful unknown that comes with giving children something glass and holding your breath that it won't break. Also, aren't they pretty?
Lemon desserts transport me back to the last time I was in Italy--it was a few months before I got pregnant with my oldest child and my husband and I had gone to the coastal city of Positano where lemons grow as big as melons. This dessert would give us the opportunity to tell the kids about the trip, and maybe even remind my husband that our 10 year anniversary is coming up and that a trip back to Italy would be a lovely present that I would think that I wanted until I boarded the imaginary plane sobbing about the potential dangers that could occur overseas and away from our children.
But back to real life in my kitchen. For this recipe, the kids took turns using the electric mixer and I stressed to them that the beaters always had to touch the bottom of the bowl, unless they wanted a sugar explosion all over the kitchen, which in retrospect, they wouldn't have minded. With my assistance, they learned to hold the bowl steady with one hand and hold the beater in the other. They also enjoyed squeezing the lemon juice and sucking on the remaining peel. Do any of your kids like eating lemon as much as mine do?
Overall, the hardest part for this recipe was patience in waiting for the ice cream to harden and in keeping the freezer shut long enough so that it would--they loved sneaking peeks! And as you can imagine with any recipe that uses sugar as the main ingredient, the kids loved every last lick that they could get. My husband and I still have no international travel plans, but I would otherwise say that our trip to Italy was a success!
Be sure to join us next week as we fly to South Africa!
makes 8 6-ounce ramekins or 1 9x5x3 loaf pan
Ingredients:
2 1/4 cups heavy whipping cream
1 tablespoon confectioners sugar
1 1/4 cups granulated sugar
7 large organic egg yolks
1/2 cup fresh squeezed lemon juice (approximately 4-5 lemons)
1 1/2 tablespoons lemon zest
1/4 teaspoon salt
2 cups mixed berries
Directions:
Using electric mixer, beat whipping cream in large bowl until soft peaks form. Transfer all but 1 cup of whipped cream into a separate bowl and refrigerate. Add confectioner's sugar to the remaining whipped cream and beat for 1 minute more. Place the sweetened whipped cream in the refrigerator.
In a large glass or metal bowl, whisk together granulated sugar, egg yolks, lemon juice, lemon and salt. Set bowl over a large saucepan of simmering water and whisk constantly until mixture registers 170°F, about 4-5 minutes. Carefully remove bowl from the saucepan and place it on the countertop. Using an electric mixer, beat mixture for at least 5 minutes until cool and thick. Fold in UNSWEETENED chilled whipped cream. Divide mixture evenly among ramekins and freeze at least 8 hours. Once ready to serve, dollop semifreddo with sweetened whipped cream and fresh berries.
/ Nicole/
Holidays and Celebrations
Nicole
/ NicoleWe're continuing our virtual trip to the beautiful county of India (if you're new here, you can learn more about our adventure HERE to join us--it's never to late!).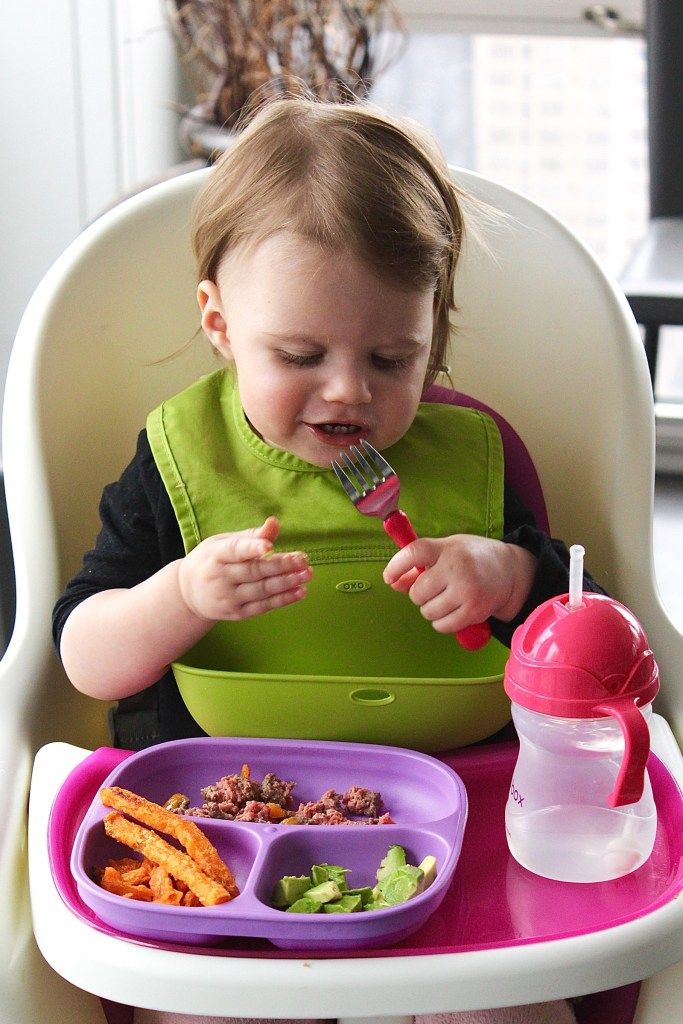 This country, I told the boys, was ALL THE WAY around the world, and they used that information to spend the next three minutes fighting over who could spin the globe to the other side because nothing brings out that special side of siblings like summer vacation. Once both had the opportunity to spin that very object that's on display every day but otherwise gets ignored lest the other shows interest, we moved on to reading all about this special country.
Like the book we read about Brazil, the story about India was narrated by a school-aged girl, and this one had 56 kids in her class. I was surprised to learn that schools are so full in India, that students are divided into two groups--those who attend school in the morning and others who go in the afternoon--to keep up with the demand. We finished the book and I couldn't wait to move on to trying the recipe.
I wouldn't dream about writing about Indian cuisine without consulting my friend Kanchan who grew up there but now lives in Brooklyn.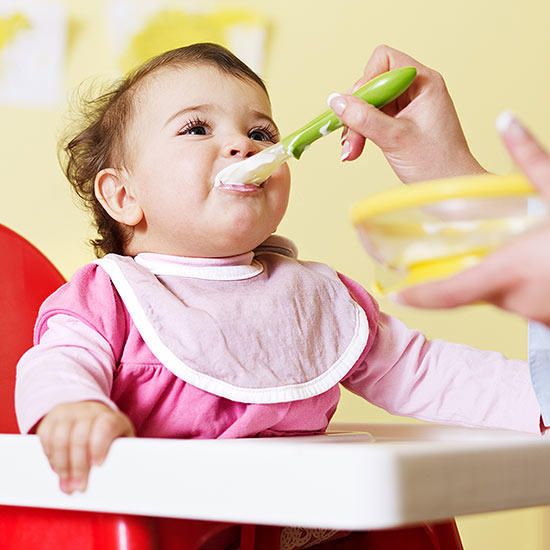 Her cookbook and blog, Spice Spice Baby, include recipes that span from babyhood to adulthood and will inspire you to experiment with all different kind of spices. She also has a Ph.D. in Biomedicine from Harvard (#girlpower for real!) and I love how she incorporates the information about healing power of various spices into her cuisine.
We decided to make these super flavorful chicken kebabs from her cookbook that happened to be her childhood favorite food. On her son's first trip to India, her mother cooked these same kebabs for him, and he devoured them just as she had done as a kid! I personally like using familiar foods as a vehicle for introducing new flavors, so I was excited to make these with my kids. Plus, anything on a stick is always fun to eat and inevitably turns into a kebab sword fight. Ah, boys.
I chopped up the onion, garlic and ginger while the kids picked off leaves off cilantro and mint. I set out a cutting board and asked them to put the stems in one pile and the leaves in the other, and they went right to it. We also took turns smelling the ginger, garam masala, garlic, and herbs. Once we blended up the herb mixture in the food processor, I sealed off that and the chicken in a large zip lock bag, and the kids got to squish it around to evenly distribute. I left the kebab skewering to yours truly because there wouldn't be enough bandaids in the house to cover the potential boo-boo damage otherwise.
My whole family ate these right up, including my 1 year old whose chicken I chopped into tiny bite size pieces. These make a great flavorful food for baby-led weaning. Introducing infants to a variety of herbs and spices can make them better eaters--in fact studies show that the more flavors a baby is exposed to before age 1 translates to the more variety of foods they eat at age 7.
We're having so much fun with this series, and can't wait to land in our next stop: Italy!
Chicken Kebabs with Garam Masala, Mint and Cilantro
makes 12 kebabs
Ingredients:
½ small red onion, roughly chopped
4 garlic cloves, minced
A fistful of fresh cilantro (leaves and soft stems)
4-6 mint leaves
1 teaspoon peeled and grated ginger
1 teaspoon garam masala (make your own as in Page X or store-bought)
1 teaspoon salt
1 pound boneless, skinless chicken breasts or tenderloins, chopped into 1 inch pieces
Coconut oil
Lemon juice
Directions:
In a food processor, blend together the first 7 ingredients until onion, and herbs are minced and mixed well.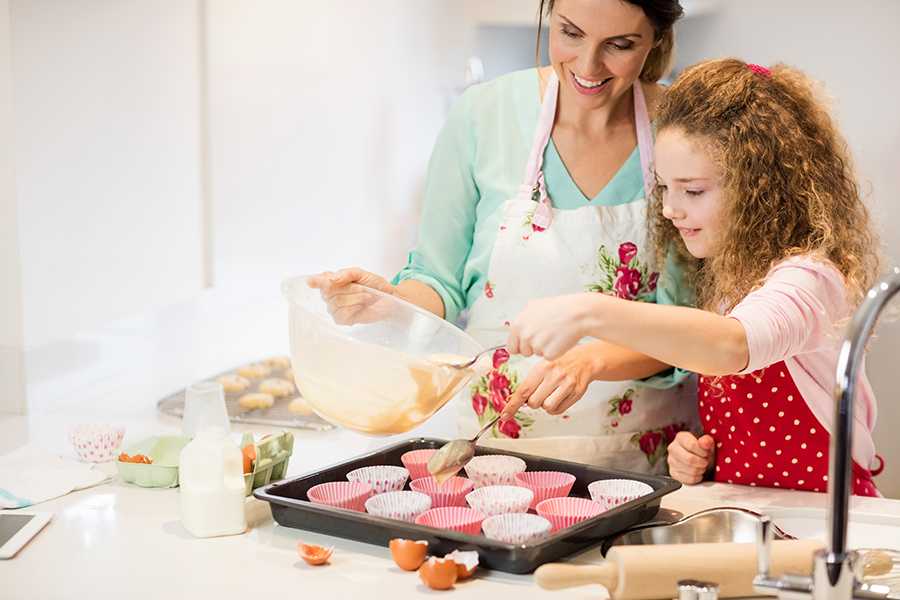 Transfer meat and herb mixture to a a gallon sized ziplock bag and mix well.
Mold the meat mixture into 2-inch long kebabs and set aside.
Heat a grill pan or skillet to medium and brush lightly with coconut oil. Cook the kebabs, turning them every minute or so for 10-12 minutes to ensure even cooking all around. Brush the kebabs with coconut oil while cooking, every few minutes, to prevent them from drying out. If cooking in batches, avoid over-crowding and brush the skillet with more oil as needed between batches. Check one kebab for doneness – it should not be pink in the middle.
Serve with a cilantro and mint yogurt sauce or enjoy with a squeeze of lemon. Freeze the cooked kebabs for up to 3 months – just thaw and reheat on a grill pan before serving.
/ Nicole/
Family Meals, Toddler Food
Nicole
/ NicoleWelcome to the first week of our What’s Up World weekly summer series! For the next six weeks, we’re going to be taking an imaginary trip around the globe, reading one book from the Living in Around the World Collection and making a recipe that represents that country.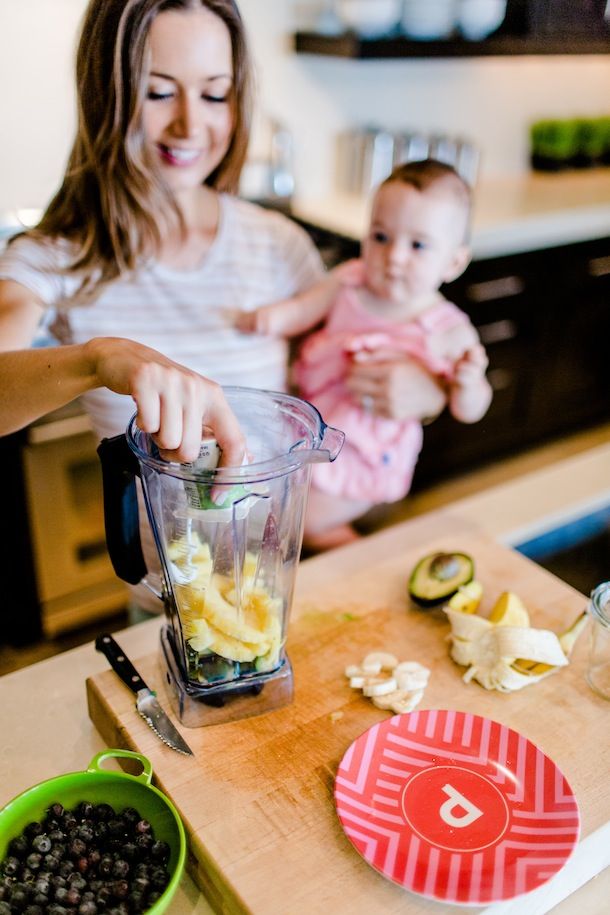 (You can read more about the series by CLICKING HERE.)
Remember the international vacations you used to take with your spouse before you had children—the afternoons spent wandering down foreign cobblestone streets, sauntering through museums, and enjoying a leisurely glass of wine at at outdoor cafe? This is nothing like that. (What? You have kids now.) Instead, we’ll be exploring different cultures from the comfort of your own kitchen. There are no pricey plane tickets, no museum meltdowns, and no judgement if you choose to pour yourself a glass while you cook, because cooking with kids can have a common side effect of driving parents to drink. I kid, I kid.
We started our trip in Brazil, and I was surprised to see how interested my 3 and 6 year old boys were in learning about the country and locating it on our globe. This particular book about Brazil was narrated by a school aged boy that my kids could easily identify with. Like them, he lives in an apartment in the city and wears a uniform to school.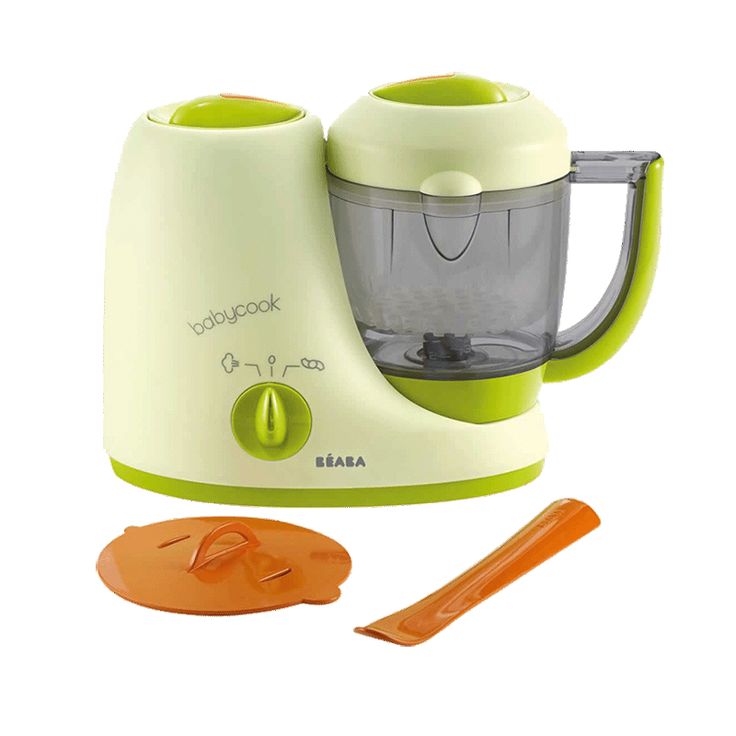 I liked that the boys could see themselves in the narrator, and we talked about how his life would be similar and different to theirs. I personally have found that motherhood is a role that makes the world seem so much smaller since we all share many of the same struggles and joys, and I hope that on some level, this book helped my kids feel this way too.
For the recipe, we went with a traditional Brazilian baked empanada that they refer to as Pastel al Forno made with chorizo, potato, and bell peppers. In Brazil, they typically bake their empanadas instead of frying them, which makes for a healthier recipe and a quicker clean-up. I did most of the chopping in advance, and the boys helped me (I use the term "help" very loosely--ha!) by taking turns sauteeing the filling, spooning the filling into the disks, wetting the edges of the disks, and poking holes in the top with a fork so that the steam could escape. These type of empanadas, I told them, were Brazil's version of fast food--something you could grab and go as an afternoon snack or quick meal--though they were disappointed that I didn't know if kids' meals in Brazil came with a toy.
It's been a while since I've cooked with my kids--evenings in the school year are just too chaotic--but I was pleasantly reminded how excited the kids were to have a hand in making the recipe and trying it. They couldn't wait to try the finished product and were so thrilled to shove food into their sister's mouth offer their sister bites of what they made. For us, this recipe was a huge success (my oldest ate 3!), and I believe it was partly because they helped out and also because the elements inside the filling were familiar enough--they're used to eating sausage, potatoes, and peppers. I'm planning on making this again and using it for lunchbox stuffers throughout the week.
You can also make extra filling by doubling the recipe below. Alone, it makes a delicious hash that you could top with a fried egg.
Here's hoping the next stop will be as successful. Join us next week as we head halfway around the world to India!
Chorizo, Potato, and Pepper Empanadas
makes 12 empandas
Ingredients:
1 package refrigerated pie crusts, cut into 12 1 1/2 in circles and then rolled out with a rolling pin until they are a 3 inch diameter*
2 tablespoons olive oil
1 small onion, diced
1 garlic clove, minced
3 chorizo links, diced
1/2 red bell pepper, diced
1/2 green pepper, diced
1 small russet potato, diced
1 teaspoon oregano
1/4 teaspoon each salt and pepper
Directions:
Make filling: Heat oil in a medium saucepan over medium heat. Add chorizo, onion, peppers and potato to the saucepan, and stir until vegetables and potato are fork tender, around 10-15 minutes. Add garlic and oregano, salt and pepper and cook for 2 minutes more. Cool filling to room temperature.
Form empanadas. Preheat oven to 400 degrees. Line a baking sheet with parchment paper. Place a small bowl of water next to the disks. Place 12 disks on a lightly floured surface, and spoon 2 tablespoons of filling into the center of the disk. Dip your fingers in the water, and run them around the outer edges of the disk. Fold dough in half and seal the edges with a fork. Flip the disk and use the fork to crimp the other side. Poke a hole in the top of the empanada, brush with olive oil, and place on the baking sheet. Repeat with the remaining 11 disks.
Bake for 15-20 minutes until empanadas are golden. Serve warm or at room temperature.
*You can also use empanada discos found in the freezer section of the grocery stores--just be sure to buy the variety that are meant for baking not frying.
/ Nicole/
Family Meals, Toddler Food
Nicole
/ NicoleEvery summer, I like to torture myself bond with my children by forgoing camp and keeping them home with me to create our own fun. I begin the summer with a picture perfect vision of the upcoming 12 weeks. In the mornings, we’ll practice Spanish and reading and penmanship. There will be weekly tennis lessons, trips to museums and waterparks, and picnic baskets filled with hydrating snacks like sliced cucumbers and watermelon, because one can never be too hydrated on scorching summer days. Then summer happens, and by day three our Spanish lessons turn into YouTube episodes of Paw Patrol en espanol—not like we can hear the language over the cries of I just want regular Paw Patrol—and reading only gets done when I pay my 6 year old actual money to read something—A…N…Y…T…H…I…N…G. And I quickly realize that tennis rackets would only be used by my boys to beat each other, because every object in our home has somehow transformed into into a tear-producing weapon.
So it’s only natural that I’m here to document our new summer project and ask you to join in on our family fun. We will play and read and eat and learn. Welcome to the What’s Up World Series. Here’s how it works:
Every week, our family will read a different book about a country (we’re reading the Living In Around the World Collection), but you could visit your local library and pick any book about the culture.To start, we'll make stops in Brazil, India, Mexico, China, Italy, and South Africa. My 6 year old will have a chance to practice his reading, but parents of younger kids can read the book to their children, and we’ll all locate the country on the globe. Then together we’ll make a recipe from that country that’s suitable for all ages (my kids are 1, 3, and 6, so this can be something we all can eat.). I will post our recipes and stories every Thursday, and we’ll eat through a total of 6 countries this summer. I’ve always found that cooking with my children is the best way to get them to eat what I’m making, and this will introduce new flavors and expand their palates in a way they can get excited about. Oh and let me not forgot about the beautiful bonding that unites siblings when they cook together. Parents of two kids or more can watch their darlings yank measuring spoons out of their sibling's hand exchange pleasantries like "It would make me happier if you go first, sister."
And the benefits just keep coming: there’s reading, there’s geography, there’s food, there’s culture, there is the insanity of embarking on a new family project and not knowing where it will take you.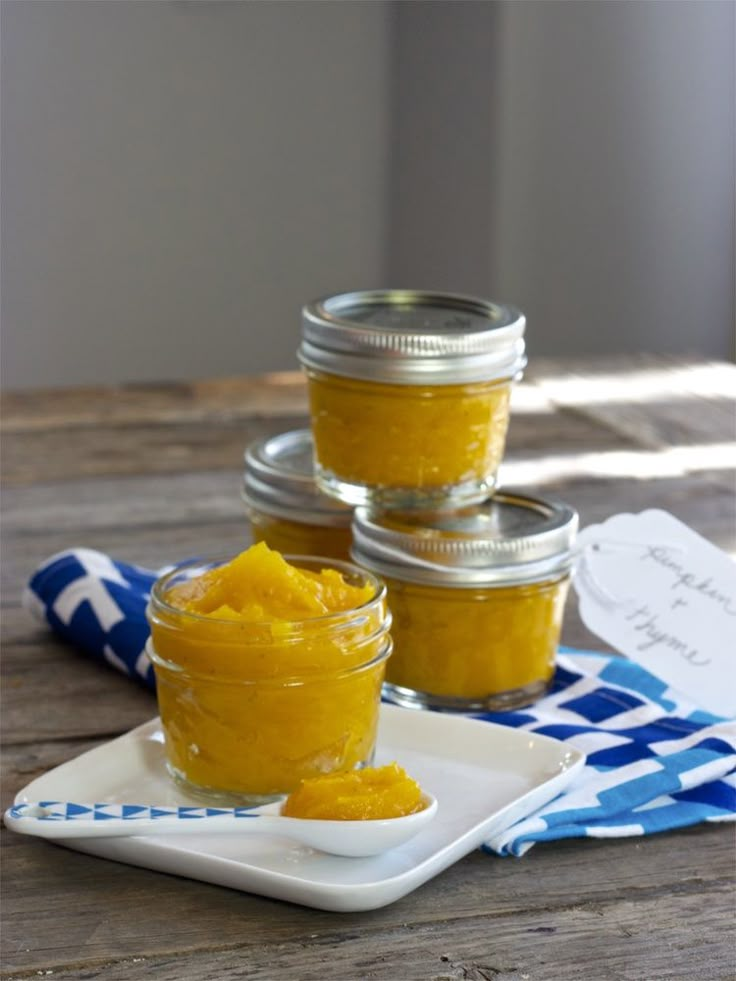 The adventure begins June 28--first stop: Brazil!
/ Nicole/
Holidays and Celebrations
what's up world
Nicole
Child Nutrition and Cooking | Coursera
About this Course
95,207 recent views
Eating patterns that begin in childhood affect health and well-being across the lifespan. The culture of eating has changed significantly in recent decades, especially in parts of the world where processed foods dominate our dietary intake. This course examines contemporary child nutrition and the impact of the individual decisions made by each family. The health risks associated with obesity in childhood are also discussed. Participants will learn what constitutes a healthy diet for children and adults and how to prepare simple, delicious foods aimed at inspiring a lifelong celebration of easy home-cooked meals.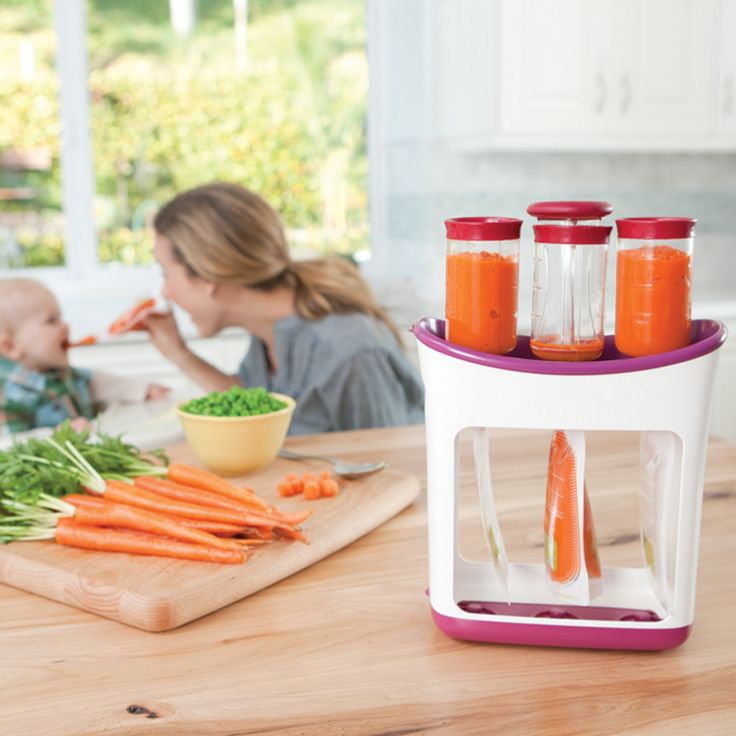 This course will help prepare participants to be the leading health providers, teachers and parents of the present and future.The text and other material in this course may include the opinion of the specific instructor and are not statements of advice, endorsement, opinion, or information of Stanford University.
Learner Career Outcomes
Career Benefit16%
got a tangible career benefit from this course
Flexible deadlinesFlexible deadlines
Reset deadlines in accordance to your schedule.
Shareable CertificateShareable Certificate
Earn a Certificate upon completion
100% online100% online
Start instantly and learn at your own schedule.
Beginner LevelBeginner Level
Hours to completeApprox. 11 hours to complete
Available languagesEnglish
Subtitles: Croatian, Arabic, French, Ukrainian, Portuguese (European), Chinese (Simplified), Italian, Vietnamese, Dutch, Bulgarian, Korean, German, Russian, English, Spanish, Japanese, Romanian, Polish
Skills you will gain
- Nutrition
- Organic Food
- Food Safety
- Food Science
Learner Career Outcomes
Career Benefit16%
got a tangible career benefit from this course
Flexible deadlinesFlexible deadlines
Reset deadlines in accordance to your schedule.
Shareable Certificate
Earn a Certificate upon completion
100% online100% online
Start instantly and learn at your own schedule.
Beginner LevelBeginner Level
Hours to completeApprox. 11 hours to complete
Available languagesEnglish
Subtitles: Croatian, Arabic, French, Ukrainian, Portuguese (European), Chinese (Simplified), Italian, Vietnamese, Dutch, Bulgarian, Korean, German, Russian, English, Spanish, Japanese, Romanian, Polish
Instructor
Maya Adam, MD
Lecturer
Stanford School of Medicine
1,219,514 Learners
8 Courses
Offered by
Stanford University
The Leland Stanford Junior University, commonly referred to as Stanford University or Stanford, is an American private research university located in Stanford, California on an 8,180-acre (3,310 ha) campus near Palo Alto, California, United States.
Reviews
4.8
Filled StarFilled StarFilled StarFilled StarFilled Star2805 reviews
5 stars
81.76%
4 stars
14.71%
3 stars
2.41%
2 stars
0.52%
1 star
0.57%
TOP REVIEWS FROM CHILD NUTRITION AND COOKING
Filled StarFilled StarFilled StarFilled StarFilled Starby JOJul 6, 2021
I HAVE LEARNT A LOT ABOUT FOOD IN GENERAL. I CAN UNDERSTAND KIDS FEEDING PROCESS AND IM READY TO MAKE SURE THEY EAT HEALTHY IN DIFFERENT WAYS. LEARNING HERE IS FLEXIBLE AND RELIABLE. THANK YOU.
Filled StarFilled StarFilled StarFilled StarFilled Starby EBFeb 15, 2016
Hello.
I found this course very useful, it has allowed me to know what types of things I should look for in food, diversify my family's eating habits and to have fun in the kitchen,
Regards.
Filled StarFilled StarFilled StarFilled StarFilled Starby MNov 28, 2019
Dear Maya, Thank you so much for being so humble and cooperative throughout the course.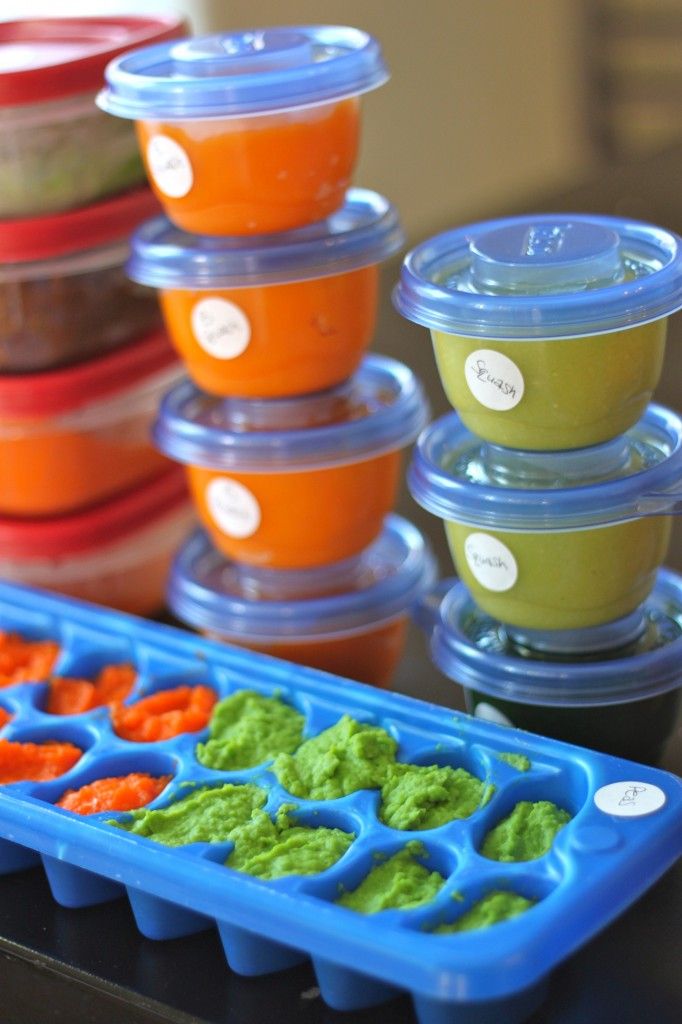 Your course was extra ordinary helpful in daily routine and belongs to every person belonging to any field.
by LMMar 8, 2021
Dr. Adam is a very engaging and pleasant presenter and I learned a lot. Only comment is the Nutrition Label video in Week 5 is outdated as the new label now includes information about added sugars.
View all reviews
Frequently Asked Questions
When will I have access to the lectures and assignments?
What will I get if I purchase the Certificate?
Is financial aid available?
More questions? Visit the Learner Help Center.
Healthy Eating Master Class | | Culinary studio CULINARYON (St. Petersburg)
The topic of cooking healthy food is now becoming more and more popular. And this is connected not only with diets, the need to lose weight and make a beautiful figure, but also with taking care of your own health. In addition, it is no secret to anyone that with proper nutrition of healthy food, a person becomes more vitality and energy. Many people have a misconception that proper nutrition is not always tasty. Even more often it is completely tasteless, insipid and insatiable. But that's not the case at all. You just need to be able to cook various foods and know the secrets of their combinations, which we will tell at our healthy food master classes. At the master classes on proper nutrition, we will not count calories, but we will cook delicious, tender, interesting, juicy, spicy and absolutely variety of dishes. Let's just do it the right way and add the right ingredients. Believe me, the right food can be incredibly tasty. A master class on proper healthy nutrition from the culinary studio CulinaryOn is:
- the secrets of choosing the right ingredients for a healthy diet;
- mastering the techniques and technologies of food preparation without losing their usefulness and preserving all useful properties;
- the art of combining ingredients and creating truly delicious dishes;
- pleasant atmosphere, friendly communication, music, snacks, tasting - we do everything for your positive mood.

We look forward to seeing you in our Healthy Cooking Classes where you will become a true expert in how to make the healthy taste amazing. All dishes, recipes and techniques you can easily reproduce at home. Start taking care of your health with the right foods, healthy food and good mood.
Upcoming workshops:
Remaining places - 19- - Unlimited soft drinks Cocktail Martini Fiero Tonic
- - Welcome buffet
- - Burrata with sweet pepper cream
- - Grilled langoustine prawns
- - Berry pie
19. 11 Sat | 12:00 Bella Italia: Langoustine Shrimp, Burrata and Berry Pie 5000P
- - Unlimited soft drinks free of charge
- - Welcome buffet
- - Salmon with pumpkin hummus
- - Creamy curd dessert with caramel
19. 11 Sat | 18:00 Playing Cocktail Casino and Cooking Salmon 6500P
- - Unlimited soft drinks
- - Welcome buffet
- - Adjarian Khachapuri
- - Khinkali at home
- - Baklava Kataifi
20. 11 Sun | 12:00 Come on, dear! Cooking Khachapuri, Khinkali and Baklava 5000P
- - Unlimited soft drinks Cocktail Martini Fiero Tonic
- - Welcome buffet
- - Salad with artichokes and grapefruit
- - Lamb with walnut sauce and celery mousse
- - Apple "Tart Tatin" with ice cream
20. 11 Sun | 18:00 Lights of Paris: Lamb, Artichoke Salad, Tarte Tatin 6000 P
- - Unlimited soft drinks Cocktail Martini Fiero Tonic
- - Welcome buffet
- - Salad with turkey, sun-dried tomatoes with raspberry vinegar dressing
- - Italian Rib Eye Steak
- - Mini tart with honey pumpkin and fresh berries
11/24 Thu | 19:00 Thanksgiving Dinner: Turkey Salad, Ribeye, Mini Tart 6000P
Remaining places - 15- - Unlimited soft drinks Cocktail Martini Fiero Tonic
- - Welcome buffet
- - Tagliatelle with salmon and zucchini
- - Lemon tart
- - Painting "Blue Wave"
26. 11 Sat | 12:00 Art Therapy: THE WAVE 5000 P
- - Cocktail Martini Fiero Tonic Non-alcoholic drinks unlimited
- - Welcome buffet
- - Beef Wellington
- - Semifreddo with whiskey and caramelized nuts
- - Wine Casino
26. 11 Sat | 18:00 Cooking Wellington and playing wine casino 6500P
- - Unlimited soft drinks
- - Tuna tartar with passion fruit sauce
- - Egg benedict with hollandaise sauce and lightly salted salmon
- - Cherry Pie
- - Unlimited sparkling
27. 11 Sun | 12:00 Desperate Housewives Brunch 2.0: Tartar, Eggs Benedict, Cherry Pie 5 000 P
View full calendar
Our partners
Master class
added to cart
Checkout
Continue Shopping
Unfortunately, payment on the site
is temporarily not available.
Discount applied successfully!
Sorry, the discount is not valid for this product.
And we have a new site
!
You can go to the new site
or continue here.
to the new site
continue here
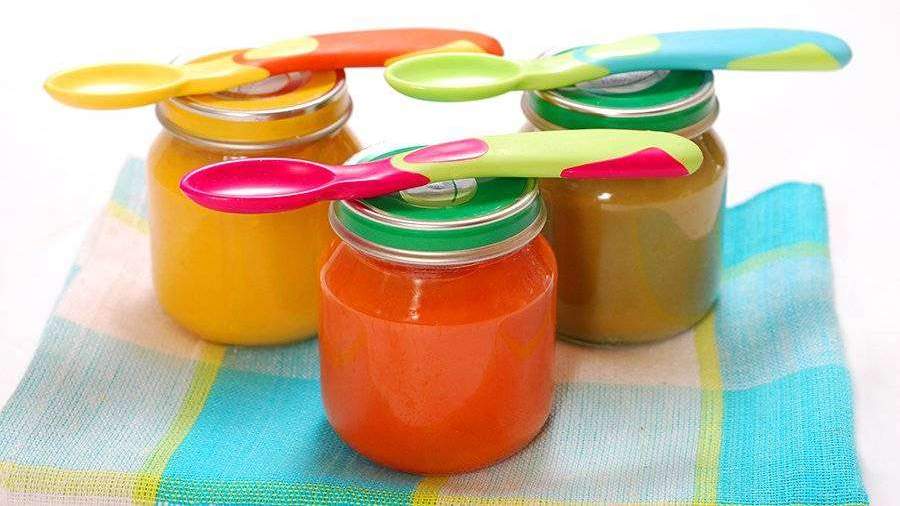
Candlestick from a baby food jar. Master class
Master classes
Fashion is a fickle thing, and if you don’t follow it, you can look stupid, but if you follow it, it can look funny.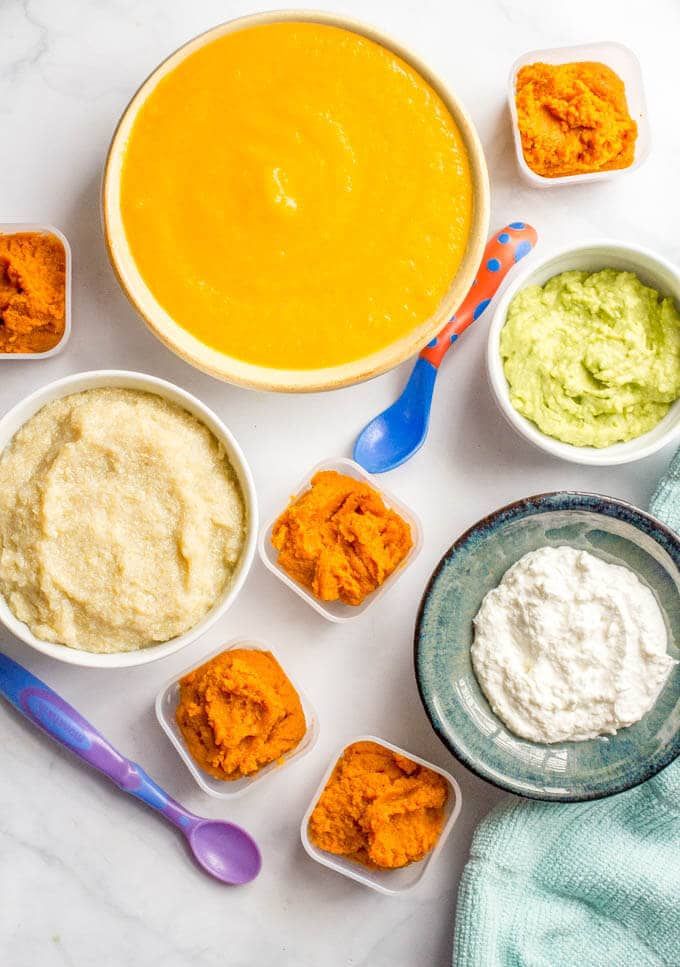 Recently, things that are made by hand have come into fashion. If you do not have any skills to make a flower from a ribbon at home, or a box for needles, then this does not mean that you can learn it. Master classes on the site will help you learn all this. Your attention will be presented with master classes with a detailed description and step-by-step photographs that will help you understand and understand the process of your creative path. You can create, make various crafts, decorations and much more. All you need is the availability of source materials and, of course, the desire to learn.
Candlestick from a jar of baby food
If you have been feeding babies with baby puree from jars and a large number of them have accumulated in your house, do not rush to part with them. After all, these miniature jars can serve you for a long time. Today I suggest you make a candlestick from a jar of baby puree.
For the candlestick we need:
1. clean glass jar of puree;
2. candle;
3. beads;
4. decorative ladybugs;
5. pink sisal;
6. white decorative roses 5 pcs;
7. blue satin ribbon;
8. gold braid;
9. wire;
10. glue gun.
Get Started
1. Puree jar must be clean and unlabeled. At the bottom of the jar we put a bunch of sisal.
2. Take decorative roses and combine them into a bouquet. Cut off a long stem.;
3. Insert the bouquet of roses into the sisal in the middle of the jar;
4. Arrange beads and ladybugs in a jar.;
5. From the wire we make fasteners for a candle 2 pcs and insert into a jar .;
6. Insert the candle into our fixture. This allows our future candlestick to be used regularly. The candle is easy to change.
7. Take a satin blue ribbon and measure the length of the neck of the jar. Glue the ribbon to the neck.