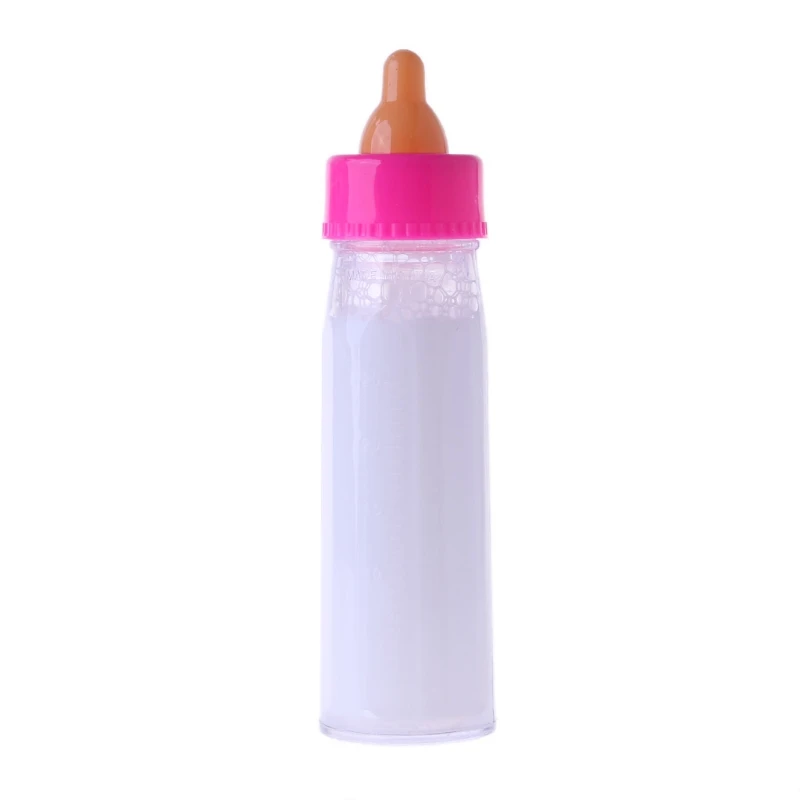
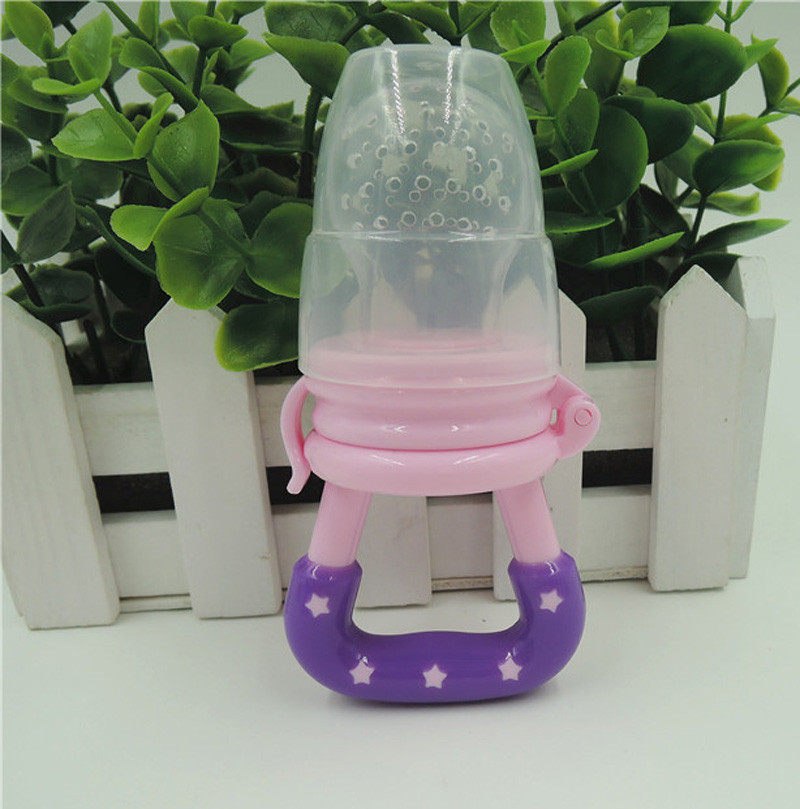
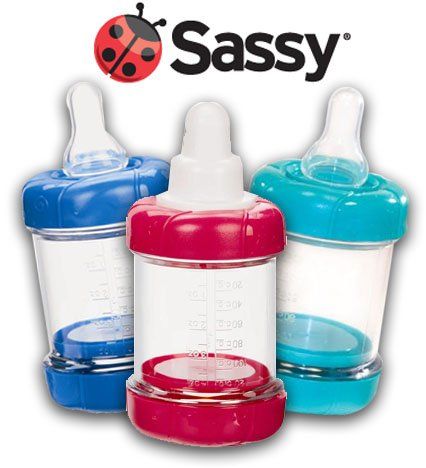
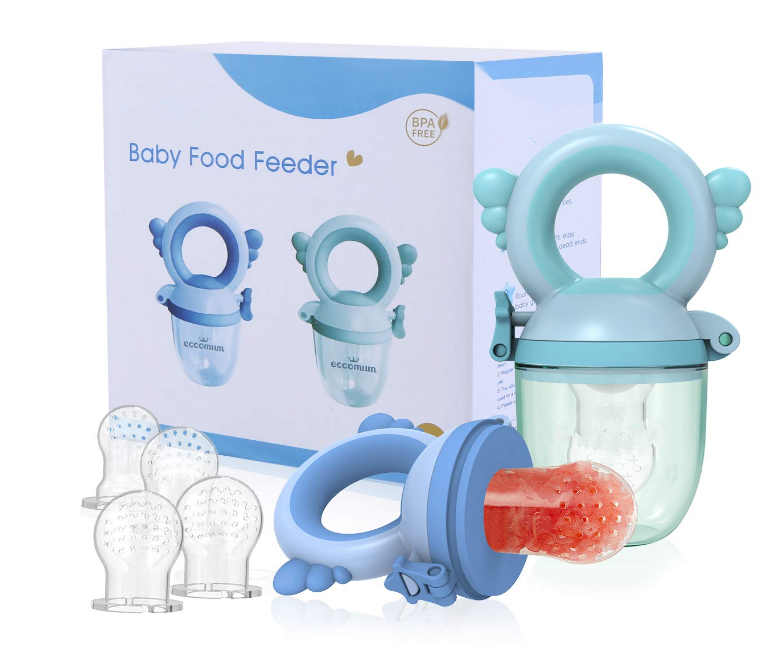
Baby jar food feeder
Babeehive Goods | Subo Baby Food Bottle Feeder
FREE SHIPPING ON ALL ORDERS OVER $75
ALL NEW
Sunglasses
Sunglasses
Here comes summer! These sunglasses are cute, cool and comfortable and of course, offer full UV400 protection.
Shop Now
Everything you need in one stop
Introducing Little Eaters Sets
Introducing Little Eaters Sets
Bundle and save!
See More Here
THE SUBO FOOD BOTTLE
Food.
Food. Without the Mess.
From at home to on the go, feeding your littles is now mess free.
View more
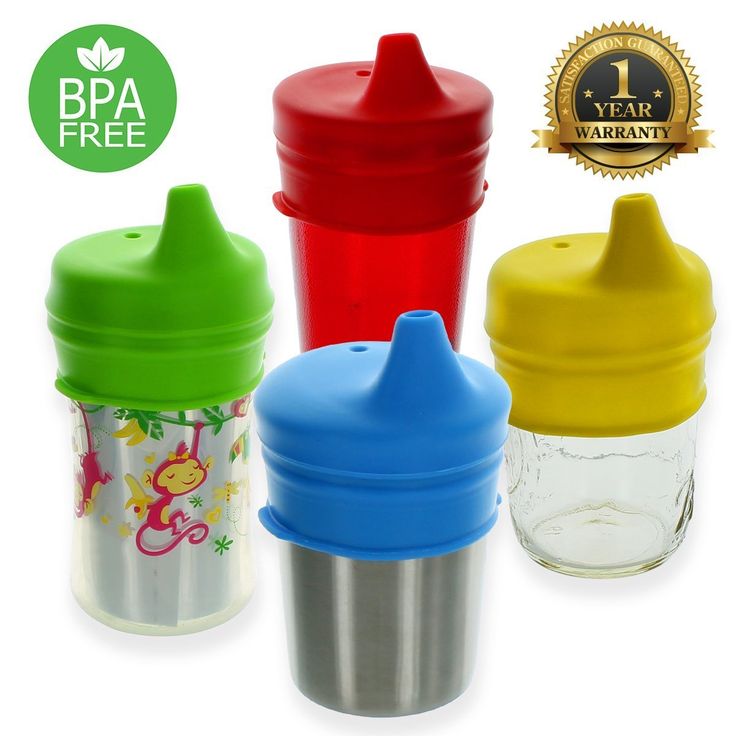
BPA & Phthalate Free
Safe. Reusable. Environmentally Friendly.
Safe. Reusable. Environmentally Friendly.
Use for smoothies, applesauce, yogurt, oatmeal and so much more!
LEARN MORE
ALL NEW
Toys & Teethers
Toys & Teethers
Endless hours of creative play.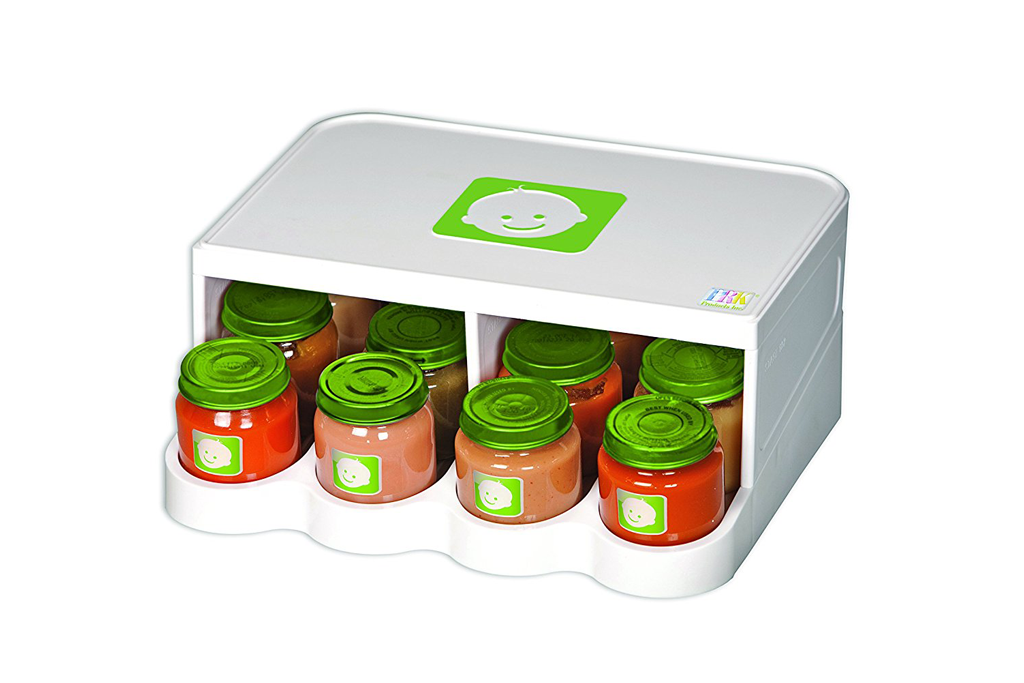
View more
Toddler Feeding Has
Never been easier
Never been easier
Perfect for baby. Perfect for parents.
SHOP HERE
Subo Food Bottle
Shop Now
Toys and Teethers
Shop Now
Pacifier Clips
Shop Now
FRIGG Pacifiers
Shop Now
OUR NEW PRODUCTS ARE
EVERY PARENT'S DREAM
EVERY PARENT'S DREAM
Everything you need from baby to toddler.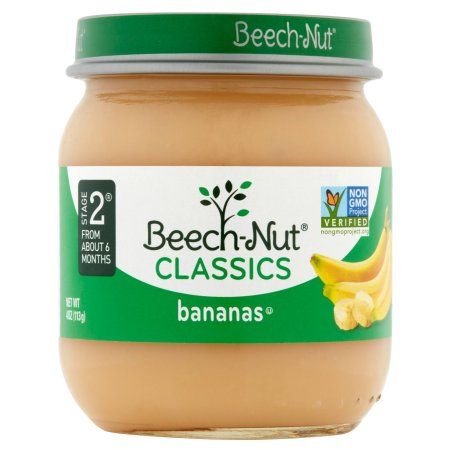
View Collection
ALL NEW
STACKING CUPS & TOYS
STACKING CUPS & TOYS
Stimulate the mind with these stacking toys. Great for building creativity and fun!
SHOP NOW
Mini Fork and Spoon Set
Shop Now
Silicone Baby Bib
Shop Now
Silicone Bead & Wood Ring Teether
Shop Now
Silicone Suction Plate
Shop Now
Subo Food Bottle
Subo Food Bottle
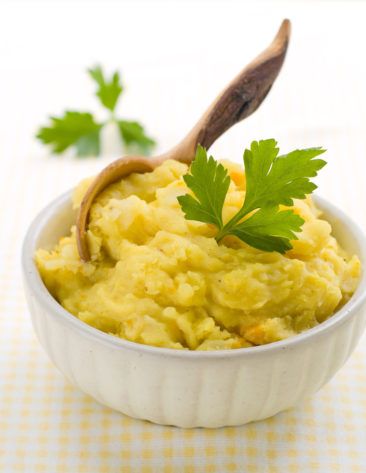
Perfect for pureed foods, yogurts, oatmeals, and more, all mess-free.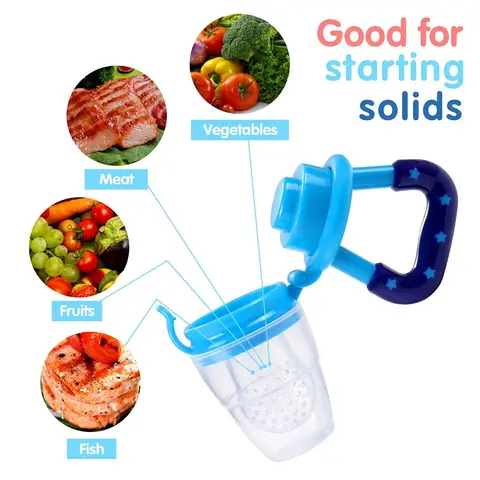
Shop now
Give your little one the ability to self-feed without the mess. With our baby food bottle feeder, it’s easier than ever to let your baby enjoy their favorite pureed foods, yogurts, oatmeals, and more, all mess-free. Whether you’re at home or on the go, a baby food bottle feeder is the perfect tool to get those precious nutrients to your child while allowing them to learn to eat on their own. With two different spout sizes and a variety of colors to choose from, we have everything you and your little one need for independent eating.
Introducing Solid Foods to Your Baby – When And How to Do It
Your newborn is starting to grow, and lots of exciting changes are happening. They’re awake for m...
Continue reading
5 Benefits of Using a Pacifier
There can be a lot of information out there about both the cons and benefits of using a pacifier .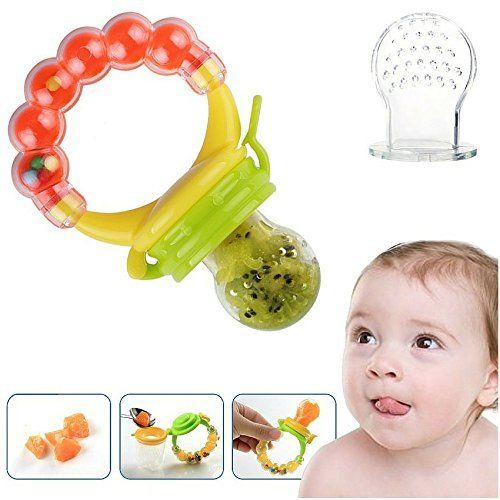 ..
..
Continue reading
Our Experience with Baby Led Weaning
Thank you to Olivia at Leaf and Steel for writing this blog post! You can find her original blog ...
Continue reading
View more
Feeding Your 4- to 7-Month-Old (for Parents)
Most babies this age are ready to try solid foods. Experts recommend starting solid foods when a baby is about 6 months old, depending on the baby's readiness and nutritional needs.
Be sure to check with your doctor before giving any solid foods.
Is My Baby Ready to Eat Solid Foods?
How can you tell if your baby is ready for solids? Here are a few hints:
- Does your baby swallow food or push it out of their mouth? Babies have a natural tongue-thrust reflex that pushes food back out. Wait until this reflex disappears (typically when babies are 4–6 months old).
- Can your baby support their own head? To eat solid food, an infant needs good head and neck control and should be able to sit up.
- Is your baby interested in food? Babies who stare, reach and grab, and open their mouths for food are ready to try solid foods.
If your doctor gives the go-ahead but your baby seems frustrated or uninterested in solid foods, try waiting a few days before trying again. Breast milk and formula will still meet nutritional needs as your baby learns to eat solid foods. But after 6 months, babies need the added nutrition — like iron and zinc — that solid foods provide.
Do not add cereal or other food to your baby's bottle because it can lead to too much weight gain.
Watch for signs that your child is hungry or full. Respond to these cues and let your child stop when full. A child who is full may suck with less enthusiasm, stop, or turn away from the breast or the bottle. With solid foods, they may turn away, refuse to open their mouth, or spit the food out.
How Should I Start Feeding My Baby Solid Foods?
When your baby is ready and the doctor says it’s OK to try solid foods, pick a time of day when your baby is not tired or cranky. You want your baby to be a little hungry, but not so hungry that they’re upset. So you might want to give your baby a little breast milk or formula first.
Have your baby sit supported in your lap or in a high chair with a safety strap.
Most babies' first food is iron-fortified infant single-grain cereal mixed with breast milk or formula. Place the spoon near your baby's lips, and let the baby smell and taste it. Don't be surprised if this first spoonful is rejected. Wait a minute and try again. Most food offered to your baby at this age will end up on the baby's chin, bib, or high-chair tray. Again, this is just an introduction.
When your little one gets the hang of eating cereal off a spoon, it may be time to try single-ingredient puréed meat, vegetables, or fruit. The order in which you give them doesn't matter, but go slow. Offer foods that are high in iron and zinc — such as meat, poultry, eggs, and beans — especially if your baby is breastfeeding. Try one food at a time and wait several days before trying something else new. This will let you identify any foods that your baby may be allergic to.
Which Foods Should I Avoid?
Foods that are more likely to cause allergies can be among the foods you introduce to your baby. These include peanuts, eggs, cow’s milk, seafood, nuts, wheat, and soy. Waiting to start these foods does not prevent food allergies. Talk to your doctor if you’re concerned about food allergies, especially if any close family members have allergies, food allergies, or allergy-related conditions, like eczema or asthma.
Infants with severe eczema or egg allergies are more likely to have allergies to peanuts. Talk to your doctor about how and when to introduce these foods to your child.
Possible signs of food allergy or allergic reactions include:
- rash
- bloating or an increase in gassiness
- diarrhea
- vomiting
Get medical care right away if your baby has a more severe allergic reaction, like hives, drooling, wheezing, or trouble breathing.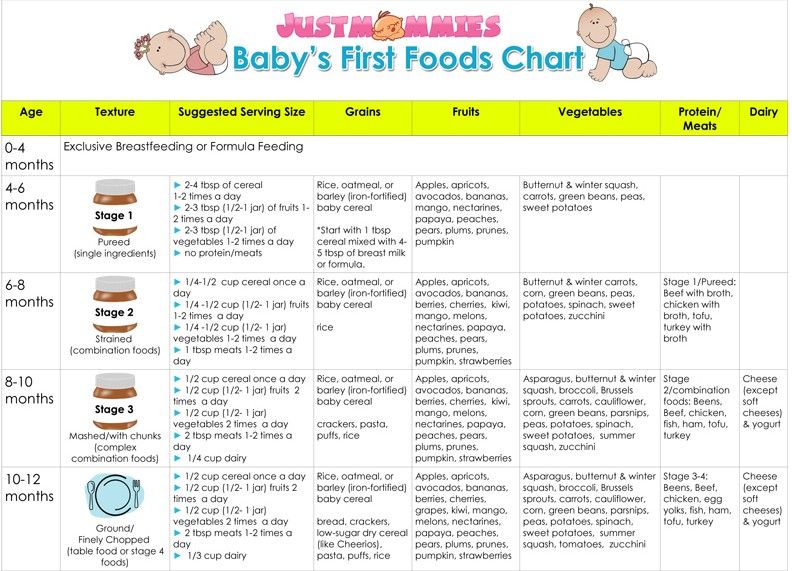
If your child has any type of reaction to a food, don't offer that food again until you talk with your doctor.
Babies shouldn't have:
- foods with added sugars and no-calorie sweeteners
- high-sodium foods
- honey, until after the first birthday. It can cause botulism in babies.
- unpasteurized juice, milk, yogurt, or cheese
- regular cow's milk or soy beverages before 12 months instead of breast milk or formula. It’s OK to offer pasteurized yogurt and cheese.
- foods that may cause choking, such as hot dogs, raw carrots, grapes, popcorn, and nuts
Tips for Feeding Your Baby Solid Foods
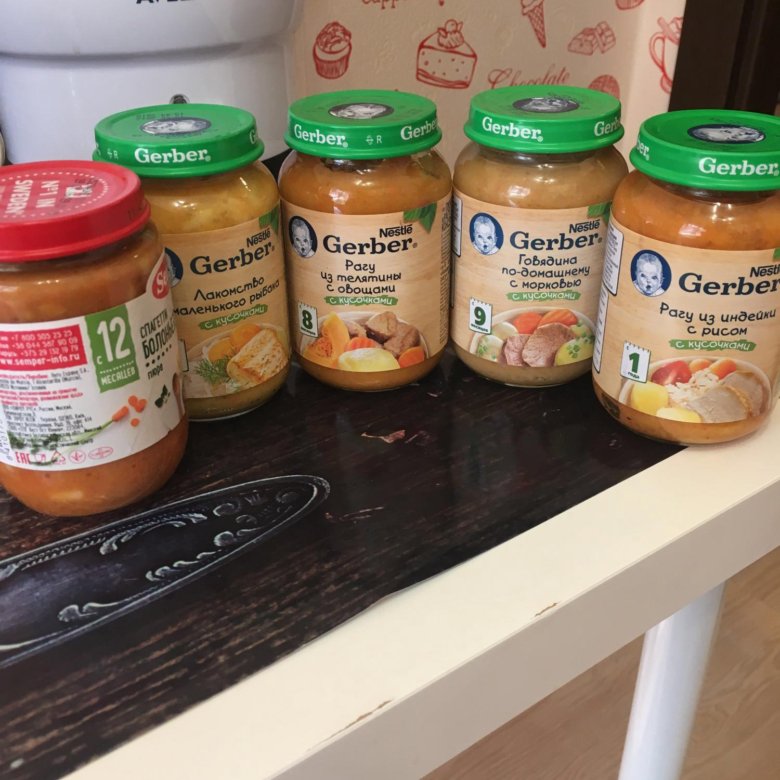
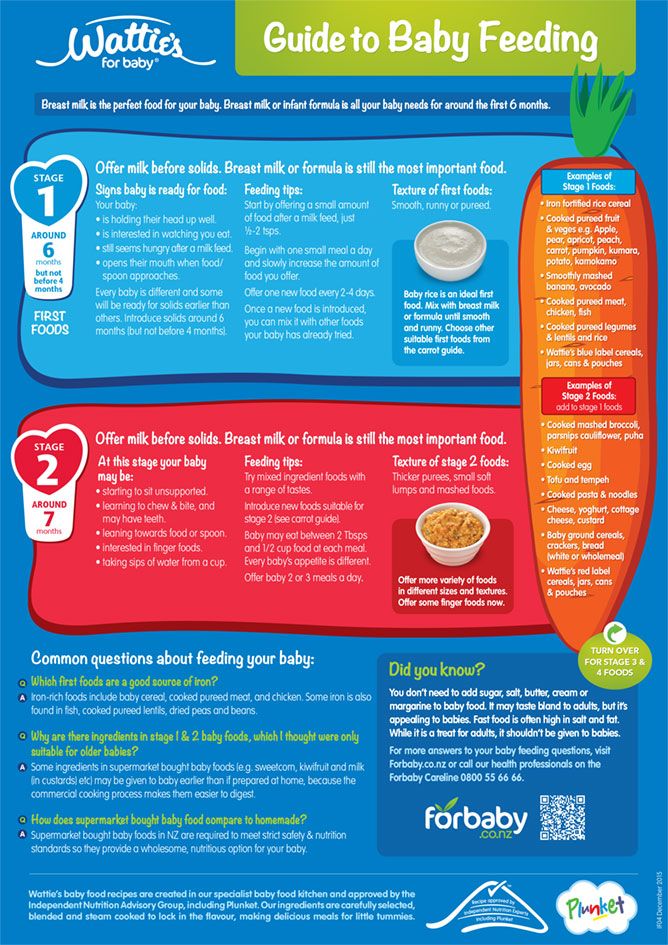
With the hectic pace of family life, most parents try commercially prepared baby foods at first. They come in small, convenient containers, and manufacturers must meet strict safety and nutrition guidelines.
If you prepare your own baby foods at home, here are some things to keep in mind:
- Follow the rules for food safety, including washing your hands well and often.
- To preserve the nutrients in your baby's food, cook it in ways that keep the most vitamins and minerals. Try steaming or baking fruits and vegetables instead of boiling, which washes away the nutrients.
- Freeze portions that you aren't going to use right away.
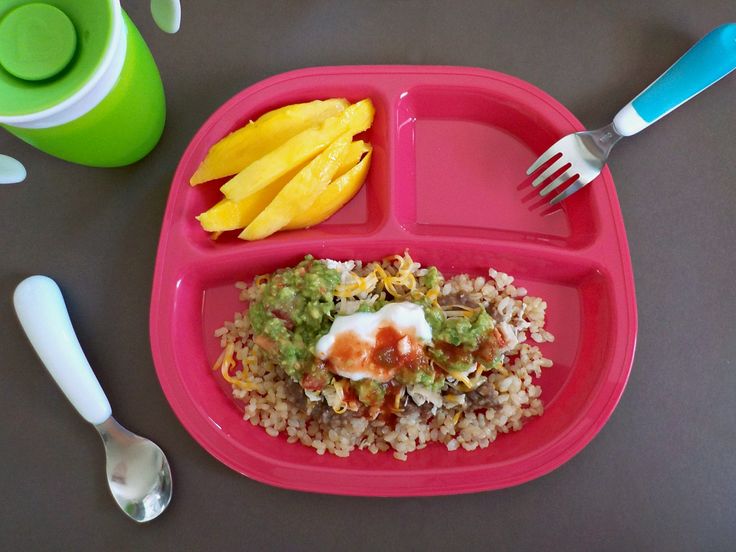
- Whether you buy the baby food or make it yourself, texture and consistency are important. At first, babies should have finely puréed single-ingredient foods. (Just applesauce, for example, not apples and pears mixed together.)
- After your baby is eating individual foods, it's OK to offer a puréed mix of two foods. As babies get older, they will learn to eat a greater variety of tastes and textures.
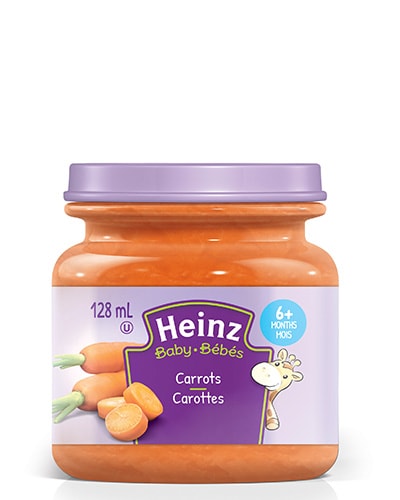
- If you use prepared baby food in jars, spoon some of the food into a bowl to feed your baby. Do not feed your baby right from the jar — bacteria from the baby's mouth can contaminate the remaining food. If you refrigerate opened jars of baby food, it's best to throw away anything not eaten within a day or two.

- Around 6 months of age is a good time for your baby to try a cup. You might need to try a few cups to find one that works for your child. Use water at first to avoid messy clean-ups. Do not give juice to infants younger than 12 months.
Over the next few months, introduce a variety of foods from all the food groups. If your baby doesn't seem to like something, don’t give up. It can take 8 to 10 tries or more before babies learn to like new foods.
Crafts from baby food jars
Skip to content
Search for:
The kid ate the puree with pleasure, smearing its contents on all surfaces. And the jar was carefully washed out and sent to the shelf to its fellows. What to do with her?
There are a lot of ideas for using glass baby food jars. Website "Mom can do anything!" collected the most interesting of them. nine0003
- Needle cases. From glass jars it is easy to make such cute pincushions that can fit buttons and other small handicraft things.

- Houses for fairies. If you are fond of modeling, then you should try to make such a delightful house for fairies.
- Aquarium. A jar is a small aquarium for a toy fish. Pour soil inside, install algae - the craft is ready. You can also mold plasticine fish together with your child and place them in a jar. nine0016
- Terrarium. Plant moss and other small, low-maintenance plants inside.
- Decorations for the holiday. Decorate the jars with glitter, make holes in the lids and install decorative elements, letters and numbers. A very original decoration is ready.
- Bird feeder. Few people realize that such delicious drinkers and bird feeders are obtained from an ordinary baby food can. In the sun, they will shimmer with all the colors of the rainbow and delight the eye. nine0016
- Storage for small items. From cans, not only beautiful things are obtained, but also very practical. Screw the lids to a wooden surface and you will get very convenient containers for storing small things.

- Candlesticks for the garden. Buy a lot of small candles, put each one in its own jar and hang them by ropes on tree branches. A beautiful setting for a romantic evening is ready.
- Container for growing onions. Green onions are a storehouse of nutrients that are so lacking in the cold season. Growing such an onion is not difficult. Pour water into the jar, put the bulb on top, in a few days we will get the first shoots. nine0016
- Pots for seedlings. It is convenient to plant parsley, dill and other herbs in small jars.
- Crafts from baby food jars. Such beautiful flowers in pots are easy to make yourself with your children. We circle the palm on a green sheet of cardboard, cut it out, gluing a flower on each finger. We put it in a pot-jar - a beautiful craft is ready. Such flowers will be a great gift for mom or grandmother by March 8th.
- Storage containers. In puree jars it is very convenient to store buttons, beads, beads. nine0016
- Pencil holders.
- Night lamps.
- Snow globe. A can of baby food makes a delicious snow globe. Just stick the figurine on the lid. Pour the baby oil and glitter into the jar, close the lid tightly and shake.
- Gift-treat for guests or children.
- Original frames. Just place photos inside the jar.
- Spice storage. Glass jars with screw-on lids keep spices fresh for a long time. nine0016
- Vases for flowers. Just dip the jar in the paint and get unusual vases for small flowers.
- Jelly mold. Small jars are great for making jelly. It looks beautiful and appetizing in them, one jar holds one serving, and the screw cap will help keep it in the refrigerator for a long time.
- Portion desserts. In small jars it is convenient to make portioned desserts.
- Refreshing cocktail in a jar.
- Candles. You can read how to make these candles here. nine0016
- Crafts. Small glass jars are a great base for crafts.
- Rubber storage.
 The advantages of transparent jars are obvious - it's easy to find the right one.
How do you use jars?
Share with friends
DIY bird feeders: 50 ideas with photos
How to make a bird feeder? The cold has already set in, and the children in kindergartens, schools and at home with their parents rushed with might and main to build a variety of bird houses for food. But there are a lot of design ideas, so it’s convenient to familiarize yourself with all the possible options in advance and then make your own. We on the Active Mom portal also took care of this issue and therefore we offer to fully understand the topic of homemade feeders and see photos of ready-made bird canteens. nine0003
Contents
- Do-it-yourself feeder - a noble cause
- Bird feeders from plastic bottles
- Simple feeder
- Make your own bird feeder with metered feed.
- Complicated bottle feeder
- How to make a bird feeder from improvised materials
- From an ordinary glass jar.
- Original bird feeder
- Beauty and more!
A do-it-yourself feeder is a noble cause
In order for the feathered representatives of the fauna to remain wintering or come to wintering in this area not to experience hunger, it is important for us to take care of them, to feed them. It is a necessary and noble thing - besides, you can make a bird feeder with your own hands from anything.
It always hurts me to watch big birds chase small ones. Do you also not like it when impudent pigeons eat poor tits and sparrows? Will you take this into account when assembling a feathered house? Write your thoughts in the comments! nine0003
Bird feeders made from plastic bottles
The most popular, simple and quick option is to use a variety of plastic containers. It is very easy to cut out excess parts of them with a knife or scissors, and the container itself looks like a house. There are a lot of variations on the theme of a bird feeder made of plastic bottles: from very simple to complex designs.
Simple feeder
A simple option that even preschoolers can handle (with a little help from the elders): cut holes in the eggplant from under the water or other plastic container - “windows” (one or more - depending on the size), wrap their sharp edges with electrical tape or tape so that the birds do not get hurt, pour food on the bottom (millet seeds or special bird food bought at a pet store) and hang the resulting feeder on a tree on a rope. nine0003
See also
What is a slider and how to make it? Materials for downloading and printing
Sliding folders are an effective way of conveying up-to-date information about the upbringing and development of children, which is actively used in kindergartens. The product is double-sided…
requires not only a practical, but also an aesthetic component, then the feeder can be decorated. For example, using a thread of twine, straw and decorative elements (everything is attached to the base with a thermal gun), make such a house:
Or cut off the top and bottom of the bottle and, discarding the middle, connect them together, paint over with acrylics in a single color and then decorate. Then these cute cozy houses with food will be waiting for the birds:
Make your own bird feeder with metered feed.
It's a great idea to dispense food for birds, because the advantages of such a device are obvious - they are not afraid of rain and wind, they are designed for long-term use, which does not require adding food every day. nine0003
So, you can make through holes in the bottle, into which plastic or wooden wide spoons can be inserted at a slight inclination. There should still be a place in the hole from which the food will spill out (or from which the bird can peck it out). Fill the container with food to the brim and hang it on a branch. A few grains will fall on the spoon, and as the birds eat them, new food will fall out.
Complicated bottle feeder
A more elaborate but more robust design that will protect both food and birds from bad weather on a rainy day is a bird feeder consisting of three plastic eggplants: 6 liter, 2 liter and 1.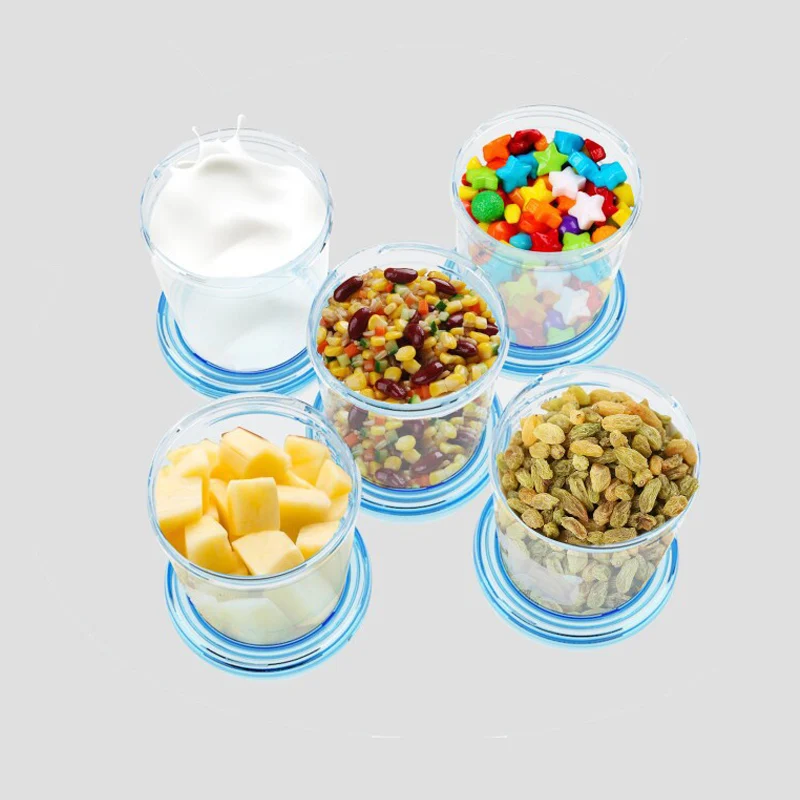 5 liter. Feed is poured into a one and a half liter bottle, it is inserted into an empty two-liter bottle with the neck down. In a two-liter bottle, 3-4 holes are pre-cut through which the food will be poured into a large container. The construction of these two containers is attached inside a large six-liter eggplant, on the bottom of which you can pour food. In a 6-liter container, you must first cut out the windows, not completely removing the plastic parts, but forming “stands” from them, on which the birds will sit, and “visors” above their heads. As food is eaten from the bottom, it will gradually spill out of the neck of a one and a half liter bottle. Such a large, durable feeder will become a source of replenishment of the vitality of more than a dozen of our feathered brethren. nine0003
How to make a bird feeder from scrap materials
Despite the popularity of plastic bottle feeders, there are many alternatives for making them.
Cans and coffee cans can also serve as a container for such a house.
From an ordinary glass jar.
And basket with lid.
And the usual cardboard packaging for milk or kefir - the option will be more durable and protect the structure from rain if you wrap the cardboard with tape.
Here is such a simple and at the same time original design in the form of a double-folded metal mesh, inside which you can put bread:
Original bird feeder
at the same time it will serve as a decoration for your yard, then make special "kozinaki" for birds. nine0003
To do this, mix bird food with melted lard (great for titmouse) or sugar syrup with diluted gelatin, fill muffin tins with the resulting mixture and pierce the place where you will pass the rope with a skewer.
Put the molds in the freezer for 20-40 minutes (depending on the size of the mold), remove them and carefully remove the resulting figured feeders. It remains to hang them by a rope on a tree.