Canned baby food recipes
How to Make Baby Food
Here’s the dirty little secret about how to make baby food. Actually, two secrets:
- It’s really, really not hard.
- You don’t have to do it.
A Brief History
Did you know there was really no such thing as “baby food” before the 1900s? There was just food (!); some of it was considered appropriate to feed to babies, and some wasn’t. (Go figure, right?). The first DIY baby food craze was actually in the 1970s, so technically, we’re in a bit of a Renaissance (snort).
After father Harold Clapp started selling a “soup” he made for his sick baby (which apparently restored the babe’s health) in the 1920s, other manufacturers (i.e., Gerber) started making canned “baby food” too, and the introduction was an almost instant success. In just a matter of decades — by the post-WWII era — baby food was almost entirely commercialized.
Baby foods on supermarket shelves were prepped just like every other processed, preserved food: they were necessarily packed with all kinds of stabilizing chemicals and preservatives, along with the twin food devils, salt and sugar… not to mention all kinds of baby food desserts and sweets readily available. The idea was to make a product that was easy, convenient, and that babies would eat. In a way, baby food was a classic postwar display of American greatness.
“There’s this sense in the culture that we are a superpower, and commercial baby food is emblematic of that society that we are. It’s modern, it’s abundant, it’s scientific, it’s sterile.”
Amy Bentley, in the Atlantic
Everybody’s happy.
Well, no, not really. Cue a rising recognition of the health consequences of processed foods and chemical additives in the 1970s. In that decade, many mothers started to push back against the industry and, in protest, began to make their own food.
They raised awareness about the health and safety concerns of jarred baby food and, in light of the consumer movement, provoked some notable changes. It took some time, but eventually most baby food makers stopped adding sh*t to their products and did away with flavors like cherry vanilla pudding and chocolate custard (yes, those were real).
Today, you’d be hard pressed to find baby food at the grocery store with any added sugar and salt. But you wouldn’t be hard pressed to find baby food that tastes like cardboard in a blender. (I’m kidding! Sort of.)
Thankfully — today’s jarred baby food does not contain unhealthy added ingredients like sugar, high fructose corn syrup, or salt. (And there are even some really excellent and healthful new products out there, like Amara.) Yet many parents still have reasonable concerns about packaged baby food (see below) and opt to make their own.
If that’s you, great! Keep reading for the scoop on getting started.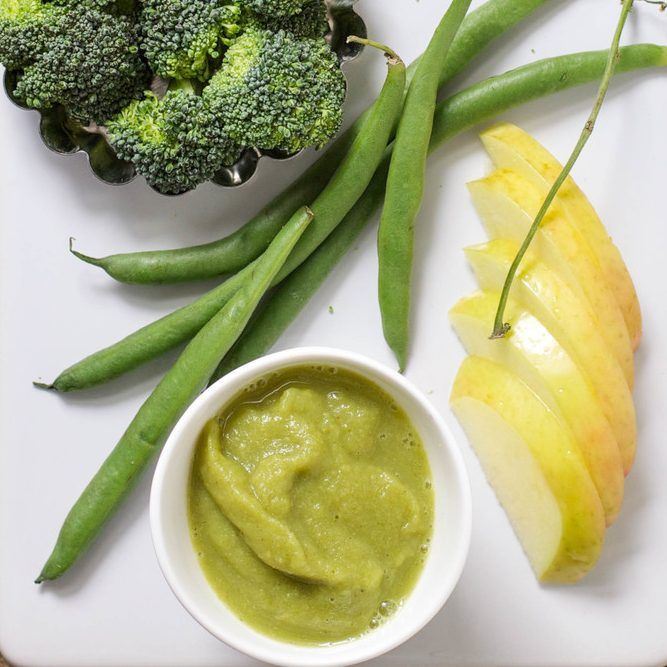
And if it doesn’t appeal, you should know that feeding your baby jarred baby food is FINE. If homemade baby food is not your thing, then don’t beat yourself up. Do what works.
And remember — this baby food puree stage may seem like everything RN (and yes, it’s important) — but it’s relatively short. It really only lasts for a matter of months (if that). So: on the scale of things… as they say.
Why to DIY
The typical “reasons to DIY” when it comes to baby food purees have to do with cost, taste and nutrition, and habits.
1. Cost
Homemade baby food is technically cheaper than jarred baby food. Think how many 4 oz. jars of peas (at about ~$1.25) you could make with a single 12 oz. bag of frozen peas (~$3). (BTW — it’s not 3. It’s A LOT.) *Of course, this doesn’t take into account the opportunity cost of making the food, storing it, etc., etc., but in the simplest of economic terms, homemade food is cheaper.
2.
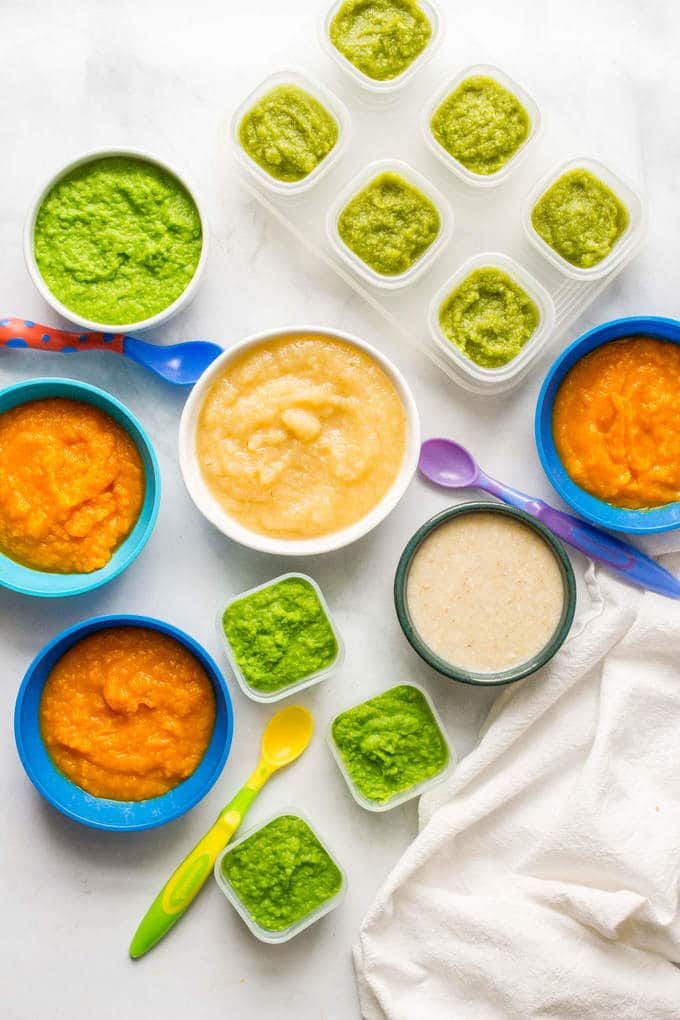 Taste and Nutrition
Most jarred baby foods use high heat preservation methods (for shelf stability) that effectively nuke both nutrients as well as taste. Yes, it can be very difficult to tell the difference between a jar of this and a jar of that. With homemade food, you preserve more of a food’s nutrient value as well as flavor. (Another thing: you can adjust the texture over time as you see fit.)
The word most parents who favor homemade baby food use to describe their choice is CONTROL. It goes without saying: you make your baby’s food, you get to decide what’s in it.
3. Habits
Generally speaking, feeding your baby homemade food will help acclimate your baby to the foods your family actually eats, earlier. There’s a wealth of insanely fascinating research about how important the first couple years of life are for determining flavor preferences and eating habits, so this is an interesting premise, IMO.
Anyone know about the flavor window?
A final note: much like with breastfeeding and formula-feeding, baby food need not be an all or nothing decision.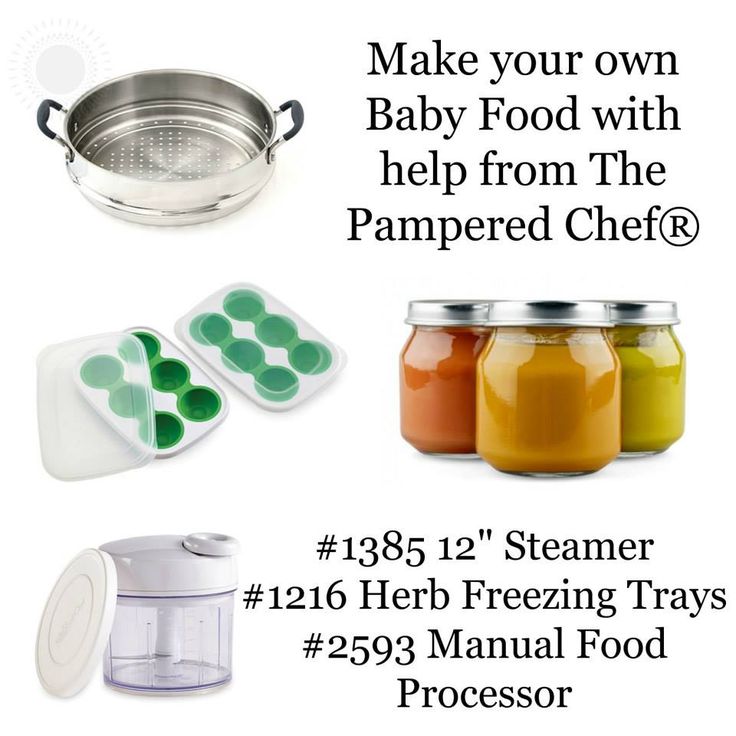 There is no rule that you are beholden to decide whether or not to make or buy every single bite of food that goes into your baby’s mouth and then stick to that choice. Maybe you make some of your baby’s food, but not all of it. Or none of it. Maybe you change your mind. I repeat: the best method is “WW” — aka “whatever works.”
Safety Measures
Thanks to the pandemic we are all more aware of proper hygiene than ever. But here are a couple of refreshers:
- Wash everything: babies can be more susceptible to lurking germs, so make sure to wash your hands and any and all produce well, cook meats or raw foods thoroughly, use clean storage containers, etc., etc. You know the drill.
- Know how to store: when you store homemade baby food, you can generally expect that it will last 4-ish days in the fridge and about 3 months in the freezer. And once you thaw something, don’t refreeze it.
Oh! And two other things: Babies can’t digest cow’s milk, so pediatric advice is to avoid feeding babies milk — as a drink — until they are one year old. That doesn’t necessarily mean that you can’t offer a baby any dairy foods (and it’s possible that exposing them may play a role in early introduction of allergens), and you can use it in small quantities to mix purées; but it’s best to do so more sparingly. And lastly, NO HONEY. Because, botulism.
If you’ve heard something about nitrates (namely, that foods high in them — like spinach, beets and carrots — can cause a rare class of anemia called methemoglobinemia in infants), you should know that the AAP recommends babies avoid foods high in nitrates until they are at least three months of age. This makes sense, and it also shouldn’t pose any problems for you, since you’re giving this whole thing a go between 4-6 months, right? 😉 If you’re reticent, I suggest taking a look at Dr. Alan Greene’s “mythbusting” post on this issue.
How to Make Baby Food
It’s really, really, not hard.
Here’s the step-by-step run-down, Bop-it style (do you remember Bop-it?!:)
1.
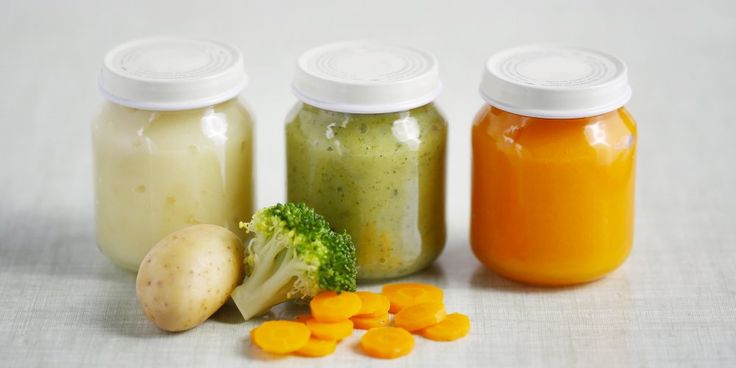 Cook it:
Prep your food — wash and peel (if applicable), and chop it up into manageable pieces.
Steam it or roast it, bake it, boil it, microwave it — whatever you choose — and lean toward overcooking, because the food needs to be VERY soft to puree it easily.
Note: Steaming preserves the most nutrients.
2. Puree it:
Toss your cooked food in your blender/food processor (check out our recommendations for that here), and puree away. Depending on what you’re making, you may want or need to add some liquid to facilitate this step and/or thin out the puree. You can use water, formula, breastmilk, stock, etc. to adjust the consistency.
BTW — you may not actually have to puree it. There are all kinds of foods that you can simply mash up and feed to your baby, such as bananas, avocados, sweet potatoes, etc. Especially once your kiddo has some practice, this is a great and easy way to go the homemade route.
(And if you want, there’s also always “baby led weaning,” or BLW, which is essentially just letting your baby feed herself… yes, there really are innumerable ways to do this right!)
3. Store it:
It’s most convenient to store your puree in small portions… someone somewhere had the genius idea to use ice cube trays for this, which we highly recommend:
Spoon out your puree into cubes (don’t fill them all the way up, though, because the puree will expand as it freezes), let them freeze (this generally takes ~4-6 hours), and then you can pop out the cubes and store them in a separate container (i.e., a freezer-safe bag).
@pinterest*Tip: if you’re having trouble getting the food to pop out from the tray, flip it upside down and run a little warm water under the base of your ice cube tray.
Also! Label your puree with what food or blend it is, as well as the date. (I initially skipped this step because I just knew I would remember everything.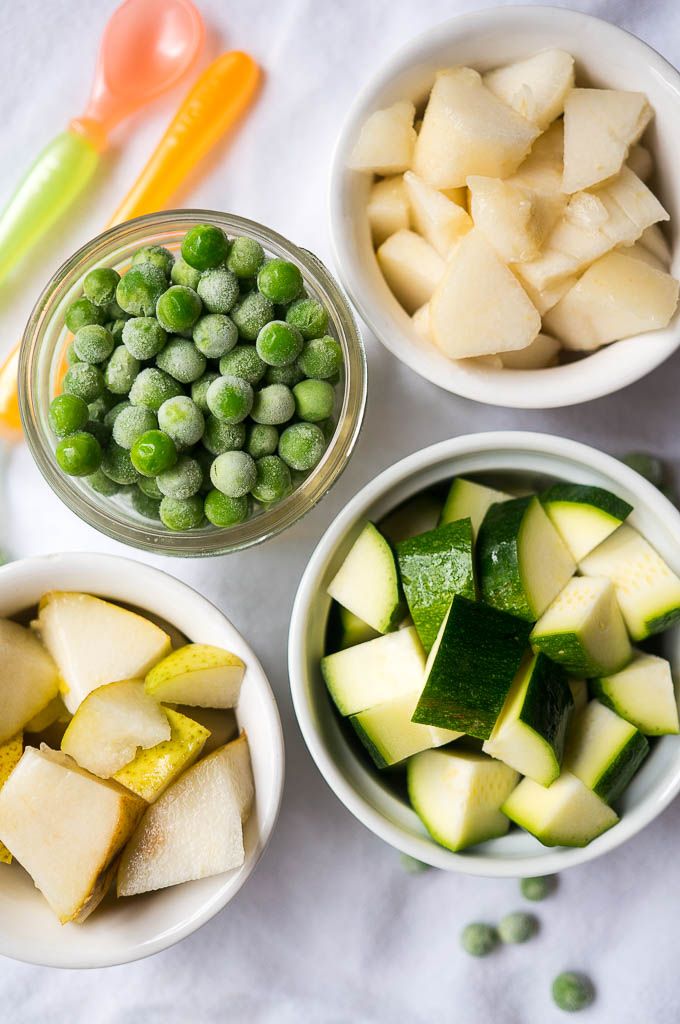 Well let me tell you what: I ALWAYS FORGOT. You will too. Probably. Maybe.)
4. Use it:
Feed your kiddo! (Here’s how to do that part.) You can thaw frozen cubes in the microwave or fridge, or on the stovetop. Then dig in. 🥄
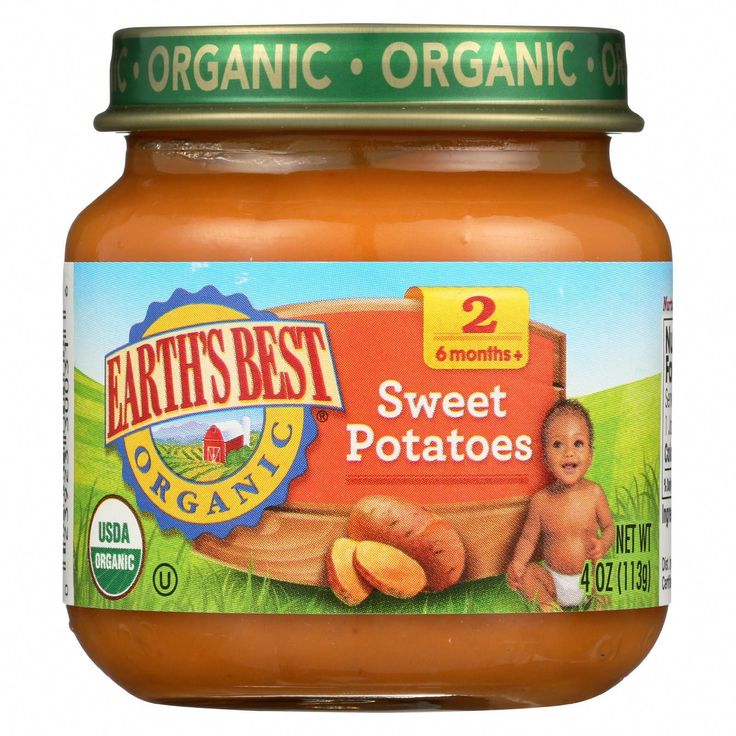
The nice thing about making your own baby food is that you can make almost anything, including foods that are rare in the commercial baby food world (like plantains or beans). You can also puree whatever you have for dinner, which can be fun. Baby Foode offers numerous wonderful and simple recipes, and you can easily find any number of recipe round-ups, but you don’t have to get fancy with it. Some thoughts/ideas:
- Veggies: sweet potatoes, beets, carrots or parsnips, spinach or kale, broccoli, cauliflower, turnips
- Fruits: blueberries, mango, berries, pears/apples, peaches and nectarines, apricots
- Spices: yes, you can use spices! (Just avoid sugar and salt — did I mention that yet?)
- Also: yes, you can puree meat/eggs/fish, as well as beans or grains.
Most parents like to spend a couple of hours making large batches of baby food purees (i.e, steps 1-3 above) about once per month — but it really depends. If you have less freezer space, you may want to have a “prep” day more often and work with smaller quantities. If you bought an extra freezer when the pandemic hit, then maybe you have some extra room and want to prep food even less often.
Personally, I actually prepped purees quite frequently (maybe two/three times per week) — simply because I would make different things on different days. This way, I never had to devote a full day (or even half day) to making baby food (when I read about people who report doing this, all I can think is OMG do people really do that?!?). As an example: I’d make coconut oatmeal on Monday, and then spinach on Thursday and curry sweet potato on Sunday. The next week, I’d make beans on Tuesday, broccoli on Friday, and beets Saturday. (You get the idea.) After a couple/few weeks, I had a nice array of foods so we could offer different things, and I just got into the rhythm of it. It was fun, actually.
So play around with it, see what works for you. And again, it’s not a zero sum game.
If you’re into it, come along with us to see what you need (hint: it’s not very much).
About the Author
Brit is the author of Carrying On: Another School of Thought on Pregnancy and Health and Rest Uneasy: Sudden Infant Death Syndrome in Twentieth-Century America. She has an MA and a PhD in history and previously worked as a medical history professor. She's taught and written on the history of women’s health, pediatrics, parenting, and motherhood. Brit lives in Maine with her family and spends her days reading esoteric academic literature, walking, listening to audiobooks, and writing about anything that interests her (which is many things). Outside of work, you can find her packing lunches, waiting out a tantrum, making a list, or looking for something one of her kids lost. Her favorite time of day is after her kids go to bed.
Canning Homemade Baby Food - Learn about canning homemade baby food and if it is safe to can homemade baby food
Is canning homemade baby food safe?
Is it possible to can baby food, using a pressure or water bath canning method?
As growing seasons begin to come to a close and the home garden harvest is almost finished, many parents wonder what the process would be for canning homemade baby food.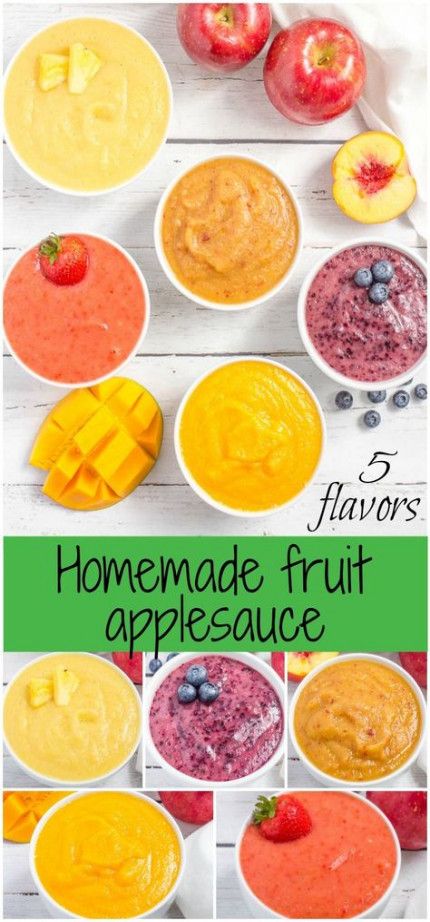 What, if any, advantages canning baby food would have over the “traditional” freezer/ice cube tray method of storing homemade baby food. Home canning of baby foods is not recommended.
Why not can homemade baby food?
Home Canned Foods Have a Higher Risk of Botulism – With infant botulism being a high risk, indeed botulism is a high risk with any home canned foods, I would not recommend canning any foods that you will serve to your baby. Botulism spores thrive in anaerobic conditions such as those found in home canned foods. Many people are not aware that certain bacteria and other harmful “contaminants” prefer low acidity and do not need air to thrive and grow; they grow best anaerobically. To avoid the risk of your baby contracting botulism, do not home can baby foods.
Kansas State University notes that “Garden produce may contain soil borne C. botulinum spores at the time of harvest. These spores are inactive. Spores can become vegetative and produce deadly toxins under the right conditions.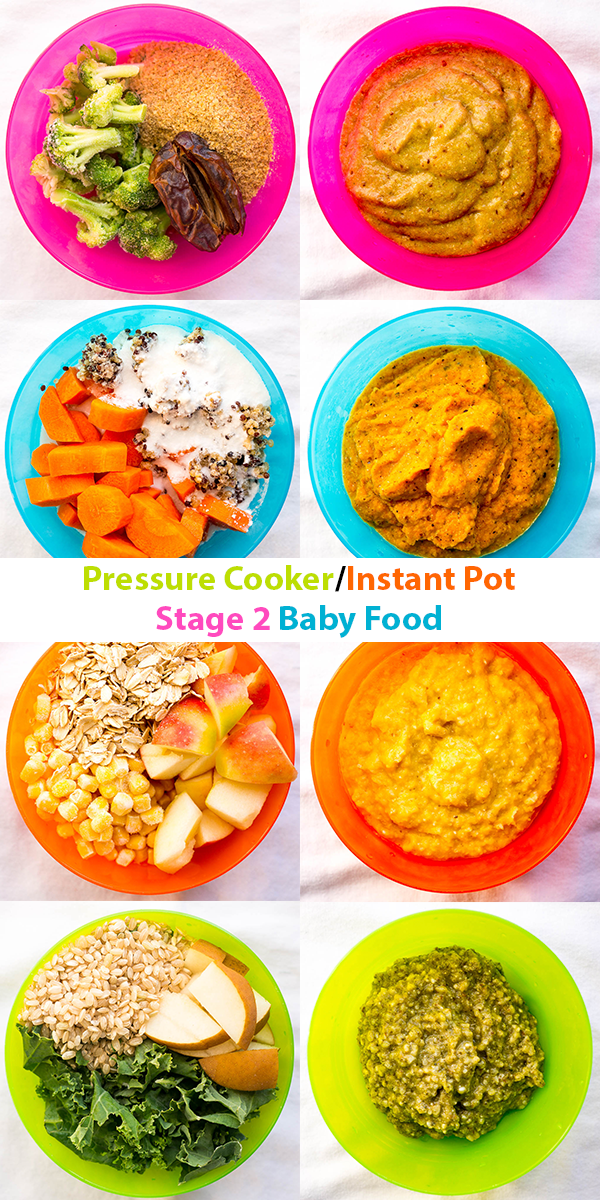 Those conditions of high moisture, no oxygen, low-acidity (pH over 4.6), and room temperature may be present in improperly canned green beans, corn, peas or other low-acid products. Low-acid foods require high temperature processing using a pressure canner if they are to be canned and safe to eat. Pressure canning is necessary to achieve a high enough temperature to destroy heat resistant spores before they can become vegetative. (Refer to Extension publication Preserving Vegetables, MF-1181, for more information on home canning of vegetables).”
Canned Foods Should Be Boiled Prior to Consumption – For safety, it is always recommended that you boil home canned foods for a minimum of 10 minutes prior to eating those foods. This additional step of boiling leads to a further reduction in available nutrients.
If I choose to can baby food, what are the best foods to can?
The best food candidates for home canning are foods that are high in acid. A high acidity helps to ensure that possible bacterial and other contaminants do not thrive and multiply.
The boiling water or water bath method of canning is best for high acid foods such as fruits and tomatoes. Some agricultural resources even caution against canning tomatoes using the water method. Tomatoes have undergone an evolution whereby many varietals are not as highly acidic as they once were. “Although tomatoes used to be considered an acidic food, some are now known to have pH values slightly above 4.6, which means they are low acid. To safely can them as acidic foods in a boiling water canner, you must add lemon juice or citric acid.”
According to the USDA (United States Dept. of Agriculture), “you may prepare any chunk-style or pureed fruit with or without sugar, using the procedure for preparing each fruit. Pack in half-pint, preferably, or pint jars and refer to the processing times.”
Caution: Do not attempt to can vegetables, red meats, or poultry meats, because proper processing times for pureed foods have not been determined for home use. Instead, can and store these foods using the standard processing procedures; puree or blend them at serving time. Heat the blended foods to boiling, simmer for 10 minutes, cool, and serve. Store unused portions in the refrigerator and use within 2 days for best quality. USDA Agriculture Information Bulletin No. 539″
Follow these additional recommendations for safe home canning:
Home canning should follow strict hygienic recommendations to reduce risks.
Use a pressure canner. Botulism spores can only be killed by the high heat which can be obtained in a pressure canner. The toxin (that is produced in anaerobic conditions) can only be destroyed by boiling. Botulism & Canning from Ohio State Univ. Extension
Using the ice cube tray/freezer method as the safest and most convenient method of storing homemade baby food.
We caution against using home canned foods for baby food due to the risk of possible botulism contamination.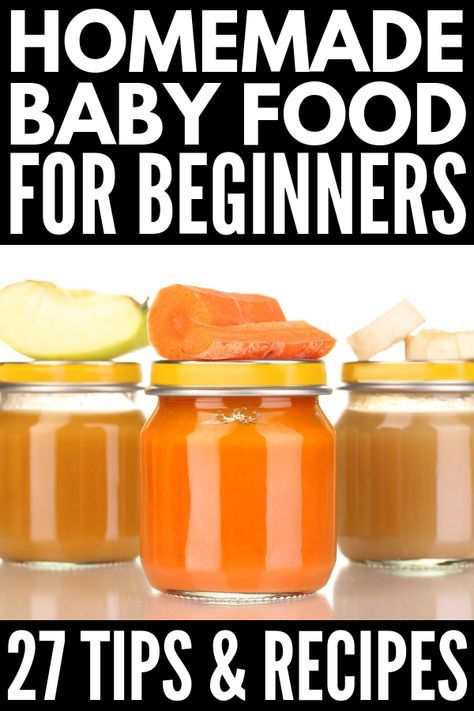 Once an infant has passed the age of one year old, the digestive system is better able to fight off botulism and is no longer as great a place for the spores to flourish and thrive. This development however does not mean that the dangers and risks of botulism have passed.
Resources & Learning More about Canning:
- USDA Complete Guide to Home Canning
- Canning Food at canning-food-recipes.com
- Canning Baby Food from Michigan State Univ. Extension
- Step-by-Step Home Canning from homecanning.com
- Botulism & Canning from Ohio State Univ. Extension
Remember, always consult with your pediatrician regarding introducing solid foods to your baby and specifically discuss any foods that may pose allergy risks for your baby.
This site complies with the HONcode standard for trustworthy health information:
verify here.
SHARE ON FACEBOOK SHARE ON PINTEREST
Baby puree at home: recipes
Baby puree from vegetables and fruits at home: cooking secrets
Vegetable and fruit puree often becomes the first meal of the baby after breast milk or formula, so many mothers prefer to cook it on their own.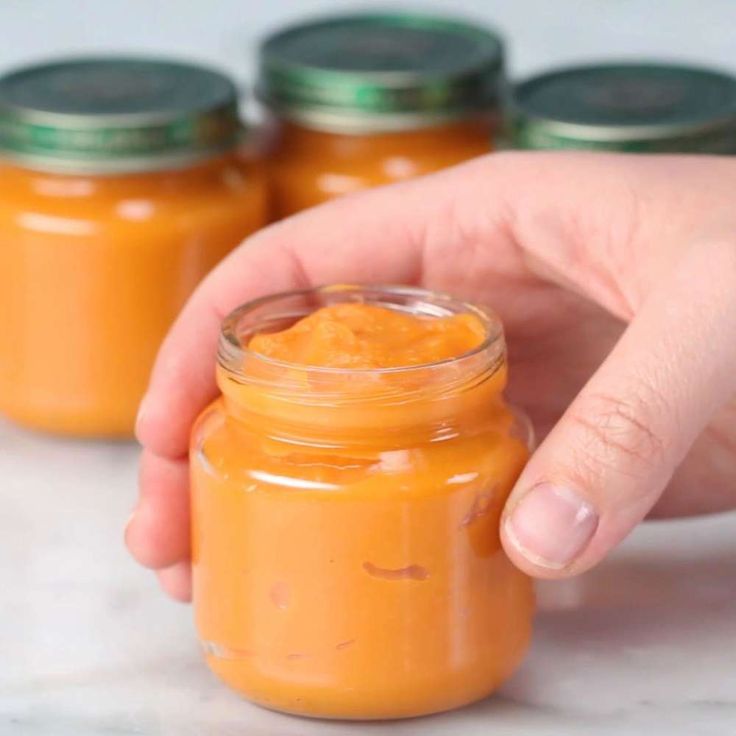 Although modern manufacturers convince us that baby food is devoid of preservatives and harmful additives, fresh vegetables and fruits are much healthier, especially when it comes to infant nutrition. Yes, and cooking baby puree at home is not so difficult.
Vegetables or fruits?
Let's try to make baby puree for our beloved baby. Despite the fact that pediatricians of the last century recommended starting complementary foods with fruits, it is better to first introduce the child to vegetables - modern doctors and nutritionists have come to this conclusion. Boiled vegetables do not irritate the gastrointestinal tract, are better absorbed, satisfy hunger, do not cause allergies and increased gas formation. In addition, vegetables do not contain fructose, which irritates the pancreas. And one more weighty argument in favor of the fact that it is better to start with vegetables - fruits are tastier, and if the baby tries them first, he will refuse vegetables, because they will seem to him more insipid.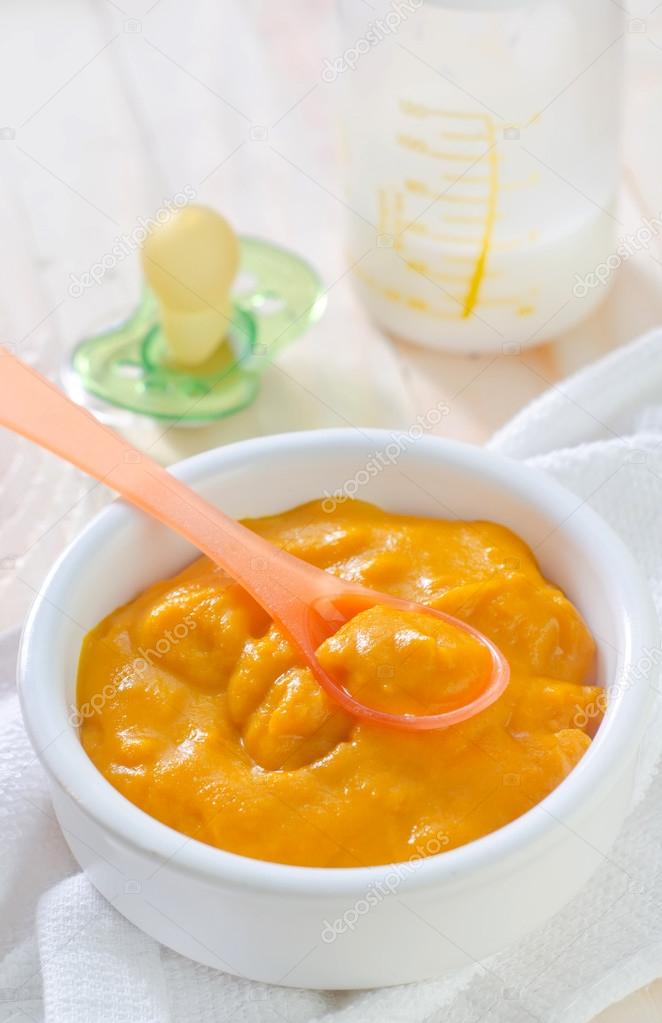
How to prepare baby vegetable puree
What can baby puree be made of? The ideal puree for the first feeding is from cauliflower or zucchini. A little later, you can introduce pumpkin, broccoli, carrots, potatoes and green peas. Before cooking, vegetables are washed well, peeled, cut into pieces and cooked - steamed, in the oven or in the usual way, in water. The first two methods are preferable because oven roasting and steaming preserve the vitamins, minerals, nutrients, and natural color in the vegetables. And most importantly - such vegetables are much tastier. Some nutritionists recommend boiling vegetables with their skins on before peeling them, so choose your own cooking method.
If you do have to cook vegetables in a saucepan, use an enamel pot, add less water and put the vegetables in boiling water. Boil until soft, but do not overcook vegetables and fruits, otherwise they will become tasteless and lose a lot of vitamins. Ready vegetables are chopped with a blender until smooth and slightly diluted with water, vegetable broth, breast milk or mixture to a gruel state, since the child does not yet know how to digest thick food. Small pieces of vegetables in puree sometimes cause the baby to refuse to eat, so the knives in the blender should be well sharpened, and if there is no technique, you can grind the vegetables through a sieve. Salt and spices are usually not added to baby vegetable puree, and if the baby is more than 6 months old, you can put a little butter in the puree.
A few rules for making baby puree at home
- Use only fresh vegetables and fruits.
- Water for cooking vegetables must be filtered or bottled.
- If you are using frozen foods, choose only whole fruits and vegetables as they retain the most nutrients.
- All utensils for preparing baby food should be perfectly clean, so if the knife falls on the floor, it should be washed well. Also, the presence of pets in the kitchen during the cooking process is not allowed.
- Avoid vegetables and fruits high in nitrates, such as spinach, lettuce, beets, melons, and watermelons, in infants' diets.
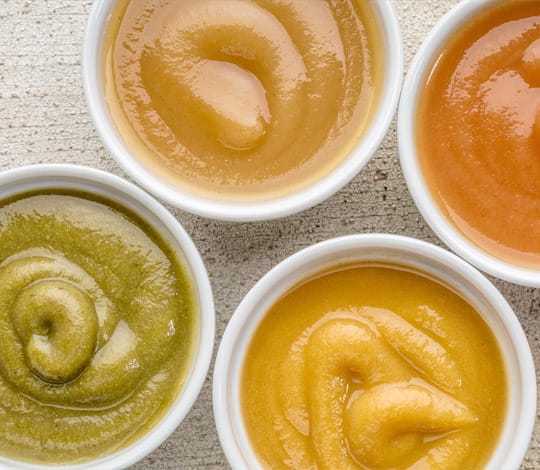
- Store-bought vegetables are recommended to be soaked in water to remove nitrates: 1-2 hours for this, up to 24 hours for potatoes.
- Mix sour-tasting fruits and berries with sweet fruits - for example, blackcurrant goes well with a banana or pear. Sour puree is unlikely to please the baby.
- Give your child only fresh food, but yesterday's puree from the refrigerator is better to eat yourself.
DIY fruit puree for children
Children are more likely to eat fruit puree, because fruits are tastier and sweeter. Fruits contain a large amount of vitamins, minerals, trace elements, fiber and antioxidants, so they are very useful for a growing body. However, fruits are strong allergens, especially berries, bananas, pomegranates and apricots, so they should be given with caution, watching the child's reaction. The most low-allergenic fruits are apples and pears, so it is better to start complementary foods with them, and then introduce all other fruits. First, the baby is fed with a one-component puree made from only one product, and then you can mix different vegetables and fruits, and not only among themselves. Very tasty combinations of fruits and vegetables, such as apples and zucchini, pumpkins and pears.
Fruits must be of good quality, without damage, ripe and juicy, and the rules for preparing fruits do not differ from the rules for cooking vegetables. Naturally, fruit puree is not sweetened with honey and sugar - the later the child learns the taste of sugar, the stronger his health will be.
Aromatic pumpkin puree
Babies love to eat pumpkin because of its pleasant sweet taste, besides pumpkin is very healthy. It contains a whole storehouse of various vitamins, including vitamin T, which normalizes the metabolism in the body. For pumpkin puree, small pumpkins are suitable, since large fruits are not as tasty and difficult to peel.
Cut the pumpkin in half, and then into small slices, one or two of which (depending on the appetite of the crumbs) cut into cubes.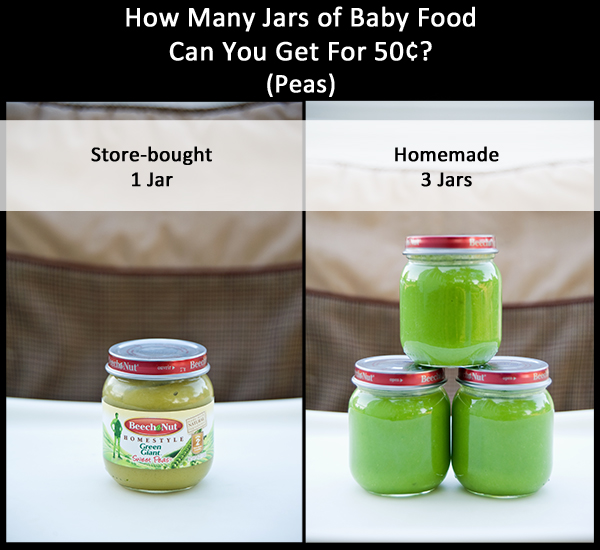 Boil the pumpkin in a double boiler or in water for 20 minutes, while warm, beat with a blender to a smooth puree and dilute if necessary with water or a mixture. Add oil and salt depending on the age of the child.
Gentle Broccoli Puree
One of my favorite homemade baby puree recipes is broccoli. This cabbage is extremely useful because it contains potassium, iron, calcium and other valuable substances. It has much more vitamin C than lemon, and the reason for its nutritional value is its high protein content.
Separate the broccoli into florets, wash thoroughly and steam for 20 minutes. Cabbage cooks faster in water - fresh broccoli will take 7 minutes, and frozen - about 15 minutes. Broccoli puree does not need much water, it should lightly coat the vegetables. After the cabbage becomes soft, chop it in a blender or pass through a sieve. If you're mashing for kids older than a year old, be sure to add butter - the little ones will gobble up broccoli on both cheeks!
How to make baby pear puree at home
Pear is a very delicate, tasty and healthy fruit that rarely causes intolerance. In addition to the high vitamin value, the pear has other beneficial properties - it facilitates digestion and removes toxins from the body.
For baby food, choose green pears to reduce the risk of allergies, which are rare among babies. Peel the fruits from the peel and core with seeds, and then stew the pear in a bowl with a thick bottom in a small amount of water for 15 minutes. Let the pear cool slightly and puree it in a blender with a little of the remaining pear broth. For large kids, fruits can not be boiled, but add half a teaspoon of natural honey to the puree.
Zucchini and apple puree
Little gourmets will love this delicious puree, besides, zucchini is considered the most hypoallergenic vegetables, which, due to their high potassium content, have a beneficial effect on the heart. Apples contain iodine, iron and phosphorus, and due to the high concentration of vitamin C, apples help in the prevention of colds and viral infections.
Wash the zucchini and apples well, de-seed them, cut into pieces and cook in a saucepan for about 20 minutes, considering that the zucchini will cook 5 minutes faster.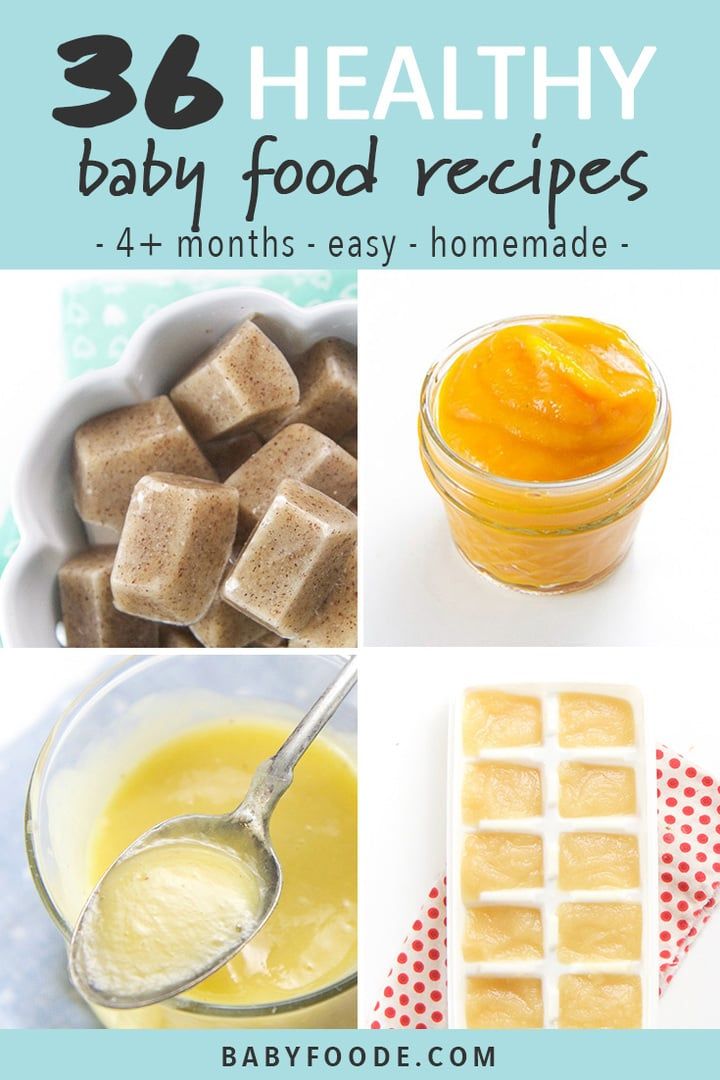 By the way, apples are steamed for 15 minutes, zucchini - 10 minutes. Next, vegetables and fruits are chopped in a blender, mixed and brought to a boil. For allergic children, this is the best side dish!
Exotic mango
Sometimes you can pamper your baby with exotic fruits - for example, make mango puree. This is a very delicate fruit with an original taste, containing 12 amino acids and improving sleep.
Choose only ripe fruits that are soft and reddish-yellow in color. Peel the mango from a thick skin and a large bone, put the pulp in a blender, add 2 tbsp. l. water and mash it, and then heat it in a saucepan for several minutes. For a baby up to a year old, it is better to give mashed potatoes with heat treatment to facilitate digestion, and older children can be fed raw mangoes.
Carrot and Potato Puree
Make normal potato puree without oil. Peel the carrots, grate them and stew them with butter and vegetable broth - about 1 tsp is required for 200 g of carrots. butter and 150 g of broth. When the carrot becomes very soft, wipe it through a sieve, and then put it on a plate, put mashed potatoes on the second half. Let the child choose whether to mix two types of puree for him or eat separately!
Pumpkin and apple puree
This sweet, sugar-free pumpkin-apple puree, cooked in a double boiler, is suitable for children who are already accustomed to “adult” food and are able to perceive a new unusual dish. It is better to take a pumpkin with a gray or green skin and with bright pulp - such fruits contain more vitamins and other useful substances. Apples are green because they have fewer allergens.
Cut pumpkin and apple flesh without peel or seeds into pieces, place in a steamer and cook for 20 minutes. Grind pumpkin, apples and raisins in a blender or by hand with a pusher if the child has already learned to chew. They say that this puree is very good for skin and hair, and you can check the truth of this statement yourself if you start feeding this dish to your baby.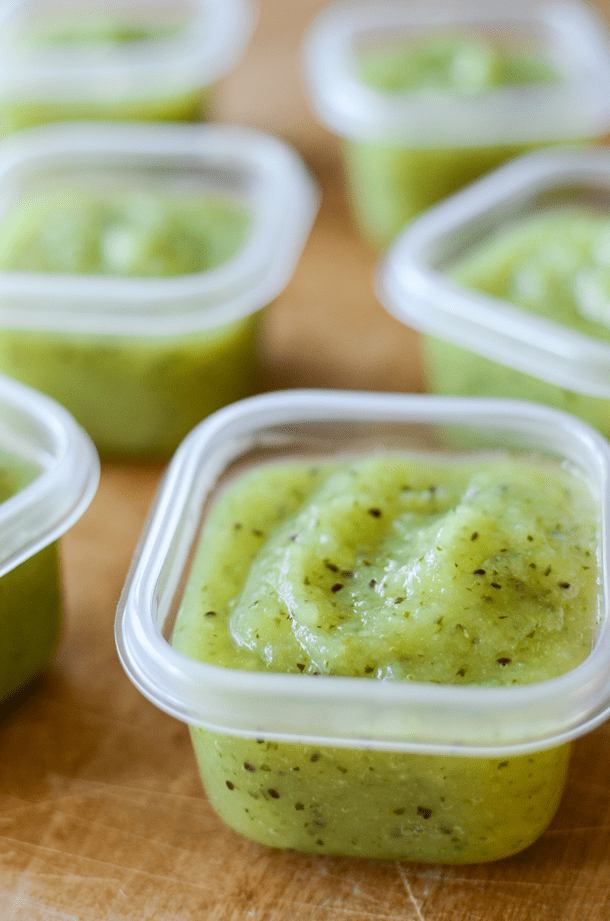
In autumn, you can take care of preparing vegetables for baby purees. Some vegetables, such as pumpkin, carrots and apples, are stored fresh, and zucchini, broccoli, berries are frozen in small portions, because due to frequent freezing and thawing, vegetables lose vitamins and become tasteless. You can roll up fruit and vegetable puree in jars, but this snack should not be given to babies. Remember that the taste of vegetables determines whether the baby will love them in the future, so try to prepare an appetizing and tender puree - for health and good mood!
Preservation of baby food - Encyclopedia Baby food
Levchuk Victoria©Preservation of baby food, I met her when I was 10 years old, and my pregnant aunt closed apricot juice in three-liter jars, as that year there was a harvest apricot, and the little one needs vitamins. This picture of a big, immense aunt and an old Soviet-type juicer, I remember, even now stands before my eyes.
conservation Nowadays, everything is there, so why preserve baby food if you went to the store and bought baby juice with pulp or baby puree.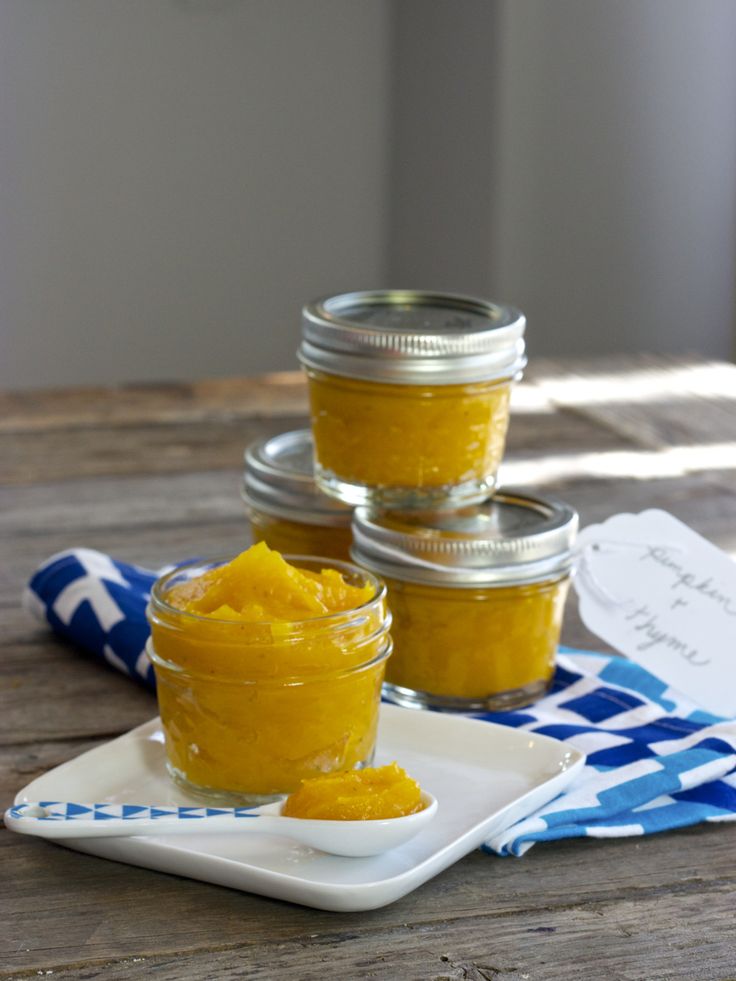 But we, Russians, we cannot do without difficulties! And, well, if I'm the only one, then last year 120 cans of Frutonyanya were taken from me by a pregnant girl, in the back seat of a car with boxes of peaches. Apparently also for conservation. Pregnant women do things like that. And it seems to be ok!
Preservation of baby food Special preservation, since sugar, salt, spices, vinegar, aspirin, etc., everything that is usually put in jars, for long-term storage of the product should not be put.
cannedFruit juices are best made from apricot and peach. Sweet ripe fruits are taken, as sour juice is obtained from green or unripe ones. From overripe varieties, a jar can explode. Since the jars are closed without adding various additives, the fruit juice must be boiled well for 5-10 minutes. We have a special juicer, which already gives ready-made fruit juice with pulp at the exit, just close it in a jar. But it is old and Soviet.
Fruit purees are prepared in much the same way as juice with pulp. Those. the finished product is cut into small pieces, boiled for 5 minutes, whipped with a blender and closed in sterilized jars.
It is best to take sweet fruits, such as apricot, peach, sweet varieties of apples. My pears always explode, i.e. even in the refrigerator they do not stand for more than a month, it is worth considering this. I have experimented a lot with the preservation of baby food, so I used to cover plums, apricots, peaches, apples, pears, etc. I also made various mixes, from fruits and vegetables.
Basically the perfect vegetable for any mix is zucchini. But preserving a product without sugar is just a torment, as a result it turns out either sour, or not tasty, or something is not right. So the apricot turned out to be moderately sweet, the taste is similar to an apricot, but somehow artificial, so I had to mix apricot puree with a banana or apple to dilute the artificiality. Although I repeat, I closed it without additives, I just boiled it and closed it in warm sterilized jars.
Peach puree is the most delicious and lasts for a long time, it is easy and simple to store, so now I cover only peaches, I refused everything else, you can freeze or dry. The plums turned out sour, they don’t stand for a long time even in the refrigerator, the jar explodes, just like the pears. Somewhere there were pictures of this masterpiece of mine, so I'll try to find and post it. The combination of zucchini and something fruity is worth it. But the product must be one hundred percent sweet initially, otherwise the child will not eat such goodness. I didn’t go further than these experiments, since the child grew up, and I was too lazy to mess with 100 gram jars, and what’s my miracle is now a 100 gram jar, so for one tooth.
At first, I kept the jars in the refrigerator because I was afraid that without additives, the jars might explode. The place in the refrigerator was completely filled with 100 gram jars of baby food, this is annoying, since the child does not eat them every day, so they will definitely stand there for 2 months.