Diy baby doll food
How to Make Colorful and Scented Doll Food
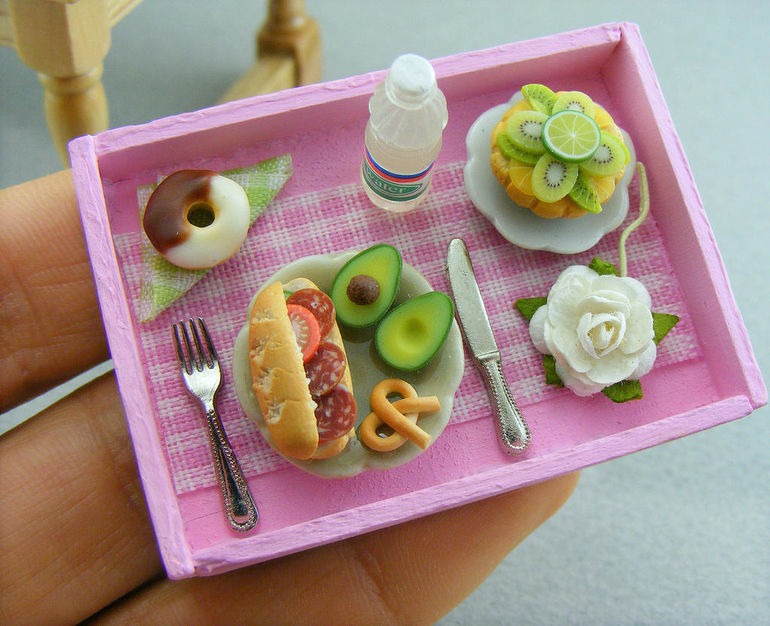
I have wanted to make doll food for a while. My daughter goes through this stuff super fast. The store-bought packets are great, but they are a bit expensive and don’t last in our home. We need Costco-size pouches to keep up with our hungry dolls.
My daughter loves dolls more than any toy in our house. The moment she gets a new baby, she gives her a name and cares for her in a super sweet motherly way. It is such a joy to see her play. She plays with all her babies every day, but her favorite ones are the types that she can feed and bathe.
For me, the best doll for this feeding activity is the baby born interactive. This doll holds the liquid! You have to press her belly button to release any fluid. This is an excellent feature for the times your dolls diaper is not on correctly or has no diaper at all. I am not saying this is a mess-free activity, but this toy makes my life easier when it’s time to clean up. So, use any doll that is easy to clean.
Ingredients and Materials
I played around with different ingredients and finally settled on using sugar, baking soda, and cornstarch; these three ingredients give the doll food a puree consistency similar to the store-bought. To take it up a notch and make it more realistic, I decided to use paint and scented oils.
As far as paint goes, I always prefer to use washable paint instead of food gel in my crafts. I want to avoid the small chance of staining anything. We made our first batch with food gels, and the doll food came off the doll’s dress without a problem. Still, I decided to make our second batch with washable paint. I feel more comfortable letting my daughter play with something I know I can easily wash.
I use mason jars in a lot of my projects because they are versatile, but you can store yours in any container you prefer.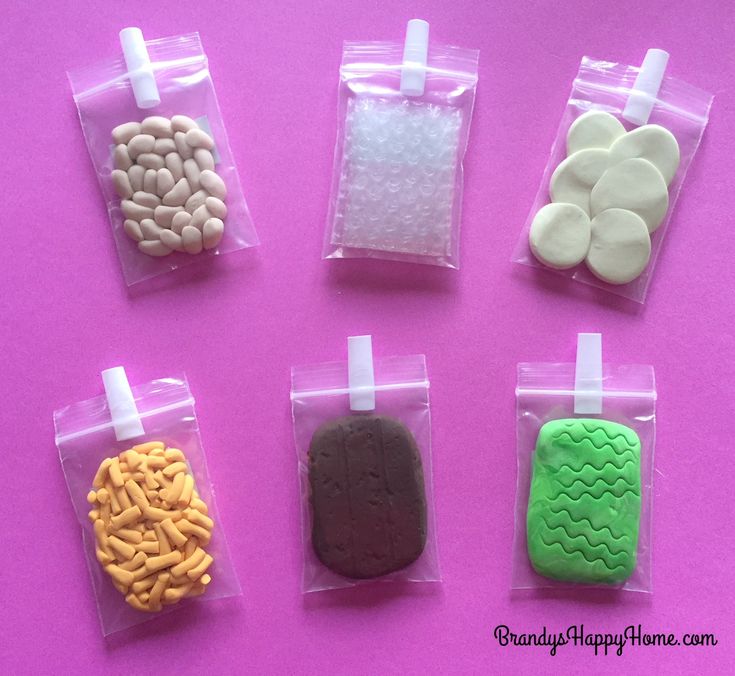
Also, although all the ingredients are non-toxic, I am keeping my jars out of reach from my little one.
Doll food
- Place two tablespoons of granulated sugar into a small mason jar.
- Dip the tip of a toothpick into the paint color of your choice. A tiny bit is enough. Then, dip the paint into the granulated sugar and mix until the color completely incorporates, and you don’t see any speckles. Don’t worry if the powder looks white because it will change color when it comes in contact with the water.
- Mix in a few drops of scented oil (If using).
- Add one tablespoon of baking soda and one tablespoon of cornstarch to the sugar and mix.
- Download and print your food labels. Label each jar. If you want different flavor labels, you can download these cute vegetable and fruit clipart from Etsy.
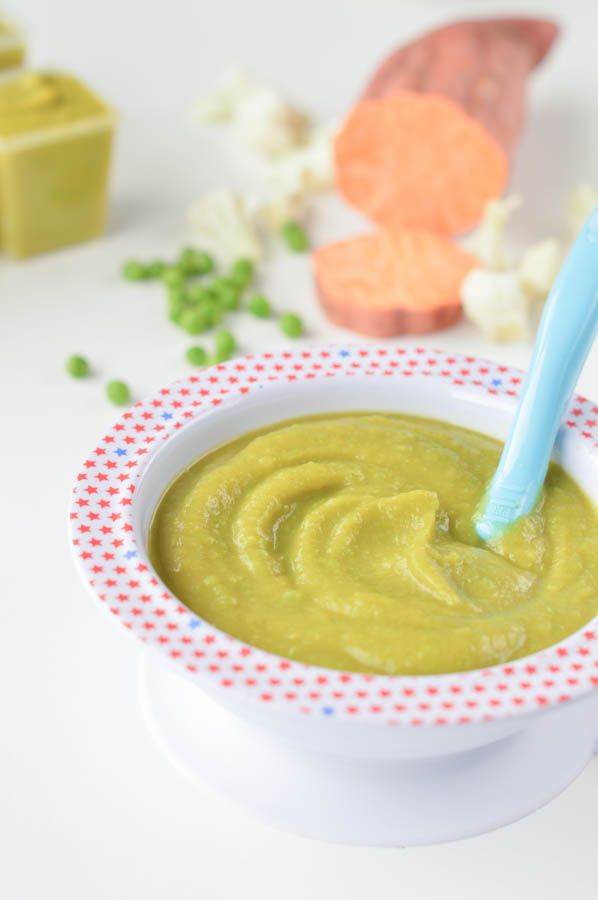
- Finally, mix the doll food with water. I use 1-2 teaspoons per feeding. Add drops of water until you get a puree consistency.
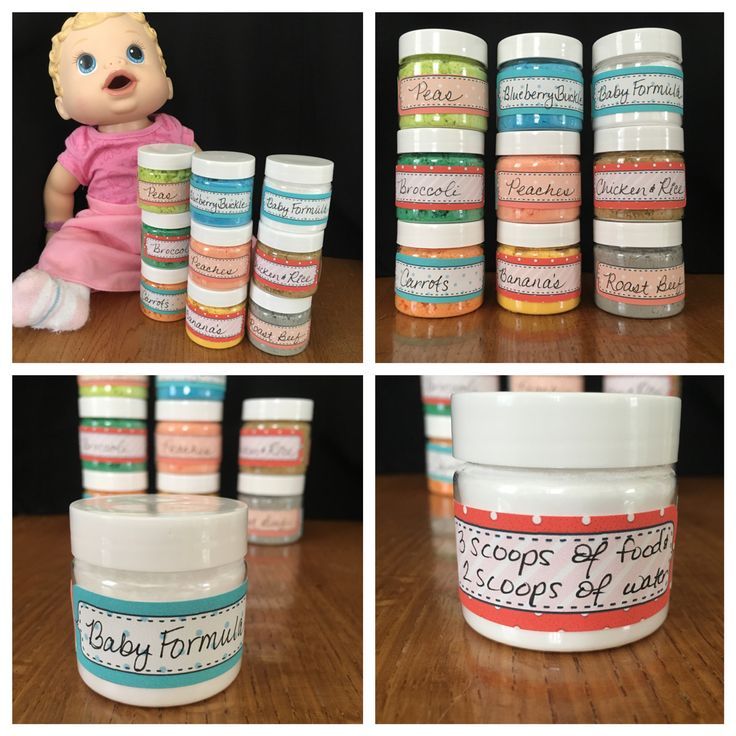 Don’t worry if you add to much water, your little one and the doll won’t mind. ?
This doll food is good to use with baby alive, baby born, or any doll that is designed to eat.
The manufacturers recommend flushing the baby food after each use. So, we feed our dolls a warm bottle of water along with the doll food to wash it out.
I hope you found this helpful. Visit our DIY page for more fun ideas.
Baby Alive Doll Food Packets 6 Packets
Click to zoom
221 sales |
5 out of 5 stars €4. 14
14
Loading
VAT included (where applicable), plus shipping
Quantity
12345678910111213141516171819202122232425262728293031323334353637383940414243444546474849
Other people want this. Over 20 people have this in their carts right now.
Listed on Dec 7, 2022
89 favorites
Report this item to Etsy
Choose a reason…There’s a problem with my orderIt uses my intellectual property without permissionI don’t think it meets Etsy’s policiesChoose a reason…
The first thing you should do is contact the seller directly.
If you’ve already done that, your item hasn’t arrived, or it’s not as described, you can report that to Etsy by opening a case.
Report a problem with an order
We take intellectual property concerns very seriously, but many of these problems can be resolved directly by the parties involved.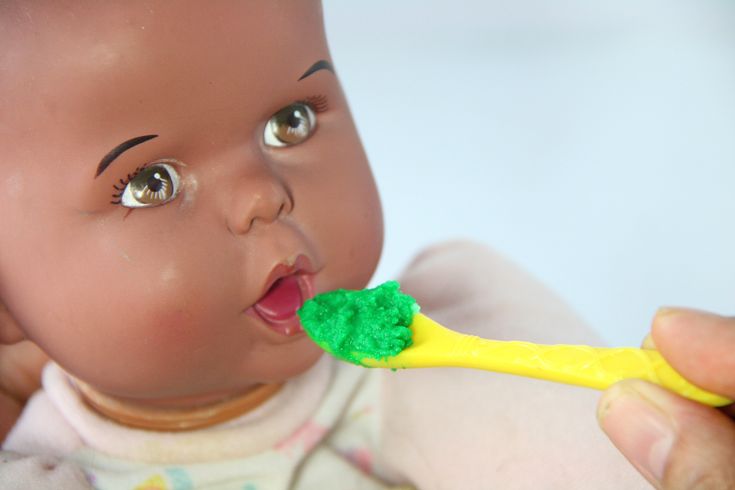 We suggest contacting the seller directly to respectfully share your concerns.
If you’d like to file an allegation of infringement, you’ll need to follow the process described in our Copyright and Intellectual Property Policy.
Review how we define handmade, vintage and supplies
See a list of prohibited items and materials
Read our mature content policy
The item for sale is…not handmade
not vintage (20+ years)
not craft supplies
prohibited or that use prohibited materials
not properly labeled as mature content
Please choose a reason
Tell us more about how this item violates our policies. Tell us more about how this item violates our policies.
How to make food for a doll from improvised materials?
Children increasingly want toys from real life: clothes in the latest fashion, dolls with a human face, analogues of real furniture, dishes, vehicles. These items help the child reproduce the behavior of adults: hospitality, tea drinking, housework. And you do not need to buy anything, you can do everything with your own hands at a professional level. Today we will look at how to make food for a doll.
What can be used to make "doll" food?
It is conditionally possible to divide puppet food into “disposable” and “reusable”. The first options are suitable:
- imaginary dishes: leaves, paper, plants, pebbles and other items that remotely resemble culinary delights;
- products: cereals, pasta, noodles, sprinkles used in games once;
- plasticine food, which can also be lost or deformed.
"Reusable" dishes are made of durable material that does not deform over time.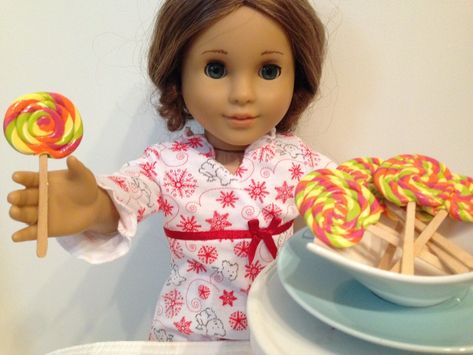 Such food is baked from salt dough, polymer clay, mastic, molded from a specially hardened mass for modeling, created from threads, beads.
How to make food for dolls without special skills? Pay attention to sewing accessories, where you can find buttons of various shapes. Just saw off the "loop" and get a ready-made set of fruits and vegetables. Or draw the shape of the product on cardboard and glue it with beads of the right color.
How to make food for a doll with minimal effort
The most economical way is to cook dishes from salt dough. This will require salt, flour, water, as well as modeling tools, paints, varnish and sometimes glue with fittings. What is the benefit of the test?
- You can mold a variety of dishes: flour products, sweets, fruits, vegetables, meat, cereals, fish.
- The child will be happy to take part in the creation of culinary delights. And raw dough without impurities will not harm if the baby takes it in his mouth.

- The dough allows you to cut out any shapes and lines, and the colors only add brightness.
The process of preparing food from dough is simple. Sculpt dishes, place them on a baking sheet and dry in the oven or microwave. Next, they need to be painted and varnished. In some cases, beads, sequins and decorative trifles are glued for jewelry.
Food can be created whole or cut into pieces. In the latter case, the product must be put in the refrigerator and, when frozen, carefully cut into portions, and only then dried in the oven.
Knitted food for dolls
You can make food differently if you don't want to spend time kneading, baking and drying the dough. Grab your yarn and hook! Knitted dishes are suitable for large dolls and theatrical games with other children. In addition, they can be washed when dirty and put back into the game.
How to make food for a doll with thread? Take real products for the image, then pick up the yarn and “copy” the shape of the fruit or dish with a crochet.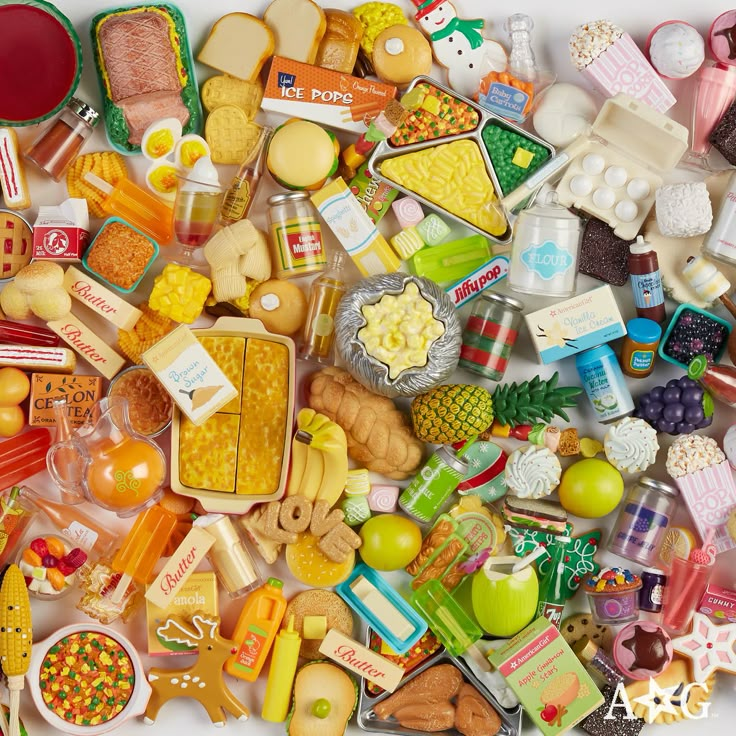 For example, how to knit a scrambled egg:
- start with two yellow circles;
- fill with padding polyester and sew them together;
- from the obtained yolk you knit the protein.
Or we start knitting ice cream from the bottom of the cup, then by decreasing and adding loops we create a “wafer” and “plombir” wavy shape. The last step is to fill the product with padding polyester and close the last rows.
Fruits, vegetables, cakes, cakes, sausages, chicken, chop can be knitted according to the same plan. The advantage of large knitted products is that small children will not swallow them and injure themselves.
Harm and benefits of "doll" food for children
Wishing children well, parents create chic miniature culinary masterpieces. However, such foods can be harmful to young children. How? Paints and varnish add shine and brightness to products and cause an irresistible desire to eat them. Toddlers are not aware of the danger of small parts and swallow them, resulting in the need for medical attention.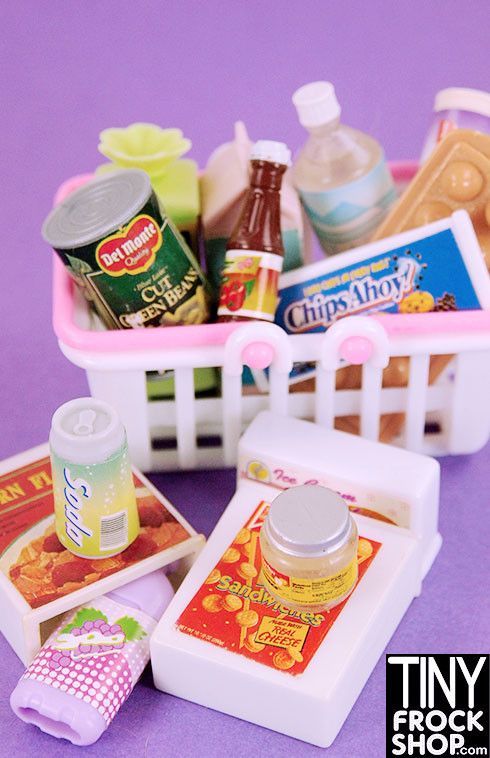
Therefore, for babies, it is better to create large products with a developmental focus. How to make baby doll food? For example, tie pea pods to peas of different sizes. As a result, the child learns to unfasten and fasten the pod, separate the Velcro peas, learn color, size, and count with them.
Big children need small real products that help them "get used" to their roles. They are especially actively used by psychologists in educational institutions in the analysis of family conflicts. Therefore, create all kinds of educational dishes for kids, and create miniature culinary masterpieces together with older children!
Food for dolls: making a cake
Playing with dolls requires a lot of small things - for example, food for dolls. Appetizing pies, delicious drinks… And also beautiful crockery, cutlery and furniture. We bring to your attention a detailed step-by-step master class on modeling doll food, in particular, a cherry pie, from polymer clay.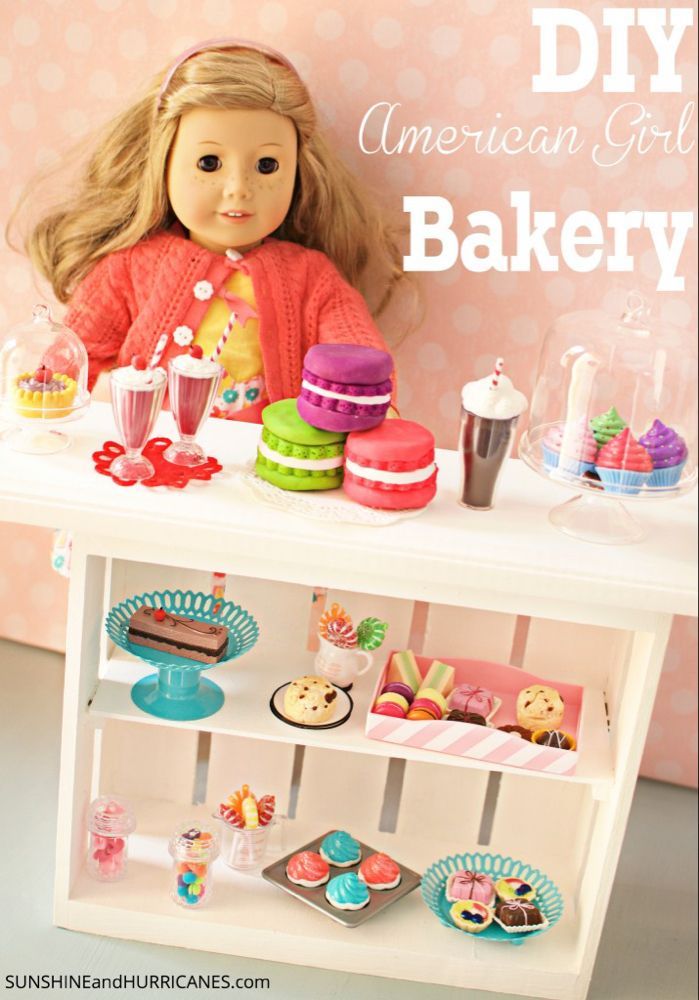 If necessary, it can easily be turned into a fun keychain!
To make a cake, you will need the following materials:
beige and red polymer clay;
light brown pastel;
liquid plastic;
acrylic paint or gouache
Do-it-yourself food for dolls - polymer clay pie: description of work
We knead the beige plastic well and roll it out in a thick layer (6 - 8 mm). With a lid from under the cream, cut out a circle with a diameter of 3.5 cm (if the lid is larger, the rolled out layer should be thicker, if less, respectively, the layer is thinner).
We roll out a thin sausage from scraps of plastic. We fold it in half and twist it into a bundle (you can make a pigtail). Lay it carefully around the edge of the pie.
Grind the light brown pastel into a powder and apply it with a brush on the tourniquet and sides of the cake - this will give it a natural color of baking.
Let's start making jam. Pour liquid plastic into a glass or iron container, add paint and mix well until a uniform color. If the mass is too liquid, you need to add a small piece of well-mashed polymer clay (red) to it and continue to knead the mass until this clay dissolves. Lubricate the surface of the polymer clay cake with the prepared mass
We make cherries. First, we knead the red plastic and roll it into a very thin sausage, which we then cut into small pieces. We roll the balls from these pieces and put them on the pie; selectively, you can pierce some berries with a needle.
While the product is not baked, insert a pin or pin into it so that later you can attach the cake by the loop to the keychain base if you plan to make a keychain, not food for dolls.