Food holder for baby
Ultimate Guide to Baby Feeders: Mesh and Silicone
You may have seen baby feeders, whether mesh or silicone, and wondered what they are for. They are a great tool for feeding babies and toddlers—and are especially awesome for teething relief. There are many on the market though, so today I’m sharing the best of the best.
Baby Feeder
A baby feeder is made up of an easy-hold handle and a little pouch with lots of holes. The idea is that the holes allow some of the flavor and texture of the food to come out, without the concerns that may come with larger pieces of food.
This means you can worry less when it comes to choking risks.
One thing to keep in mind: They don’t allow babies to have the full texture experience of the food—since the texture is mostly the mesh of the feeder. That means you don’t want to use one of these for every meal (or even most meals).
Lots of exposures to lots of textures helps babies and toddlers gain confidence in handling all sorts of foods, which can make feeding kids a lot easier over the long run.
But an infant feeder can be a handy tool to have in the mix, especially if on the go, starting to transition to baby food, or trying out a new food that has you a little nervous.
And they are a great way to offer cold teething relief to soothe baby’s gums.
Baby Fruit Feeder
Many people like to use baby feeders to offer fruit, either fresh or frozen, since the product is a safe way for baby to suck on and explore the flavor of a wide range of fruit.
TIP: Another name for this is Baby Fruit Pacifier.
Best Baby Food Feeders
Below are my top picks for infant feeders chosen for ease of use, durability, and ease of care (as in washing!). There are different materials listed, as well as specific information on each product.
Best Mesh Feeder
Munchkin Baby Feeder, sold in a set of two. (Or choose the ones that come with travel caps.)
This baby feeder has a streamlined, simple design of a mesh bag for the food and a ring for baby to hold onto.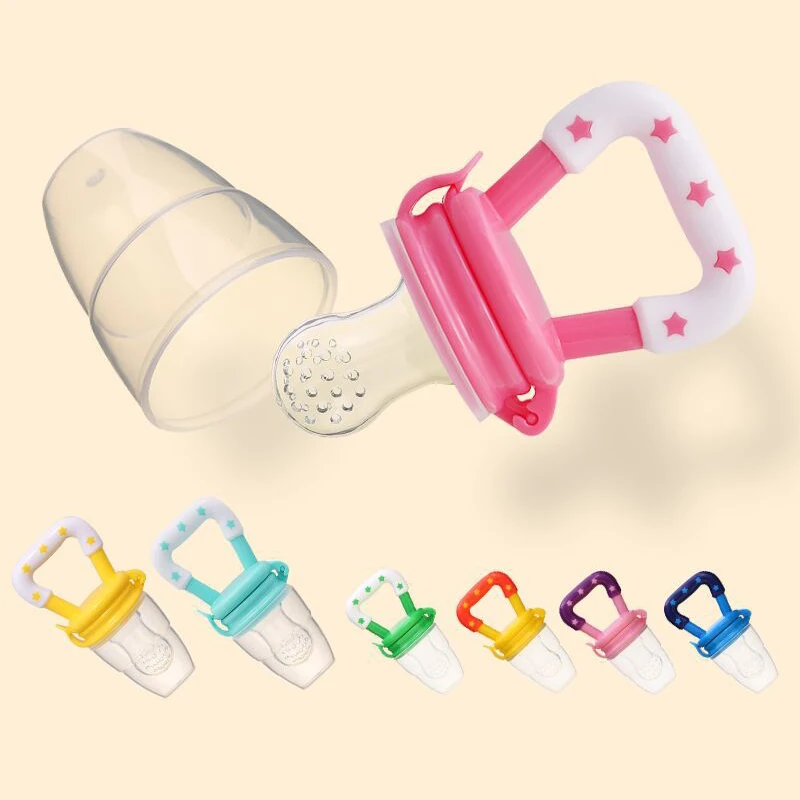 Small, digestible pieces of food come through so baby is getting some nourishment (and comfort if using for teething) without the risk of choking. It’s about $7 for two of them.
Best Silicone Feeder
Boon Silicone Feeder
This baby feeder, which is priced at under $6, is made from durable silicone and can be used with fresh or frozen foods. The interior stem forces food toward the tiny holes in the feeder and the small handle is sized just right for baby’s little hands.
Kidsme Baby FeederBaby Feeder Pacifier Combo
Kidsme Food Feeder
This popular Kidsme feeder has a replaceable silicone pouch that comes in two sizes, so you can adjust and replace as your child grows. It has a unique handle style that some babies may prefer and can be used as a pacifier too. It’s usually priced around $15 and is recommended for ages 4-24 months.
What baby foods should I put into a baby feeder?
Here are some fruits that are good to serve in a baby feeder:
- Raspberries, fresh or frozen
- Strawberries, fresh or frozen
- Blackberries, fresh or frozen
- Cantaloupe
- Honeydew
- Banana
- Mango, fresh or frozen
- Roasted sweet potato
- Roasted butternut squash
- Ripe fresh pear
- Fresh cucumber, skin removed
- Watermelon
- Cooked red meat such as steak
- Frozen grapes (These are NOT safe served to a child this age in any other way as they are a choking risk.
 They are fine served inside the feeder, though.)
TIP: You can use frozen fruit or ripe fresh fruit that’s soft and easy to gum. Avoid any fruits or veggies that are very hard as baby may be frustrated by that texture.
Frequently Asked Questions
What age can baby use a mesh feeder?
Babies can use an infant feeder soon after starting solids around 6 months, or when they can easily hold it and bring it to their mouth.
How do I use a baby feeder to help with teething?
If you fill the feeder, whether mesh or silicone, with frozen fruit, you can soothe teething in infants who are eating solids or in toddlers. It’s cold and yummy, yet requires no real work for the child to suck on, so it’s comforting.
Are all of these baby feeders BPA-free?
Yes, if you choose a mesh baby feeder or one made from silicone, they are BPA-free.
What’s the best way to clean a baby feeder?
Try using a bottle brush or just running water to clean out the mesh. It should be fairly easy to clean if you avoid letting it sit too long with food in it!
Are baby feeders good for babies?
The one downside could be that if you rely on them too much, the child learns the texture of the feeder, rather than of the food. This can make it harder for a child to learn to move actual food around in their mouths and harder for them to accept a range of textures in the future when you don’t want to be using the mesh feeder as much.
Because of that, I recommend using this product at limited times such as when on the go at a restaurant or to help sooth a teething infant, baby, or toddler.
This is not recommended as a way to feed your child at every meal.
If you are worried about choking, review this information on toddler choking and trust that if you serve foods that are easy to squish between your fingers, baby is sitting down at meals, and you are with them, they will learn to eat like so many other kids who have gone before them!
You May Also Like
- Best Baby Puffs
- Favorite Sippy Cups
- Best Snack Containers
- Best Lunch Boxes
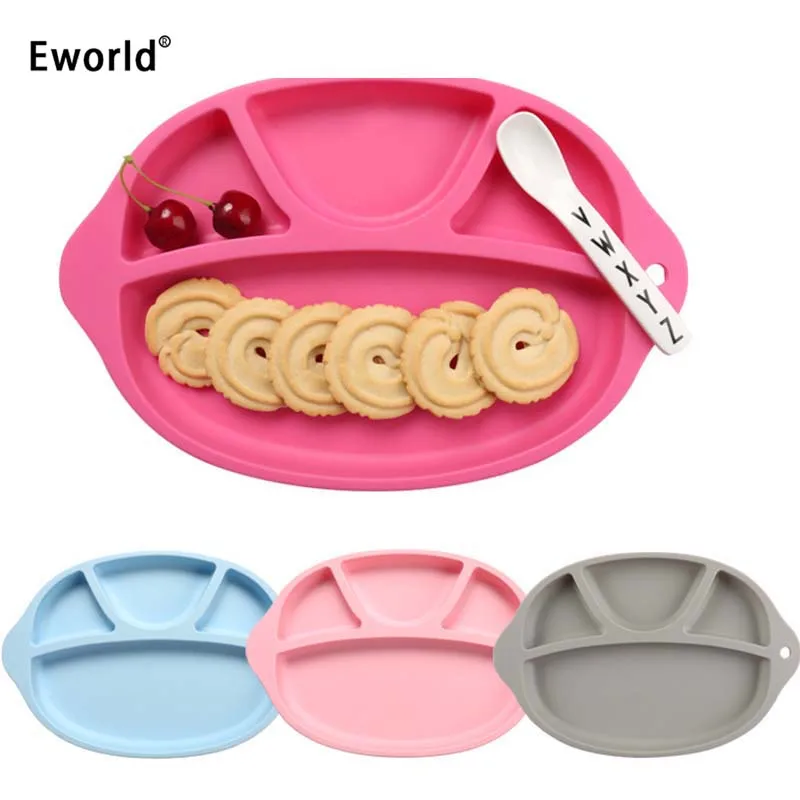
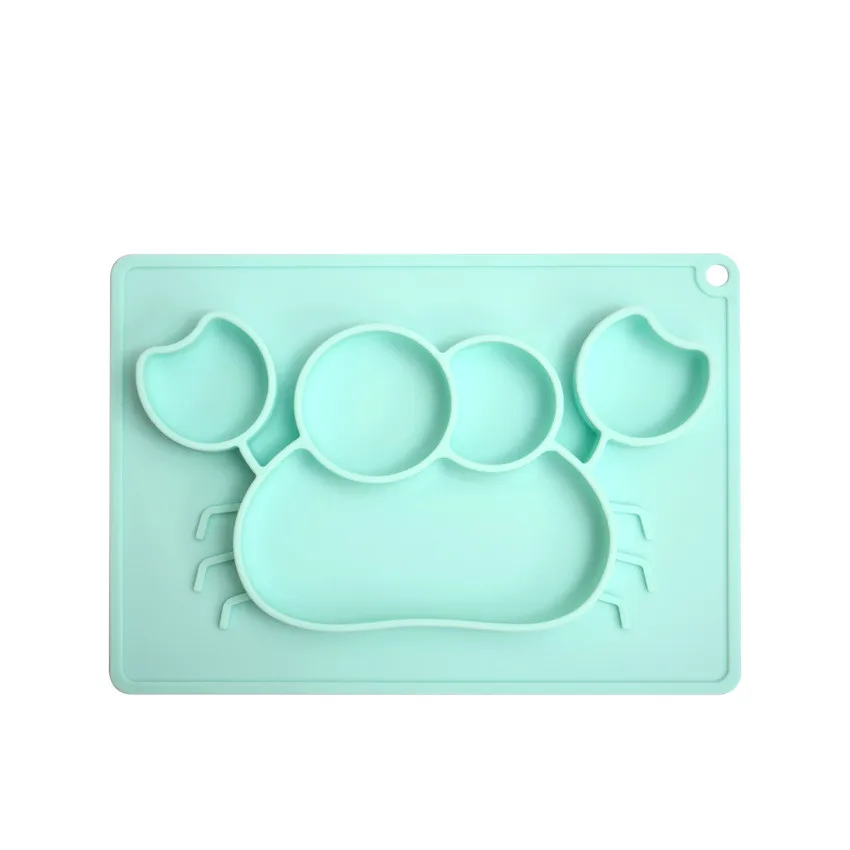
- Favorite Suction Bowls
- Top High Chairs
I’d love to hear your thoughts on baby feeders in general or on these specific products, so please comment below to share!
This post was first published May 2019.
5 Popular Baby Food Feeder Options to Keep Baby Safe and Less Messy
Looking for a baby food feeder? Read on to discover the advantages of a baby food bottle feeder, mesh baby food feeder, silicone baby food feeder, reusable squeeze pouch baby food feeder, and a baby spoon feeder. These can help your child learn how to start to transition from baby feeders to more soft foods and someday solid foods as they get older.
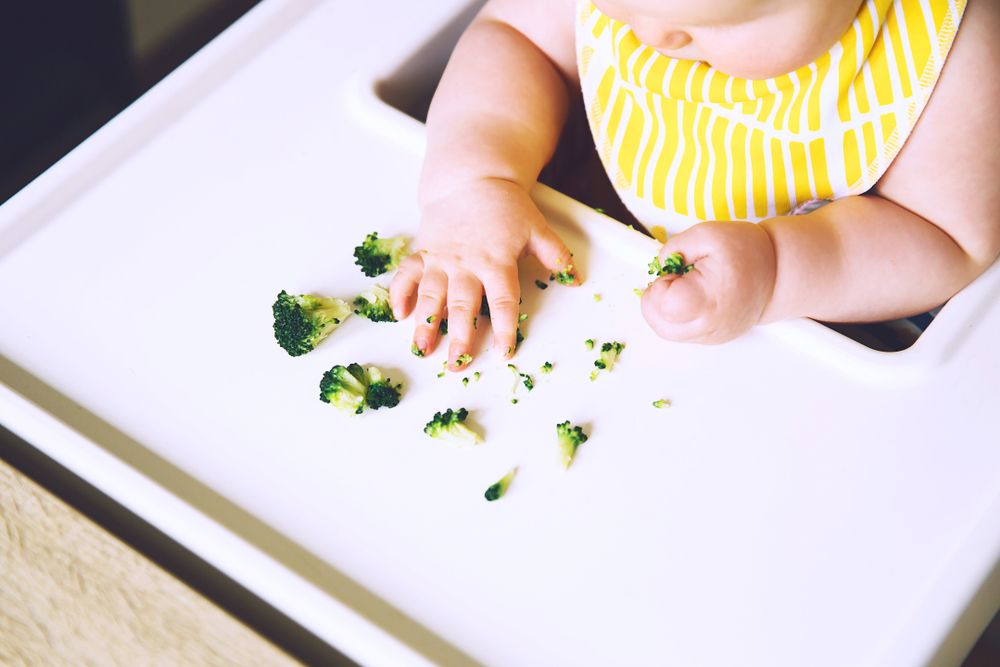
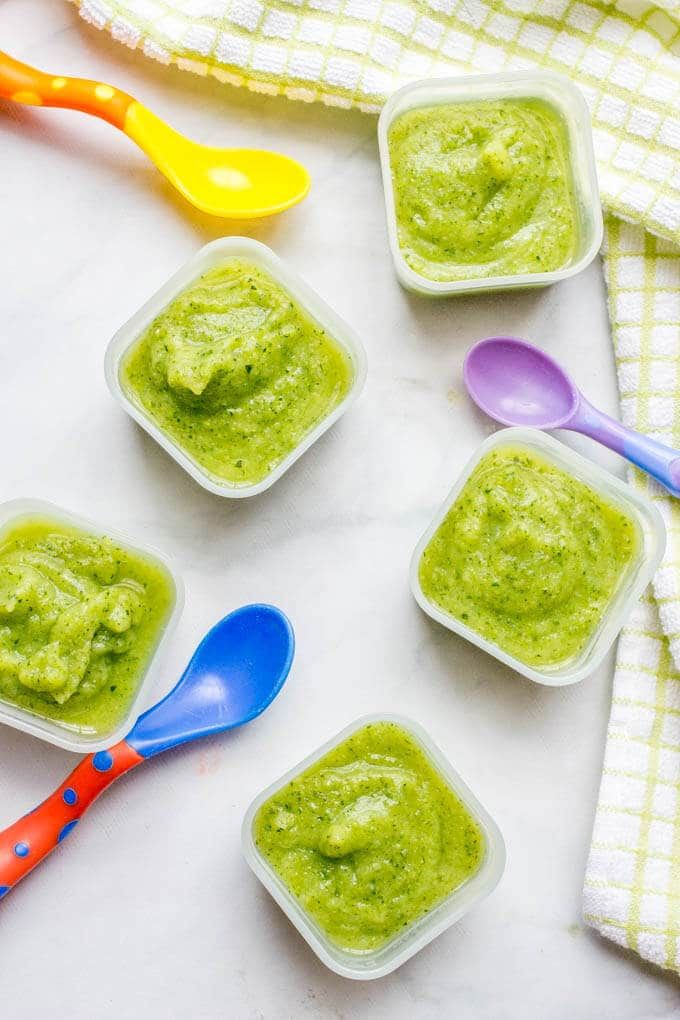
I love my kids when are babies, but I don’t always love taking the time to sit there and feed them baby food from a jar (and I certainly don’t love taking the time to make my own baby food purees). I’m all about that baby-led weaning and finger foods! I am a busy mom with other kids and work and school so easy is my approach to introducing baby foods.
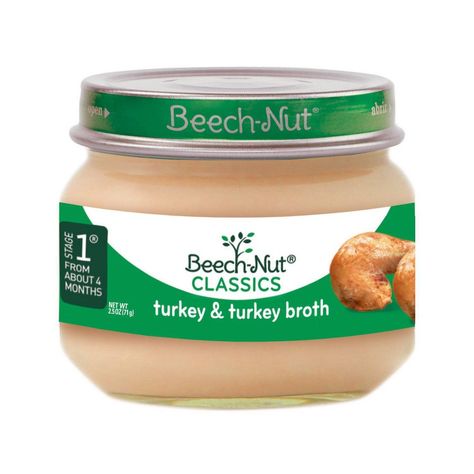
I wait until at least 6 months before introducing any type of baby food. I usually buy some rice cereal and mix it with a little formula or pumped breastmilk (if I have any pumped) and give it a go. I may then try spoon-feeding some simple, single-flavor jarred baby food to my infant.
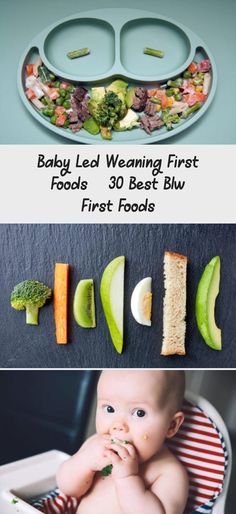
Once they get more a hang of the idea of food, and can move food around in their mouth and swallow better, I start giving the baby small, soft bits of whatever we are eating at the table, along with baby-friendly puffed cereals, freeze-dried yogurt bites, and more pureed baby foods perhaps from a baby food feeding pouch.
The biggest fear I have every time I start feeding babies is the fear of them choking.
This is one of my greatest fears, not just at the dinner table, but as they crawl around and find all the tiniest bits of whatever all over the floor and stick it in their mouths! I have pulled so many pieces of paper, leaves, grass, and toys out of my fifth baby’s mouth. It’s nerve-wracking!
And that’s why I love the idea of a safe baby food feeder.
Why it works for easy feeding
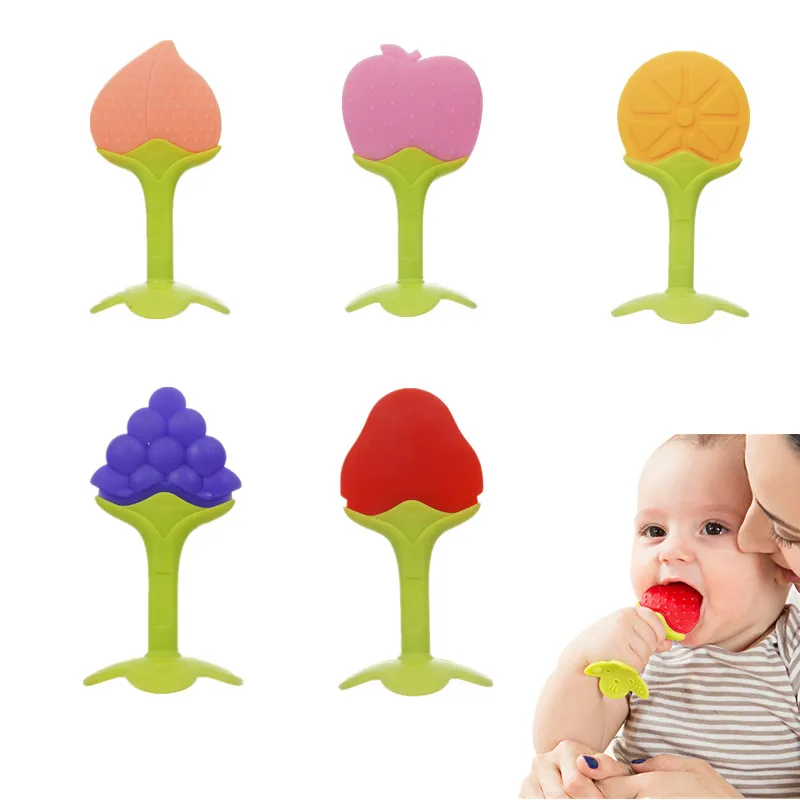
Using useful tools like a mesh baby feeder is perfect for helping your child transition to soft foods and solid foods. It’s also an easy way to help your baby’s gums transition to eating a small size of food as well. Baby fruit feeders are great because they are made of safe materials with tiny holes that allow your child to hold onto the food-grade silicone handle and start to figure out the best way to eat.
This is a great way to introduce small amounts of food to a teething baby or to introduce them to new flavors of food in a fun way.
Keep in mind that a baby’s age and the baby’s diet needs to be kept in mind. Young babies shouldn’t be eating the same thing as an older baby so you still have to be very careful as well.
Use these for little hands.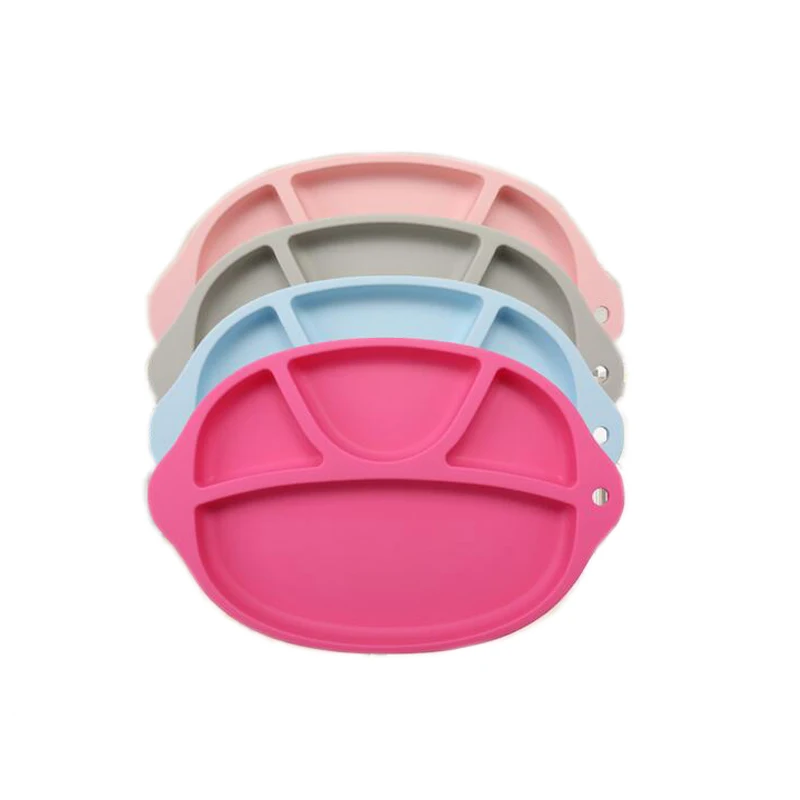 They also work great to work on hand-eye coordination as they’re putting them up to their mouths. I also love that they’re made for easy cleaning, too!
Baby Food Feeder
Using a baby food feeder is a new thing for me to try with my fifth baby, but I like it so much!
Not only does it make feeding babies safer but makes mealtime less messy! (See my post on limiting messy eating toddlers for tips for the slightly older crowd!)
I discovered that there are several very popular baby food feeder options out there today, so I wanted to discuss the various options and what makes them each great or not so great and where you can pick them up.
Munchkin Baby Food Feeder
To help facilitate this discussion, Munchkin sent me a few baby food feeders and a cool sippy cup cleaning brush set to review.
#1 Baby Spoon Feeder
This type of baby food feeder is where you dispense baby food through a baby food dispensing spoon.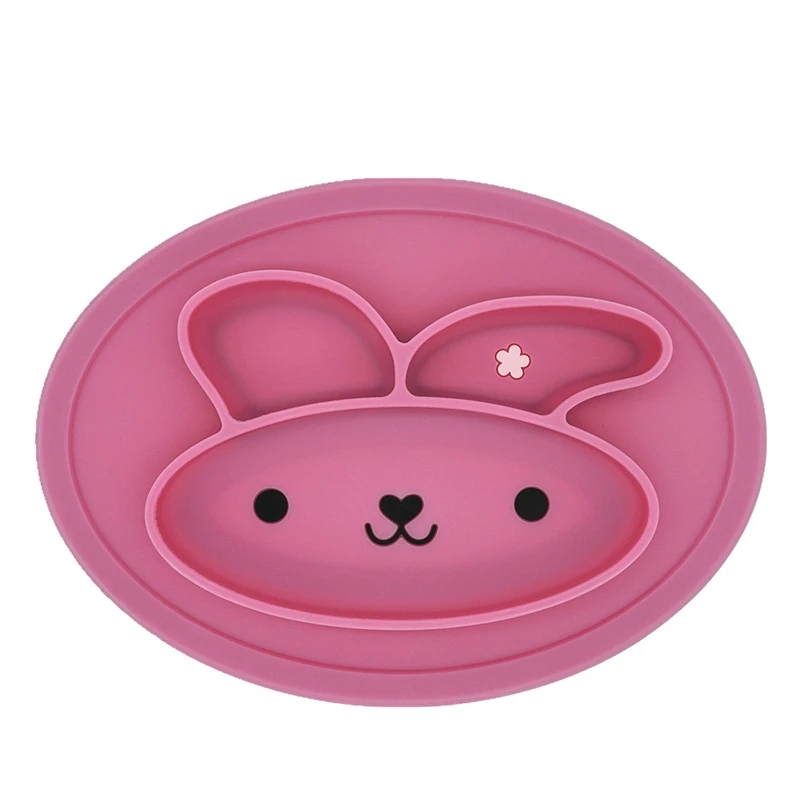 You simply fill up the soft silicone end with soft pureed foods or things like yogurt and then you squirt baby food out from the silicone part out onto the spoon!
I tried ours out with some Greek vanilla yogurt. While it still ending up being messy and it made all sorts of fun “farting” noises as I pushed out air along with the yogurt, which then kinda sprayed everywhere, it was pretty easy to use.
What I like about this versus a bowl or jar that you are spoon feeding your baby from, is there is less back and forth from the jar or bowl to the baby’s mouth. When babies are at the “swat at everything” stage, it means less chance of baby food ending up on the floor, or my lap.
So, still kinda messy but better!
It’s pretty easy to clean out, and you can take the squeeze feeding spoon on the go as it comes with a hard plastic cover you just snap on to the end of the spoon.
They come in colors blue, green, and pink and are $7 each on Munchkin.com. You can also find them on Amazon (though for more).
Munchkin Baby Mesh Feeder
I have seen many friends over the years who use and love these mesh baby food feeders (and even pediatric occupational therapists highly recommend mesh feeders)! They are especially handy as a baby teething feeder! You can put some frozen raspberries or other frozen fruit or even an ice cube in it and let your baby safely gnaw and gum it, cooling their poor aching teething gums!
The Munchkin fresh food feeder is perfect in that you can give your baby chopped up pieces of fresh fruits and vegetables without having to puree them to a pulp! The mesh prevents large pieces from coming through so they won’t chock on the fresh food! Yeah!
I put some cut grapes, pieces of chicken, and more in mine when I tested it out to give to my 8-month old baby. She loved gnawing on it!
Some of the best foods for a mesh feeder include:
- raw apples
- chunks of melons
- frozen blueberries
- pears
- peaches
- raw carrots
- nectarines
- chunks of meat
It is recommended to empty and wash out your mesh feeders shortly after use to make it easier to clean out and prevent any food going bad in there! I found it super easy to rinse out with a little dish soap at my sink. But some foods like bananas can be more difficult to clean out of it.
The Munchkin Fresh Food Feeder comes in pink/purple, green/blue, and yellow/green colors for $3 each on Munchkin.com. You can also opt for one of their Munchkin Deluxe Fresh Food Feeders that come with a convenient on-the-go cap with snap-tight closure for $4 each on Munchkin.com. Amazon has the 2-pack fresh food feeders that I received for $5.99.
Munchkin Silicone Baby Food Feeder
Similar to the above fresh baby food feeder, there is also a Munchkin silicone baby feeder too (but I didn’t receive this product to try out).
The silicone baby feeder is actually designed for babies ages 4+ months whereas the other ones are designed for babies 6+ months old.
The silicone baby food feeders are easier to clean, but smaller and actually designed for baby food purees rather than large fresh food, though some people still put large pieces of food in them (but it’s harder to fit them in these).
Munchkin silicone baby food feeders come in pink, green, and blue and includes an on-the-go cap for $4.50 on Munchkin.com.
Baby Food Bottle Feeder
I don’t use baby bottles hardly at all, so maybe that is why I had never heard of a baby food bottle feeder before!
There are some bottle manufacturers that offer alternative bottle tips that allow you to squeeze out baby food from inside the bottle to the base of a replacement bottle head – a food dispensing spoon!
With our baby twins we had used baby bottles that could swap out tips for sippy cup tips, and we used those silicone sippy cup nipples with moderate success (until they got teeth and stuck utensils, pencils, and other objects into the opening making anything but spill-proof). The baby food feeder bottle nipples also make sense!
It doesn’t appear like there are many bottle companies that actually make these anymore. Nuby used to make one called the Nuby Infa Infant Feeder and the Nurtur Care Infa Feeder but they are no longer available for purchase. I did find that Sassy offers a baby food nurser bottle (on BuyBuyBaby and Amazon).
The cool thing about this product is that it has a vacuum disc that keeps air out and moves cereal or baby food without clogging. Plus there is a handy travel cover so you can take baby food on the go much easier. The spoon is also like a soft nipple which is easier on those little mouths than a regular spoon.
Reusable Squeeze Pouch Baby Food Feeder
I recently got a reusable squeeze pouch baby food feeder from Noobie Box‘s Noobie Eat Box. I have always wanted one of these because I hate how wasteful and expensive all these baby food pouches out there! You can easily fill one of these up with apple sauce, your own fruit purees, or yogurt and save yourself a ton of money, time, and trash!
Squeeze pouches are super handy for feeding soft pureed foods to babies (and older kids too – let’s be honest!), especially on the go! No utensils required and when they get older can safely suck them down themselves without making any messes.
My baby at 8-months old cannot manage one of these on her own (she loves to squeeze them) but uses baby food squeeze pouches has helped her develop some sucking skills, skills that will come in handy when introducing sippy cups with straws.
If you are interested in picking up reusable squeeze pouches, there are many options on Amazon from brands like Squooshi, WeeSprout, Baby Brezza, Kiddzo, and others costing about $9.99-$19.99 for multiple reusable pouches.
Munchkin does not carry any baby food pouches, but they do have Click Lock Food Pouch Spoons! They work with most leading pouch brands. The spoons are twisted onto the ends of the pouches, allowing you to squeeze baby food from pouches onto a baby-friendly spoon. They’re designed for kids ages 4+ months. It’s pouch feeding without the mess (hopefully).
You can get a 2-pack of the Munchkin Click Lock Food Pouch Spoons for $4 on Munchkin.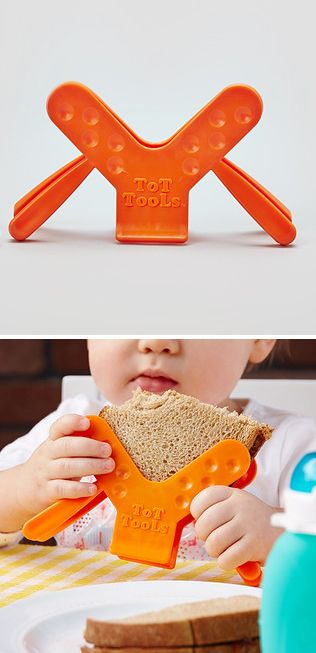 com.
com.
If you want to pick up several of these great Munchkin baby food feeders, remember that you get FREE Shipping on Munchkin.com Orders Over $25 + FREE Returns! Plus, you can also Sign up to receive an additional 10% OFF!
I’m so glad there are so many great and innovative baby brands making products to help me feed my baby safer and cleaner!
I’d love to know what you’ve thought about various baby food feeders you’ve used over the years, sharing your own reviews of which one(s) is your favorite.
Be sure to check out these other great posts:
- Thrifty Mom’s Guide to Essential Baby Feeding Supplies
- 15 Must-Have Baby Items
- How to Take Care of a Baby’s First Teeth
- How to Transition Baby from Bottle to Sippy Cup
- What Happens When You Grow Up to Be a Picky Eater Adult
Breastfeeding Products | products for breastfeeding |
There are many baby care products, accessories and clothes on the market.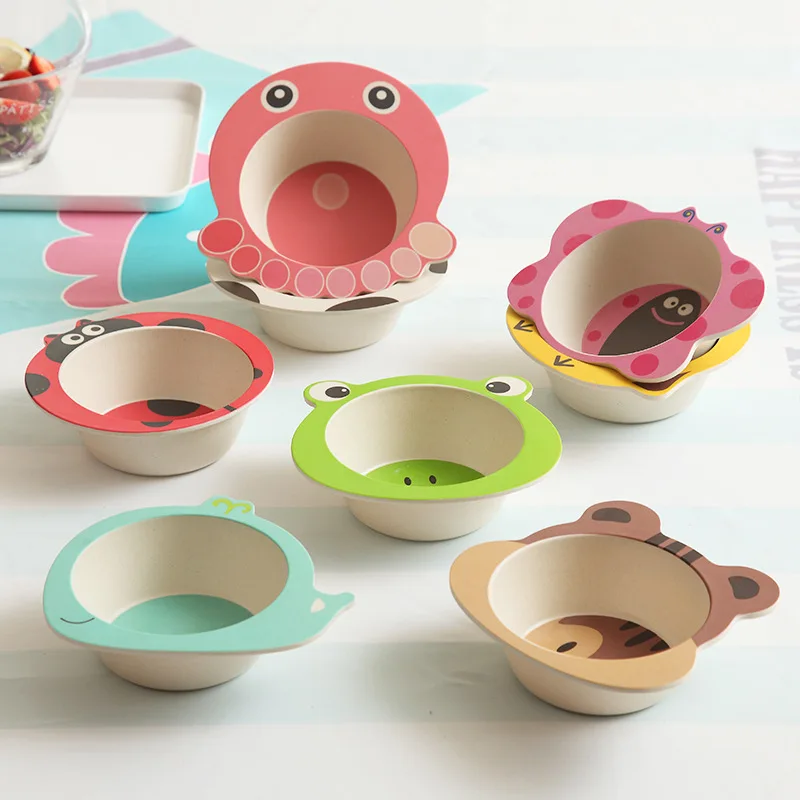 But which ones are really necessary for breastfeeding? More on this in our helpful list.
Share this information
If you are planning to breastfeed, the right kit will make it so much easier. However, it is not so easy to understand which accessories are really needed for this, and which ones can be dispensed with. To help you, we have divided the whole breastfeeding period into several stages, as your needs are likely to change over time. In addition, we asked breastfeeding moms for tips and tricks on the most useful nursing accessories.
Breastfeeding supplies for the early days
The first few days after your baby is born can be stressful, so it's best to prepare ahead of time. Here are some things you're sure to need, whether you're staying in the hospital for a few days or heading straight home:
- nursing bras, nursing night bras and nursing tops;
- nursing nightgowns or pajamas;
- breastfeeding pillow;
- disposable or reusable bra pads;
- diapers;
- nipple remedy for dry skin and cracks;
- shapers* for flat or inverted nipples;
- book on breastfeeding;
- contacts of a lactation consultant, supervising doctor or hotline.

If you are having trouble breastfeeding, your lactation consultant or healthcare provider may recommend the following accessories:
- Nursing pads* if your baby cannot latch on or your nipples are sore. Do not use nursing pads for a long time. If you have any problems or pain, contact your lactation consultant or your healthcare provider.
- Breast pump** to relieve symptoms of breast swelling and/or stimulate milk production.
- Some mums like to use the cooling hydrogel pads* which provide relief in the first days after delivery, especially when milk begins to flow.
Nursing Tips
“Pillows help a lot to support your back, legs and arms. I also need bra pads in case of milk leaks, a nursing bra and loose tops for quick access to the breasts (I converted regular quality bras into nursing bras that better support the breasts). And we also used a sling all the time,” advises Zaria, a mother of two from South Africa.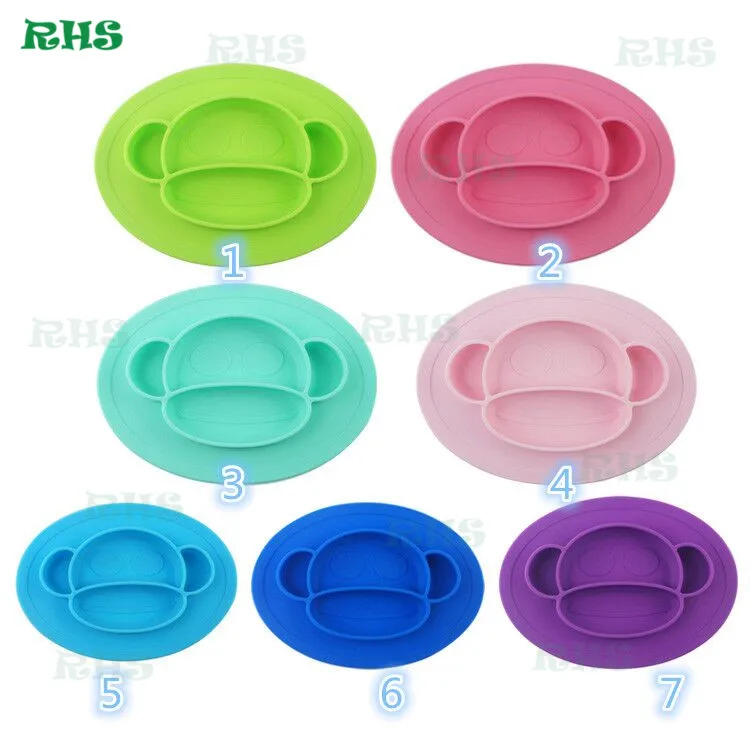
“Hydrogel pads were my number one product. They were given to me in the first days of breastfeeding, so I never had sore or cracked nipples. I highly recommend hydrogel pads and buy them for anyone who plans to breastfeed,” shares her experience Camilla, a mother from Australia.
“You absolutely need someone to bring you something to drink. I kept forgetting to prepare myself a glass of water before feeding!” says Meg, mother of two from France.
Thermos to drink hot while sitting in bed. Delicious food and light snacks. My mother-in-law cooked me amazing beef stew and delicious pancakes (I had to eat well!). A pillow to put the baby on because I didn't have the strength to hold it. A comfortable chair, a nightlight for feeding at night and a pillow to sit on (I had stitches - not a pleasant feeling!) ”advises Felicia, a mother of two from the UK.
“A caring spouse, girlfriend or grandmother to bring tea and anything else you might need while you sit and feed.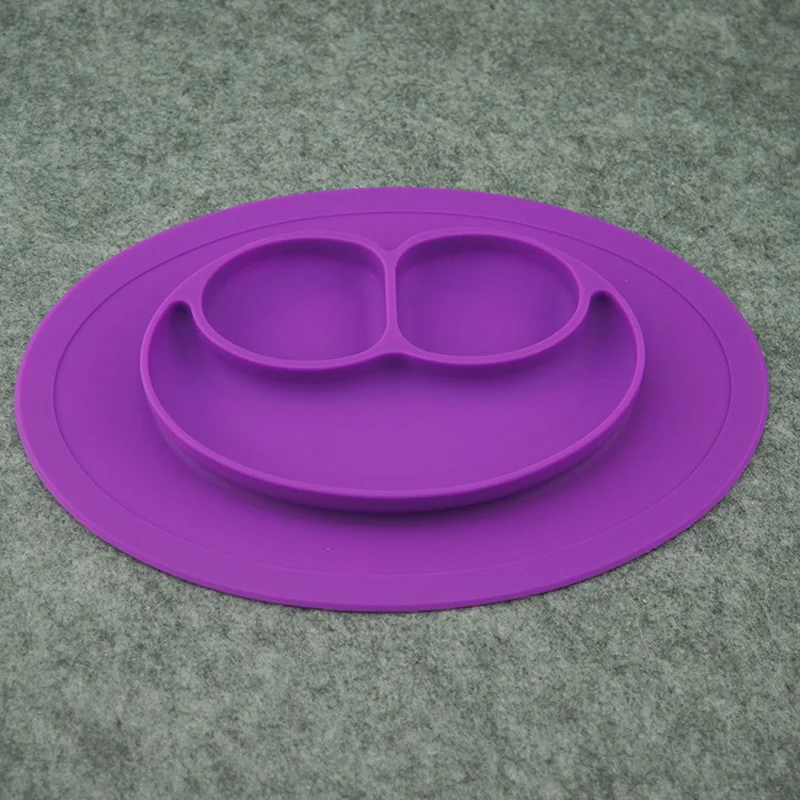 And also an e-book to read with one hand!” says Julie, a mom from Spain.
Initial Breastfeeding Supplies
You and your baby will likely get comfortable with breastfeeding in the first couple of weeks. Feeding will occur frequently and take a long time. Here are some tools that will make your life easier and make breastfeeding more comfortable as your milk production begins to stabilize:
- feeding chair;
- breastfeeding mobile application;
- disposable or reusable bra pads;
- breast milk collection pads*;
- Large stock of healthy snacks, drinks and ways to pass the time.
Sooner or later you will get bored with the comfort of home and want to start walking with your baby. For tips on breastfeeding outside the home, see our article on breastfeeding in public.
Tips for breastfeeding moms
“For me, the most useful things were breastfeeding bras, disposable bra pads and large diapers to wipe up leaking milk, cover the baby or cover the chest.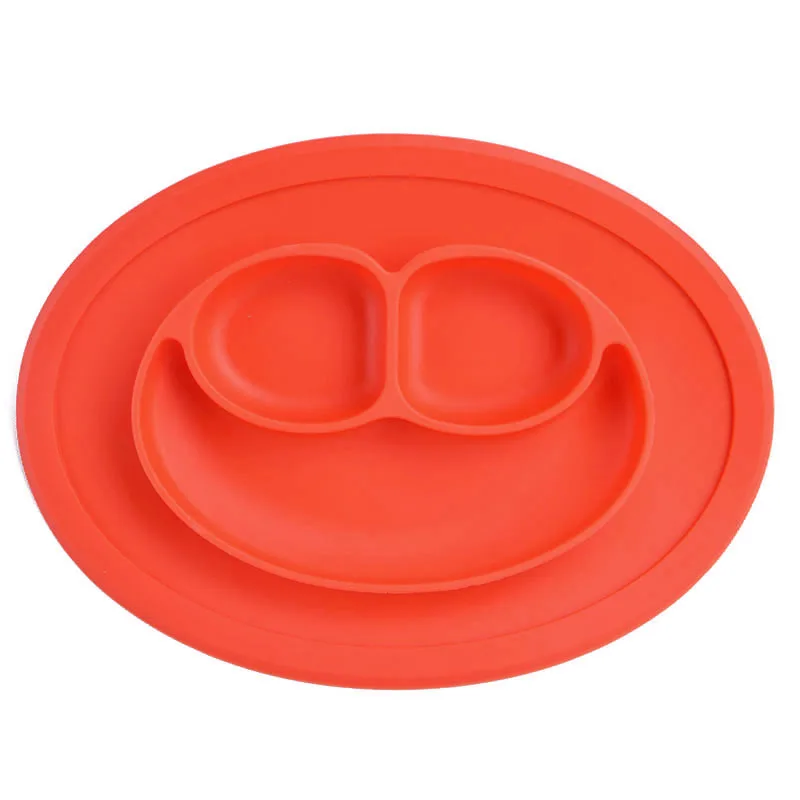 With cracked nipples, I saved myself with lanolin cream, and loose tops and cardigans made the feeding process easier, ”says Tatiana, mother of three children from Switzerland.
“I find the most useful accessory to be a good quality U-shaped breastfeeding pillow. I also had a rocking chair, in which, at a certain inclination, it was very convenient for me to feed the child. To relax, I always listened to music,” says Violeta, a mother from Romania.
“A sports water bottle that doesn't leak, even when open, so you can put it next to you on a sofa or bed. And also an application to track feedings and remind me which breast I fed last time, ”says Francesca, a mother from the UK.
“Breast milk collection pads that are placed inside a bra to collect leaking milk. I had an overabundance of milk, that was the only way I was saved, ”says Lisa-Maria, a mother of two from Switzerland.
“I really liked the D-ring feeding cover to cover my baby and not distract him when feeding outside the house.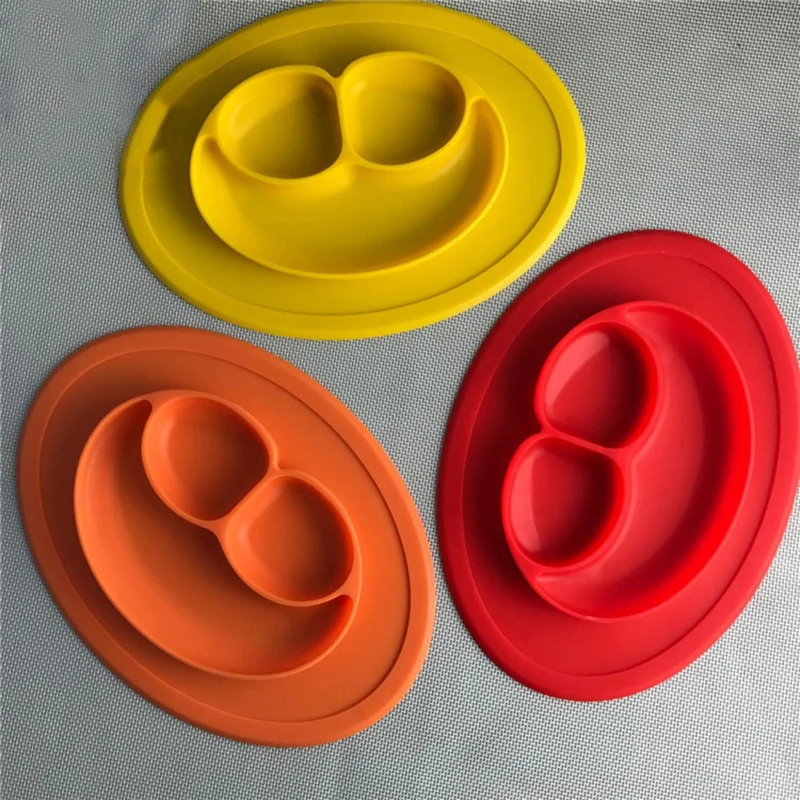 The slightly rocking chair turned out to be a great alternative to outrageously expensive rocking chairs. Reusable bra pads, in my opinion, perfectly absorb milk, and diapers, as it turns out, can be used in a thousand ways. I regret that I didn’t buy the Medela Easy Expression bustier, it would have been much easier to pump with it!” says Camilla, a mother from Australia.
Breastfeeding accessories for pumping
During breastfeeding, you may need a breast pump to express your milk. The right type of breast pump depends on the individual case and how much milk you want to get. If you plan to express milk regularly, you may also need:
- steam sterilizer, cold water sterilizer, or microwave sterilization bags;
- breast milk storage bags;
- bustier top for hands-free pumping;
- cool bag.
Advice for breastfeeding moms
“At first, when I thought my breasts were about to explode, I used the Medela Electronic Breast Pump** just to get rid of excess milk without overstimulating my breasts. He made my life a lot easier,” says Tatiana, a mother of three from Switzerland.
“I used a Medela Freestyle Dual Electronic Breastpump** to increase my milk supply and fixed it with an Easy Expression bustier to keep my hands free. It turned out to be a wonderful decision,” says Amy, a mother from the UK.
Read instructions before use. Consult a specialist about possible contraindications.
* RU No. FZ 2010/07352 dated 07/19/2010
** RU No. FZZ 2010/06525 dated 03/17/2021
Cocoon for newborns, instructions for use.
Parents have been talking about the benefits of orthopedic cocoons for newborns for a long time. Many people say that the cocoon helped their child to more easily endure colic, regurgitation, that the baby became easier to fall asleep and less capricious.
But having a cocoon alone is not enough to keep your child healthy and happy. It is very important to use the cocoon correctly and avoid mistakes. Otherwise, you and I risk being disappointed with such a useful acquisition.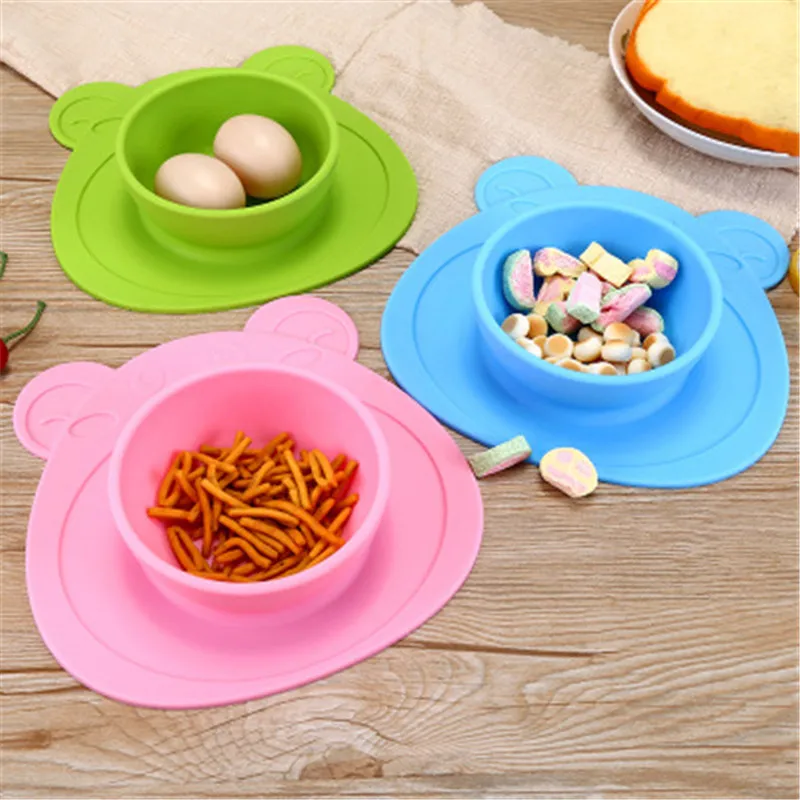
You will read a detailed description and instructions for the cocoon for newborns below.
Always pay attention to the package contents. It must be full! Especially check the presence of a roller under the legs. It is generally better not to use a cocoon without a roller. Why exactly - we will tell further.
In the meantime, let's figure out what is included in the baby cocoon kit “Yawning”:
- Basis. Definitely one-piece, without gluing.
- Waterproof cover. At “Yawning” it is put on over the base, to remove it - unzip the hidden zipper around the perimeter of the cocoon.
- 2 rollers for different baby weights. One of them must be placed under the child's legs (how to use them - below).
- 2 covers: light knit and warm.
- Retaining belt.
- Cocoon transport bag.
Using
So, the first task is to choose the right size roller.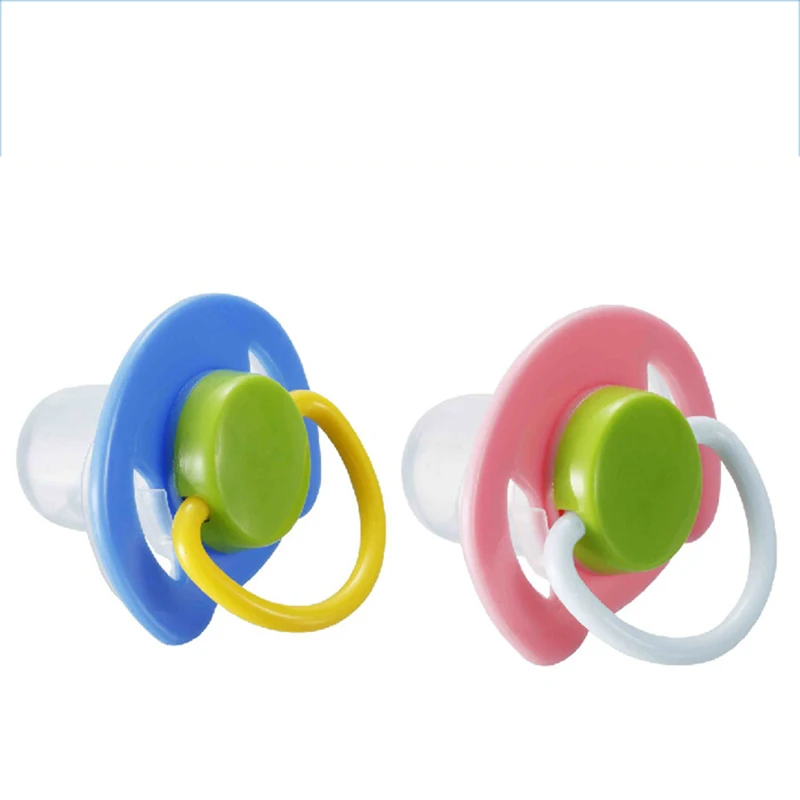 To do this, you need to determine the weight of the child. For babies weighing less than 3.7 kg. a small roller is used. Weighing more than 3.7 kg. - big.
To properly attach the roller to the cocoon, proceed as follows:
- remove the knitted cover from the cocoon;
- put the child in the cocoon so that the distance from the upper border of the cocoon to his head is exactly 5 cm;
- adjust the roller so that it is exactly where the baby's butt ends, in the crease below the knee;
- fasten the roller with Velcro on the sides;
- take the baby out of the cocoon and put a knitted cover on the cocoon;
- attach the belt to the cocoon at the level of the baby's tummy;
- put the baby in the cocoon and check again that he is lying correctly: head 5 cm from the edge of the cocoon, the belt is exactly on the baby's tummy, the roller is in the fold under the knees. It is this position that provides maximum comfort for the baby and allows you to get all the benefits of the cocoon.
Now let's discuss how to lie in a cocoon for a newborn
- In a cocoon, the baby should always lie only on his back, do not put the child in a cocoon on his stomach or on his side.
- The baby's head should be in the narrow part of the cocoon, and the legs should be in the wide part. If you place the child on the contrary, then the baby's head will be in the recess for the legs, and this is a very low position for the head.
- In practice, the “Yawning” cocoon turns out to be so cozy for many babies that they can stay in it for a long time: sleep all night and play during the day. However, remember that your child needs you and he still wants to hold hands, take air baths, do exercises and play with his mother.
In this position, your baby will be able to relax and fall asleep faster. After all, when a child is comfortable and nothing bothers him, he feels protected, in comfort and coziness. Sleeps better and worries less during sleep.
Many mothers say that when the child is properly placed in a cocoon for newborns, he can more easily tolerate colic, gas and regurgitation pass faster.
Well, you will have enough time for yourself and household chores, and your night's sleep will be deeper. Therefore, both you and dad will get better sleep.
In addition to the question of the correct use of the cocoon for newborns, it is also worth discussing common mistakes in its use. And also to warn you how dangerous they are. Most of them seem insignificant, but in fact they greatly affect the development of the child.
- The child lies in a cocoon on his stomach. The cocoon has a dense but elastic base with a recess. Even if your baby already knows how to raise his head, he will not be able to push off from the cocoon and risk suffocating. Therefore, putting a child in a cocoon on the stomach is life-threatening.
- The child lies in a cocoon on its side.
 All because of the same recess, which is perfect for sleeping on the back, sleeping in a cocoon on the side becomes dangerous, the child lies in an uneven, skewed position. This has a very bad effect on the development of his skeleton and in the future may lead to various deviations.
 - The cocoon is used without a belt. If your child already knows how to roll over on his tummy on his own, he must be restrained with a belt. Otherwise, he risks lying on his stomach and losing the ability to breathe.
- The child's head is too high. If the distance from the edge of the cocoon to the child's head is more than 5 cm, then the baby will instinctively remove his head from the side, constantly tilting it to the side. Thus, the child may develop torticollis and other abnormalities of the cervical spine.
- Use of cocoon without roller. A cocoon is needed so that the child lies in it in the same way as in the womb, i.e. in the fetal position. To do this, the cocoon has a special recess for the baby's buttocks and a cushion that raises the legs and forms the posture of the fetus.
 If you remove the roller, the child will simply roll into the recess and lie in the wrong position. Because of this, the cocoon itself becomes absolutely useless.
 - Wrong roller size selected. If the roller is too big for the child, his legs are lifted up too high, and the baby becomes uncomfortable. And if too small a cushion is chosen, then again the posture of the embryo is not reached, and it will also be uncomfortable to lie in the cocoon.
- Swaddling baby too tight. In a cocoon, it is permissible for a baby to swaddle only hands. If you also swaddle your legs tightly, then the child will not be able to bend them over the roller. And the legs will stick up. This position is unfavorable for blood circulation.
- The child is dressed too warmly. In a cocoon, the baby is already warm and comfortable, so you should not dress him in warm clothes. This can cause hyperthermia and increased sweating. Instead, we recommend that you throw a light blanket on top or purchase a special blanket or plaid in our store.
- Cocoon stands in a wheelchair or on any other moving surface. It's best not to do this simply for security reasons. The cocoon can fly off and roll over, and you will not have time to react and catch the child in time.
- The cocoon is in a crib with low sides. This is also unsafe for the baby, especially if he already knows how to roll over and is actively moving. So the baby will fall out of the crib. It is better to adjust the bottom of the bed so that its sides are 20 cm higher than the sides of the cocoon.
- Feeding a baby in a cocoon. You can bottle feed your baby in a cocoon or put him in a cocoon after breastfeeding. But you can't breastfeed in a cocoon! This method is not safe for the baby, he may choke or have difficulty digesting later.
Cocoon Care Features
Cocoon care for newborns is very simple.
- You can remove and wash absolutely all chelas (including waterproof ones) in a washing machine, on a delicate or hand wash at a temperature of no more than 30 ° C without spinning.
- However, we are often asked how to wash a cocoon for newborns. So, you can't wash the cocoon and rollers at all. Products have a porous structure, because of which it will be very difficult to dry them, and if you try to wring them out, you risk completely ruining or tearing them. Therefore, the cocoon has a waterproof cover that will protect it from pollution.
- If you still want to clean the cocoon or roller, wipe them with a damp cloth and soapy water and dry. It is also not worth taking the cocoon to dry cleaning.
- Also, the cocoon does not need to be kept in a humid room or allowed to be regularly exposed to water, even if it is wearing a waterproof cover.
- In addition, do not place the cocoon on incandescent and hot surfaces, including radiators and heaters. Under the influence of heat, the polyurethane foam from which the cocoon is made will return to its initial state (liquid).
What can be done with the cocoon?
- The cocoon is very convenient to use both in a separate crib and in a parent's bed.