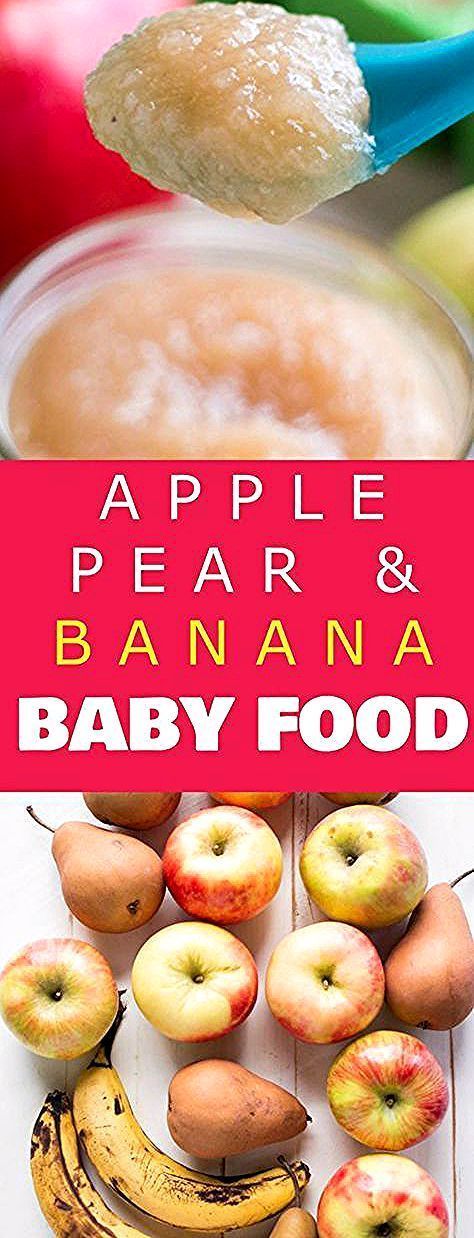
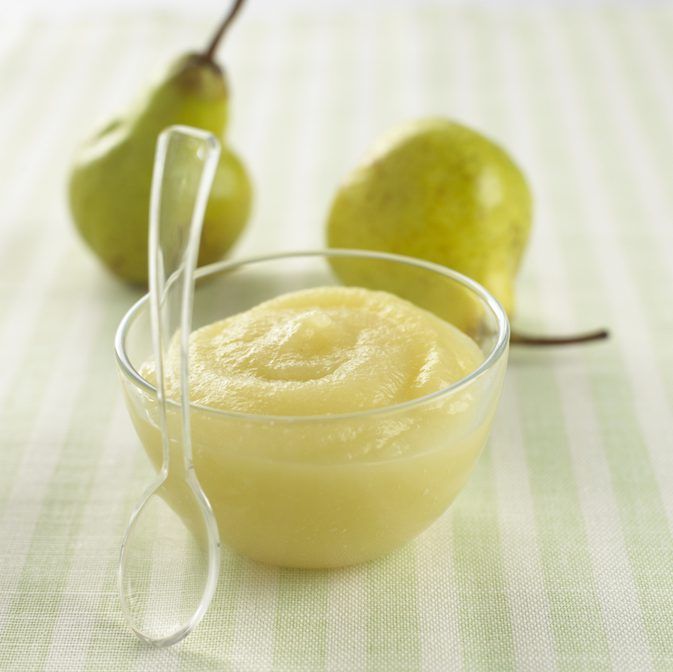
How to make pear puree baby food
Pear Baby Puree (4+ Months - Stage One)
This Pear Baby Puree is so creamy and delicious that you will want to eat it as well! A healthy and homemade puree filled with wholesome pears, this recipe is a wonderful first puree for your baby. It’s a great Stage One Baby Food for 4-6+ month olds.
Medically reviewed and co-written by Jamie Johnson, Registered Dietitian Nutritionist (RDN), and Lauren Braaten, Pediatric Occupational Therapist (OT).
Pear Baby Food PureeLevel up the yumminess of your baby’s purees with pears! 👊
This is a simple recipe filled with simmered pears paired with a pinch of warming spices. It delivers an irresistible, delicious combo that easily hits the one-for-one status — one bite for your baby 👶, one bite for you 👩!
Is it your first time making homemade baby food? Then I suggest you start this journey by reading my in-depth Guide on how to Make Homemade Baby Food. The detailed guide goes over all the important information such as the best cooking tools to have on hand, safe storage, how to know when baby is ready for solids, how to introduce purees, the best first foods for baby, and more! You can also check out my best-selling cookbook for even more information and recipes!
Pear Baby Food Video
Watch this video to see how easy this Pear Puree is to make!
Reasons to Love this Pear Baby Puree- great baby food for 4-6+ months
- 1-ingredient recipe
- super smooth and creamy
- delicious
- great for digestion
- simple and easy to make — less than 20 minutes
- freezer-friendly
- budget-friendly
- homemade
- healthy
- organic – you can use organic pears in this recipe
- Good source of immune-boosting vitamin C
- Great source of fiber that helps with digestion and improves constipation
- Protects your baby’s heart by providing antioxidants, vitamins, and fiber
- Provides vitamin K to help strengthen bones
Make sure to read the recipe card below for full ingredients and instructions!
- Pears: Pears are inexpensive fruits that you can easily find at almost any grocery store year-round.
 You can use any pear variety you prefer for this recipe. Since organic pears are just a fraction more than conventional ones, I recommend going with an organic variety as they have more polyphenols and antioxidants, but that is completely up to you.
 - Warming Spice: We are kicking up the flavor profile of the pears by pairing them with a warming spice such as cinnamon, nutmeg, cloves, or cardamom. To be clear, you don’t add them all; just pick one and add a pinch. Trust me, they all taste amazing with pears, and I will not be surprised at all if I find you in your kitchen eating a bowl of this puree. 😉 But you can always skip adding the spices to your baby food if you prefer (see more below).
Type of Pears to Use: While my favorite pear to use for this recipe is Bartlett pear, you can use any type of pear you prefer — whether it’s Bosc Pear, Taylor’s Gold Pear, Anjou Pear, Asian Pear, or Comice.
Step-by-Step Instructions- Prep: Peel and roughly chop the pears.
- Mix: Place the pear chunks, spices (if preferred), and water into a medium saucepan.
- Cook: Cover and heat for 10-15 minutes or until tender.
- Blend: Let it cool slightly and then transfer to a blender and puree until smooth.
- Eat: Serve or freeze for another meal.
While I love the crisp and slightly sweet flavor of simmered pears, there are several ways you can cook pears for baby food.
SteamingPeel and roughly chop 6 pears. Place the cubes into a steamer basket over 2 inches of boiling water for 8-10 minutes or until tender when pricked with a fork. Puree in a blender as directed below.
RoastedCut 6 pears in half. Place them into a medium roasting tray with the cut side down. Add enough water to cover the very bottom of the tray. Cook at 400 degrees F for 30-40 minutes or until tender when pricked with a fork.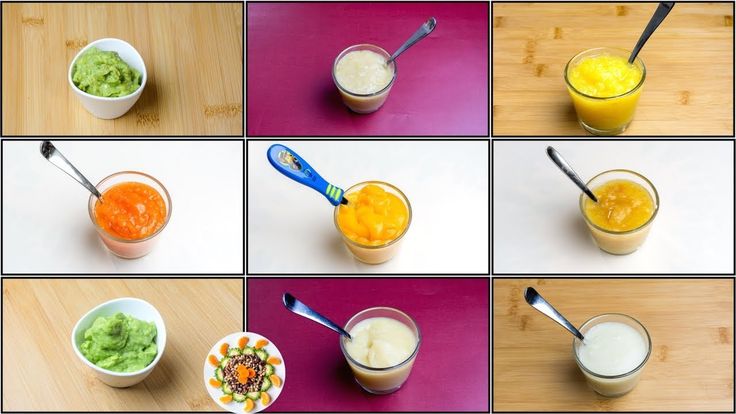 Puree in a blender as directed below.
Frequently Asked Questions
When can baby eat pears?
Babies can have pears as one of their first foods. When a baby can start on solids is determined by their own rate of development, which generally comes between 4-6 months of age. Some of the developmental milestones babies need to reach in order to start solids include: if your baby has solid control of their head and neck, if your baby has doubled in weight, and if your baby is reaching for or opening their mouth when you eat (see my guide here). Before you start your baby on purees, you should consult with your pediatrician to make sure your child is developmentally ready.
Can pears be baby’s first food?
Pears can 100% be your baby’s first food if you want it to be. It is recommended to wait to introduce the top eight allergen foods to your baby once a few other well-tolerated foods have been introduced, but otherwise, foods can be introduced in any order so choose whatever you are most excited for your baby to have.
Are pears a common allergen for baby?
No, pears are not a common allergen, however, as with any food, start with a small portion and be aware of any signs that might be an allergic reaction after introducing it.
Do pears cause constipation for babies?
Pears are not known to cause constipation in babies, but are actually one of the “P” fruits known to help alleviate constipation.
Tools NeededThese tools will make it a lot easier for you to make this healthy Green Bean Puree. For more of my favorite kitchen tools make sure to check out my shop.
- Steamer insert with lid
- Blender or Food Processor
- Freezer Tray
- Storage Containers for Fridge
- Stasher Bag
- Bib with catch pocket
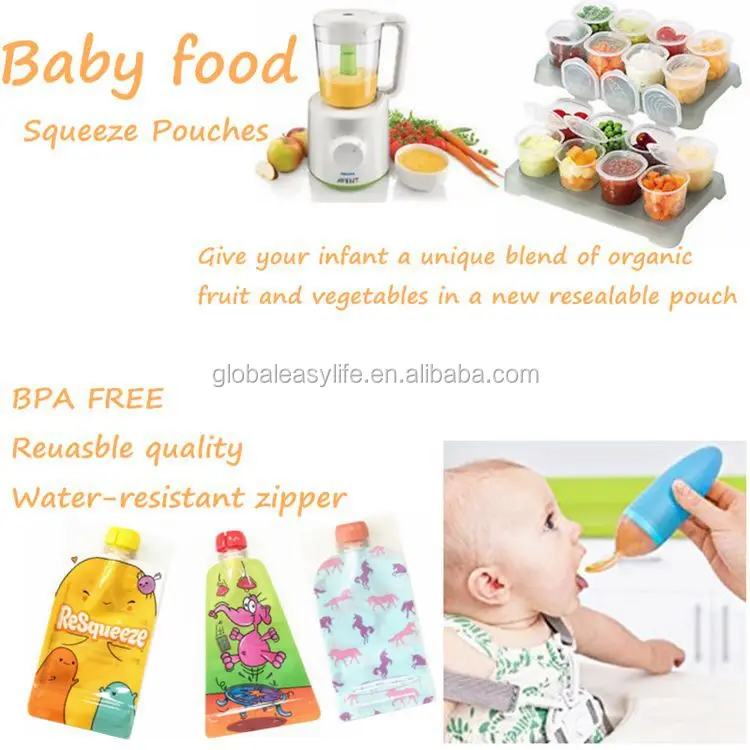
- Reusable pouches
While the most popular option is adding cinnamon to pear baby food, you can also add in cloves, nutmeg, cardamom, fresh mint, fresh basil, freshly grated ginger, or even allspice (see quantity recommendations in the recipe card).
Tip on Spices: I always add spices or herbs to my baby food purees, but you can choose to leave them out in all of your baby food. You do you! Either way, this puree will surely taste amazing.
How to Store Pear PureeRefridgeratorYou can store this puree in an airtight container in the fridge for 3-4 days.
FreezerThis puree can be frozen for up to 4 months.
- Spoon puree into a freezer storage container. Do not overfill.
- Place the lid on the storage container or cover it with a piece of saran wrap, and label it with the date and recipe name.
- Place the tray into the freezer and let it freeze completely — preferably overnight.
- Pop-out the baby food cubes and place them in a ziplock baggie or stasher bag. Don’t forget to relabel the baggie or stager bag for future reference.
Need more information on how to store your baby foods? Head over to my Best Baby Food Storage Containers – Plus 6 Tips on Freezing and Thawing post!
Label Tip: Don’t forget to label your purees before you place them in the fridge or freezer with the name of the puree and the date you made it.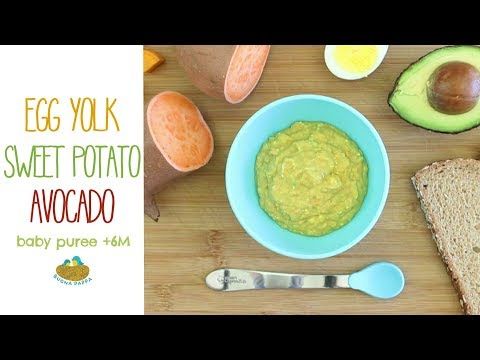 Take it from me; by the end of the week, you will completely forget what is in your freezer and how long it’s been there… because you know… mommy brain. 😉
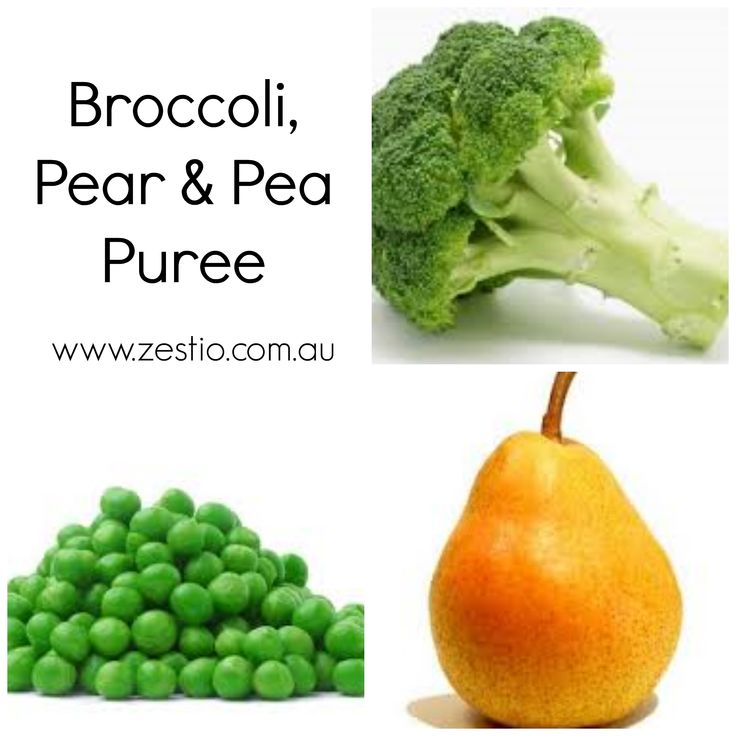
While this pear puree is flavorsome and great by itself, it’s also super easy to mix and match with other nutrient-dense baby food purees. So give these fun Stage 2 flavor combos a try!
- Apples
- Apricots
- Blueberry
- Bananas
- Quinoa Baby Cereal
- Prunes
- Kiwi
- Sweet Potato
- Soft Tofu
- Oats
- Pumpkin
- Mango
- Strawberry
- Yogurt
PUREE FEEDING TIPS
- Try adding a little seasoning or spice to purees – babies like flavor! Or consider changing the temperature of purees from time to time, to slightly warmed or slightly chilled. Varying these aspects adds to the sensory experience!
- Place a small amount of puree on the tray during spoon-feeding, so that your baby can dip their fingers or hands in the puree.
 Allowing your baby to explore foods in this way helps them learn to self-feed and can help them be more willing to try new textures and foods in the future.
 - Purees are great to keep in your baby’s regular rotation of foods – but if you start feeding with traditional weaning using purees, make sure to progress beyond eating ONLY purees. Once your baby can safely and comfortably swallow purees (usually by 7 or 8 months) it’s time to introduce other textures, such as teething biscuits and soft-cooked finger foods. Moving onto additional textures in a timely manner may help prevent feeding difficulties at a later age.
Or watch a shortened version of this video here.
- 6 pears
- 1/8 tsp cardamom or other spice (see notes)
- 1/4 cup water
Prep: peel and roughly chop the pears.
Combine: place the pear chunks, spices (if using) and water into a medium saucepan, cover.
Cook: heat on medium-low heat for 10-15 minutes or until tender when pricked with a fork
Transfer: let cool slightly. Using a slotted spoon, scoop the pears out of the saucepan, leaving the excess water behind, and place in a blender or food processor.
Blend: turn on the machine and blend for 1-2 minutes until you have your desired consistency. If your pear puree is too thick, add the leftover cooking water in 1/4 cup increments.
Eat: serve to baby or freeze for another meal.
Age: 4-6 months and up
Yield: roughly 20 ounces
Additional Spices: You can also use 1/4 tsp cinnamon, 1/8 tsp nutmeg, 1/8 tsp cloves, 1/8 tsp cardamom, 1/8 tsp allspice, 1/4 teaspoon freshly minced ginger, or a pinch of freshly chopped basil or mint.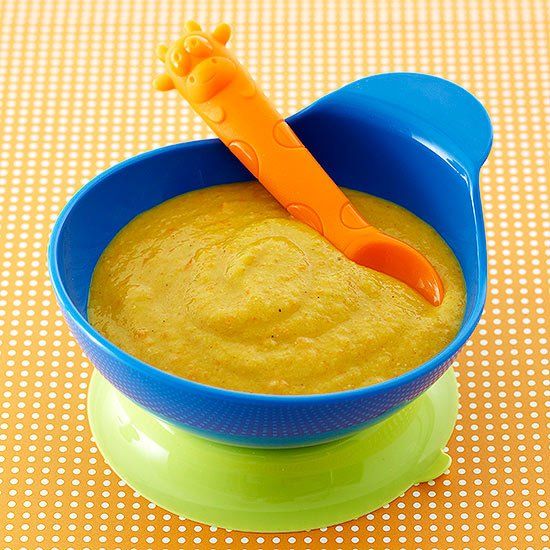
Note on Pears: while my favorite pear to use for this recipe are Bartlett pears, you can use any type of pear you prefer – Bosc Pear, Taylor’s Gold Pear, Anjous Pear, Asian Pear or Comice.
Storage: Fridge – store in an airtight container in the fridge for up to 4 days. Freezer – can be frozen for up to 4 months.
Blender
Tripp Trapp High Chair
Freezer Tray
Silicone Baby Bibs
Did you make this recipe?
Tag @babyfoode on Instagram and hashtag it #babyfoode!
Pin Recipe Email a Friend
NEW TO MAKING PUREES? THEN CHECK OF MY GUIDE ON WHICH KITCHEN TOOLS YOU ACTUALLY ARE GOING TO NEED TO MAKE THE CREAMIEST AND SMOOTHEST BABY PUREES. HINT, IT’S NOT MANY!Easy Pear Puree (Plus Flavor Combos and Freezing Tips)
Learn how to make the EASIEST Pear Puree for your baby or toddler with a super simple method and the best flavor. Plus easy flavor combinations and freezing tips!
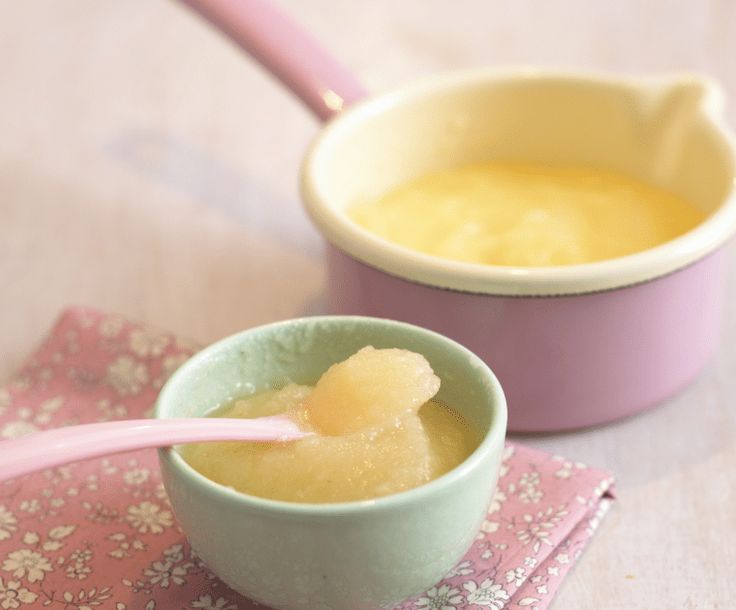
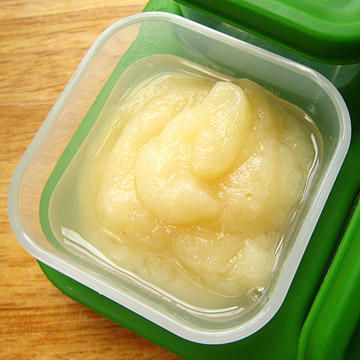
Pear Puree
I love making simple baby foods with basic kitchen tools I already have and fresh produce. This puree recipe is so easy and so delicious that every time I made it for my third kiddo, his older sisters wanted some too! It’s delicious when pears are at their peak in North America in late summer and in fall, though you can make it any time of the year with ripe pears.
Is Pear Puree good for babies?
Pear Puree is a simple baby food that has fresh flavor, as well as fiber that can be helpful for little digestive systems. It’s a healthy early food that babies and toddlers can continue to enjoy as they grow. You can serve it with a spoon or in a reusable pouch like a Squeasy Gear.
Ingredients You Need
To make this simple recipe, all you need is pears. This is best when the pears are just ripe and give a little to the touch and are fragrant. I like using Bartlett pears best, though any kind will work. You may want to peel them first if using a pear with a thicker skin such as Bosc to ensure a smooth final texture.
Step-by-Step Instructions
Here’s a look at the simple process involved in making this recipe. Scroll down to the bottom of the post for the full information.
- Dice the pears, leaving the skin on and discarding the core.
- Add to a pot with water.
- Cook until soft.
- Blend until smooth.
TIP: You can make this puree thinner or thicker, depending on the age of your baby and the amount of water you add. You could even leave it a little chunkier to make a Stage 2 baby food if desired.
How do you steam pears for babies?
To make this recipe with a steamer, simply place the diced pears into a steamer basket fitted inside of a medium pot filled with 2 inches of water. Bring water to a simmer over medium heat, cover, and cook for the same amount of time. Use some of the cooking water to help blend the pears.
How to Store Pear Puree
You can store the final puree in small airtight containers in the fridge or freeze into small portions to have later. The batch is a nice size so you can have a few portions for this week and a few to freeze for a future week if you’d like. (But not so much that you’ll never use it all!)
Why did my Pear Puree turn brown?
Pears are one of the fruits that oxidize when the skin is broken and oxygen meets the surface of the flesh. This can cause them to turn brown. But in making this puree, I leave the skins on, which helps blend the final puree into a light and pale color. If you’re at all worried about the color if your puree, you can add a teaspoon of fresh lemon juice.
Can you freeze Pear Puree?
It’s so easy to freeze Pear Puree that I almost always freeze some of each batch that I make for future easy meal components. I like to spoon some of the puree into a silicone ice cube tray, freeze, then transfer the cubes to zip top freezer bags for longer term storage. Find all of my baby food storage tips here.
Tips for Making the Best Pear Puree
- To store in the fridge: Let cool and portion out into small airtight containers and refrigerate for up to 5 days.
- To freeze: Portion into a silicone ice cube tray and freeze overnight. Transfer to a zip top freezer bag and freeze for up to 6 months. Thaw in the fridge.
- Any kind of pear will work, though ripe pears that give just slightly to the touch is best.
- If you use brown Bosc pears, peel them before cooking as the skin tends to be tougher and may not blend totally smooth.
- Add a pinch of cinnamon or ground ginger for additional flavor.
- Add 1 teaspoon unsalted butter for richness and fat.
- I haven’t had my Pear Puree turn brown, but if you’re at all worried, you can add 1 teaspoon fresh lemon juice.
- Blend with Peanut Butter Puree, Sweet Potato Puree, Bean Puree, Avocado Puree, Banana Puree, or any other homemade baby food you like for additional combinations.
I’d love to hear your feedback on this recipe if you try it for your family, so please comment below. I love hearing how things go in your kitchens so thank you in advance!
Prep Time 5 minutes
Cook Time 12 minutes
Total Time 17 minutes
Author Amy Palanjian
Cuisine American
Course Baby Food
Calories 61kcal
Servings 6
- ▢ 4 cups diced ripe pears
Bring 1 cup water to a boil in a medium pot. Add the pears and reduce heat to medium-low. Cover and cook for about 15 minutes, or until the pears are very soft when poked with a knife.
Use a slotted spoon to transfer pears to a blender. Add ½ cup of the cooking water to the blender and blend, starting on low and working up to high, until very smooth. If the puree is thicker than desired, add a bit more water.
Let cool and serve or store for future meals.
Vitamix Blender
Silicone Ice Cube Tray
Reusable Pouch
- To store in the fridge: Let cool and portion out into small airtight containers and refrigerate for up to 5 days.
- To freeze: Portion into a silicone ice cube tray and freeze overnight. Transfer to a zip top freezer bag and freeze for up to 6 months. Thaw in the fridge.
- Any kind of pear will work, though ripe pears that give just slightly to the touch is best.
- If you use brown Bosc pears, peel them before cooking as the skin tends to be tougher and may not blend totally smooth.
- Add a pinch of cinnamon or ground ginger for additional flavor.
- Add 1 teaspoon unsalted butter for richness and fat.
- I haven't had my Pear Puree turn brown, but if you're at all worried, you can add 1 teaspoon fresh lemon juice.
- To make this recipe with a steamer, simply place the diced pears into a steamer basket fitted inside of a medium pot filled with 2 inches of water. Bring water to a simmer over medium heat, cover, and cook for the same amount of time. Use some of the cooking water to help blend the pears.
Blend with Peanut Butter Puree, Sweet Potato Puree, Bean Puree, Avocado Puree, Banana Puree, or any other homemade baby food you like for additional combinations.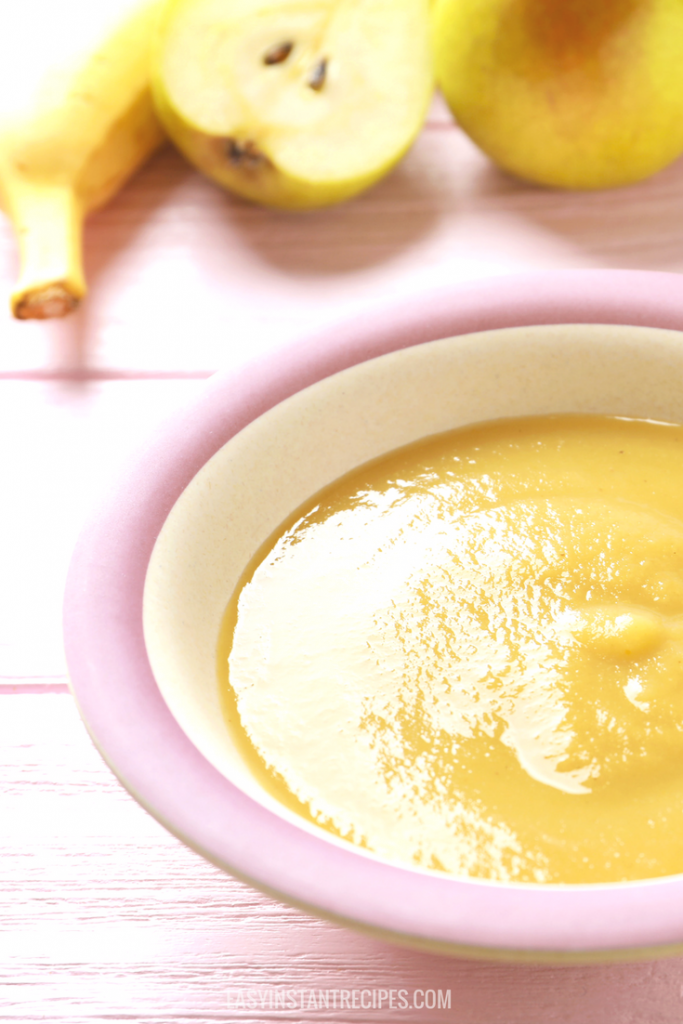
Calories: 61kcal, Carbohydrates: 16g, Protein: 1g, Fat: 1g, Saturated Fat: 1g, Polyunsaturated Fat: 1g, Monounsaturated Fat: 1g, Sodium: 1mg, Potassium: 125mg, Fiber: 3g, Sugar: 10g, Vitamin A: 27IU, Vitamin C: 5mg, Calcium: 10mg, Iron: 1mg
Tried this recipe?Rate in the comments and tag @yummytoddlerfood on IG!
Pear Puree Encyclopedia Baby Food
(4) 6-7 Months Gluten Free Dairy Free Flour Free Meat Free Sugar Free Egg Free Boil Second Breakfast Low Calorie Lunch First Food Snack Cooked Puree Recipes Fruits and Berries
1 Comment
Levchuk Victoria©
Not only are pears a very tasty fruit, but they also contain fiber, vitamin C and potassium. These nutrients have a positive effect on the heart, immunity and digestion!
Most parents recommend pears as a first food because they easily affect the digestive tract. The peel of a pear contains three to four times more antioxidants than the flesh and protect the body from cancer! The pear is classified as a slightly allergenic product, but we still monitor the reaction. Usually, when introducing complementary foods, a pear is the second green fruit after an apple.
Baby pear puree recipe suitable for baby 6-7 months old. Introduced products in complementary foods: green pears.
Pear
| Print a recipe |
Simple and tasty recipe for puree made of pure for infants.
| Portations | Preparation time |
| 1 Portion | 5 minutes |
Cooking time
Simple recipe for puree made of pears for infants.
Select all recipe photo reports0Add a photo No pictures yet of this recipe being made Add a photo
Step by step recipe with photo Peel the pears, remove the core and cut into small pieces.  . .
|

 The broth is suitable and vegetable.
 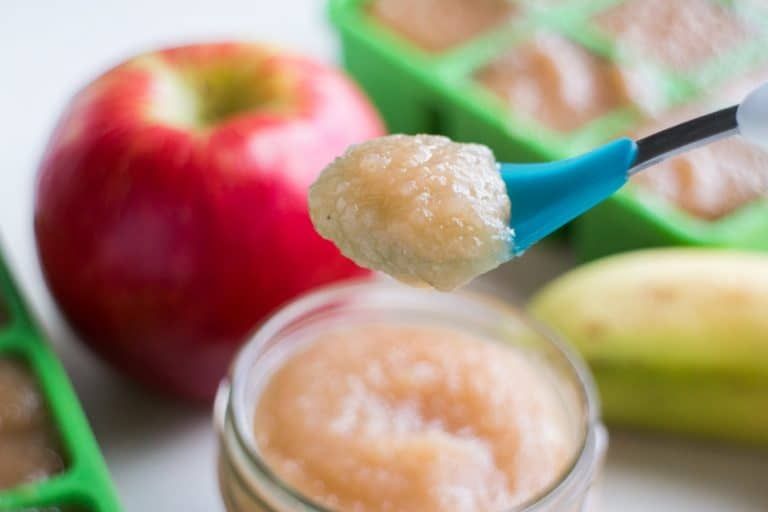 Make the poppy seed fritters the size you like.