Making your own baby food stage 1
10 Baby Food Purees (Stage 1)
Everything you need to know about making stage 1 baby food, including 10 recipes for tasty purees that are perfect for introducing solids.
Introducing solids to your baby is such an exciting milestone but it can also be an overwhelming time with lots of questions. When is your baby ready for solids? Which foods should you start with? And how do you make homemade baby food?
I’m here to make sure you have all the information you need! Plus sharing 10 baby food purees to give you some ideas of where to start if you’ve decided to make your own baby food.
When To Start Solids
Most pediatricians recommend babies start solids between 4-6 months, but you know your baby best so trust your gut and do what feels right to you (with guidance from your pediatrician)!
I have a great guide for introducing solids to babies where I outline the basics and share my approach, but just to recap, here are some signs that your baby is ready to start enjoying solid food:
- Baby can hold their head up in an upright position without too much bobbing
- Baby can sit up with (or without) support
- Baby has lost the tongue thrust reflex
- Baby puts their hands or toys in their mouth
- Baby has shown interest in food such as leaning forward and opening their mouth or trying to grab food you’re eating
How to Introduce Solid Food to Baby
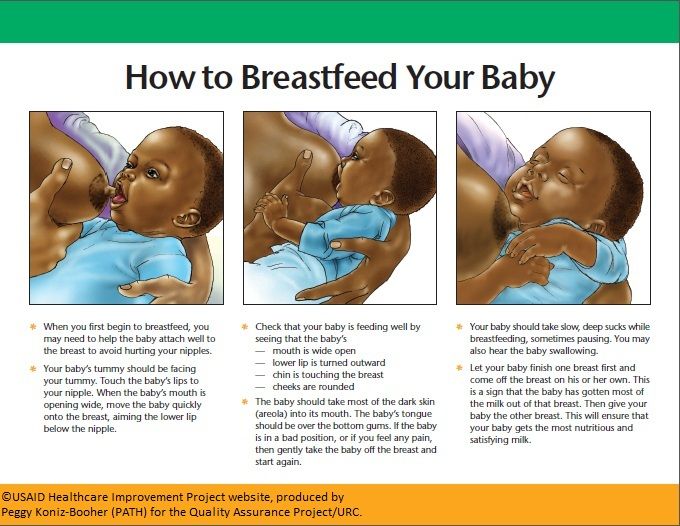
Once you’ve decided that your baby is ready to start solids, it’s go-time. There are different approaches to this including baby led weaning, where you skip purees all-together and let your baby feed themselves with finger foods from the start and traditional weaning, which starts with pureed (or blended) foods.
With Olivia I did a hybrid approach where the first few foods we introduced where purees and then we started with a few finger foods when she seemed ready. I go into more detail on this in my introducing solids post.
To be honest, if you’re planning to do baby led weaning this post probably won’t be that helpful because it’s focused on how to make a variety of single ingredient purees.
What is Stage 1 Baby Food?
If you decide to use purees, you’ll quickly notice that baby food is labeled by three stages. Here is a breakdown of what these different stages mean:
- Stage 1 (4-6 months) – single ingredient foods that are pureed into a very thin consistency with no chunkiness whatsoever that can be served with a spoon.
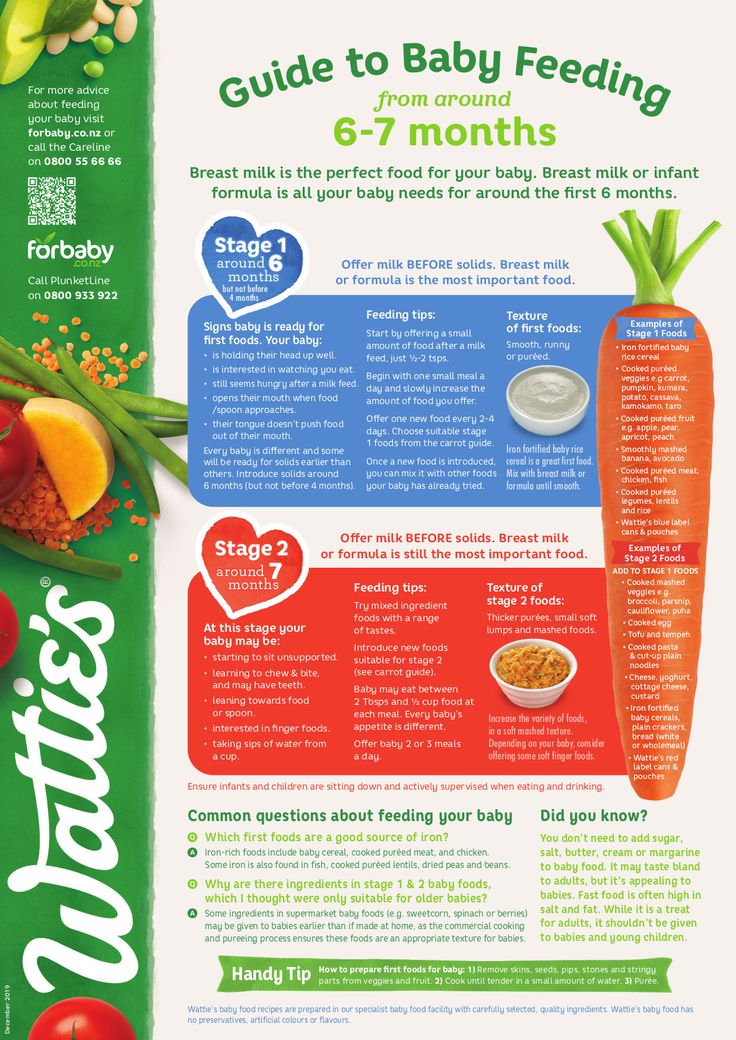
- Stage 2 (around 6-8 months) – slightly thicker consistency and typically includes food combinations and the addition of spices like cinnamon, nutmeg, turmeric, mint, basil, etc. See my stage 2 baby food combos.
- Stage 3 (around 9-12 months) – thick blended foods with chewable chunks or small cut up pieces of easily chewed food.
Best First Foods for Baby
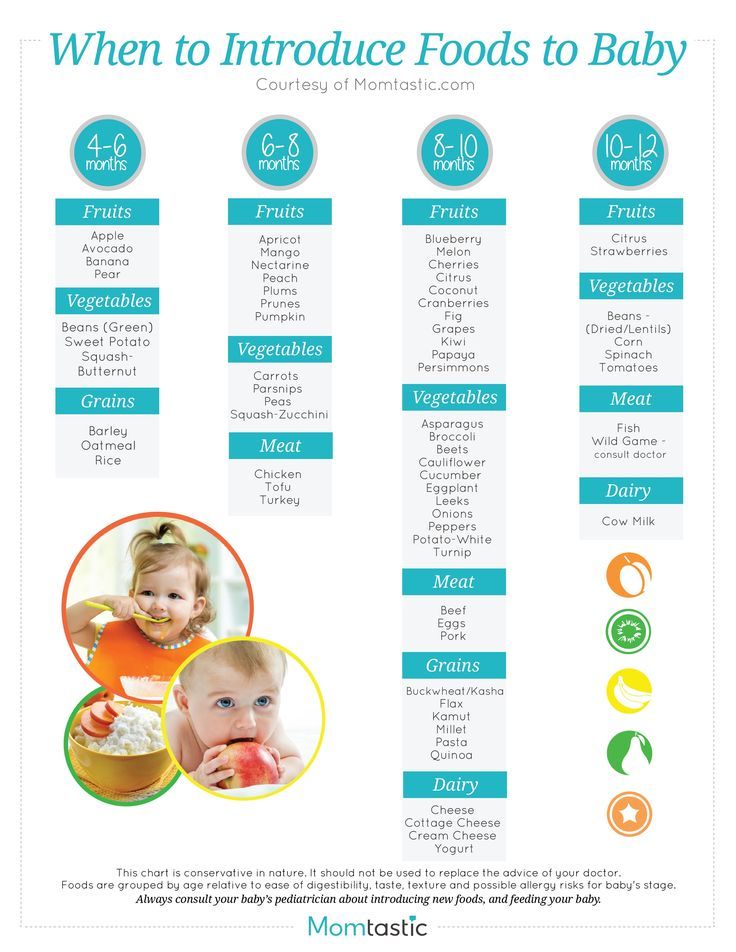
Solid foods can be introduced in any order, but most pediatricians recommend starting with a single-ingredient food that is easy to digest like pureed sweet potato, carrot, banana and/or avocado. Other options include pureed meats, poultry, beans and iron-fortified baby cereals like rice cereal or oatmeal.
You just want to be sure the first few foods are pureed super smooth and almost a liquid consistency. You can easily thin purees with breastmilk or formula.
As baby gets more practice with eating you can reduce the amount of liquid and offer purees with a thicker texture.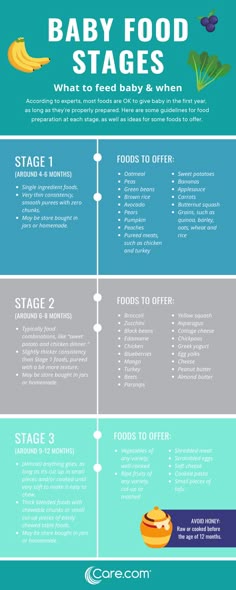
Food Allergies and Known Allergens
When introducing foods it can be helpful to introduce only one food every three to five days so you can watch for any signs of allergic reactions. A reaction could show up almost immediately or a few days after so it’s recommend to introduce one food at a time when starting out so you can track what may be causing a reaction in your baby. Reactions include: hives or rashes, itching, shortness or breath or more serious reactions like vomiting or swelling of the lips and tongue.
It’s also helpful to be mindful about common allergens. Foods like diary, eggs, peanuts, tree nuts, wheat, soy and shellfish should be introduced gradually after less allergenic foods have been tolerated. The previous recommendation was to wait on these foods, but that as since changed and in fact, delaying the introduction of these foods may increase the risk of a child developing allergies.
One food that is off limits until a baby is at least 1 year old is honey because of the risk of infantile botulism.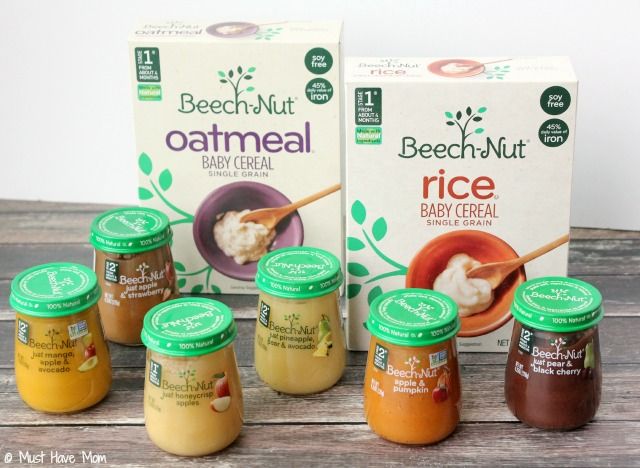
How to Make Homemade Baby Food
We covered when and what foods to start with. Now lets talk how to make a basic baby food puree! Don’t fret, it’s super easy. Here’s the basic process:
- Prep: you’ll want to start by ensuring your fruit or vegetable of choice is thoroughly cleaned. Even if you’re using organic fruits and vegetables, you’ll want to washed and dry your produce! Once the produce is clean, you’re ready to peel and chop into chunks. You can skip this step for some fruits or veggies.
- Cook: some foods like banana and avocado don’t need to be cooked, but many do. For cooking, you can steam, boil or roast. I recommend using a fork to test that they’re tender and soft.
- Blend: place cooked food into a blender or food processor and blend until smooth (or the consistency you desire), adding liquid (breast milk, formula or water) as needed.
That’s it! You’ve just made a homemade baby food puree!
Best Tools For Making Homemade Baby Food
You really don’t need any fancy kitchen appliances, but there are a few tools that will come in handy when making homemade baby food.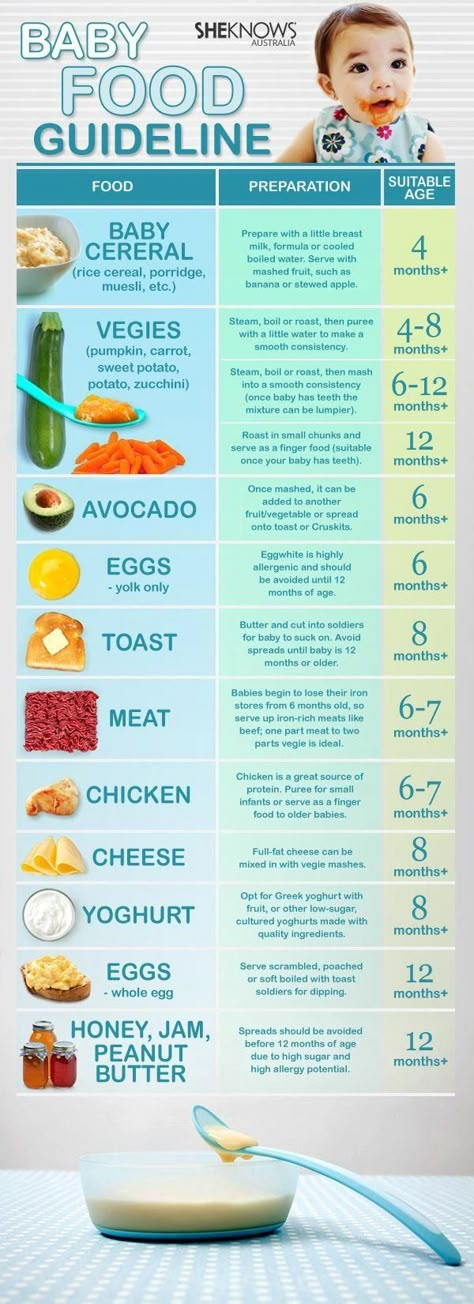
- Steamer basket – Steaming is one the easiest ways to cook foods for making purees and having a steamer basket is key. I have a really basic steamer basket that fits in most pots, but I also use the steamer basket that comes with my Always Pan.
- Blender – I’ve been using my Vitamix blender and love how smooth it makes the purees. You can also use a food processor or an immersion blender.
- Silicone ice cube trays – In the beginning I really liked to make large batches of pureed food and pour it into a silicone ice cube tray with a lid to freeze for later. It was perfect when babies aren’t eating big portions because each cube is about 1-2 ounces.
- Freezer bags – Once you have frozen cubes of puree you can transfer them to a freezer-safe bag. I love reusable Stasher bags for this.
- Storage containers – As soon as you start making homemade baby food you realize that you need lots of little containers.
 A friend loaned me a bunch of plastic storage containers for keeping homemade baby food and I also invested in these glass containers that are freezer safe.
 - Permanent markers – When storing and freezing baby food you’ll want to label everything with the name of the food and the date.
- Baby food maker – if you’re looking for an all-in-one solution that steams food and blends it there are some cool gadgets (like the BEABA Babycook) that make homemade baby food a breeze!
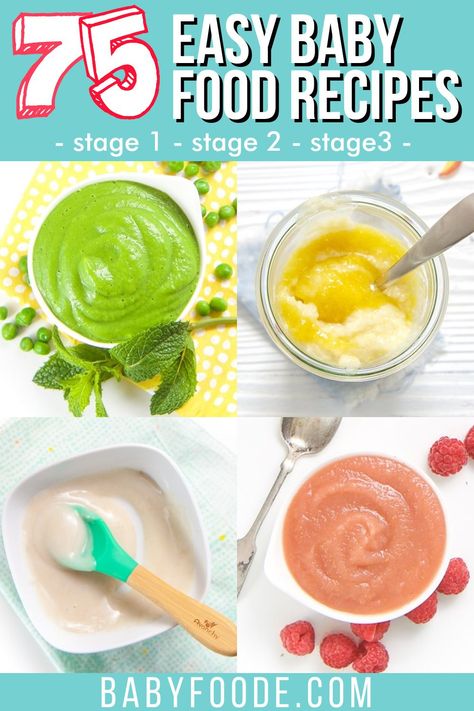
10 Stage One Baby Food Purees
Ready to get started making some stage 1 baby food purees? Here are 10 easy recipes to get you started. These are the purees I used in the early days with Olivia. She loved all of these, but there are a ton of other purees you can try including pear puree, apple puree (aka applesauce), bean purees (like chickpea or lentil puree) and even chicken puree.
Sweet Potato
Sweet potatoes are a powerhouse vegetable! They’re packed with fiber, vitamins, minerals and antioxidants and babies love their sweet flavor.
Sweet Potato Puree
4.10 from 10 votes
Sweet potato puree is so easy to make. Just bake your sweet potatoes, peel and blend until smooth! It's a great first food for babies, but can also be used in baking recipes, mixed into oatmeal, added to smoothies or served as a side dish.
Get Recipe
Carrot
Carrots are low on the allergy scale and easily digested by a tiny tummy. They are high in beta-carotene, an antioxidant that converts to vitamin A in the body, which is crucial for eye health and overall immune function.
Carrot Puree
4.10 from 43 votes
How to make carrot baby food by cooking and blending carrots into a smooth and creamy puree. Carrot puree make a great stage 1 starter food for babies.
Get Recipe
Avocado
Avocados are high in heart-healthy fats as well as fiber, vitamins, minerals and antioxidants! They’re incredibly nutritious and super easy to prepare.
Avocado Puree
5 from 3 votes
Avocado is great first food for babies. It contains healthy fats, it’s easy to blend and it’s delicious. Make it in your food processor or blender or simply mash!
Get Recipe
Banana
A great first food to introduce to babies, bananas are naturally soft and mushy, easy to digest and loaded with vitamins and minerals. The best part? You don’t need to cook them!
Banana Puree
5 from 2 votes
Fresh banana puree is a great first food and baby will love it because it tastes sweet! Easily make it by mashing or blending ripe bananas.
Get Recipe
Peas
Peas are naturally sweet and pack a punch with nutrition, containing a variety of vitamins, minerals and antioxidants. They are also high in protein, with 4 grams per half-cup serving. Fun fact, peas are actually a legume!
Pea Puree
5 from 5 votes
Pea puree is a great first food when introducing solids to babies and all you need is a bag of frozen peas and a blender or food processor!
Get Recipe
Butternut Squash
Technically a fruit, butternut squash is packed with fiber, vitamins and minerals.
Butternut Squash Puree
Make butternut squash puree at home with this simple recipe! Just scoop the seeds, roast, blend and use in recipes that call for butternut squash puree. It's also a great first food for babies!
Get Recipe
Peach
Peaches are naturally sweet and perfect for introducing baby to solid foods. They are rich in many vitamins, minerals and antioxidants.
Peach Puree
5 from 4 votes
Peach puree is so easy to make using fresh peaches! It's a great first food for babies, but can also be used as a topping or mix-in for breakfast, dessert and drink recipes.
Get Recipe
Mango
Rich in vitamins, minerals and antioxidants, mango is especially high in vitamins A and C. They also contain a group of digestive enzymes called amylases which help little tummies just starting with solid foods.
Mango Puree
5 from 3 votes
How to make a delicious mango puree out of fresh (or frozen) mango. It's perfect for serving to baby or to use in recipes.
Get Recipe
Blueberry
Small but mighty! Blueberries are known as a superfood. Superfoods are usually plant-based and rich in nutrients that are beneficial to your health such as vitamins, minerals, healthy fats and fiber.
Blueberry Puree
5 from 2 votes
Blueberry puree is full of antioxidants and vitamins and makes for a quick and easy first food for baby! It can also be used as a topping or mix-in for breakfast, dessert and drink recipes.
Get Recipe
Strawberry
Strawberries pack quite a health punch! They are low calorie, taste delicious and are a great source of vitamins, minerals and plant compounds.
Strawberry Puree
5 from 2 votes
Strawberry puree is easy to make and naturally sweet with no added sugar! Use it in baked goods, drinks or as baby food.
Get Recipe
How to Store Purees
Freshly pureed baby food should be stored in the fridge and used within 3-4 days.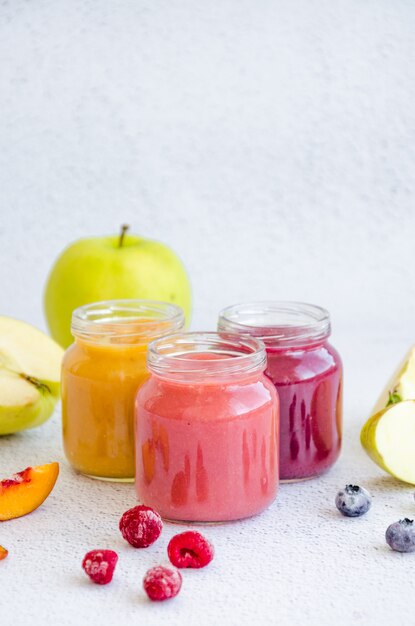 For longer storage, I recommend freezing purees in an airtight container. I like using silicone ice cube tray or freezer safe jars because they make it easier to thaw smaller amounts for serving to babies.
How to Thaw Frozen Puree
I recommend thawing frozen purees in the fridge the night before you want to use them. In a pinch, you can also thaw it quickly with a warm water bath. It thaws quickly if you’re defrosting a small amount to serve to a baby.
FAQ
Can I store homemade baby food purees?
Yes! Making large batches of purees and storing them in the refrigerator or freezer makes feeding baby homemade purees a breeze.
Can you freeze homemade purees?
Freezing baby food that has been made with frozen fruit or vegetables is fine, as long as you have cooked the frozen foods first. Do not refreeze foods that have thawed without cooking. I recommend labeling baby food with the ingredient and date before you place them in the freezer.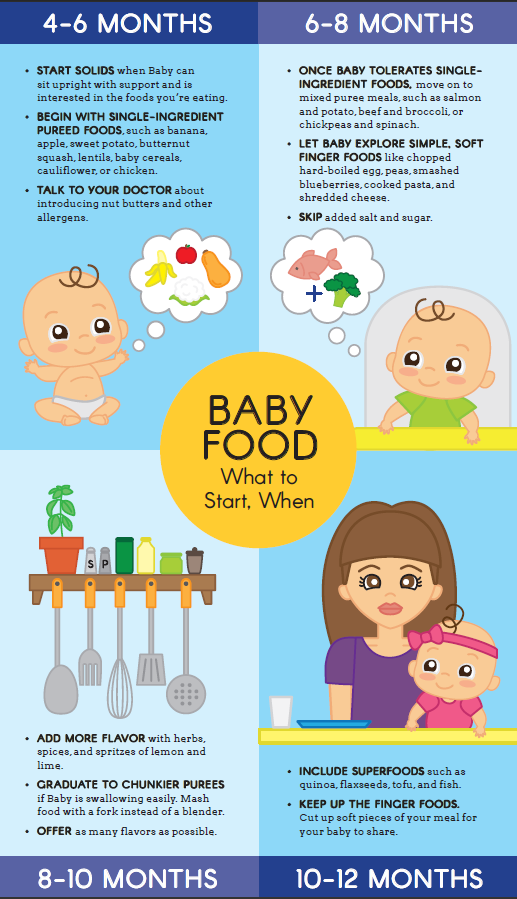
Can you freeze baby food made with breast milk or formula?
If you are freezing baby food that has been mixed with fresh breast milk you’re fine! However, you should not freeze baby food that has been mixed with previously frozen breast milk. Once frozen breast milk has been thawed, it should never be re-frozen.
If you are using formula, it should be okay to freeze baby food that has been mixed with it. Most formula companies don’t recommend freezing formula, but you’re using such a small amount.
You can also freeze the baby food purees without adding any liquid. You can then thaw the baby food puree in the fridge overnight and then thin the food to the desired consistency with breast milk or formula right before serving.
This post about freezing baby food has a ton of great insight and tips.
Should I use organic fruits and vegetables?
I recommend using organic produce when possible, though I realize this isn’t always in the budget.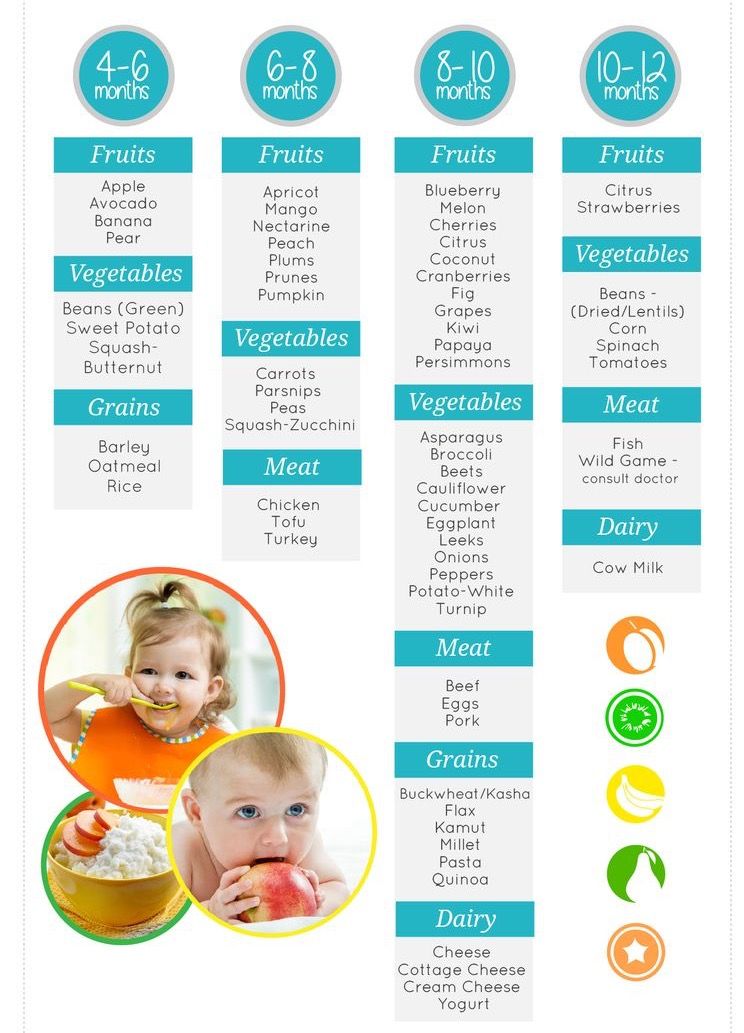 Either way thoroughly rinsing your fruits and vegetables is an important step whether they’re organic or not.
This list of the dirty dozen fruits and vegetables from the EWG is a good guide if you can only budget for some but not all organic produce.
Is it safe to thin baby food with cow’s milk?
From a nutritional point of view, most doctors recommend waiting to introduce babies to cow’s milk until one year of age. If you need to thin your puree you can use breast milk, formula or plain water.
What is the difference between stage 1 and stage 2 baby food?
Stage 1 purees are very thin with no chunkiness and are single ingredients. Stage 2 baby foods can be more elaborate with food combinations as well as chunkier textures.
More Recipes for Resources
- Baby Pancakes
- How to Make Oatmeal For Babies
- Baby (+ Toddler) French Toast
- Applesauce
- Baby Yogurt Melts
- 6 Baby Food Combinations (Stage 2)
Be sure to check out all of the baby food recipes here on EBF.
10 Stage One Baby Food Purees
5 from 5 votes
Everything you need to know about making stage 1 baby food, including 10 recipes for tasty purees that are perfect for introducing solids.
Print Recipe Pin Recipe
Prep Time 10 minutes
Cook Time 20 minutes
Total Time 30 minutes
Servings 6
Sweet Potato
- 2 cups steamed and peeled sweet potatoes
- water, breast milk or formula to thin
Carrot
- 1 lb steamed and peeled carrots
- water, breast milk or formula to thin
Avocado
- 1 avocado
- water, breast milk or formula to thin
Banana
- 1 banana
- water, breast milk or formula to thin
Pea
- 2 cups cooked peas
- water, breast milk or formula to thin
Butternut Squash
- 2 cups steamed and peeled butternut squash
- water, breast milk or formula to thin
Peach
- 3 ripe peaches
- water, breast milk or formula to thin
Mango
- 2 ripe mangoes
- water, breast milk or formula to thin
Blueberry
- 2 cups blueberries
- ½ cup water
Strawberry
- 2 cups strawberries
- water, breast milk or formula to thin
Add veggies or fruit into a high powered blender or a food processor.
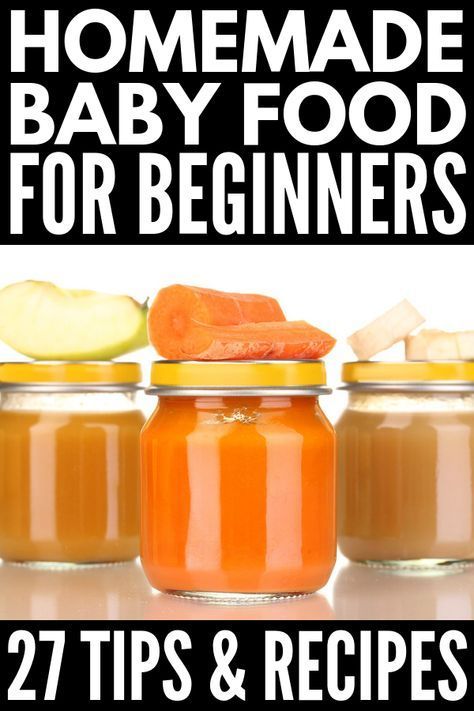 Blend and add liquid until you reach the consistency you desire. You can make the purees smooth and thin for young babies or thicker and chunkier for older babies.
blender
food processor
Serving: 1sweet potato Calories: 75kcal Carbohydrates: 17g Protein: 1g Sodium: 48mg Potassium: 292mg Fiber: 3g Sugar: 4g
DID YOU MAKE THIS RECIPE?
Please leave a comment and star rating on this post and share on social media using the hashtag #eatingbirdfood. I love seeing your recipe shares!How to Make Carrot Baby Food (Carrot Puree)
How to make carrot baby food by cooking and blending carrots into a smooth and creamy puree. Carrot puree make a great stage 1 starter food for babies.
A couple weeks ago I shared all about introducing solids to baby, my approach with Olivia and what foods we’d tried so far. Honestly, I had no intentions of sharing baby food recipes, but I’ve been having so much fun making it for Liv and everyone has seemed really interested so here we are.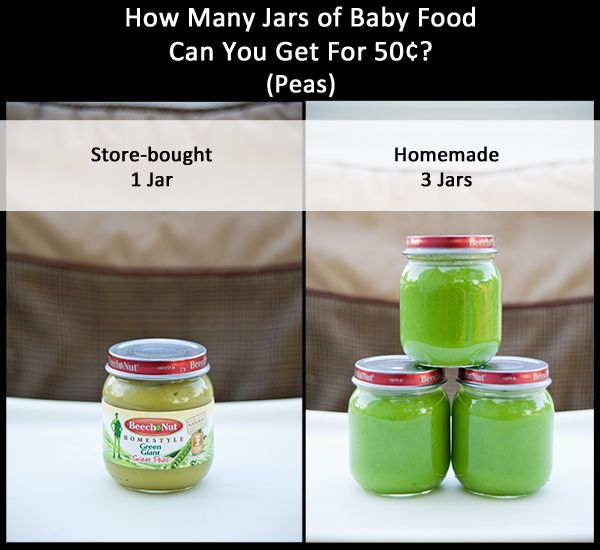
For this first post, I thought I would share a simple recipe for an easy stage 1 food for babies 4 month and up, homemade carrot puree.
Like sweet potato and winter squash, carrot puree makes a great stage 1 food for babies because it can easily be pureed until thin. Carrots are also low on the allergy scale and easily digested by a tiny tummy.
Olivia’s first food was sweet potato puree and then avocado, but carrots came quickly after these two foods.
Homemade Baby Food
Let me start by saying that I know homemade baby food isn’t always an option and that’s okay. When we were on vacation I bought a couple baby food pouches for Olivia. She gobbled them up. That said, the majority of her food is homemade because I really enjoy cooking and making food for Liv has been really fun for me. I also like knowing that she’s eating fresh, nutrient-rich food that’s been made with love. That might sound corny, but it’s true.
When researching how to make homemade baby food I also researched how shelf-stable baby food is made.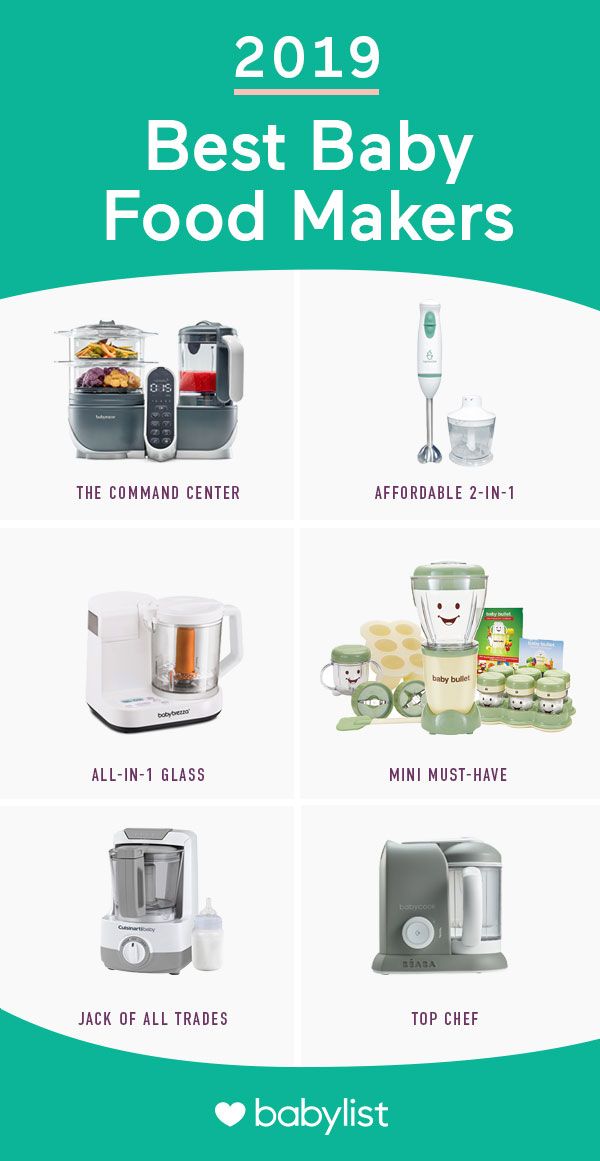 The shelf-life of jarred store-bought baby food is 2 years, which means you could be feeding your baby shelf-stable food that’s older than they are! Isn’t that wild to think about?!
And while I haven’t tasted store-bought carrot baby food, I imagine that this homemade carrot puree tastes way better!
Carrot Nutrition for Infants
Carrots are a such a nutritious first food! They are high in beta-carotene, a red-orange antioxidant that converts to vitamin A in the body. Vitamin A is known to boost eye health and support the immune system. Carrots also contain vitamin C, iron, calcium and fiber, which can be helpful for normal bowel movements in babies.
What Kind of Carrots to Use
I like to use fresh, organic whole carrots. Just wash the carrots well and peel them before chopping and cooking. I know it’s an extra step, but I do recommend peeling them to remove any dirt particles and/or pesticide residue. I also think removing the peel of the carrots makes them taste better.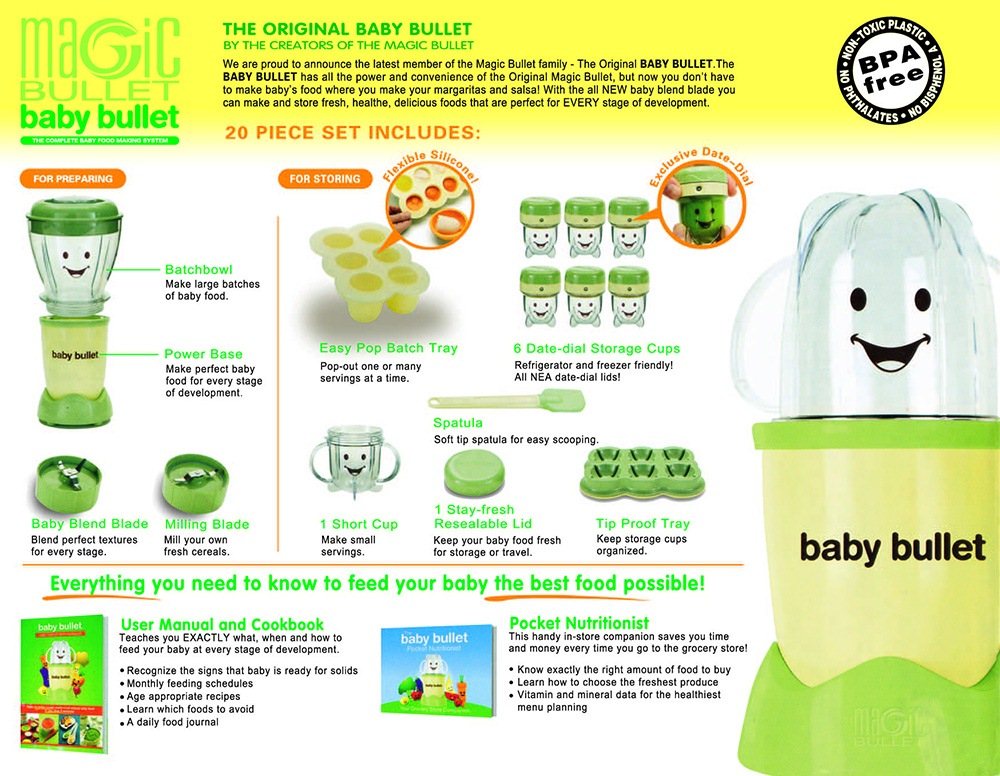 They taste super earthy to me when the peel is on. You can also use baby carrots, which makes the chopping process faster because they’ve already been peeled.
I personally like to buy organic foods for making homemade baby food, but also realize this isn’t an option for everyone so buy what you can afford.
How to Make Carrot Puree- Peel and chop carrots.
- Cook the carrot chunks by steaming, boiling or roasting.
- Transfer cooked carrots to a blender or food processor. I’ve been loving my Vitamix for blending up baby food. It gets the purees super smooth!
- Blend until smooth, adding breast milk, formula or water to thin – the carrot puree will likely be a bit too thick for stage 1 eaters without adding some sort of liquid to thin the puree. I like using breast milk or formula for extra nutrients, but you can use water as well (water used for the steaming or boiling process works great).
- Let carrot puree cool and serve right away or portion into storage containers or ice cube trays for later use.
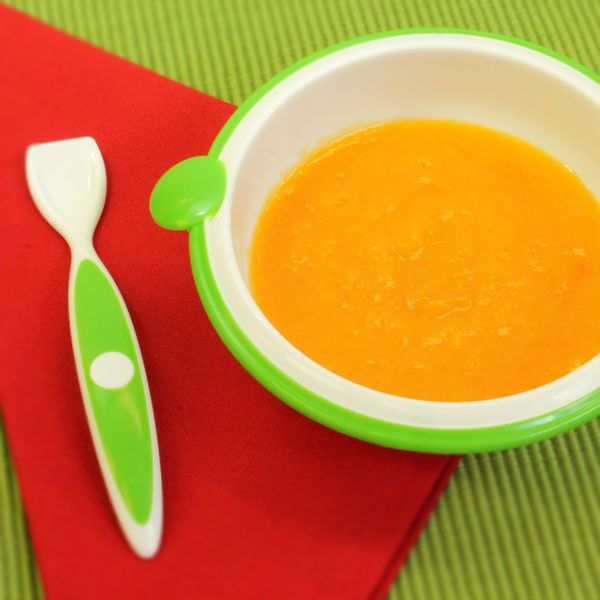
- Carrot puree an be stored in the fridge for 3 days or in the freezer for 3 months.
How to Store Carrot Baby Food
Once you have the carrot puree blended to the consistency you want, let the mixture cool and then transfer into BPA-free storage containers or into an ice cube tray. I’ve been using silicone ice cube trays and these 4 oz glass storage containers. The ice cube trays are great for younger babies who aren’t eating as much volume because you can defrost one cube at a time. While the 4 oz jars are great for older babies who are eating more than 1 oz at a time.
We had the ice cube trays on hand and I just recently bought the WeeSprout glass storage containers that are specifically for baby food. I like that they have measurements on the side of the jars and that they’re glass instead of plastic (no worry about BPA). They are also freezer, dish-washer and microwave-safe. Plus they come with colorful lids that you can write on with a dry eraser marker to note the item and date.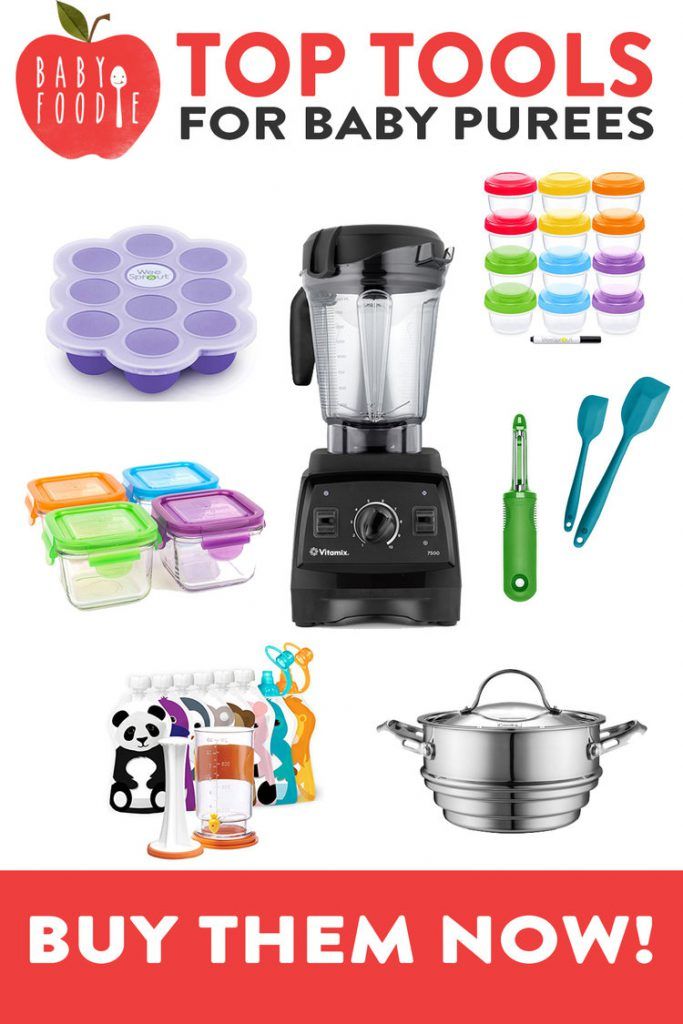
The fresh carrot puree will keep in the fridge for 3 days and in the freezer for up to 3 months.
Don’t Forget to Label
I highly recommend labeling any baby food you make before storing! It’s amazing how quickly you forget what day you prepped the food once it goes into the fridge or freezer. #mombrain
How to Reheat or Thaw Frozen Carrot Puree
To thaw frozen pureed carrots, I recommend taking the jar out of the freezer the night before you want to use it so it can defrost in the fridge overnight. If you need to use it right away, you can thaw it using a water bath. Some people will recommend microwaving the frozen puree using the defrost seating but I prefer these two methods:
- Defrost in the refrigerator: Place frozen puree cubes into a jar or baby’s serving dish, cover, and place in the refrigerator overnight. If you stored the puree in a jar or storage container, simply place the jar the fridge.
- Water bath: Place frozen pureed cubes in a small container and set in another larger container with warm water.
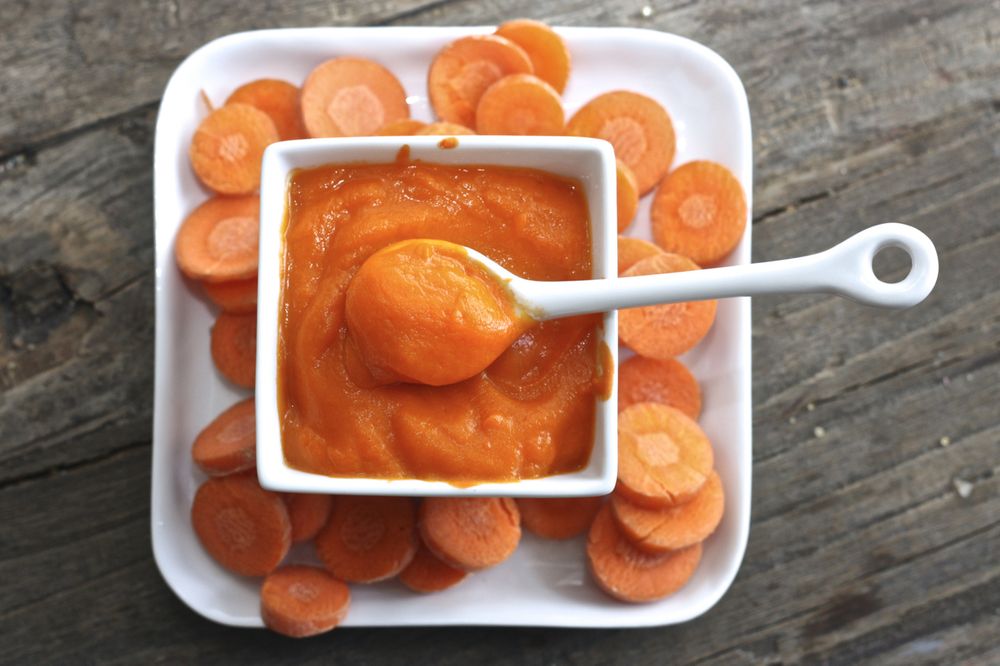 Replace the water as needed. Once defrosted, portion the food into individual bowls, cover, and refrigerate until serving.
Be sure to use any of the defrosted food within 48 hours of being defrosted and do not re-freeze.
Baby Food Combinations with Carrots
Once your baby is ready for stage 2 foods that are combinations, you can blend different fruits and veggies into the carrot puree. Here are some ideas of foods and spices that pair well with carrots.
- Green veggies – peas, broccoli, green beans, zucchini, spinach
- Orange veggies – butternut squash, sweet potatoes
- Fruits – apples, peaches, pears
- Carbs – brown rice, lentils, quinoa
- Protein – beef, chicken
- Herbs and Spices – cinnamon, ginger, cardamom, cumin, paprika, nutmeg, curry, mint
More Baby Food Recipes and Resources
- Baby Oatmeal
- Introducing Solids to Baby
- 6 Baby Food Combinations (Stage 2)
- Sweet Potato Puree
- Avocado Puree
- Butternut Squash Puree
- Pea Puree
- Peach Baby Food
- Banana Puree
- Smash Cake
- Banana Pancakes For Babies
- Baby Yogurt Melts
Carrot Baby Food
4 from 43 votes
How to make carrot baby food by cooking and blending carrots into a smooth and creamy puree. Carrot puree make a great stage 1 starter food for babies.
Print Recipe Pin Recipe
Prep Time 5 minutes
Cook Time 20 minutes
Total Time 25 minutes
Servings 12 oz
- 1 lb fresh organic carrots
- 1/4 – 1/2 cup breast milk, formula or water, to thin
- spices or herbs of choice, optional
Peel carrots and chop into chunks. Try to make the carrot chunks around the same size so they will finish cooking around the same time. The smaller the chunks, the faster they will cook.
Fill a pot with about 1 inch of water, add carrots to a steamer basket and place inside of the pot. Bring water to a low boil, cover with lid and steam carrots for 15-20 minutes, or until fork tender. The cook time will depend on the size of your carrots.
Once carrots are tender remove pot from heat and allow carrots to a cool a bit before transferring to a blender or food processor.
 Puree carrots in the blender or food processor, adding liquid (breast milk, formula or water) as needed to get the desired consistency. If using water, the water leftover from steaming or boiling the carrots works great.
Transfer carrot puree into storage containers and store in the fridge for 3 days or freezer for 1 month.
- You can boil or roast the carrots instead of steaming. See my tips in the blog post above.
Serving: 4oz Calories: 62kcal Carbohydrates: 14g Protein: 2g Sodium: 116mg Fiber: 4g Sugar: 9g
Author: Brittany Mullins
Course: Side
Cuisine: Baby Food
Keyword: carrot baby food
DID YOU MAKE THIS RECIPE?
Please leave a comment and star rating on this post and share on social media using the hashtag #eatingbirdfood. I love seeing your recipe shares!Homemade baby food recipes for 1-3 years old
person Posted By: Alexander Puzankevich On: comment Comment: 0 favorite hit: 329
Homemade baby food tastes better and gives you the confidence to know exactly what your baby is eating.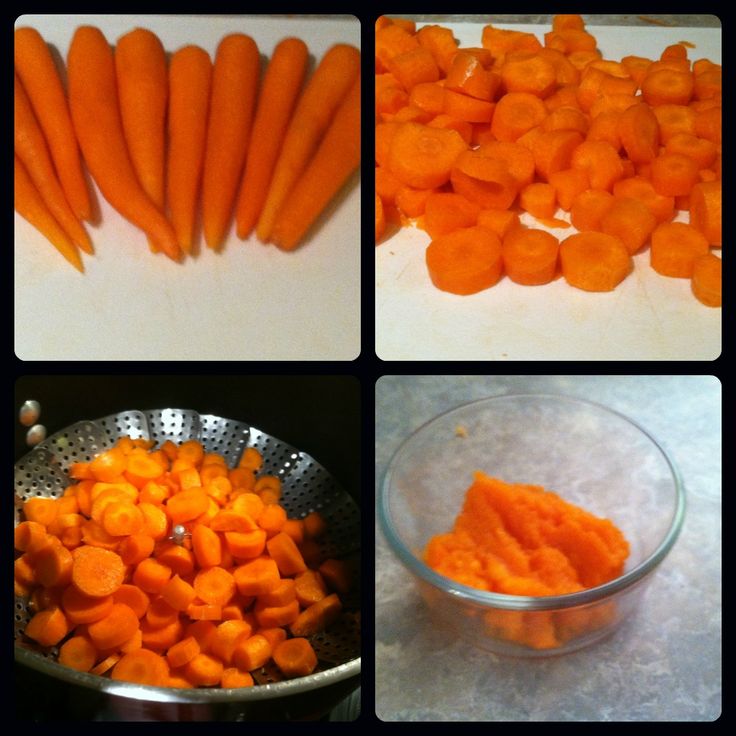 It also gives you the freedom and flexibility to change the combinations and textures of your child's food to suit their needs.
Homemade baby food may seem like an impossible task, especially for a new mom, but it's not as hard as you think and definitely worth the effort.
Homemade baby food tastes better and gives you the confidence to know exactly what your baby is eating. It also gives you the freedom and flexibility to change the combinations and textures of your child's food to suit their needs.
First stage baby food: what is it and when should I start?
The first stage is the first food your baby will be introduced to from about 6 months of age. In the past, some doctors have recommended starting your baby on solid foods as early as 4 months of age, but the American Academy of Pediatrics recommends waiting until at least 6 months of age before introducing anything other than formula or breast milk to your baby. .
Baby food should have a thin, smooth texture in the first stage because your baby may still have a strong tongue thrust reflex. The food at this stage should not have much texture because otherwise your child may experience suppression or vomiting.
At this point you also want to use mostly single ingredient meals and you will need to introduce one food at a time and wait a few days before introducing a new food to make sure your child does not react to that particular food.
Step 1 Baby Food Recipes
For this step you will need a blender, food processor, Baby Bullet or hand blender.
Also, everything except bananas and avocados you will need to cook before blending, but make sure you don't use oil or butter in the cooking process because fat and dairy are hard for kids to digest at this young age. To cook vegetables and fruits, they can be steamed, boiled or baked in the oven.
To steam fruits and vegetables, you can use a skillet with a steam insert or pour a small amount of water into the bottom of the pot, cover, bring to a boil and cook until the vegetables are very soft (Note: make sure make sure you use enough water so that it doesn't boil away before the vegetables are cooked - about half an inch to an inch of water in the bottom of the pan).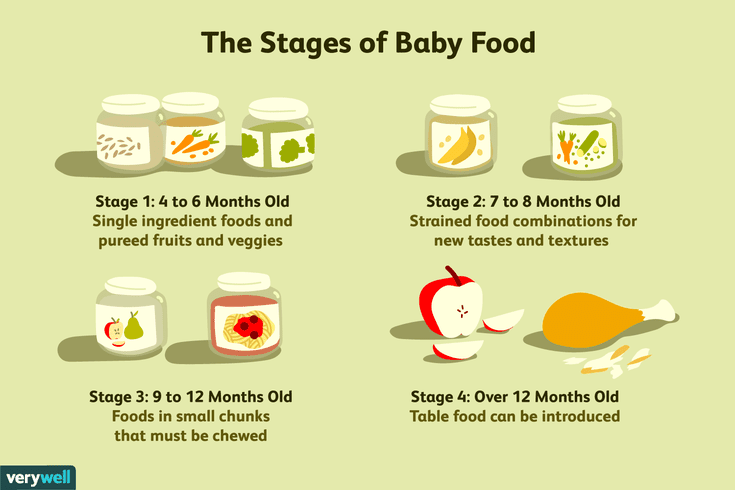
To roast fruits and vegetables, set the oven to 400 degrees, arrange the fruits or vegetables in a single layer on a baking sheet and roast until tender - the roasting time will depend on what you are cooking.
When fruits and vegetables are ready, add them to a blender, food processor or baby bullet, add a little water and mix.
After mixing until smooth, check the consistency. If the food is still too thick, add more water until the fruit or vegetable is a smooth, runny consistency.
Second stage Baby food: what to introduce now and when to introduce?
The second stage of baby food is when you start adding more texture and combinations to your baby's diet. This stage usually begins between 7 and 8 months of age.
Instead of mixing your child's food until it's thin and smooth, you can leave a little more texture in his or her food in the second step. You can also start creating delicious combinations with the products already featured.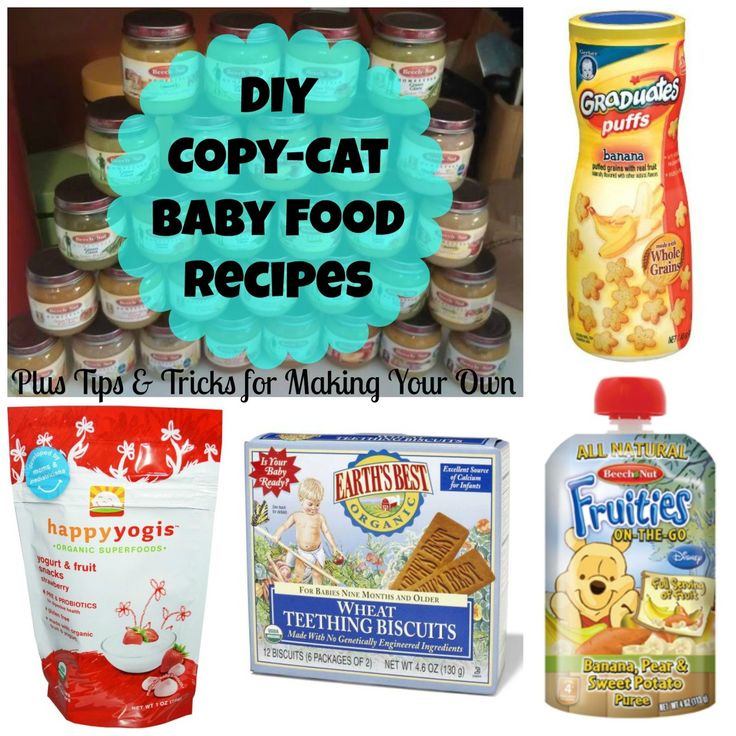 However, with new foods, you need to keep introducing them every few days to keep looking for a reaction.
At this point, you can also start introducing allergy risk foods such as eggs, nut butter (yes, nut butter, including peanut butter - I explain why here) and fish. This is also a great time to add yogurt and some cheeses (like cheddar or parmesan) to your child's diet.
Homemade Baby Food Recipes Step Two
Oatmeal and Peanut Butter
Ingredients
1/2 c. Old fashioned oats
1 c. water
1-2 T. Peanut butter
1/4 T. Cinnamon (optional)
How to cook?
Bring water to a boil, add oats and reduce heat to medium. Cook until the water is absorbed and the oats are soft. Add peanut butter and cinnamon. Let cool and serve.
Yogurt and apples with cinnamon
Ingredients
1/2 p. Yoghurt
1 apple
1T. Butter
1/4 ton Cinnamon (optional)
How to cook?
Peel the apple and cut it into small pieces. Add the apple and oil to the pan and sauté until the apple is very soft. Add cinnamon and stir until smooth.
Let the apple cool and then cut it into small pieces with a fork or potato masher. Mix apple with plain yogurt and serve.
Third stage Baby food: what to feed a child who is becoming more independent?
The third step in baby food is teaching your child independence in eating (and snacking). At this stage, you will be feeding your child food that he can feed himself. This includes thicker food that he or she can eat with utensils and food that he or she can eat with his or her hands.
Some great and nutritious snacks are soft vegetables, soft fruits, pasta, scrambled eggs and cheese. When choosing snacks, avoid choking foods such as hot dogs, hard raw vegetables such as carrots and celery, whole grapes, whole nuts and seeds, and hard candies.
Homemade baby food recipe for step 3
Parmesan pasta with peas
Ingredients
1/4 p.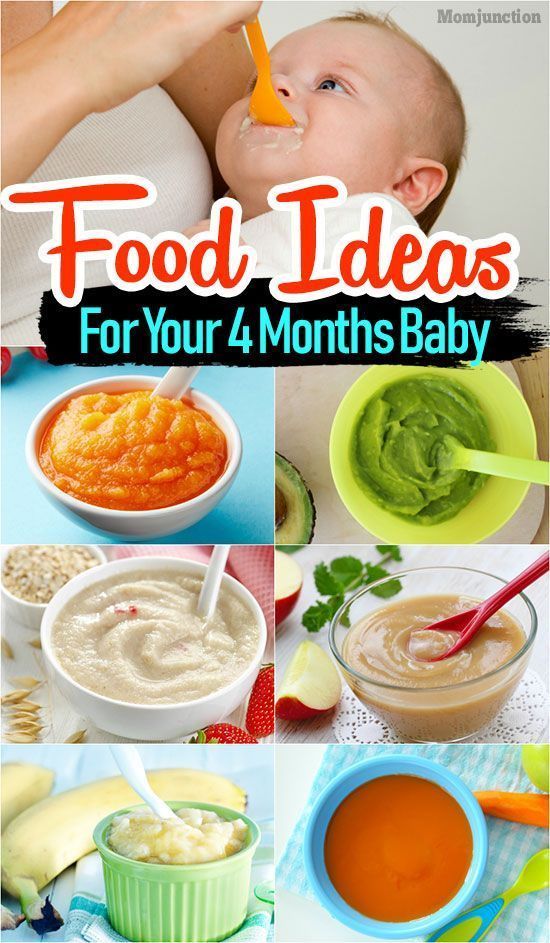 Dry pasta - shells, elbows, or ditalini are best.
1 t. Unsalted butter
2 t. Parmesan cheese
2 t. Frozen peas
How to cook?
Cook pasta until soft - not al dente. Add the butter until it melts and then add the parmesan cheese and peas. Stir and cook the mixture until it is smooth and the peas are steamed.
Storing mixed baby food
As I explained in my article on baby food in step one, the easiest way to always have homemade baby food on hand is to make a large batch and freeze it. This allows you to simply defrost what you need every day.
The best way to freeze baby food is to freeze it in ice trays. Each cube is approximately one ounce, so you can measure your child's nutrition in cubes.
The above recipes are just some of the many easy and healthy homemade baby food options. It may seem daunting at first to start making your own baby food, but hopefully you'll soon find it's easier than you thought and well worth the effort.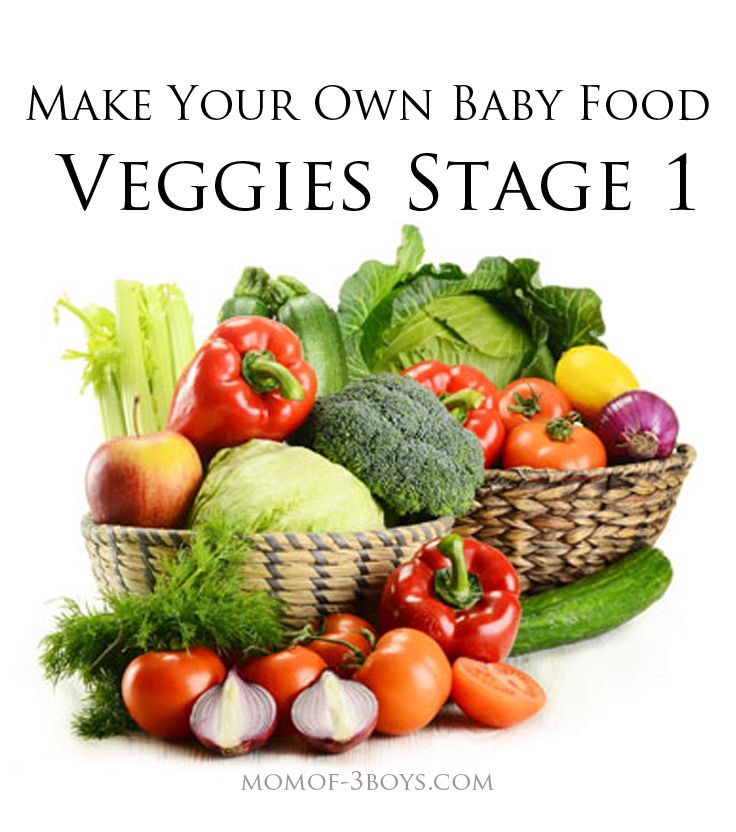
How to cook baby food - Encyclopedia Baby food
Viktoria Levchuk© Broccoli, zucchini and cauliflower pureeTaking care of your child's health in today's world means starting complementary foods right with whole, healthy foods prepared with love. Most mothers will immediately ask how to prepare baby food that is of high quality, easily digestible and tasty.
Canned food can sometimes seem easy to feed a baby, but when you start reading the ingredients of each tiny can (not to mention the cost of each can), it makes more sense to try your hand at making homemade baby food yourself.
When you think about how to prepare baby food, it seems so difficult. However, everything is much easier. In fact, baby food is the easiest recipe to prepare. Many mothers who hate to cook learn how to cook with healthy complementary foods for their beloved child.
Let's start with a few practical tips on what you need, what products to choose and what else to keep in mind to make the process as easy as possible.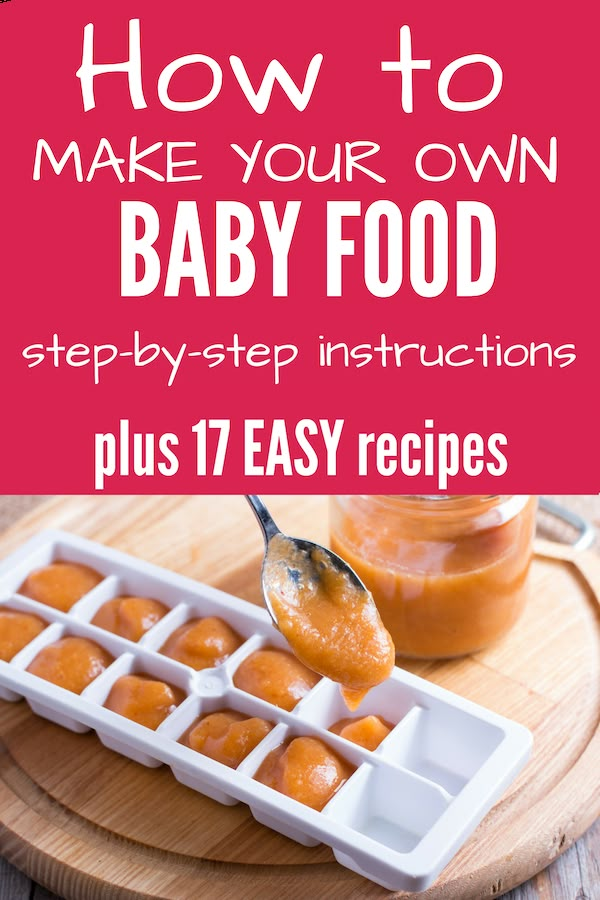
Contents:
So, how to prepare baby food? Simple - choose a fruit or vegetable that needs to be introduced into complementary foods, cook until tender, make a smooth puree and voila ... a batch of baby food is ready. And now to the details, the following tips will teach you how to cook baby food in no time.
1. Buy the right tools
-
Blender
This “devil machine” is the best assistant in the kitchen. Only a blender can bring fruits, vegetables, grains, meat and other products to the ideal consistency. During the first few months, solid foods are made smooth and tender without lumps so that the baby's digestion slowly gets used to the complex textures.
-
Stainless saucepan
Good, regular dishes will always be washed. The first experiments burn, stick and are almost not washed off. Buy one good quality baby food pot. I have never regretted in 6 years.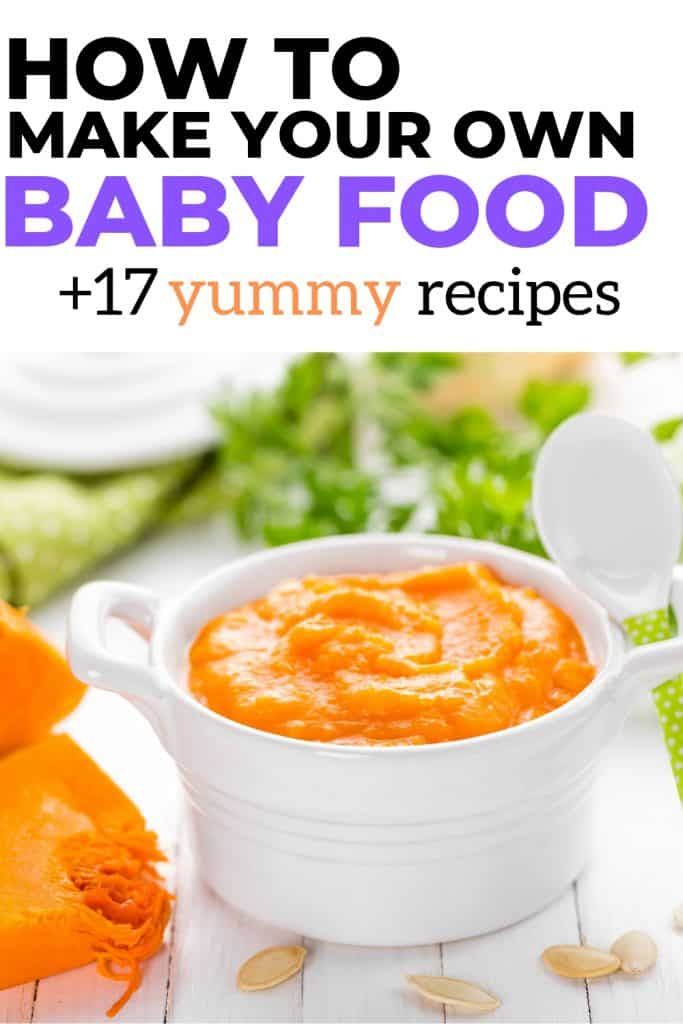 She washes with a brush, dishwasher, iron brush and she is still like new. We choose high-quality, stainless dishes, small up to 1 liter, with a good handle and lid. I have a lid with heat protection, I can take it with my bare hands, it is not hot, and neither is the pen.
-
Baby food freezer tray with lid
One good plastic or flexible silicone tray will last a long time. Moreover, it is needed for the first 4-6 months; you will not need to freeze baby purees anymore. You can buy without a lid, but then you have to suffer from bags, as baby purees love to absorb odors from the freezer. During meals, portions can be diced and heated in the microwave before serving.
freezer mold-
Food thermometer
Many new mothers are advised to buy a food thermometer. I didn't buy. My wrist was an indicator, always, if I'm hot, then the child will be very hot.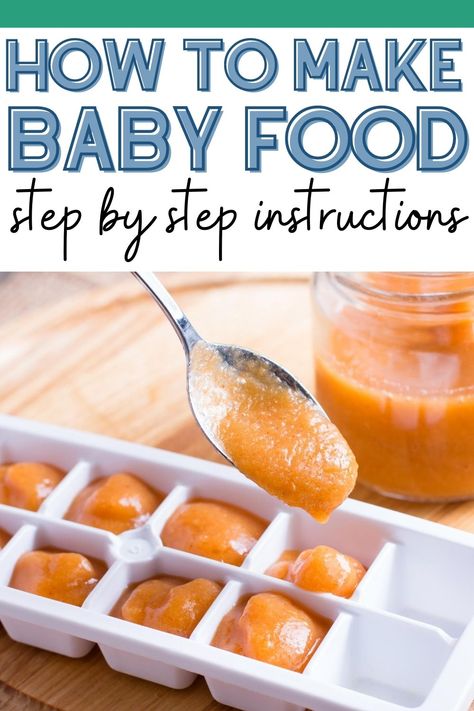 But for speed and convenience, a food thermometer comes in handy to make sure the food is at the right temperature for small mouths.
-
Steamer or multicooker
A modern kitchen cannot do without these devices, because it is easier and more useful for us. In principle, a slow cooker will always help out when you need to cook porridge, and a double boiler - a lot of vegetables and fruits. These tools always help out, save the time of an eternally busy mother. I advise!!!
2. Choose Your First Foods Carefully
Choose fruits and vegetables that are high in nutrients for your first foods. Brightly colored vegetables are fresh vegetables. For the first feeding, foods such as broccoli, zucchini, zucchini, pumpkin are suitable, they are rich in vitamins, and at the same time look attractive. Fruits such as apple and pear can be introduced from about six months of age and are also very rich in vitamins, such as blueberries and peaches.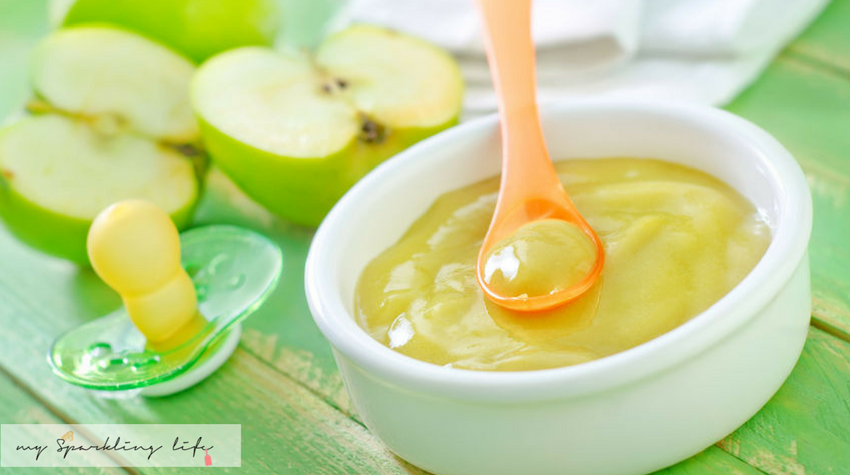
It's a good idea to talk to your doctor about which foods to introduce first and the best age to start complementary foods (this can be between four and six months) and don't forget to start with one.
We offer the child the same food for four days - if any signs of allergy appear, the mother will immediately notice it.
3. Safety First
Making your own baby food is a convenient way to give your baby a healthy diet free of additives and preservatives.
Preparing and freezing small batches of food in advance makes the task much easier. However, do not forget to throw away any food that has been touched with a used feeding spoon, food that has already been reheated, and food that has been in the freezer for too long. At first, it is recommended to keep frozen baby puree for no more than 1 month in the freezer.
Children's dishes can be washed in the dishwasher, the only thing you have to do is choose a cleaning agent for children. If there is no dishwasher, then wash the dishes under hot water, at first you can pour boiling water over before use.