Peanut butter baby food recipes
When Can Baby Have Peanut Butter (and 3 Best Ways to Offer It)
When can baby have peanut butter? That’s such a common question among us parents, and it’s normal to be worried about allergic reactions. Thankfully, there are easy ways to offer peanut butter to a baby and simple tips to keep in mind when introducing it for the first time.
When can baby have peanut butter?
The American Academy of Pediatrics recommends that potentially allergenic foods are introduced early on when starting solids at 6 months. This advice has changed recently and family members may not realize that it’s not advised to wait until a child turns 1 any longer.
In fact, waiting can actually increase the likelihood of a reaction.
How to Introduce Peanut Butter to a Baby Step-by Step
According to the National Institute of Allergy and Infectious Diseases, start by considering which group your child falls into:
- They have severe eczema and/or an egg allergy.
In this case, talk with your doctors about peanut allergy testing and testing a peanut product for the first time in their office. Babies in this group are advised to get their first peanut product between 4-6 months.
- They have mild or moderate eczema. Talk to your doctor, but it is likely safe to introduce peanut products around the 6 month mark.
- They have no signs of eczema or food allergies. Offer peanut products soon after starting solids as you introduce all sorts of other foods.
TIP: Talk to your pediatrician about any concerns you have, at any time. If you are at all worried, you can always introduce a peanut product in their office with their supervision to alleviate your stress. Just talk to them about your plan ahead of time.
How soon would peanut allergy symptoms appear?
Typically, they appear soon after introducing the food. Symptoms of a peanut allergy may include anaphylaxis (which is the most severe), but also things including vomiting, indigestion, diarrhea, wheezing, repetitive coughing, tightness in the throat, hives, swelling in the mouth, and more.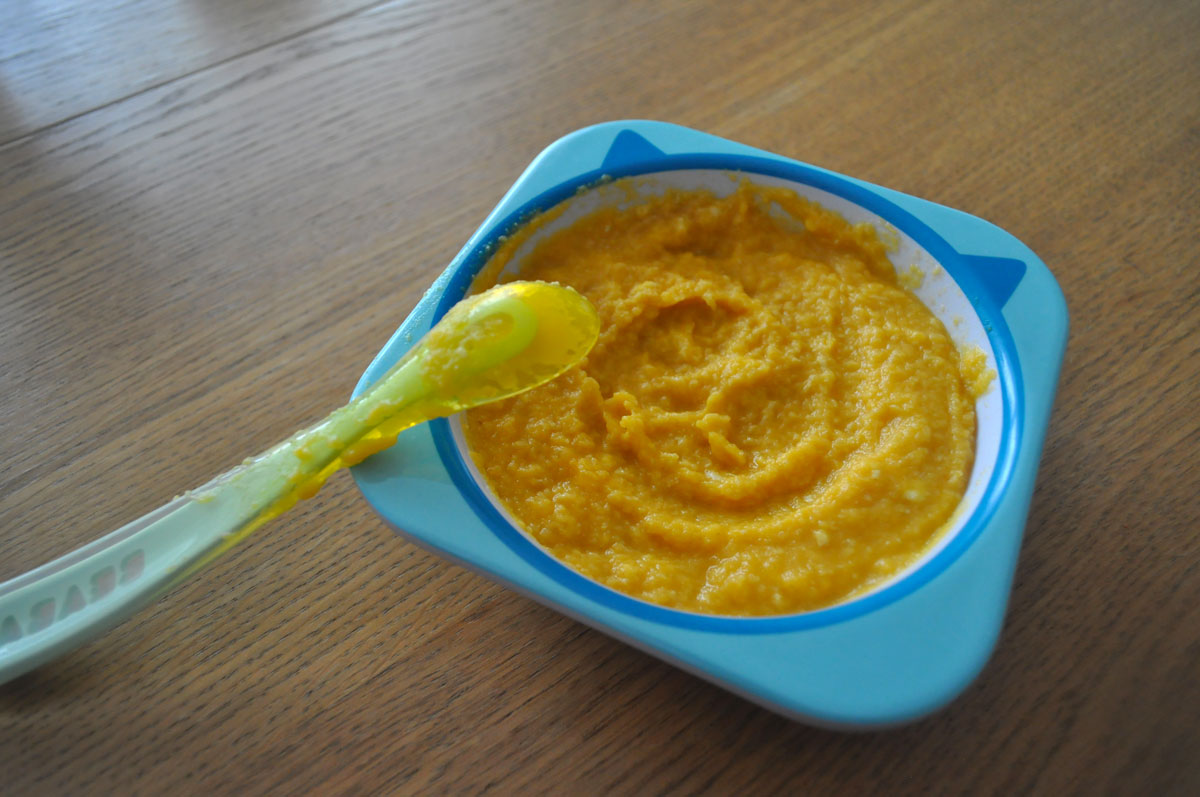
Diagnosing any food allergy can be complicated, so your best bet is to see a pediatric allergist.
TIP: The good news is that research has shown up to 20 percent of individuals with a peanut allergy eventually outgrow it.
Best Peanut Butter for Babies
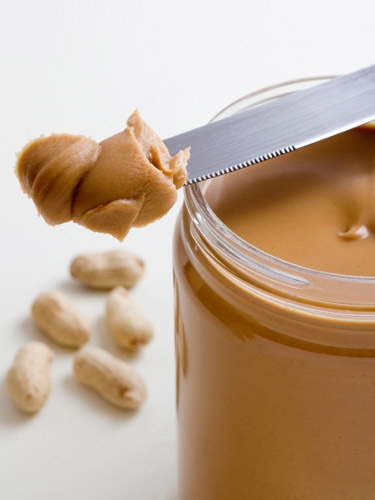
Look for a peanut butter without added sugar and opt for creamy to ensure that the texture is smooth for baby. I like Smucker’s Natural Peanut Butter, Whole Foods 365 Store Brand, and Teddies.
There are lot of other options available, so just check the ingredients and look for one without added cane sugar or honey.
How to Avoid Choking With Peanut Products
The simplest way to avoid choking is to never offer actual whole peanuts. You should also avoid chunky peanut butter which will be difficult (and potentially dangerous) for a baby and avoid spoonfuls of straight peanut butter which can get stuck in their mouths.
See below for safe peanut options for baby.
What are the best ways to introduce and serve peanut butter to babies?
I have three favorite ways that I will outline below. They include:
- Peanut Butter Toast
- Peanut Butter Puffs
- Peanut Butter Puree
TIP: I recently saw a tip about grinding nuts into a powder to mix into other foods like oatmeal, which is a great option too. For the first time you offer it, it may make sense to limit the other foods in the same meal so you can be sure to be able to easily isolate the cause if there’s a reaction.
Peanut Butter Toast for Baby
A simple way to offer peanut butter to baby is to spread a very thin layer onto a piece of lightly toasted bread. This is a classic baby led weaning approach where you cut the toast into a piece that’s at least as big as your finger so it’s way too big for the baby to put the entire thing into their mouth.
This is easy for a baby, even one as young as 6 months, to pick up and suck on. (This also works really well with mashed hard cooked egg yolk!)
TIP: Do be sure to lightly toast the bread to reduce the chances that a piece of soft bread will get stuck onto the roof of their mouth.
Peanut Butter Puffs
Another easy way to offer peanut butter to a baby or toddler is to use store-bought peanut butter puffs. The most commonly known one is called Bamba Puffs and Puffworks Baby also makes one. You can find them at Trader Joe’s and on Amazon. They are my favorite because they are big enough for a baby to suck on without putting the entire thing into their mouth.
Peanut Puffs from Mission Mighty Me are a nice options once babies develop their pincer grasp around 9 months.
TIP: The great thing about these is that they dissolve easily in baby’s mouth, are easy to hold, and are a healthy snack food you can continue serving through toddlerhood.
Peanut Butter Puree for Baby
My very favorite way to introduce peanut butter for the first time is to make it into a fluffy puree. It’s so easy, it’s good, and it’s very nutritious with health fats and protein. It’s a perfect no-cook baby food to make at home.
Ingredients You Need for Peanut Butter Puree
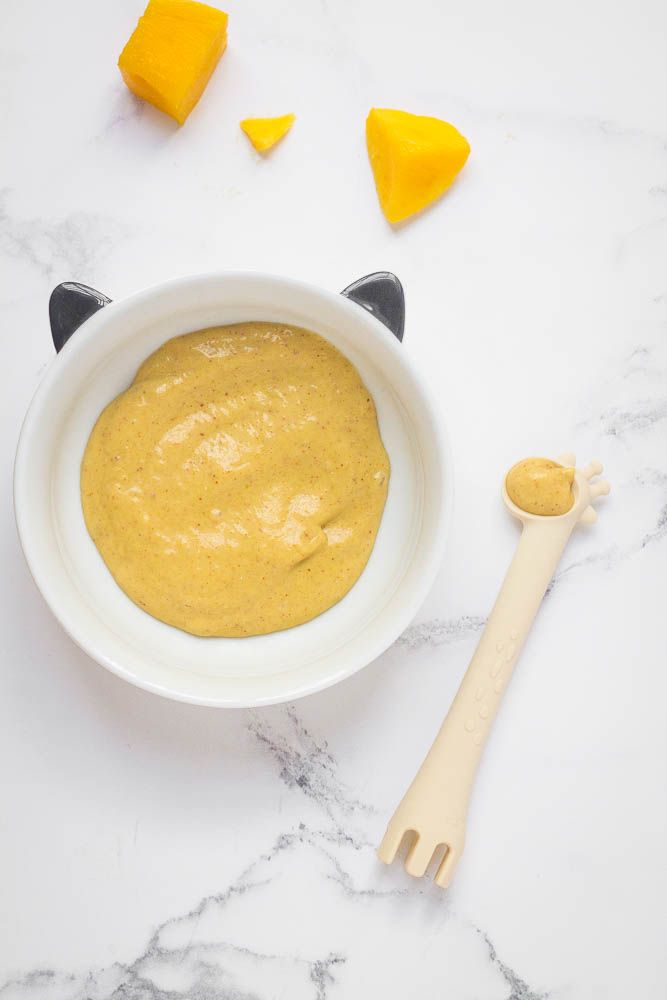
To make this puree, you just need natural creamy peanut butter and water. The water helps to fluff up the peanut butter making it into a yogurt-like consistency.
It’s smooth, flavorful, and can be stored for later too.
How to Make Peanut Butter Puree Step-by-Step
Here’s a look at how to make a simple peanut butter puree for a baby.
- Add peanut butter and water to a bowl.
- Start stirring together.
- Keep stirring together as the water begins to look cloudy.
- Keep stirring together until the mixture is a uniform texture and color.
TIP: Room temperature peanut butter and/or warmish water make this come together a little more easily than cold peanut butter.
Best Tips for Peanut Butter and Baby
- Store any peanut butter puree leftovers in an airtight container in the fridge for up to 5 days.
- Keep stirring if the mixture looks separated. It may take a full minute or more of stirring until the mixture comes together.
- If it seems thick or sticky, thin it out more with additional water.

- Choose creamy natural peanut butter without added sugar.
- Offer a small amount on a spoon or spread a thin layer onto a 1-2 finger-size piece of toast.
- Stop feeding baby when they turn their head away and close their mouth. (The serving size below is just a ballpark guess.)
- Consider a peanut puff like the ones from Puffworks Baby.
- If baby has or had eczema or other food allergies, check with your pediatrician for guidance on introducing food allergens.
Related Recipes
I’d love to hear your feedback on this, so please comment below to share!
Prep Time 5 minutes
Cook Time 0 minutes
Total Time 5 minutes
Author Amy Palanjian
Cuisine American
Course Baby Food
Calories 24kcal
Servings 4 -6
- ▢ 1 tablespoon creamy natural peanut butter (without added sugar if possible)
- ▢ 2-3 tablespoons water
Add the peanut butter and 2 tablespoons water to a bowl.
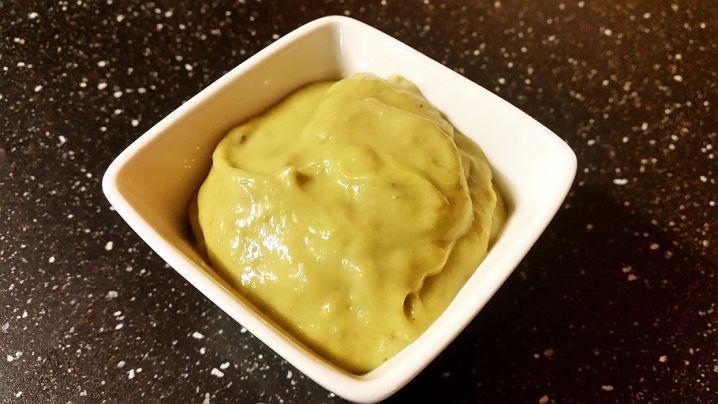
Stir until the mixture starts to come together and the color and consistency are uniformly light and somewhat fluffy. This will take a little bit of time so keep going if and when the peanut butter separates.
Add water as needed to make a fluffy puree consistency.
Offer on a spoon to baby in small amounts or spread onto a 1-2 finger-size piece of toast.
Peanut Butter
Mixing Bowl
Storage Containers
- Store any leftovers in an airtight container in the fridge for up to 5 days.
- Keep stirring if the mixture looks separated. It may take a full minute or more of stirring until the mixture comes together.
- If it seems thick or sticky, thin it out more with additional water.
- Choose creamy natural peanut butter without added sugar.
- Offer a small amount on a spoon or spread a thin layer onto a 1-2 finger-size piece of toast.
- Stop feeding baby when they turn their head away and close their mouth.
 (The serving size below is just a ballpark guess.)
Calories: 24kcal, Carbohydrates: 1g, Protein: 1g, Fat: 2g, Saturated Fat: 1g, Polyunsaturated Fat: 1g, Monounsaturated Fat: 1g, Sodium: 19mg, Potassium: 26mg, Fiber: 1g, Sugar: 1g, Calcium: 2mg, Iron: 1mg
Tried this recipe?Rate in the comments and tag @yummytoddlerfood on IG!
This post was first published August 2020.
Peanut Butter Banana Baby + Toddler Melts (3-ingredients)
Home » Food » Peanut Butter Banana Baby + Toddler Melts
by Michele Olivier on July 14, 2020 (updated Jun 12, 2022)
Jump to RecipeJump to Video
5 stars (16 ratings)
Peanut Butter Banana Baby Melts – the perfect healthy frozen food for baby and toddler. Made with 3 ingredients – peanut butter, bananas and yogurt. These melts are great for babies 6 months and up, toddlers or baby-led weaning! They also help relieve teething pains.
Peanut butter🥜 and bananas🍌 go together like.. peas in a pod!
If it’s super hot where you are right now, these peanut butter banana melts are the perfect way to cool baby or toddler down.
Made with 3 simple ingredients, these healthy treats are super easy to make and are on hand whenever you need them. Made with all-natural ingredients they are a yummy way to cool down!
They’re perfect if your baby is starting to wean and can also provide some welcome relief from teething 😬.
Peanut Butter Banana Melts Video
Watch this video to see step-by-step instructions on how to make these baby melts!
Reasons to Love these Melts- great for baby 6+ months
- toddlers and kids also love these
- melts in mouth
- full of antioxidants, fiber, vitamin C and probiotics
- great for baby-led weaning
- soothes sore gums from teething
- fun summer treat for baby
- no added sugar
- gluten-free
- 3 simple ingredients
- takes 5 minutes to make
- great pincher grip practice for baby
- can you use a shaped tray or just dot mixture onto a baking sheet
- Yogurt: I prefer to use full-fat plain yogurt in this recipe.
 You can also use Greek yogurt, but it will be a little tarter than using regular yogurt. Babies need a good deal amount of healthy fats in their diet, so opt for a full-fat or higher fat yogurt. Yogurt is a great source of protein, calcium and vitamin B. You can easily use any brand of dairy-free yogurt in this recipe.
 - Peanut Butter: Peanut butter is high in protein, healthy fats and essential minerals. Use smooth (not chunky) natural peanut butter so there are no pieces that baby could choke on.
- Banana: Bananas are packed full of antioxidants and are a great source of vitamins B6, C and dietary fiber. The riper the banana the more naturally sweet they will be and also contain more antioxidants.
- In a medium bowl, combine the yogurt, banana and peanut butter until combined.
- Spoon onto a baking sheet or into a silicone mold. Either works great!
- Place the baking sheet or silicone mold into the freezer for at least 5 hours or preferably overnight.
- These melt very fast (for safety reasons), so it’s best to only take out 1 or 2 at a time.
- They will keep well in the freezer for up to 3 months.
- Make them dairy-free by using your favorite non-dairy yogurt.
- 10 Best First Foods for Baby (purees or baby-led weaning)
- Banana Baby Food – 8 Ways
- 9 Best Organic Baby Food Pouches
- 36 Healthy + Homemade Baby Food Recipes
- The Ultimate Guide to Fingers Foods (great for Baby-Led Weaning)
- silicone star tray or baking sheet
- small mixing bowl
- a fork to mash the banana and combine the ingredients
I’D LOVE TO KNOW HOW IT TURNED OUT! LEAVE A COMMENT AND A ⭐️ RATING BELOW 👇
Or watch a shortened version of this video here.
- 1/3 cup plain full-fat yogurt
- 1/2 ripe banana, mashed
- 1 tbsp peanut butter, natural style
In a medium bowl, combine the yogurt, banana and peanut butter until combined.
Spoon onto a baking sheet or into a silicone mold. Either works great! Once filled, tap the silicone mold on the counter to get rid of any air pockets.
Place the baking sheet or silicone mold into the freezer for at least 5 hours or preferably overnight.
Take a shape out and serve to baby. These melt very fast (for safety reasons), so it's best to only take out 1 or 2 at a time.
Age: 6 months and up
Yield: roughly 18-25 depending on the size of your shapes.
Serving: 1shape, Calories: 11kcal, Carbohydrates: 1.3g, Protein: 0.5g, Fat: 0.5g, Saturated Fat: 0.1g, Sodium: 7mg, Potassium: 28mg, Fiber: 0.1g, Sugar: 0.8g, Calcium: 9mg
Did you make this recipe?
Tag @babyfoode on Instagram and hashtag it #babyfoode!
Pin Recipe Email a Friend
free guide when you subscribe! How to Feed Your BabyHomemade baby food recipes for 1-3 years old
person Posted By: Alexander Puzankevich On: comment Comment: 0 favorite hit: 333
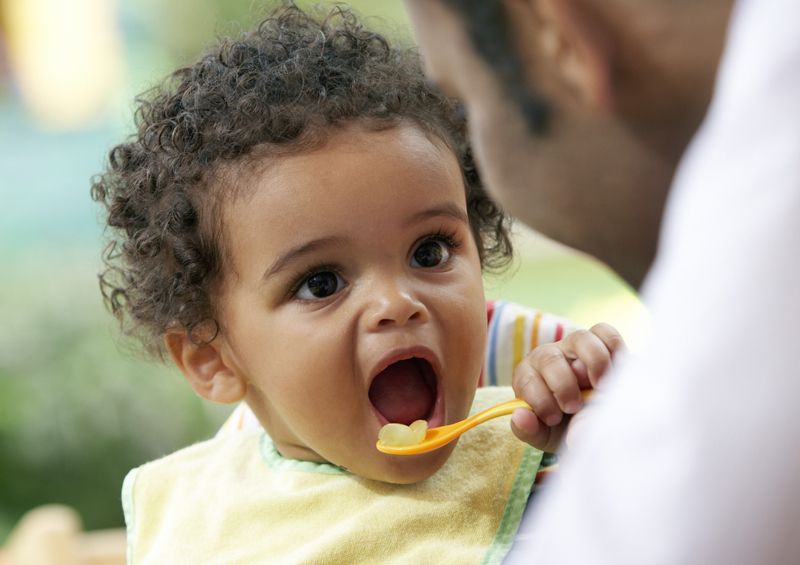
Homemade baby food tastes better and gives you the confidence to know exactly what your baby is eating. It also gives you the freedom and flexibility to change the combinations and textures of your child's food to suit their needs.
Homemade baby food may seem like an impossible task, especially for a new mom, but it's not as hard as you think and definitely worth the effort.
Homemade baby food tastes better and gives you the confidence to know exactly what your baby is eating. It also gives you the freedom and flexibility to change the combinations and textures of your child's food to suit their needs.
First stage baby food: what is it and when should I start?
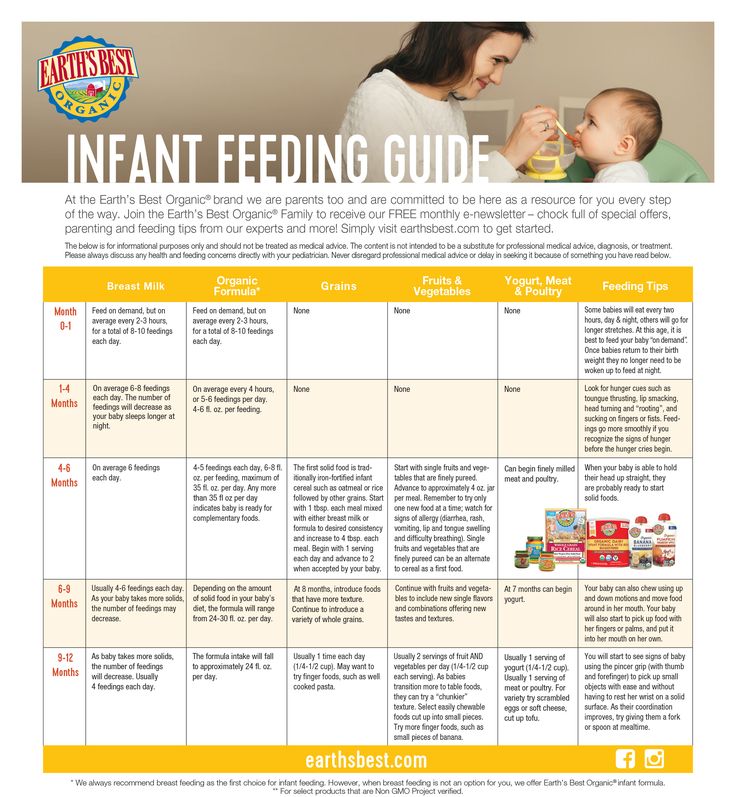
The first stage is the first food your baby will be introduced to from about 6 months of age. In the past, some doctors have recommended starting your baby on solid foods as early as 4 months of age, but the American Academy of Pediatrics recommends waiting until at least 6 months of age before introducing anything other than formula or breast milk to your baby. .
Baby food should have a thin, smooth texture in the first stage because your baby may still have a strong tongue thrust reflex. The food at this stage should not have much texture because otherwise your child may experience suppression or vomiting.
At this point you also want to use mostly single ingredient meals and you will need to introduce one food at a time and wait a few days before introducing a new food to make sure your child does not react to that particular food.
Step 1 Baby Food Recipes
For this step you will need a blender, food processor, Baby Bullet or hand blender.
Also, everything except bananas and avocados you will need to cook before blending, but make sure you don't use oil or butter in the cooking process because fat and dairy are hard for kids to digest at this young age. To cook vegetables and fruits, they can be steamed, boiled or baked in the oven.
To steam fruits and vegetables, you can use a skillet with a steam insert or pour a small amount of water into the bottom of the pot, cover, bring to a boil and cook until the vegetables are very soft (Note: make sure make sure you use enough water so that it doesn't boil away before the vegetables are cooked - about half an inch to an inch of water in the bottom of the pan).
To roast fruits and vegetables, set the oven to 400 degrees, arrange the fruits or vegetables in a single layer on a baking sheet and roast until tender - the roasting time will depend on what you are cooking.
When fruits and vegetables are ready, add them to a blender, food processor or baby bullet, add a little water and mix.
After mixing until smooth, check the consistency. If the food is still too thick, add more water until the fruit or vegetable is a smooth, runny consistency.
Second stage Baby food: what to introduce now and when to introduce?
The second stage of baby food is when you start adding more texture and combinations to your baby's diet. This stage usually begins between 7 and 8 months of age.
Instead of mixing your child's food until it's thin and smooth, you can leave a little more texture in his or her food in the second step. You can also start creating delicious combinations with the products already featured.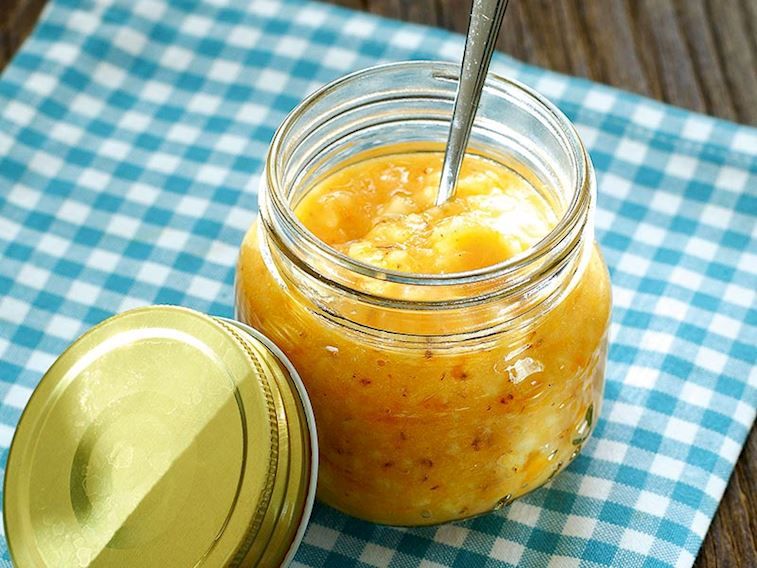 However, with new foods, you need to keep introducing them every few days to keep looking for a reaction.
At this point, you can also start introducing allergy risk foods such as eggs, nut butter (yes, nut butter, including peanut butter - I explain why here) and fish. This is also a great time to add yogurt and some cheeses (like cheddar or parmesan) to your child's diet.
Homemade Baby Food Recipes Step Two
Oatmeal and Peanut Butter
Ingredients
1/2 c. Old fashioned oats
1 c. water
1-2 T. Peanut butter
1/4 T. Cinnamon (optional)
How to cook?
Bring water to a boil, add oats and reduce heat to medium. Cook until the water is absorbed and the oats are soft. Add peanut butter and cinnamon. Let cool and serve.
Yogurt and apples with cinnamon
Ingredients
1/2 p. Yoghurt
1 apple
1T. Butter
1/4 ton Cinnamon (optional)
How to cook?
Peel the apple and cut it into small pieces.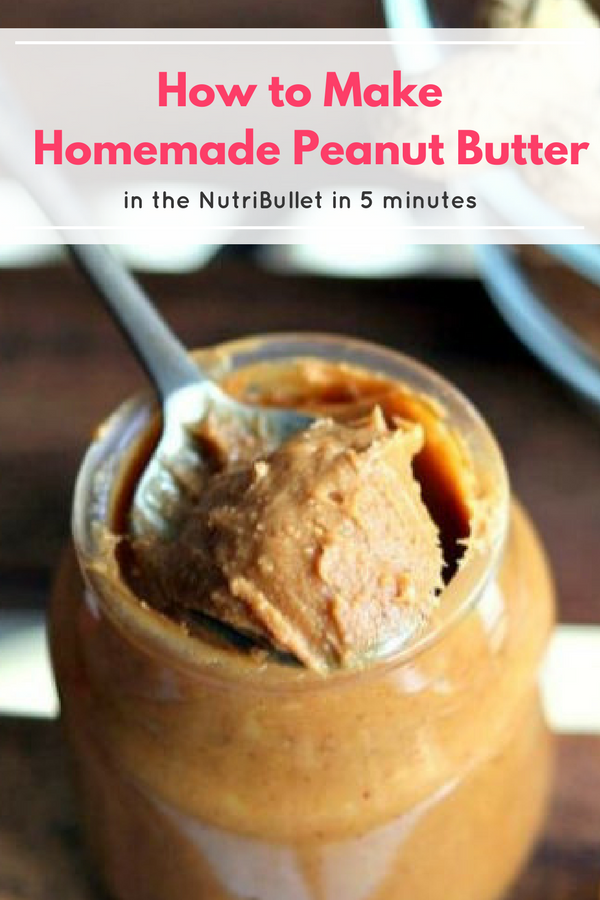 Add the apple and oil to the pan and sauté until the apple is very soft. Add cinnamon and stir until smooth.
Let the apple cool and then cut it into small pieces with a fork or potato masher. Mix apple with plain yogurt and serve.
Third stage Baby food: what to feed a child who is becoming more independent?
The third step in baby food is teaching your child independence in eating (and snacking). At this stage, you will be feeding your child food that he can feed himself. This includes thicker food that he or she can eat with utensils and food that he or she can eat with his or her hands.
Some great and nutritious snacks are soft vegetables, soft fruits, pasta, scrambled eggs and cheese. When choosing snacks, avoid choking foods such as hot dogs, hard raw vegetables such as carrots and celery, whole grapes, whole nuts and seeds, and hard candies.
Homemade baby food recipe for step 3
Parmesan pasta with peas
Ingredients
1/4 p.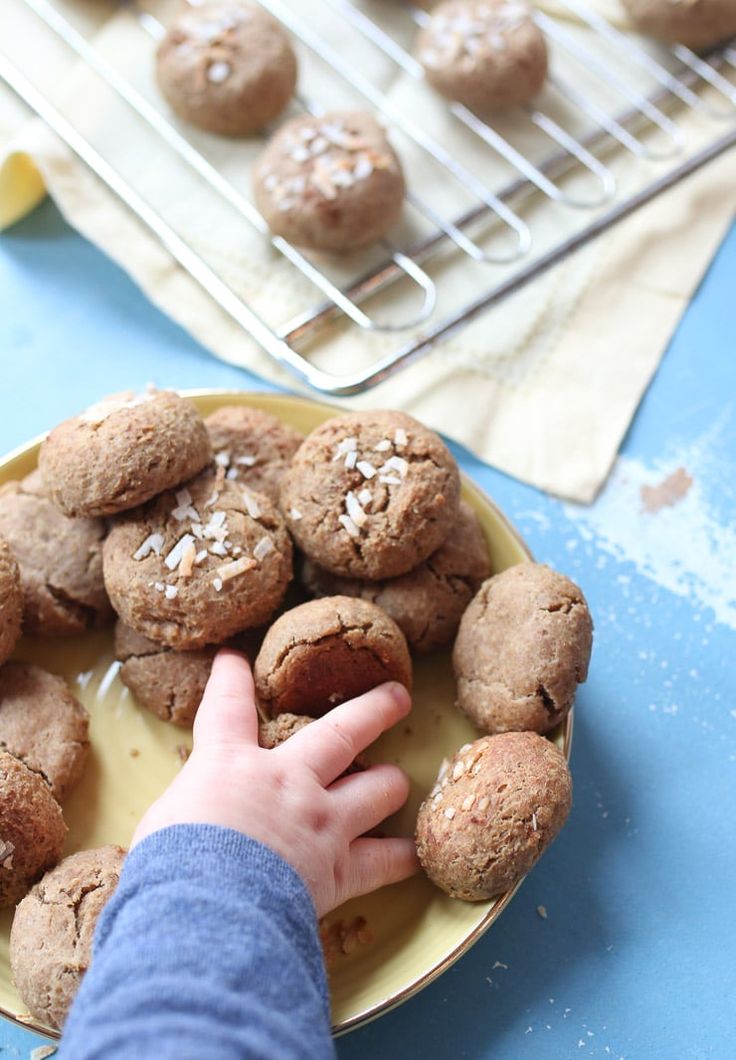 Dry pasta - shells, elbows, or ditalini are best.
1 t. Unsalted butter
2 t. Parmesan cheese
2 t. Frozen peas
How to cook?
Cook pasta until soft - not al dente. Add the butter until it melts and then add the parmesan cheese and peas. Stir and cook the mixture until it is smooth and the peas are steamed.
Storing mixed baby food
As I explained in my article on baby food in step one, the easiest way to always have homemade baby food on hand is to make a large batch and freeze it. This allows you to simply defrost what you need every day.
The best way to freeze baby food is to freeze it in ice trays. Each cube is approximately one ounce, so you can measure your child's nutrition in cubes.
The above recipes are just some of the many easy and healthy homemade baby food options. It may seem daunting at first to start making your own baby food, but hopefully you'll soon find it's easier than you thought and well worth the effort.