Tommee tippee baby food grinder
Quick-Cook Baby Food Maker Product Support
Category
- Getting Started
- Cleaning & Maintenance
- Troubleshooting
- Video
Getting Started
Do you have a question about the Tommee Tippee Quick-Cook Baby Food Maker? Find the answers here.
Parts Guide
A step by step guide to all component parts, how they fit together and what they do.
Setting up your Quick-Cook Baby Food Maker for first use:
Before using your baby food maker we recommend cleaning all the parts as follows:
WARNING! Handle the blade carefully as it is extremely sharp.
1. Remove the blade by holding the blade tab inside the unit while turning the locking ring on the bottom of the container. This will remove the locking ring and the blade will split into two parts. (Pictures 1, 2, 3).
To re-assemble, reverse these steps.
2. Wash the blade, jug, basket, sealing ring and lid in soapy water then dry and reassemble. Place your baby food maker unit on a clean, dry kitchen work surface.
3. Place the basket inside the jug, place the lid on jug in the correct orientation and lock in place using the locking dial (Pictures 4, 5).
4. Unlock the water tank by rotating the lid anti-clockwise. Fill the water tank with 350ml of cold water, replace the cap and lock it in place (Picture 6). Make sure that the water level is not filled above the inside edge of the water tank.
5. Plug your baby food maker into a mains power supply and turn on the power. Press the start button to turn on the unit and the LCD display will illuminate (Picture 7).
6. Set the steam time to 30 minutes using the + buttons (Pictures 8, 10)
7. Press the start button to start (Picture 11).
The unit will now run the steam cycle automatically.
8. When the cycle has finished, your baby food maker will beep and the LCD display will turn off. Turn off the power supply, unplug your baby food maker and allow it to cool completely. Unlock the jug and pour away any residual water.
9. Clean the jug and steamer basket following the cleaning instructions.
10. Pour away any remaining water from the water tank by tipping the unit sideways over a sink. Wipe your baby food maker clean and dry and it's now ready to use.
Using your machine
For your child's safety always check food temperature before feeding. Your Baby Food Maker can steam and blend vegetables, fruits (peeled and cored/pips removed),
meats and fish (with bones removed). You must cut all food into approximately half inch (1-2cm) cubes before placing it into the jug or basket for cooking. For cooking times see below. For recipes visit tommeetippee.com.
During the steaming process hot steam passes through the vent at the back of your Baby Food Maker, so position it away from walls and make sure it is not underneath any overhanging shelves or cabinets.
1. Place your Baby Food Maker on a flat dry kitchen work surface. Place the jug or basket with diced food into the base (picture 4) and lock in place using the locking dial (picture 5). Steam no more than 200 grams in one cycle. Fill the water tank with 12 fl oz (350ml) of cold water and replace the cap (Picture 6).
2. Plug your Baby Food Maker into a mains power supply. The unit will beep. Press the start button to turn it on. The LCD display will light up.
To set an automatic steam to blend cycle
1. Use the jug with no basket and make sure the lid is in the correct orientation.
2. Press the mode button and choose the steam option. Set the steam time using the +/- buttons for a maximum steam time of 30 minutes.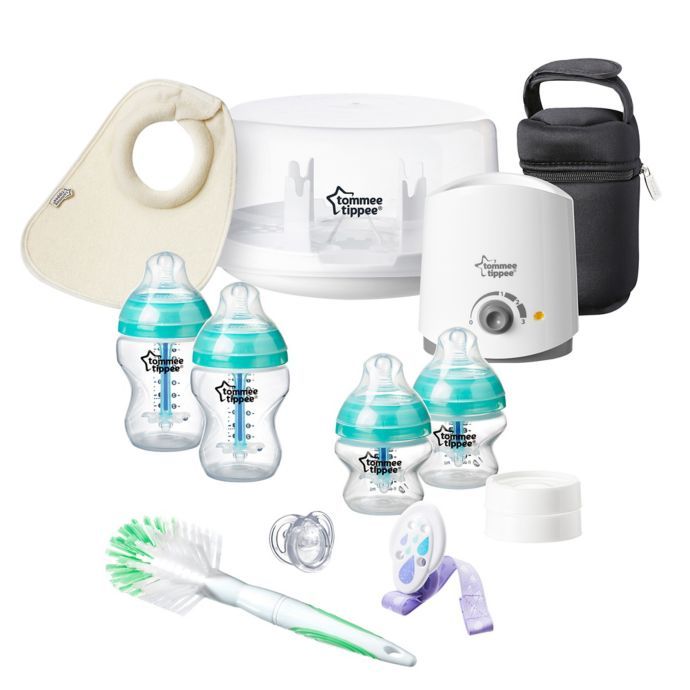
3. Press the mode button and choose the blend option. Set the blend time using the +/- buttons for a maximum blend time of 2 minutes.
4. Press the start button to start. Your Baby Food Maker will now run the steam and blend cycle automatically.
5. When cooking meat, it is extremely important to pause the unit every 10 minutes and stir thoroughly. This is to ensure even cooking
When setting the automatic steam and blend cycle, the blades will rotate once every 2 minutes to move food around the container.
To set a steam only cycle
If you’re steaming food, we recommend that you use the basket, especially if you want to make meals with a chunkier texture.
Please make sure the lid is in the correct orientation.
To steam without the basket
1. Press the mode button and choose the steam option. Set the steam time using the +/- buttons for a maximum steam time of 30 minutes.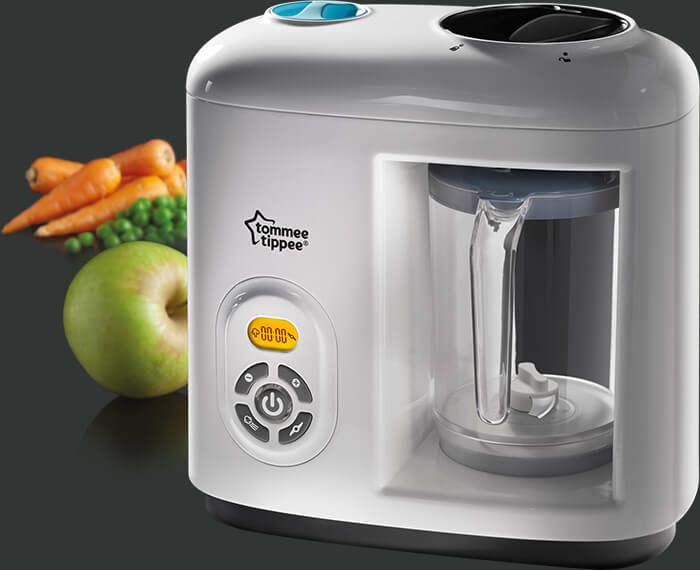
2. Press the start button to start. It will now run a steam cycle.
To steam with the basket
1. Set the steam time using the +/- buttons for a maximum steam time of 30 minutes.
2. Press the start button to start. The unit will now run a steam cycle.
To set a blend only cycle
1. Add food to the jug without the basket in place. Make sure the lid is in the correct orientation.
2. Press the mode button and choose the blend option. Set the blend time using the +/- buttons for a maximum blend time of 2 minutes.
3. Press the start button to start. The unit will now run a blend cycle.
To pulse the action
You can set a pulse action during blending to help you control the texture of the food.
1. Press the start button, then mode and choose the blend only option.
2. Select the time (using 5 second intervals) and press start. The unit will pulse once.
3. Repeat the above process for a further pulse.
To steam and blend using the basket
Using the basket to steam food before blending reduces the amount of water in the food and makes it easier to achieve a chunky texture.
1. Place food chopped into approximately half inch (1-2cm) cubes in the steamer basket and make sure that the lip of the basket is resting in place on the edge of the jug. Make sure the lid is in the correct orientation.
2. Set the steam time using the +/- buttons for a maximum steam time of 30 minutes.
3. Press the start button to start. The unit will now run a steam cycle.
4. Wait for the steam basket to cool, unclip the lock and remove from the unit.
5. Pour away any water from the jug then transfer the steamed food into the jug.
6. Make sure you change the orientation of the lid orientation to show that the food is now in the jug.
7. Press the mode button and choose the blend option. Set the blend time using the +/- buttons for a maximum blend time of 2 minutes.
8. Press the start button to start. The unit will now start a blend cycle. When the cycle has finished the unit will beep and the LCD display will turn off.
9. Leave the unit to stand for 2 mins before unlocking the jug and serving up the food.
10. Take care when removing the jug and lid as steam may still be present and the jug may be hot to touch.
When you’re steaming food, water will collect in the jug. In stage 1 weaning, where food consistency should be a smooth puree we recommend that you stir in this nutrient rich water.
In later weaning stages, when you want food with a thicker texture, we recommend removing some or all of this water depending on your baby’s preference.
To pause your Baby Food Maker while cooking
To pause cooking mid cycle, press and hold the mode button for three seconds until your Baby Food Maker beeps. The LCD will flash.
This will pause the cycle indefinitely.
You can remove the jug while cooking is paused, but it will be hot, so wait until it is cool.
Press the start button to continue the cycle.
To cancel
To stop steaming or blending mid cycle, press the start button for three seconds until your Baby Food Maker turns off.
Smart Memory Function
If you want to use the Baby Food Maker again within 30 minutes, press the start button to switch it on, then press and hold ‘+’ and ‘-‘ button at the same time. Press the start button again and it will repeat the last cycle.
Please note that the smart memory function cannot be used with steam and blend with basket.
When you've finished using your Baby Food Maker
Turn your Baby Food Maker off at the power supply and unplug it. Carefully disassemble the blade from the jug and wash all parts in warm soapy water.
If you want to prepare another batch of food straight away, make sure that you top up the water tank. You must wait for the unit to cool before topping up the water tank.
Steaming and blending guide
CLEANING & MAINTENANCE
Cleaning and descaling
Please clean your Baby Food Maker after every use and descale regularly.
To clean your Baby Food Maker
1. Turn off the power supply, unplug the unit and allow it to cool down completely before cleaning.
2. Before first use and after every use wash the jug, lid and basket in warm soapy water or use a dishwasher (top shelf only) and dry thoroughly.
3. Wash the blade, sealing ring and locking ring in warm soapy water and dry thoroughly.
PLEASE NOTE THE BLADE, SEALING RING AND LOCKING RING ARE NOT DISHWASHER SAFE.
WARNING! Handle the blade carefully as it is extremely sharp. Take care handling the sharp blade, when emptying the jug and during cleaning.
After every use wipe the jug housing with a damp cloth but do not submerge in water.
Do not clean with abrasive cleaners or allow to come in to contact with solvents or harsh chemicals as this could cause damage.
To descale your Baby Food Maker
You should de-scale the water tank of your Baby Food Maker every 4 weeks or sooner if you notice limescale. Living in a hard water area can produce limescale more quickly than other areas, so you may need to descale more often.
1. Unplug the unit and allow to cool. After each use pour away any remaining water from the water tank by tipping the unit sideways over a sink.
2. Use a descaler that is suitable for use with stainless steel and use as per the manufacturer’s guidelines.
3. Or you can use white vinegar to descale your unit. Please use as per manufacturer’s guidelines.
4. Once you have descaled the water tank, follow the set-up instructions to perform a cleaning cycle.
5. If limescale is still present in the water tank, you may need to repeat the descaling process.
DO NOT use metal objects or scourers to clean your unit.
Can I clean the parts in the dishwasher?
The jug can be cleaned on the top shelf of your dishwasher but the blade and other parts need a bit more TLC, so they need to be hand washed.
Can I disassemble the blade for cleaning?
Yes. But please take care to reassemble the parts correctly as per the setup guide we’ve given you
What does descaling do?
The descaling process removes deposits of calcium and other minerals within the system that may affect its performance.
How do I descale my blender?
We recommend using a descaler that is suitable for use with stainless steel and follow the manufacturer instructions. However, you can use white vinegar if you prefer following the guidelines.
How often should I descale?
This really does depend on the area in which you live.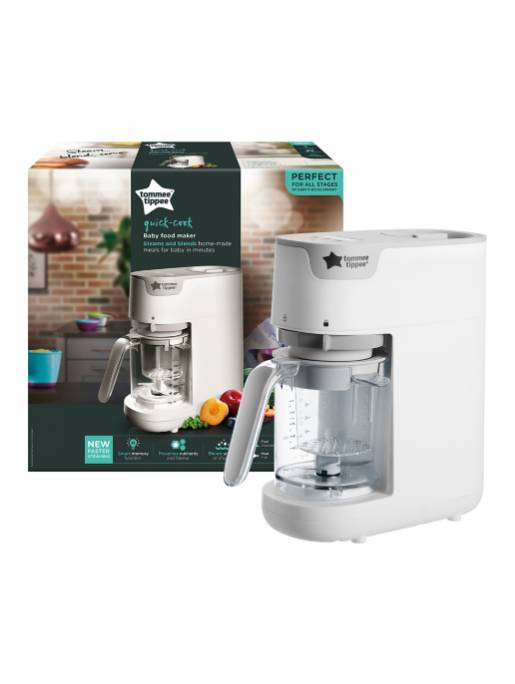 If the water in your area is hard then you may need to descale every 14 days. If it’s medium, then you’ll need to descale every 21 days and if the water is soft it’s around every 28 days. If you do notice any limescale before the descale is due, you can descale your steriliser earlier or more frequently. You can find out the quality of your water from your water provider.
TROUBLESHOOTING
Do not use the unit for anything other than the intended use.
This unit is not suitable for:
- Cooking rice, noodles and pasta
- Heating liquids, soup or water
- Chopping hard ingredients such as ice cubes and sugar lumps
- Cooking frozen foods
- Defrosting and reheating food or keeping food warm
- Heating baby food jars
- Heating bottles
Do not use before water tank is filled with water, unless using the blend only cycle.
During the automatic steam and blend cycle, the blades will turn to circulate the food. The unit is designed to do this and is a normal part of cycle.
Help, my Baby Food Maker won't start or blend
Check the that you have the jug lid in the correct position.
If you are using the jug without the basket make sure the larger image of the jug shown above (r) is facing forwards towards the handle.
If you are using the basket and the jug make sure the smaller image basket (s) is facing forwards towards the handle.
What does E1 on the display mean?
In the unlikely event that the water tank boils dry during steaming your Baby Food Maker will beep and the LCD will display error E1.
If this happens you will need to re-start the cycle and replace the food.
Unplug the unit, allow the unit to stand for 2 minutes before filling the water tank with 12 fl oz (350ml) of cold water. Re-set the cooking cycle and start again.
What does E2 on the display mean?
If you use the smart memory function but have changed the lid orientation between uses, your Baby Food Maker will beep and the LCD will display error message E2.
Reset the steam or blend mode and time and make sure the lid is in the correct orientation for the cooking mode you choose.
Help my Baby Food Maker isn’t working as well as it used to
If you find that your machine is not working as efficiently as it was, we would recommend carrying out the descaling process as there may be a build-up of limescale.
I don’t think there is enough steam, what can I do?
A lack of steam is usually an indication that the water tanks needs to be descaled. Descaling your machine will help keep everything in working order. We recommend you descale the water tank approximately every 4-weeks. But if you notice limescale earlier than this due to living in a hard water area or due to you loving your machine so much that you use it several times a day, just like your kettle, you may need to descale sooner. Four weeks is purely a guide.
Living in a hard water area can produce limescale more quickly than other areas. If you’re not sure of your water quality, you can check this out through your water provider. We recommend using a descaler that is suitable for use with stainless steel and following the manufacturer instructions. However, you can use white vinegar if you prefer and follow the guidelines provided.
There are still lumps in the food?
If you’re finding that lumps are still in the food after blending, try adding some cooled water and blending for a short time again. To prevent this happening on the next blend cycle, add the desired amount of water before you begin.
Quick-Cook Baby Food Maker
6 Best Baby Food Makers of 2023
When you’re creating your baby registry, thinking about starting your little one on solid food may sound like a long way off. But, as is the case with so many things when it comes to babies (except for those middle-of-the-night feeds, of course), time flies, and before you know it you’ll be thinking of what’s on the menu for baby’s first meal.
Baby food makers are a great solution for making the process of cooking homemade food for your little one fast, simple and even fun. Here’s what you’ll want to know when you’re considering which baby food maker is right for you. Let’s get cooking!
In this article:
- Babylist’s Best Baby Food Maker Picks
- Do You Need a Baby Food Maker?
- Baby Food Storage Ideas
Do You Need a Baby Food Maker?
Figuring out whether or not you need a baby food maker is going to depend on your lifestyle, culinary comfort level and what existing kitchen gadgets you already own.
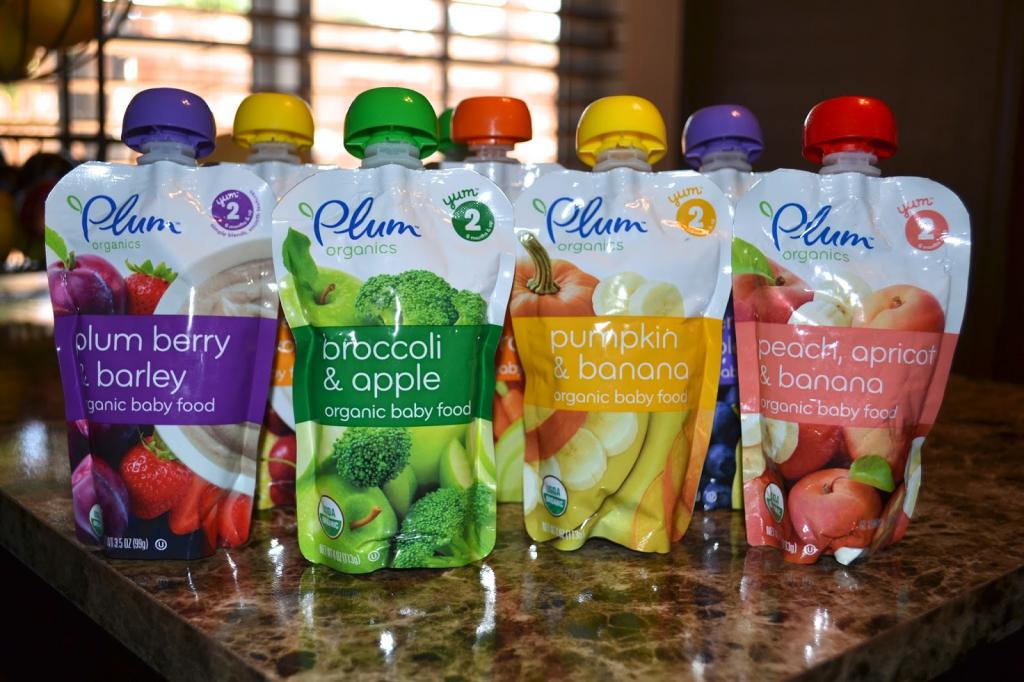
Skipping the jars and pouches and making your own baby food will definitely save you money and reduce environmental waste. Your role as head chef puts you in charge of ingredients and quality, and gives you free rein to get creative and experiment with fun food combos as much as you’d like.
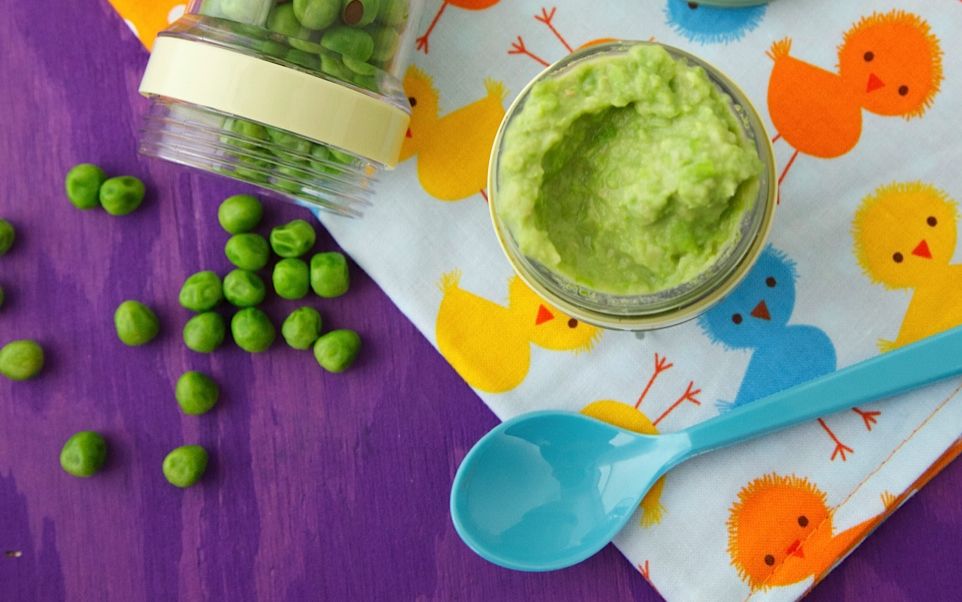
If you’re not super comfortable in the kitchen, don’t mind sacrificing some counter space and are looking for a foolproof way to dive into making your little one’s food, then a baby food maker is a wise purchase. No matter what type of gadget you go with, the process is pretty much the same: prep the ingredients, steam, puree or chop, and eat. (Your baby will add a few more messy steps in there…so be ready with the wipes). Check out our baby food-making how-to video for step-by-step instructions.
If you’d rather skip the baby food maker altogether, it’s definitely possible to take the DIY route, as long as you have a few key kitchen items on hand. Things like a large pot, a steam basket, some type of blender (a food processor, immersion blender or standard blender will all do the trick) and even your microwave are all key when it comes to making your own baby food.
Baby Food Storage Tips
Whether you’re using the kitchen gadgets you have on hand or letting your baby food maker do the work, you’ll need somewhere to store all of that delicious food so your efforts don’t go to waste. If you’re cooking up single foods (think carrots, sweet potatoes, etc.), we recommend making a few large batches in bulk and then freezing each food in trays like the ones below. After the food freezes, simply pop out the individual cubes and store them in large freezer bags so you can defrost—and mix and match—as needed.
- OXO Tot Baby Food Freezer Tray
- Mumu & Bubi Solids Starter Kit
- BabyBliss Eco Friendly Silicone Baby Food Freezer Storage Tray
For multi-ingredient, more complicated recipes, or for storing food on the go, these storage solutions get the job done:
- Sage Spoonfuls Glass Snack Pack
- OXO Tot Baby Blocks Storage Containers
How We Chose Our Best Baby Food Makers
We asked thousands of real Babylist families about the baby products they love the most, then took the top products they shared with us and added our own research and insight to tell you about the best baby food makers.
Top Chef
What Our Experts Say
The ninja of baby food makers, the Beaba is a 4-in-1 wonder that steams, blends, defrosts and reheats fruits, veggies, fish and meat in just 15 minutes. The one-handed operation means you can hold your baby, sing Itsy Bitsy Spider and make a homemade meal all at once. Its compact design won’t hog counter space and it’s truly easy to clean, even after stubborn foods like spinach or beets. We also love that the stainless steel water reservoir holds onto the condensed water, which you can pour in while pureeing to get important nutrients back into the food.
What’s Worth Considering
Looking for more? Beaba’s NEO model has a glass bowl instead of a plastic one and a larger bowl capacity (5.2 cups for the NEO versus 4.7 for the Solo) as well as a stainless-steel steam basket. For even more capacity, check out the Duo. It features two separate bowls for a total of a 9.4 cup capacity, making it a good choice for multiples or if you want to make food in larger batches.
What Babylist Parents Say
“It makes homemade baby food simple! I would probably buy store-bought if I didn’t have this. I love it even more than I thought I would. ” -Anna
All the Accessories
What Our Experts Say
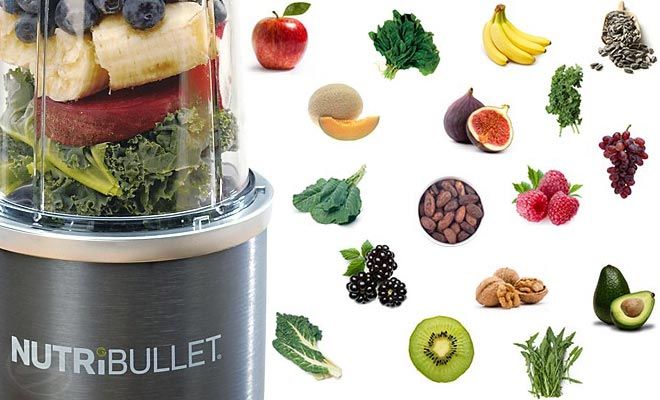
The NutriBullet is easy, convenient and comes with all awesome accessories to take your culinary game to the next level. There’s a small blender, portioned batch cups for grab-and-go convenience and storage options for the fridge and the freezer. Also included is a baby food recipe guide for some inspiration.
What’s Worth Considering
The NutriBullet is a blender only; there’s no steam, defrost or reheating options here. If you do want to steam, check out the brand’s Turbo Steamer sold separately.
What Babylist Parents Say
“It was nice to have. Especially with all the extras it comes with.” -Adela
Simple and Affordable
What Our Experts Say
Low-tech isn’t always a bad thing. If you’re simply looking to mash up soft foods for your baby—and you aren’t looking to spend a ton—this food masher from OXO Tot is a great option. Both the masher and the bowl have ridges to make the mashing easier, and there are even teeth on the masher that fit inside the teeth on the bowl so you can get to every last bit of food. Everything comes apart and fits inside the lidded bowl for storage and easy transport.
What’s Worth Considering
There’s nothing fancy going on here…but that’s sort of the point. And while you can just use your own small bowl and a fork for mashing, this gadget truly does make the process faster and easier. OXO also makes a baby food mill if you’re looking for another affordable tool for starting solids.
What Babylist Parents Say
“It’s a must have when introducing solids to your baby, especially when they can eat chunkier consistency! We use it every day and it can mush everything that is soft naturally (bananas, avocados, berries) or is cooked to be fairly soft.” -Angela
All-in-One Glass
What Our Experts Say
While many baby food makers use plastic bowls, this all-in-one steamer and blender uses sturdy glass. From fruit to veggies and meats to fish, this one-stop baby food maker makes four cups of baby food in about 10 minutes with the simple press of a button. You can also choose between steam, blend and steam or just blend, and the blade and bowl are both dishwasher safe.
What’s Worth Considering
If you don’t want to spend quite as much, Baby Brezza’s One Step Food Maker Deluxe will save you about sixty bucks and does pretty much the same thing. The prep bowl on this model is plastic, however.
What Babylist Parents Say
“This baby food maker is amazing! I can make my baby food in 15 min. I’m glad I bought it. The most important of this product it’s the glass, it’s better than plastic.” -Towatei
Affordable Two-in-One
What Our Experts Say
The Sage Baby Puree and Blend is an easy, affordable way to puree. This combo includes an immersion blender (consider it your baby food magic wand) and a food processor attachment. You can pair it with storage containers (the brand makes a host of different sets, sold separately) and you’re ready to go.
What’s Worth Considering
You’ll be surprised by how handy an immersion blender is for making grown-up foods like salsa, hummus, pesto and even soups. This is a great buy that’ll last well beyond the baby food phase.
What Babylist Parents Say
“1.) Immersion blender is sturdy 2.) Jars are glass and not plastic 3.) Has different size jars for different sizes of food storage. 4.) Customer service is great!” -Aurea
The Command Center
What Our Experts Say
One machine with LOTS of uses, the large-capacity Duo 5-in-1 cooks, blends, warms and defrosts food, and can also be used as a bottle warmer and a sterilizer. What really sets it apart, though, is the ability to steam two separate baskets of food for different cook times, which ensures all the flavors and nutrition are just right. The XL steaming bowl and blender cooks over six cups of fresh food (around 25 portions!) and warms up to three bottles at once, making it a great choice for families with multiples.
What’s Worth Considering
The Duo takes up more counter space than most other baby food makers, but still has a much smaller footprint than if you had a separate baby food maker, bottle warmer and sterilizer.
What Babylist Parents Say
“It’s everything in one. Easy to use, easy to clean, space-saving on countertop, no mess when making the food, versatile—you can use it for multiple things—and it’s something that will last well beyond the baby years. Love it!” -Claudia
This information is provided for educational and entertainment purposes only. We do not accept any responsibility for any liability, loss or risk, personal or otherwise, incurred as a consequence, directly or indirectly, from any information or advice contained here. Babylist may earn compensation from affiliate links in this content. Learn more about how we write Babylist content and the Babylist Health Advisory Board.
Baby food preparation equipment
Filter byView product list Cheapest at the top
31 52 € 37 82 €
Add to cart
Kiwi 400W
Brand: Kiwi
What means for feeding a newborn will be useful in your life?
Many parents would agree that raising newborns is no small challenge. Even when this is not the first child in the family, kids have to devote a lot of their time and take care not only of developmental activities, but also of his good nutrition. In this case, you can take a breath with about
It is very important for all parents that their child grows up healthy and active, and this, first of all, depends on proper and nutritious nutrition, which is enriched with vitamins and minerals. Therefore, to make it easier for you to prepare healthy and nutritious meals for your child, manufacturers of children's products recommend purchasing specially designed devices that have a lot of useful functions, properties, and are also very compact and high quality.
Steamer-blender
Compact and a great helper for parents of small children, as it can be used to cook healthy food for steaming, and also grind food to a puree state, which is very important when feeding babies, especially if this is the first food. Now the Philips Avent blender is very popular , which is easy to use and the whole cooking process takes place in one jug. These devices not only steam and grind healthy food, but also perform functions such as cooling, heating and sterilization. Among such devices, manufacturers such as: Philips Avent, Miniland and Badabulle are popular; With this device, you will be able to prepare milk for your baby, the desired consistency and temperature, in less than 2 minutes. Also, this machine kills all bacteria in the water during the preparation of milk formula, is easy to use, easy to clean and suitable for all types and volumes of bottles. nine0003 Are you looking for a steamer blender for baby food? Or maybe you are interested in multifunctional devices? Then we recommend that you familiarize yourself with our range, in which you will find high-quality and reliable devices that will become your main assistants in the kitchen. In the shop (3) Availability in stores Description: The Munchkin hand chopper is your go-to companion anywhere:  First, steamed products are cooked in this jug, and then, lifting and turning the jug, the cooked products are crushed to the desired consistency; nine0003
 Multifunctional cooking devices
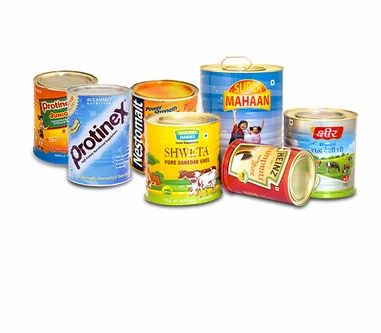
Milk formula maker
 We offer products from well-known manufacturers ( Philips Avent, Tommee Tippee, Babymoov, Badabulle, Miniland ) at affordable prices, and you also have the opportunity to choose convenient home delivery, thereby saving your time and getting your purchase in the shortest possible time. nine0003
 Munchkin Art.177517 Food Smasher set Go Mash