Baby food puree recipes stage 2
18 Amazing Stage 2 Baby Food Purees (6-8 months)
Home » Feeding Style » Baby Food Purees » Stage Two » 18 Amazing Stage 2 Baby Food Purees
18 Amazing Stage 2 Baby Food Recipes that will rock your baby’s taste buds! These colorful homemade combination purees are full of flavor, and nutrients and are a fun way for your baby to experience the wonderful world of food, one which they will never forget. It’s going to be a foodie trip of a lifetime, so pack baby’s spoon and away we go! Great 6+ month baby food, or Stage Two Baby Food.
Medically reviewed and co-written by Jamie Johnson, Registered Dietitian Nutritionist (RDN), and Lauren Braaten, Pediatric Occupational Therapist (OT).
Combination Baby Purees
Now that your baby has made their way through some or all of these delicious stage one purees, they can now move on to the more exciting world of combination purees (or stage two purees)!
With a few exceptions, most foods are now for the eating! Curry, kale, mangos, raspberries, beef, vanilla beans, asparagus, tandoori and even salmon can be on the menu.
So it’s time to tempt baby’s taste buds and start developing their palettes to love foods that are fresh, colorful, and full of good-for-you nutrients.
Looking for even more baby food ideas? You can also check out my best-selling cookbook for even more information and recipes.
Stage Two Broccoli, White Bean and Apple Puree
Watch this video to see how easy it is to make a stage two puree!
Frequently Asked Questions
What is a Stage Two Puree?
Stage 2 Baby Purees, or Combination Puree, are made with multiple ingredients such as fruits, vegetables, grains, yogurt, meats, spices, and herbs. Stage 2 Purees are still smooth but are usually thicker in consistency than Stage One Purees.
When should I move to Stage 2 purees?
It is safe for you to move on to Stage Two Purees after your baby has tried several single-ingredient Stage One purees and you feel comfortable with your baby having more exposure to a variety of foods.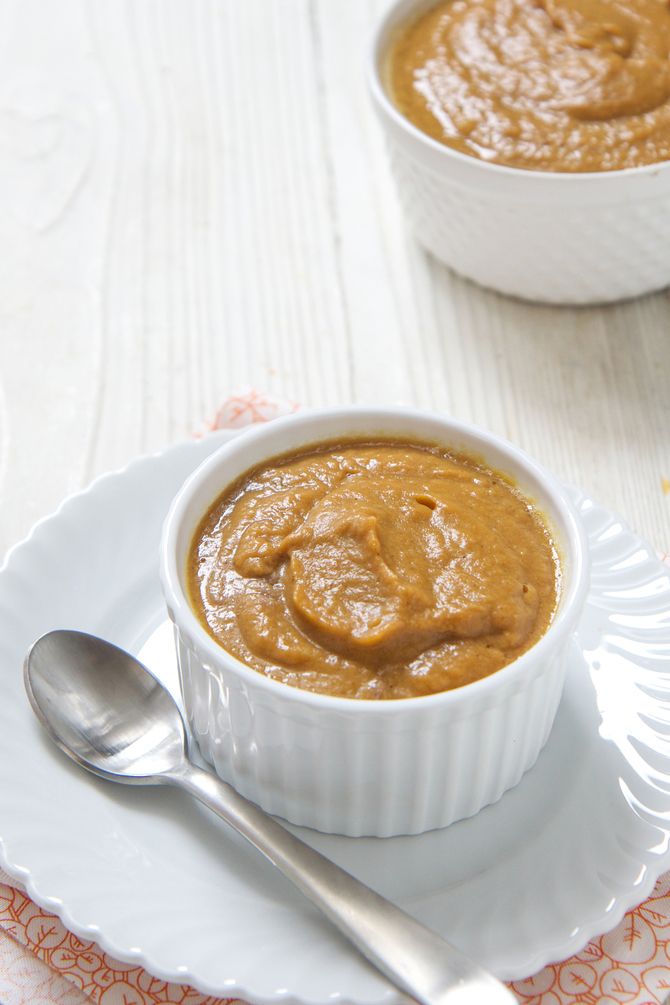 This transition from Stage One to Stage Two purees usually happens between 6-8 months.
These tools will make it a lot easier to make homemade baby food purees. For more of my favorite kitchen tools make sure to check out my shop.
- blender or food processor
- baking sheet
- saucepans
- knives
- veggie peeler
- spatula
- freezer tray
- storage containers for fridge
- stasher bag
- reusable pouches
- baby food maker
How to Make Stage Two Purees
There are two different strategies you can take when making homemade stage two purees – the first one is taking single-ingredient purees and combining them when thawed into a delicious new combination puree. For example – you can take 2 frozen cubes of broccoli puree and 1 frozen cube of apple puree, thaw them and then mix together to get a new combination puree for baby! Below I will give you some ideas on what you can do with any freezer stash you have on hand.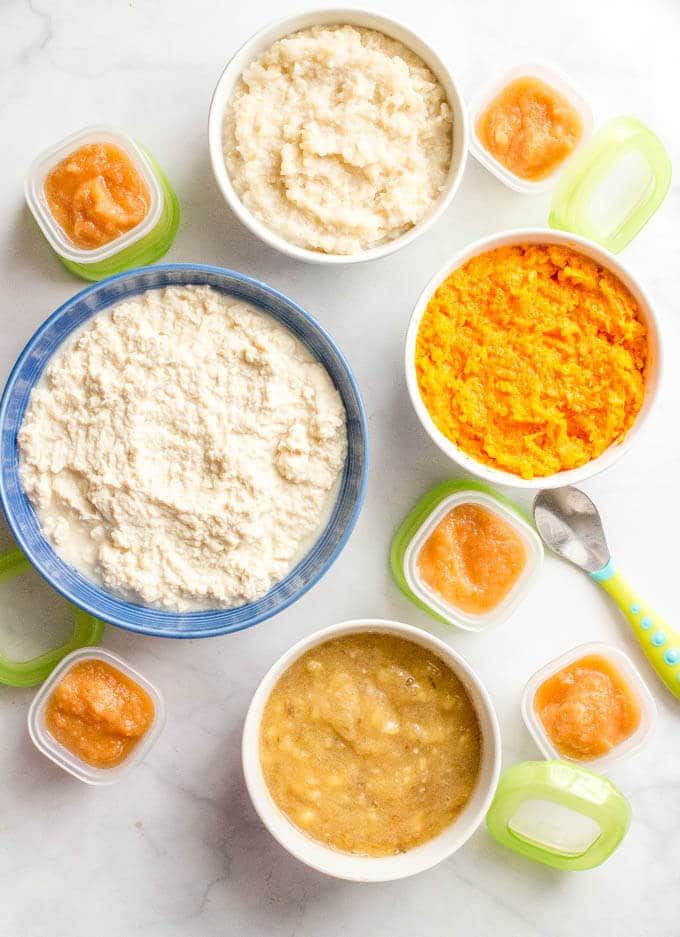
The second method is to cook delicious combination recipes that combine fruits, veggies, spices, grains and proteins in new and interesting ways for your baby. Below I have listed 18 fan-favorite recipes that have wowed babies for years!
Easy Combination Purees
- Apple + Carrot
- Banana + Avocado
- Carrot + Sweet Potato
- Broccoli + Apple
- Mango + Yogurt
- Green Beans + Banana
- Pear + Strawberry
- Peas + Broccoli
- Blueberry + Oat Cereal
- Sweet Potato + Strawberry
- Blueberry + Banana
- Peach + Strawberry
- Mango + Squash
- Broccoli + Quinoa Cereal
- Broccoli + Green Bean + Pear
- Squash + Banana + Sweet Potato
- Strawberry + Rice Cereal + Carrot
- Peas + Pears + Broccoli
- Avocado + Strawberry + Oat Cereal
Every recipe below has specific instructions on how to store that particular puree, but these are the general guidelines.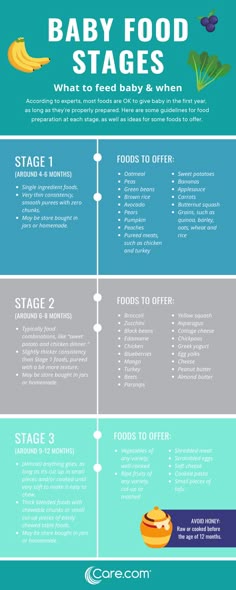
You can store the puree in an airtight container in the fridge for up to 4 days.
FreezerMost homemade puree can be frozen for up to 4 months.
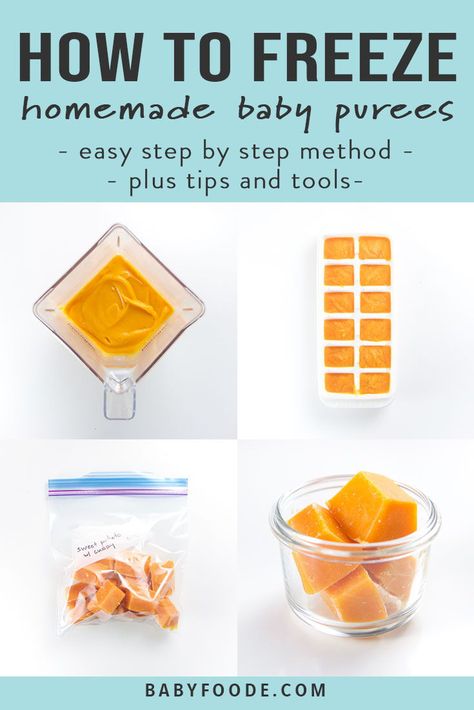
- Spoon puree into a freezer storage container. Do not overfill.
- Place the lid on the storage container or cover with a piece of saran wrap, and label with the date and recipe name.
- Place the tray into the freezer and let it freeze completely — preferably overnight.
- Pop-out the baby food cubes and place them in a ziplock baggie or stasher bag. Don’t forget to relabel the baggie or stasher bag for future reference.
Need more information on how to store your baby foods? Head over to my Best Baby Food Storage Containers – Plus 6 Tips on Freezing and Thawing post!
Feeding Tips
- Try adding a little seasoning or spice to purees – babies like flavor! Or consider changing the temperature of purees from time to time, to slightly warmed or slightly chilled.
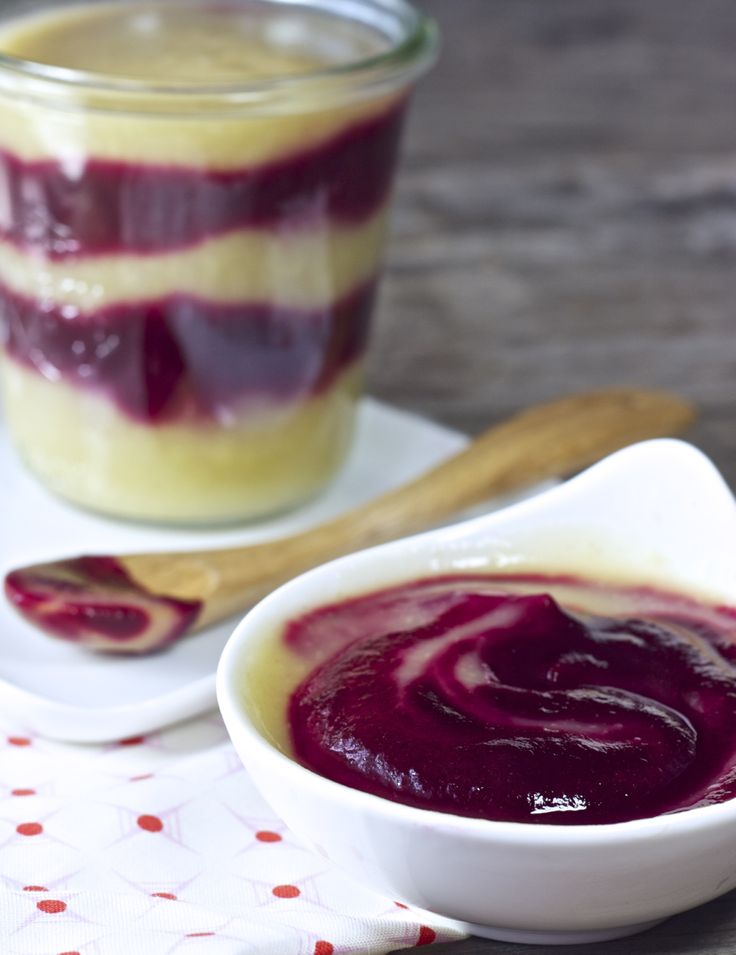 Varying these aspects adds to the sensory experience!
 - Place a small amount of puree on the tray during spoon-feeding, so that your baby can dip their fingers or hands in the puree. Allowing your baby to explore foods in this way helps them learn to self-feed and can help them be more willing to try new textures and foods in the future.
- Have a spare spoon (or three!) – even very young babies often want to be involved in feeding themselves as much as possible. Giving your baby an extra spoon to hold can be helpful in giving her a sense of control and also promotes hand-eye coordination. Allow your baby to use spoons as a teether during the meal. There are many great options out there but a few we particularly love include the Olababy 3 Piece Set, the NumNum Pre-Spoon GOOtensils, and the ChooMee FlexiDip Baby Starter Spoons.
- Purees are great to keep in your baby’s regular rotation of foods – but if you start feeding with traditional weaning using purees, make sure to progress beyond eating ONLY purees.
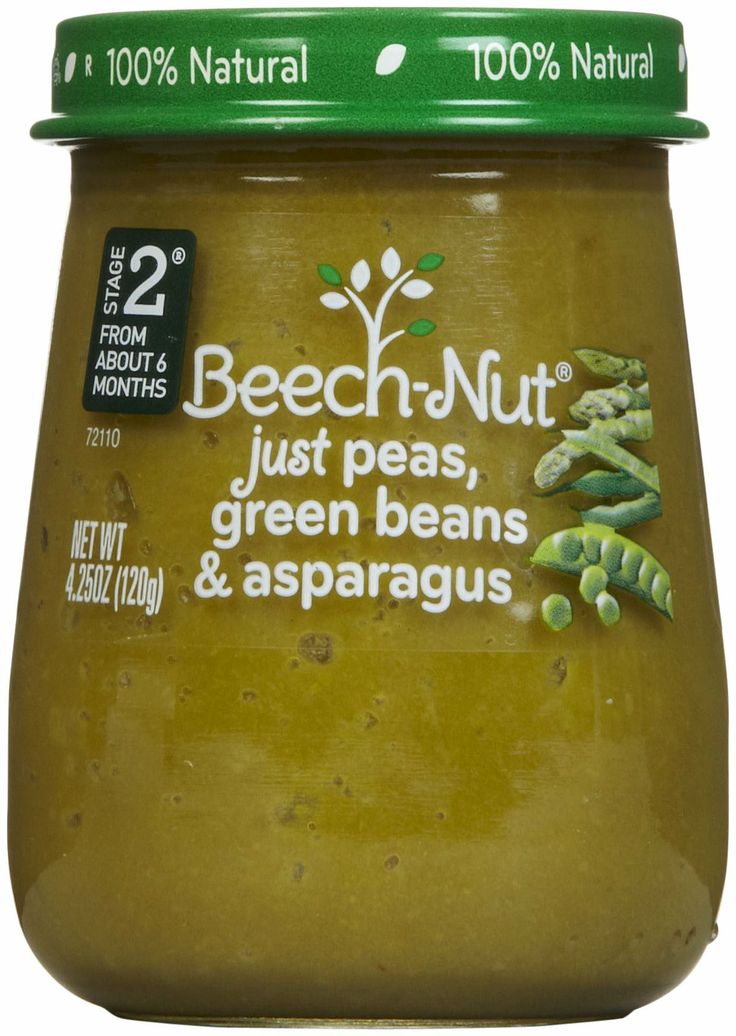 Once your baby can safely and comfortably swallow purees (usually by 7 or 8 months) it’s time to introduce other textures, such as teething biscuits and soft-cooked finger foods. Moving onto additional textures in a timely manner may help prevent feeding difficulties at a later age.
Broccoli, Apple + White Beans Baby Food Meal
5 stars (19 ratings)
This broccoli, apple and white beans recipe can either be made as a puree for your littlest or served as baby led weaning. Made with just 3 simple ingredients, the plant based puree, or the finger food, is all made in one pot. The puree is great for make ahead freezer baby meals.
Get the recipe
Chicken, Squash + Cauliflower Baby Food Meal
5 stars (6 ratings)
This sheet pan meal is so easy, and it makes a smooth, easy to eat puree or is ideal for baby-led weaning. Chicken, squash and cauliflower baby food is ideal for make ahead meals for your little ones and full of healthy and natural ingredients.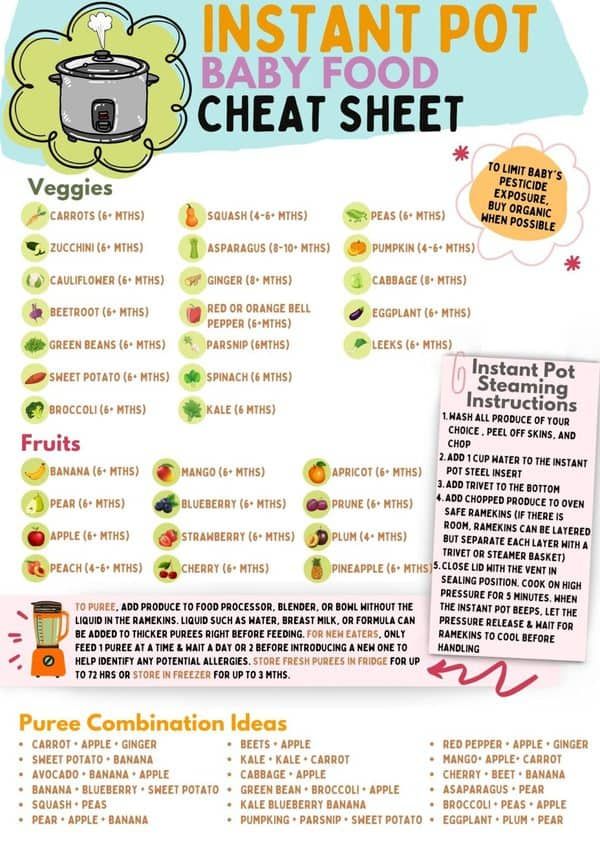
Get the recipe
Mango + Kale Baby Food Puree with Ginger
4.86 stars (7 ratings)
This puree has it all – super sweet mango, healthy superstar kale and a pinch of tummy yummy ginger that will leave your baby happy and healthy!
Get the recipe
Banana, Cherry + Beet Baby Food Puree
5 stars (8 ratings)
This intensely colored Banana, Cherry and Beet Baby Food Puree is full of fiber, potassium, antioxidants and a vast amount of other essential vitamins and minerals for baby.
Get the recipe
Cauliflower, Apple + Tandoori Baby Food Puree
No ratings yet
This Cauliflower, Apple + Tandoori Baby Food Puree finds the perfect balance of sweet, tangy with a slight kick from the tandoori. Great way to introduce baby to the bold and exotic flavor profile of tandoori.
Get the recipe
Roasted Root Veggies + Thyme Baby Food
5 stars (6 ratings)
This golden yellow puree is filled with roasted carrots, sweet potatoes, parsnips, and beets and sprinkled with a little olive oil and thyme for a delicious and healthy baby puree meal!
Get the recipe
Blueberry Chickpea with Rosemary Baby Food Puree
5 stars (42 ratings)
This puree is packed with antioxidants, fiber, Vitamin A and C from the blueberries and protein, zinc, manganese, folate and iron from the chickpeas.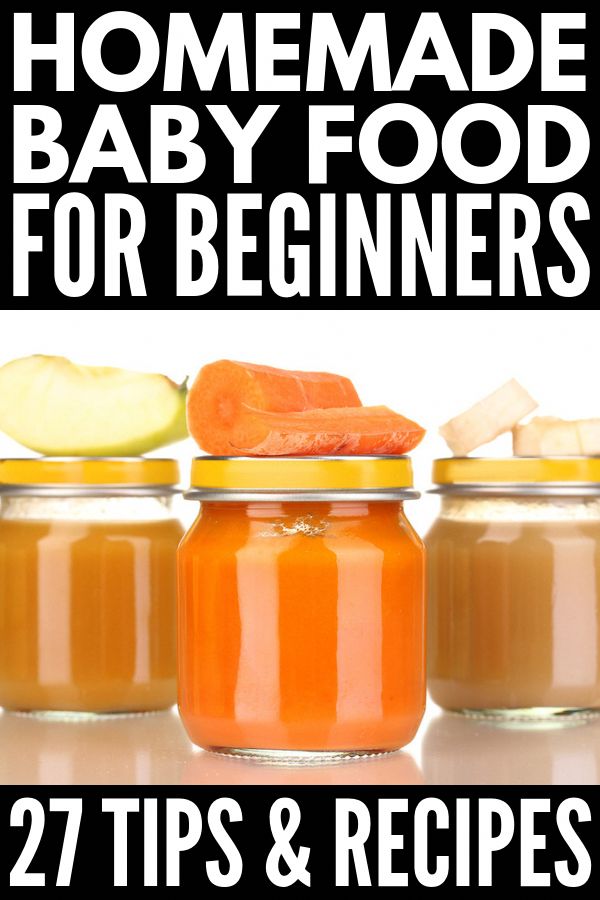 All of that goodness packed into a super simple and delicious puree!
Get the recipe
Spiced Pear Oat Baby Food Puree
5 stars (14 ratings)
Loaded with fiber, complex carbohydrates and anti-inflammatory support for a busy baby. Great Stage 2 or 3 baby food.
Get the recipe
Roasted Strawberry + Salmon Baby Food Puree
4.75 stars (20 ratings)
This Roasted Strawberry + Salmon Baby Food Puree is loaded with healthy omega-3's, antioxidants, vitamin A and potassium, and is perfect for both babies and toddlers!
Get the recipe
3 Berry + Apple Baby Food Puree
5 stars (4 ratings)
This puree that is bursting with essential nutrients for growing baby – fiber, antioxidants, phytoflavinoids and countless other vitamin and minerals.
Get the recipe
Carrot, Corn & Pumpkin Baby Food Puree
5 stars (10 ratings)
This comforting fall flavored Carrot, Corn & Pumpkin will surly be a winner with baby’s expanding tastebuds.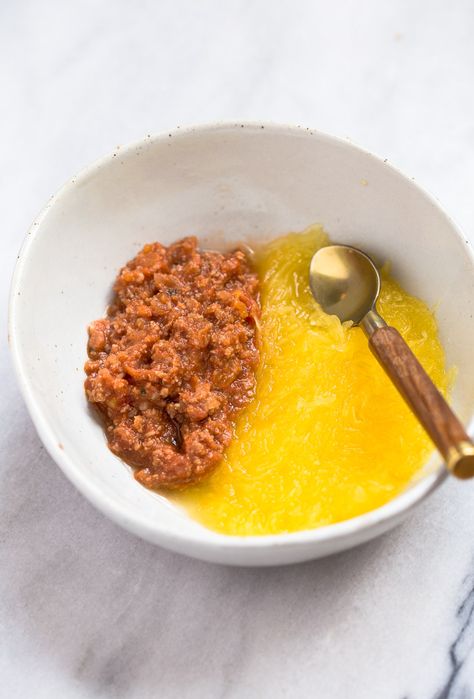 And since it is filled with nutrients that help boost baby’s eye, nerve, bone and brain development, it will be a winner with mom as well.
Get the recipe
- 1 cup blueberries
- 1 cup chickpeas, strained and rinsed
- pinch fresh rosemary, coursely chopped
In a blender or food processor, add in the blueberries, chickpeas and rosemary.
For a smooth stage 2 puree, puree on high for 1-2 minutes or until completely smooth, adding in 1 tbsp of water at a time to achieve this consistency.
For a chunky stage 3 puree, pulse for 10 seconds at a time, scraping down sides every 30 seconds and stopping when you have desired consistency, adding in 1 tbsp of water at a time to achieve this consistency.
Age: 6+ months
Yield: 12 ounces
Storage: Fridge – store in an airtight container in the fridge for 3-4 days. Freezer – can be frozen for up to 1 month.
Blender
Freezer Tray
Bumkins Sleeved Bib
EZPZ
Did you make this recipe?
Tag @babyfoode on Instagram and hashtag it #babyfoode!
Pin Recipe Email a Friend
Broccoli, Apple + White Beans Baby Food (Puree or BLW)
Home » Feeding Style » Baby Food Purees » Stage Two » Broccoli, Apple + White Beans for Baby (Puree or Baby-Led Weaning)
byMichele Olivieron June 22, 2020 (updated May 23, 2022)
Jump to RecipeJump to Video
5 stars (19 ratings)
This Broccoli, Apple and White Beans baby food recipe can either be made into a stage 2 puree, served as finger foods for baby-led weaning or even served to toddler as an easy meal. Made with just 3 simple ingredients, the plant-based meal, is all made in one pot. Great for babies 6 months and up!
One-Pot Meal for BabyThis is such a great two in one (or one in two!) recipe that’s ideal if you are feeding baby combination purees as well as starting to ween them onto finger foods. This recipe is also great for families doing baby-led weaning!
Purees or Baby-Led Weaning – this recipe is prefect for whatever your feeding style is 🙌!
Made with wholesome and nutrient-dense ingredients🥦, your little one will love this protein-packed meal!
Even better news for us moms…you only need one pot and both options take less than 20 minutes to make⏰.
The puree freezes so well too, which is such an important time saver!
Reasons to Love this Meal for Baby- can be made into a combination puree – stage 2
- can be served as a finger food for baby-led weaning
- pair with a fun dip for an easy toddler meal
- great for 6 months and up
- full of fiber, iron, protein and
- 3 simple ingredients
- one-pot meal
- made in less than 20 minutes
- the puree is freezer-friendly
- plant-based meal for baby
Broccoli Apple Baby Meal Video
Watch this video to see how easy this meal for your baby is to make!
IngredientsMake sure that your broccoli and apple are fresh and ripe, and use organic if you are able.
- Broccoli: This nutrient dense green veggie is a great source of fiber and protein and contains a tonne of vitamins like A, B, C, E and K. It helps to build strong bones and also contains folic acid.
- Apple: As well as adding a little sweetness, the apple also adds fiber, maganese and copper, as well as vitamins A, C and E.
- White Beans: White beans are loaded with nutritional benefits and they are a great food to introduce your little ones to. Packed full of fiber and protein, folate and magnesium as well as a host of other micronutrients like copper and zinc. Common white beans are cannellini (or white kidney) and Great Northern beans.
- In a medium saucepan, bring 2 inches of water to a boil. Place all of the ingredients into a steamer basket, cover and cook for 8-10 minutes or until apples and broccoli can be easily pricked with a fork.
- Let cool slightly.
 Reserve steamer water if you are making the puree.
- Transfer all of the ingredients into a blender or food processor and puree for 1-2 minutes, adding water in 1/4 cup increments if needed.
- Let cool.
- Serve in long 2-3″ strips or chop into “pea” size pieces.
- Smash the beans to make them easier for baby to pinch and self feed.
This recipe makes about 20 ounces of puree, which is enough to serve for the next couple of days and freeze some for later. Make sure that the puree isn’t too hot before placing a serving in your baby’s favorite bowl.
Baby-Led Weaning or Finger FoodsTo serve as a finger food, place on a plate and serve to baby. I like to gently smash the cooked beans so they are a little easier to grip for baby.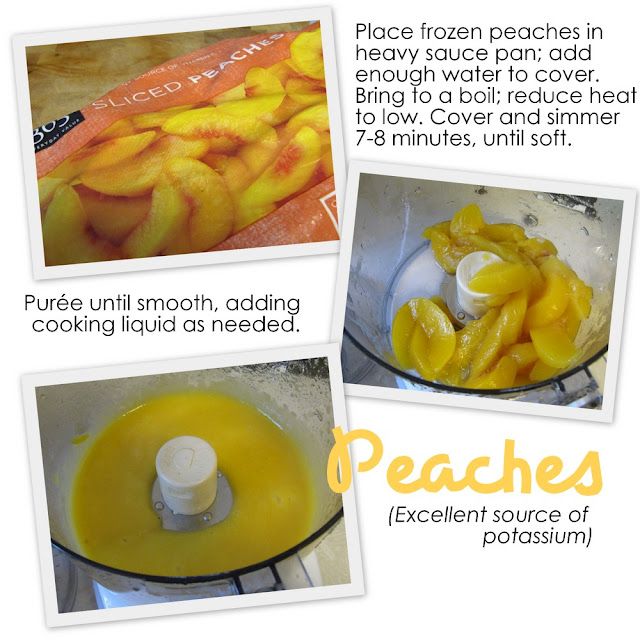
Both the finger food and the puree can be stored in a baby food container in the fridge for up to 4 days.
The puree can also be frozen for up to 4 months and thawed in the fridge to serve.
More Recipes Your Baby will Love- 18 Stage 2 Baby Food Purees (That Baby Will Actually Eat)
- 9 Best Organic Baby Food Pouches (expert review)
- 18 Breakfast Ideas for Baby (6+ months)
- 125 Baby Led Weaning Foods (Starter Foods + Recipe Ideas)
- Freezer-Friendly Spinach Waffles for Baby + Toddler
- Medium Saucepan
- Steamer Basket
- Blender or Food Processor
- Freezer Tray
- Storage Containers for Fridge
I’D LOVE TO KNOW HOW IT TURNED OUT! LEAVE A COMMENT AND A ⭐️ RATING BELOW 👇
- 2 cups broccoli florets
- 1 apple, peeled, cored and sliced
- 1/3 cup white beans, rinsed
In a medium saucepan, bring 2 inches of water to a boil. Place all of the ingredients into a steamer basket, cover and cook for 8-10 minutes or until apples and broccoli can be easily pricked with a fork. Let cool slightly. Reserve steamer water.
For a Baby Food Puree – transfer all of the ingredients into a blender or food processor and puree for 1-2 minutes, adding water in 1/4 cup increments if needed.
To serve as a finger food or Baby-Led Weaning, place on a plate and serve to baby. I like to gently smash the cooked beans so they are a little easier to grip for baby.
Age: 6 months and up
Yield: 8 large baby-led weaning servings or roughly 20 ounces of puree
Storage: Finger foods and purees can be stored in an air-tight container in the fridge for up to 4 days. The puree can also be frozen for up to 4 months (this and this are my favorite freezer storage containers).
Favorite Kitchen Tools: Get a list of my favorite kitchen tools to make the best baby food here!
Serving: 1serving, Calories: 50kcal, Protein: 2.7g, Fat: 0.2g, Sodium: 9mg, Potassium: 253mg, Fiber: 2.6g, Sugar: 3.5g, Calcium: 31mg, Iron: 1mg
Did you make this recipe?
Tag @babyfoode on Instagram and hashtag it #babyfoode!
Email a Friend
Recipe for applesauce for the winter for children
For their baby, mothers try to choose the best, most beautiful and useful.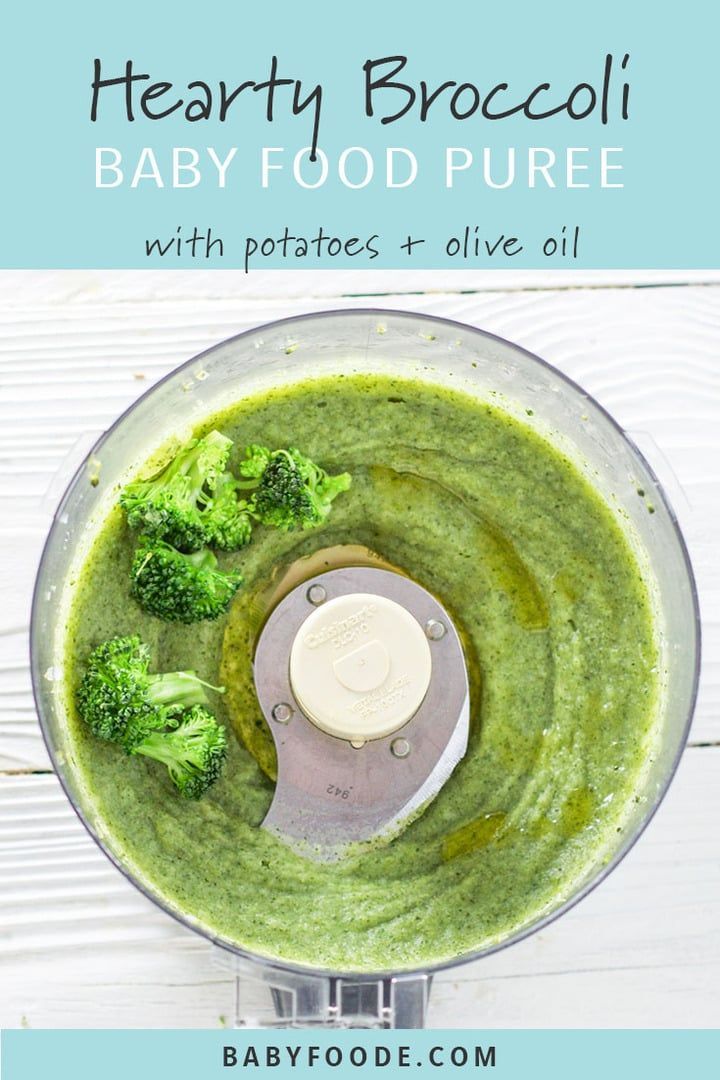 So why not make your own applesauce for the winter for children from seasonal tasty and fragrant apples. No store-bought puree stood next to a jar of fragrant food prepared by the caring hands of my mother.
- General\Active cooking time: \
- Rating: 5 / 5 12 reviews Read more about the rating
★★★★★
12
Rate recipe
- Servings: 12 servings
- Calories (100g): 43 kcal
- Price: very economical
Ingredients:
- Apple - 2 kg or any quantity
- Water - 200 ml (approx.)
Preparation: Step 1
-
Making applesauce for the winter for children at home is not at all a troublesome task.
 All you need is delicious apples. There is no sugar in the puree, only apples and a little water. If you still take sour varieties of apples, you can sweeten the puree a little, but this is also at your discretion.
 Use ripe, sweet and juicy apples to make baby puree. Let them not look perfect, ugly apples do not mean tasteless.
This recipe uses domestic summer juicy apples - variety "Gala".
-
Step 2
Wash the apples thoroughly and cut off the skin. This process is quite lengthy in mashing. A vegetable peeler will help to quickly remove the peel, or involve assistants in the work.
While peeling apples, count the number of apples and write them down. We will need this information.
-
Step 3
Cut out the core with seeds, remove the tails, etc. Cut apples into small cubes.
-
Step 4
By the way, do not rush to throw away the apple peel. It can be frozen in plastic bags (for up to 6 months) and boil compotes from it or add to tea.
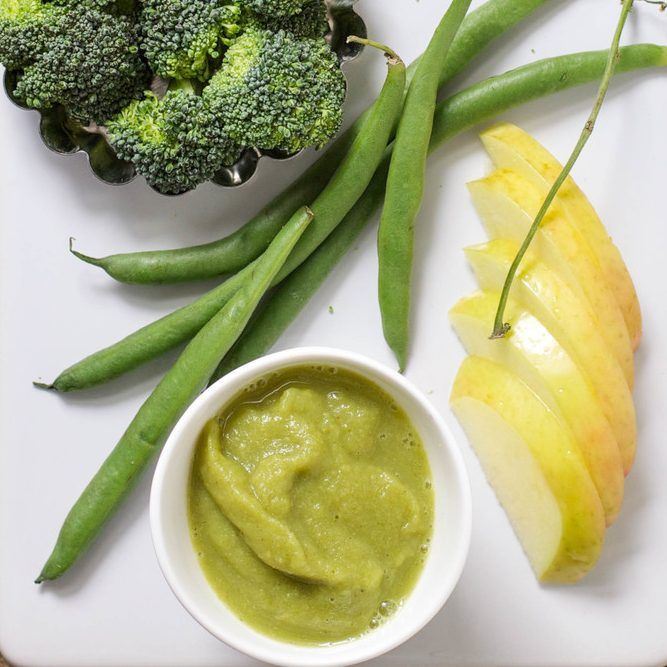 The peel is very fragrant, and it contains many vitamins, so it can also be used.
 -
Step 5
Choose a saucepan or saucepan with a thick bottom and pour boiled cold water at the rate of 1 apple - 1 tablespoon of water. Remember, you had to count the apples?
Why is water needed? So that the apple cubes do not burn to the bottom, then they will be stewed in their own juice.
Reduce the heat, put a pot of water and apple cubes on the fire, cover and simmer for 10-25 minutes. The time will depend on the variety of apples, on how tough they are.
If you decide to add sugar, then do it right now - at the stage of stewing. Add it to taste, focusing on the acidity of apples.
If the puree will be eaten by older children (from two years and more), then you can add a pinch of cinnamon to it.
-
Step 6
While the apples are stewing, you can prepare the cans for seaming. It is better to roll baby applesauce into small glass jars (about 100-150 ml each).
 Such a small package is convenient to eat at a time and not leave for later.
 Sterilize jars with lids by steam, microwave or oven. I steamed by placing a metal steamer in a pot of water.
-
Step 7
After the specified stewing time, you need to puree soft apples - you can use an immersion blender or rub through a fine sieve. Put the puree back on the fire and wait until bubbles appear. It's best to cover the pot at this stage, otherwise the bubbles will explode and could get on your skin or stain your work surface and stovetop.
-
Step 8
Carefully place hot puree in clean jars and seal tightly. Store in a dark and cool place. If there are few jars and there is room in the refrigerator, then it is better to keep them there.
Applesauce can be used for more than just complementary foods. It perfectly complements porridge, dairy and cottage cheese desserts, casseroles, it can be served as a sauce for pancakes, pancakes or spread on cookies.
 You can also cook delicious baked barley porridge with plums.
 Bon appetit to your children!
Categories: Recipes for blanks, What to cook for children: menus from 1 to 7 years old, Apples for the winter: recipes
Save this recipe to Telegram or VKontakteDo you like these recipes?
Recipe Author Julia Akhanova
Author of culinary blogs on Instagram and LiveJournal.
Freezing expert on the Menu of the Week website.
Photo stocker.
Author of recipes in the culinary magazine “I Love Cooking”, co-author of the culinary websites “Foodclub.ru”, “mir-krup.ru”.
View all recipes by author
how to make puree from vegetables and fruits. 10 recipes. How to prepare vegetable puree for the first feeding
When it comes time to introduce complementary foods, many parents are at a loss. At what age should you give the first complementary foods? Do you cook baby food yourself or buy industrial products, in jars? The book "Food for the little ones" offers a modern European view on this issue and dispels many doubts. Here are some homemade vegetable and fruit puree recipes and tips for storing them.
The mash feeding phase is not a hard and fast period that must last a fixed number of weeks. Some parents skip it altogether, while others believe that vegetable and fruit purees should be the basis of complementary foods for several months. But in any case, mashed potatoes are just the beginning, the first step on the way to "normal" food. As soon as the child is ready for this, it is very important to accustom him to dense foods, to food that you can take with your hands and chew.
Try making simple one-ingredient purees, and as your child gets used to them, move on to more complex recipes.
If you are going to feed your baby puree, I recommend getting a stand blender with a tall jug. Handheld immersion blenders are great for puréeing soups or other fairly runny mixtures, but they don't always work well with thicker ones.
When making puree for kids, there is no need to wear a white coat and hairnet, but it is still worth remembering hygiene. In young children, the immune system has not yet strengthened, and they are more sensitive to viruses, and food poisoning is extremely dangerous for them. In addition, when you peel, cut, and rub fruits and vegetables, you give bacteria more room to feed and thrive. No need to panic, just follow some rules.
Basic Hygiene for Mashing
Mashed boiled foods can be kept in the refrigerator for 24 hours or frozen in small portions. The classic freezer is an ice tray, but I prefer silicone molds for mini muffins. They have the perfect volume for a single serving of puree and are very easy to take out. Defrost the puree in the refrigerator, then reheat well and cool slightly before serving. You can't reheat more than once.
Fresh fruit puree should not be frozen, because when defrosted, they will need to be heated up strongly, and this is not very good.
Many fruits and vegetables need to be mashed with water. Instead, you can use breast or artificial milk - it will enrich the mixture with calories and nutrients.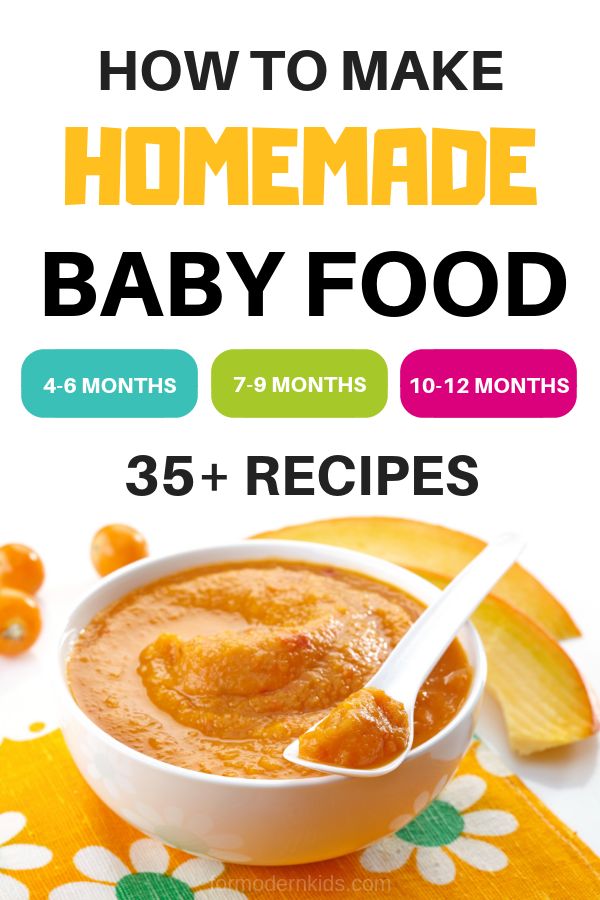 But if you are going to store mashed potatoes in the refrigerator or freezer, diluting it with milk is not very good in terms of sanitation. Purees to be stored are best diluted with water - moreover, the one in which vegetables or fruits were cooked, because some of the vitamins passed into it. Puree intended for freezing is best made quite thick; and after defrosting and reheating, fresh milk or fresh hot broth can be added to it.
One-ingredient puree to start with
This is usually the start of weaning to monitor your baby's response to new foods.
Apple or pear. I always steam them: this retains nutrients, and the puree is thicker and richer than from fruits boiled in water. Peel 2-3 apples or pears, remove the core and cut into slices. Place in a steamer net or a fine sieve over a pot of simmering water. Cover and cook 6-8 minutes, until soft. Rub in puree. You will get 250-350 ml.
Apricots. Steaming apricots is an easy way to get rid of the skin (you can also steam peaches).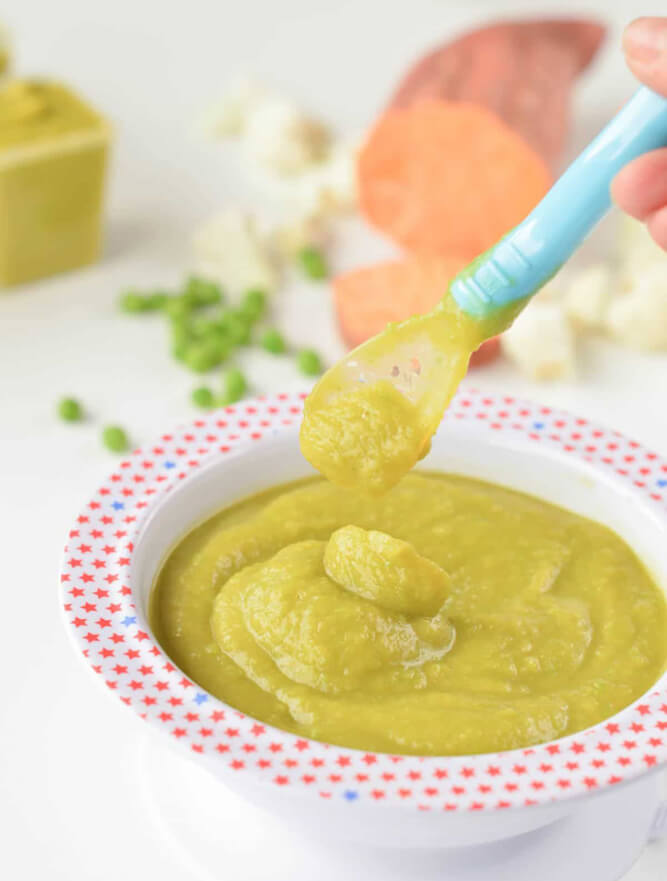 Cut 4-5 apricots in half and remove pits. Place cut side down in a single layer in a fine sieve and place over a saucepan of simmering water. Cover and cook for 5 minutes. Remove the sieve and wipe the apricots through it (discard the skin). You will get about 100 ml puree.
Polka dots. Boil a pot of water. Pour in 200 g of fresh or frozen peas, bring to a low boil and cook until soft (about 5 minutes frozen, a little longer fresh). Drain in a colander, reserving the water. Transfer the peas to a blender and grind into a puree, diluted with water to the desired consistency. If you want a perfectly smooth puree for a very young child, strain the mixture through a sieve. Approximately 300 ml.
Pumpkin. Cut the pumpkin into 2 or 4 pieces and scrape out the seeds. Place cut side up in a deep baking dish and pour in half a glass of water. Cover loosely with foil and bake at 190°C until soft - 45-60 minutes (time depends on size and variety of pumpkin).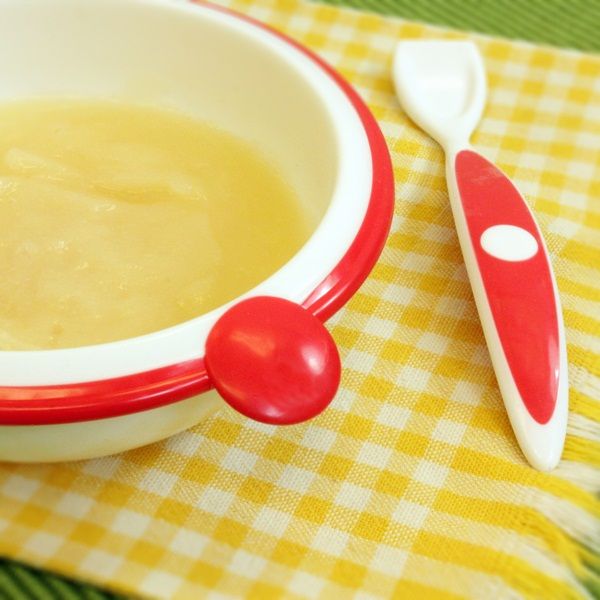 Scoop out the pulp and mash into a puree, adding liquid if necessary. Half a butternut pumpkin will make about 300 ml of puree.
Next step: mixed purees
As your child gets used to the simplest purees, move on to more complex options. Gradually make the puree thicker and more satisfying by adding ingredients rich in proteins, carbohydrates and fats.
As soon as you think that the child is ready for this, make the puree thicker, do not puree, but knead or chop the ingredients. To make the puree more satisfying, try these additions:
- before serving, add grated cheese, a little cream, butter or whole natural yogurt - if the child is already six months old;
- hard-boiled and chopped egg - again, if the child is six months old;
- a few finely chopped freshly cooked chicken or fish;
- boil rice or pasta with vegetables;
- If you cook vegetables in water, add red lentils.
Broccoli, potatoes and fish. Potatoes should not be ground in a blender or food processor - this makes them sticky. It is better to mash it by hand or add it to mashed potatoes from other vegetables. Bake 1 potato at 200°C for an hour, until soft. Toward the end of baking, place 1 small fish fillet (such as saithe or mackerel) on a foil-lined baking sheet and place in the oven for 10 minutes. Disassemble the fish into flakes, carefully removing the bones. Cut off the tough stems from 250g of broccoli and place it in a double boiler or fine sieve set over a pot of boiling water. Cover and cook until soft, about 8 minutes. Cut the finished potatoes in half and scrape out the pulp, and then mash. Either puree fish and broccoli or chop very finely. Mix with mashed potatoes, adding liquid if desired. Approximately 300 ml puree.
Spinach, spelled and onion. Pour 50 g spelled (or barley) into a small saucepan and cover with plenty of water. Bring to a boil and cook over high heat for 20 minutes until fully cooked (barley takes longer to cook).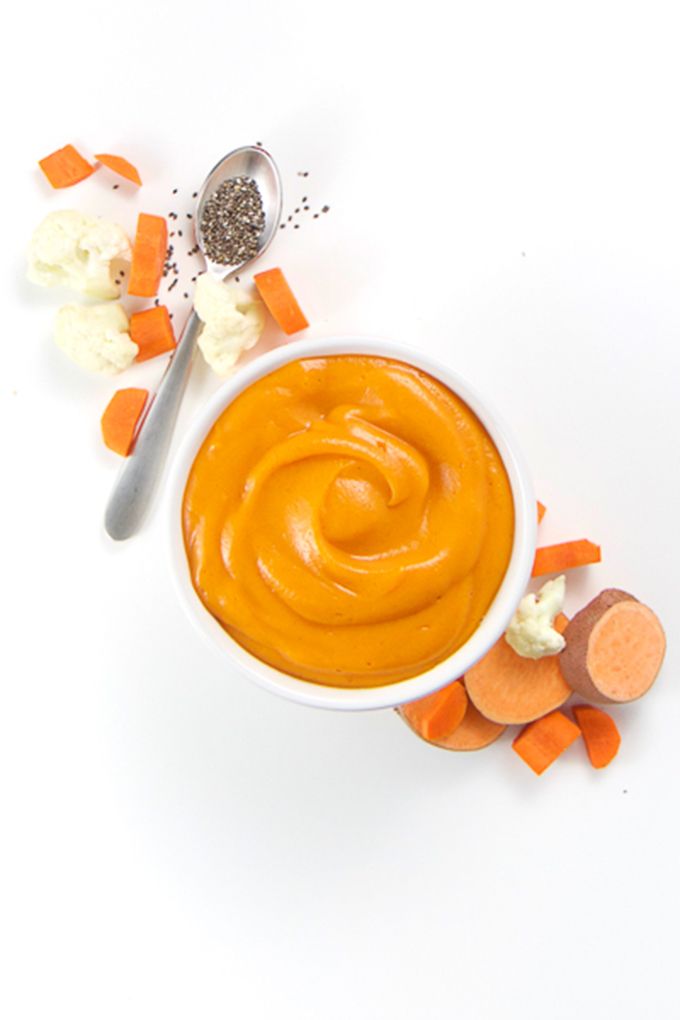 Drain and save water. Wash 300 g of spinach and tear off the tough stems from large leaves; leave small ones whole. Put the spinach in a saucepan and put on medium heat (the water left on the leaves is enough for cooking). Cover and tether the spinach - it only takes 3-4 minutes. Drain in a colander (but do not wring out). Finely chop 1 small onion. Heat in the pan where the spinach was cooked, 1 tbsp. l. rapeseed or olive oil over medium heat and fry the onion for 10 minutes, until soft. Grind spelt, spinach and onion in a blender, adding 1 more tbsp. l. oils. Dilute a little with water from spelled cooking. Spelled will give the puree a nice, slightly lumpy texture. Approximately 500 ml.
Chicken and salad. Cut 2 skinless and boneless chicken thighs into equal pieces. Put them in a small saucepan and add enough water to barely cover the chicken. Bring to a boil, reduce heat and cook for 8 minutes. Meanwhile, coarsely chop 1 head of romaine lettuce. Add to chicken, stir and cover. Cook for 3 more minutes, tossing a couple of times, until the salad is completely wilted. Put everything together in a blender and grind into a puree. You will get approximately 300 ml.
Fruit-based puree
As soon as the child is ready, thicken the puree, do not puree, but knead or chop the ingredients. For a more satisfying puree, try the following:
- add cream or natural yogurt before serving - if the child is already six months old;
- mix fruit puree with porridge - oatmeal or other cereals;
- add a little spice, such as a pinch of cinnamon or a few drops of vanilla extract.
Citrus fruits and berries can cause allergies. Give them along with those fruits that definitely do not cause problems for your child to track the reaction.
Apple and dried apricots . Put 100 g of dried apricots in a small saucepan, cover with water and leave overnight. Peel 2 apples, remove the core and cut into slices.