Can you freeze homemade banana baby food
How to Make Banana Baby Food
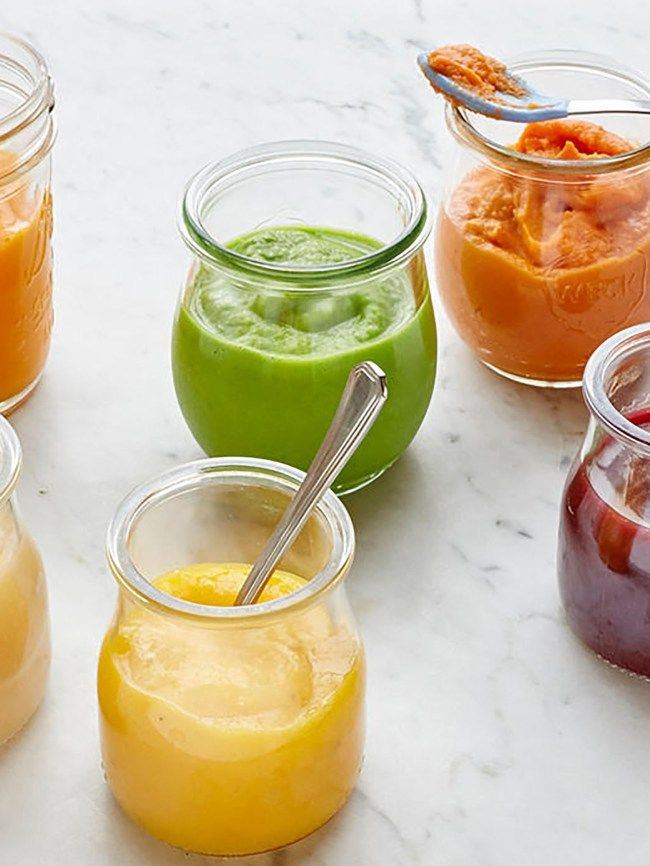
Learn how to make banana baby food—and your baby full and happy—in just a matter of minutes.
Baby food has come a long way since we were all infants. A-list stars are creating their own brands, and there are multiple organic, chemical-free brands readily available in stores. But even though the packaging, additives and availability might have changed over the years, one thing remains pretty constant with baby food. Banana always makes its way to the top of the favorites list!
Luckily for parents, learning how to make banana baby food is a total breeze. Plus, banana is a really great and not-too-intimidating food to get you accustomed to making baby food on a daily basis.
Why is banana such a good baby food?
A banana makes for such great baby food because when infants eat it, they’re receiving all the nutritious benefits that the fruit has to offer (think vitamin B6, vitamin C, potassium, fiber and magnesium). It all goes down without a hitch since bananas are naturally sweet.
The fact that bananas are a healthy, easy-to-eat food with minimal spoon throwing or spit-up is already a win in most parents’ book—but a banana is such a great baby food choice because it’s so cost-effective and easy to make as well.
How to Make Banana Baby Food
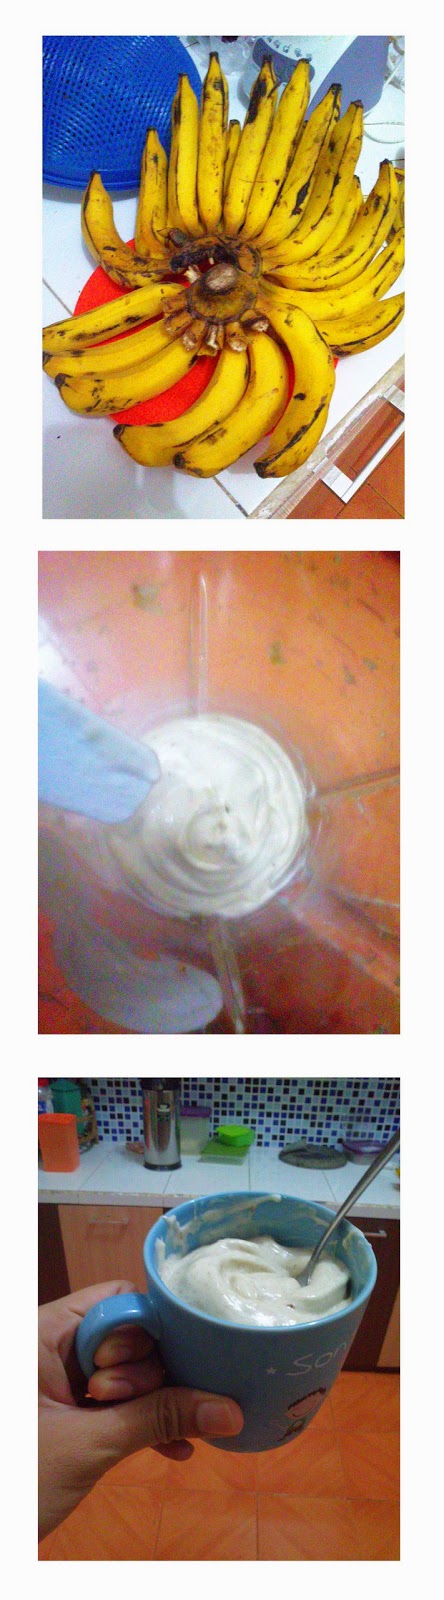
Making banana baby food is one of the easiest homemade baby foods a parent can make successfully. For starters, pay close attention to the color of the banana bunch you pick—choose the most yellow in color, with the least amount of green, and no brown or black spots. This way, the banana is definitely safe to consume with no risk of being near its expiration date.
Ingredients
Just a single, medium-sized banana and some water can make almost 1 cup of baby food.
Instructions
Step 1: Prep the fruit
Wash one banana in warm, running water. Then, peel and chop the banana into thin slices.
Step 2: Mash
Next, you can mash up the banana slices in a bowl using a fork by stirring the banana slices and pressing them down simultaneously.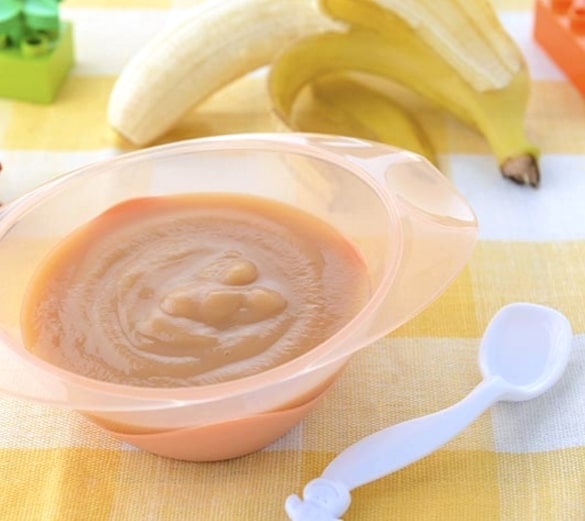 Or, you can mash the banana up in a food processor or blender. Just dump the chopped banana slices in, set the appliance to “puree” or “grind” and allow the machine to run until your desired consistency is achieved. After the banana is fully pureed, scrape the mixture into a bowl.
Step 3: Add water
You can then drop a few tablespoons of water into the mashed banana to give it a thinner texture. Although it’s an optional step, it’s perfectly fine for parents and caregivers to stir in a few tablespoons of breast milk or formula into the baby food mixture as well.
Serve right away or save for later in a reusable baby food pouch.
How do you keep bananas from turning brown?
You can prevent banana baby food from turning brown by freezing it right after it’s been made. Just pour the homemade banana baby food in BPA-free, airtight containers as soon as the mixture is done, then store in the freezer for up to 3 months. Thaw and serve whenever you’re ready.
When the banana baby food is stored in the freezer it’s safe from the air, which is one of the things that can make fresh banana turn brown rather quickly.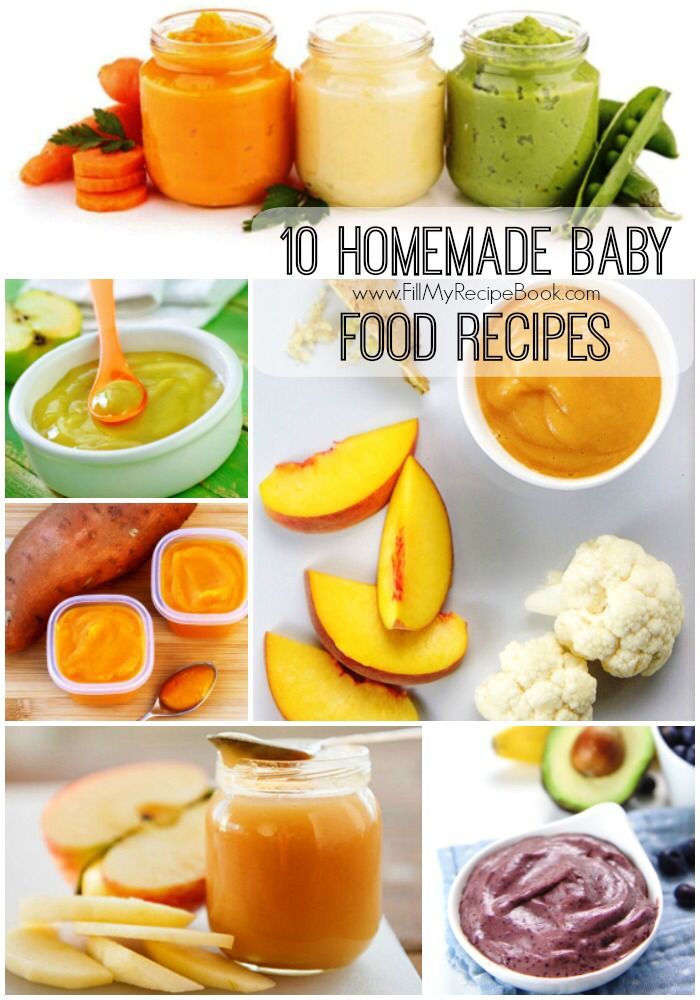 (Same with avocados.) Keep in mind, though, it won’t hurt your baby to eat brown banana. It’s just not as pretty!
Can you mix banana baby food with other foods?
You can certainly mix banana baby food with other food like cereal, and it’s especially encouraged for picky eaters. Since opposites attract, sweet banana baby food pairs really well with tangier fruits like plums, strawberries and cherries. A banana’s sugared taste also goes well with bland fruits and vegetables, such as avocados, spinach and pumpkin.
Next: This is how to prepare a banana as baby finger food.
Popular Videos
ⓘ
Banana Puree Baby Food: Quick, Easy, Make-Ahead
byAmy Palanjian
Updated
Jump to RecipeThis post may contain affiliate links. If you shop from one of our links, we may earn a commission.
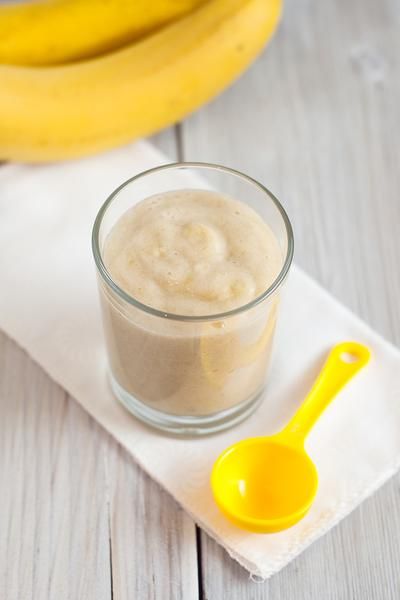
Turning ripe banana into a super smooth baby food is quick and easy. Which makes this Banana Puree baby food a great one to start with and make often as your baby explores solid foods!
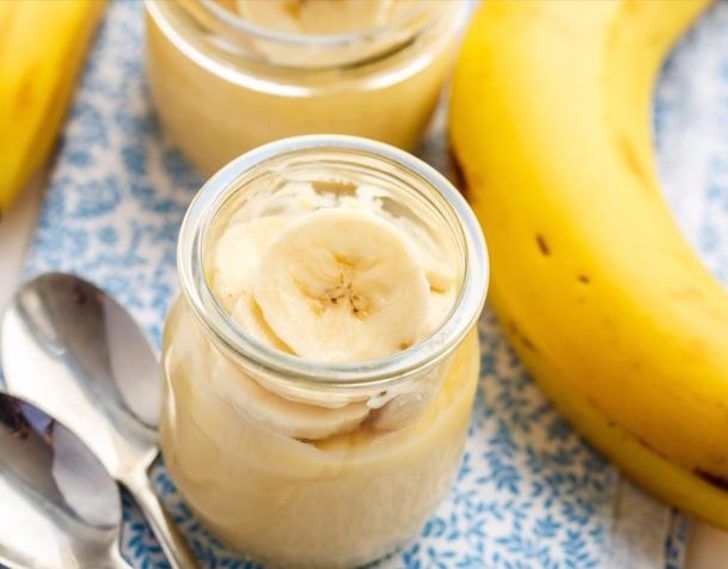
Banana Puree Baby Food
With just one simple ingredient—bananas!—this no-cook baby food is so easy and straight forward to make.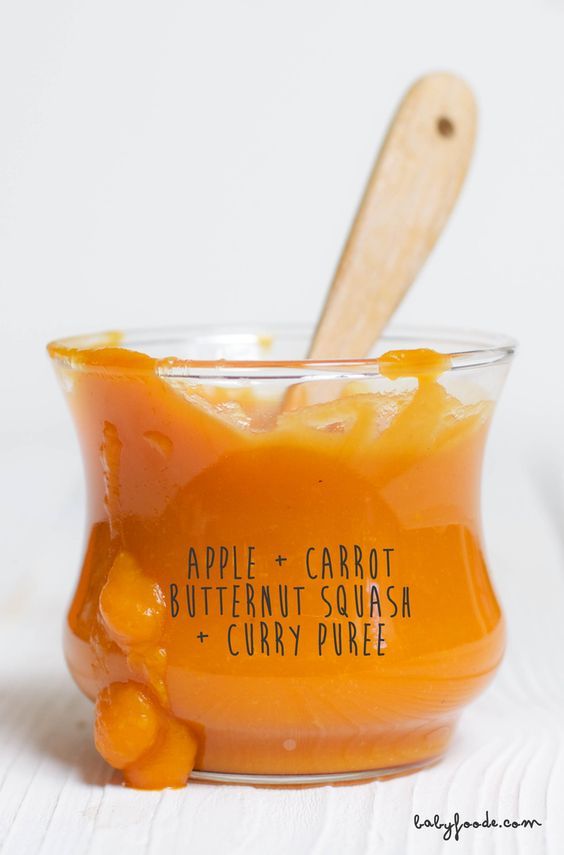 You’ll need just one banana and you can add extra flavors if you want or you can leave it sweet and basic. This is a great early baby food since babies tend to like the flavor, it’s easy to make smooth, and you don’t need to spend extra money on fancy ingredients.
TIP: To make this recipe, you just need a blender.
Ingredients You Need
To make this easy baby food, you just need ripe banana, pure and simple! Which makes this a great recipe to make when you don’t have a lot of time or didn’t remember to shop for ingredients.
Tips for Choosing a Ripe Banana
To pick a ripe banana that’s pleasantly sweet but not over ripe, look for one that’s yellow with a smattering of small brown spots. Avoid ones that have large brown areas as that may mean they’re mushy and brown on the inside.
Step-by-Step Instructions
Here’s a look at the process involved in making this recipe.
- Slice a very ripe banana and add to a blender.
- Blend until very smooth.
- Add cinnamon if desired and serve or store for later.
TIP: You can stir in a few drops of fresh lemon or orange juice to help prevent the puree from browning, as it will otherwise naturally do.
Tips for Making the Best Banana Puree
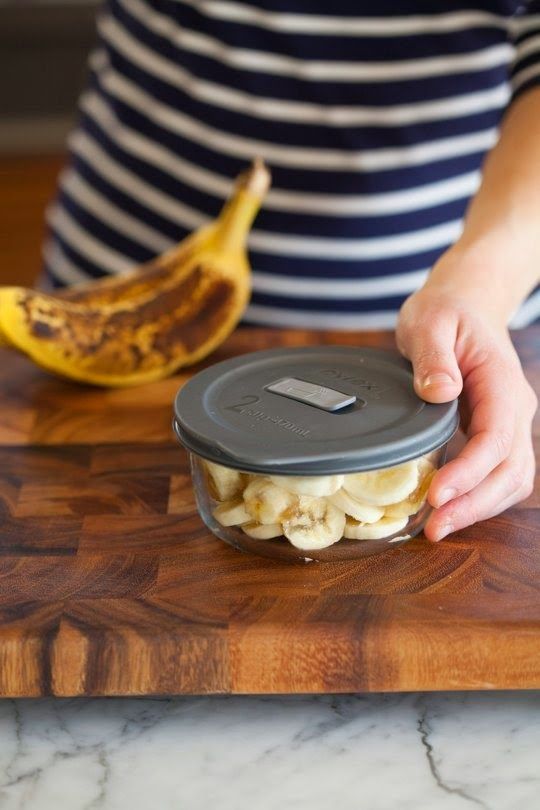
- To store, place into small airtight storage containers and store in the fridge.
- To freeze, place into an ice cube tray, freeze, then transfer frozen cubes to a freezer bag and freeze for up to 3 months. Thaw overnight in an airtight container in the fridge.
- Add a sprinkle of cinnamon for additional flavor.
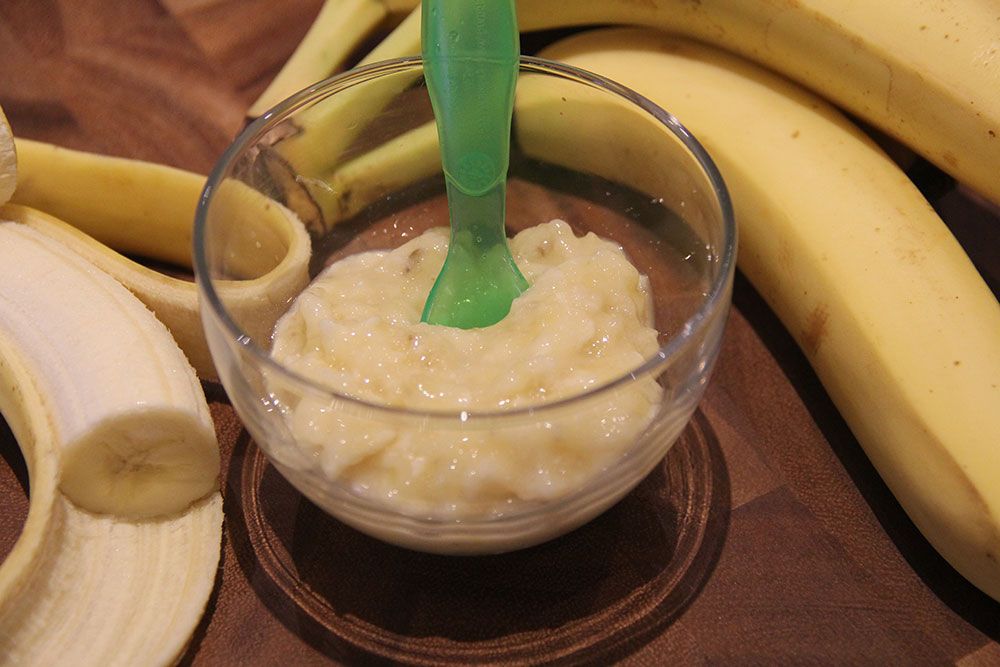
- To make a thicker banana puree, you can simply mash a ripe banana until mostly smooth using a fork or potato masher.
- To help prevent the puree from browning, you can add a few drops of an acid such as fresh lemon or orange juice.
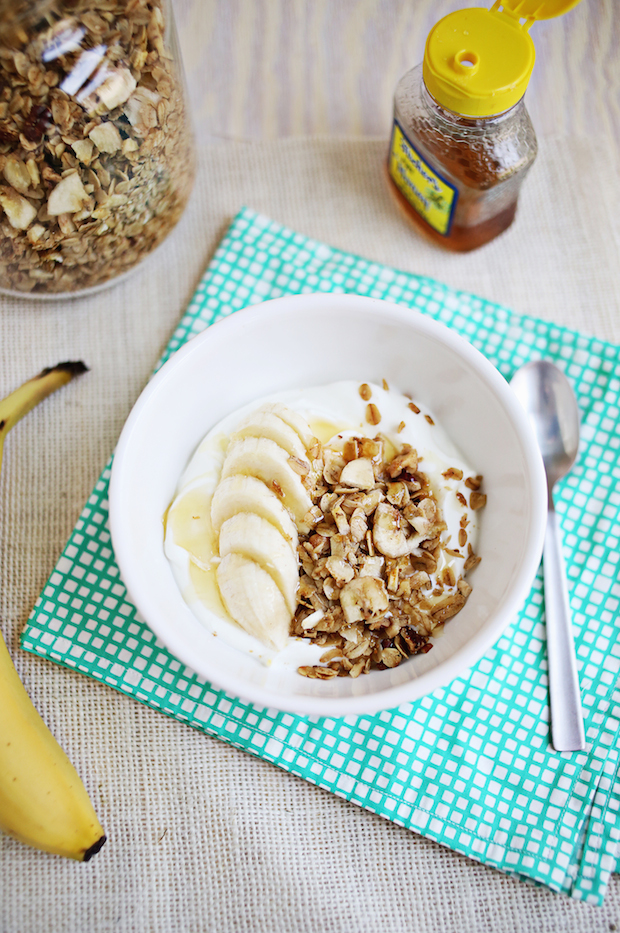
- Mix with whole milk plain yogurt, Baby Oatmeal, Baby Rice Cereal, Avocado Puree, Broccoli Puree, or any other baby food you like as desired.
 (If you stir into oatmeal, you can still freeze it! Just make sure to stir well once thawed.)
 - See more of my favorite baby food combinations here.
I’d love to hear your feedback on this recipe, so please comment below to share!
Prep Time 5 minutes
Cook Time 0 minutes
Total Time 5 minutes
Author Amy Palanjian
Cuisine American
Course Baby Food
Calories 13kcal
Servings 8
- ▢ 1 ripe banana (about 1 cup sliced)
- ▢ Cinnamon, optional
Slice banana to measure out about 1 cup.
Add to a blender. Blend until very smooth, stopping to scrape down the sides as needed.
Add a tiny pinch of cinnamon if desired.
Serve immediately.
Vitamix Blender
Silicone Ice Cube Tray
Storage Containers
- To store, place into small airtight storage containers and store in the fridge.
- To freeze, place into an ice cube tray, freeze, then transfer frozen cubes to a freezer bag and freeze for up to 3 months.
 Thaw overnight in an airtight container in the fridge.
 - To make a thicker banana puree, you can simply mash a ripe banana until mostly smooth using a fork or potato masher.
- Add a sprinkle of cinnamon for additional flavor.
- To help prevent the puree from browning, you can add a few drops of an acid such as fresh lemon or orange juice.
- Mix with whole milk plain yogurt, baby oatmeal, mashed avocado, sweet potato, or any other baby food you like as desired.
Serving: 2tbsp, Calories: 13kcal, Carbohydrates: 3g, Protein: 1g, Fat: 1g, Saturated Fat: 1g, Polyunsaturated Fat: 1g, Monounsaturated Fat: 1g, Sodium: 1mg, Potassium: 53mg, Fiber: 1g, Sugar: 2g, Vitamin A: 9IU, Vitamin C: 1mg, Calcium: 1mg, Iron: 1mg
Tried this recipe?Rate in the comments and tag @yummytoddlerfood on IG!
Related Posts
Related Products
Happy Family Meals (Meal Plans)
Buy Now
Happy Family Meals (Vol 2)
Buy Now
Yummy Toddler Snacks
Buy Now
Yummy Baby Food
Buy Now
Share it with the world
FacebookTweetPinFiled Under
Is it possible to freeze bananas: whole, without peel, slices
Shelf life in the freezer: up to 6 months, in the form of puree - no more than 3 months.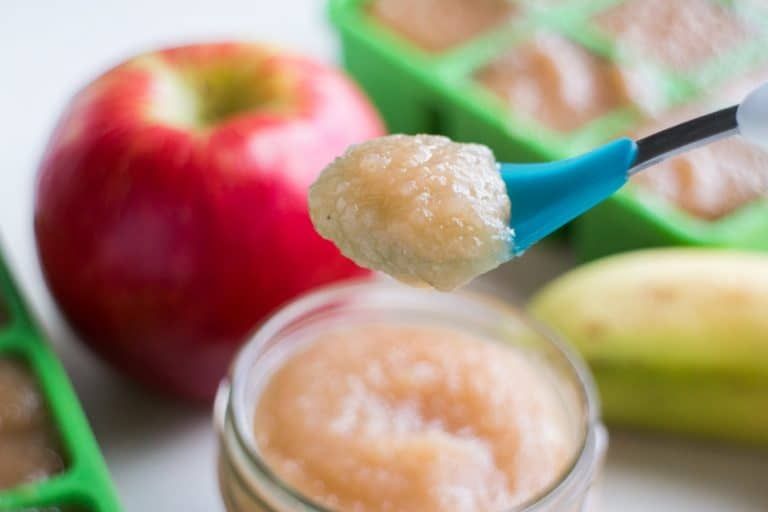
Bananas are inexpensive. But this does not mean that such delicious tropical fruits should be wasted. If they start to darken, don't throw them away. Freeze better.
Frozen bananas can be used in everything from breakfast smoothies to homemade banana bread recipes.
Contents
Can bananas be frozen
Yes, you can. Freezing does not require much space, and the process will take less than 5 minutes.
When thawed, bananas become very soft, taste and texture change. They are no longer suitable for food, for example, with peanut butter, but they can be used as an ingredient in baked goods such as banana bread, cake, peanut muffin, etc.
Whole or sliced?
This is what unpeeled bananas look like after freezing Do they freeze whole bananas? Whole fruits are slightly easier to freeze, but they will take up more space in the freezer as they will need a larger storage container.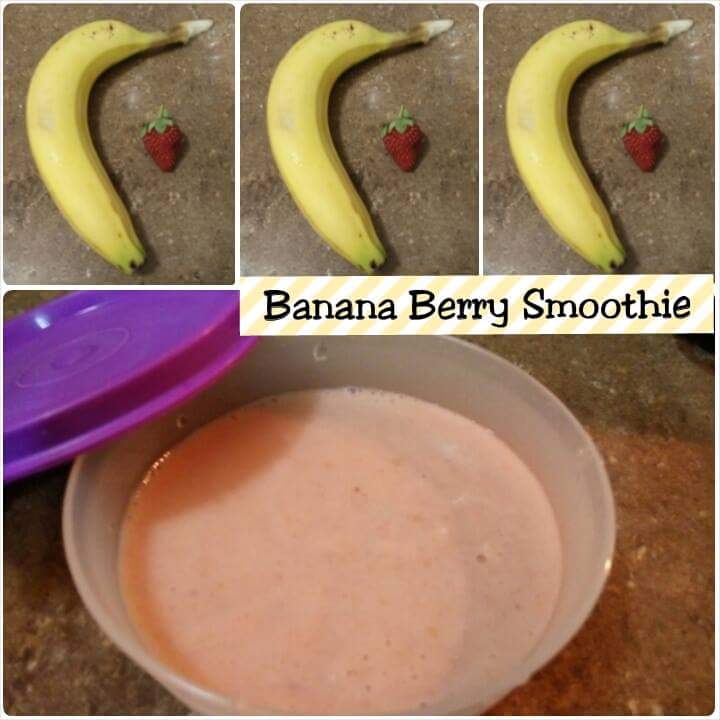
This is how frozen banana slices look likeThe best way to freeze peeled bananas is to line them with sheets of waterproof paper (parchment). So they do not stick together into one hard lump. And you can always defrost only one fruit.
Bananas, when chopped, take up less space in the freezer. Sliced fruits are great for recipes such as smoothies, cold shakes or ice cream.
Freezing without peel
Bananas should be frozen immediately after peeling. Otherwise, in the air they will begin to brown.
- If the fruits are peeled, wrapped and immediately placed in the freezer, the beautiful creamy color of the product will be preserved.
- If you can't freeze bananas right away, and they've been peeled a little longer, drizzle them with lemon, lime or pineapple juice. This will help keep the color lighter and remove bacteria.
See also:
Is black chokeberry frozen?
How to store vitamin-rich black chokeberries for future use in the freezer.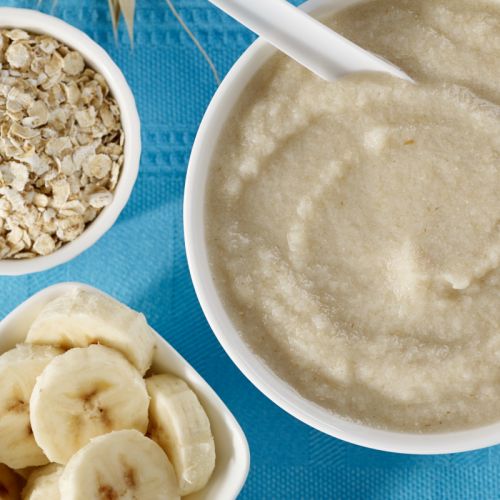
How to freeze bananas
How to freeze bananas directly depends on the consistency of the product.
Whole
Here's how to freeze whole bananas for later use in recipes.
Ingredients:
- 1 bunch of bananas;
- parchment paper;
- sealed bag or container.
Preparation:
- Peel the required amount of bananas.
- Place them in a container, lining each fruit with parchment paper.
- Stick the date on a bag or container and place in the freezer.
Pieces
- Arrange sliced fruit on a plate or baking sheet lined with parchment paper.
- Put in the freezer for two hours until they harden. This will help prevent sticking into one piece.
- Then put the frozen pieces in a zip bag and squeeze out as much air as possible.
- Seal, date, put back in the freezer.
I also advise you to read: How to freeze avocados for storage.
How to freeze banana peels
Banana peels are an excellent fertilizer for rose bushes and other plants. Freezing the peel allows the gardener to use it all year round.
- Buy ripe fruits of good color. Leave cleanings to freeze.
- Remove the stalk, cut the peel into 5 cm slices.
- Place them on a baking sheet in a single layer so that they do not touch each other.
- Put the sheet in the freezer for several hours.
- Remove the frozen skins from the pan, place them in an airtight container or bag, and return to the freezer.
Ways to defrost bananas
Here are some ways to quickly defrost your product.
Natural thawing
- Remove the bananas from the freezer.
- Place in a wide container. Arrange the pieces so that they do not touch each other and have enough room to thaw.
- Leave to thaw naturally for 2 or more hours depending on room temperature.
Microwaveable
If you need to speed up the defrosting process of bananas, use the microwave.
- Place frozen food in a bowl.
- Put the container in the microwave, turn on the defrost mode. On low power, it takes 3-4 minutes to defrost banana slices.
In water
This defrosting method is suitable for both peeled and sliced bananas and whole peeled bananas.
- Place the frozen bananas in a plastic bag, which in turn is placed in a bowl of warm water.
- As a rule, 10 minutes will be enough to defrost a small quantity.
Banana puree
Puree freezing secrets
Can banana puree be frozen? Yes, but the texture will go from silky and smooth to more grainy and the taste will become a little less pleasant.
However, the product can still be frozen for further use in ice cream recipes or as baby food.
- Do not puree to maintain structure.
 Just mash the bananas with a fork.
 - For each cup of pureed fruit, add 1 tbsp. l. lemon juice or 1/2 tsp. ascorbic acid.
- Spoon puree into the slots of the ice cube tray until each is about 80% full.
- Wrap the tray with cling film to prevent spillage and to protect it from foreign odors.
- Place in the freezer for several hours.
- Remove the tray and transfer the frozen cubes to an airtight container, seal, stick a sticker with the date.
- Store in the freezer.
If the puree is too thick, drizzle with cow's milk. Almond will do too. To improve the taste, you can add a pinch of nutmeg or cinnamon (an option not suitable for baby food).
How to defrost mashed banana
- If you're going to add puree to a smoothie, use it straight out of the freezer to chill your drink. Put a cube or two in a blender with the usual ingredients, and turn on the appliance.
- If serving banana puree to your child, place the cube in a bowl and place in the refrigerator overnight to thaw.
Banana Shelf Life
Ripe Banana Shelf Life:
- At room temperature 1-2 days away from sunlight.
- Refrigerate up to 1 week, peeled up to 3-4 days in a sealed container or container.
- Freezer - up to 6 months.
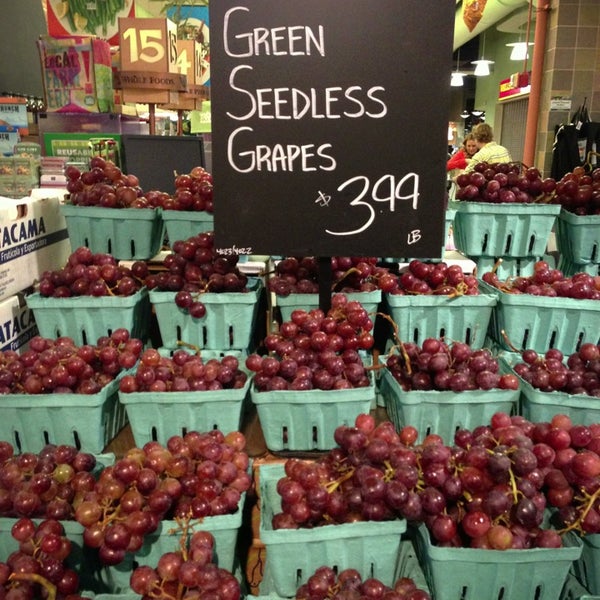
Unlike ripe bananas, it is not advisable to store green bananas in the refrigerator, as low temperature slows down the ripening process, and the peel turns black. It is better to leave them at room temperature for 2-5 days. When yellow, put in the refrigerator.
Banana puree can be kept frozen for up to 3 months. The longer it is in the freezer, the higher the risk that air will get inside. As a result, the product may begin to oxidize and darken.
Keep bananas away from other ripe fruits. When ripe, they release ethylene, which accelerates the deterioration of other fruits.
What can be made from frozen bananas
So, what can be done from frozen bananas?
Frozen bananas are the most commonly used for banana bread.
Once thawed, bananas can be added to baked goods for added moisture:
- oatmeal pancakes;
- chocolate chip banana bread;
- cocoa, nut and banana muffins, etc.
Other banana recipes.
- protein shakes;
- smoothies;
- paste with crushed peanuts;
- ice cream, etc.
How to tell if bananas have gone bad
Here's how to check if bananas are edible:
- Appearance. Ripe fruits are bright yellow with small brown and black spots on them. Unlike other fruits, the presence of dark spots does not mean that they have gone bad. But if the peel has turned black, softened and mold has appeared on it, get rid of them.
- Firm texture of ripe fresh bananas. If it becomes too soft, the product is probably gone. If bananas secrete liquid, it means that they have softened and lost their taste.
- Smell. Good fruits smell fresh. A sour or musty smell is a sign of product spoilage.
Lemons can be frozen for other valuable fruits that you would also like to preserve for a longer period. They will always come in handy.
is it possible to freeze baby puree - 25 recommendations on Babyblog.ru
We choose products and prepare complementary foods ourselves.
Cooking our own complementary foods: vegetables
Cooking our own complementary foods: cereals
Cooking complementary foods ourselves: fruits
Cooking complementary foods ourselves: meat
Cooking complementary foods ourselves: fish
Cooking complementary foods ourselves: fermented milk dishes
We prepare complementary foods ourselves: storage
So, mother decided to prepare complementary foods herself. It would seem that there is nothing simpler than home-made dishes: cooked, chopped with a blender, issued. A modern mother can be frightened by rumors and myths about terrible winter vegetables, in which there is nothing useful, genetically modified foods, the inability to prepare complementary foods that are not inferior to factory ones . .. Before you start preparing complementary foods yourself, you need to decide and choose the best, but how? Everything is very simple. If you have increased suspiciousness, and dangerous herbicides and genetically modified tops appear in every carrot, feed your child with canned food, you should not prepare complementary foods yourself. Canned food is no more harmful than daily concern about the benefits or harms of natural products. Use canned food and sleep peacefully - there is nothing wrong with industrial nutrition. As for the eternal debate about GM foods, most of the vegetables and fruits we consume have already undergone genetic changes over hundreds of years of hybridization. In winter, do not buy imported vegetables (zucchini, cauliflower) for self-cooking of complementary foods - they are absolutely overfed with chemicals for long-term storage and transportation. There are no healthy vegetables and fruits in winter. But if you still want to make your own food, or have the opportunity to use your harvest, this collection of tips may be useful.
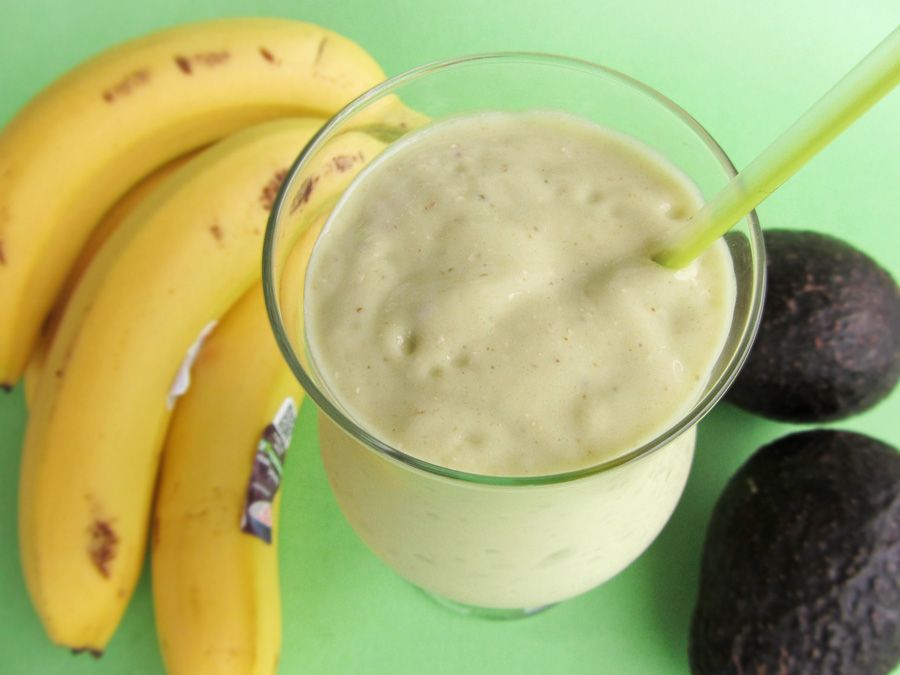
MAKE YOUR OWN FOOD: VEGETABLES
To prepare vegetable puree, choose the most beautiful vegetables without blemishes or cracks. For the first feeding, vegetables are used that do not contain coarse fiber: zucchini, cauliflower, carrots. Mixtures of vegetables are introduced when the child has already tasted all their components within a week. Vegetables should be washed well under running water - if you doubt the quality of water, use boiled or purified water. Try not to cook vegetables on the stove to retain as much of the nutrients as possible. It is better to cook for a couple - or use a double boiler. Microwave cooking is acceptable, but vegetables dry out in it - nowadays there are microwaves with a steamer function. They can also be baked, in which case the loss of nutrients is minimal. When cooking on the stove, vegetables are laid only in boiling water. Frozen at the same time, in no case are defrosted beforehand. In winter (and early spring), it is favorable to use a variety of frosts for feeding. There are many stereotypes about their usefulness, but they are all debunked. In winter, frosts literally save, but check their quality at least by touch so that large pieces of ice are not felt inside.
Nothing is added to the very first vegetables, after a month vegetable oil (sunflower or olive) is added. Ready vegetables are rubbed through a sieve or modern means are used: a blender or other chopper. You should not soften the first vegetables (that is, for the first feeding at 6-7 months) with a fork or crush, they cannot cope with the fibers, and the complementary foods will come out undigested.
What can be added for taste: vegetable broth, a little expressed breast milk or formula. Vegetables do not need to be salted. The child does not have salt receptors, this taste is imposed forcibly. What taste you accustom to, this will be a priority in the future. If a child refuses vegetables, this does not mean that they need to be salted - this means that vegetables are introduced too early. Every child has their own feeding schedule. You can start introducing vegetables at 6, 10 or 12 months, it all depends on the desires of the child himself. In the process of introducing vegetables, the main thing is not volume, but variety. If a child eats a crumb of this and a crumb of that (a spoonful of zucchini, two tablespoons of carrots) - fine. And in terms of benefits, it is much better than those fed by force - with the release of the family choir of grandmothers or "for advertising" - one hundred grams laid down according to the instructions.
Possible errors: Do not wash vegetables from which you want to prepare complementary foods yourself with soapy water. This is an extra precaution. The soap is not washed off completely, and its remains are by no means useful for the child. They prepare complementary foods on their own immediately before serving - and only at one time! Cooked mashed potatoes should not be reheated, this will increase the loss of nutrients.
What vegetables are not introduced into complementary foods for up to a year: white cabbage, beets, tomatoes, cucumbers - and greens.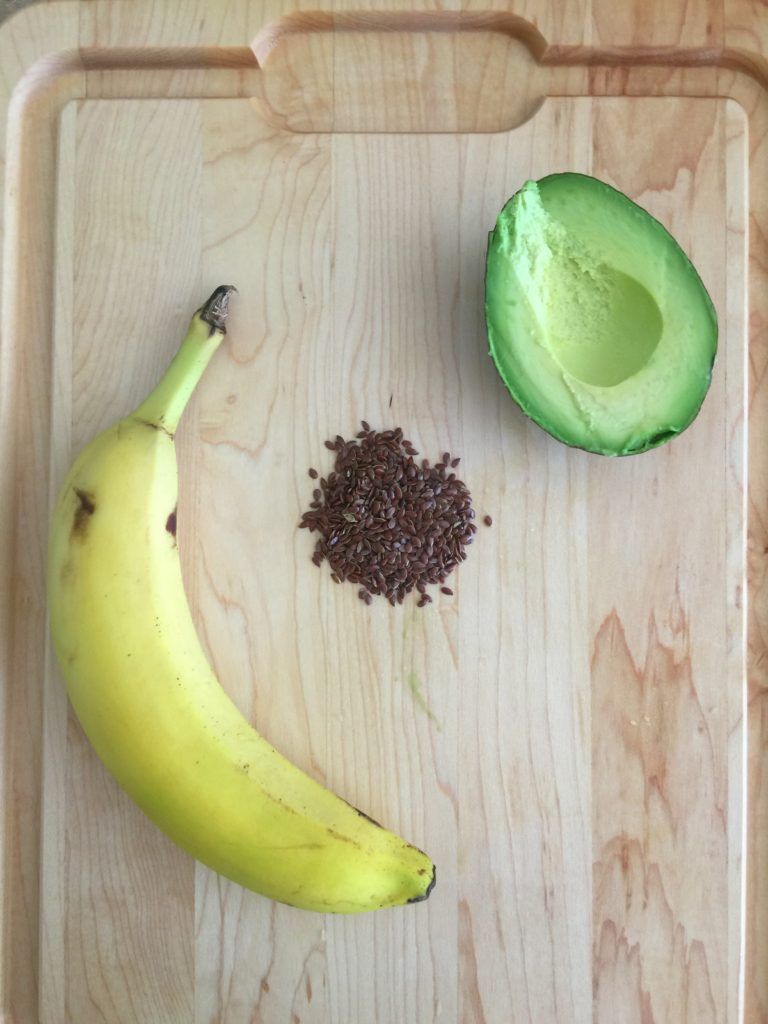 They are quite aggressive for the stomach, and for a child up to a year there will be enough of those vegetables that can be introduced: zucchini, broccoli, cauliflower, kohlrabi, green beans, carrots, pumpkin, potatoes, closer to a year - corn, peas. Some vegetables have a hard shell; corn and green beans sin with it. But in a double boiler, the shell softens easily and quickly. Mashed potatoes are a heavy dish, it is advisable to mix potatoes with any other vegetables.
WE PREPARE COMPLETE FOOD: PORRIDGE
For the first complementary food, low-allergenic cereals are taken: rice, buckwheat or corn. Corn porridge is the heaviest, so you yourself should prepare complementary foods from rice or buckwheat. Rice is washed with warm or hot water to separate the starch. The groats are ground in a coffee grinder to the state of flour and boiled in water. In principle, you can grind ready-made porridge, but in this case, vitamins and trace elements are lost much faster. Groats (the resulting cereal flour) are placed only in boiling water, ideally they are not boiled until cooked, but left to swell.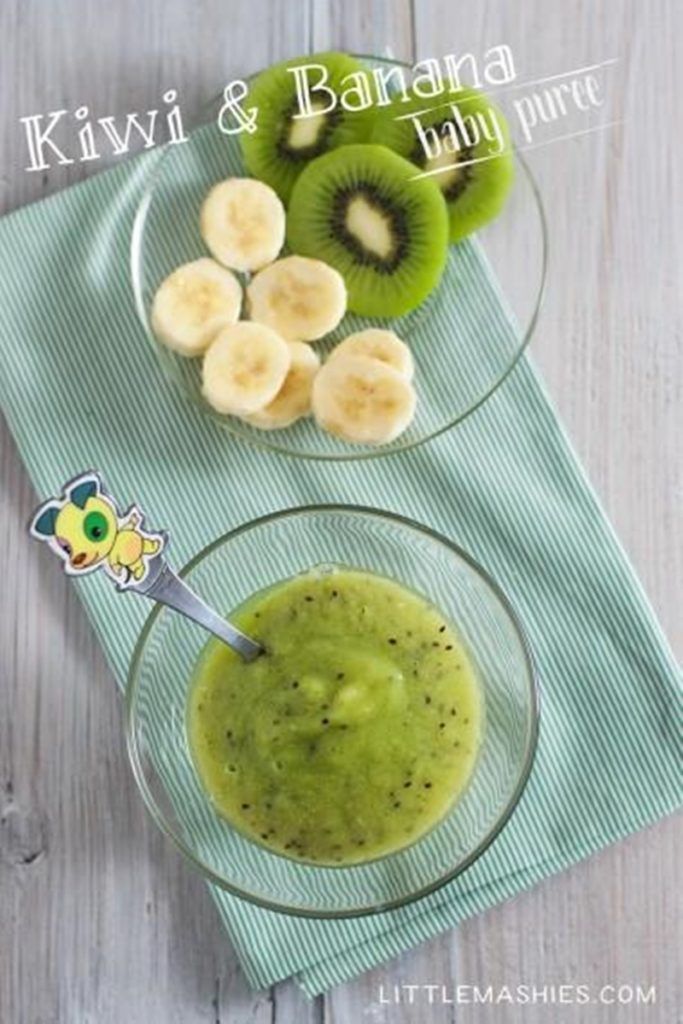 Otherwise, there is a chance that it will continue to swell in the child's stomach.
In order to properly cook healthy porridge for complementary foods, you need to observe the ratio of water and cereals. Do not add water during the process. All cereals - except buckwheat and rice - are stirred in the process. For the first feeding, a liquid porridge is made: a teaspoon of cereals (cereal flour) per 100 ml of water. After 1-2 weeks, the amount of cereal is doubled. Cow's milk is not added to self-prepared complementary foods for up to a year, only a little breast milk or a mixture immediately before serving, and a month after the introduction - butter (3 g). Sugar or fructose in complementary foods is not needed! Permissible additives: fruit puree; closer to a year, ground dried fruits, pumpkin, carrots are put in cereals.
When a child has tasted all three types of low-allergenic cereals, mixtures are made from them. At 10 months, you can try oatmeal, the rest of the gluten-containing cereals are introduced into self-cooked complementary foods no earlier than a year. At home, whole grains cannot be processed perfectly, they will still be heavier than baby instant cereals in boxes, so it is better to push back all the deadlines. Semolina porridge is not introduced until two or three years; recently, experts have increasingly doubted its value. Semolina contains 70% starch, proteins and very few vitamins and minerals. As well as phytin, which binds calcium salts, that is, it prevents calcium from entering the bloodstream. When there is little calcium in the human body, the parathyroid glands "withdraw" it from the bones and send it into the blood. All cereals, one way or another, bind calcium - that is also why they are recommended to be introduced after vegetables and meat. But semolina tries the most, having a pronounced “rachitogenic” effect, it contributes to the formation of rickets in children of the first two years of life.
WE PREPARE COMPLETE FOOD: FRUITS AND JUICES
Entering fruit starts with green apples and pears. It is advisable to find your native fruits, such as Semerenko apples, Kuban Champion or Antonovka.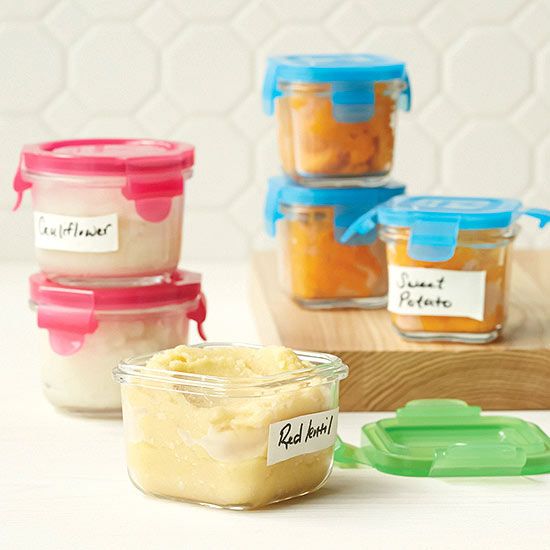 They are sourer (and much more useful) than imported ones, and the acid is “knocked down” by baking. Most imported fruits ripen along the way, being picked unripe, this already impoverishes their composition, not to mention chemical additives to preserve their appearance. Fruit for import is grown and harvested in less than ideal conditions. When preparing complementary foods on your own, do not use apples with dark (black) spots, one such spot indicates a loss of vitamins by a third. Apples and pears are given fresh, making a “scrape”, or baked, in a baked fruit, the acidity decreases and the amount of pectin, a useful substance that removes toxins, increases. How to bake: peel, cut into pieces and remove the part with bones. Or bake whole: add a little water to the container, loosely cover with foil and bake at a temperature of 200 degrees for 20 minutes, the time depends on the type of oven and the number of apples. You can also "bake" in the microwave for 2-3 minutes, while the fruit is covered with cling film.
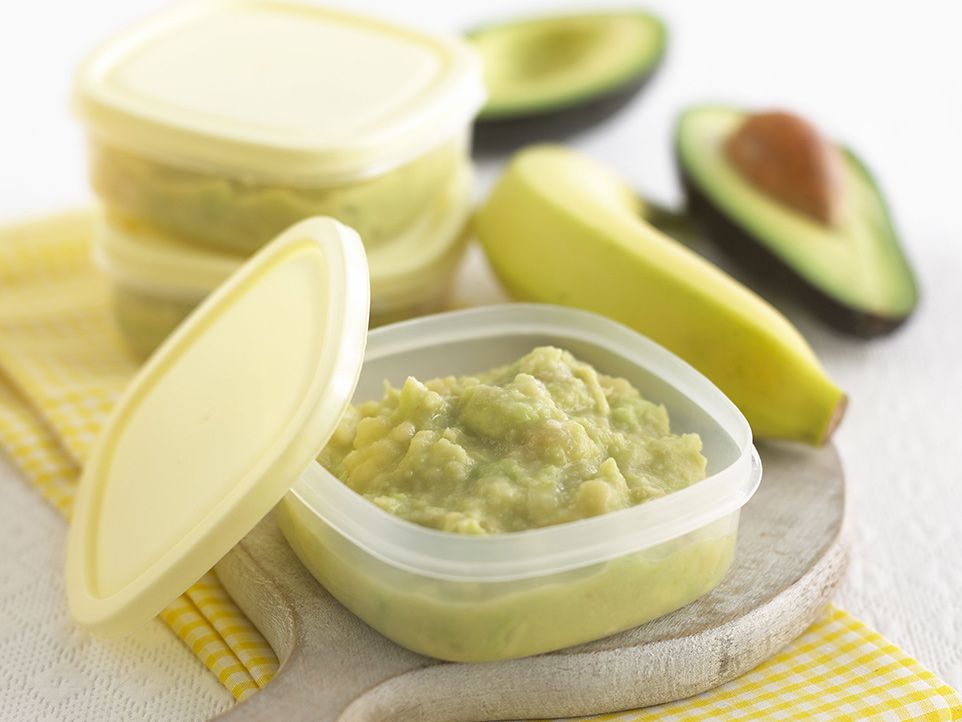
Puree is made from fruit, it is offered for an afternoon snack, then added to porridge or cottage cheese - or left as an independent dish. Fruit is also given in pieces, in this case, make sure that the child does not choke. Fruit should be peeled and pitted. The peel is cleaned not only because it may contain paraffin residues, the peel is too hard, it is simply not digested. The banana is next after the green fruit, it is fibrous and starchy, so it should be crushed with diligence. Peaches, apricots and berries are tried last. Berries have a lot of fiber, tiny bones, they can cause serious intestinal upset, hence the moral: the norm of berries for a child is exactly as much as he can keep in his handful, and this is a lot.
Freshly squeezed juices are introduced not earlier than one and a half years and only in a diluted form (50:50).
WE PREPARE COMPLETE FOOD: MEAT
Meat is a heavy product, it takes a long time to digest, so there is no need to hurry with its introduction, especially if the child is breastfed. Begin to introduce meat puree with half a teaspoon. You can give this norm for three days and monitor the reaction. If you are making your own complementary foods, mix meat with vegetable puree (for better absorption). Just add the meat to the puree little by little, gradually increasing the dose.
Rabbit, lamb and turkey meat is ideal for preparing complementary foods. Veal, pork, chicken are introduced after a year. At 10 months, the child can be offered meatballs, and after a year - steam cutlets. Meat broths are not used in the diet of children, they contain harmful substances boiled down from meat. Before cooking, the meat must be separated from the bones, the finished dish is not poured with the remaining meat broth, and when cooking the soup, the meat broth is half diluted with water - or the finished mashed meat is added to the vegetable soup.
Method of self-preparation of complementary foods: meat passed twice through a meat grinder is steamed until tender, or already cooked meat is passed through a meat grinder (blender, mini-combine).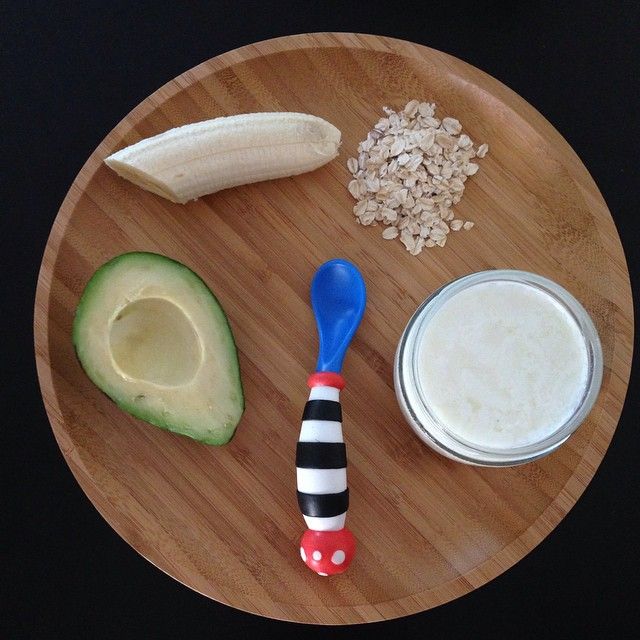 Minced meat is rubbed through a strainer (or blender). The steam method of self-preparation of complementary foods from meat: water is added to raw minced meat (the more water, the more tender), spread in a deep bowl and put it in another bowl with boiling water. Cover with a lid, cook for 10-15 minutes. Non-steam method: the meat is boiled for 20 minutes, then the broth is drained, poured with hot water again - and cooked until tender. In no case do not salt the meat puree - there are plenty of salts in the meat.
Meat contains a lot of coarse fibers, it is impossible to turn it into an easily digestible dish at home. And in stores it is difficult to find meat for the first feeding. It can be said that meat is not the best product for preparing complementary foods.
COOKING YOUR OWN FOOD: FISH
Boil the fillet in a small amount of water for 15-20 minutes, cool, pass through a meat grinder, and then grind with a blender. For self-preparation of complementary foods, it is necessary to buy only fillets of low-fat varieties of fish (hake, cod, pollock).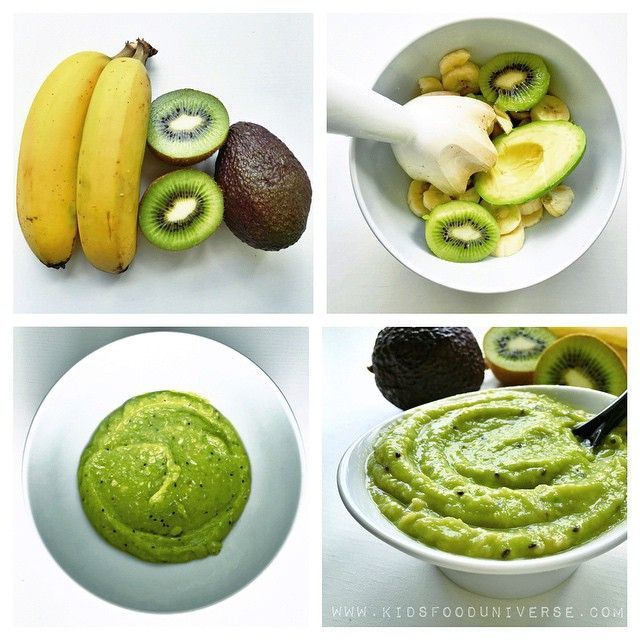 It is better to thaw in salt water to reduce the loss of minerals during defrosting. The fillet is not recommended to be completely defrosted. Slightly thawed fish is washed in cold water and subjected to heat treatment, which, unlike meat, should not be too long. Put the fish only in boiling water, after which the fire is immediately reduced.
WE PREPARE FOOD OURSELVES: SOUR-DAIRY DISHES
Homemade kefir
Methods for making kefir for feeding yourself:
yogurt. We add the starter to a liter of warm milk, close the jar with a tight lid, wrap it in a terry towel and send it to a warm place (for example, to the bathroom - it is always warm there) for 6-10 hours. When a kefir clot forms, we send the jar to the refrigerator for a few more hours.
2. Boil half a liter of milk, cool to 35 - 36 degrees (so that you can safely hold your finger in the milk) and add 5 - 6 tablespoons of old kefir to it. Stir, wrap the bottle in a blanket and leave for 5 - 6 hours in a warm place, and then keep a few hours in the refrigerator. If instead of old kefir you add yogurt to milk, the taste of the drink will be slightly different. If there was no old curdled milk or kefir at home, you can use a piece of black bread as a starter.
Home-made cottage cheese
Methods for self-preparation of cottage cheese for complementary foods:
1. Kefir cottage cheese (fermented milk) is easier to digest and assimilate. To prepare it, pour kefir into an enameled saucepan (mug) and put on the smallest fire. When a clot forms on top, fold it onto a sterile gauze to drain the serum.
2. Calcined cottage cheese is prepared by adding a solution of calcium chloride to cold pasteurized or boiled milk; it is sold in pharmacies. The amount of calcium chloride in all recipes is different, there is this: to get 100 g of cottage cheese for 600 ml of milk, put 1.5 teaspoons of calcium chloride. Another recipe: bring milk to a boil and remove from heat. When it cools down a little, add calcium chloride dissolved in a small amount of boiled water with continuous stirring, cool the curdled milk, strain through gauze, let the whey drain.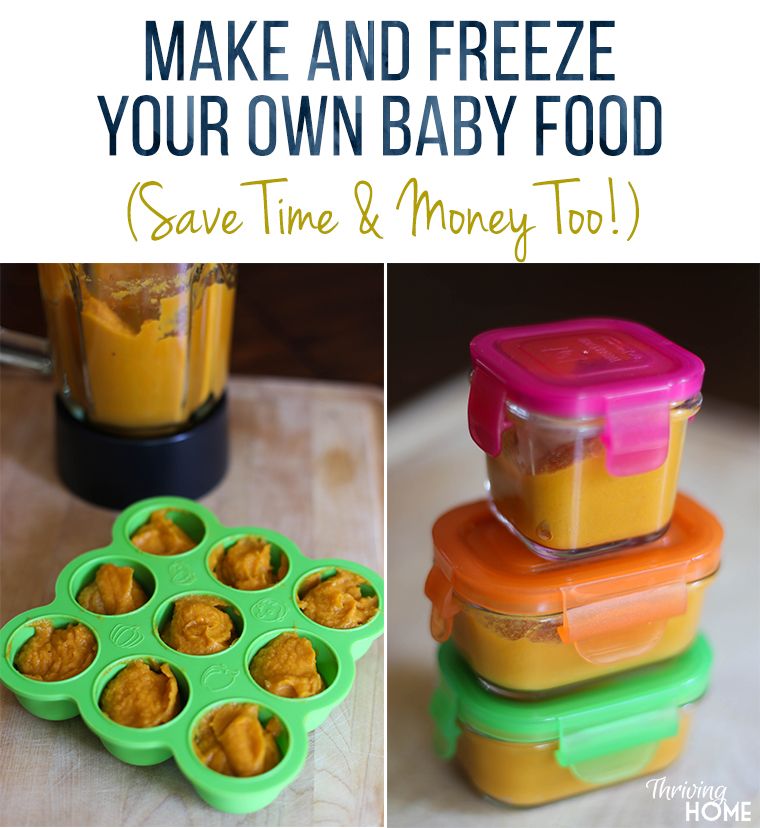 Per liter of milk - 1 tablespoon of calcium chloride. The famous pediatrician Natalya Rashidovna Vasilyeva recommends the following recipe: for 1 liter of cold raw milk, 1 ampoule (10 ml.) of 10% calcium chloride - pour in - boil - cool - strain through a sieve or cheesecloth - calcined cottage cheese is ready.
There is an opinion that such cottage cheese is not very suitable for self-preparation of complementary foods, in fact, this recipe came to us from veterinary medicine, calcium chloride cottage cheese is given to baby animals. At the very least, calcined cottage cheese should not be given every day. It can be noticeably bitter in taste, and its consistency is not suitable for the first complementary foods. Try it - form your own opinion.
3. Boil milk, cool to body temperature. Add the starter, previously loosened in a small amount of the same milk. This is for its even distribution. Put in a warm place for a day or two. At the same time, it is better to interfere with it, disturb it several times during fermentation.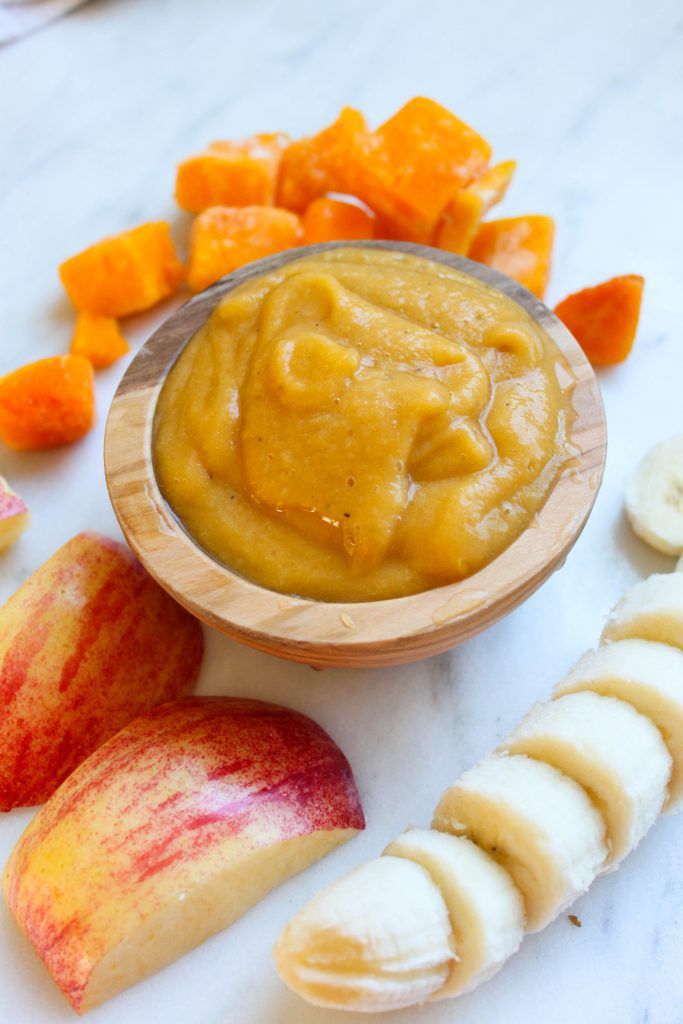 Then - heat in a water bath, and not just putting the pan on the fire. The more heat, the more the casein coagulates. If you heat it on fire, then it can curl up into such nasty-hard lumps, that is, it will be very dry and hard cottage cheese. And for tender cottage cheese, you need to warm it up very carefully, in a water bath. Then - cool and discard: put gauze on a colander, pour the previous semi-finished product there, wait until the whey drains, and then collect the ends of the gauze from above and start twisting to squeeze out the whey. For greater density, you can then put this bag in a colander, pressing down on top with a plank with a load.
4. Get the lowest fat milk available. Pour it into a large bowl or saucepan. Squeeze lemon juice into milk (for each liter of milk - from half to a whole lemon). You can also use ready-made purchased lemon juice or diluted citric acid. Pour boiling water from the kettle into a saucepan with milk and lemon juice. Boiling water should be about the same or even a little more than milk. Stir calmly and watch with interest how the milk curdles before your eyes, the whey begins to become transparent. Do not wait until the milk clots become dense. This will give your curd an unwanted graininess. Catch tender clots with a spoon with holes and put them in another bowl. A little more serum may stand out, you drain it. All.
5. 4 cups sour milk, 2 cups fresh milk. Boil fresh milk and pour into a vessel with sour milk. Mix thoroughly and leave to cool. After the mixture has cooled, pour it into a sieve and strain through a fine sieve.
WE PREPARE COMPLETE FOOD OURSELVES: STORAGE
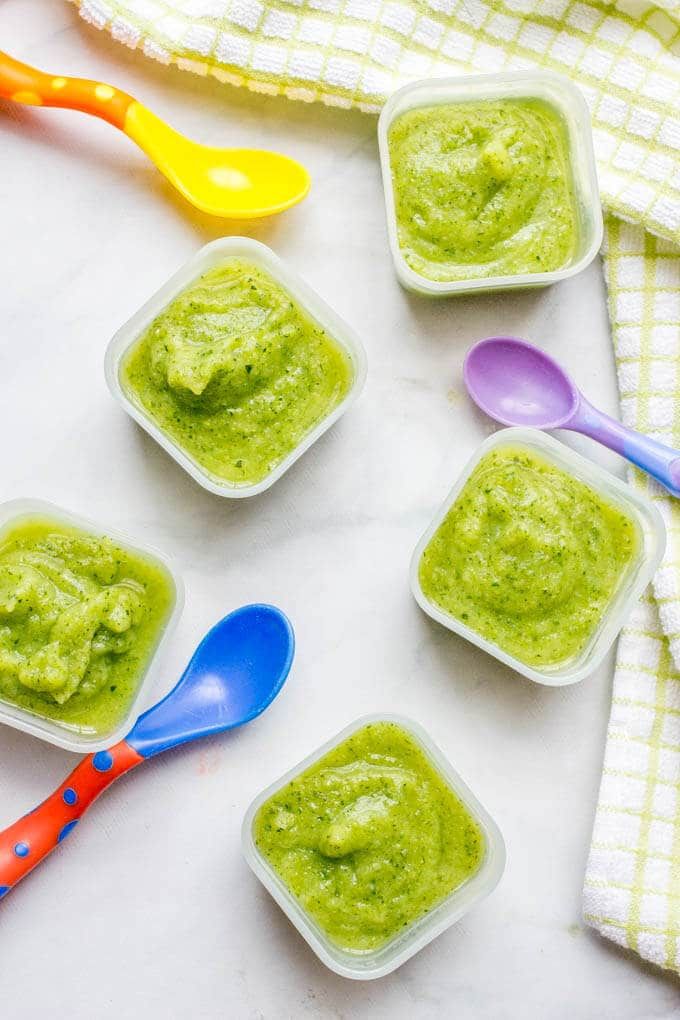
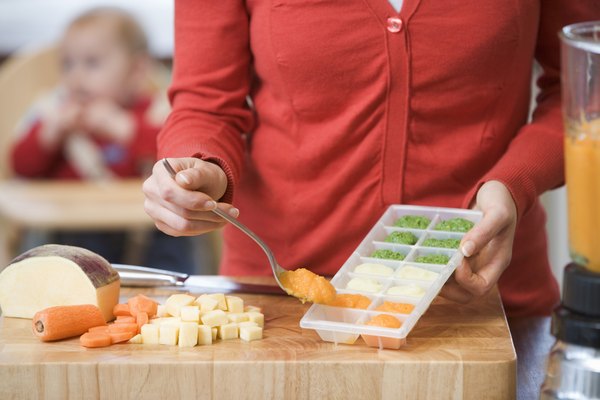
Knowledgeable people say in their voice: ready-made vegetable (meat and vegetable) purees do not need to be stored. These are dishes with a broken structure, ideally they are cooked strictly at one time. At home, it is impossible to provide shock freezing - useful substances are inevitably lost. It is necessary to freeze whole (cut) vegetables and fruits, and then mash them. Vegetables are stored at a temperature of - 6 ° C - a week, at - 12 ° C - 1 month, at - 18 ° C - 3 months.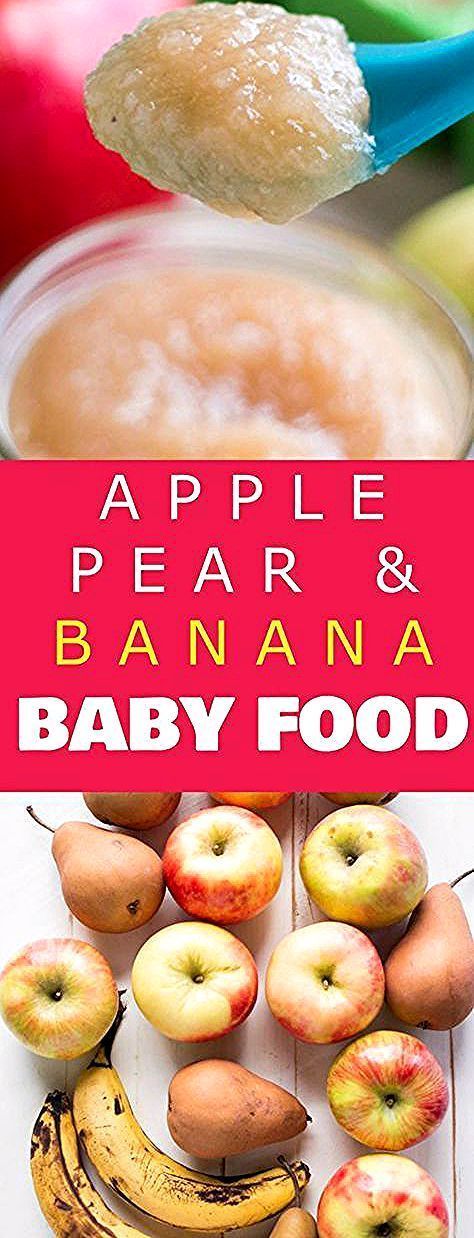
However, sometimes there is a need to freeze meat or vegetable puree. One easy way is to fill the ice cube tray and put it in the freezer. Do not freeze hot or warm food, it needs to be chilled first. Once food is frozen, immediately place it in an individual plastic bag. Don't forget to mark and date when you did it. In this form, mashed potatoes can be stored for 3-4 weeks at a temperature not higher than -18. Never refreeze food.
It is not recommended to freeze cottage cheese at home, as such freezing is slow, which significantly disrupts the protein structure, and worsens the taste and other qualities of the product. As an exception, this can only be done in freezers with two and three stars on the lid or in freezers with a temperature of - 18 °; store cottage cheese in such conditions should be no more than two weeks.
How to reheat frozen food: Transfer to a suitable container and place in a pot of boiling water, stirring occasionally. You can also use microwave heating.