Can you make your own baby food
Is it OK to make my own baby food?
Yes, you may find several benefits to feeding your baby homemade foods. It can be less expensive than store bought, for example. It can let your child enjoy baby-friendly versions of foods they see the rest of the family eating. And it may be easier than you think. All you need is a blender, food processor, or even a hand-held mixer.
Keep these tips in mind to ensure homemade food is nutritious and safe for your baby:
When is my child ready to try baby food?
The American Academy of Pediatrics recommends exclusive breastfeeding for about the first six months. Before your child starts solid foods, be sure they are developmentally ready. They should be able to sit in a highchair or feeding seat with good head control, for example, and should show interest in food, opening their mouth on their own. Your pediatrician can help guide you through getting started.
What's the best way to get started making my own baby food?
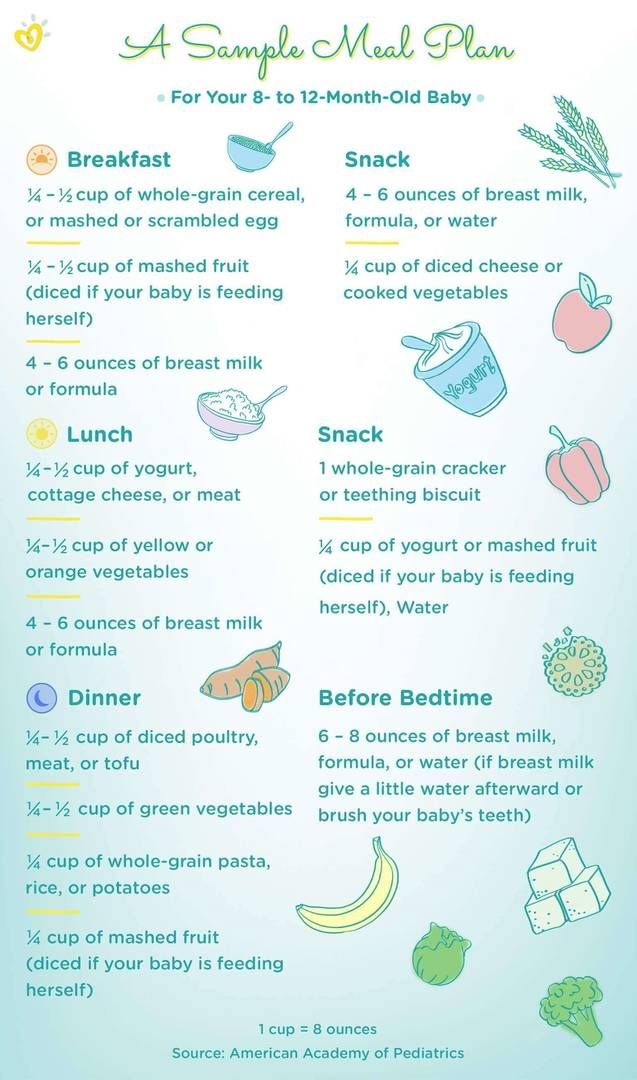
First, think about foods are already on your menu. There's probably no need to make a special item. After introducing individual foods, you may want to try combinations. Don't worry too much about ratios—there is no magic formula. And try not to overthink which solids and how much of each to give your baby. (Remember that breastmilk or infant formula still provides the vast majority of calories and nutrients for infants under age 1.)
Instead, consider balancing several types of foods to offer different nutrients. You may find that your baby only eats a few bites of something new, so plan to store leftovers for later. Some foods may need to be offered 8-10 times before an infant or toddler eats them well.
Balance, moderation & variety
The latest USDA Dietary Guidelines for Americans encourage parents to “make every bite count" by having every food in an infant's diet support nutrition and growth needs. Think of each bite as a chance for your child to explore the color, taste, and texture of a nutritious food.
When offering your baby new foods, try to include fruits and vegetables in each color of the rainbow.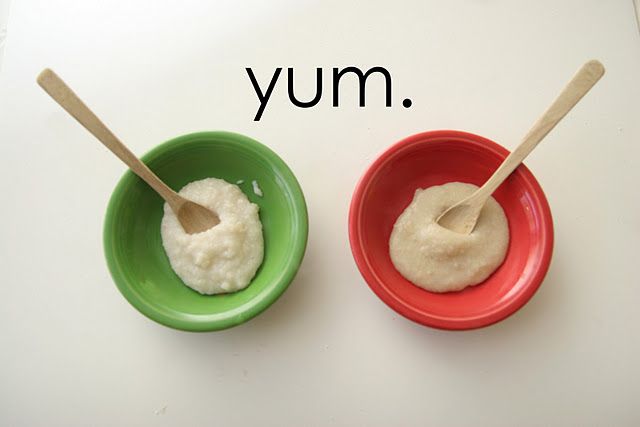 Also offer good sources of protein (such as beans, chicken, fish, and yogurt), fat, and iron (for example, iron-fortified oat cereal or meats). Serving a variety of foods also is key to helping lower the risk of toxic element exposure for your baby. (See Heavy Metals in Baby Food.)
Get those allergen foods in!
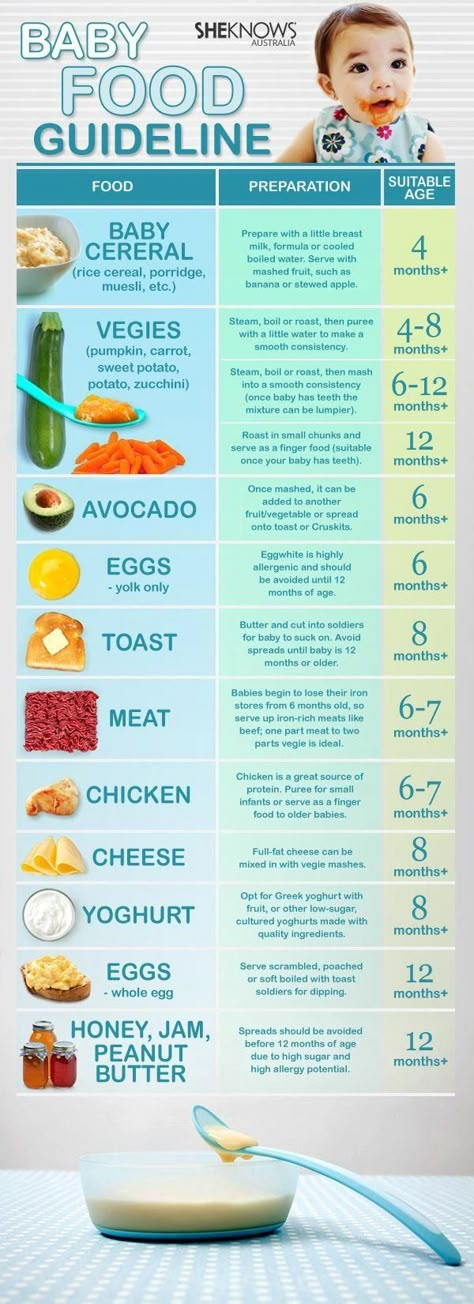
Early exposure to common food allergy culprits, such as egg, soy, gluten, dairy, nuts and fish, can lower the risk of babies developing allergies to them. Try mixing a small amount of peanut butter with oatmeal cereal, for example, or offer bites of scrambled egg. You can also introduce yogurt or shredded cheese once your baby is eating solids, along with small bites of a well-cooked white fish like tilapia or cod. If your child has severe eczema or an egg allergy, be sure to discuss introduction of these foods with your pediatrician.
What should I avoid?
Do not feed infants under age 1 honey, since it can contain bacteria that could make them sick.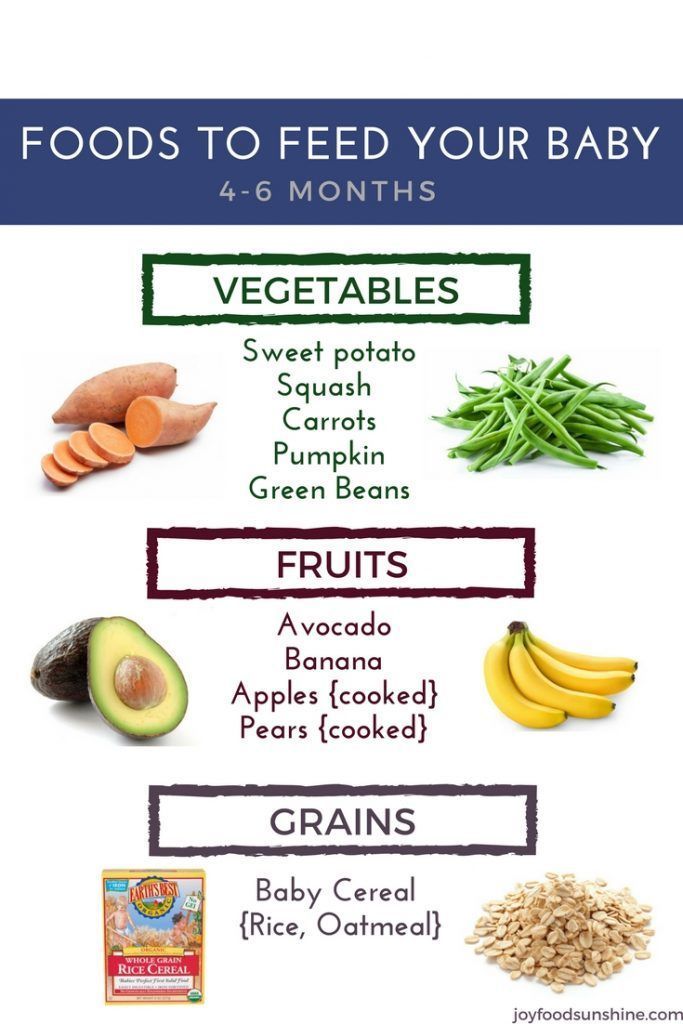 Also beware of foods that may be a
choking hazard, such as nuts or raw carrots. You can offer your baby
water with meals, but it is best to avoid all other beverages except breastmilk or formula. Homemade foods should not replace breast milk or infant formula, and remember that you should
not make infant formula at home. (See
Is Homemade Baby Formula Safe?)
Storing homemade baby food
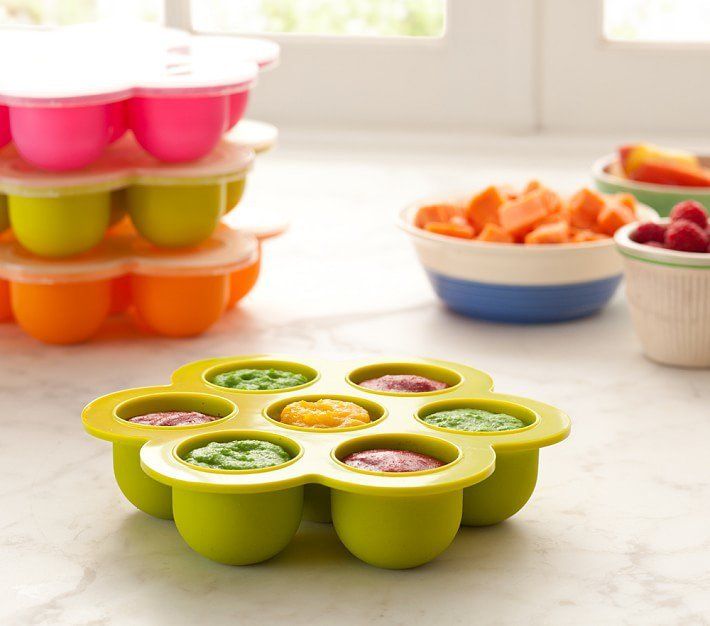
Some parents like to prep in advance by cooking in batches and storing the pre-made baby food. This can make life easier during busy days. Consider freezing the leftovers to use another time. After cooking, an ice cube tray is a wonderful way to freeze leftover food. Each cube is about 1 oz of food, and you can transfer to a zipped plastic bag or other storage container after freezing. Be sure to label the type of food and the date. Plan to eat frozen baby food within 3 months by reheating on the stove or in the microwave.
What about baby-led weaning?
Some families choose to skip pureed foods and offer babies small bites of regular table foods, typically without utensils.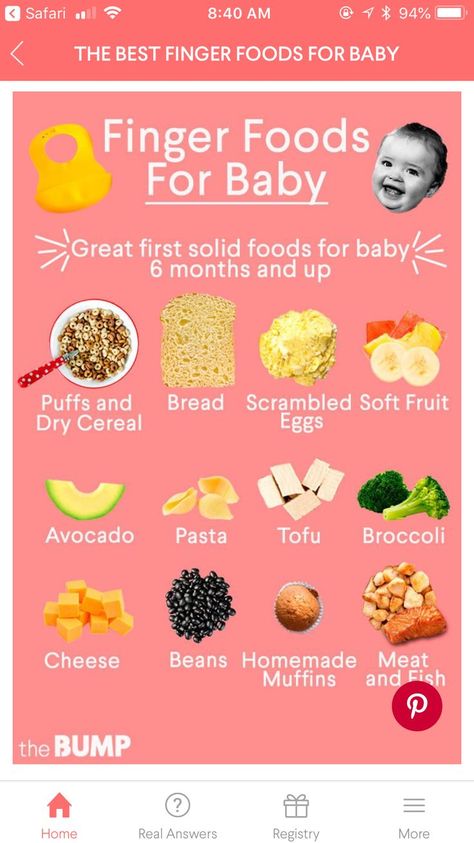 This allows infants who reject purees or prefer texture to feed themselves, even choosing what and how much they eat.
It's a good idea to talk with your pediatrician before starting. Your child should show signs of general developmental readiness for solids, plus the ability to bring their hands to their mouth. Begin with small bites of soft or mashed foods first, such as baked sweet potato, scrambled egg, small pieces of banana or ripe mango, or green peas. Remember to avoid raw vegetables, nuts and seeds, popcorn, whole grapes, and other foods that may increase choking risk.
Remember
What's right for your family may not be the same as for your friends, so try to avoid comparisons. All families are different and strive to do their best. Making homemade baby food is a great option, but don't feel badly if you need to use store-bought food, as well. Family size, budget, and schedule all contribute to these decisions. Just remember to offer a variety of foods to your baby, and make every bite count!
More information
- Starting Solid Foods
- Choking Prevention
- Ask the Pediatrician: How should we feed our baby if we're running low on money?
-
Heavy Metals in Baby Food
How to make baby food: Homemade baby food tips, ingredients, and storage
- Community
- Getting Pregnant
- Pregnancy
- Baby Names
- Baby
- Toddler
- Child
- Health
- Family
- Courses
- Registry Builder
- Baby Products
Advertisement
Photo credit: Thayer Allyson Gowdy for BabyCenter
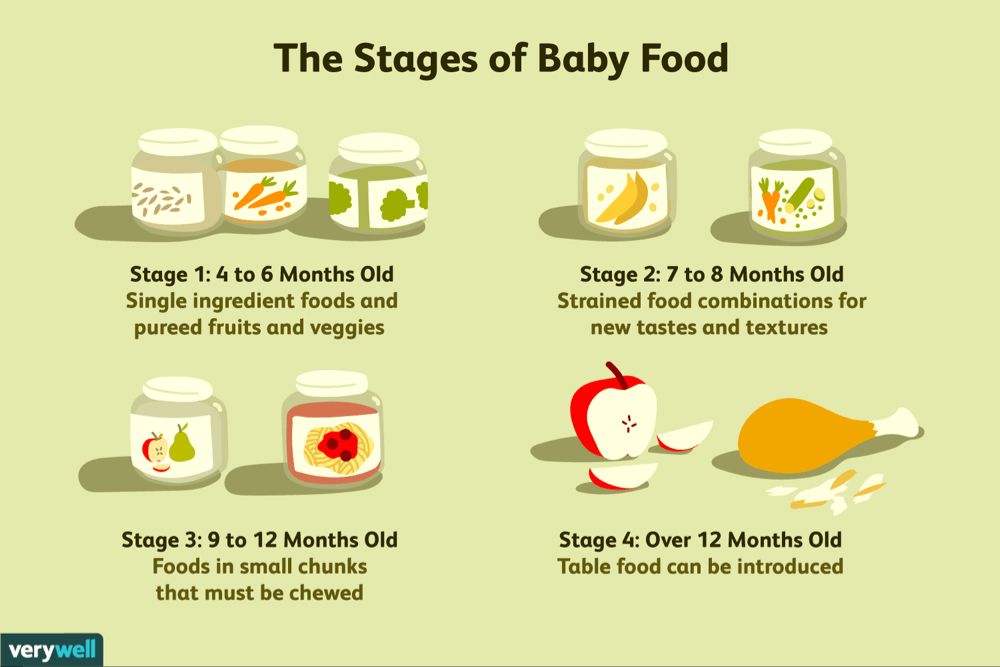
Making your own baby food is easier than you might think and can be less expensive than buying prepackaged baby food.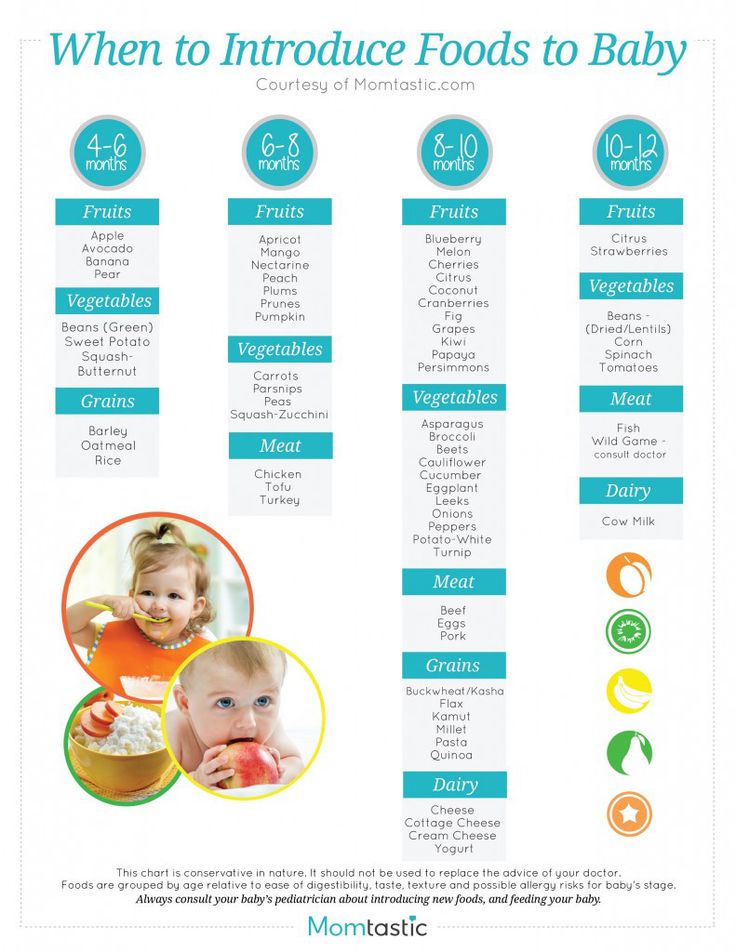 It's also convenient because you can use any produce, grains, and meat you have on hand.
Homemade baby food can be as simple as a pureed or mashed version of what you're serving the rest of your family. This also gets your baby used to eating the same food as everyone else, a strategy that could pay off during the picky toddler years.
Before feeding your baby homemade baby food, be sure they're ready to start solids. Babies typically don't need anything other than breastmilk or formula until they're 6 months old, and they're usually ready to start solids around then.
Signs your baby is ready to start eating solids include having good head and neck control, being able to sit up, and being interested in food – they'll show this by opening their mouth and leaning forward when food is near.
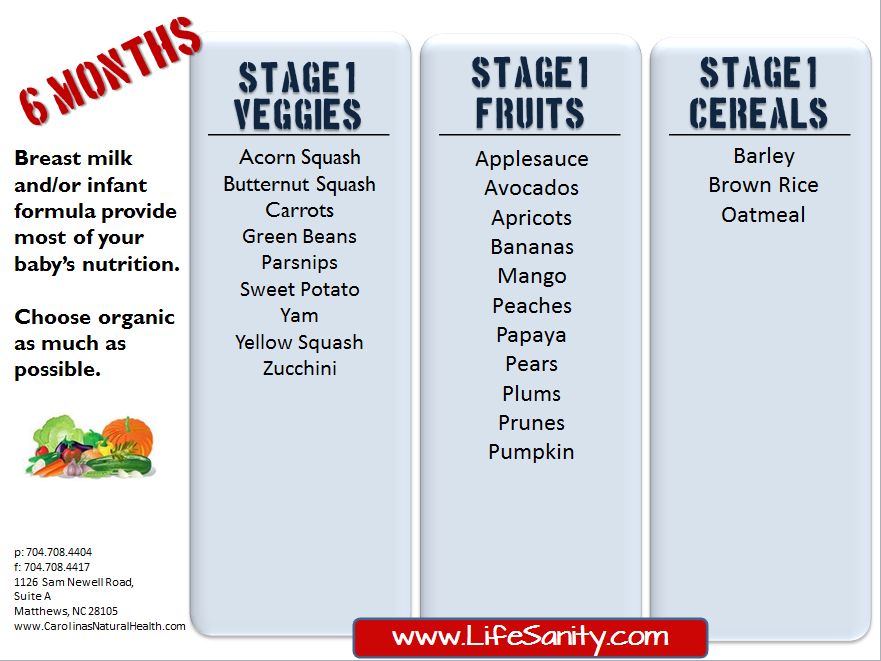
You can start with baby cereal or a single pureed or well-mashed fruit, vegetable or even meat. Introduce a variety of single-food purees first; once they've tried several of those, you can start combining multiple foods.
Feed your baby with a soft-tipped spoon, and be patient as they learn to eat. When they turn their head away, lean back, refuse to open their mouth, or start to fuss or play with the spoon, they're done eating.
For more inspiration, check out our age-by-age guide to feeding your baby, our gallery of baby food recipes, and our guide to finger foods.
Photo credit: Thayer Allyson Gowdy for BabyCenter
What you'll need to make baby food
To make baby food, you'll need a tool to grind or puree. Possibilities range from an electric baby-food maker to a good old-fashioned fork:
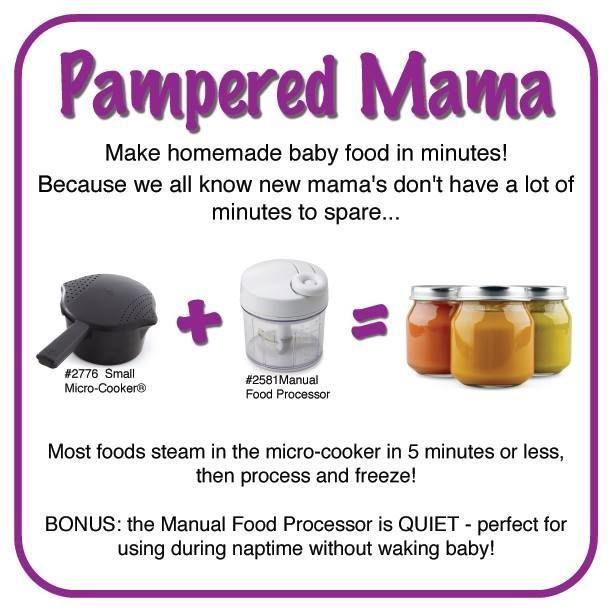
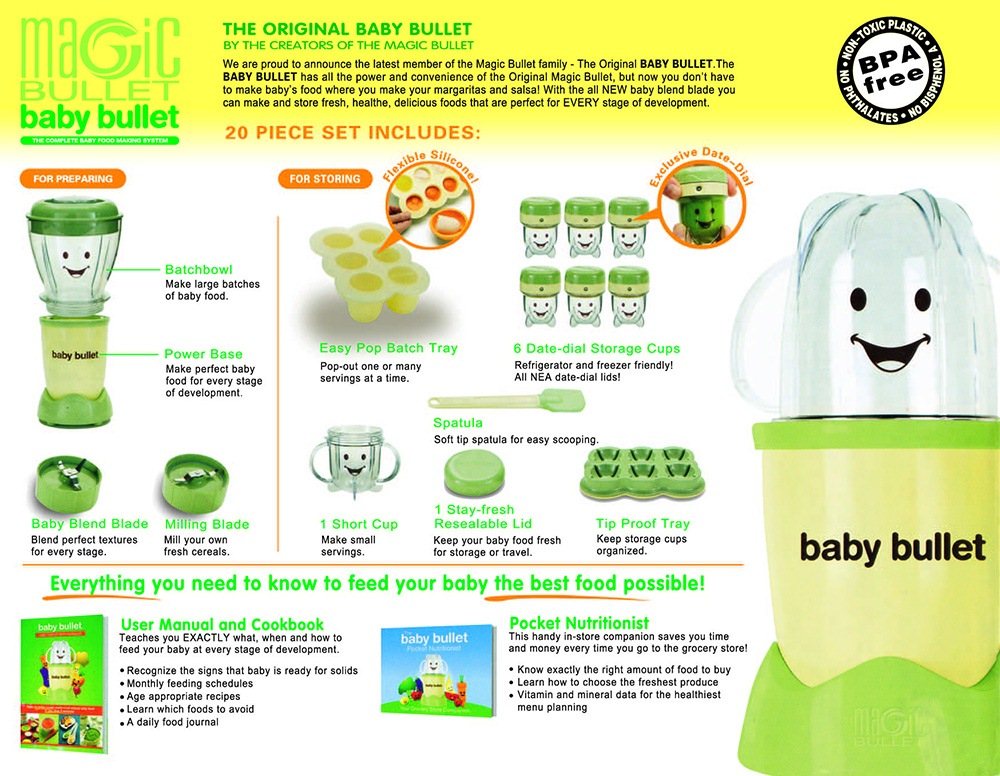
- A baby-food maker. This all-in-one tool first steam-cooks and then purees fruit, vegetables, and meat. Some models can defrost and reheat previously prepared food. Since babies usually only eat purees for a short period of time, many parents might not have the space or want to invest in a baby-food maker – but there are plenty of tools already in your kitchen you can use.
- A blender or food processor. Some parents like them, since it's really easy to throw food in together and blend it. But others find them too cumbersome and don't like the amount of cleanup required for small jobs.
- A hand blender. This handheld electric gadget purees food like a blender, but works in the opposite way: You place it into the food rather than vice versa.
- A hand-turned food mill with different blades for various textures of food. Many parents say this portable, non-electric gadget is their favorite tool.
- A baby-food grinder. Non-electric, portable, and very inexpensive, this simple tool breaks down chunks of food like the mill, but it only has one setting. Read reviews before ordering – the grinders don't always work as well as they promise. However, some parents swear by them.
- A steamer can be perfect for softening vegetables to mash into baby food, though you can usually do this just as well in a microwave or over the stove.
- A fork. This ubiquitous piece of cutlery is all you need to transform easily mashed foods such as baked sweet potatoes, avocados, and bananas into a meal for your baby.
- A strainer or sieve to get rid of larger chunks or seeds. This isn't necessary, but can help make purees easier for your baby to eat when they're first starting solids.
Photo credit: Thayer Allyson Gowdy for BabyCenter
How to choose baby food ingredients
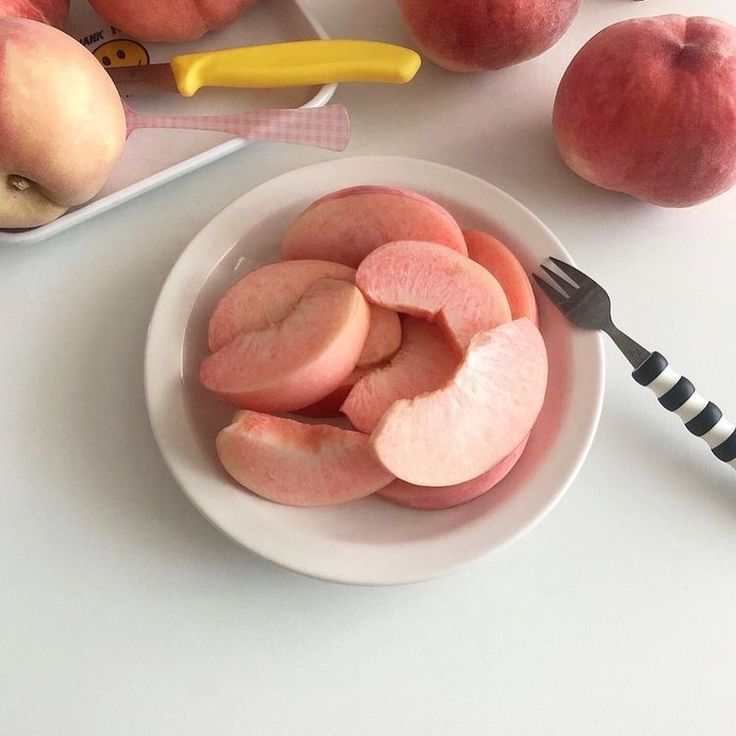
Choose fresh fruits and vegetables, and try to use what you buy within a few days. When fresh isn't available, frozen is a good option as well. Use a rainbow of colors of produce in your baby's food – a variety of colors means a variety of vitamins and nutrients.
Some great ingredients to use in baby food include:
- Avocados make a great first food because they're soft and easy to mash, and a great texture for your baby to start solids with.
 They also contain healthy fats and other essential nutrients.
 - Bananas are also soft and easy to mash, and are easily a favorite for how naturally sweet they are. Bananas are also full of potassium and vitamins.
- Berries are full of vitamins and antioxidants – plus, they're tasty!
- Green vegetables like broccoli and green beans are packed with vitamins for your baby. Steam them until they're very soft and puree on their own, or blend with other foods.
- Beans are a perfect food to mash up for your baby. They're a tasty source of protein, vitamins, and minerals like zinc and iron.
- Meat such as chicken, turkey, beef, or fish will give your baby protein. You can use meat you've prepared for the whole family (make sure it's well cooked), and puree it for your baby, on its own or mixed with other food.
- Sweet potatoes are tasty and packed with vitamin C.
 Cook the sweet potato to soften it, then mash or puree it for your baby.
 - Squash can pair well with other veggies or fruits. Cook it well so that it's soft, then mash or blend it.
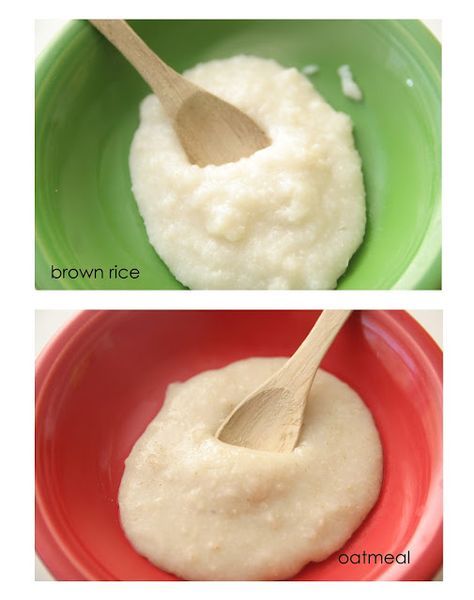
- Oats are full of fiber and, if fortified, iron. You can buy baby oatmeal at the store and mix it with breast milk, formula, or other pureed baby food. You can make homemade oatmeal by grinding oats and mixing them with a liquid, but experts don't recommend it since homemade oatmeal isn't fortified with nutrients your baby needs. (More on that below.)
Photo credit: Thayer Allyson Gowdy for BabyCenter
How to make your own baby food
When preparing to make your own baby food, keep your baby's eating abilities in mind. They aren't able to chew much, and are just getting used to swallowing food. Make sure any tough parts of the food (such as skin), or any potential choking hazards (like seeds or pits), are removed.
Cook the food you're using until it's very soft and tender.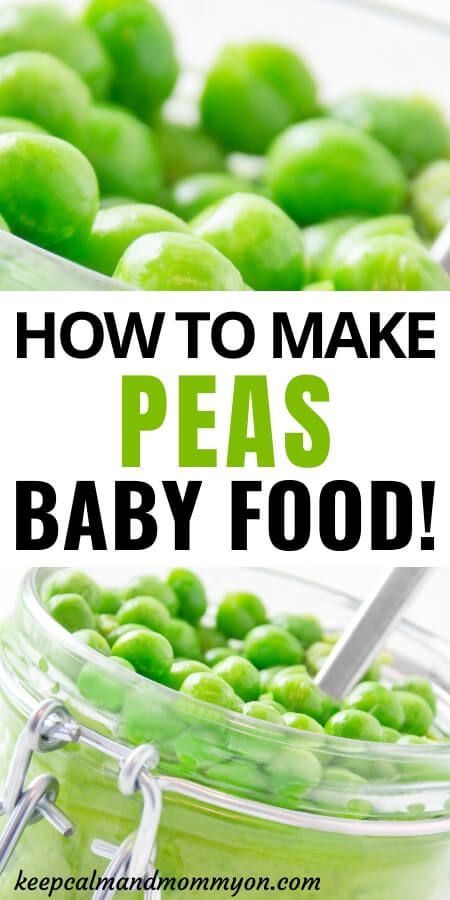 Mash and puree it, and mix with any other foods if you're making a combination. If you need to thin the food, mix it with some water, breast milk, or formula.
When first introducing your baby to solids, start with a single type of food. Feed it to them for a few days before introducing another single food. Once your baby has had a variety of single foods with no allergic reaction, you can start combining them together for different tastes.
You can also feed your baby whatever you're making for the rest of your family, as long as it doesn't have added sugar, honey, or salt. While you're cooking, set aside a small portion for your baby before you add seasonings. Once your baby gets used to the taste of plain food, you can add herbs and spices to introduce them to new flavors.
Photo credit: Thayer Allyson Gowdy for BabyCenter
Preparing fruits and veggies to make baby food
When preparing fruits and veggies for baby food, make sure they're skinned well and that any pits or large seeds are removed.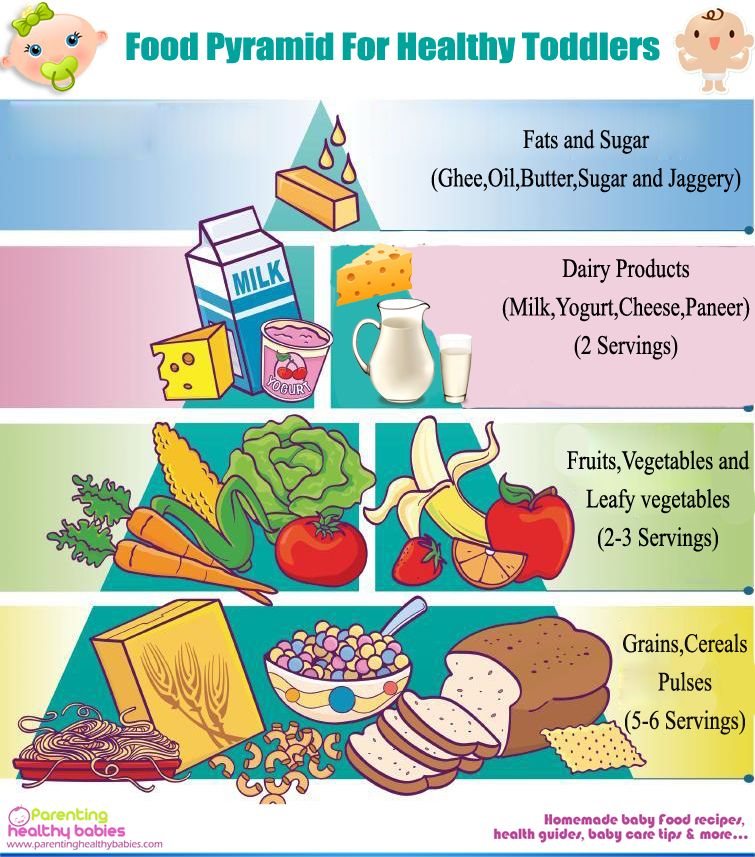 You don't necessarily need to strain the small seeds in berries, since they aren't a choking hazard. Your baby probably won't digest the seeds very well, so you may see them in their diaper later – but that's nothing to worry about.
Wash your produce before serving it to your baby. You can rinse it with water, soak it in a water bath (with a bit of white vinegar, apple cider vinegar, or baking soda), or boil it – which has the added benefit of softening your produce before you puree it for your baby.
Remove any outer shells around vegetables like peas or edamame. With citrus fruit like oranges, you might want to remove as much of the membrane as you can, since that part of it can be tough and might not blend as well in a puree.
Once all skins and seeds are removed, cook your fruit or vegetable (if needed) until it's soft and can be easily mashed or pureed.
Since bananas and avocados are already soft, you don't need to cook them before mashing or pureeing. You can peel, mash with a fork, and serve. If the texture is too thick for your baby, mix it with a bit of water, breast milk, or formula.
Photo credit: Thayer Allyson Gowdy for BabyCenter
Preparing cereals and grains to make baby food
Fortified baby cereal is a good source of iron and zinc. It might be made out of oats, barley, rice, wheat, quinoa, or multiple grains. With fortified baby cereal that you buy at the store, all you need to do is mix it with some breast milk, baby formula, or water.
When your baby is first getting used to eating solids, mix it with more breast milk or formula to make it thinner and easier to swallow. To start, try mixing 1 tablespoon of baby cereal with 4 tablespoons of water, breast milk or formula. As your baby gradually gets more used to eating solids, you can mix it with less liquid so it's thicker.
You can make baby cereal from scratch, but it won't have all the added nutrients that store-bought cereals are fortified with, like iron, zinc, and vitamins.
If you make your own baby cereal at home, make sure that you grind whatever grain you're using very finely for your baby, then cook it in boiling water. Add warmed breast milk or infant formula to thin it out.
You can also prepare it in reverse, cooking the grain first and then blending it into a puree. Then you can serve it to your baby right away, or freeze it for later.
Photo credit: Thayer Allyson Gowdy for BabyCenter
Preparing meat and fish to make baby food
You can make baby food from beef, chicken, turkey, pork, or fish. Keep in mind that some types of fish (such as marlin, tilefish, and shark) aren't safe for babies because they have high levels of mercury.
Babies are especially sensitive to bacteria in undercooked meat and could get food poisoning, so be sure to cook all meats to the right temperature: 145 degrees Fahrenheit for fish and whole cuts of beef and pork, 160 degrees for ground beef, and 165 degrees for chicken and other types of poultry, as well as all kinds of leftovers.
Since chunks of meat can be choking hazards, especially when your baby is first starting solids, puree the meat for your baby until it's a thin consistency.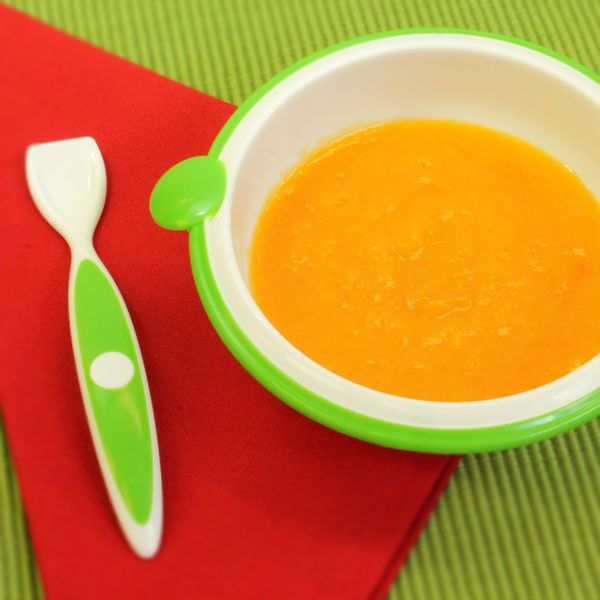 Also be sure that all the skin, gristle, and bones are removed.
If your baby doesn't like the taste of meat by itself, try mixing it in a puree with a fruit or vegetable.
Photo credit: Thayer Allyson Gowdy for BabyCenter
Homemade baby food storage and serving
Here are some extra pointers for storing and serving baby food:
- Serve food no warmer than body temperature.
- Take care if you heat meals in the microwave. Microwaves heat unevenly and can create "hot spots" – areas of the food that are much hotter than others – so be sure to stir microwaved food well and let it sit for a few minutes before serving.
- Dish out only the amount of food you think your baby will eat at that feeding. You'll need to toss what's left over in your baby's bowl because your baby's saliva will get into the mixture and make it easier for bacteria to grow in the food.
- Refrigerate leftovers in an airtight container and use them within a couple of days.

- Try freezing baby food in ice cube trays to make it easier to store and serve. After the cubes are frozen solid, remove them and store in plastic freezer bags. Frozen fruits and vegetables will last six to eight months in the freezer; meat and fish will last one to two months.
- Babies can't drink cow's milk until they're a year old, so don't use it in homemade baby food. If your baby food is too thick for your baby to swallow, thin it with plain water, breast milk, or formula.
- Feeding your baby potentially allergenic foods (such as smooth peanut butter, eggs, and dairy) early can help prevent a food allergy. If your baby is at higher risk for a food allergy – if they have chronic eczema or if a sibling or parent has a food allergy – talk to your pediatrician about the best way to introduce potentially allergenic foods.
- Remember that it's okay to buy prepackaged baby food if it works better for your family – it has all the same nutrients your baby needs to grow and thrive.
Was this article helpful?
Yes
No
Kandis Lake
Kandis Lake is a registered nurse, health writer, and mom of three kids. She lives in Utah and loves reading and adventuring with her family.
Advertisement | page continues below
Baby puree at home: recipes
Baby puree from vegetables and fruits at home: cooking secrets
Vegetable and fruit puree often becomes the first meal of the baby after breast milk or formula, so many mothers prefer to cook it on their own. Although modern manufacturers convince us that baby food is devoid of preservatives and harmful additives, fresh vegetables and fruits are much healthier, especially when it comes to infant nutrition. Yes, and cooking baby puree at home is not so difficult.
Vegetables or fruits?
Let's try to make baby puree for our beloved baby. Despite the fact that pediatricians of the last century recommended starting complementary foods with fruits, it is better to first introduce the child to vegetables - modern doctors and nutritionists have come to this conclusion. Boiled vegetables do not irritate the gastrointestinal tract, are better absorbed, satisfy hunger, do not cause allergies and increased gas formation. In addition, vegetables do not contain fructose, which irritates the pancreas. And one more weighty argument in favor of the fact that it is better to start with vegetables - fruits are tastier, and if the baby tries them first, he will refuse vegetables, because they will seem to him more insipid.
How to prepare baby vegetable puree
What can baby puree be made of? The ideal puree for the first feeding is from cauliflower or zucchini. A little later, you can introduce pumpkin, broccoli, carrots, potatoes and green peas. Before cooking, vegetables are washed well, peeled, cut into pieces and cooked - steamed, in the oven or in the usual way, in water. The first two methods are preferable because oven roasting and steaming preserve the vitamins, minerals, nutrients, and natural color in the vegetables. And most importantly - such vegetables are much tastier. Some nutritionists recommend boiling vegetables with their skins on before peeling them, so choose your own cooking method.
If you do have to cook vegetables in a saucepan, use an enamel pot, add less water and put the vegetables in boiling water. Boil until soft, but do not overcook vegetables and fruits, otherwise they will become tasteless and lose a lot of vitamins. Ready vegetables are chopped with a blender until smooth and slightly diluted with water, vegetable broth, breast milk or mixture to a gruel state, since the child does not yet know how to digest thick food. Small pieces of vegetables in puree sometimes cause the baby to refuse to eat, so the knives in the blender should be well sharpened, and if there is no technique, you can grind the vegetables through a sieve. Salt and spices are usually not added to baby vegetable puree, and if the baby is more than 6 months old, you can put a little butter in the puree.
A few rules for making baby puree at home
- Use only fresh vegetables and fruits.
- Water for cooking vegetables must be filtered or bottled.
- If you are using frozen foods, choose only whole fruits and vegetables as they retain the most nutrients.
- All utensils for preparing baby food should be perfectly clean, so if the knife falls on the floor, it should be washed well. Also, the presence of pets in the kitchen during the cooking process is not allowed.
- Avoid vegetables and fruits high in nitrates, such as spinach, lettuce, beets, melons, and watermelons, in infants' diets.
- Store-bought vegetables are recommended to be soaked in water to remove nitrates: 1-2 hours for this, up to 24 hours for potatoes.
- Mix sour-tasting fruits and berries with sweet fruits - for example, blackcurrant goes well with a banana or pear. Sour puree is unlikely to please the baby.
- Give your child only fresh food, but yesterday's puree from the refrigerator is better to eat yourself.
DIY fruit puree for children
Children are more likely to eat fruit puree, because fruits are tastier and sweeter.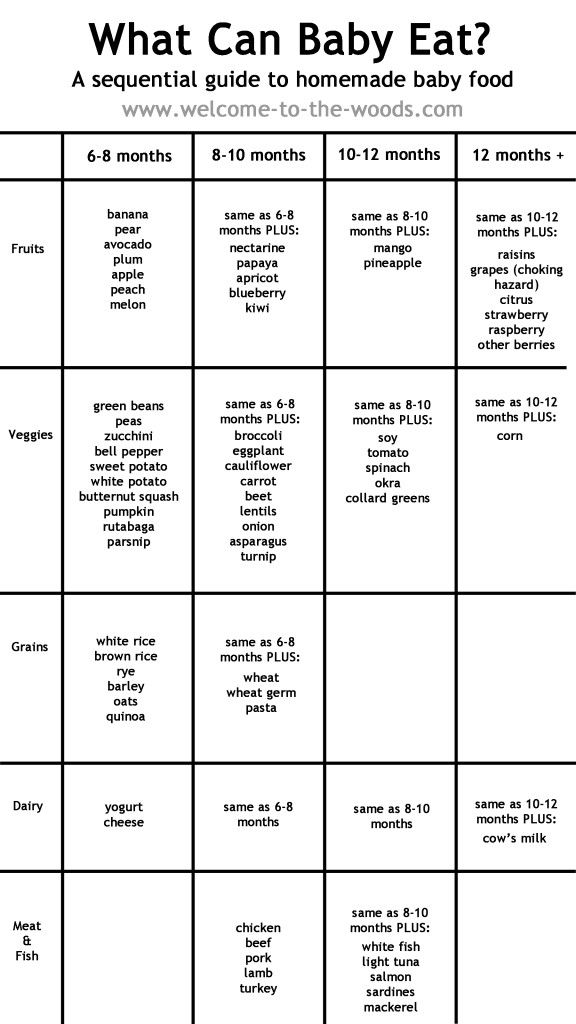 Fruits contain a large amount of vitamins, minerals, trace elements, fiber and antioxidants, so they are very useful for a growing body. However, fruits are strong allergens, especially berries, bananas, pomegranates and apricots, so they should be given with caution, watching the child's reaction. The most low-allergenic fruits are apples and pears, so it is better to start complementary foods with them, and then introduce all other fruits. First, the baby is fed with a one-component puree made from only one product, and then you can mix different vegetables and fruits, and not only among themselves. Very tasty combinations of fruits and vegetables, such as apples and zucchini, pumpkins and pears.
Fruits must be of good quality, without damage, ripe and juicy, and the rules for preparing fruits do not differ from the rules for cooking vegetables. Naturally, fruit puree is not sweetened with honey and sugar - the later the child learns the taste of sugar, the stronger his health will be.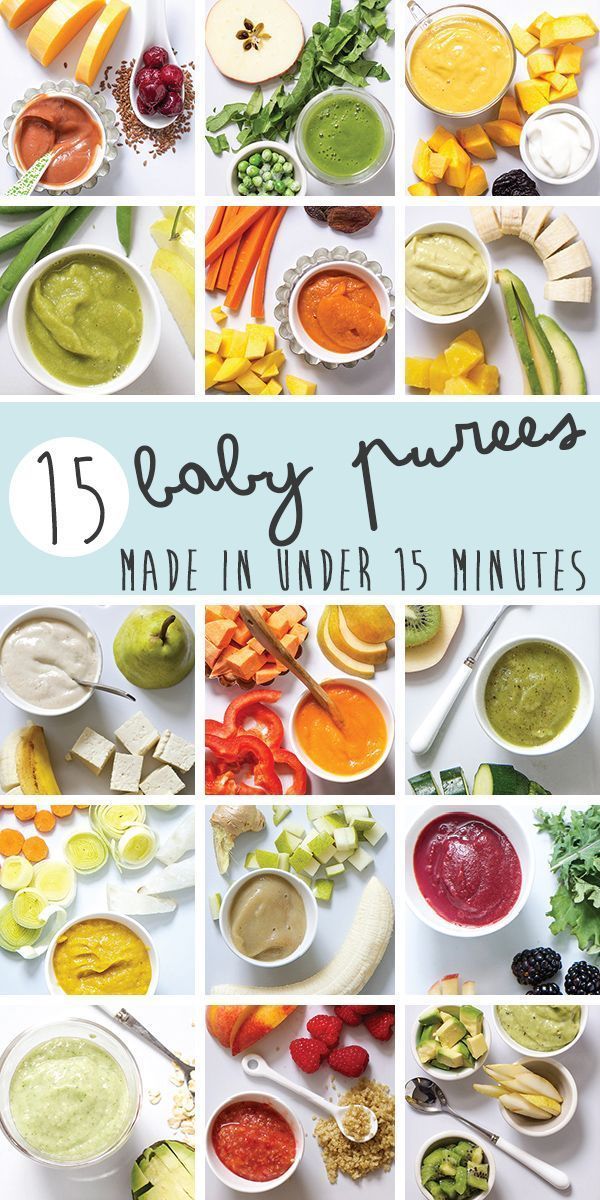
Aromatic pumpkin puree
Babies love to eat pumpkin because of its pleasant sweet taste, besides pumpkin is very healthy. It contains a whole storehouse of various vitamins, including vitamin T, which normalizes the metabolism in the body. For pumpkin puree, small pumpkins are suitable, since large fruits are not as tasty and difficult to peel.
Cut the pumpkin in half, and then into small slices, one or two of which (depending on the appetite of the crumbs) cut into cubes. Boil the pumpkin in a double boiler or in water for 20 minutes, while warm, beat with a blender to a smooth puree and dilute if necessary with water or a mixture. Add oil and salt depending on the age of the child.
Gentle Broccoli Puree
One of my favorite homemade baby puree recipes is broccoli. This cabbage is extremely useful because it contains potassium, iron, calcium and other valuable substances. It has much more vitamin C than lemon, and the reason for its nutritional value is its high protein content.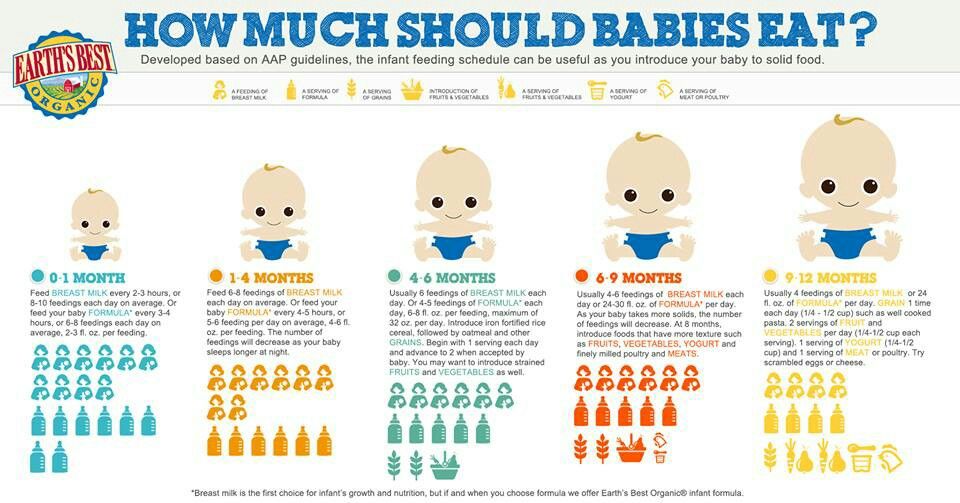
Separate the broccoli into florets, wash thoroughly and steam for 20 minutes. Cabbage cooks faster in water - fresh broccoli will take 7 minutes, and frozen - about 15 minutes. Broccoli puree does not need much water, it should lightly coat the vegetables. After the cabbage becomes soft, chop it in a blender or pass through a sieve. If you're mashing for kids older than a year old, be sure to add butter - the little ones will gobble up broccoli on both cheeks!
How to make baby pear puree at home
Pear is a very delicate, tasty and healthy fruit that rarely causes intolerance. In addition to the high vitamin value, the pear has other beneficial properties - it facilitates digestion and removes toxins from the body.
For baby food, choose green pears to reduce the risk of allergies, which are rare among babies. Peel the fruits from the peel and core with seeds, and then stew the pear in a bowl with a thick bottom in a small amount of water for 15 minutes. Let the pear cool slightly and puree it in a blender with a little of the remaining pear broth. For large kids, fruits can not be boiled, but add half a teaspoon of natural honey to the puree.
Zucchini and apple puree
Little gourmets will love this delicious puree, besides, zucchini is considered the most hypoallergenic vegetables, which, due to their high potassium content, have a beneficial effect on the heart. Apples contain iodine, iron and phosphorus, and due to the high concentration of vitamin C, apples help in the prevention of colds and viral infections.
Wash the zucchini and apples well, de-seed them, cut into pieces and cook in a saucepan for about 20 minutes, considering that the zucchini will cook 5 minutes faster. By the way, apples are steamed for 15 minutes, zucchini - 10 minutes. Next, vegetables and fruits are chopped in a blender, mixed and brought to a boil. For allergic children, this is the best side dish!
Exotic mango
Sometimes you can pamper your baby with exotic fruits - for example, make mango puree.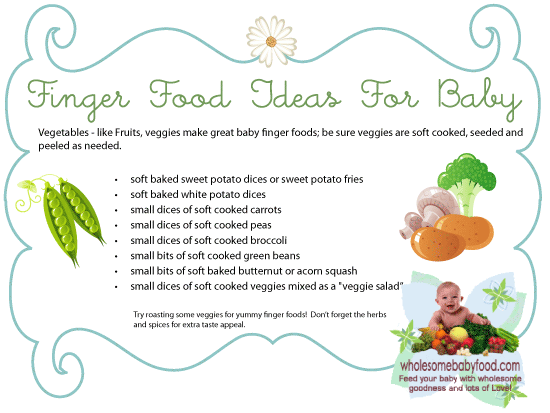 This is a very delicate fruit with an original taste, containing 12 amino acids and improving sleep.
Choose only ripe fruits that are soft and reddish-yellow in color. Peel the mango from a thick skin and a large bone, put the pulp in a blender, add 2 tbsp. l. water and mash it, and then heat it in a saucepan for several minutes. For a baby up to a year old, it is better to give mashed potatoes with heat treatment to facilitate digestion, and older children can be fed raw mangoes.
Carrot and Potato Puree
Make normal potato puree without oil. Peel the carrots, grate them and stew them with butter and vegetable broth - about 1 tsp is required for 200 g of carrots. butter and 150 g of broth. When the carrot becomes very soft, wipe it through a sieve, and then put it on a plate, put mashed potatoes on the second half. Let the child choose whether to mix two types of puree for him or eat separately!
Pumpkin and apple puree
This sweet, sugar-free pumpkin-apple puree, cooked in a double boiler, is suitable for children who are already accustomed to “adult” food and are able to perceive a new unusual dish.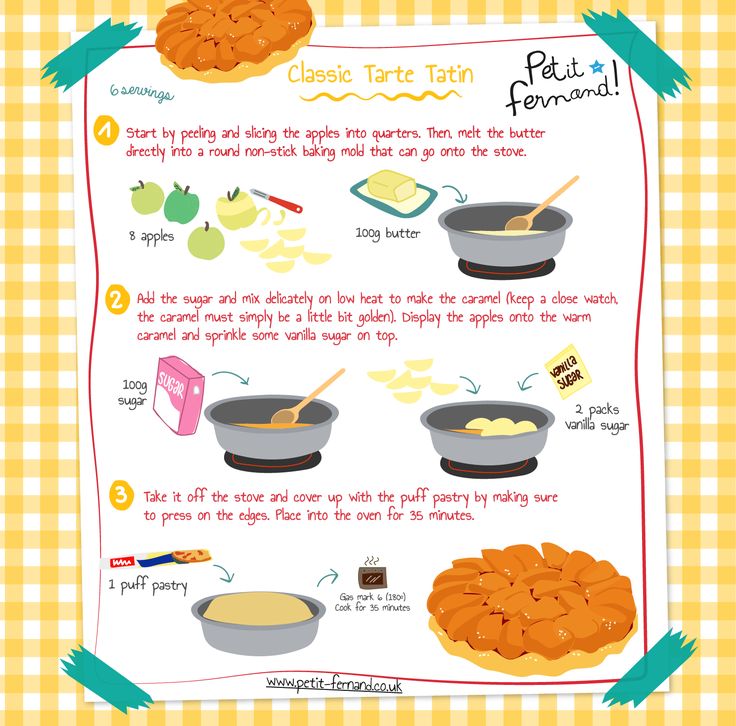 It is better to take a pumpkin with a gray or green skin and with bright pulp - such fruits contain more vitamins and other useful substances. Apples are green because they have fewer allergens.
Cut pumpkin and apple flesh without peel or seeds into pieces, place in a steamer and cook for 20 minutes. Grind pumpkin, apples and raisins in a blender or by hand with a pusher if the child has already learned to chew. They say that this puree is very good for skin and hair, and you can check the truth of this statement yourself if you start feeding this dish to your baby.
In autumn, you can take care of preparing vegetables for baby purees. Some vegetables, such as pumpkin, carrots and apples, are stored fresh, and zucchini, broccoli, berries are frozen in small portions, because due to frequent freezing and thawing, vegetables lose vitamins and become tasteless. You can roll up fruit and vegetable puree in jars, but this snack should not be given to babies. Remember that the taste of vegetables determines whether the baby will love them in the future, so try to prepare an appetizing and tender puree - for health and good mood!
How to make your own baby food!
Tips for parents0
You will be sure that your child eats quality products!
Making your own baby food is easier than you think and cheaper than buying pre-packaged baby food. It's also convenient because you can use the fresh produce, grains, and meats you have on hand. Best of all, you know exactly what you are feeding your baby.
"Homemade" baby food can be as simple as the puree you serve to the rest of your family. It also forces your child to eat the same food as everyone else, a strategy that can pay off in a toddler's picky years.
Choose the right equipment
You will need a food chopping tool for your child. Opportunities range from an electric baby food maker to a good old-fashioned fork:
- Baby food maker. This versatile tool first steams and then purees fruits, vegetables and meats. Some models defrost and reheat previously cooked foods.
- Blender or food processor. Some parents like them, but others find them too bulky and don't like how much cleaning is required for small jobs.
- Hand blender. This portable electric gadget purees food like a blender, but it works in the opposite way: you put it into the food, not the other way around.
- Baby food chopper. Non-electric, portable and very inexpensive, this simple tool grinds up chunks of food, but you don't have a choice of textures.
- Fork. This simple machine is all you need to purée foods like baked sweet potatoes, avocados and bananas.
Shop the best
For baby food, choose only the freshest fruits and vegetables and try to use what you buy within a day or two. When fresh food is not available, frozen is a good option. (If organic is your preference, learn how to get organic for less.)
The American Academy of Pediatrics recommends waiting until your baby is at least 4-6 months old before starting solids. If you choose to start earlier, the AAP recommends not feeding high-nitrate vegetables such as beets, carrots, green beans, spinach, and squash to your baby under 3 months of age.
Should I be concerned about nitrates?
No. Nitrates are chemicals found in water, soil, and certain foods such as spinach, beets, carrots, green beans, and squash.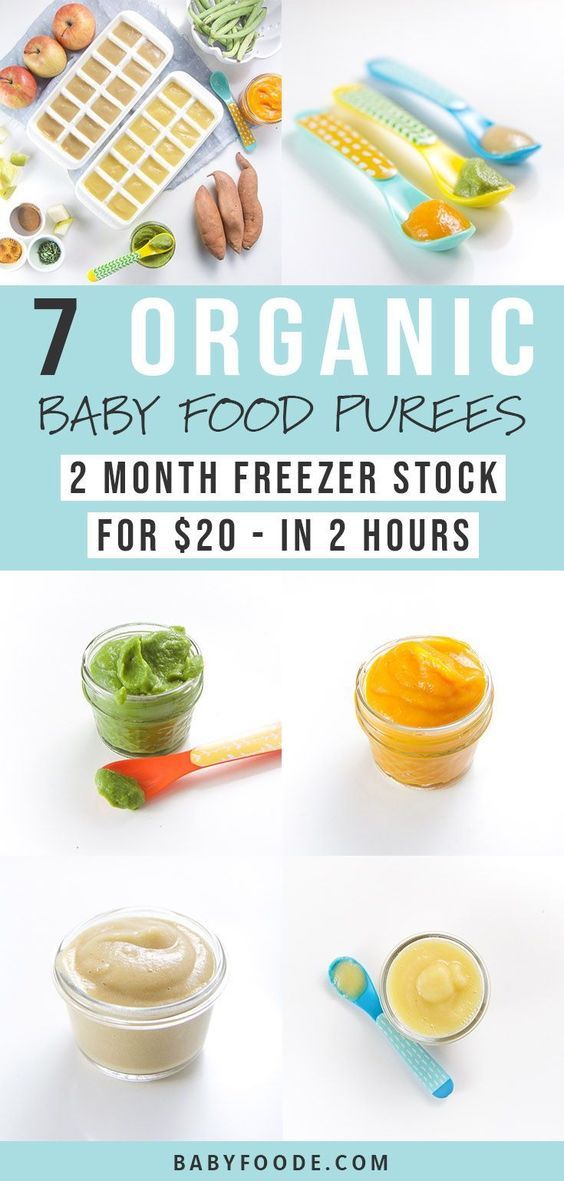 The American Academy of Pediatrics (AAP) warns parents not to feed these vegetables to babies under 3 months of age because their nitrate concentrations can be toxic to young children.
However, this should not be a problem because the AAP does not recommend any solid food for babies until they are 4 to 6 months old. By then, the child's digestive system is mature enough to handle the nitrates in vegetables, and these nutrient-dense foods can be on the menu.
Storage and Maintenance Tips
From adding flavor to freezing leftovers, here are some extra tips for making baby food.
- Serve food no warmer than body temperature.
- Be careful when heating food in the microwave. Microwaves heat unevenly and can create “hot spots”—patches of food that are much hotter than others—so be sure to stir your food well in the microwave and let it sit for a few minutes before serving.
- Choose only the amount of food you think your baby will eat at feeding time.
