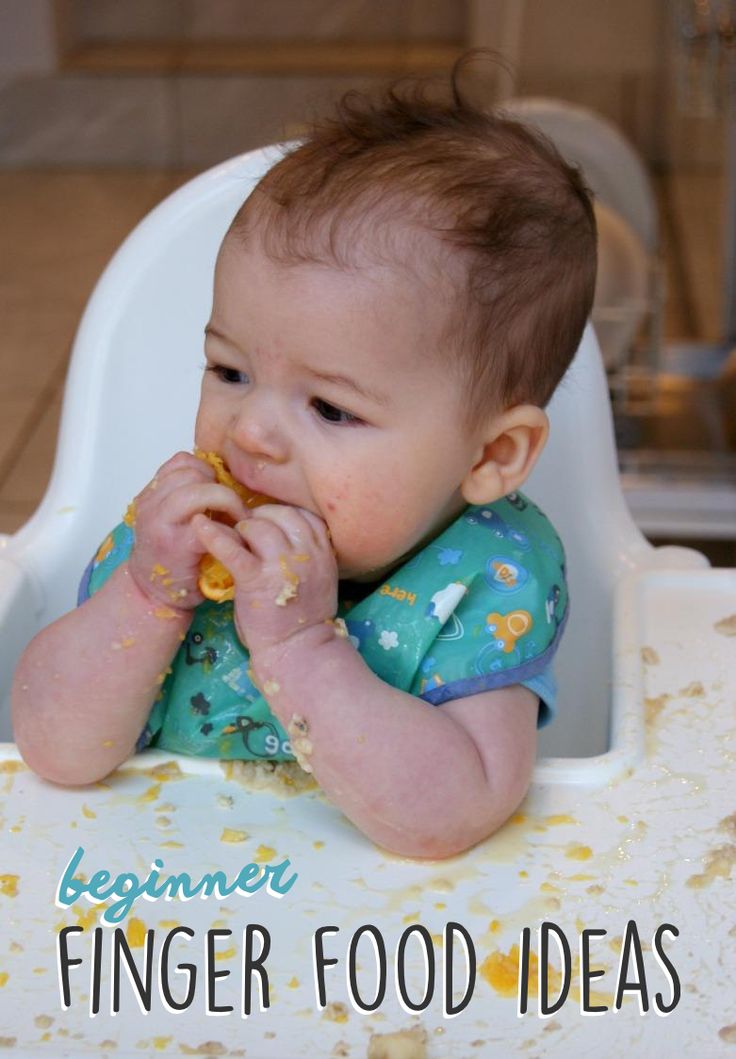
Finger food baby led weaning
Ultimate Guide to Baby Led Weaning (and Best First Foods)
Learn the basics of how to do the feeding approach known as “baby led weaning” and the best first foods for baby to make starting solids easy and fun. Plus: Learn why it’s perfectly okay to use a combined approach of blw and purees.
Baby Led Weaning
The feeding approach known as “baby led weaning” or “BLW” for short, is a style of feeding infants that allows them to feed themselves right from the start. The food is offered in thick finger-size pieces and is soft and easily squishable between your fingers. This way, the food is both easy to hold but has a low risk of choking.
TIP: This method became popular about a decade ago after the publication of the Baby Led Weaning: The Essential Guide to Introducing Solid Food by UK author Gill Rapley.
BLW Baby
One of the many reasons that people are starting to opt for this style of feeding more and more is simply that it’s easy. In many cases, you can modify foods you’re already making to share with your baby and there’s not always a lot of separate cooking involved. It also allows a baby to have control over what goes into their mouths, which sets a good precedent for letting them eat intuitively from the start.
What age should I start baby led weaning?
According to the American Academy of Pediatrics, a baby is ready to start solids with baby led weaning when:
- They’ve doubled their birth weight (at least).
- They can hold their head up well and are starting to sit up unsupported.
- They show signs of being interested in food (watching you eat, reaching for food when you’re eating, etc).
- When you feed them, they are able to move the food around in their mouths—rather than spit it right out.
TIP: Look for a highchair that allows a baby to sit up relatively straight so they can have good posture and better control over their arms and hands.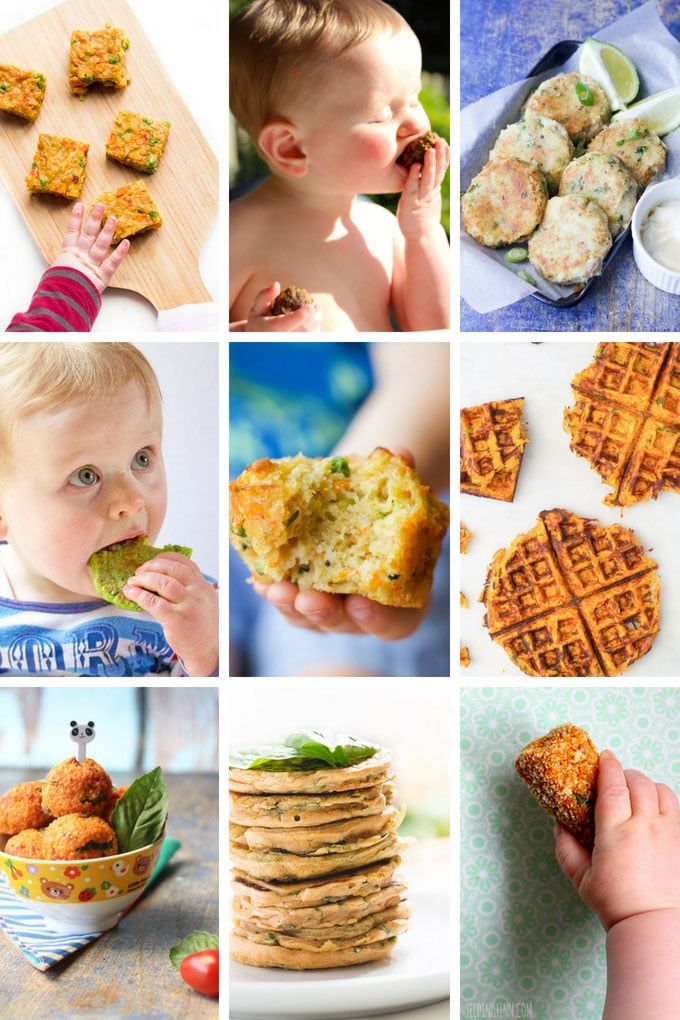
How to Start Baby Led Weaning
The first time you offer solids is such a fun milestone, so you’ll be ready once you follow these simple steps.
- Make sure baby has hit the milestones listed above to let you know that he’s ready to start.
- Get the highchair ready and adjust the straps and foot rest as needed.
- Plan to introduce water when you start solids. I recommend a trainer cup.
- Choose one food to start with and plan to offer only one food at a time.
- Stop when baby starts to fuss, turns his head away, or shows any other signs of not wanting to continue. It’s usually fairly obvious when they are done!
TIP: If you start offering solids and baby just doesn’t seem interested at all, it’s okay. Take a break for a few days or a few weeks and start again. Each kiddo has their own unique timeline.
Best Tips for Starting BLW
Here are a few more tips to consider and review before you get started.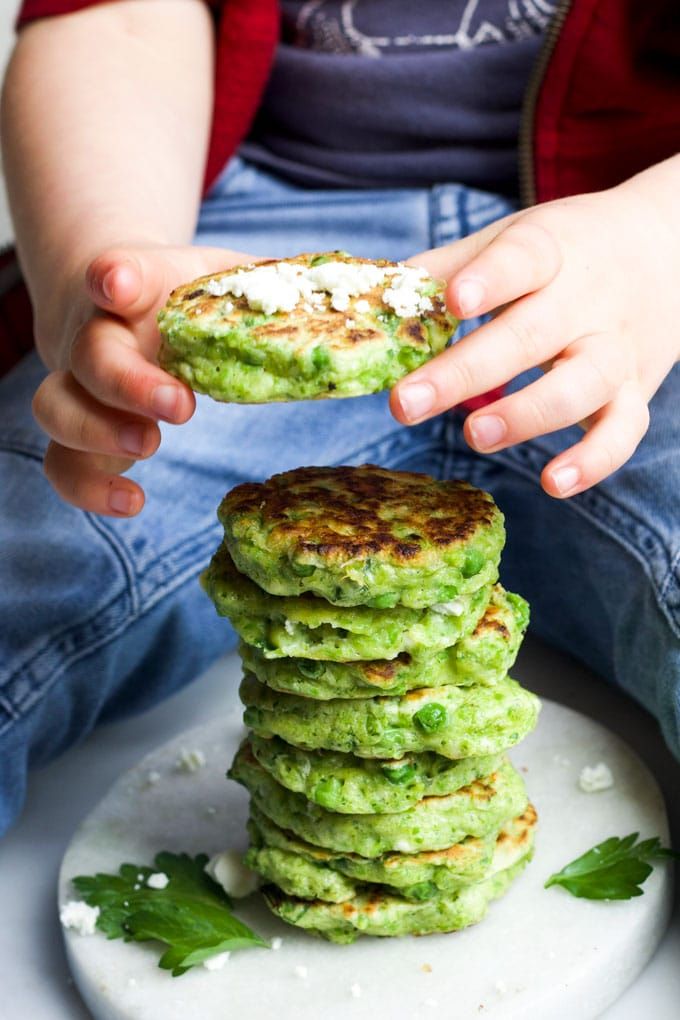
- Understand the gag reflex. Gagging is different than choking though and is most often a sign that baby is learning to move food around in their mouths—and to get it out of their mouths, which is a skill you want them to have!
- Brush up on the basics of how to know when baby is ready to start solids. (Go back to the top of this post for the signs to look for.)
- Set them up for success with a highchair that allows them to sit up straight and has foot support.
- Sit with them as you offer food.
- Check your own expectations of what will happen and simply allow your baby to take the lead.
- Start with one new food a day or every few days.
- Vary the textures of foods you offer to start exposing baby to many right from the start.
- Offer water in a sippy cup or small open cup.
TIP: Remember that breastmilk or formula will continue to satisfy baby’s hunger for the first few months of eating solids. Do not expect solids to replace milk feedings at this age.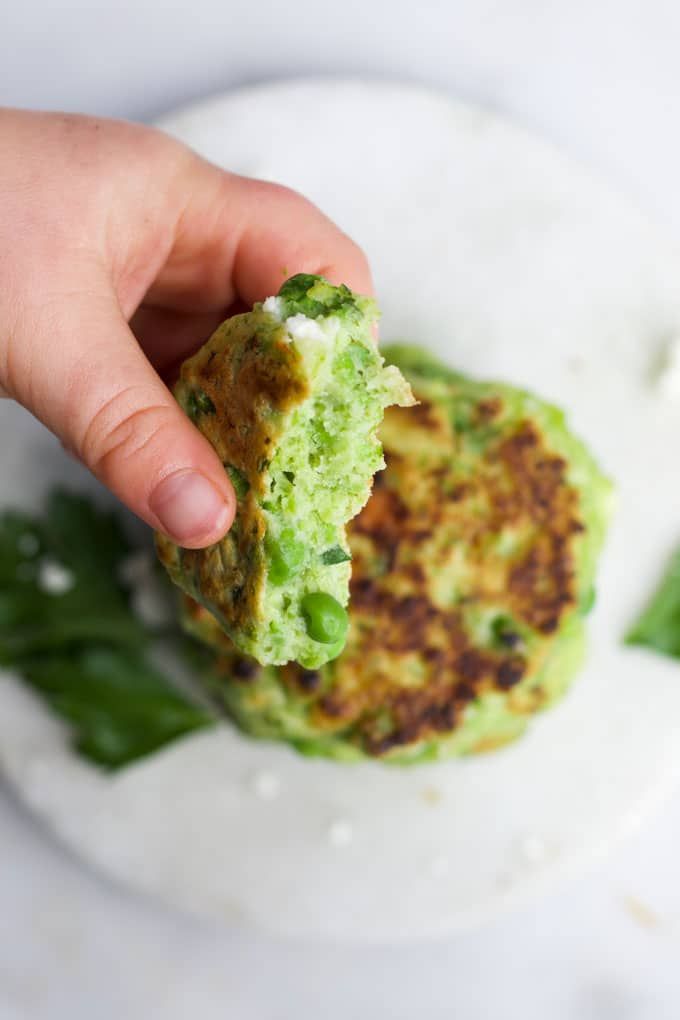
First Foods for Baby
Starting solids with baby led weaning or purees are both perfectly acceptable ways to introduce a baby to solid foods—but the topic can get so heated! There’s a lot of pressure to do it the “right” way and I’m here to say that there isn’t one. You 100% can do one or the other, or combine the two to make it work for your family. It’s all good!
Remember, the goal with first foods for baby is that they’re introduced to flavors, nutrients, and foods they can easily eat or suck on. It should be an enjoyable milestone for all involved.
TIP: It’s a good idea to get into the habit of offering an iron-rich food since iron stores in babies start to run out around 6 months and they’ll need to start ingesting it in their food.
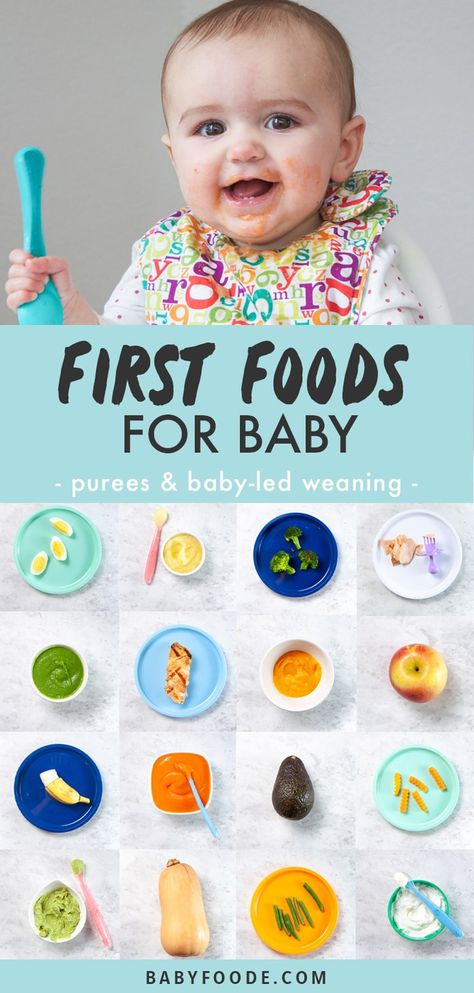
Best First Foods for Baby Led Weaning
Here are some of our favorite first foods to offer baby led weaning style. You want foods to be finger sized so they are large enough that baby can’t force the whole piece into their mouth, and a shape that’s easy for a 6 month old to hold with their chubby little hands.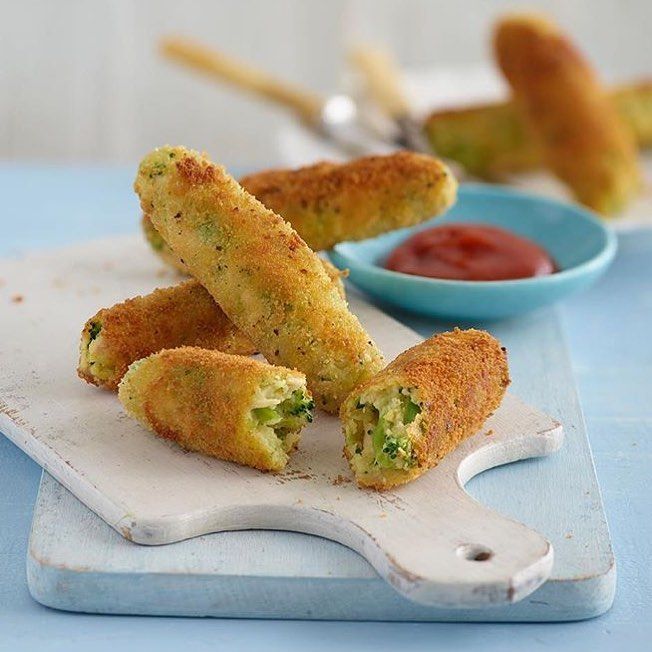 These are some of our favorites.
- Roasted sweet potato wedges
- Roasted apple wedges, skin on to help them hold together
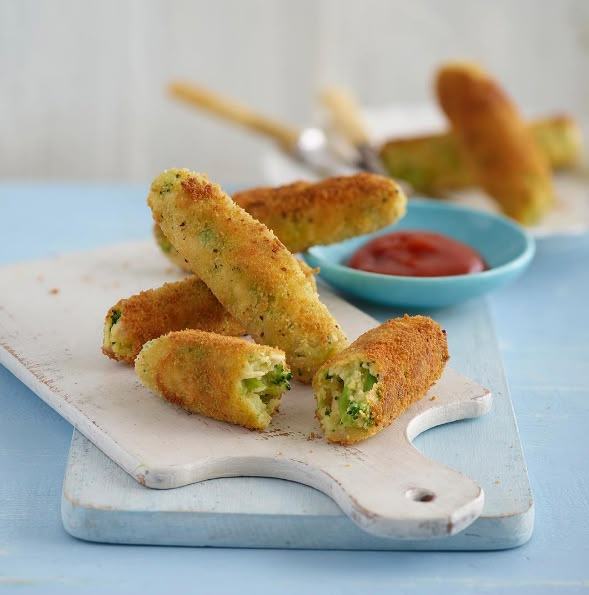
- Roasted or steamed broccoli florets (big enough for baby to hold)
- Melon slices
- Thick mango slice
- Banana with some of the peel still on
- Toast sticks with mashed avocado
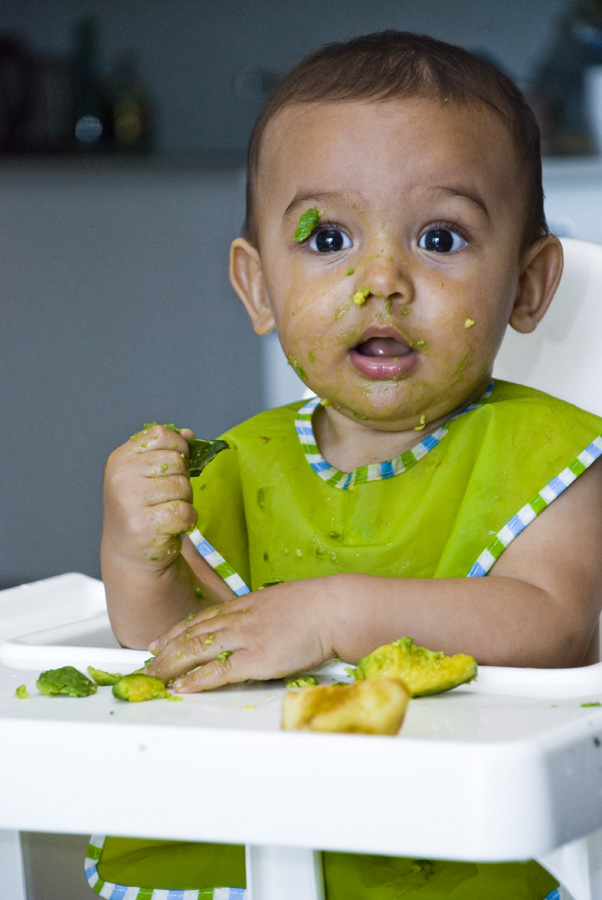
- Avocado spears (make sure the avocado is ripe and soft)
- Lamb or beef, on the bone or a large piece for baby to suck on
- Dark meat chicken, on the bone or a large piece for baby to suck on.
TIP: The foods should generally be soft enough to squish between your fingers with the exception of the large pieces of meat. If baby gnaws a piece down into a smaller piece, replace it with a larger one to avoid her putting a chunk of food into her mouth.
Baby Led Weaning Banana
To serve a banana to a baby, wash it well, then slice it in half. Cut off an inch or two of the peel, but leave the rest of the peel on so it’s not slippery for baby to hold.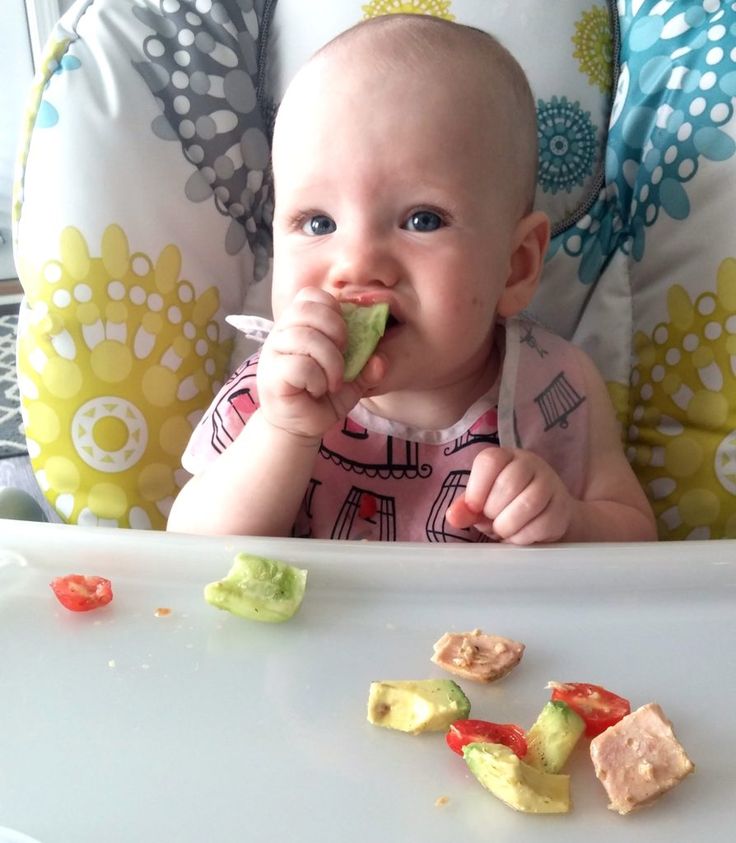 They’ll suck on the top part like a little popsicle! You can also help them hold the banana if needed.
Foods to Avoid Serving While Doing BLW
You want any foods you offer to a baby while doing baby led weaning to be soft enough to squish between your fingers and safe for them to eat and digest. Plan to avoid:
- Anything hard, sticky, or crunchy (like raw apple or carrot, whole nuts, crackers, or a big spoonful or nut butter)
- Added salt
- Cow’s milk (which is difficult for kids under 1 to digest; plain yogurt is fine though)
- Added sugar (they simply don’t need it)
- Honey (to avoid a risk of botulism)
- Super slippery foods that would be hard for baby to hold (which can be frustrating)
TIP: Always sit with your baby and watch them try to eat. They are your best guide for making adjustments to the foods you serve.
Baby Led Weaning and Choking
There are many parents who dislike this method of feeding because it often sounds like a baby is choking.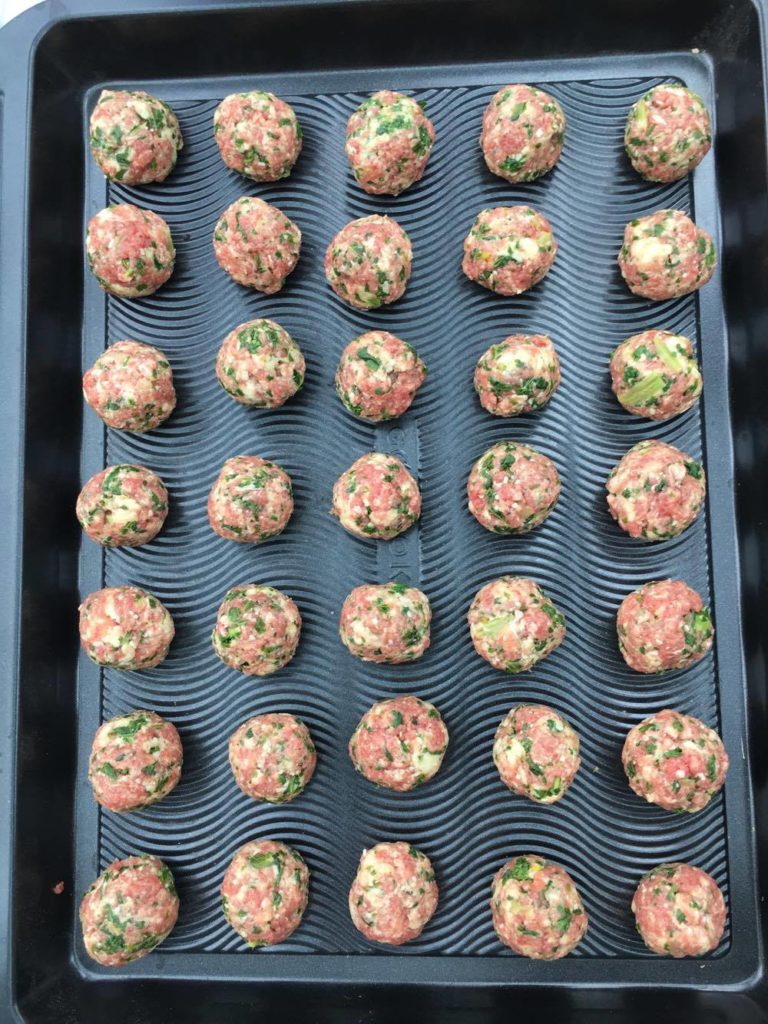 And while there are surely some incidences of choking, what’s more likely is that a baby will occasionally gag on a piece of food that gets into their mouth that they weren’t expecting.
But remember: Gagging is a sign that baby is doing what she needs to in order to move the food around in their mouth as they learn to eat. It usually sounds more dangerous than it actually is.
TIP: If the sound of gagging really freaks you out, you’re not alone. Consider offering more preloaded spoons with purees to start your journey more slowly.
How to Cut Foods for BLW
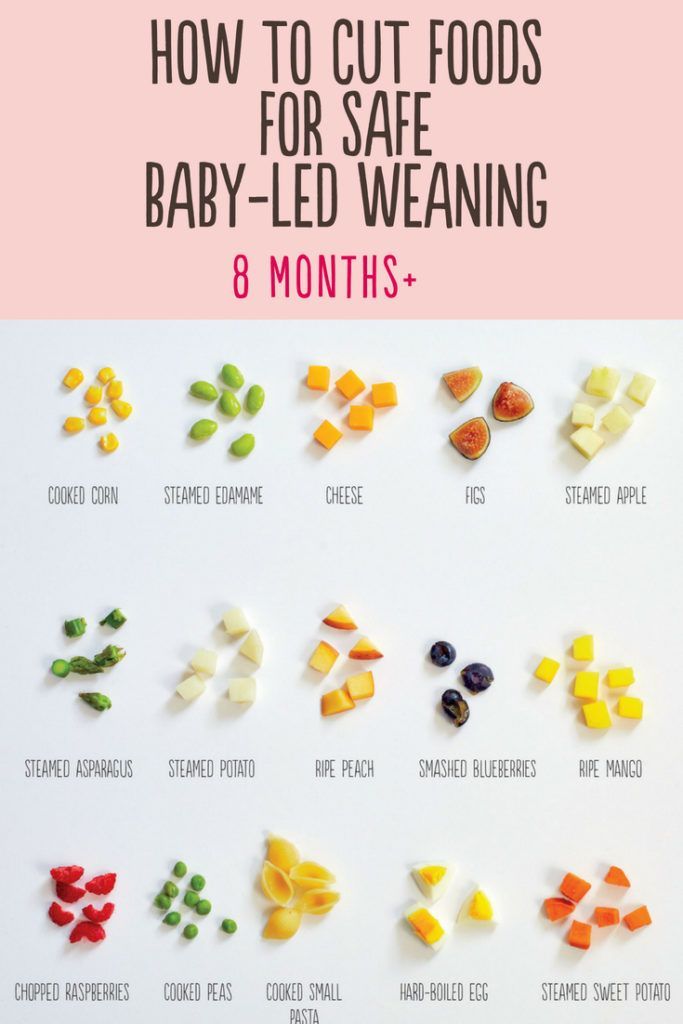
You generally want the food to be big enough that it would be difficult for baby to put the entire thing into their mouths. Here are some specifics:
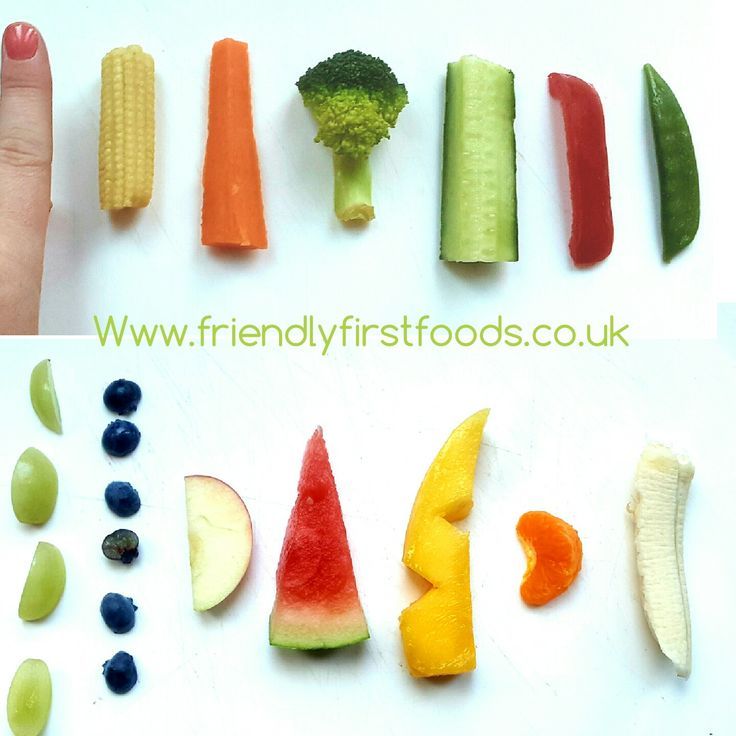
- Foods that are roughly the size of a finger, so about a 4-inch stick.
- Foods that are easy for the baby to pick up—they can’t pick up small pieces until closer to 9 months when they develop the ability to use their fingers in what’s known as a “pincer grasp”.
- Foods that aren’t too slippery—so you can wash and leave some of the peel on fresh foods like bananas, avocado, kiwi, and mango.
TIP: You can also go even bigger if you’re worried about size. Think half of a slice of bread or a big chunk of watermelon.
Will my baby actually eat much food with BLW?
Probably not at first. There will likely be more tasting of the food than eating of it and that is totally fine. They will still rely on breast milk or formula at this age for their main nutrition, so don’t expect them to suddenly start eating full meals. (They’ll get there in a few months, but it takes time!)
Do babies need teeth for baby led weaning?
No! Gums are super strong and front teeth aren’t used for chewing—that happens when the back molars come in. Teeth really have nothing to do with whether or not a baby can eat solids.
TIP: Learn more about what to expect from teething here.
Can you mix baby led weaning and purees?
Absolutely! I think it’s a great idea to mix the two methods simply because it gives you many more options for foods and allows the baby to experience more textures.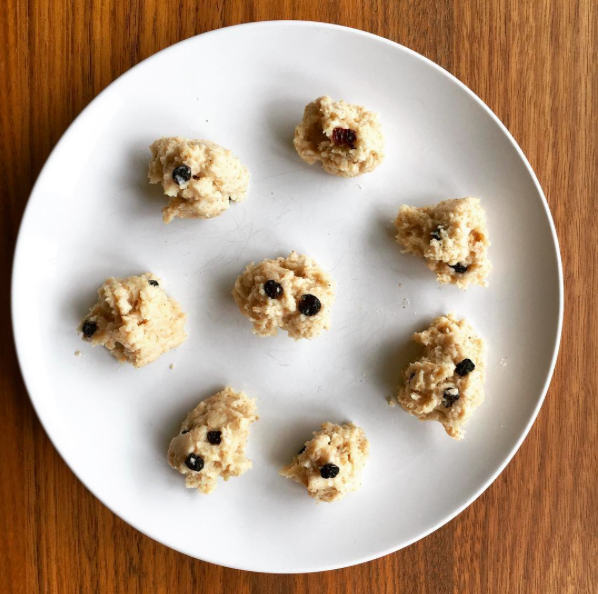 I recommend allowing babies to feed themselves preloaded spoons—so you put the puree on a spoon, then hand it to them to actually put the spoon into their mouth—so they still have control over what goes into their mouths.
TIP: Feeding some purees is also helpful if you’ll be sending food with a baby to daycare since the care provider may not have experience with blw.
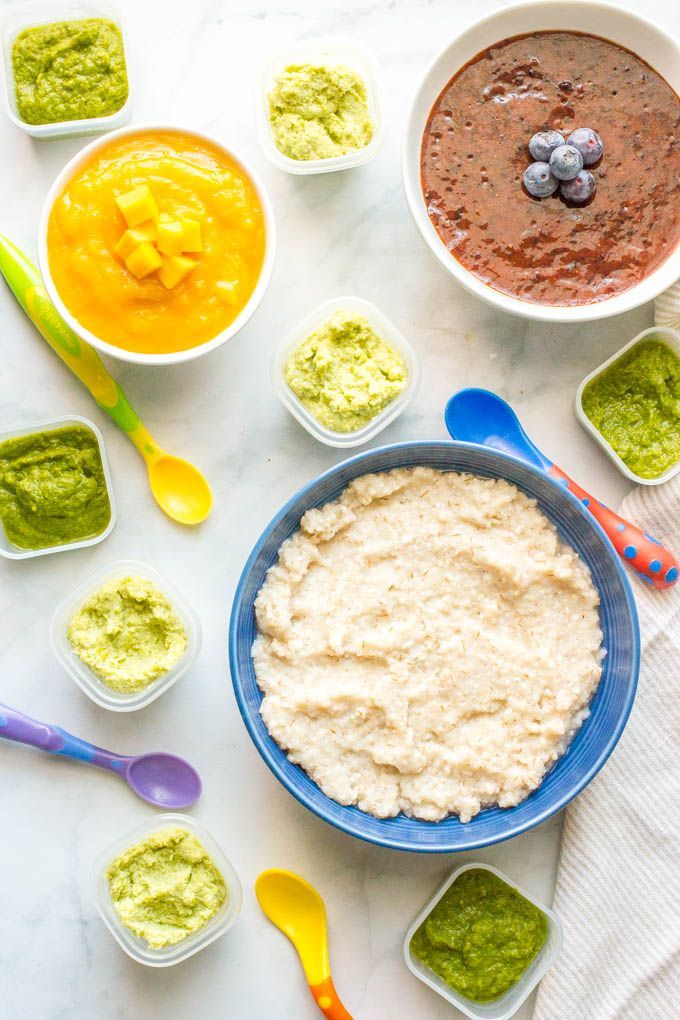
Best First Foods for Baby: Purees
Here are some of our favorite purees to start offering baby when they’re ready to start solids. Remember: There’s no evidence that says that you need to start with vegetables versus fruits, so go with something that tastes good to you. Start with single foods pureed smooth and offer just a little at a time on a spoon.
- Mashed roasted sweet potato puree
- Mashed avocado puree
- Mashed banana puree
- Butternut squash puree
- Applesauce, unsweetened
- Mashed pea puree
- Oatmeal baby cereal (with added iron)
TIP: One of my favorite baby food companies is Amara Organic Baby Food, a company using a nutrient protection technology that makes organic purees just as good as homemade.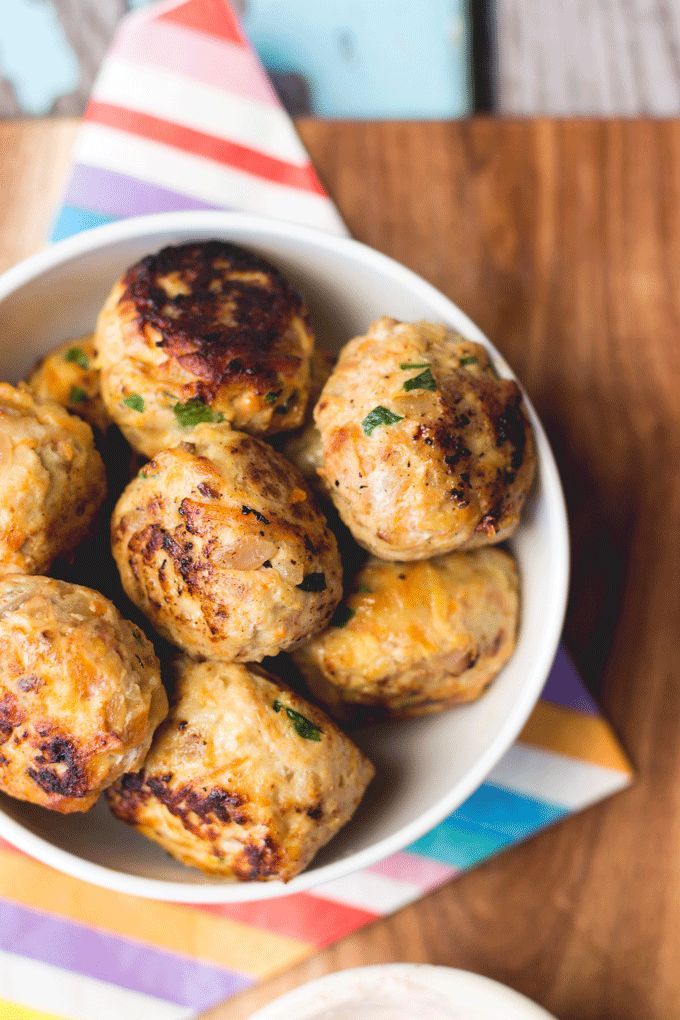 I love how easy they are to use when I need a shortcut and that they have fun baby-led weaning recipes on the side of every box! (paid affiliate link)
How do I know when baby has had enough?
If your baby is eating and then starts to turn her head away or just refuses to open her mouth, she’s done! Babies may also start to fuss if they’ve had enough. Learning this new skill takes time and babies can become tired fairly quickly into the process, so don’t expect them to always eat very much or to last very long at the table. This stage is about exploration!
Baby with preloaded spoon of yogurtHow to Let Baby Self Feed Purees
I love offering purees on a preloaded spoon. To do this, the parent, puts some of the food on the spoon and hands it to baby. Then baby can bring the food to their mouth all by themselves. This gives you some of the same advantages of baby led weaning, but can be more comfortable for many parents.
Remember, you can mix what you offer, going back and forth between purees and blw finger foods, so you can offer the same food two different ways to let baby explore.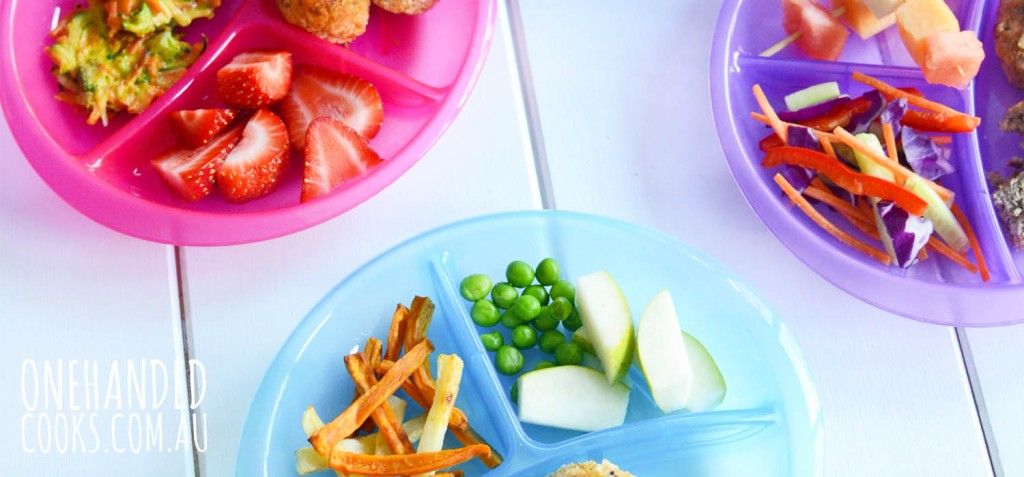 The main goal is to avoid forcing baby to take more bites than they want to, which can sometimes happen with purees.
When to Introduce Potentially Allergenic Foods
In recent years, guidelines have been updated on when to introduce potential allergens including peanuts, eggs, and shellfish, so unless you have a family history of a food allergy, you can go ahead and introduce them soon after baby starts eating solids. In fact, research is showing that introducing these foods early can actually protect baby from developing an allergy. Talk to your pediatrician if you have concerns.
TIP: Thin unsweetened peanut butter with water to form a very thin Peanut Butter Puree until it’s about the consistency of regular yogurt and offer a very small amount on a spoon or spread on a toast stick.
What does a baby led weaning meal look like for months 7 and 8?
Until a baby is closer to 9 months and is able to pick up smaller pieces of foods, but after they have gotten the hang of one food at a time, I try to offer 1-2 foods they can feed themselves and one puree.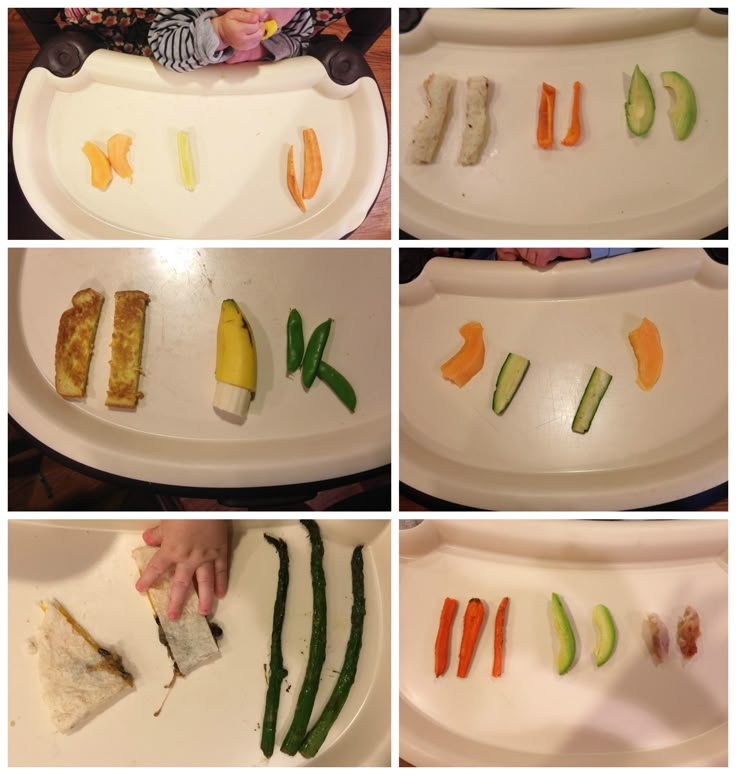 This offers them a chance to ingest more via the puree but still feed themselves a range of textures. You can do more or less food following the lead of the child.
TIP: My Baby Food Chart has loads of with ideas for blw foods and purees by month.
Recipes for Every Stage of Starting Solids
If you’re ready to start solids with baby, or you’re just curious what it looks like to do a mix of baby led weaning and purees, check out my Yummy Baby Food cookbook. It goes stage by stage with specific foods to start in each, with simple recipes and easy feeding tips.
Listen to a recent podcast episode to hear about some of the basics of BLW with our guest Megan McNamee, MPH, RDN, CLT, and a Registered Dietitian Nutritionist specializing in pediatric nutrition who runs Feeding Littles.
I’d love to hear any questions you have with BLW or if your baby had a first food that I didn’t list here. Please comment below to share your experience!
Prep Time 5 minutes
Total Time 5 minutes
Author Amy Palanjian
Cuisine American
Course Dinner
Calories 28kcal
Servings 1
Banana
- ▢ 1 small ripe banana with peel on
Roasted Sweet Potato
- ▢ 1 small sweet potato + 1 teaspoon olive oil
Roasted Apple
- ▢ 1 small apple + 1 teaspoon butter or neutral oil
Roasted Broccoli
- ▢ 1 cup broccoli florets + 1 teaspoon olive oil
Sauteed Green Beans
- ▢ 4 green beans 1 teaspoon olive oil
Melon
- ▢ 1 small piece watermelon or cantaloupe
Avocado Toast
- ▢ 1 slice whole grain bread
- ▢ 1 tbsp ripe avocado
Avocado Spear
- ▢ ⅛ ripe avocado
Lamb or Beef
- ▢ 1 lamb chop, roast, or steak
Pan-Seared Chicken Thighs
- ▢ 1 chicken thigh
- ▢ 1 tsp olive oil
- ▢ 1 garlic clove, optional
Banana with some of the peel still on
Cut a banana in half.
 Use a knife to gently cut around the peel about 2 inches down, leaving some of the peel on so that the banana is easy for baby to hold and less slippery.
Roasted Sweet Potato Wedges
Preheat oven to 400 degrees and line a rimmed baking sheet with foil. Wash and dry the sweet potato. (You don't need to peel it.) Cut in half, then cut lengthwise into strips. Cut each strip in half again until each is about 1/2-inch thick. Slice in half horizontally if the sweet potato is very long. (Each strip should be about the size of your finger.) Place into a bowl and toss with the olive oil. Spread onto prepared baking sheet and roast for 22-25 minutes or until soft. Let cool slightly and serve.
Roasted Apple Wedges
Roasted Broccoli Florets
Preheat the oven to 400 degrees F. Place the broccoli onto a rimmed baking sheet and toss with the olive oil, coating and mixing well until all of the florets are a little shiny and coated with oil.
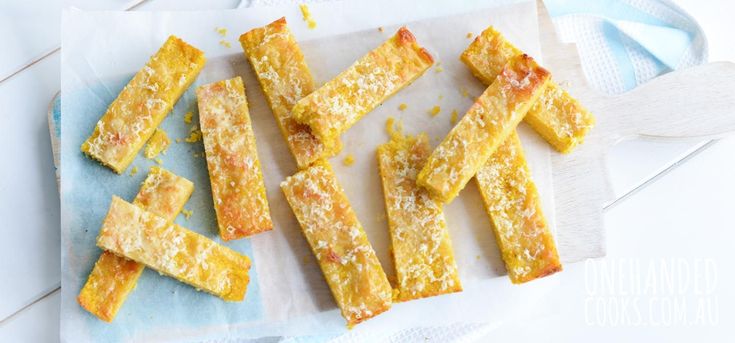 Roast for 15-18 minutes or until tender. Let cool slightly and serve.
Sauteed Green Beans
Warm the oil in a large skillet over medium heat. Add the green beans and stir. Cover and cook for about 8 minutes. Remove cover and taste one to see if it’s soft enough. Cook for an additional minute or two as needed.
Melon slices
Avocado Toast
Avocado Spears
(Make sure the avocado is ripe and soft): Cut a thick strip of avocado and offer to baby. You can leave the peel on if that makes it easier for baby to hold (just wash it first).
Lamb or Beef
Prepare a roast, steak, or chop without salt and with butter or olive oil until cooked medium well. Offer a thick slice at least the size of your finger or a drumstick.
Pan-Seared Chicken Thighs
Warm 1 tablespoon olive oil or butter in a large skillet over medium heat. Add the chicken thigh and top with a few slices of fresh garlic, if desired.
 Cover and cook for 4-5 minutes. Remove cover. Flip over and cook for an additional 4-5 minutes uncovered or until a meat thermometer registers 165 degrees F.
- Add spices like garlic powder, cinnamon, cumin, oregano, or any other non-spicy flavor you like to make these more interesting.
- Offer just one piece at a time when starting out.
- If baby gnaws a piece down into a smaller piece, replace it with a larger one to avoid her putting a chunk of food into her mouth.
- Store any leftovers in an airtight container in the fridge for 3-5 days. Reheat briefly if needed.
- Remember that it's normal for babies to take time to actually ingest the food. Part of the process is exploring all of the senses related to the experience of eating.
Calories: 28kcal, Carbohydrates: 2g, Protein: 1g, Fat: 2g, Saturated Fat: 1g, Polyunsaturated Fat: 1g, Monounsaturated Fat: 2g, Sodium: 6mg, Potassium: 75mg, Fiber: 1g, Sugar: 1g, Vitamin A: 23IU, Vitamin C: 2mg, Calcium: 2mg, Iron: 1mg
Tried this recipe?Rate in the comments and tag @yummytoddlerfood on IG!
Finger Food For Babies - The Ultimate Guide ・Healthy Little Foodies
All Posts, by Date » Baby Friendly Recipes » Baby Led Weaning Recipes » Finger Food for Babies
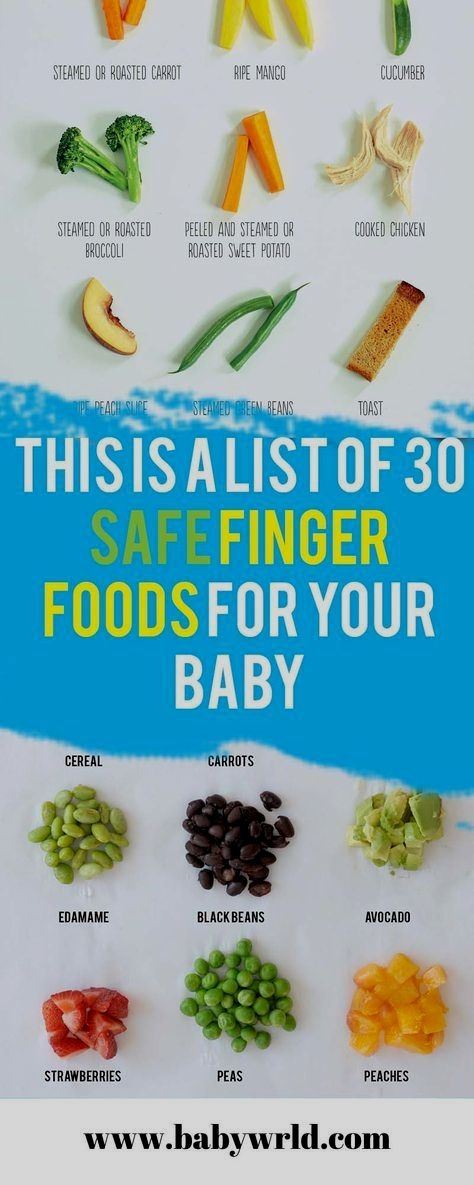
Starting your baby on finger foods can be exciting but it can also be an overwhelming and frustrating experience.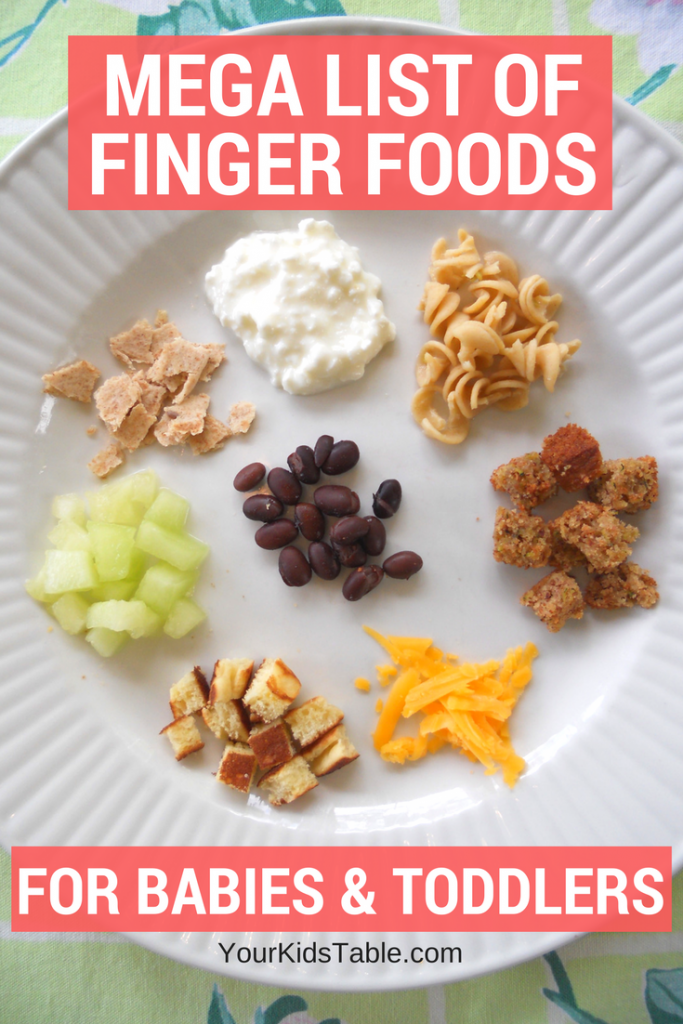 This Guide to Finger Food for Babies not only gives an extensive list of finger food ideas, but it also answers the questions many parents have when it comes to starting finger foods.
Of all the messages I receive, by far the most are about finger food for babies. Many parents are nervous about choking, unsure when to start and stuck for ideas.
This guide has been a long time coming and has been sitting in my drafts for some time now. Every time I receive an email, asking me about finger foods, I promise myself I will write this resource.
Finally, I have completed it! I do feel, however, that this will be a resource that I return to and continually update as I receive new questions and develop new recipes to add to the list.
When Should I Start My Baby on Finger Food?When you start your baby on finger food really depends on you, your baby and what method of weaning you have chosen.
- Followers of Baby-led Weaning introduce finger food at 6 months.
- Those following the Traditional Weaning approach, usually introduce finger food around 7-8 months.
As with many aspects of parenting, every baby and parent is different and there is no right time to start finger food. However:-
- You shouldn’t start finger food before 6 months and your baby should be able to sit up independently and hold their head up.
- You shouldn’t wait too long to introduce finger food. By one year, your baby should be eating table food, (the food you are eating in age-appropriate textures (shredded, chopped, etc), and self-feeding with assistance as necessary.
- How many teeth (or lack of teeth) your baby has is not an indication of whether they can handle finger food or not. Gums are unbelievably strong.
- You want to offer food that is safe and easy for your baby to pick up and put to their mouth.
 This will vary depending on the age of your baby.
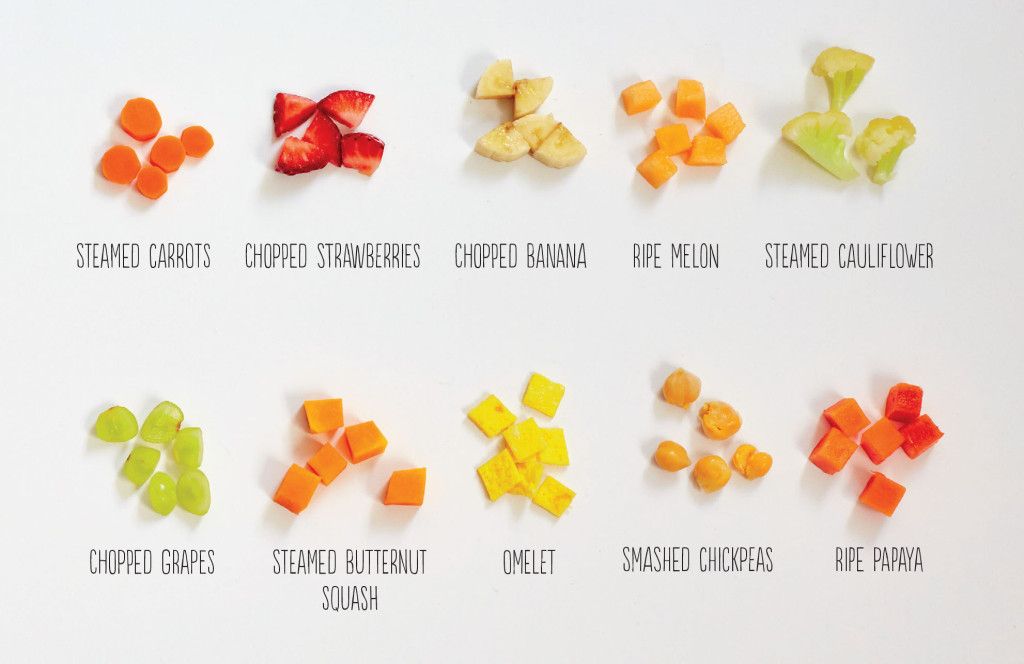
 - Younger babies, 6-8 months, generally use their whole hand to pick up food, this means they have to close their hand around a piece of food to hold it. The food should be bigger than the palm of their hand as they can’t open their fist to get to it. Long strips of food work best at this age, around 5cm (2 inches). Offering food that is too small can cause frustration.
- As babies get older, around 8-9 months, they are able to pick up smaller pieces of food, they have usually developed their pincer grasp at this age and use their thumb and forefinger to feed themselves.
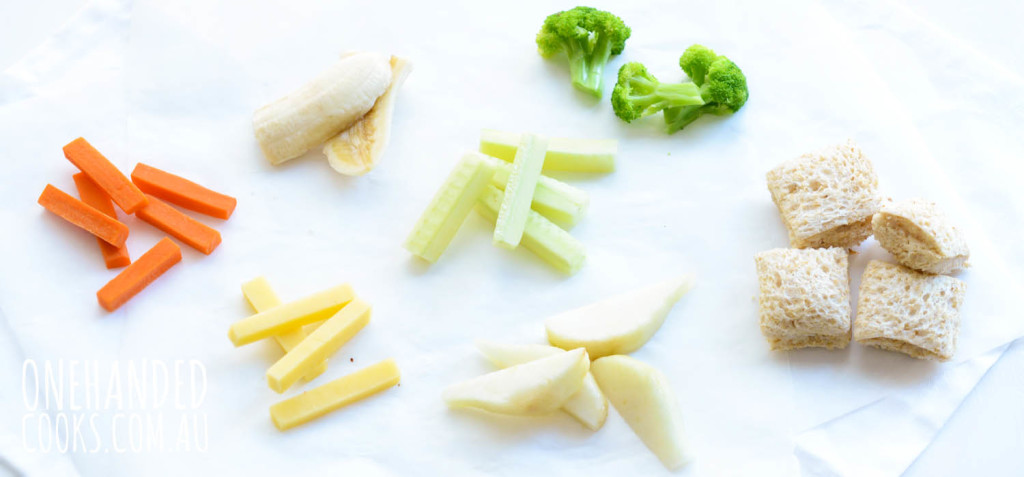
- The texture is also something you need to think about, if the food is too soft it will turn to mush when handled. If too hard they won’t be able to gnaw on it and could be a choking hazard. You can make food easier to grip by leaving the skin on or by using crinkle cutters to add texture (see below picture).
- Don’t be afraid of spices and herbs, they are a fantastic way to add flavour and it is good to get your babies used to different flavours from a young age.
- Try different cooking methods, roasting, steaming, sautéing and boiling all can change the texture and way a food tastes. If your baby doesn’t like something steamed, don’t be disheartened, they may love it roasted!
Many parents worry and wonder if their children are eating enough. With purees, it is easy to see what has been eaten but it is a little more blurry when it comes to finger foods and you find pieces of food on the floor or down the chair.
Let your baby decide how much they want to eat. They will naturally manage their own intake and will stop eating when full. Allow them to feed themselves at their own pace.
Offering a well-balanced diet of finger foods will help ensure that your baby is eating the right amount of the right nutritious foods.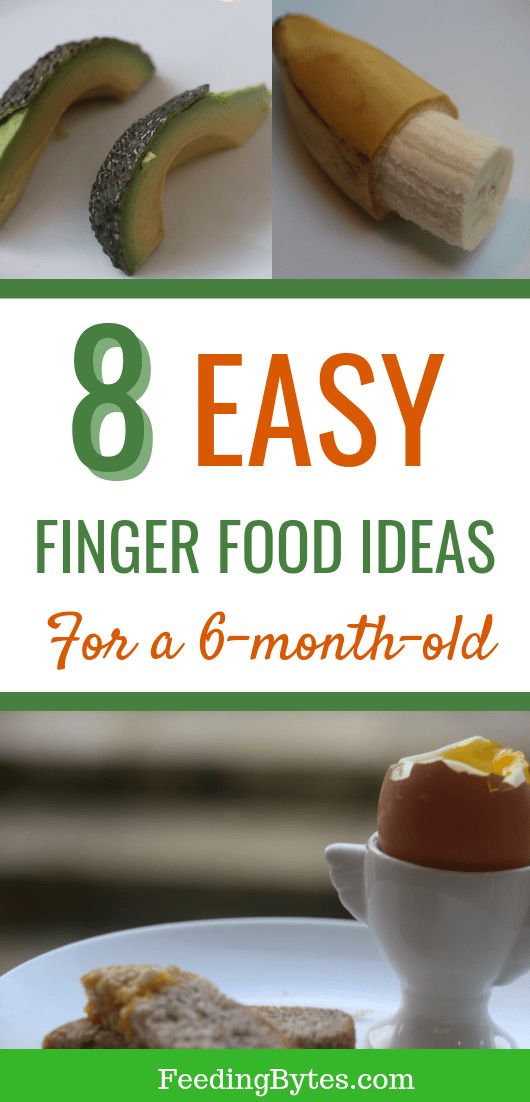
- Make sure your baby is sitting upright to eat and not slumping or lying about.
- Always ensure eating is done sitting. If you have a mobile baby make sure they are not eating on the run!
- Don’t let anyone except your baby put food into their mouth (watch out for young siblings trying to feed their baby brother/sister.)
- Never leave your baby alone with food, they should always be supervised.
- Don’t offer food that is an obvious choking risk (see list below)
One of the main worries parents have about starting their baby on finger food is choking. Often worries about choking are based on seeing babies gagging on food. Although choking and gagging are related they are not the same thing.
It is very common for babies to gag on food. Gagging is triggered when food touches the sensitive area on the tongue or roof of the mouth.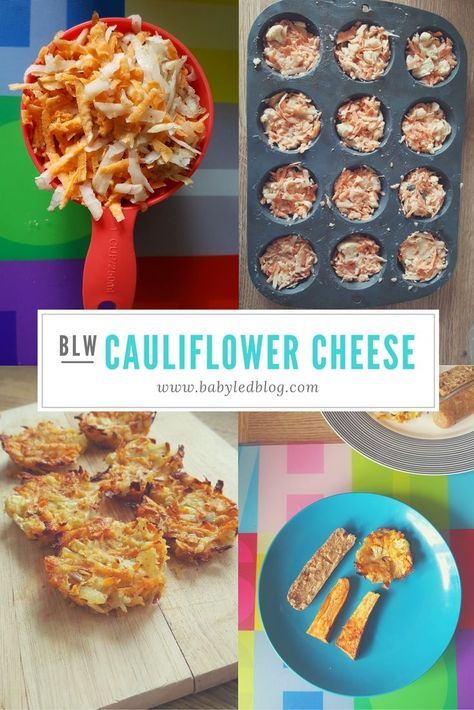 The gag reflex is very reactive in babies as the sensitive point is much further forward in the mouth.
When a baby gags, food that isn’t ready to be swallowed is pushed forward in a retching movement. Although it can be unsettling to watch, babies generally don’t seem too bothered by it.
Choking happens when the airway is partially or fully blocked. When something partially blocks a baby’s airway they will start to cough to clear it. If a baby’s airway is fully blocked and they are truly choking they will be silent as no air can get past the blockage.
This is why it is crucial that you never leave your baby alone with food.
Foods To Avoid / Take Care With- Whole nuts or large pieces of nuts – Avoid, they can get lodged in a babies windpipe.
- Popcorn -Avoid, unpopped and half-popped kernels can get caught in your child’s throat and block their airway.
- Honey – Avoid, honey should never be given to a baby under 12 months.
 Honey may contain Clostridium botulinum spores which can lead to botulism poisoning.
 - Whole fruits with stones (cherries and larger stone fruits) – Take Care, stones should be removed and fruit should be ripe.
- Round Fruits – Take Care, round fruits such as grapes and cherry tomatoes should be cut in half lengthways or quartered.
- Fish – Take care to properly debone. Avoid high mercury fish such as swordfish & king mackerel.
- Meat – Take care to remove small bones and gristle.
- Processed foods – Take care and avoid where possible. Processed food often contain sodium levels too high for babies and can be high in sugar.
- Salt – Take Care and avoid where possible, babies up to 1 yr should have no more 1g of salt 0.4g sodium per day. Do not add salt to foods.
- Sugar – Take Care and avoid where possible, sugar provides empty calories with no nutrients, it also damages teeth.
- “Sticky” Foods – Avoid gummy candies/jellies etc as they can get lodged in your babies throat. Be careful with nut butter as they can be difficult for babies to swallow (don’t offer spoons of it, always spread it thinly on bread etc.)
- Hard Foods – Avoid hard foods such as raw carrots and apples as chucks can break off and are a choking hazard. Soften them by cooking.
Now onto some ideas! This list is mainly based on what my kids ate and loved. There will obviously be hundreds of other finger food for babies ideas out there but this is a pretty good list to get you started (with over 90 ideas)
The best way to provide a good range of nutrients for your baby is to offer a varied diet. Having a varied diet will also allow your baby to experience different tastes and textures.
Always cut up the food to the size you and your baby are comfortable and have experience with.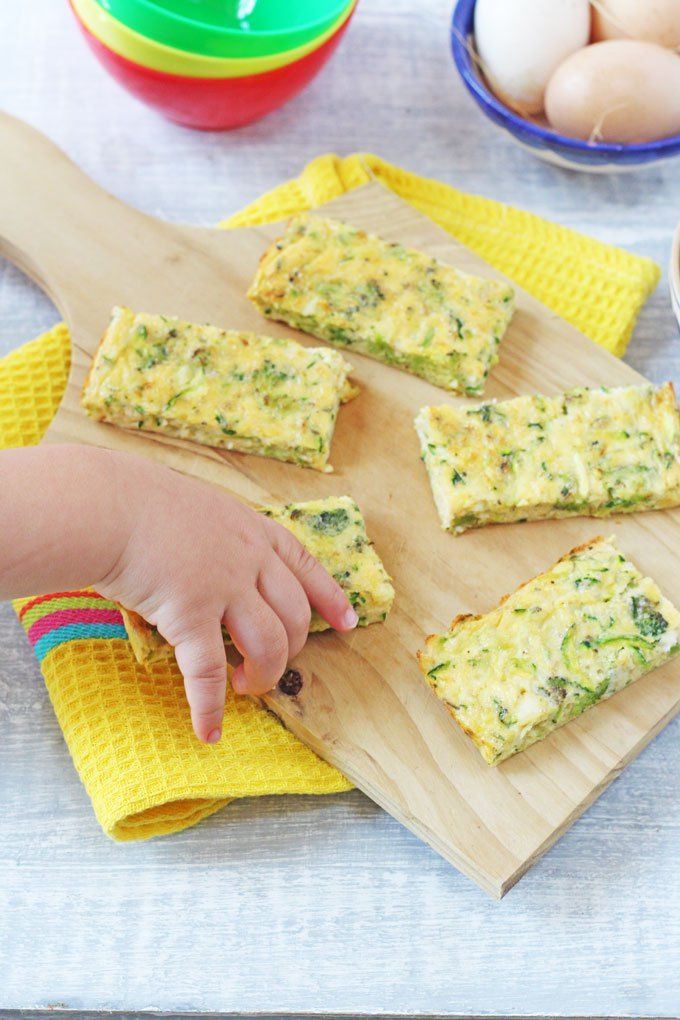
Fast, healthy food with no cooking required!
- Vegetables – Most vegetables need some preparation as they are too hard to offer babies raw and can, therefore, be a choking hazard.
- Cucumber sticks – Served chilled and cut into fingers (great for teething) or diced.
- Fruit – Most fruit is perfect for babies and requires no cooking. Make sure the fruit is ripe as unripe fruit (like nectarines, pears etc) are hard and can be a choking hazard.
- Avocado – mash and spread it, cube or cut into strips.
- Banana – Thin slices can be slippery and difficult to handle. Break into big chunks or leave some peel on as a “handle”.
- Berries (blueberries, raspberries, strawberries, blackberries etc) – All great finger foods, squish/half blueberries if they are large.
- Cherry tomatoes – Cut in half lengthways or into quarters.
- Grapes – Cut in half lengthways or cut into quarters.
- Kiwi – Diced, cut into fingers
- Mango – Diced/cut into fingers
- Melon (all varieties) – Remove seeds and dice/cut into fingers
- Oranges / Clementines / Mandarins – Remove any seeds and cut into small pieces.
- Papaya/ Paw Paw – Ripe, diced or cut into fingers
- Pineapple – Diced or cut into rings (the ring makes a great handle!)
- Pears – Ripe, diced or cut into fingers.
- Stone Fruit (apricots, cherries, peaches, nectarines, plums etc) – Ripe, stone removed and diced/cut into strips.
- Other –
- Cheddar Cheese – Grated or diced.
 (Be careful of the amount you offer as high in sodium)
 - Tinned Beans – Washed thoroughly, to remove as much salt possible, squish/or cut lengthways.
- Tinned Tuna – Flaked. (Check the packaging for sodium levels and other added ingredients.)
- Cheddar Cheese – Grated or diced.
This section is a list of one ingredient foods that need some simple cooking before serving. Experiment with the cooking methods, try cooking with different fats (olive oil/butter) and with different herbs /spices.
- Vegetables – Most vegetables are perfect for babies if cooked and served in a safe way.
- Asparagus – Steam/Roast and cut into bite-size pieces. I did baby-led weaning with my second child and gave them to him as spears.
- Beetroot – Roast/steam and cut into appropriately sized pieces.
 (Can be messy!)
 - Broad Beans – Boil and remove skin,
- Brocolli – Boil/Steam/Roast. Serve in small pieces or florets.
- Carrot – Boils/Steam/Roast. Cut into fries or dice
- Cauliflower – Boil/Steam/Roast. Serve in small pieces or florets
- Capsicum (Bell Pepper) –Roast in strips and serve in strips or cut into appropriately sized pieces.
- Egg Plant (Aubergine) – Roast/Sautee chunks.
- Green Beans –Steam/sautee and cut into small bite-size pieces or strips.
- Mushrooms – Sautee and serve in small bite size pieces or strips.
- Parsnip – This was my youngest’s absolute favourite as a baby. Roast and serve in strips / bite-size pieces.
- Peas – Steam/Boil/Sautee.
- Potato – Steam/Boil/Roast.
 Cut into appropriately sized pieces.
 - Pumpkin – Steam/Boil/Roast. Cut into appropriately sized pieces.
- Squash – Steam/Boil/Roast. Cut into appropriately sized pieces.
- Sweetcorn – Boil/ Steam/Grill. Serve on the cob in small sections (see above picture) or individual kernels.
- Sweet Potato – Boil/Steam/Roast. Serve as fries, wedges or small bite-size pieces.
- Turnip – Boil/Steam/Roast. Cut into appropriately sized pieces.
- Zucchini (Courgette) – Steam/Sautee/Roast. Cut into fingers / bite-size pieces.
- Fruit – Most fruit is safe to serve raw but cook harder fruits to soften them.
- Apple – Baked or sauteed until soft. Cut into appropriately sized pieces.
- Pears – Baked or sauteed like above apple recipe.
 Cut into appropriately sized pieces.
 - Plantain – Grilled/roasted. Cut into appropriately sized pieces
- Other – Other examples that require basic cooking include
- Chicken – All cuts, baked/pan-fried/poached, shredded or diced into small pieces. Thigh meat is less dry and was favoured more by my kids when they were younger.
- Couscous – Boil, clump and squish into a ball.
- Eggs – scrambled, hard-boiled, omelet. Cut into appropriately sized pieces.
- Fish – (white fish, salmon) Baked/pan-fried/microwaved etc, flaked being careful to check and remove bones
- Ground Meat (beef, chicken, pork, lamb or turkey) Sauteed until fully cooked, add in herbs and spices for extra flavour.
- Israeli Couscous – Boil and serve. Larger than regular couscous, my kids love it!
- Lentils – Boil, drain and serve.
- Pasta – Boil, cook and serve plain or with a sauce.
- Prawns / Shrimp – Peeled and deveined and fully cooked. Cut into appropriately sized pieces.
- Rice – Boil, allow to cool slightly then clump and roll into balls
- Toast – Cut into fingers or finely chopped. To with a range of low salt/sugar spreads (hummus, carrot hummus peanut butter, mashed avocado etc)
- Quinoa – Boil. I find quinoa harder to clump into balls but adding some grated cheese can help it stick together better.
These are great recipes that both my boys loved as babies (and still do now!). Cut them up into the size your baby has experience with.
I receive a lot of e-mails from parents who have babies with allergies. Next to each recipe, I have detailed if it is Dairy Free (DF), Egg Free (EF), Gluten Free (GF) and Nut Free (NF).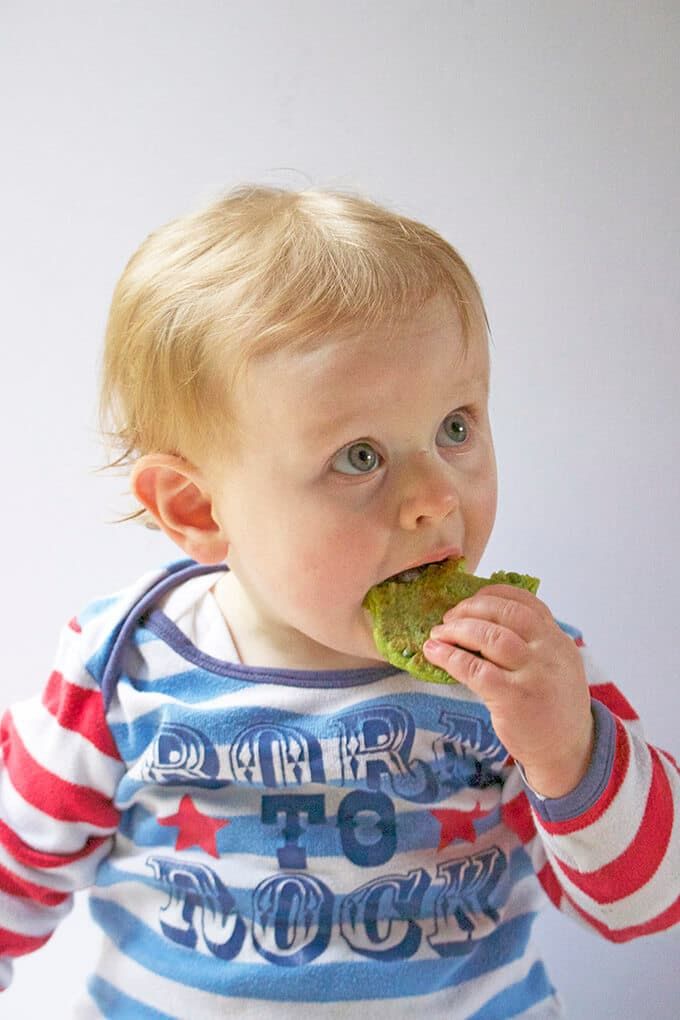
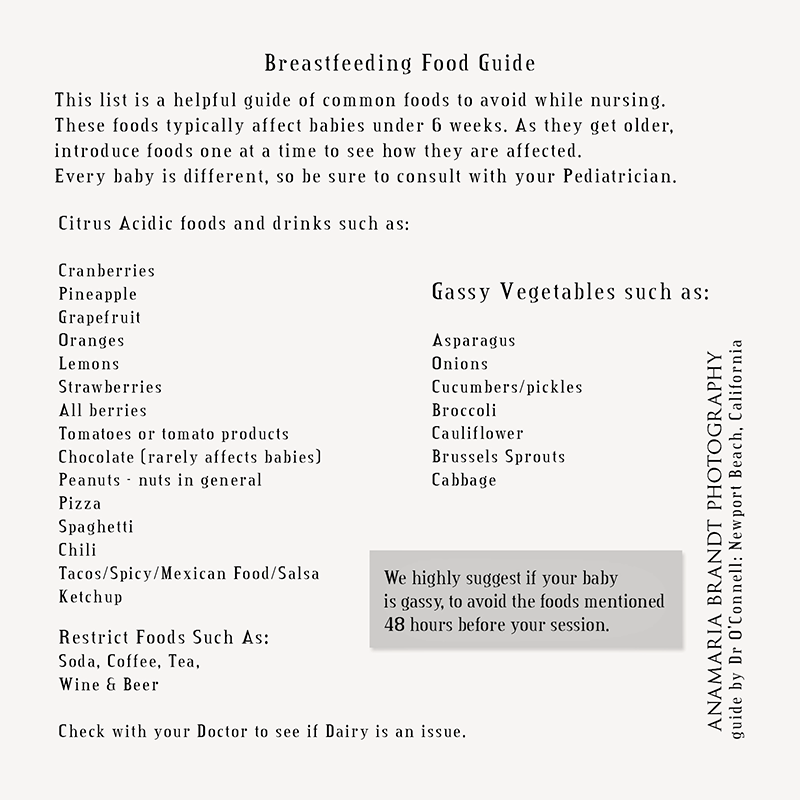
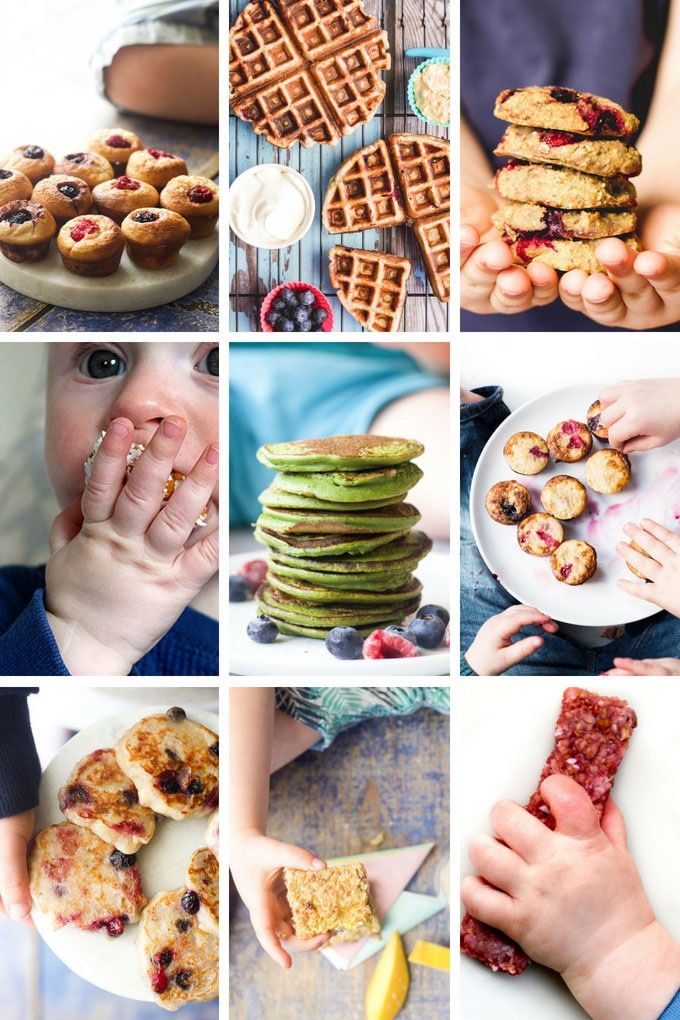
- Savoury Pancakes/ Waffles / Muffins – Easy for babies to pick up and great for packing into lunchboxes for out and about.
- Pea Pancakes (NF),
- Lentil Pancakes (GF, EF, DF, NF),
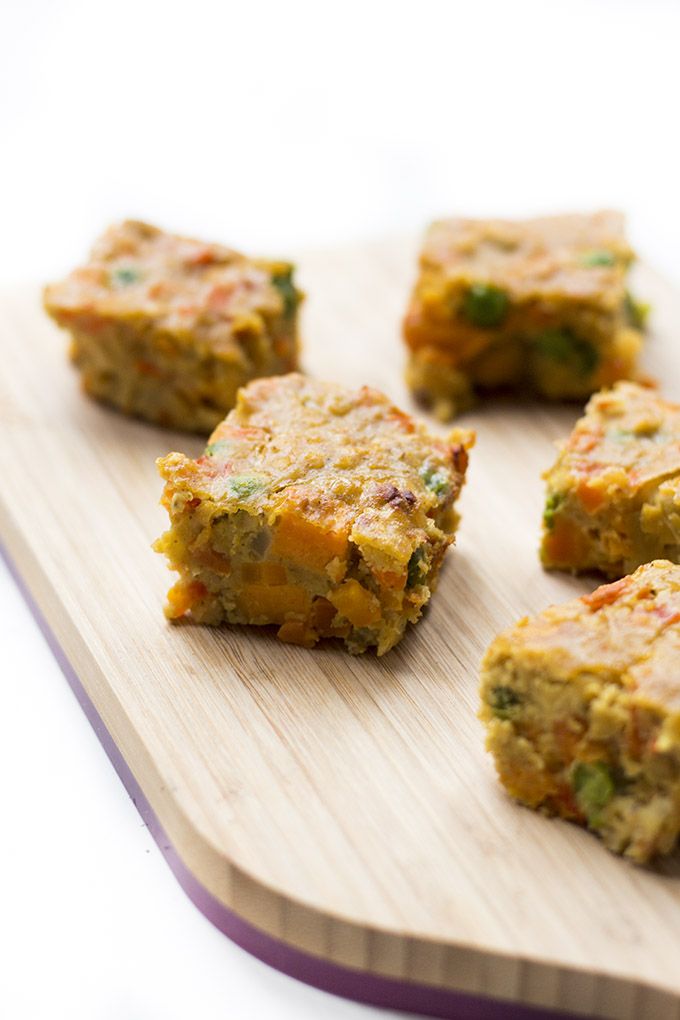
- Rainbow Fritters (GF, DF, NF)
- Sweetcorn Quinoa Fritters (GF, DF, NF)
- Carrot and Parsnip Fritters (DF, NF)
- Zucchini Bites (NF)
- Sweet Potato Pizza Bases (DF, NF)
- Savoury Muffins (NF)
- Savoury Waffles (NF)
- Balls – Made with different grains or meat, easy to pick up
- Sweet and Sour Quinoa Balls (GF, NF, DF)
- Tomato and Cheese Quinoa Balls (GF, NF),
- Baked Risotto Balls (DF, NF),
- Ginger Lemongrass Chicken Meatballs (EF, NF)
- Fruity Chicken Balls (EF, NF, optional DF, GF)
- Croquettes / Tots / Bakes
- Cauliflower Tots (NF),
- Sweet Potato, Lentil and Carrot Croquettes (NF)
- Bean and Veggie Nuggets (NF)
- Veggie Chickpea Sticks (GF, EF, NF)
- Fish Fingers (DF, NF)
- Curried Lentil Bake (GF, DF, NF),
- Mexican Lentil Bake (GF, NF)
- Eggs – Delicious, easy to pick up egg recipes.
- Egg Rolls (GF, NF)
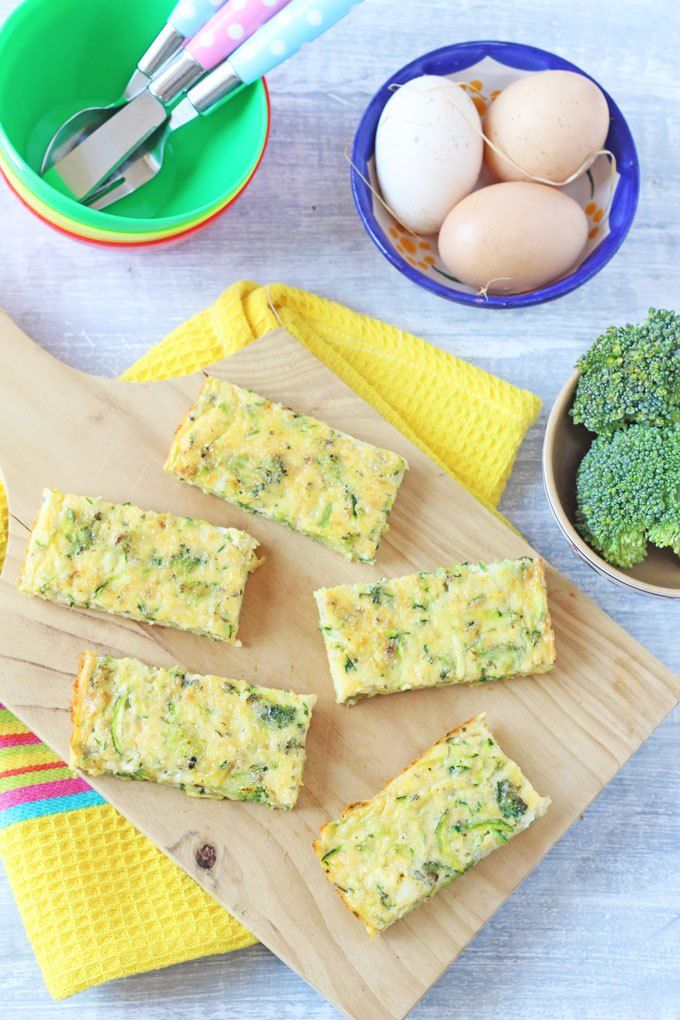
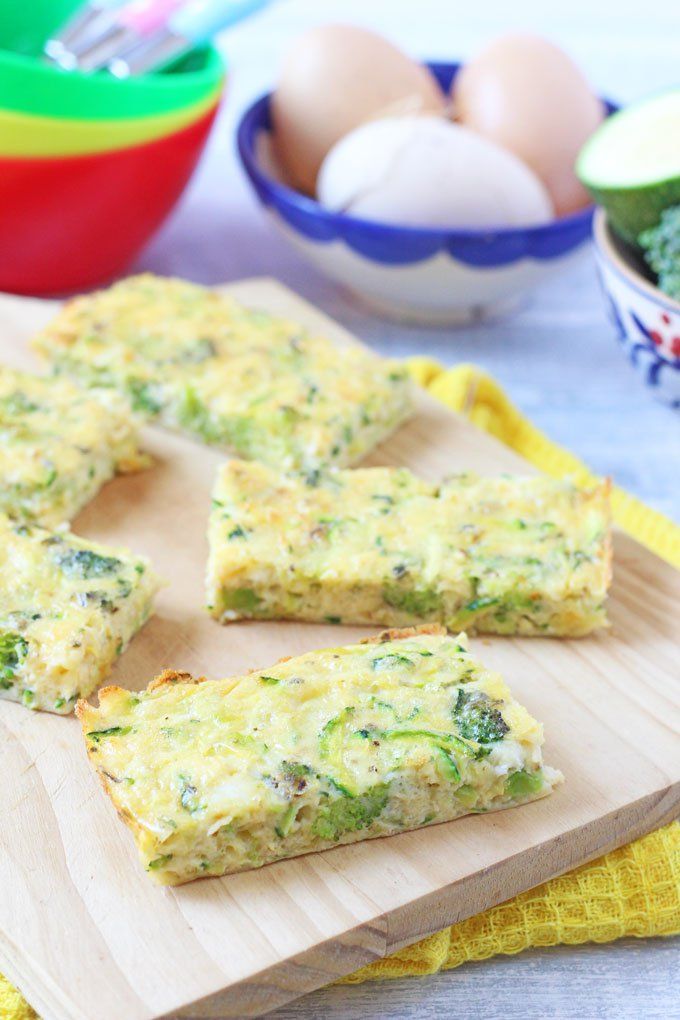
- Mini Crustless Quiches (GF,NF)
- Tuna Frittata (NF, GF)
- Oats – These recipes are great for breakfast or as a sweet snack and they can all be frozen.
- Porridge Fingers (DF, EF, NF)
- Mango and Coconut Breakfast Bars (DF, NF),
- Fruity Breakfast Bites (NF),
- Raspberry Banana Oat Cookies (EF, NF, DF)
- Plum and Almond Baked Oats (DF),
- Pancakes – Great for little hands, why not try these variations.
- Banana Blueberry Fritters (DF, EF, GF, NF),
- Green Smoothie Pancakes (NF),
- Banana Pancakes (DF, GF, NF),
- Sweet Potato Pancakes (DF, GF, NF)
- Muffins and Cookies – These recipes are sweetened only with fruit, making them great for babies.
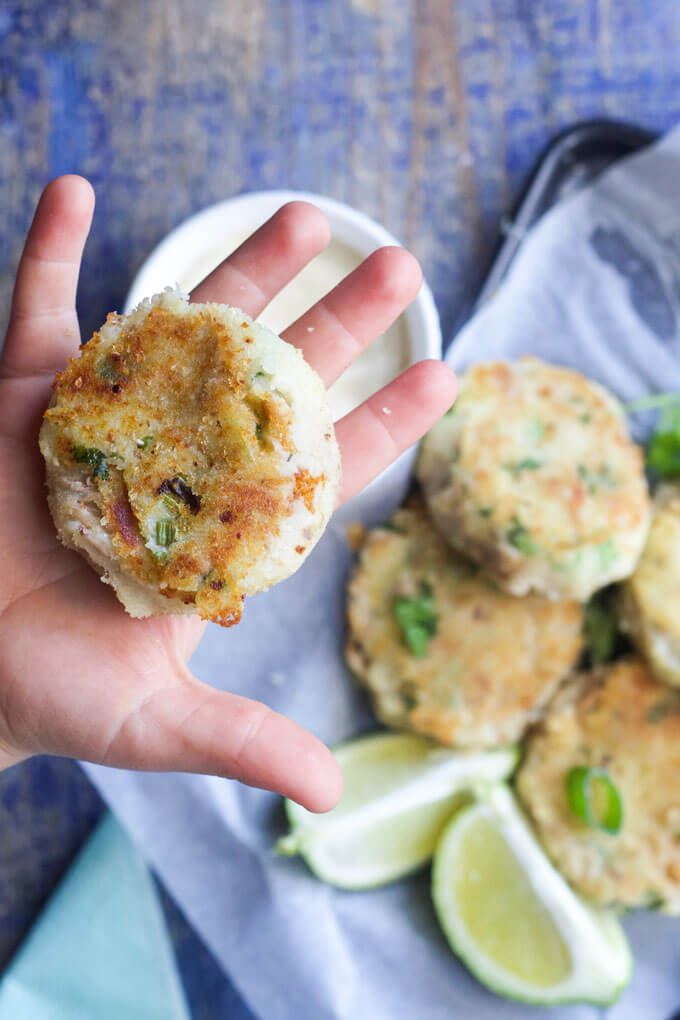
- Mini Blender Muffins (NF),
- Fruity Chickpea Cookies (EF, DF, NF)
- Carrot Apple Muffins
- Sweet Potato Truffles (EF, DF, GF)
- Frozen Recipies – Allow your baby to experience different textures, flavours, and temperatures. Warning – will get messy!
- Hidden Veg Popscicles (GF, EF, NF)
- Frozen Yoghurt Bark (GF, EF, NF)
There are so many snacks and finger food for babies and toddlers available on the market. I rarely ever bought them as I never saw the need to.
Always look at the back of the packaging, at the ingredient list. Marketers are very clever at convincing us that something is healthy when it is not.
Fresh ripe fruit is perfect for out and about and many of the above recipes can be frozen and are easy to take out and about.
Do you still have questions? Leave any queries you have below and hopefully, they can be answered.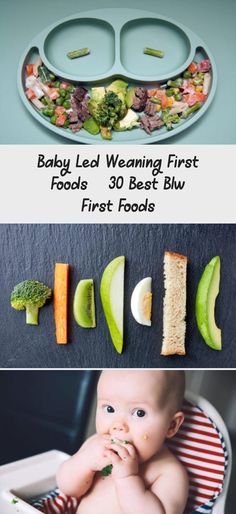
Disclaimer: This information is intended for general use only. It is not medical advice and is not intended to replace the personalised care and advice given to you by your health professional. I am not a health professional and I do not know your baby. You should always discuss any concerns or questions about the health and well being of your baby, including Baby-Led Weaning and starting solids, with a healthcare professional. Please refer to my full disclaimer for more info.
Meet Amy
Amy Whiteford runs the blog Healthy Little Foodies. She is a mum to two, has a BSc (Hons) Food Science, PGDE Primary Education and a Certificate in Childhood Nutrition. She uses her experience and knowledge to create healthy and delicious recipes for kids. Explore the site for creative ideas, tips, and inspiration! Read more
How to raise a Healthy Little Foodie
Receive family friendly recipes, delivered weekly to your inbox, for FREE! And receive this FREE ebook - "How to Raise a Healthy Little Foodie"
13 dishes that are decent to eat with your hands
08/24/2016 15 548 Healthy
Books in brief. The main ideas of useful books.
If you think you can only eat with your hands in the home kitchen while only your mom can see you, we have good news! Dorothy Johnson, a world-famous etiquette expert and grandmother of Hollywood actress Liv Tyler, has a very different opinion. She can be trusted to have founded the Washington School of Protocol and has taught good manners to over 100,000 people around the world.
Find out right now what dishes you can safely eat with your hands, and feel comfortable in any company!
1. Shrimps with tails
Take the shrimp by the tail, dip into the sauce, bite off the edible part and place the tail on a plate under the shrimp bowl. If shrimp are served without tails, eat them with a seafood fork.
2. French fries
In a casual setting, french fries are eaten with the hands. If you are sitting at the table, it is better to cut the french fries in half and eat with a fork.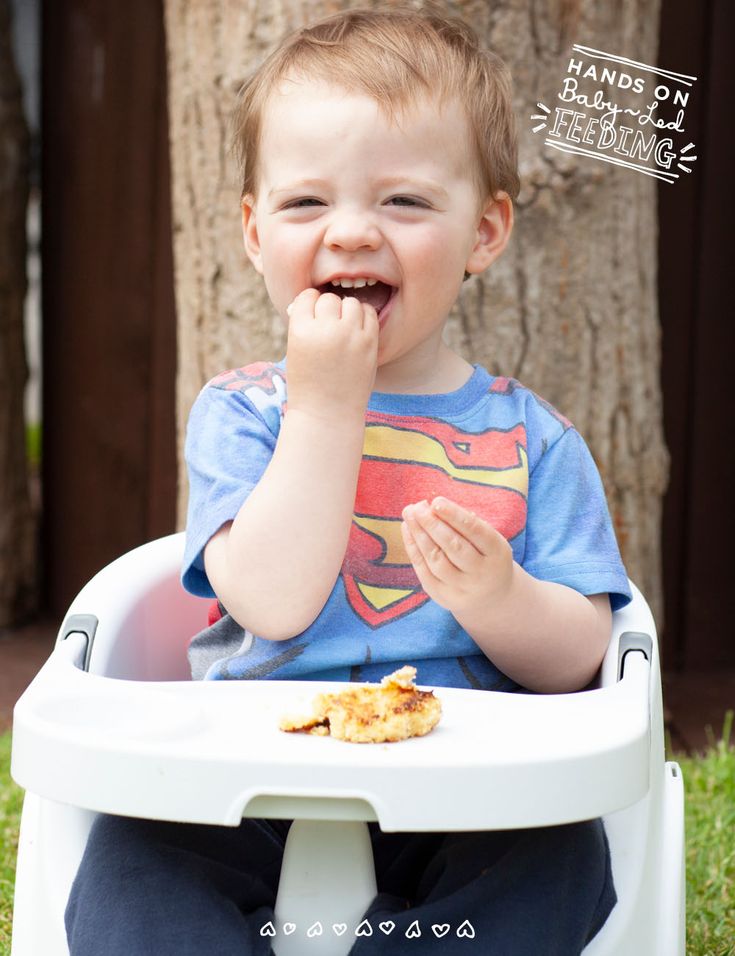
3. Cheeses
Cut off a piece of cheese lying on a common dish and put it on your plate. Put hard cheese on cracker or bread, spread soft cheese on cracker or bread with a knife. Eat with your hands.
4. Sushi
Yes, yes, sushi and sashimi can be taken not only with chopsticks, but also with your fingers! Eat them whole. If the portion is too large, you can bite off half.
5. Asparagus
In Europe, it is customary to eat asparagus with your hands if the shoots are not too long. Long shoots can be cut into pieces and eaten with a fork.
6. Corn cobs
They are served only in a relaxed atmosphere. Brush the oil and seasoning on several rows of kernels (not the whole cob at once!) and eat holding the corn firmly in both hands.
7. Artichokes
Tear off a leaf, dip the soft end into the sauce, and slide the leaf between your teeth to remove the edible part. Put the rest of the sheet on the edge of the plate.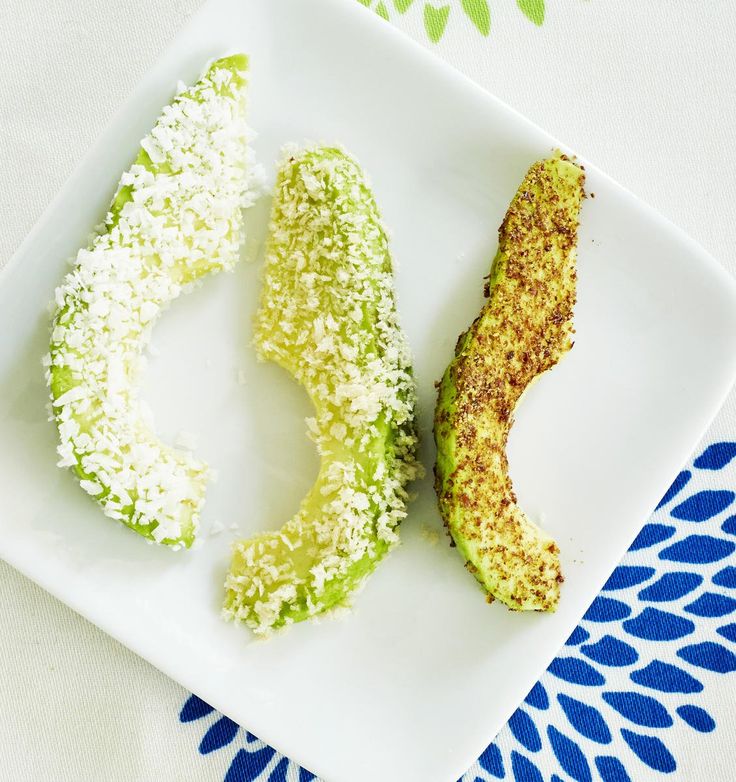 Hold the core with a fork and scrape off the thorns with a knife. Cut the core into pieces that can be eaten at a time and dip each piece into the sauce.
8. Pizza
First, the pizza is cut with a table or special round knife. Then you can take a piece of pizza with your hand by the wide part, fold it lengthwise (so that the filling is inside) and eat. If you are not comfortable eating with your hands, pizza can be cut into small pieces and eaten with a fork.
9. Sandwiches
Tea sandwiches are eaten with the hands. Layered sandwiches can be quartered with a knife and fork and then eaten with your hands. Only open sandwiches must be eaten with a knife and fork.
10. Fried chicken
In a relaxed atmosphere, chicken is quite possible to eat with your hands. With a knife and fork, chicken is eaten at a table in a restaurant. Duck, turkey and other poultry are always eaten with a knife and fork.
11. Bacon
If the bacon is very crispy, you can eat it with your hands.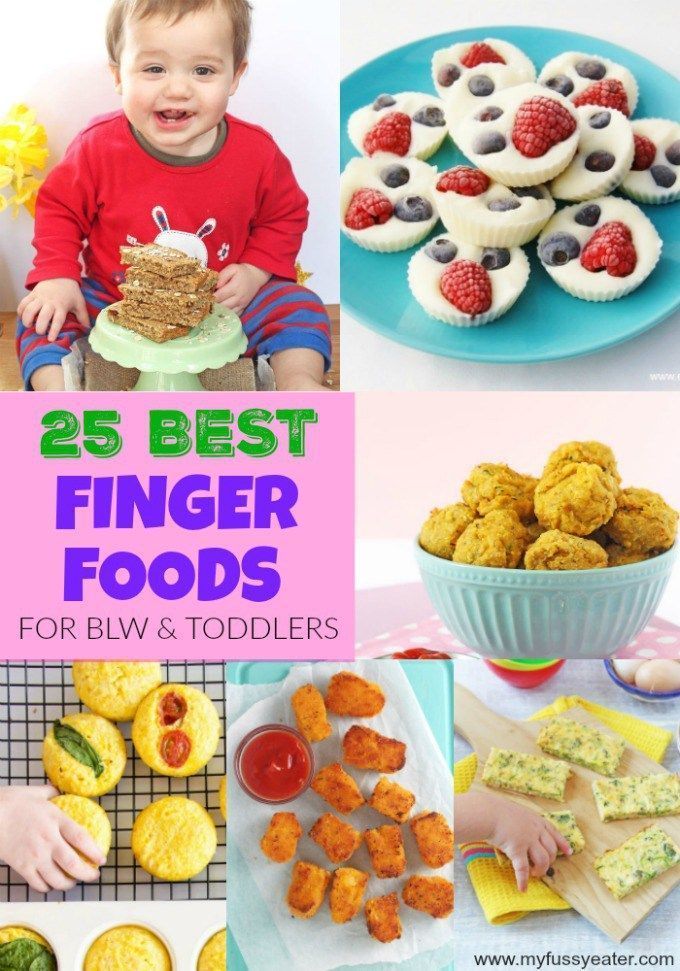 But if the bacon isn't very crispy, eat it with a knife and fork.
12. Bread
Break off a piece that can be eaten at a time. Oil it up and eat it. Don't break the buns in half and don't butter the whole half.
13. Cupcake
Provided that it is served in small pieces and it is not sticky. Otherwise, use a fork.
Learn more about table etiquette at Don't Put Your Smartphone on the Table by D. Johnson and L. Tyler, a brief overview of which is available in our Big Thought Library.
Share
Books in brief. The main ideas of useful books.
What to eat with your hands
Food with and without rules: what to eat with your hands
Food etiquette varies from country to country. For example, in Chile, eating chicken with your hands is barbaric, while in Russia it is permissible.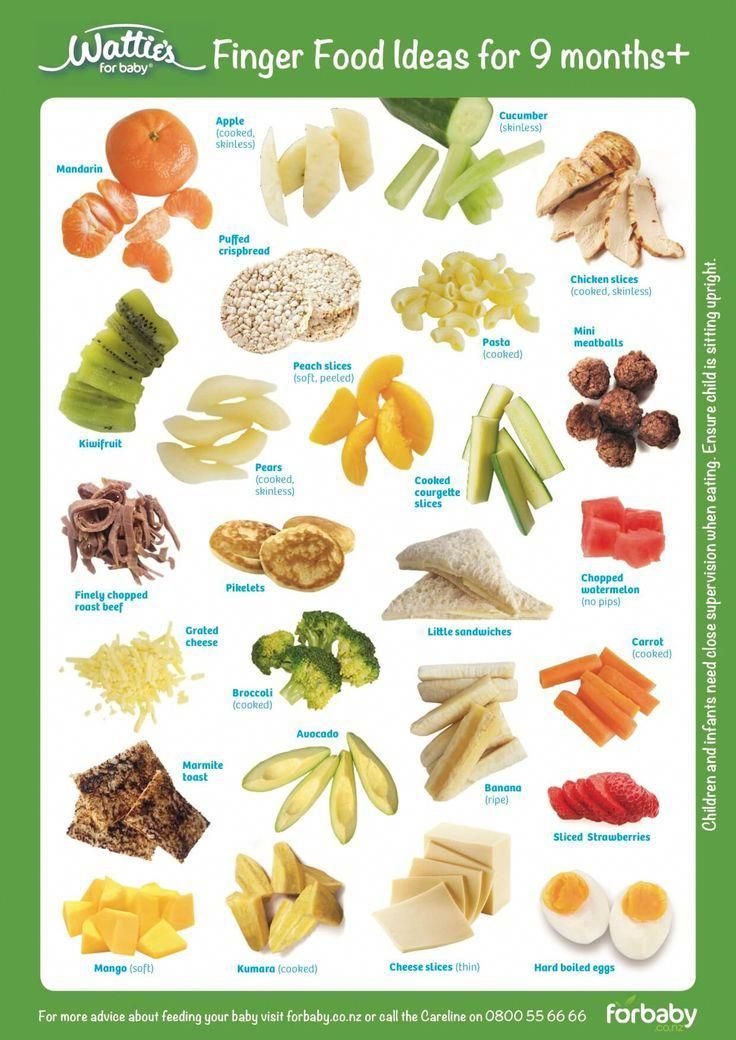 Or sushi with hands in Japan can only be eaten by men, while in European countries they are all eaten with chopsticks. We tell you what and how you can eat and not be afraid to seem ignorant.
What you can eat with your hands
🍕 Pizza
In most countries you can eat pizza with your hands, although the Italians themselves eat it with a knife and fork. For them, eating pizza with their hands is a mockery of food, just like breaking spaghetti, for example.
It will not be a mistake if you take a knife and a fork and start cutting off a piece of pizza. But, to be honest, if you roll a triangle of hot fragrant pizza lengthwise, pick it up and bite it off, it's a hundred times tastier than sending small slices to your mouth.
🍔 Burgers
They are difficult to cut - all the filling will be on the plate, so they are eaten with their hands. Cafes and pizzerias give out special disposable gloves so as not to get your hands dirty, and in some even a container of water.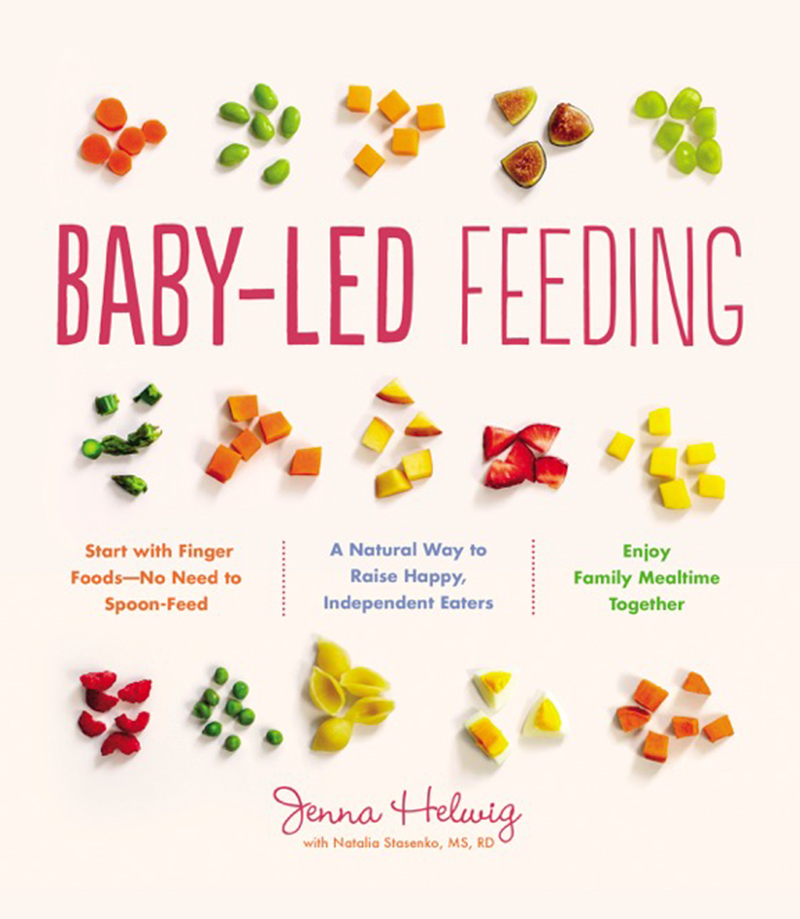 If you get dirty, you can immediately wash yourself.
Tip from a Japanese dentist: before sinking your teeth into a juicy hamburger, "warm up" - open and close your mouth wide several times. Yes, it will not look very good from the outside, but you can eat a burger without losing the filling.
🍗 Chicken
It depends. If it is a fillet, then picking it up is a bad form, but wings or drumsticks can be eaten with your hands. Papillottes are often wound on them so as not to get their fingers dirty while eating.
If you don't want to eat with your hands, you can mock wings with a knife and fork. Etiquette allows, although, to be honest, it's not very convenient.
🍟 French fries
Feel free to take the slices with your hands, dip in the sauce and eat. But if the potatoes were served as a side dish or you first poured sauce over them, then you will have to eat with a fork.
🍤 Seafood
Shrimps, rock lobsters, crayfish or crabs may be eaten with the hands if served unpeeled.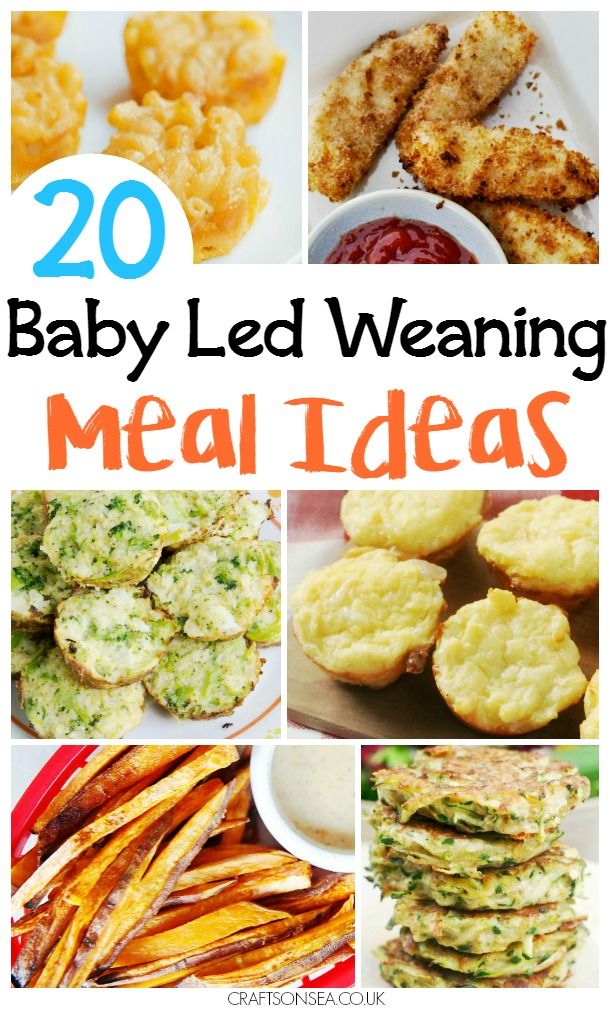 For cleaning, they usually bring special cutlery - tongs, a knife, forks with two or three prongs. If you do not know how or do not want to use it, eat with your hands - this is not a crime.
Advice from an experienced waiter. If the restaurant offers a "bib" - better put it on. Even virtuosos sometimes find themselves splattered with oyster juice or pieces of shrimp shell.
What not to eat with your hands
🐟 Fish
Any, except for dried beer. You can’t use a knife, even if you need to cut a fish steak - only two forks. That's some weird etiquette.
🍖 Shish kebab
Many people think that shish kebab can be eaten with your hands, but in reality it is not. According to the rules, it must be eaten either directly from the skewer, or remove the meat from the skewer onto a plate and eat with a knife and fork. Of course, in nature such subtleties are not needed.
🥚 Eggs
Eat with cutlery in any form.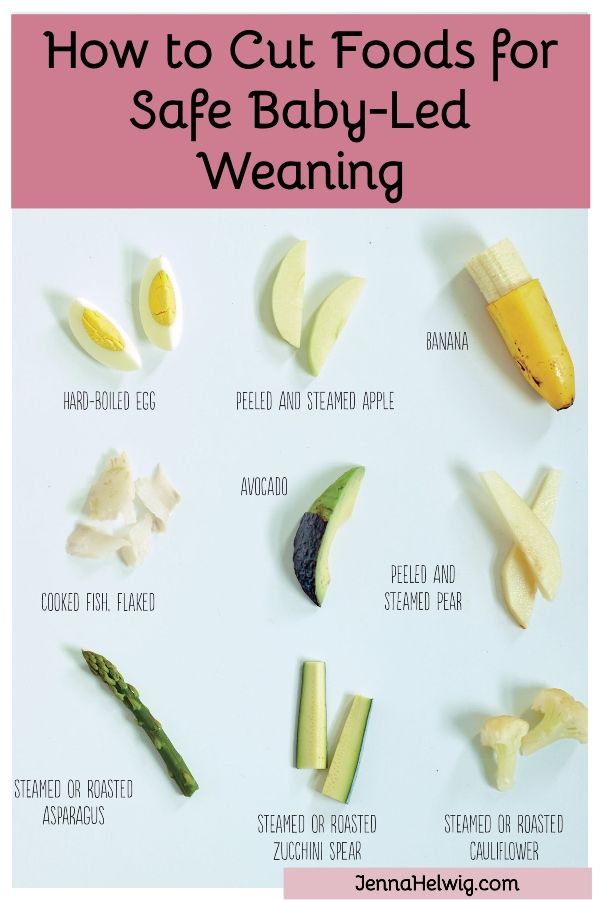 If soft-boiled - with a teaspoon, if fried eggs or scrambled eggs - with a fork and knife. Hard-boiled eggs should also be eaten with a knife and fork, no matter how it looks. Pancakes. They are eaten with their hands only at home, in cafes and restaurants - with a fork and knife. If pancakes were served in a common pile, then you need to pick up the pancake from above with a fork, put it on your plate, put the filling on top, wrap it up with a tube - without the help of hands, of course - and then cut it off piece by piece and eat. That's uncomfortable, but according to etiquette.
🍉 Fruits and berries
You can't eat with your hands either. Watermelons, bananas are cut into small pieces, they are pricked on a fork and sent to the mouth. Strawberries, raspberries, blueberries, grapes and other berries are eaten with a teaspoon. The exception is plum. Here you can break it with your fingers and pull out the bone.
Etiquette has changed a lot in recent years.