How to fill reusable baby food pouch
How to use reusable food pouch – Little Mashies
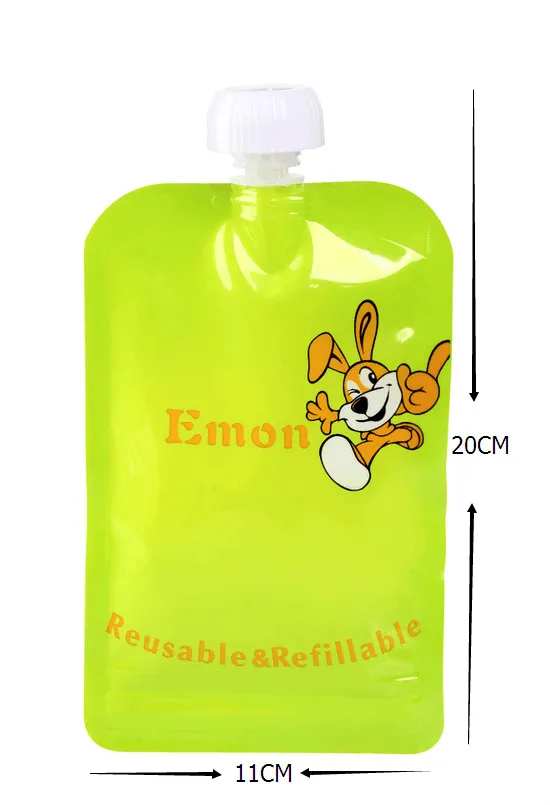
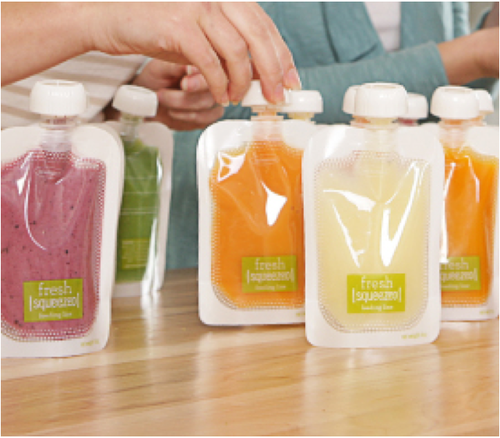
Using Little Mashies reusable squeezie pouches is easy! They save money and the environment, and they are a healthy alternative to pre-packaged foods. Our quality and design is so high that you can reuse our product up to 100 times when you follow the simple instructions below:
To fill
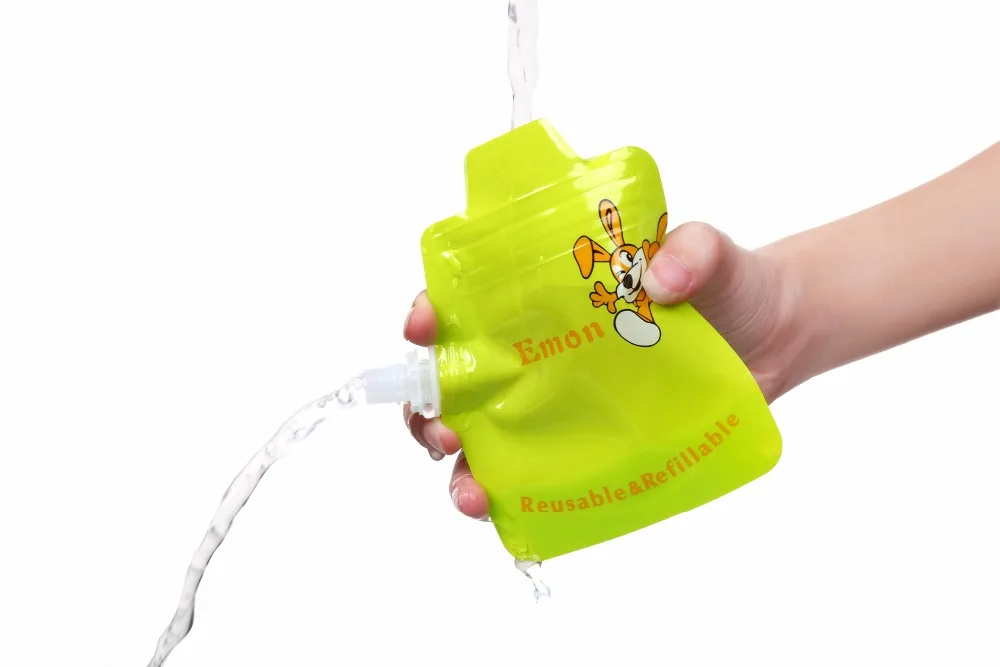
Wash before use. Then, simply open the ziplock at the bottom and fill the reusable food pouch with a spoon, pitcher, or funnel. Fill your Little Mashies 3/4 full (or to the fill line) then close the ziplock. Wipe away any excess dribbles, take the cap off and give it to your cutie pie to squeeze and enjoy! To make sure the anti-leak ziplock is clicked into place press it firmly or bite it with your teeth until you feel it seal.
The Little Mashies reusable food pouch recipe book ( available here) contains 20 sugar free squeezable recipes as well as a baby feeding guide for introducing solids. You can use your Little Mashies reusable food pouches for yoghurt, frozen smoothies, or for baby food on the go.
To clean
When you get home wash the pouch with warm soapy water and a bottle brush. Because of the curved shape food runs straight out. It takes about 20 seconds! Even left in a lunch box all day Little Mashies will clean easily because there are no corners or gussets for food to get stuck. This is what makes our product so great!
To Dry
Place a whisk, spatula, or large spoon inside the pouch with the ziplock open and pop it in a glass on the window sill. It will dry overnight with the ziplock wide open and the cap removed. Creating airflow like this will help maximise the life of the reusable food pouch.
To Steralize
Little Mashies are safe to use in steam steralizers, or with liquid and tablet steralizers commonly used for baby bottles and teats. Do not boil Little Mashies reusable food pouches. Little Mashies are safe to use with warm food but extremely high temperatures will decrease the life of the pouch.
I’ve used mine every day for the past 3 months and they are still going strong. Amazing..I have saved so much money thank you!
- Emma
I thought food would get stuck but it doesn’t at all- it just rinses straight out. The material is a lot thicker than I expected too but you can still see through enough to see that it is clean. It is also really sturdy and doesn’t leak at all.
- Suzy
I have tried a few of the food pouches on the market & Little Mashies are the winner by far! The funky design is what I love the most, well the kids love! I even have the 6 & 9 year old's taking them to school because they are cool!! So easy to clean & my 17month old is very impressed with them :)
- Kate
To find out what makes Little Mashies the very best choice for your child please click here and for more reviews please click here
WARNINGS
- Do not give the cap to children, it is a choking hazard and has small parts.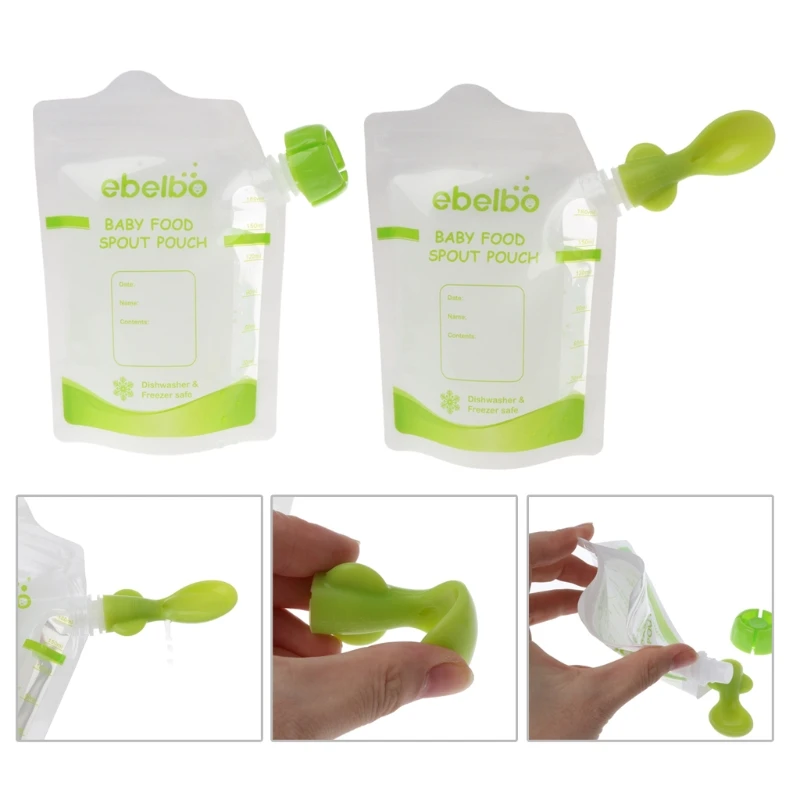
- Using in the dishwasher will shorten the lifespan of the pouch seal. When the seal starts to break it means it is time to replace your pouches. Please recycle. For details see pack.
- Do not store pouches wet in cupboards or draws. Like all containers this will cause mould.
Reusable Baby Food Pouches 10pk
$35.95
Little Mashies Reusable Yoghurt Pouch Boho 10pk
$35.95
Sippy Cup (4 in 1)
$29.95
Little Mashies Bento Lunchbox
$49.95
View all
57 products
Simply add it to the cart, pop in the coupon code, and it will remove 100% of the price.
At 6 mths of age you can introduce a range of puree's to your baby (see our baby food recipe book and use coupon code RECIPE to remove 100% of the price at the checkout).
For baby led weaning you skip the baby food puree altogether and start with large (2 finger sized) pieces of the food.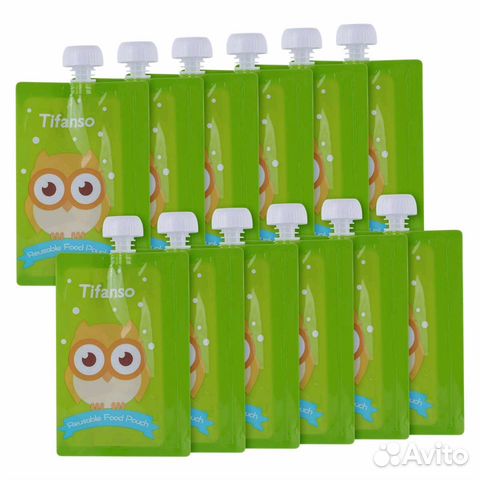 We would of course do this on our Little Mashies sucky platter! So from 6-9mths of age in baby led weaning foods should be the size of about 2 fingers so that the baby can pick it up and self feed. They also need to be well cooked so they are soft, and with no loose pieces (for example tiny florets that can break off on broccoli, or a slice of apple that's so thin it can break when gnawed on).
From around 9mths with baby led weaning you chop the food very small (to avoid choking). I would suggest 2-4 grains of rice in size. It's a small piece so that if they swallow it whole they won't choke. In traditional baby food recipes this is the stage where we mash food so it has a little texture.
At around 12mths of age in baby led weaning the food goes up to bite sizes (and this is the same in non baby led weaning kids), about fingernail sized pieces. Of course some babies will be on a different timeline depending on whether they have heaps or a few teeth.
Every baby is different and you just have to watch carefully and get to know how your baby is with food.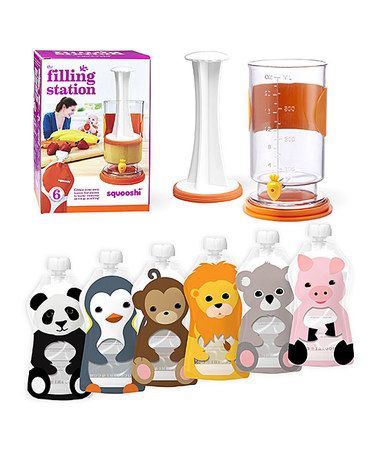 Never leave them alone whilst eating, and I also recommend sitting them at a table with you for all meals if you can. It helps set the expectation for later in life and you can be a role model for how to eat well. Around 18mths you can offer your little one larger serves again (so a whole apple for example) so that they can learn to take smaller bites themselves, to chew, and to swallow.
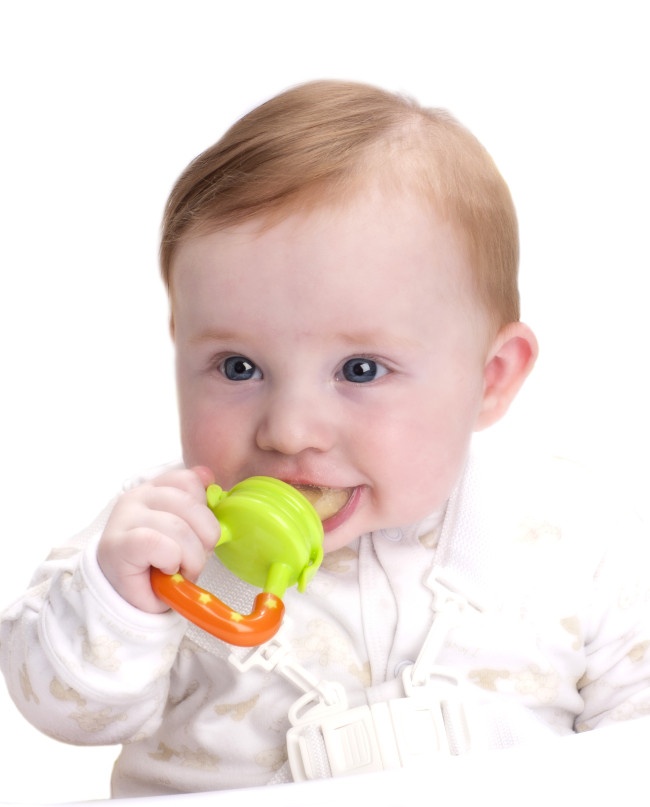
It is widely recognised that babies should start solids around 6 months of age. At this time reusable baby food pouches can be really convenient to take your homemade healthy puree with you when you are out and about. Spoon attachments are available so you can feed your baby directly from the pouch from 6 months old. Without a spoon attachment babies usually start feeding themselves pouched food around 8 months old. This is when they hit their independant phase and what to do everything themselves. A pouch is a lot cleaner than a bowl and spoon in these circumstances. We do however advise that you give your baby a variety of meals, not just ones that are in a refillable pouch.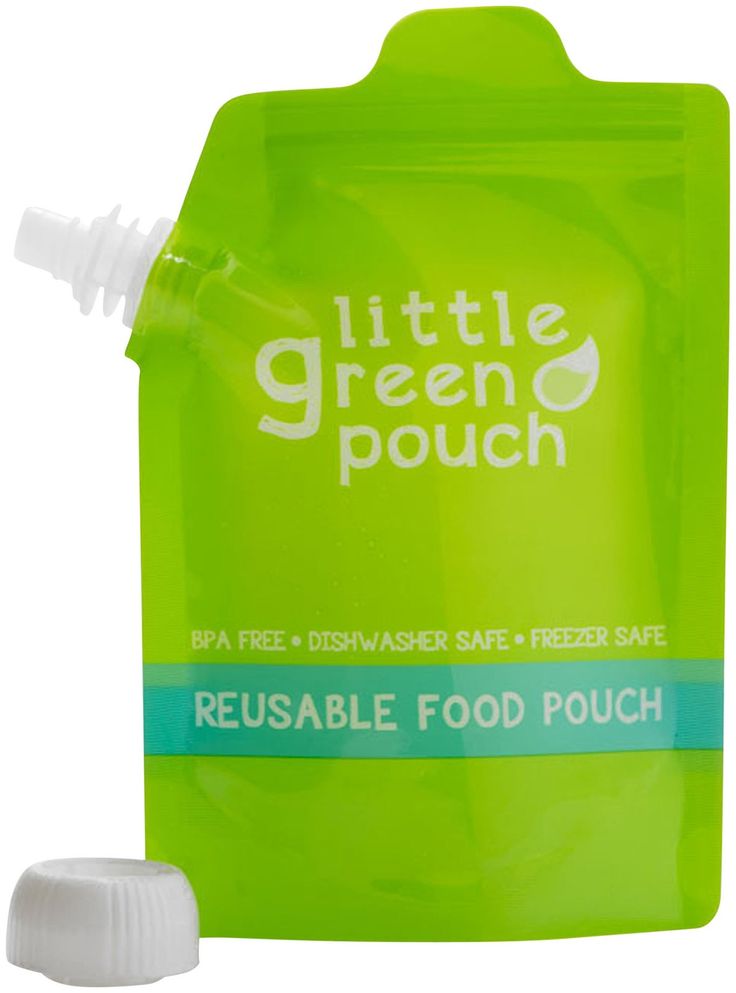
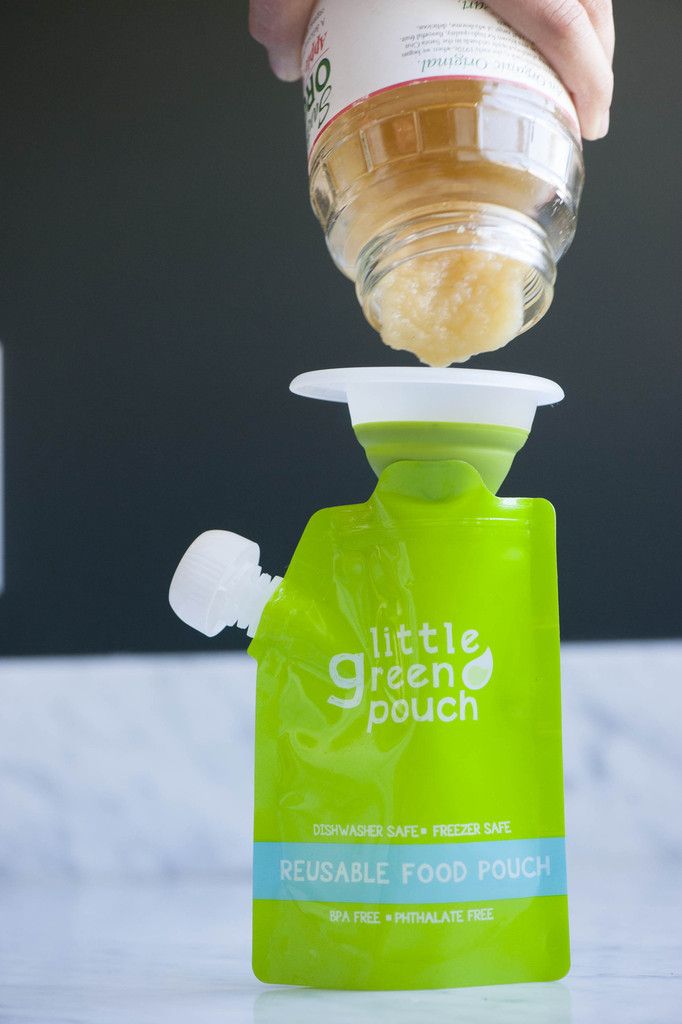
Refilling your reusable yoghurt pouches is easy! Simply turn the reusable food pouch upside down and open the wide double ziplock at the bottom of the pouch. Once the zipper is open you can spoon yoghurt into the pouch or pour it in (out of a jug or bottle).
If you are concerned about making a mess you can use a kitchen funnel so that all of the yoghurt stays away from the yoghurt pouch zipper.
Another idea that we commonly do at home when filming videos (but it would also be useful when holding a baby in one arm), anyway.. the idea is that you put the pouch upside down in a glass (with the lid on), open the ziplock and the glass acts like a second hand, holding the pouch still whilst you spoon the yoghurt in. This is what I do when I only have one hand to use for the refill!I also tend to refill my reusable yoghurt pouches in bulk. I'll buy a good quality yoghurt from Coles or Woolworths and will fill a whole 10pk of pouches in one go so they are all ready for snacks on the go.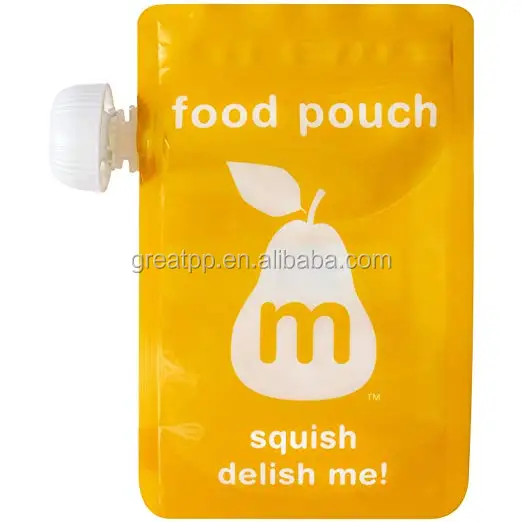
My kids always want to eat when they are out and refilling the reusable pouches one at a time just doesn't work for us. The only time i do that actually is when I've pureed a meal that my toddler refused, put it in a reusable pouch, and given it to her again. Oh and the other time I do singles.. there are two actually. When we go for ice-cream (it is so much cleaner when in a pouch), and when I have leftover smoothie (again, it stops me getting smoothie all through my car, pram, or playroom).
Little Mashies refillable yoghurt pouches are compatible with pouch filling machines that are on the market. Our spout is universal so even though we don't think you need a filling machine, our reusable pouches will fit. All of our yoghurt and baby food pouches come with anti-choke lids as standard.
Cleaning reusable baby food pouches is easy! We have designed Little Mashies refillable yoghurt pouches without corners so there are no places for food to get stuck (we would hate your little one to get sick from old food stuck in corners)!
When you open the ziplock you can see all the way through the pouch to ensure it is clean. If you have a dishwasher you can clean the pouch using that, otherwise you can wash your reusable baby food pouches by hand and this takes around 20 seconds. Little Mashies squeeze pouches are BPA Free and are safe to wash with warm water.
If you need some meal ideas for your refillable pouch you can find home made yoghurt here, baby food recipes here, and pouch smoothie recipes here.
Now, to clean your Little Mashies food pouches by hand simply open up the ziplock at the bottom and take off the cap. Run warm water through the open ziplock with the baby pouch facing downward so the water comes out of the spout and into the sink. The shape of Little Mashies reusable pouches acts like a funnel, pushing out food and making the pouch very easy to clean.
To start washing your reusable pouch, squirt some dishwashing liquid into the refillable pouch, then use a baby bottle brush to clean the inside walls (just like a baby bottle). To clean the spout use a straw brush (like the ones we have here), and clean it in the same manner that you would clean the teat from a baby’s bottle.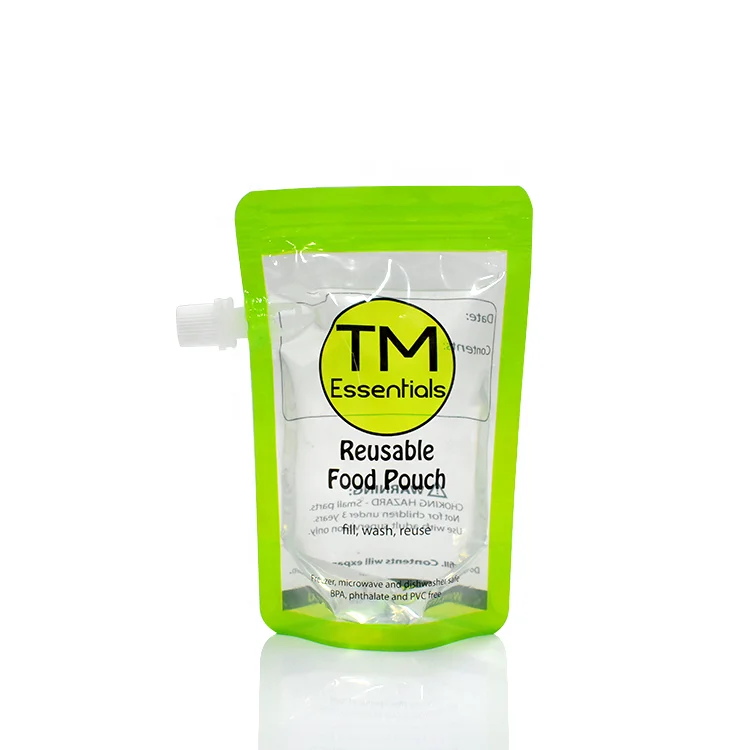 Give the reusable pouch a rinse and place it over a kitchen utensil in the drying rack to dry. If you don’t have time to dry it fully place it in the freezer until you are ready to use it again. Do not put wet reusable food pouches in dark cupboards or draws. They are very easy to dry if you have removed the cap, and placed something inside the zipper to keep the pouch open (we use a whisk, tongs or a spatula).
Note that if you continuously wash your pouches in the dishwasher the high temperature will make the zipper wear out more quickly. At home we wash our pouches mostly by hand because it is so quick and easy and then just use the dishwasher when we have had loads of kids over and served reusable yoghurt pouches or smoothies to them all.
Oh and while I remember if you use the code RECIPE at the checkout it will remove 100% off the price of the baby food recipe ebook so you can get some inspiration for your refillable pouches.
Some parents start introducing a sippy cup or straw cup to their babies around 6 mths of age.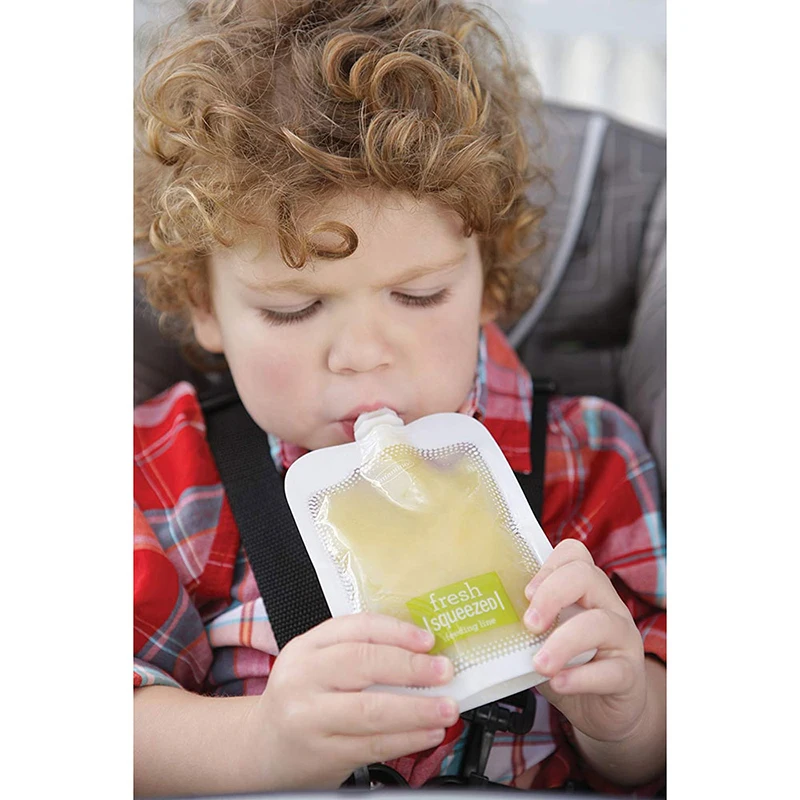 This can make it easier to transition from breastmilk or bottle feeding around 12 mths of age. Most paediatricians recommend babies 18 mths or older use an open sippy cup rather than a bottle, so anytime before then is fine. This is why we have a 4 in 1 sippy cup, so that you don't have to purchase seperate products as your baby moves through the stages of learning how to swallow and drink. To shop the Little Mashies silicone sippy cup, check out our baby feeding range here.
All of our baby food recipes are contained within our ebook. You can get a free download by using the coupon code RECIPE at the checkout. Simply add it to the cart, pop in the coupon code, and it will remove 100% of the price.
Sale
Fridge Storage Bundle
Regular price $154.00 Sale price$99.00 Save $55.00
Sale
Gift of love
Regular price $79.90 Sale price$49. 95 Save $29.95
5 x 30cm Reusable Baking Sheets
$64.75
Sale
5 x Reusable Smoothie or Snack Bags
Regular price $74.75 Sale price$64.75 Save $10.00
View all
14 products
Homemade baby food pouches {how-to and 5 recipes}
Portable, squeezable and with lots of flavor options, homemade baby food pouches are easy to make and a great way to serve healthy fruits, vegetables and whole grains to your little ones!
I made ALL of the baby food for both of my little ones. Which was no small feat because they were very hearty eaters. A good thing, but whew, kept me busy in the kitchen!
I always made big batches of purees, to knock out a bunch at a time, and inevitably, I’d be left with extras when they were moving onto finger foods and self-feeding.
So I started turning those purees into homemade baby food pouches.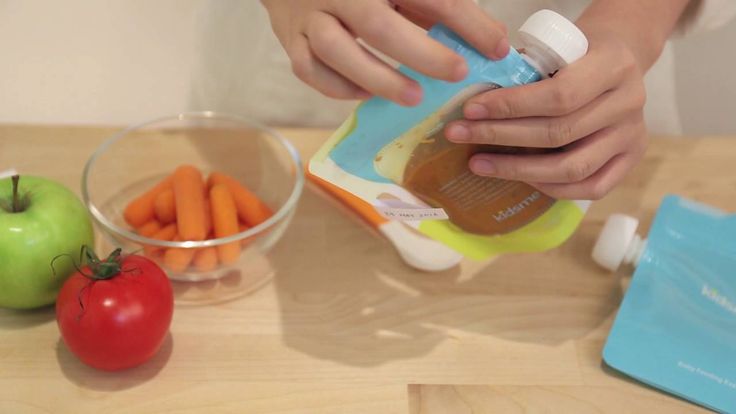
(I also have tons of other ideas of ways to use leftover baby food – I didn’t want to waste a bit!)
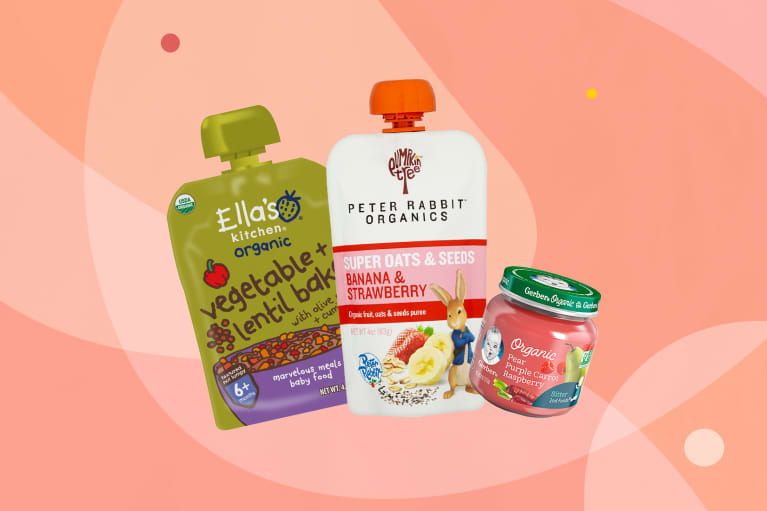
You can of course buy squeeze pouches in the store.
They have lots of different kinds of applesauce mixes, yogurt squeezies, and fruit and veggie combinations.
But you can make your own so quickly, easily and for much less money. Plus, you can customize them to your little one’s liking and feel good that you’re controlling the ingredients.
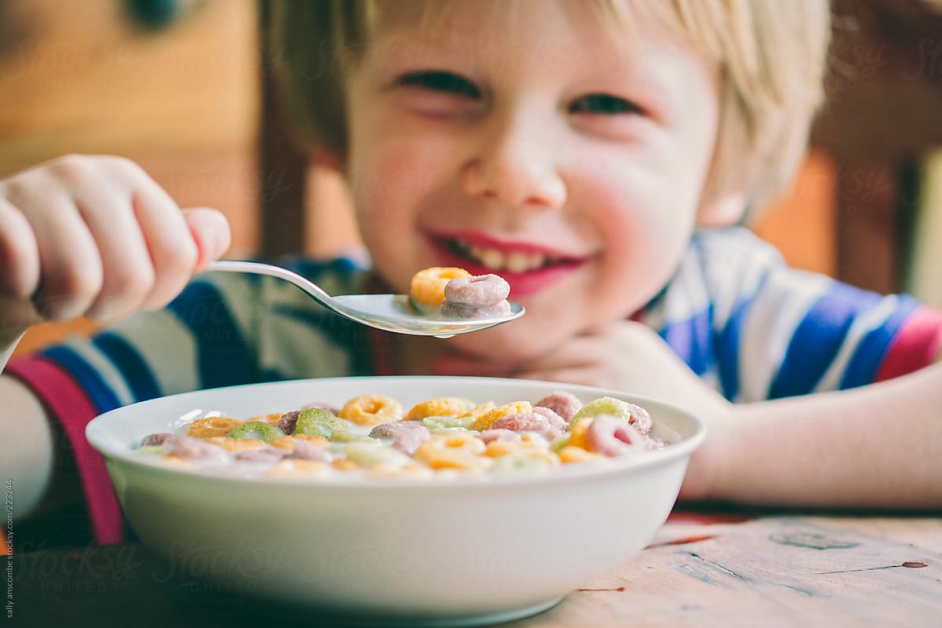
My kids are older now – M is 5 next week (yikes!) and J is coming up on 3 – but they still love these squeezies. M says she has lots of friends who bring them for lunch, so she’s always asking for me to send them to school.
And I’m happy to.
I love that it’s an easy way to ensure they are eating their veggies. They will take down one of these pouches in a matter of minutes but they don’t always dig into a big bowl of peas or a plate full of broccoli. #yet #Iwontgiveup
So today I’m giving you the run-down on what I use, how it works and five easy homemade squeezie combinations to get you started.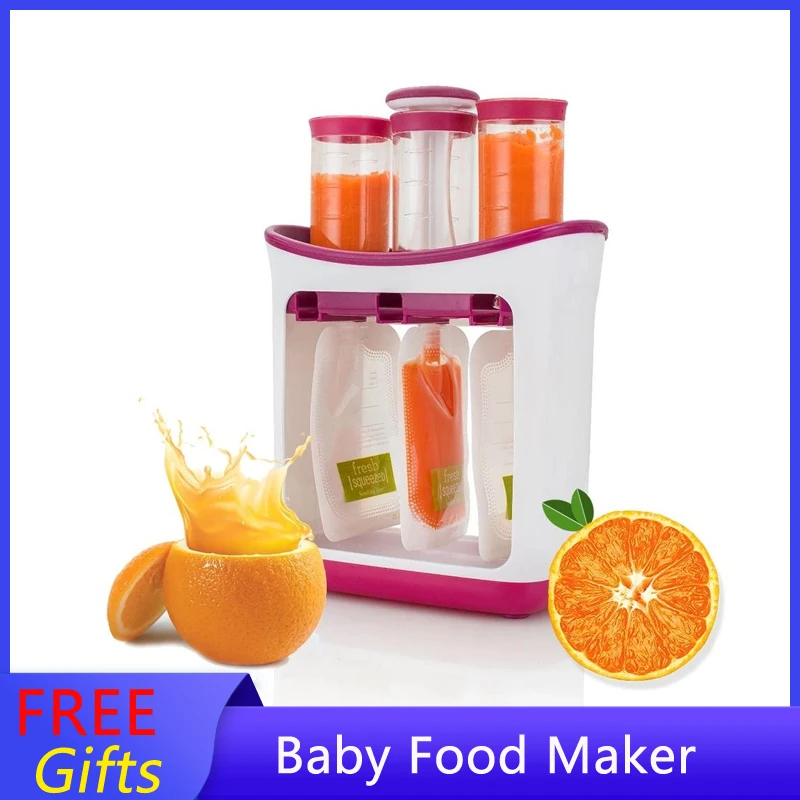 (Check out these 5 additional homemade baby food pouches for more ideas!)
Equipment for baby food pouches
I have the Infantino Squeeze Station and it’s been great. It’s the only specific baby food equipment I’ve bought and was definitely worth it.
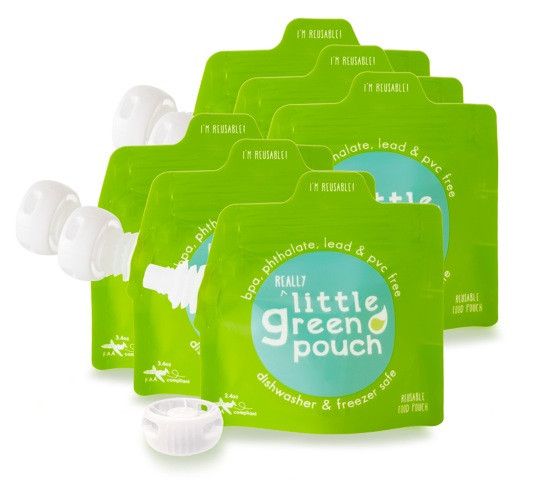
You’ll also need to buy refill pouches (they come in batches of 50 and you will go through them!)
They have other accessories, but I’ve stuck to these basics so far.
You’ll also need an immersion/hand blender or regular blender to make the purees to put into the squeeze pouches.
How to make baby food squeeze pouches
You set up the squeeze station by inserting three pouches into the bottom (they fit through some grooves and sort of snap in.) Then you put the empty containers on top and screw them onto the bags.
Note: Be sure to write the contents and date on your bags before you start to fill them. Much easier than after they’re done.
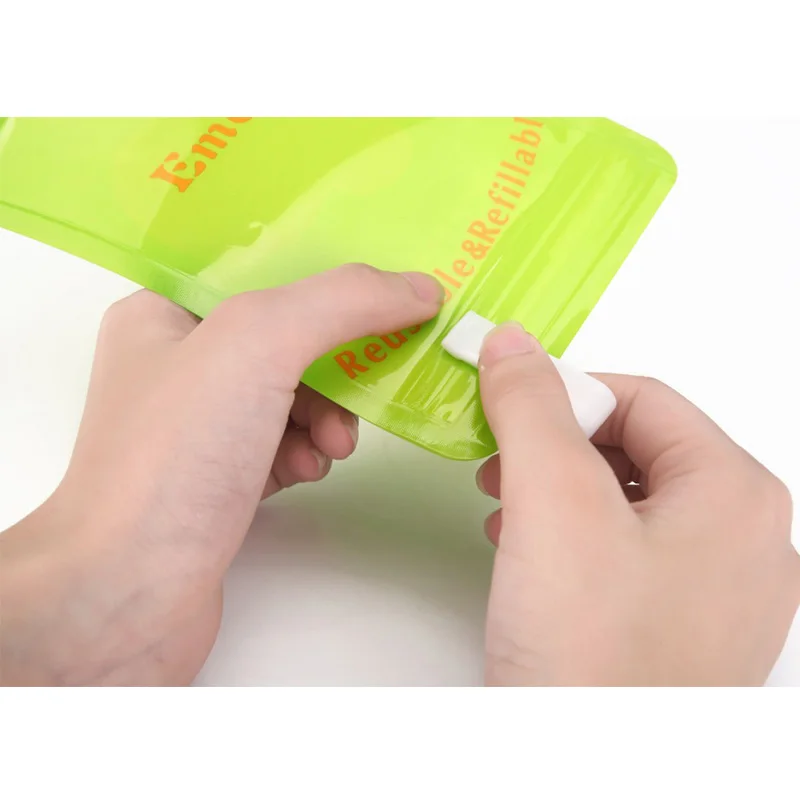
Next, you spoon your puree mix into each container, filling it almost to the top.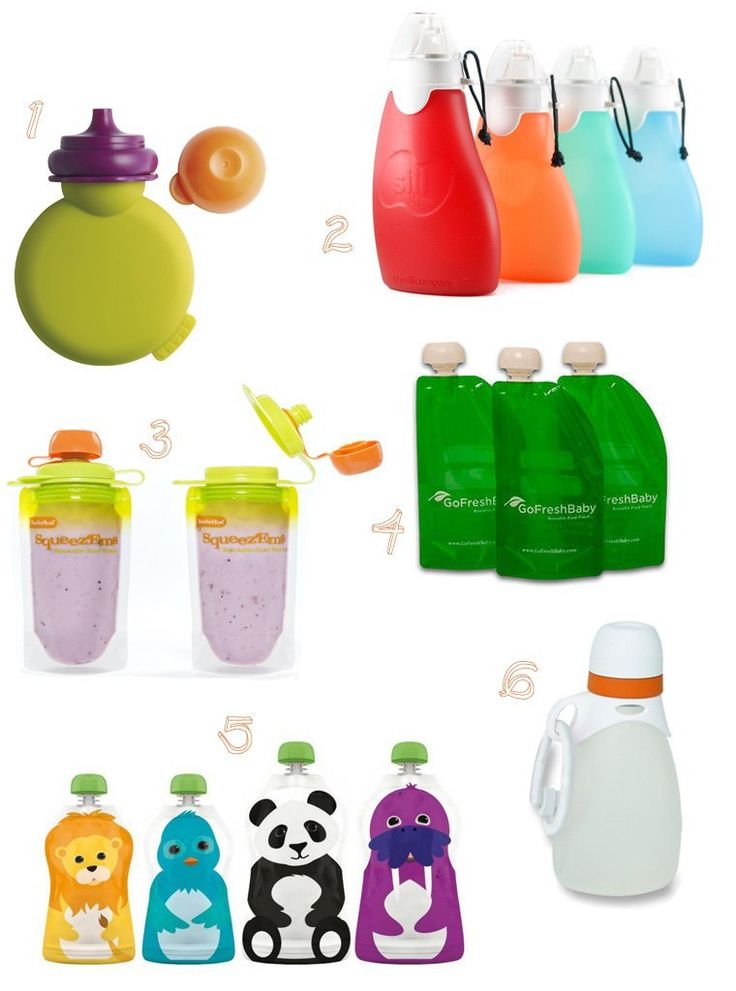 You use the press tool and push the puree down into the pouch. It’s a weirdly gratifying feeling.
If the mixture gets stuck or won’t push, you probably have a small chunk in your puree that got caught in the hole. Just unscrew your tube, dump the contents back into your blender and reblend (or pick out the offending piece if you see it).
After the bags are filled, unscrew the tubes and carefully pull the bags out. Twist on the orange top and voila!
You can keep them in the fridge for a couple of days or pop them straight into the freezer to have on hand later.
It’s really easy and actually, really fun!
Notes about baby food pouch combinations:
- Add 1 tablespoon lemon juice to all of these to help preserve them. The only exception is the pineapple-broccoli mixture. The citrus from the pineapple is enough on its own.
- You can keep the peels on the pears and apples, just be sure to puree them very well so pieces don’t get stuck and prevent the mixture from going into the squeezie bags.
- The vegetables and grains need to be cooked and soft, so plan ahead. Or use leftovers. These can be a great way to use up scraps and reduce food waste.
- If any of your mixtures seem too thick (because the water content of fruits and veggies can vary), just add a bit of applesauce or a splash of water to the blender until its thin enough.
- Each pouch holds about 4 ounces. Most of these batches for me make about 3 squeezies worth. You can of course always double up if you want to knock out a bunch. They freeze great, so you might as well!
Check out the recipes below and get to making some baby food pouches. I hope your little one enjoys!
(And let me know if you want to see another round-up like this – we have lots of other flavor combinations we’ve made over the years that I can share!)
XO,
Kathryn
Prep Time 15 minutes
Total Time 15 minutes
Ingredients
For the apple-brown rice-spinach pouches:
- 1 apple, core removed and roughly chopped
- 1/2 cup cooked brown rice
- 1 cup packed fresh spinach leaves (raw)
- Juice of 1/2 lemon
For the pineapple-broccoli pouches:
- 1 cup cut pineapple (thawed if frozen)
- 2/3 cup cooked broccoli florets
For the mango-sweet potato-quinoa pouches:
- 1 ripe mango, peeled, seed removed and roughly chopped
- 1/2 cup cooked sweet potato
- 1/2 cup cooked quinoa
- Juice of 1/2 lemon
For the banana-barley-zucchini pouches:
- 1 ripe banana
- 1/2 cup cooked barley
- 1/2 cooked chopped zucchini
- Juice of 1/2 lemon
For the pear-peas-spinach pouches:
- 1 ripe pear
- 1/2 cup cooked peas
- 1 cup raw spinach
- Juice of 1/2 lemon
Instructions
- Make sure all of your grains and veggies are cooked, if indicated.
- Combine all ingredients for each pouch combination in a blender or immersion blender and blend until it’s a smooth, pourable consistency. (See notes.)
- Label your bags, set up your station and add the mixture to the squeeze station containers, filled to the indicated line. Push down with the press tool and fill each bag. Remove the bags from the station and twist on the tops.
- Store pouches in the refrigerator for 2-3 days or in the freezer for up to 3 months. To defrost, simply move the pouch to the refrigerator - it thaws in less than a day.
Notes
Add 1 tablespoon lemon juice to all of these to help preserve them. The only exception is the pineapple-broccoli mixture. The citrus from the pineapple is enough on its own.
You can keep the peels on the pears and apples, just be sure to puree them very well so pieces don’t get stuck and prevent the mixture from going into the squeezie bags.
The vegetables and grains need to be cooked and soft, so plan ahead.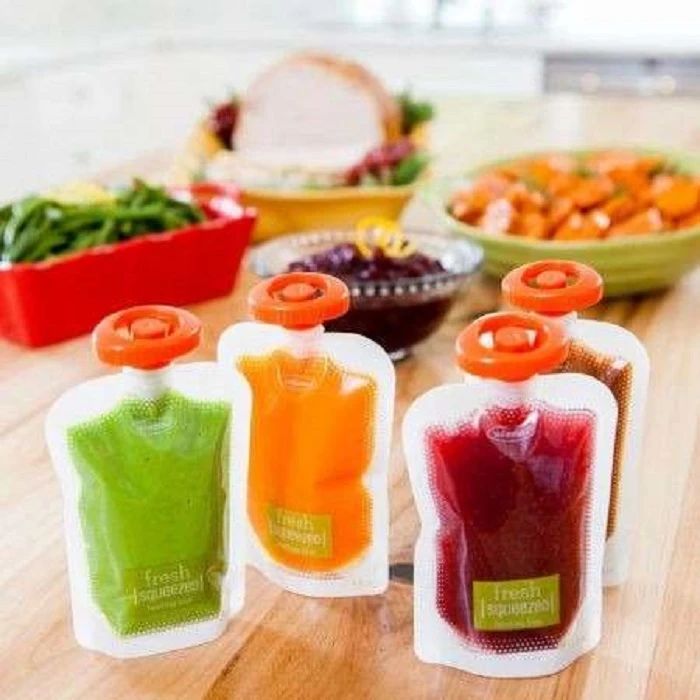 Or use leftovers. These can be a great way to use up scraps and reduce food waste.
If any of your mixtures seem too thick (because the water content of fruits and veggies can vary), just add a bit of applesauce or a splash of water to the blender until it's thin enough.
Each pouch holds about 4 ounces. Most of these batches for me make about 3 squeezies worth. You can of course always double up if you want to knock out a bunch. They freeze great, so you might as well!
Here are 5 more homemade baby food pouches if you want more flavor/combination ideas!
Nutrition Information:
Yield:
3Serving Size:
1 pouchAmount Per Serving: Calories: 50
The different varieties will yield different nutrition information.
How to use a urinal: insert, put on, change, rinse
Content of the article:
- Types of urinals
- Wearable and bedside
- Children and adults
- Child
- Male and female
- Single use and reusable
- One-, two- and three-piece
- Drained and non-drained
- Urinary bag replacement interval
- Caring for reusable urinals
A urinal is a device for collecting urine from urocondoms, various types of urological catheters, urinals.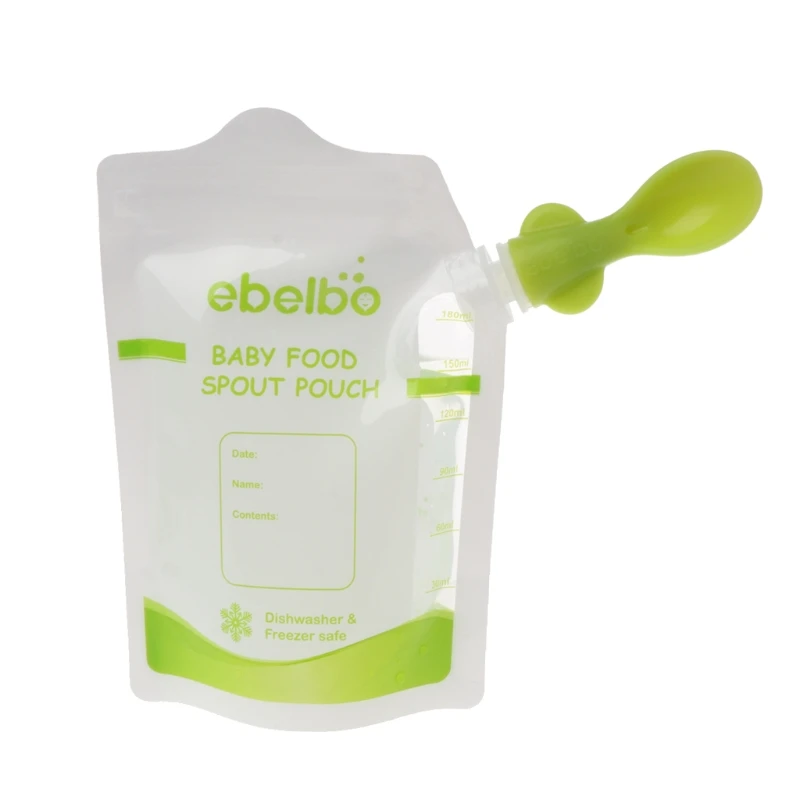 Externally, the urinal looks like a bag with a drainage tube or a T-cock for emptying, there are also non-draining urinals.
Reasons for using a urinal
A urinal is needed in the following cases:
- occasional or persistent urinary incontinence;
- inability to independently use the toilet in bedridden patients.
Incontinence, or incontinence, is involuntary urination, which, in different age groups, affects from 15 to 40% of the adult population. Incontinence is a symptom of a number of diseases and conditions. First of all, these are age-related, or resulting from physiological processes and diseases, dysfunctions of the genitourinary organs. The reasons for their development are different for women and men.
Causes of female incontinence:
- weakening of the pelvic floor muscles and sphincters of the bladder as a result of difficult or frequent childbirth, age-related changes;
- prolapse or prolapse of the pelvic organs;
- hysterectomy;
- climax.
Male:
- age-related changes in the prostate;
- prostate adenoma;
- prostate surgery.
There are also common causes of incontinence. These include:
- diseases of the genitourinary system - urethritis, cystitis, kidney disease;
- tumors of the pelvic organs, consequences of radiation and chemotherapy;
- conditions after surgical interventions on the pelvic organs, including those associated with nerve damage, removal of uro-, cysto-, nephrostomy;
- perineal injury, heavy physical exertion;
- mental disorders - psychosis, schizophrenia;
- diseases of the nervous system - multiple sclerosis, Alzheimer's disease, Parkinson's disease;
- taking certain medications - neuroleptics, tranquilizers, antidepressants.
Types of urinals
Wearable and bedside
All urinals are divided into two large groups:
- wearable (foot) - for use during the day, by patients moving independently;
- bedside - night, as well as intended for permanent use by bedridden patients.
The wearable urinal is fixed with straps on the thigh or lower leg, does not interfere with walking. A tube, the length of which can be adjusted, is connected to the urinal with a catheter or urocondom, urinal. The anti-reflux valve prevents backflow of urine. The volume of wearable urinals ranges from 350 ml to 1-1.5 liters. People with an active lifestyle, with the preserved function of movement, are recommended to use bags of small volume, up to a maximum of 800 ml. Patients who move with difficulty will be more comfortable using a larger urinal - it is not so important for them that it will be noticeable when worn, but at the same time the bag will not have to be emptied often.
Bedside urinals are designed to be placed on a stand by the patient's bed. Using a bedside urinal allows a person to sleep peacefully all night without fear that the bag will overflow. The recommended volume of a bedside urinal, sufficient to accommodate all the urine excreted during the night, is 1.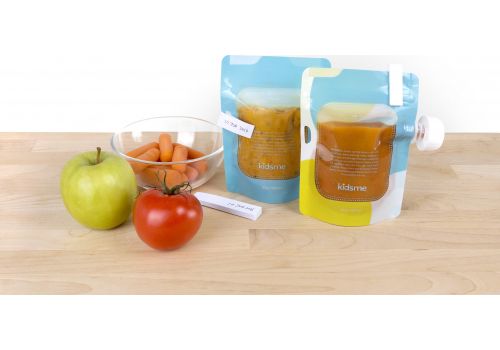 5-2 liters.
Children and adults
Depending on the age and gender of patients, children's and adult (male and female) urinals are distinguished.
Child
When talking about children's urinals, most often they mean a urinal - a small plastic bag for comfortable collection of urine from babies. It is a plastic bag with a volume of 100-120 ml (for newborns and infants) to 200 ml (for older children), securely attached to the skin with an adhesive zone. The inner surface of the urinal is sterile. There are markings on the urinal, usually in 10 ml increments, for counting the amount of urine.
Children's urinals are produced taking into account the anatomical features of girls and boys, as well as universal models. In order to comfortably put on a urinal for a girl, a urinal with a rounded hole should be used, which has a special protrusion inside to protect the vagina from urine. For boys, models with a small egg-shaped neckline are intended. Universal urinals have an oval hole.
Children's urinals are made of hypoallergenic materials, they can be safely used for newborns, infants and older children. The products are intended for single use only.
Male and female
When it comes to disposable bags for collecting urine from a catheter or stoma, adult urinals do not differ between male and female models.
Sometimes the word "urinal" refers to reusable products designed to collect urine from bedridden patients - ducks, ships. In this case, for men, urinals with an elongated neck are used, for women - with a wide opening or a neck in the form of a narrow sheet.
Disposable and reusable
Disposables include children's urinals for collecting urine, as well as adult products made of a material that cannot be sterilized or subjected to other decontamination (paper), or whose design does not imply reuse (polyvinyl chloride urinals equipped with valves).
Reusable - urinals that can be treated with disinfectants or sterilized in another way (dry oven, autoclave).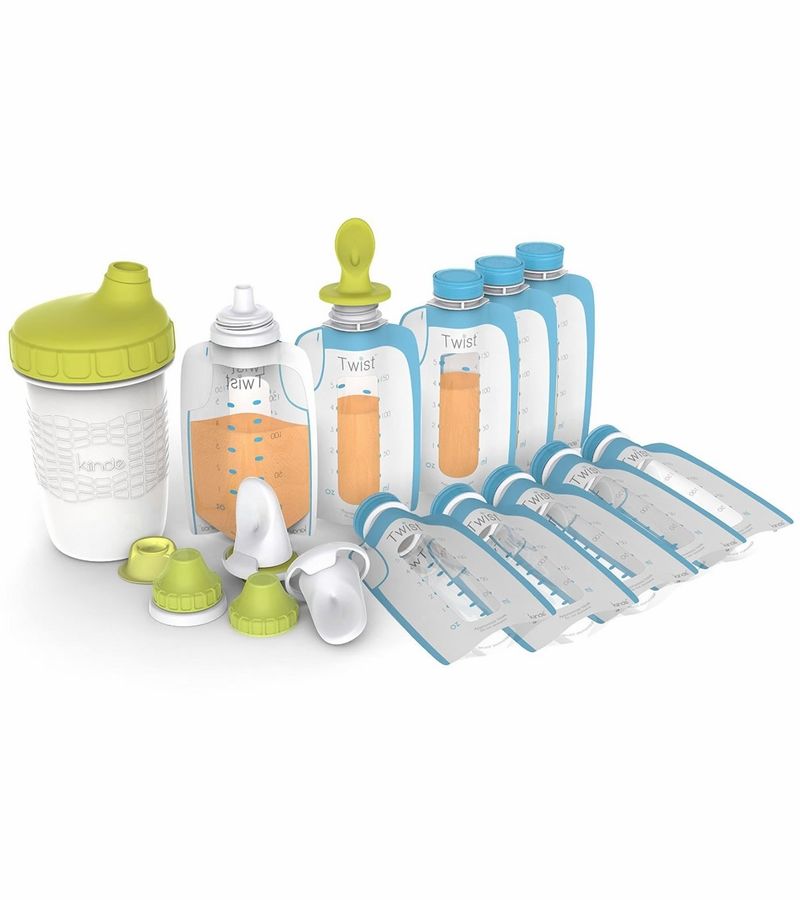 Most often these are bedside products used in hospitals (ducks, ships), made of metal, plastic, glass.
One-, two- and three-piece
The division into one-, two- and three-component is used for urinals - urine collection bags that are connected not to a catheter or urocondom, but to a urostomy.
One-piece urinals consist of a bag with a drain valve and an adhesive plate, which are a single unit. A round hole corresponding to the size of the urostomy is cut in the center of the adhesive plate, and to replace the bag, it must be peeled off the skin along with the plate.
The difference between two-component models and one-component models is that the bag and the adhesive plate are separated; to change the bag, it is not necessary to peel off the plate. Thus, the adhesive wafer can stay on the skin for 2-3 days, the bag can be changed as needed.
The three-piece system includes a bag, a drainage tube and an anti-reflux valve to prevent backflow of urine.
The urinal can be used both in conjunction with the urinal, and independently. The urinal is most often used as an additional container to avoid rapid overflow of the urinal with urine. The urinal is not connected directly to the urostomy.
Drained and non-drained
Non-draining urinals are devices that need to be changed each time as they fill up or disconnected from the catheter or urocondom to drain urine.
A drainable urinal is equipped with a special tube that resembles a small faucet in shape and function, with which urine can be drained into the toilet without separating the urinal from the catheter or urocondom.
Bag change interval
If a disposable urinal is used, it must be replaced every time it is filled. Reusable urinals also need to be changed periodically.
Recommended replacement times:
- every 7 days with clear urine;
- every 3 days - with cloudy discharge;
- daily if there is blood in the urine.
In practice, wearing the same bag for a long time leads to an unpleasant odor. Therefore, the optimal replacement period is at least 1 time in 3 days.
Caring for reusable urinals
In order to ensure comfortable use of reusable urinals, the patient should follow simple rules. It is important to wear the urinal correctly - the bag for collecting urine should be below the level of the belt. For any actions with the urinal and drainage tube, you must first thoroughly wash your hands and treat them with an antiseptic. Do not wait until the urinal is full to the brim, it is necessary to drain it when the urine level reaches a maximum of ⅔ of the bag. After draining urine, the drain valve should be disinfected - wipe it with an alcohol wipe or antiseptic.
Reusable urinals must be washed daily with water with the addition of 3% table vinegar at the rate of 1:7.
Article author:
Reshetnikova Elena Evgenievna
Paramedic, qualification "Medicine".
All materials posted on the site are for informational purposes and cannot be used as medical advice. For diagnosis, choice of treatment methods, contact your doctor.
Home | Ministry of Health of the Kaliningrad Region
| Name | Description | Size | Type |
|---|---|---|---|
| 380 Order of the Ministry of Health Ko dated 27.05.2021 On the organization of monitoring the staffing of the healthcare system KO CHANGES APPENDIX 3 Published on 15.07.2021 | 0.34 Mb | ||
| 58 Order of the Ministry of Health Ko dated 01/29/2021 On the organization of monitoring of the health care system personnel KO Published on 07/15/2021 | 2. 12 Mb 12 Mb |
-
Ministry of Health of the Russian Federation
-
Independent assessment of the quality of services provided by medical organizations - participate
-
Vacancies
-
Government of the Kaliningrad Region
-
Official Internet portal of public services
-
Territorial Compulsory Medical Insurance Fund
-
Territorial authority of Roszdravnadzor for the Kaliningrad region
-
Medical insurance companies
-
Prevention of HIV / AIDS in Russia
-
MFC for business
-
Personal account of citizens on the website of the Government of the Kaliningrad region
-
Healthy Russia - Project "So cool"
Sociological survey
Independent assessment of the quality of conditions for the provision of services by medical organizations
Vacancies and results of competitions for the right to fill positions in the state civil service and chief physicians of medical organizations
Administrative reform
Open data
Leaflet "On measures of personal prevention for those traveling to countries that are unfavorable in terms of the incidence of a new coronavirus infection"
Ask a question
bus.