Make your own baby food pouch
Best Baby Food Pouches (Easy Homemade Ideas)
Learn how to make homemade Baby Food Pouches, no muss, no fuss, with these 15 easy recipe ideas. These are a great way to save money, share lots of flavors with babies and toddlers, and have convenient foods ready to go!
Baby Food Pouches
I always made my own baby food pouches because I like how affordable they are and how once you have a set of reusable pouches, there are so many options! Plus, you can feed many things you’re making for the rest of the family in a pouch, which means you can share flavors with the little ones even if they aren’t quite up to finger foods yet.
I view baby food pouches as one component of feeding a baby and like to mix purees with baby led weaning as a way to expose baby to a wide variety of flavors and textures from an early age.
I also find them very convenient for offering smoothies well into the toddler years!
Ingredients in You Need
What you need for your pouch adventure will depend on what you want to feed your baby! Basically you need something pureed (or a food like yogurt or applesauce that has a very pouch-friendly texture already) and a reusable pouch.
Step-by-Step Instructions
Here’s the general gist of how to make a baby food pouch. Scroll down to the bottom of the post for recipe ideas and best tips!
- Choose your puree and prepare it. Let it cool as needed. (Or pull out the yogurt or applesauce.)
- Fill the pouch, making sure that the cap is on if using the kind with the zipper opening on the bottom. (Otherwise it will all run right out the top!)
- Store in the fridge or serve to baby.
TIP: As a quick an easy snack option, I like to mix half yogurt and half applesauce right in the pouch.
What can I put into a baby food pouch?
You just need the food to be smooth enough that it easily passes through the opening of the pouch, so anything that’s pureed or the consistency of pureed soup or yogurt will work. Generally speaking you can do:
- Applesauce
- Fruit purees
- Vegetable purees
- Baby food combinations
- Pureed meats
- Pureed soups
- Smoothies
- Yogurt
TIP: You can also use any of my go-to Baby Food Combinations too!
Making apple yogurt in a bowlFlavor Ideas for Baby Food Pouches
These are some of my favorite recipe ideas to add to a pouch.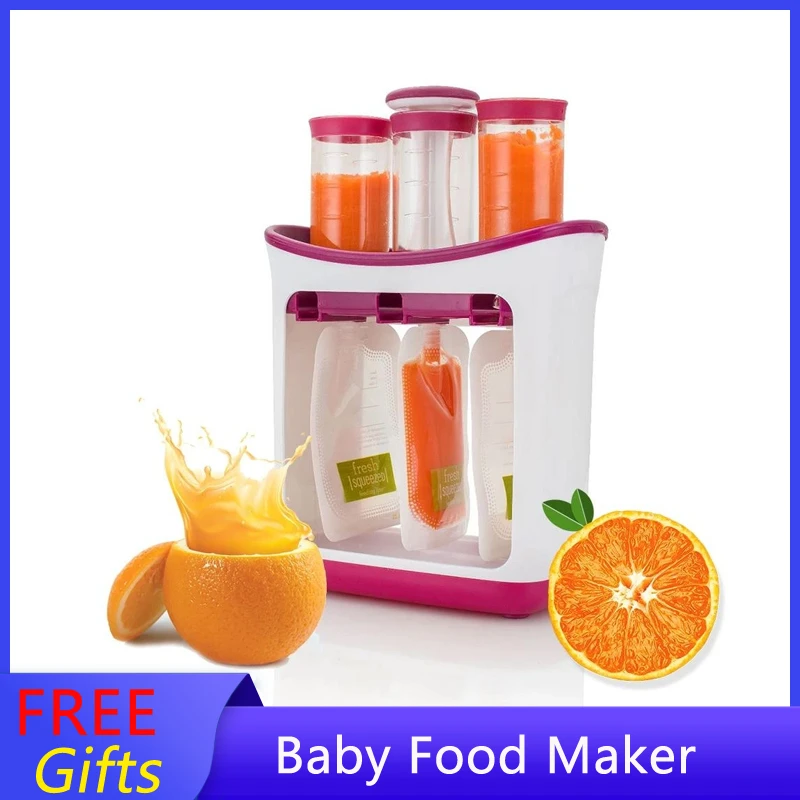
- Applesauce
- Apple Flax Yogurt: Equal parts Apple Puree and plain yogurt, plus a sprinkle of ground flax.
- Baby Oatmeal with Applesauce mixed in for flavor.
- Banana Yogurt
- Pear Coconut Puree: Pear Puree with full-fat coconut milk mixed in.
- Pear Yogurt: Equal parts Pear Puree and plain yogurt.
- Red Lentil Coconut Soup
- Sweet Potato Tomato Soup
- Mango Smoothie
- Mashed Butternut Squash
- Mashed Roasted Sweet Potato
- Spinach-Pea Puree (alone or with Applesauce)
- Simple Green Smoothie
- Strawberry Smoothie
- Veggie Chili, pureed smooth
TIP: For the foods, like soup, that you’d usually serve warm, you can serve them warm in a pouch too. Just be sure they are warm and not hot. Test on your wrist like you would a baby bottle.
How long can I store baby food pouches?
I recommend making them 24 hours ahead or less so they are as fresh as possible. But you can make batches of purees and stash them in the freezer, so the pouch assembly part is quick and easy.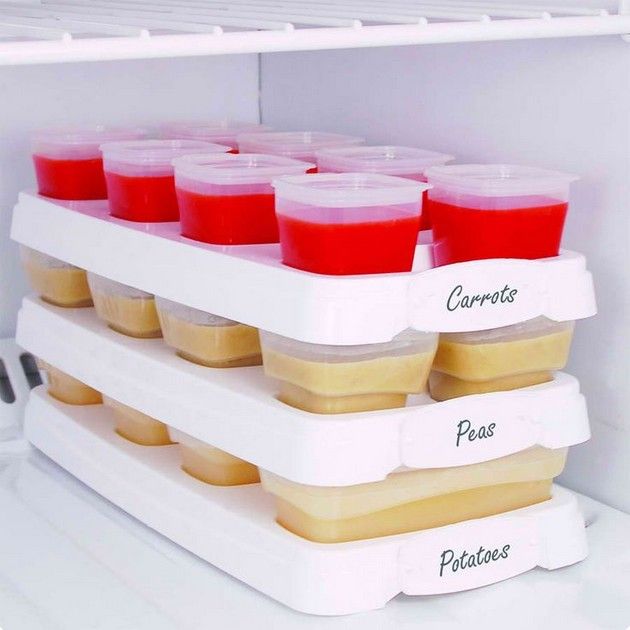
Do I need a baby food pouch maker?
Honestly? No. I tried one and didn’t like it because it took up space in my cabinets and the pouches themselves weren’t reusable, which seemed like a waste and a lot of money. Using reusable pouches is easy and more affordable.
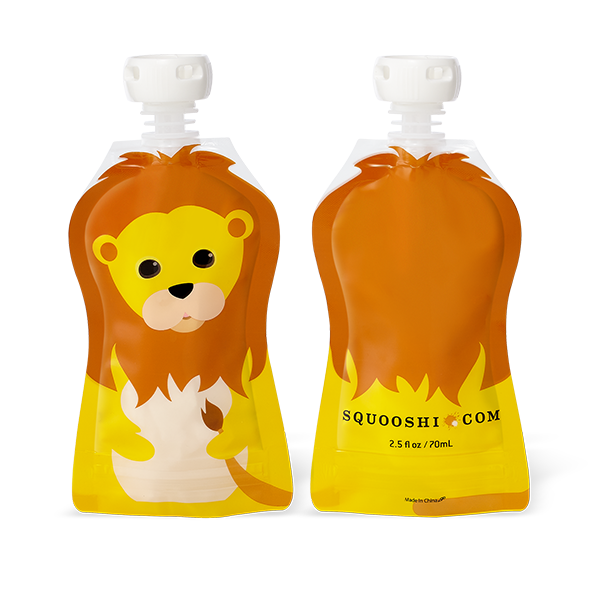
What are the best reusable pouches?
I prefer the silicone Squeasy Gear pouch, which comes in a few sizes (I start with the 3.5 ounce size for babies). It’s easy to learn from as early as 6 or 7 months and the kids can use them for smoothies and applesauce well through toddlerhood as they are very durable. You may want to remove the lid when serving to kids so they don’t play with it.
I also like this set of 3.4 ounce Weesprouts reusable pouches a lot, which are a nice size for babies (there is a larger size too!) and they are easy to clean and use.
Favorite Store-bought Baby Food
There are so many great store bought options! I like the Amara Organic Baby Food (paid affiliate link), which locks in the nutrients, texture, and taste of fresh foods.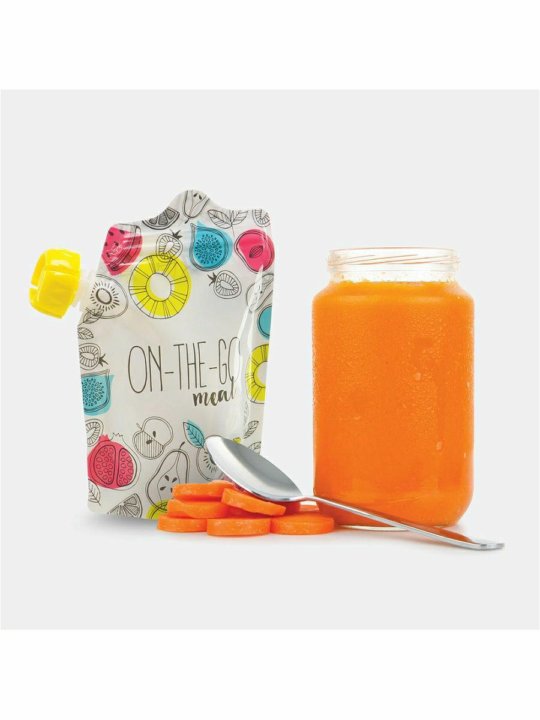 You just add breastmilk, formula, or water— and the flavors are delicious with straight forward ingredients.
I also like Happy Family Organics Clearly Crafted and Plum Organics. Those are just a few options—there is a lot to choose from as you well know from the baby food aisle!
TIP: I recommend serving pouches occasionally along with regular solids from a spoon and baby led weaning style so baby has a chance to learn how to suck, swallow, move all sorts of textures around in their mouths, and gain the skills needed to be ready for finger foods around 9 months.
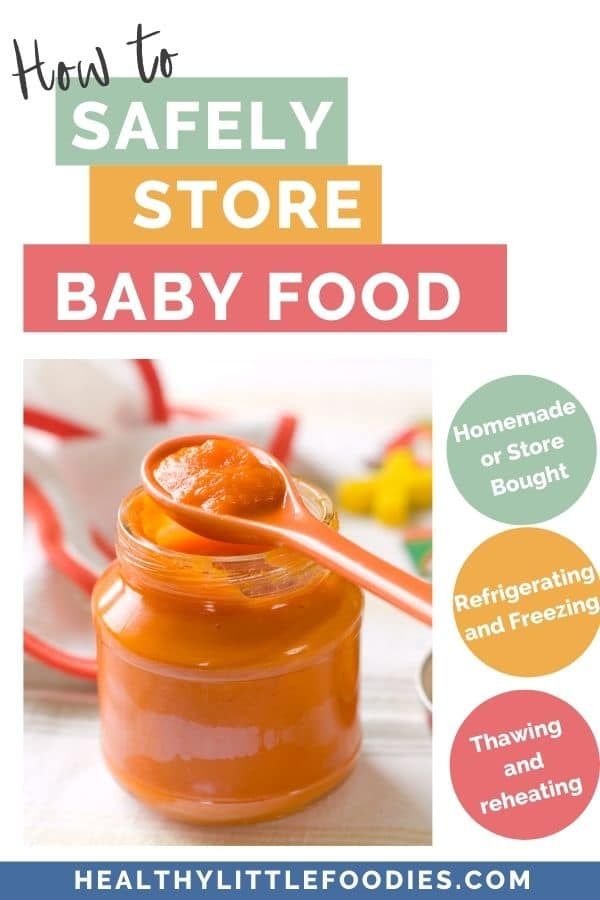
How to Store
Store pre-made pouches in the fridge for up to 5 days. Store leftover pouches in the fridge for up to 24 hours and serve again. You can also freeze pouches for up to 6 months. Thaw in the fridge overnight or at room temperature.
Best Tips for Success
- If using a pouch with a zipper bottom, like this one from Wee Sprout, avoid overfilling to prevent difficulty sealing the pouch.
- Be sure the mixture is totally smooth to avoid it becoming stuck in the opening of the pouch.
- Add ½ teaspoon hemp seeds to any mixture for extra healthy fats.
- Add 2 tablespoons full fat coconut cream or plain yogurt to the mashed sweet potato or squash for healthy fats.
- Try any other Baby Food Combination or my No-Cook Baby Foods in a pouch.
- Serve foods you’d usually serve warm (like soups) just warm, not hot. Test on your wrist to be sure the temperature is not hot.
- Omit any added salt or sweeteners as needed.
- Combine pouches with baby led weaning foods for a wide range of texture exposure.
Related Recipes
I’d love to hear your feedback if you try these ideas out, so please comment below to share—I love hearing from you guys!
Prep Time 5 minutes
Cook Time 10 minutes
Total Time 15 minutes
Author Amy Palanjian
Cuisine American
Course Baby Food
Calories 46kcal
Servings 1
- ▢ 1½ ounces Apple Puree
- ▢ 1½ ounces plain whole milk yogurt (regular or Greek)
- ▢ ½ ground flaxseeds (or hemp seeds)
Add the ingredients to a small bowl.
 Stir to combine well.
Add to the pouch, avoiding overfilling. If using a zip bottom style of pouch, be sure the cap is on to prevent the puree from coming out.
Serve or store for up to 5 days. (If storing leftovers in a pouch, store in the fridge and serve within 24 hours.)
- If using a pouch with a zipper bottom, like this one from Wee Sprout, avoid overfilling to prevent difficulty sealing the pouch.
- Pouch flavor ideas:
- Be sure the mixture is totally smooth to avoid it becoming stuck in the opening of the pouch.
- Add ½ teaspoon hemp seeds or 2 tablespoons full fat coconut cream or plain yogurt to any mixture for extra healthy fats.
- Try any other Baby Food Combination or my No-Cook Baby Foods in a pouch.
- Serve foods you’d usually serve warm (like soups) just warm, not hot. Test on your wrist to be sure the temperature is not hot.
- Omit any added salt or sweeteners as needed.
- Combine pouches with baby led weaning foods for a wide range of texture exposure.
- Store leftover pouches in the fridge for up to 24 hours and serve again.
Calories: 46kcal, Carbohydrates: 7g, Protein: 2g, Fat: 2g, Saturated Fat: 1g, Polyunsaturated Fat: 0.2g, Monounsaturated Fat: 0.4g, Cholesterol: 6mg, Sodium: 21mg, Potassium: 101mg, Fiber: 1g, Sugar: 6g, Vitamin A: 54IU, Vitamin C: 1mg, Calcium: 54mg, Iron: 0.2mg
Tried this recipe?Rate in the comments and tag @yummytoddlerfood on IG!
Homemade baby food pouches {how-to and 5 recipes}
Jump to RecipePortable, squeezable and with lots of flavor options, homemade baby food pouches are easy to make and a great way to serve healthy fruits, vegetables and whole grains to your little ones!
I made ALL of the baby food for both of my little ones. Which was no small feat because they were very hearty eaters. A good thing, but whew, kept me busy in the kitchen!
I always made big batches of purees, to knock out a bunch at a time, and inevitably, I’d be left with extras when they were moving onto finger foods and self-feeding.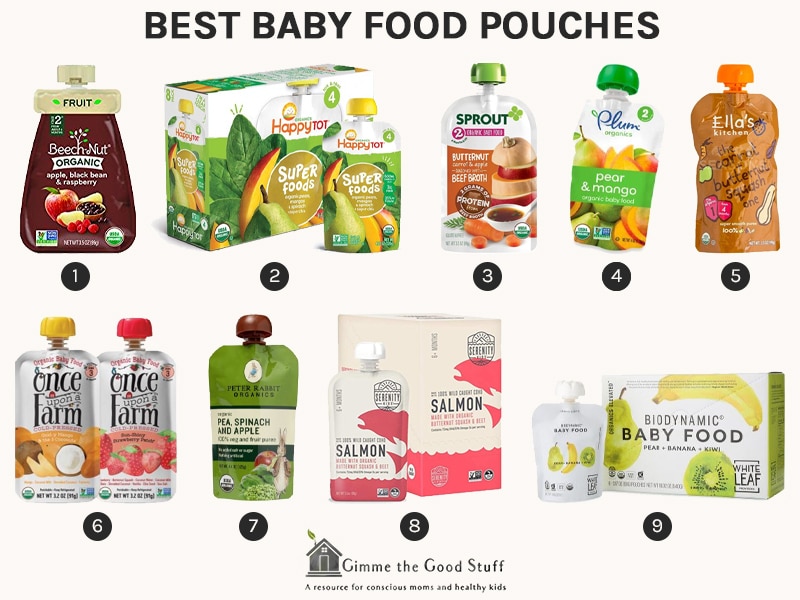
So I started turning those purees into homemade baby food pouches.
(I also have tons of other ideas of ways to use leftover baby food – I didn’t want to waste a bit!)
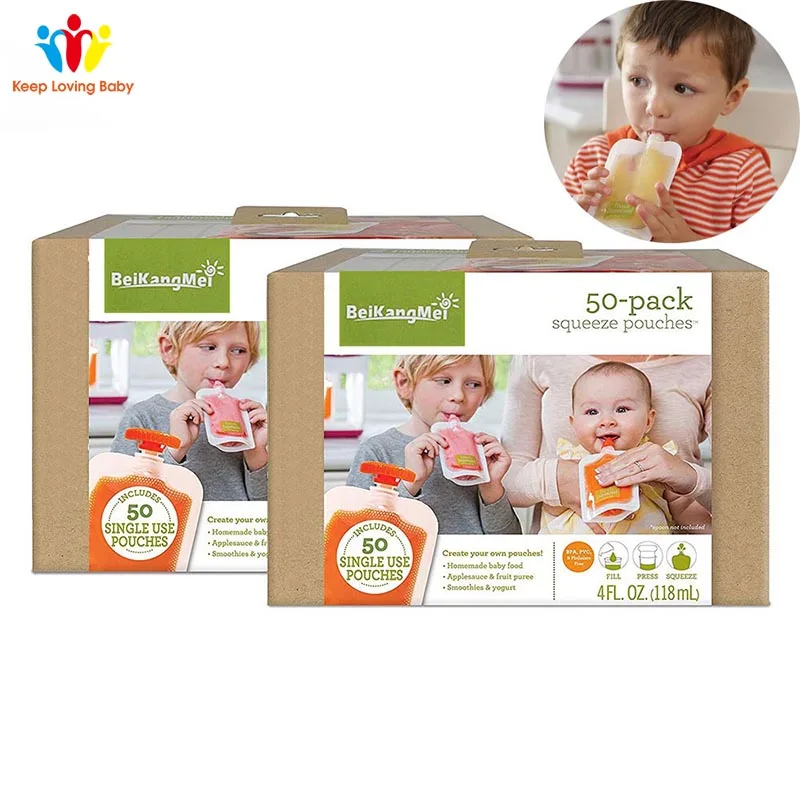
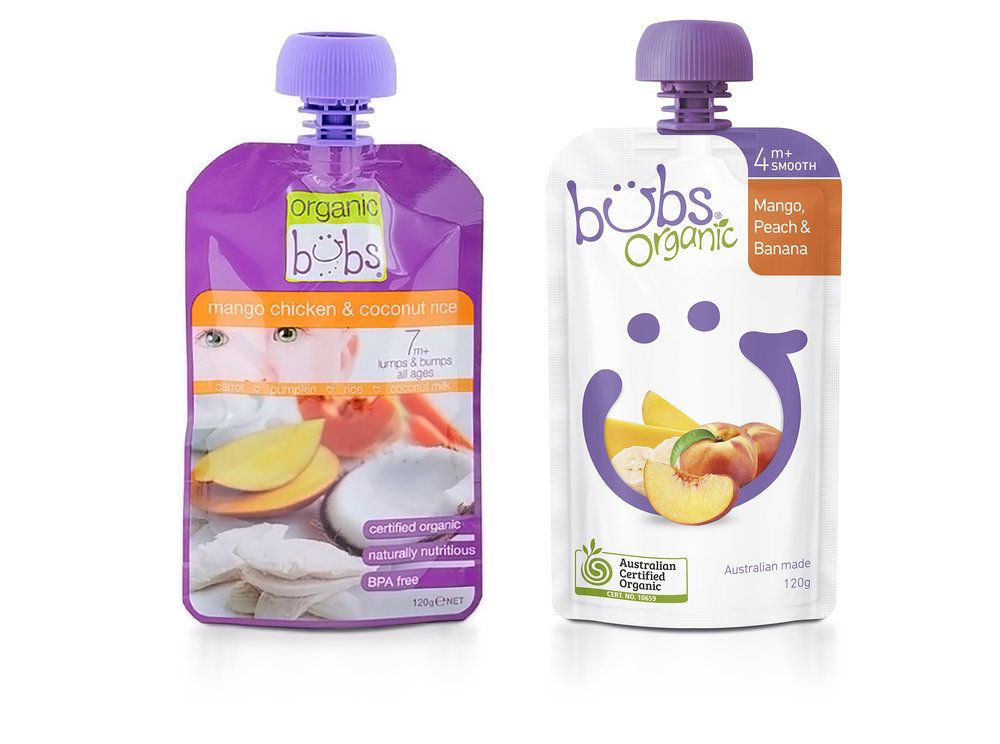
You can of course buy squeeze pouches in the store.
They have lots of different kinds of applesauce mixes, yogurt squeezies, and fruit and veggie combinations.
But you can make your own so quickly, easily and for much less money. Plus, you can customize them to your little one’s liking and feel good that you’re controlling the ingredients.
My kids are older now – M is 5 next week (yikes!) and J is coming up on 3 – but they still love these squeezies. M says she has lots of friends who bring them for lunch, so she’s always asking for me to send them to school.
And I’m happy to.
I love that it’s an easy way to ensure they are eating their veggies. They will take down one of these pouches in a matter of minutes but they don’t always dig into a big bowl of peas or a plate full of broccoli.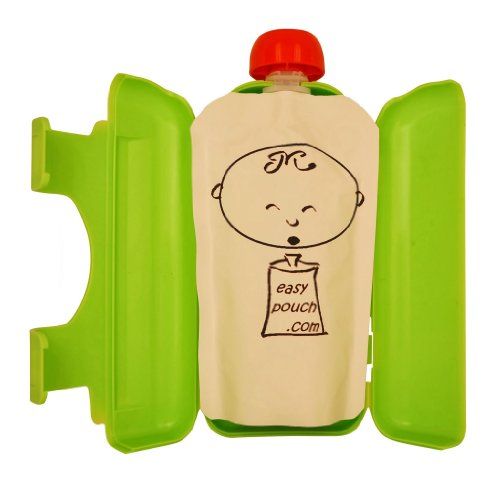 #yet #Iwontgiveup
So today I’m giving you the run-down on what I use, how it works and five easy homemade squeezie combinations to get you started. (Check out these 5 additional homemade baby food pouches for more ideas!)
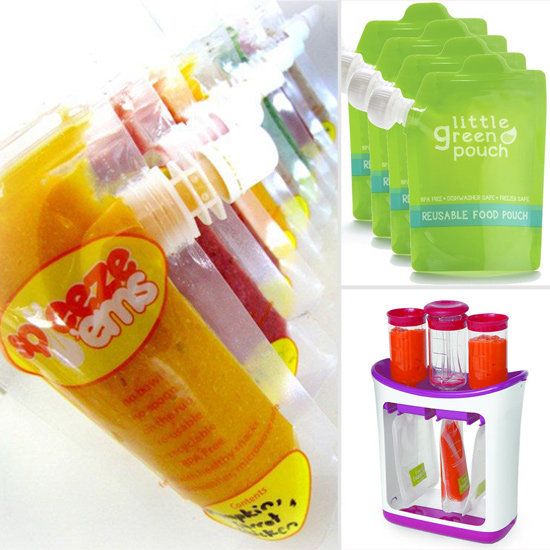
Equipment for baby food pouches
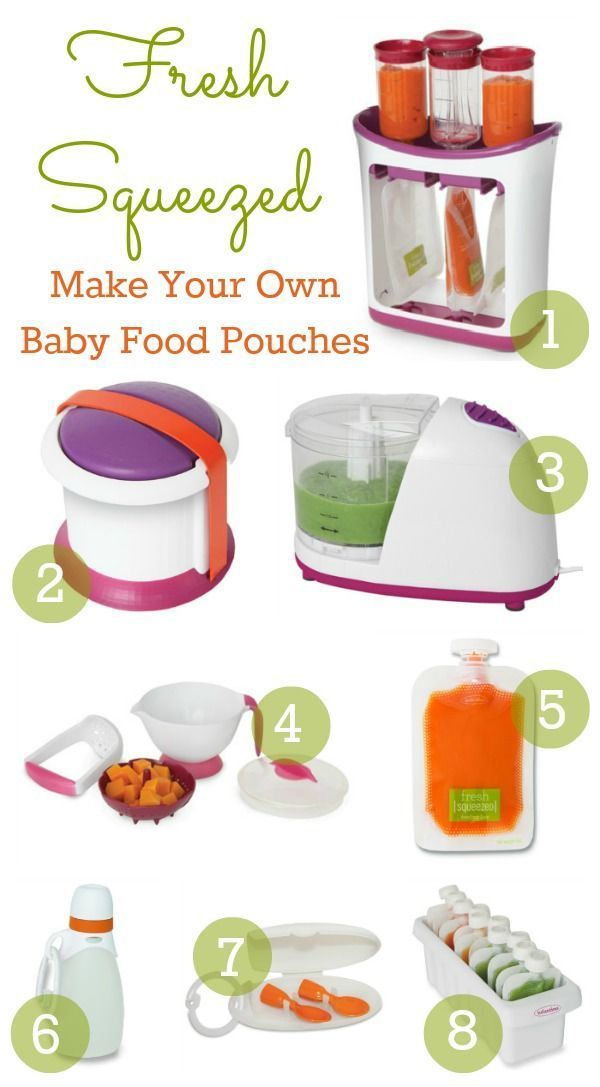
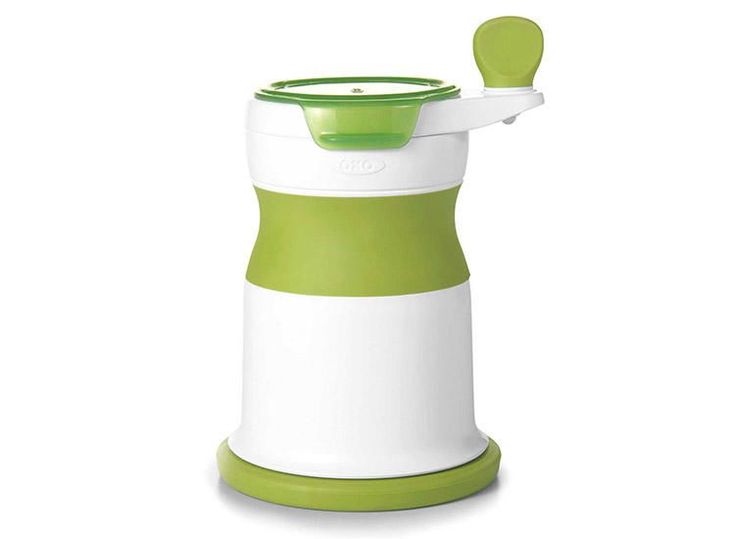
I have the Infantino Squeeze Station and it’s been great. It’s the only specific baby food equipment I’ve bought and was definitely worth it.
You’ll also need to buy refill pouches (they come in batches of 50 and you will go through them!)
They have other accessories, but I’ve stuck to these basics so far.
You’ll also need an immersion/hand blender or regular blender to make the purees to put into the squeeze pouches.
How to make baby food squeeze pouches
You set up the squeeze station by inserting three pouches into the bottom (they fit through some grooves and sort of snap in.) Then you put the empty containers on top and screw them onto the bags.
Note: Be sure to write the contents and date on your bags before you start to fill them.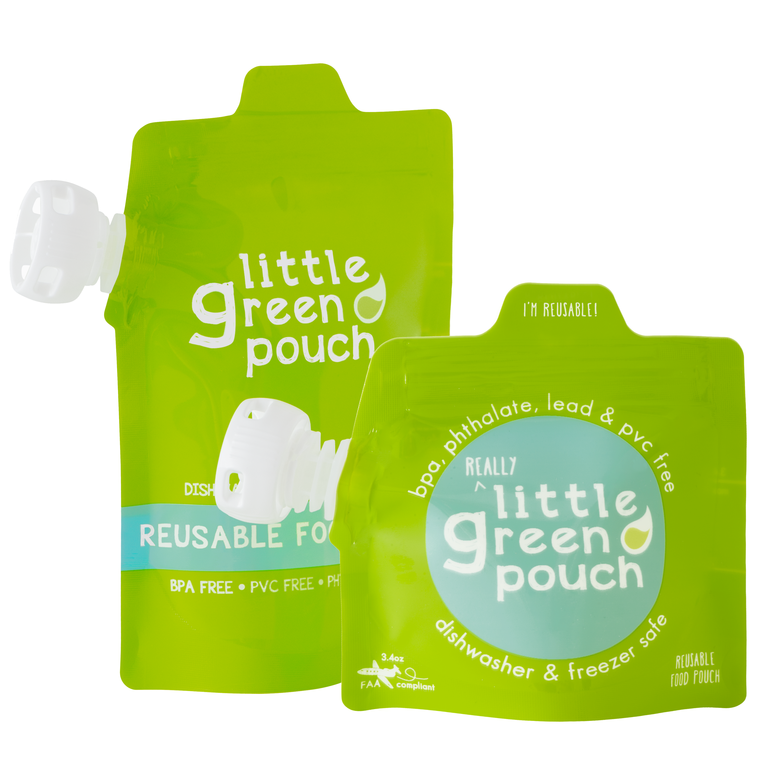 Much easier than after they’re done.
Next, you spoon your puree mix into each container, filling it almost to the top. You use the press tool and push the puree down into the pouch. It’s a weirdly gratifying feeling.
If the mixture gets stuck or won’t push, you probably have a small chunk in your puree that got caught in the hole. Just unscrew your tube, dump the contents back into your blender and reblend (or pick out the offending piece if you see it).
After the bags are filled, unscrew the tubes and carefully pull the bags out. Twist on the orange top and voila!
You can keep them in the fridge for a couple of days or pop them straight into the freezer to have on hand later.
It’s really easy and actually, really fun!
Notes about baby food pouch combinations:
- Add 1 tablespoon lemon juice to all of these to help preserve them. The only exception is the pineapple-broccoli mixture. The citrus from the pineapple is enough on its own.

- You can keep the peels on the pears and apples, just be sure to puree them very well so pieces don’t get stuck and prevent the mixture from going into the squeezie bags.
- The vegetables and grains need to be cooked and soft, so plan ahead. Or use leftovers. These can be a great way to use up scraps and reduce food waste.
- If any of your mixtures seem too thick (because the water content of fruits and veggies can vary), just add a bit of applesauce or a splash of water to the blender until its thin enough.
- Each pouch holds about 4 ounces. Most of these batches for me make about 3 squeezies worth. You can of course always double up if you want to knock out a bunch. They freeze great, so you might as well!
Check out the recipes below and get to making some baby food pouches. I hope your little one enjoys!
(And let me know if you want to see another round-up like this – we have lots of other flavor combinations we’ve made over the years that I can share!)
XO,
Kathryn
Prep Time 15 minutes
Total Time 15 minutes
Ingredients
For the apple-brown rice-spinach pouches:
- 1 apple, core removed and roughly chopped
- 1/2 cup cooked brown rice
- 1 cup packed fresh spinach leaves (raw)
- Juice of 1/2 lemon
For the pineapple-broccoli pouches:
- 1 cup cut pineapple (thawed if frozen)
- 2/3 cup cooked broccoli florets
For the mango-sweet potato-quinoa pouches:
- 1 ripe mango, peeled, seed removed and roughly chopped
- 1/2 cup cooked sweet potato
- 1/2 cup cooked quinoa
- Juice of 1/2 lemon
For the banana-barley-zucchini pouches:
- 1 ripe banana
- 1/2 cup cooked barley
- 1/2 cooked chopped zucchini
- Juice of 1/2 lemon
For the pear-peas-spinach pouches:
- 1 ripe pear
- 1/2 cup cooked peas
- 1 cup raw spinach
- Juice of 1/2 lemon
Instructions
- Make sure all of your grains and veggies are cooked, if indicated.
- Combine all ingredients for each pouch combination in a blender or immersion blender and blend until it’s a smooth, pourable consistency. (See notes.)
- Label your bags, set up your station and add the mixture to the squeeze station containers, filled to the indicated line. Push down with the press tool and fill each bag. Remove the bags from the station and twist on the tops.
- Store pouches in the refrigerator for 2-3 days or in the freezer for up to 3 months. To defrost, simply move the pouch to the refrigerator - it thaws in less than a day.
Notes
Add 1 tablespoon lemon juice to all of these to help preserve them. The only exception is the pineapple-broccoli mixture. The citrus from the pineapple is enough on its own.
You can keep the peels on the pears and apples, just be sure to puree them very well so pieces don’t get stuck and prevent the mixture from going into the squeezie bags.
The vegetables and grains need to be cooked and soft, so plan ahead.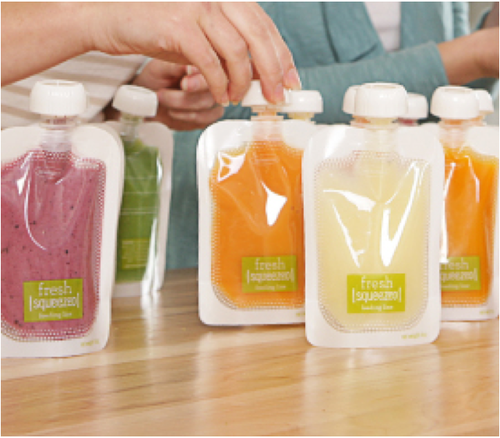 Or use leftovers. These can be a great way to use up scraps and reduce food waste.
If any of your mixtures seem too thick (because the water content of fruits and veggies can vary), just add a bit of applesauce or a splash of water to the blender until it's thin enough.
Each pouch holds about 4 ounces. Most of these batches for me make about 3 squeezies worth. You can of course always double up if you want to knock out a bunch. They freeze great, so you might as well!
Here are 5 more homemade baby food pouches if you want more flavor/combination ideas!
Nutrition Information:
Yield:
3Serving Size:
1 pouchAmount Per Serving: Calories: 50
The different varieties will yield different nutrition information.
8 Ways to Use Cans and Bags Creatively| Hill's
Looking for ways to make use of the cat and dog food bag that takes up so much space in your bin and landfill? Here are some ideas - both purely decorative and practical - for reusing pet food bags and jars.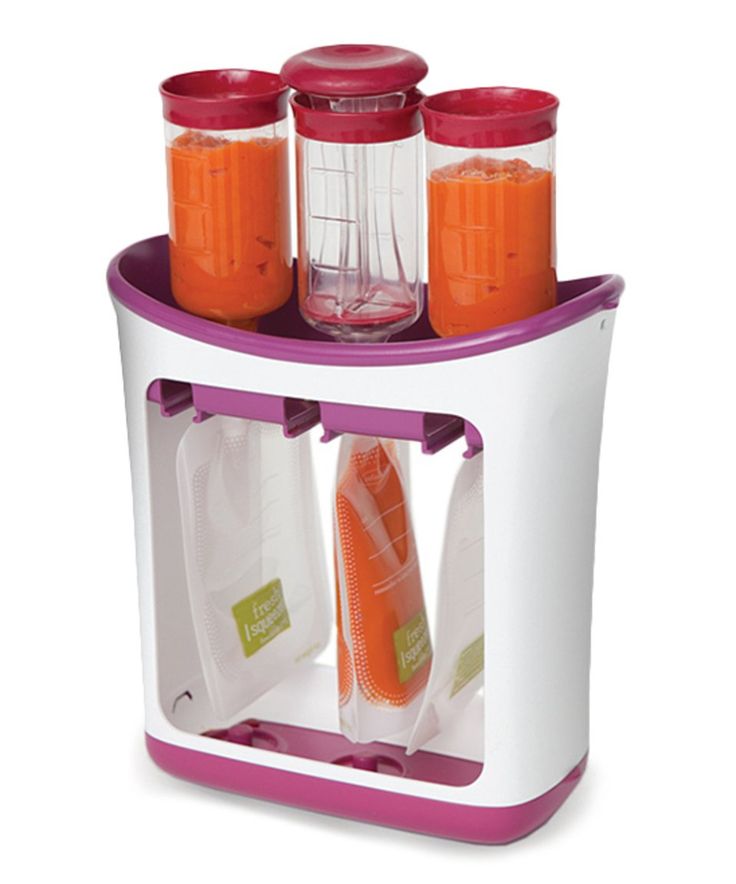
Bag Craft Ideas
-
Food Carpet: Get rid of floor clutter by making a food bag rug for your four-legged friend. Simply cut a circle, rectangle or square out of it, then attach it to a non-slip base with vinyl cladding. You now have a mat that will keep food particles from falling to the floor and is easy to clean. nine0003
-
Bag: a food bag converted into a large bag, perfect for going to the grocery store. All you need is a sewing machine, thread and scissors. Cut the bag to the correct height. Fold the edges over to make them neat and sew in a zigzag stitch. Make handles by cutting two strips about 7-8 centimeters wide each. Fold them in half and sew to the bag. Ready!
-
Updated garden chair: Favorite old metal garden chairs can end up in the back corner of the garage due to torn or sagging mesh. Make them look like they used to by updating the mesh with food bags.
 Cut strips the same width and length as the old ones and simply sew them to the chair.
 -
Bibs: Plastic food bags make the perfect baby bibs that are easy to clean. Lay the bib on top of the food bag and cut out the same bib to fit. For the lining, cut a similar piece of fleece about 3 inches wider. This will be needed to decorate the edge. Wrap the fleece around the bag and sew on. Cut out the neckline from the fleece and add Velcro or buttons. Now your little animal lover will become the proud owner of a unique bib! nine0003
- Frostbite protection: If you plan to freeze food in the freezer, place the wrapped food in a clean, empty food bag. This will add an extra layer of protection against frostbite. Just make sure you wash the bag thoroughly first.
Can Crafts
-
Decorations: DIY blogs will provide information on how to make cute decorations and DIY tin can crafts. Children can use their imagination to create all sorts of decorations, such as snowmen in winter, pumpkins for Halloween, or vases for spring flowers.
 nine0003
 -
Containers: Paint a clean food tin to turn it into a beautiful and useful container. Cat food tins fit perfectly in a desk drawer where you can hold paperclips, pins or loose change. You can use them in your bathroom cabinet to store hairpins, hairpins and hair ties.
- Wind Chimes: This will be a cute project for kids to make an interesting gift for their grandparents and other relatives. All you need to make jar bells is the jar itself, string and nuts. Video blogs have easy-to-follow instructions on how to make wind chimes and other can crafts with your kids. nine0012
If you are a creative person, take a closer look at the food packaging. You will have endless ideas of what you can create by giving this package a new life.
Contributor Bio
Cara Murphy
Cara Murphy is a freelance journalist and pet owner based in Erie, Pennsylvania. She has a goldendoodle named Maddie.
16 ideas on what to do with baby food jars
Tips for the housewife
Everything is on Marusya's schedule: milk formula in the morning, fragrant porridge for lunch, vegetable puree with meat for lunch, fruit puree and cottage cheese for an afternoon snack, mixture again for dinner. In a matter of weeks, our apartment was filled with dozens of jars. First, we arranged the supply of glass and metal elements to a neighbor. She gratefully accepted each new package. But a month ago she said: “Basta!” Say, I can’t master so many blanks. I did not find a can collection point near the house, no matter how I searched. But I found 17 ways to do with these banks. nine0003
- Photo
- GettyImages
Baby Sorter
This toy is perfect for a toddler to develop his logic skills. The bottom line is to lay out items in jars with suitable holes in the lid. The plastic top lid of a metal can of infant formula cuts perfectly. Accordingly, in it you can easily make a hole of the desired shape for various little things. The jar can be glued with beautiful paper, braided with ribbon or painted with paints, close the lid - and a great sorter is ready to use.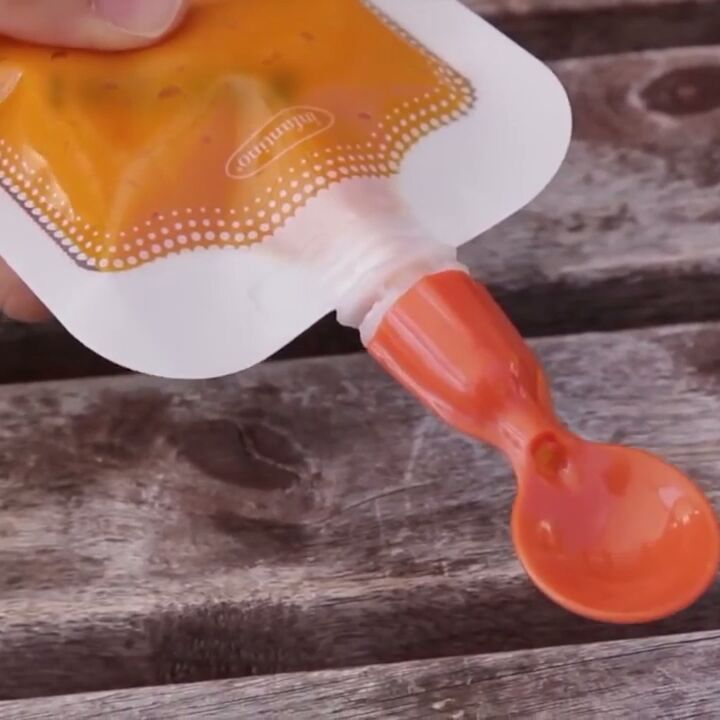 nine0003
Children's thimbles
The game "thimbles" was invented for adults, in fact, usually there are no winners in it. But we will make children's thimbles with you, in which the rules are completely different. Tape or paint several baby formula jars in different colors. For example, in classic red, yellow and green. Take any toy that will fit into the hole and is not too heavy to move around.
Hide the toy under one of the jars, move it around the table several times and invite the child to guess where the surprise is. At first, let the child simply point to a specific jar, and then name the colors. nine0003
Bird feeder
Make a round hole in the lid of the infant formula jar to allow a small bird to enter. On the side, make two holes, pass a rope through them and hang on a branch. Pour in food, close the lid and wait for the birds.
All-weather feeder, perfect for titmouse in winter. By the way, each jar can be painted in an original way and involve the baby in this business.
Box
Here beautiful paper, fabric, decorative stones, sequins will help you - everything that your imagination allows. We decorate the baby formula jar to our taste and conveniently store all kinds of little things that are abundant in any family: buttons, pins, hooks, beads, etc. Needlewomen can even knit a beautiful case for jars.
Magic Lamp
Use a screwdriver to punch holes in the sides of the baby formula jars - a specific pattern, or names, or a heart - whatever you want. Place a candle-tablet inside the jar. Important: in this case, the jar should never be closed with a lid! nine0003
- Photo
- GettyImages
Pepper and salt shaker
Take two glass baby puree jars. Poke small holes in the lids. On the side of the jars stick labels "salt" or "pepper". Add seasonings and enjoy.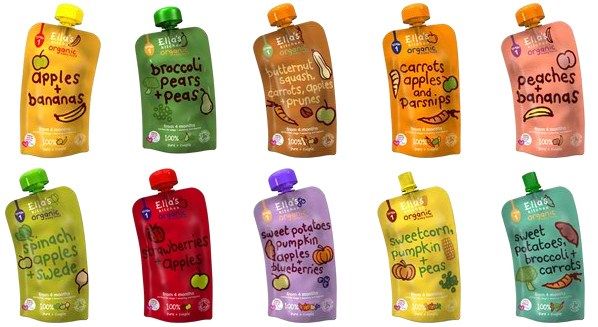
Gift box for homemade jam
How to make a little surprise for friends? Prepare for them jars for homemade jam. You will need glass containers for baby puree, beautiful fabric, beautiful labels and sweets made by yourself. nine0003
Towel & Tissue Organizer
You will need several baby formula cans, a piece of plywood or a plastic tray, or even heavy cardboard. Paint all the details in the same color scheme or cover with self-adhesive wallpaper. Use a glue gun to attach the jars to the plywood base. Fix the base on the wall - you will get cells in which it is convenient to store hand towels or napkins for the kitchen.
Wine rack
Carefully remove the bottom of infant formula jars. Sand with sandpaper so you don't cut yourself. Glue six jars together in a pyramid shape - three-two-one. Now you can store bottles in a prone position in each cell.
Pouch storage
Cut a rectangular hole in the plastic lid of the infant formula can. Place plastic bags in a jar. It will be convenient to pull out one piece through the hole. For beauty, the jar can be painted, pasted over, braided with ribbon or thread. nine0003
- Photo
- GettyImages
Advent Calendar
You will need 31 baby formula jars. Paint them white and number them. Every day the kid will open a new cell, receive a small gift or a task for the day. The lid can be decorated with sparkles, pasted over with a fabric with New Year's motifs, or simply with cotton wool that will imitate snow.
Lamp
This time you need glass baby puree jars. Tie each of them with twine at the base of the neck. The walls can be decorated with rhinestones or painting. Insert a candle-tablet inside. Tie several cans together - the original street lamp is ready. nine0003
Space for screws
You will need a piece of plywood or a small board and glass puree jars.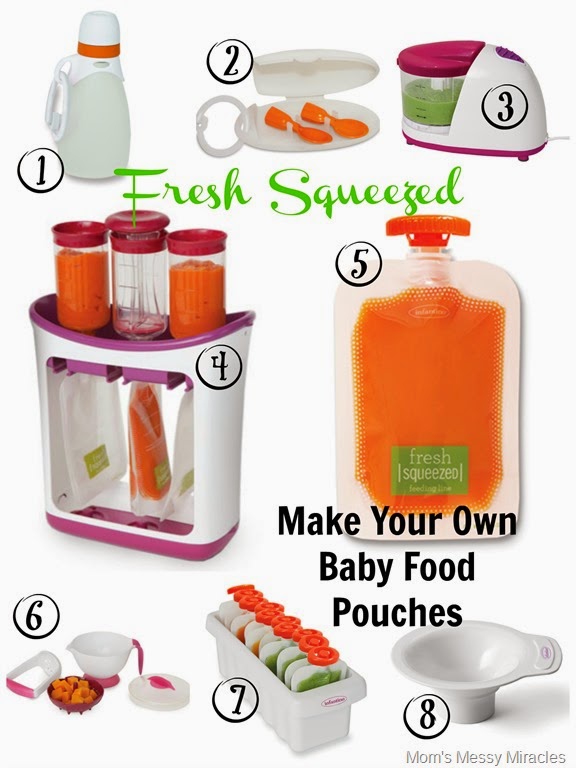 Make holes in the lids and use self-tapping screws to attach the lids to the base. Now everything is simple - hang the plywood or board in a convenient place, fill the jars with bolts, screw the jars to the lids and use. The organizer is very convenient for small things, because thanks to the glass you can see all the contents.
- Photo
- GettyImages
Candlestick
You will need glass puree jars, fantasy and tablet candles. With the help of fantasy, paints, glue, beads, sparkles and anything else, decorate the jars by removing the labels from them first. Inside - a candle, and everything is ready. And remember, there are never too many candlesticks!
Lemonade
Poke a hole in the lids of the puree jars for a straw. Fill jars with lemonade, garnish with mint or lemon leaves. Screw on the lids and insert the tubes.