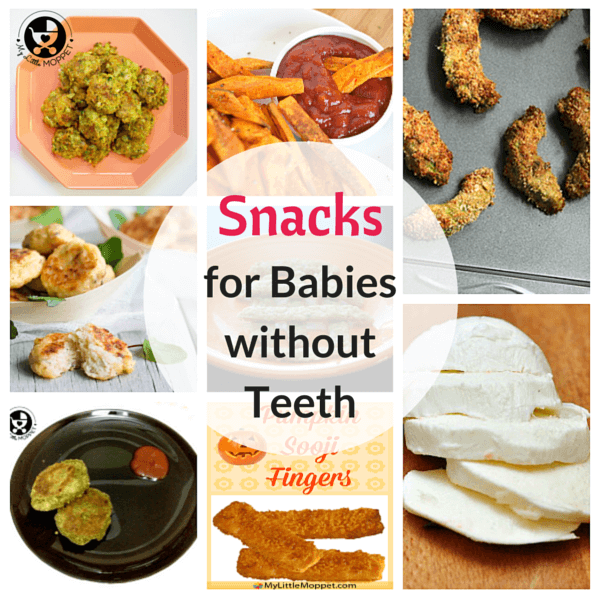
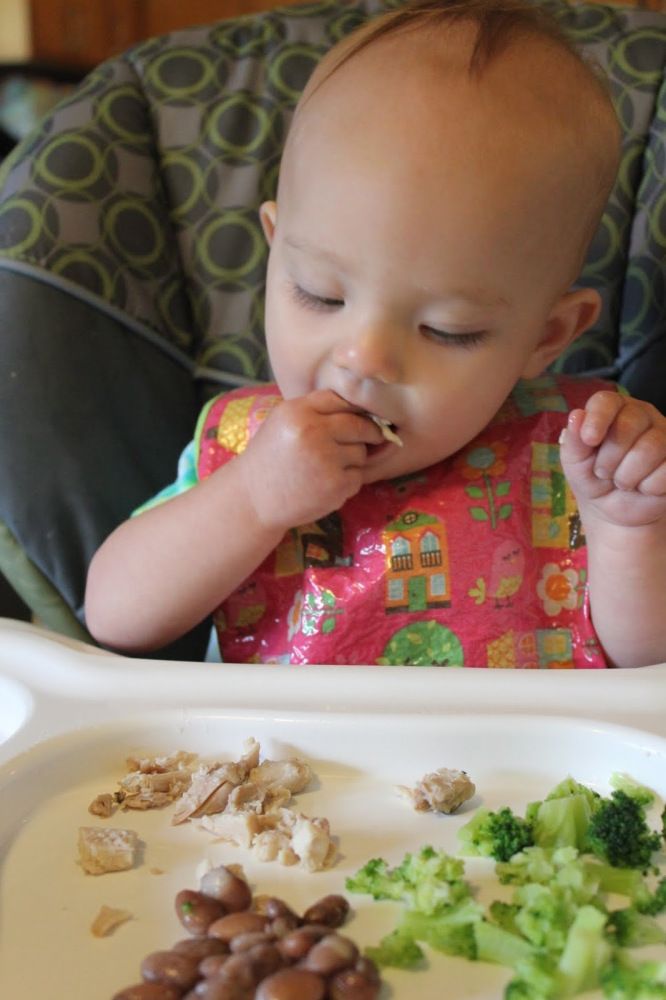
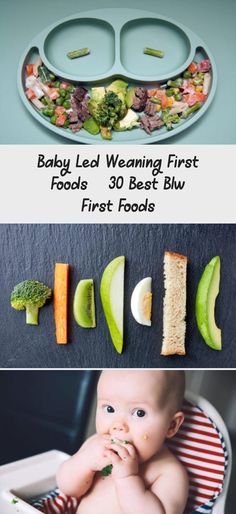
Safe finger foods for babies with no teeth
125 first foods for babies with no teeth
by Jo
Can you imagine eating food without any teeth? Just with your gums alone? I surely find it hard to picture, but we were once like our little ones. Toothless, like a 100 year old grandma. Luckily, there are first foods for babies with no teeth. And I found 125 of them for you to read about.
PIN IT FOR LATER
The original article was written back in 2018. This is a 2021 updated version.
Since then, I have re-written and updated this post to reflect the changes I have gone through when it came to my own beliefs/thoughts and how I word things when talking about feeding kids. As such, the remains of the original article can be seen in the comments section. Word of caution, it’s not something that makes too much sense anymore and some parts I am not very proud of. I even considered deleting the comments altogether, but that doesn’t seem just right either. Either way, I hope this article helps you, even a bit.
Yes, the Pinterest pins show blueberries and they are a choking hazard, but do read the entire post. I have tried to give suggestions for each type of food so as to make them safe even for little ones.
If I missed anything, give me a shout.
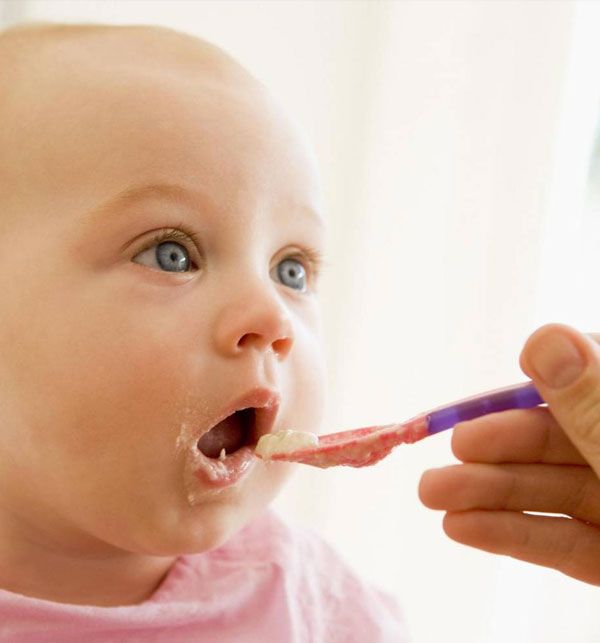
But how can babies even chew without teeth?
Well, the truth is, they don’t need teeth to chew.
Chewing involves movements of the jaw, tongue and cheek. Teeth are used later on to break up more complex fibres.
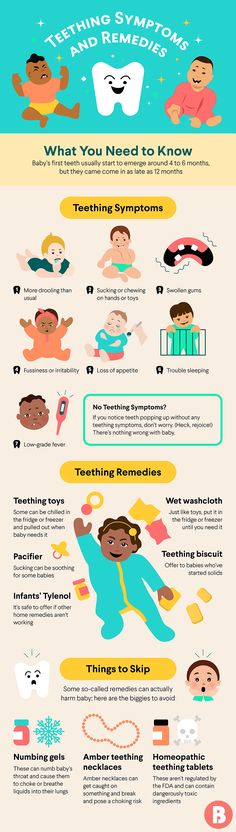
This is technically done with the teeth that are more at the back of the mouth, called molars. The first molars show up somewhere between 13 and 19 months old, as you can see from the graph below.
So if we were to wait that long before we gave our little ones any food that can be easily munched on with the gums, then we would seriously endanger his or her capabilities of dealing with food (not to mention the fact that after around 8 months, the gag reflex moves further down the tongue and babies might experience a higher risk of choking if they are not accustomed to table foods yet).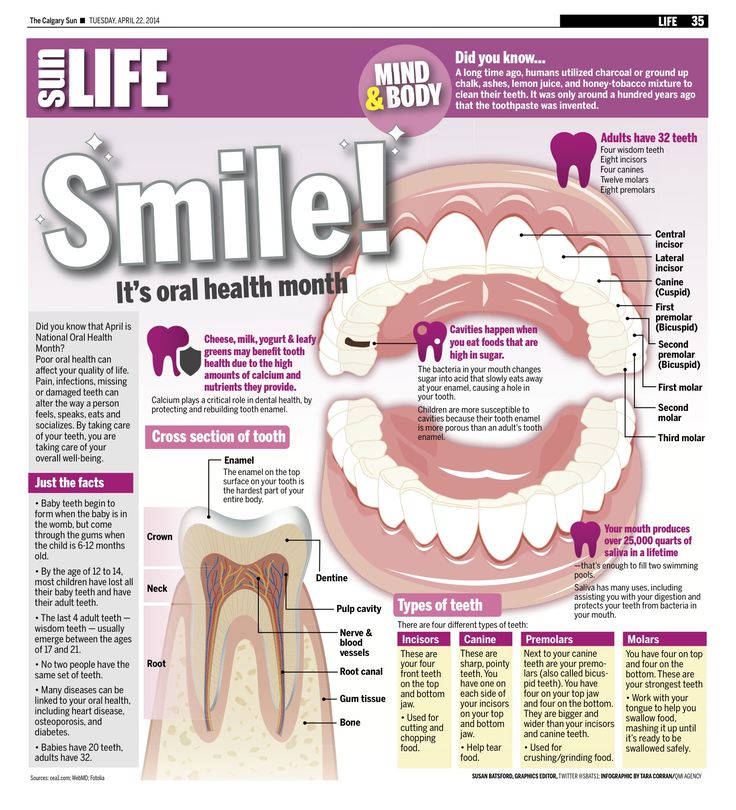
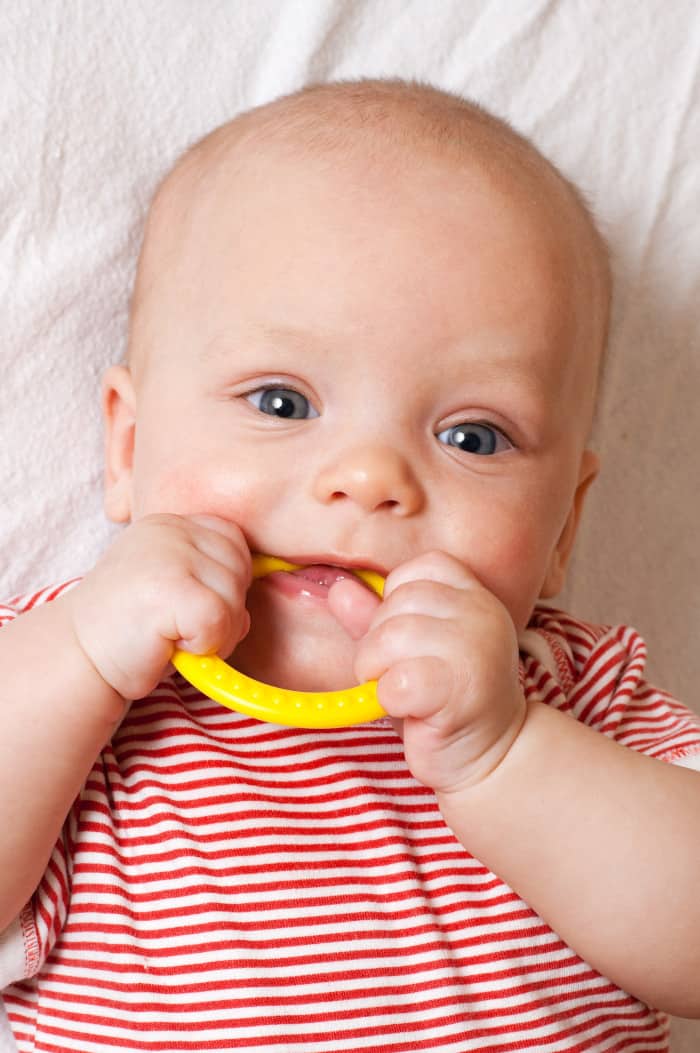
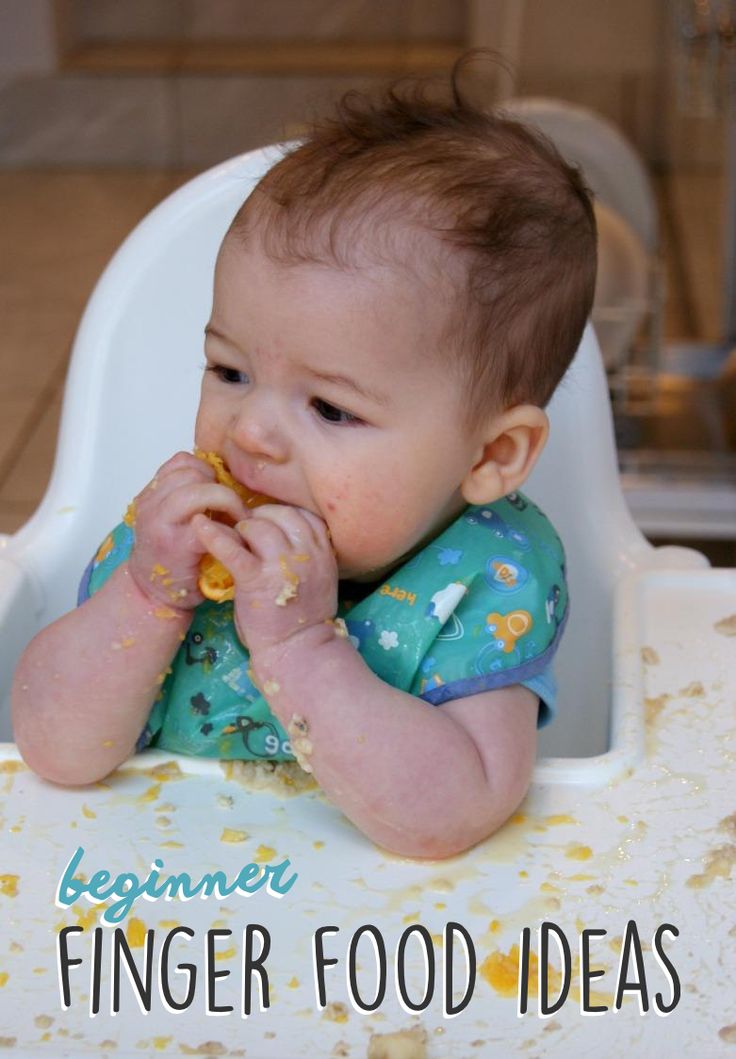
Furthermore, babies are already experienced in munching away, because they would have spent a lot of time already with their fingers in their mouth, biting toys and other objects.
So encourage them to explore these with their lips, tongue and jaw, at the same time being careful of any pieces that might come off and increase the risk of choking.
So, assuming little one doesn’t have any teeth yet, what can I give him?
See the list below.
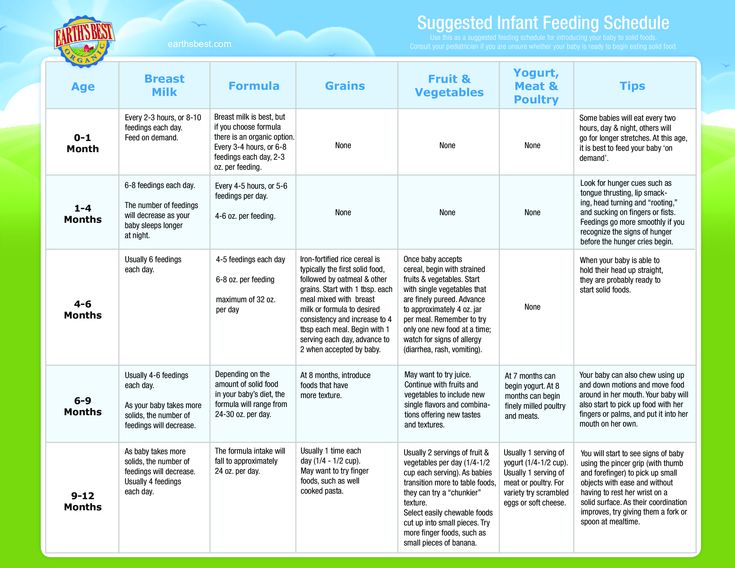
But before anything else, make sure baby meets the three signs he or she is ready to begin in the first place. I cannot stress this enough, guys, and it will save you lots of trouble down the road.
There was a time when the recommendations said to start solids at 4 months+ and I’m not sure that all the baby food manufacturers have come up-to-date with the current official advice regarding infant feeding. Always watch the signs in your baby and judge whether he or she is ready. This usually happens at around 6 months, give or take.
Here you go, some ideas of first foods for babies with no teeth. I also added some notes and suggestions of serving for some of them. This is regardless of the method you use, baby led weaning or traditional. At some point, you’ll have to start giving them table foods.
And because I’m a fan of food groups, I have split them accordingly, for easier reference.
Note: please be aware of choking hazards. I find this article sums up pretty well what are the foods you need to pay extra attention to. As your little one develops his ability to chew, you need to be careful, teeth or no teeth.
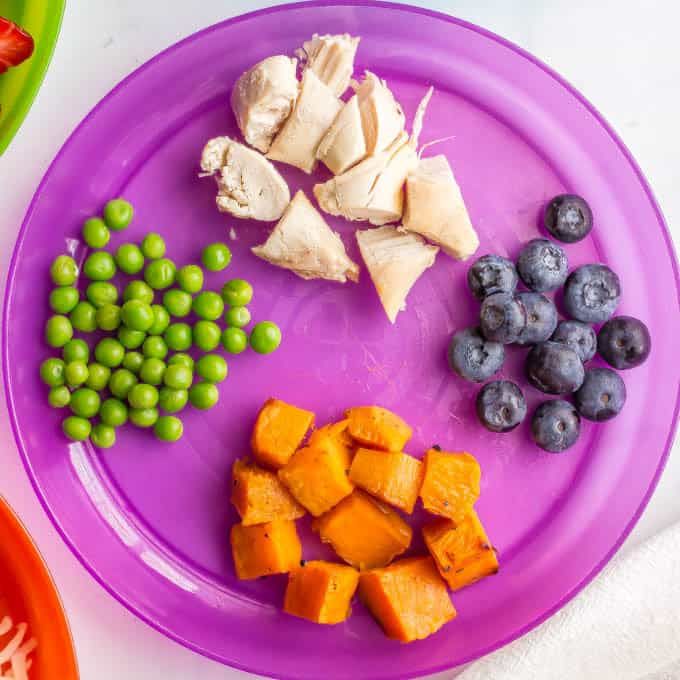
Fruits and veggies
As a general rule, go for the ripest you can get, in the beginning, as these are usually softer for babies just starting out.
- Avocado. Serve as is, sliced into wedges, or served on toast, mashed, with an egg on top. You can also try a guacamole recipe, which is basically adding some tomato, red onion, a bit of pepper and some lemon juice to a mashed avocado.
 For an easier grip, you can toss it through some breadcrumbs or ground nuts.
 - Banana. Serve as is, sliced or mashed. Here is a tip on how to offer it if baby is at the beginning, doing baby led weaning and has tiny hands. Also, here’s my recipe of baby’s chocolate you can make with banana and avocado.
- Apricot. Pick a softer variety, the riper, the better. Cut into wedges or mash.
- Tomato. Try serving them as such or on top of a pizza toast (just a slice of toast, with some mozzarella and tomatoes and baked for 10 minutes in the oven). My youngest sometimes enjoys it cut wedge-style.
- Peach. Extra ripe are usually softer.
- Mango. Go for the ripe ones.
- Strawberry. Remove the hull (the leafy and usually white part on top) before giving it to baby. Halved would be best. The bigger ones even cut into 4 pieces.
- Watermelon. Melts in the mouth. Remove the seeds and only give the red parts to baby.
- Pear. Peel it and if it’s too hard, you can bake it in the oven for a while, with cinnamon on top.

- Apple. Peel and cook it in the oven, like the pear, or shred it on a grater (I used to do this in the beginning when Emma was small; the finer side of the grater also turns the apple into applesauce).
- Muskmelon.
- Honeydew melon.
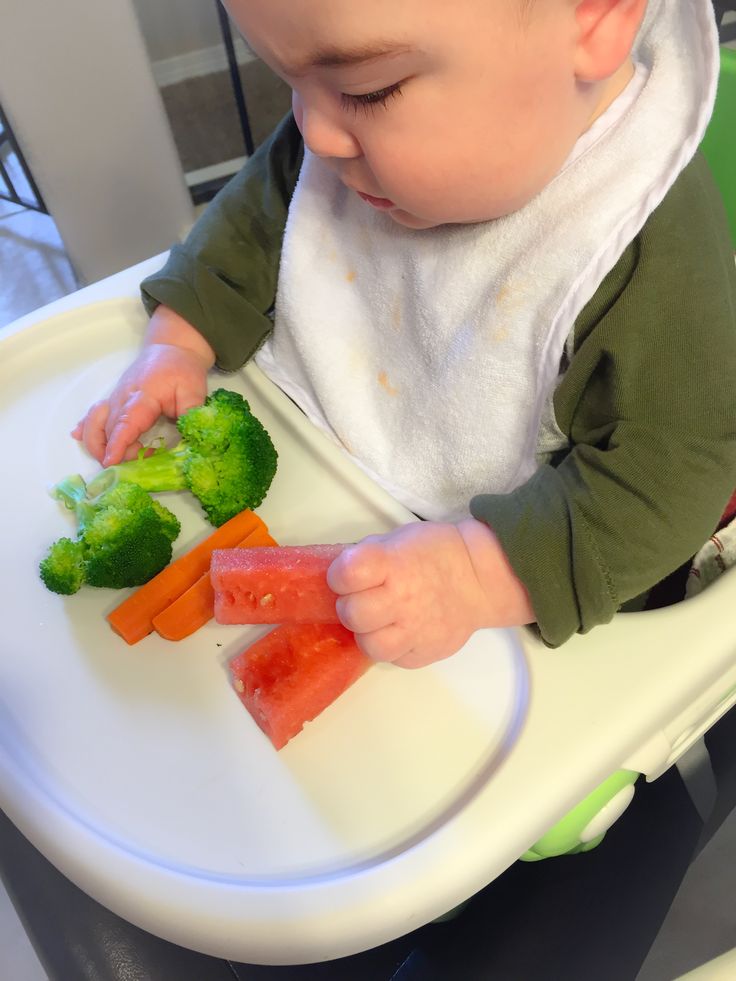
- Carrot. Steam, boil or bake in the oven to make it soft. Don’t offer raw to babies just starting out.
- Cauliflower. Steam, boil or bake in the oven with some seasoning on top.
- Broccoli. Here are 10 basic techniques for cooking broccoli from scratch, explained in-depth. Plus, you’re getting a free cheatsheet with the 3 ingredients that make broccoli taste good.
- Potato. Boil, bake or even steam until very soft.
- Sweet potato. Cook in the same way as a normal potato.
- Pumpkin. Bake in the oven until soft.
- Zucchini. Baked or boiled until it’s soft. Also grated works really well, incorporated in baked batters.
- Beetroot. Steam or boil. Be careful, though, as it contains a high amount of nitrates and it is not ok for baby to have in big quantities or too often.
 If you offer a varied menu, it shouldn’t be a problem.
 - Grape. Cut them in quarters lengthways. Use this if you’re short on time.
- Satsumas or easy peelers. Cut in half for safety.
- Clementines.
- Raisins. If you leave them to hydrate in water for 1 hour or so they should give up their sweetness. They are a choking hazard as per the link I shared above, so pay extra attention. Better incorporate them in baked foods.
- Blueberry. Smash/squish them for safety or cut them in half.
- Blackberry. I would halve these in the beginning, as there are some quite big.
- Cucumber. I would only offer the middle part in the beginning, as it’s softer and easier to manage for babies just starting out.
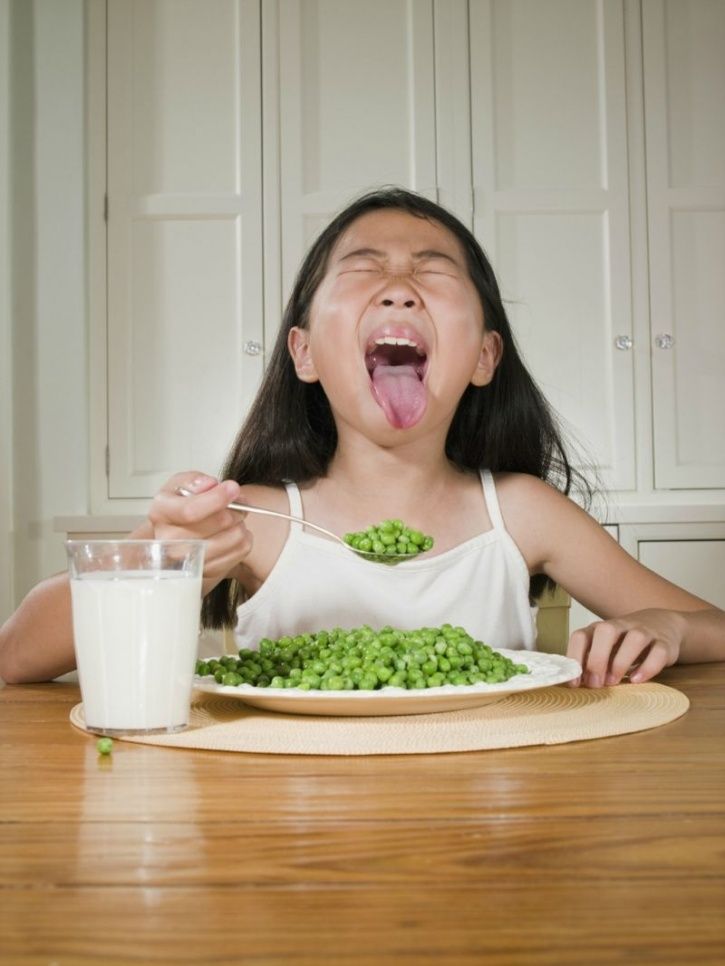
- Peas. Great for improving that pincer grasp.
- Sweetcorn.
- Baked beans. Great source of iron.
- Plum.
- Kiwi.
- Dried apricots. Great source of iron, like any dried fruit, really. A bit on the sweet side, so be mindful of that.
- Cherries. Cut in half or quarters.
- Sour cherries. Serve the same as cherries.
- Pineapple.
- Orange. Cut the pieces in half or more.
- Raspberries.
- Olives. Beware of how salty they are. If left in water, they will lose their saltiness.
- Papaya.
- Dried cranberries. Same as raisins, so better incorporate them in a batter/dough.
- Parsnips. Boil, steam or bake in the oven with some seasoning on top. You can remove the center which is usually harder.
- Butternut squash. Bake or steam.
- Bell pepper. Bake or boil.
- Green beans. Boil or steam.
- Chickpeas. Best boiled or turned into hummus or falafel.
- Onion. Boiled or baked.
- Turnips. Boiled until soft. You can make a veggie broth by boiling most of the hard veggies.
- Cabbage. Boiled or baked.
- Mushrooms. Make a sauce for pasta or bake them in the oven.
- Lentils. Turn them into soup or stews.
- Eggplant.
 Baked in the oven is your best bet.
 - Asparagus. Can be a bit hard, but baby can munch away if properly cooked, like in the oven or steamed.
- Edamame. Never cooked them, but I guess either boiled or steamed.
- Kaki fruit.
- Lychee. Just make sure to peel the outer shell.
- Grapefruit. Cut each slice in three smaller pieces or more, depending on size.
- Pomelo. Cut each slice in multiple pieces.
- Lemon. My youngest loves his lemons cut into wedges and he just sucks at the pulp.
- Figs
- Passion fruit
- Yam. It’s a root vegetable and can be cooked in a similar way to a sweet potato.
- Brussel sprouts. Boiled, steamed or baked with seasoning.
- Nectarine. Go for riper ones and cut into wedges.
- Ugli fruit.
- Plantains. They look like bananas, but you have to cook them. They come from Jamaica, I believe.
Related posts
- 14 smash cake ideas – healthy, no sugar
- Blueberry galette (a recipe great for blw)
- 33 tips to easily end picky eating for good
- 5 alternatives to baby cereal that won’t break the bank + 1 tip
- Why you should not feed your baby smoothies, overnight oats, maple syrup and other foods
- Bread and butter pudding (baby friendly, also great for babies with no teeth)
Meat/poultry/fish
- Salmon.
 I usually bake it in the oven, wrapped loosely in baking paper or foil, for around 20 minutes.
 - Cod. Cook the same way as salmon.
- Haddock.
- Mince meat. You can cook some meatballs.
- Steak. Serve in shredded strips, like the chicken.
- Chicken. Serve in shredded strips for babies to suck on and munch away later on.
- Tuna. I am guilty of buying cans of it, but if you can bake it from scratch, that’s even better. Squeeze a bit of lemon to give it some flavour.
- Crab. If your little one is not allergic to seafood, you can give it a go.
- Prawns/shrimp. Great finger food.
- Homemade sausages.
Breads/cereal
- Bread. To prevent it from sticking to the roof of the mouth, toast it. Or make some french toast.
- Rice. Great in rice puddings.
- Porridge
- Porridge fingers
- Millet. Boiled in milk or turned into a pudding (see my recipe here)
- Quinoa.
 Boiled and eaten as a side or added to porridge, for example.
 - Amaranth. Same as quinoa.
- Buckwheat. Same as the above.
- Semolina pudding.
- Spaghetti
- Pasta. Macaroni, penne, fussili or bowtie shapes work well for beginners.
- Noodles
- Homemade pizza
- Polenta
- Cous-cous
- Naan bread
- Pitta bread
- Tortillas
- Rice cakes. Go for the lowest salt option.
- Shreddies. Simple, no flavor, no added salt or sugar, just 100% wholegrain. Serve in milk.
- Focaccia
- Chapatti fingers (an Indian flat bread)
Eggs (in the UK, those that have a lion stamped on the shell are salmonella-free, therefore the yolk can be left runny when cooked – otherwise please cook the yolk completely)
- Boiled eggs
- Poached eggs (only in the UK)
- Fried eggs (just don’t use oil and fry in a non-stick pan)
- Scrambled eggs
- Omlette
- My baked omlette
Dairy
- Yoghurt
- Cheddar cheese.
 Just watch out for salt and the amount present. Grated is best at the beginning.
 - Mozarella. Choose the lowest salt option.
- Sana. It’s an Eastern European type of dairy, similar to yogurt, but slightly drinkable.
- Kefir. Similar to sana. You can find them in the European section in the supermarket.
- Curd cheese. I have a recipe for it here. It’s a no-salt version of cheese, perfect for babies.
- Cottage cheese. Just make sure the salt levels are okay.
Others
- Tofu. Just watch out for the salt content.
- Homemade muffins (try this carrot muffins recipe)
- Homemade pinwheels
- Homemade banana bread
- Homemade biscuits (easiest recipe: 100 g flour, 100 g butter and 100 g of homemade curd cheese or ricotta cheese; everything mixed and baked in the oven)
- Pancakes
- Waffles. Here’s a basic recipe to follow, which is infinitely customizable. A bit of waffle theory never hurt.
- Fritters. I have a recipe here, very adaptable to what you have in your pantry.
- Homemade nuggets
- Any homemade cake-like consistency, as long as there is no sugar, maple syrup, honey (if baby is under 1 year old), whole nuts, etc.like this baked oatmeal cake.
- Homemade popsicles or anything that’s made out of fruit and yogurt and frozen.
- Peanut butter. It is best to spread it on toast or on slices of banana. Just make sure it’s 100% nuts.
- Almond butter. Same as peanut butter.
- My apple pudding
BONUS:
126. 2 ingredient cookies. The easiest snack ever. Pair it with some dairy and you’re good to go.
127. 3 ingredient pancakes. The fluffiest and easiest pancake recipe out there. Make sure to read my notes on timing and flipping and why those are the key elements for the fluffiness.
128. Spiced biscuits. I think these are great for when little ones are teething.
129. Easy scones. With only 3 ingredients at the base, these are soft and fluffy.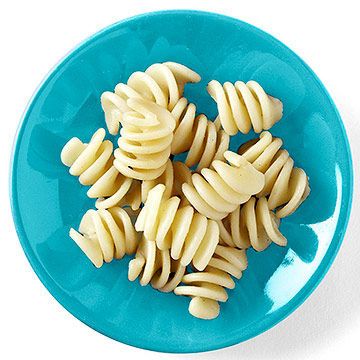 Don’t overmix the batter though.
130. A kid friendly brownie with a secret nutritious ingredient.
You are probably thinking: is there anything she hasn’t mentioned?
In fact, I haven’t mentioned the leafy vegetables, like spinach, lettuce, salad etc because babies might have a hard time tearing them apart so as not to stick to the roof of their mouths.
I also didn’t mention pomegranate, because of its high choking risk.
What comes next?
Knowing what to feed your kids might be a little easier now that you have this list, but actually getting them to eat or at least try any food is another story entirely.
This is why I have put together a 7-part blog series about how to get your little one to eat any food. It is based on more than 3 years of feeding little tummies, observing and taking mental notes about everything I did and everything they did at mealtimes.
I think you’ll find it useful and worth reading.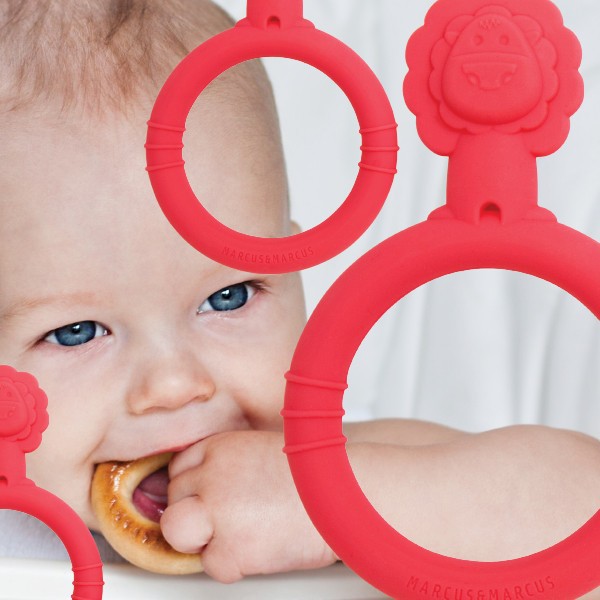 You can save it on Pinterest for later reading or share with someone you know.
Thanks!
Ioana x
START READING HERE >>
Categories Baby food, Blog, Featured, The basics Tags baby led weaning, BLW, finger foods, first foods© 2022 WEANINGFUL • Built with GeneratePress
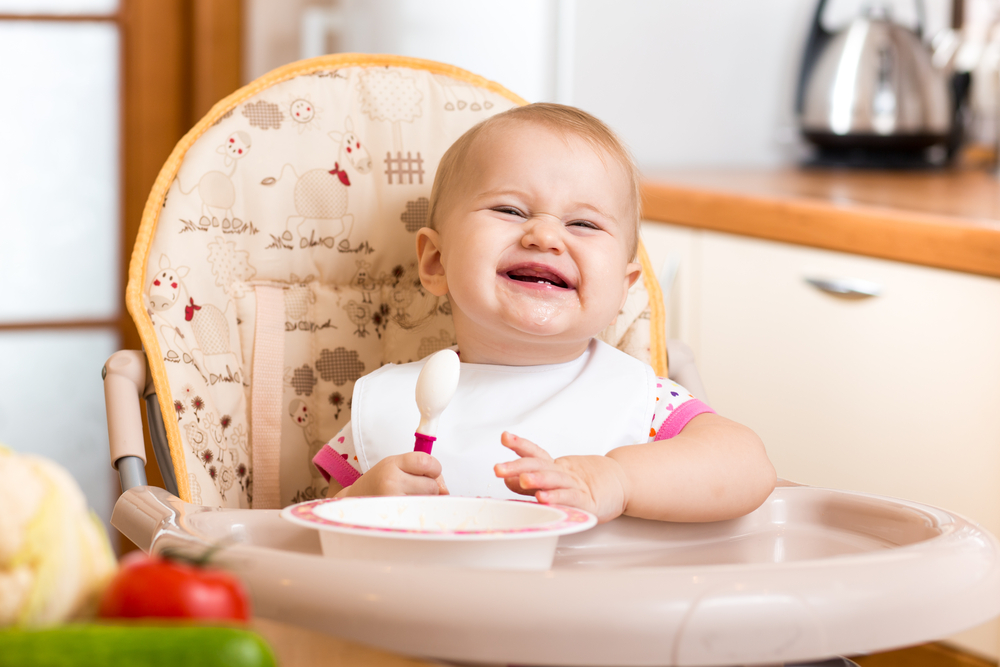
List of 15 Yummy Finger Foods for Baby with No Teeth
For many parents, feeding their babies is a herculean task. However, as the babies grow up, they like trying out new tastes and textures. No longer will they prefer only mashed food and purees. This is when finger foods should be introduced to your baby. Finger foods for babies do more than just providing nutrition. They help babies work on their fine motor skills too. Wondering which finger foods you could feed your child? Read on to know 15 healthy finger foods that your baby can enjoy even if he doesn’t have teeth yet.
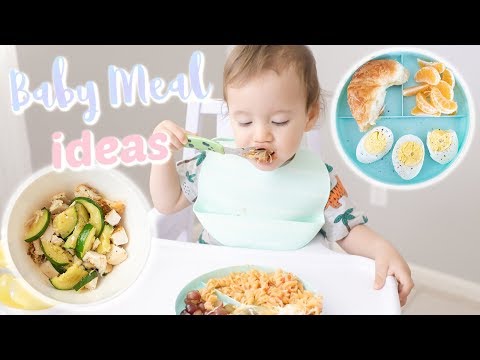
Video : 5 Delicious Finger Food Ideas for Babies With No Teeth
15 Healthy Finger Foods for a Baby Without Teeth
Introducing finger foods to your baby can be a bit of a challenge for parents. They need to be ready for all the mess, allergies or even choking hazards once your baby starts eating finger food. So, does that mean finger foods are not ideal for babies without any teeth? No, finger foods are ideal for babies without teeth if they can pick them up easily and mash them between the gums.
If you are wondering which finger foods you can prepare for your little one, we have you covered. Below are some finger food ideas for babies without teeth. These can be alternated with the other food ideas you have to provide a nutritious snack to you little one every day. Do not miss out on providing your baby calcium-rich foods either, to help his bones become stronger.
1. Pasta
Pasta can be the first finger food for babies with no teeth since it has a very subtle taste. Pasta, when overcooked tends to get very soft, making it easy for babies without teeth to eat it.
Ingredients:
- Penne pasta/ shell-shaped pasta
- Olive oil/ butter
- Tomato puree
How to Make:
- Boil water and cook the pasta till it is soft and mushy.
- In a pan, put a little butter or olive oil and add the cooked pasta. Stir for a minute and then add the tomato puree.
- Let the pasta cool before you serve it to your baby.
2. Homemade Baby Biscuits
Homemade baby biscuits are a great snack for babies 8 months and above. The recipe is for 18-20 biscuits approximately. You may increase the measure to the ingredients if you’d like to make extra biscuits. Also, remember to skip the ingredients your baby is allergic to.
Ingredients:
- ¼ cup ground oats
- ½ cup butter/peanut butter
- 2 tbsp ground flax seeds
- 1 cup chickpea flour
- 1/3 cup maple syrup or honey
- 1 banana (mashed)
- 1 tsp baking soda
- 2 tsp vanilla essence
- 1–2 tbsp water (if required)
How to Make:
- Take a cup of chickpea flour and keep it in the freezer for about half an hour (this will help in creating the right consistency and texture for baking).
- Meanwhile, mix the butter, honey/maple syrup, mashed banana, vanilla essence and baking soda together.
- In another bowl, take the chickpea flour.
- Add the ground oats and ground flax seeds.
- Now using your hands, mix it together till you get a cookie dough-like texture.
- Make small balls with the dough and keep them aside.
- Take a baking tray and lay a butter paper on it.
- Flatten the cookie dough balls on the butter paper.
- Bake the cookies for approximately 12 minutes in a preheated oven at 350 degrees Fahrenheit or 175 degree Celsius.
- After 12 minutes, take them out and gently press on the centre of each biscuit with a fork to get rid of air pockets.
- Give one of the cookies to your baby only after it has completely cooled down.
3. Baby Quiche Cakes
Baby quiche cakes are a good way to feed some extra vegetables to your baby. These cakes can be made in batches and stored for about 3 days in the fridge if you keep them in an airtight container.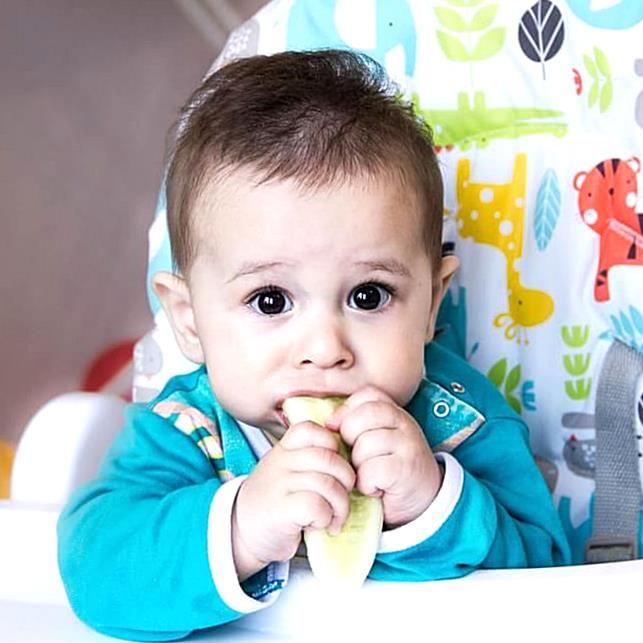 Let’s find out how they are made.
Ingredients:
- 2-3 cups whole wheat flour
- 1/4th cup of olive oil
- 3-5 cups of diced/ chopped vegetables (carrot, spinach, broccoli/ cauliflower, peas, etc.)
- 4 bananas (mashed)
- 1 cup of grated cheddar cheese
- 1 ½ cups of yoghurt
- 1 tbsp baking powder
- Salt to taste (optional)
How to Make:
- First, steam the chopped/diced vegetables.
- Prepare a batter by combining the whole wheat flour, yoghurt, baking powder, beaten eggs, cheddar cheese, olive oil, and salt.
- Add the vegetables to the batter.
- Transfer the batter into a greased muffin tray.
- Bake the cakes at 180 degrees Celsius for 20 minutes or until they turn golden brown and firm.
- Once the cakes cool, you can cut or break them into smaller pieces and give some to your baby.
4. Berry Bites
This recipe requires few ingredients and is sure to make your little strawberry lover happy.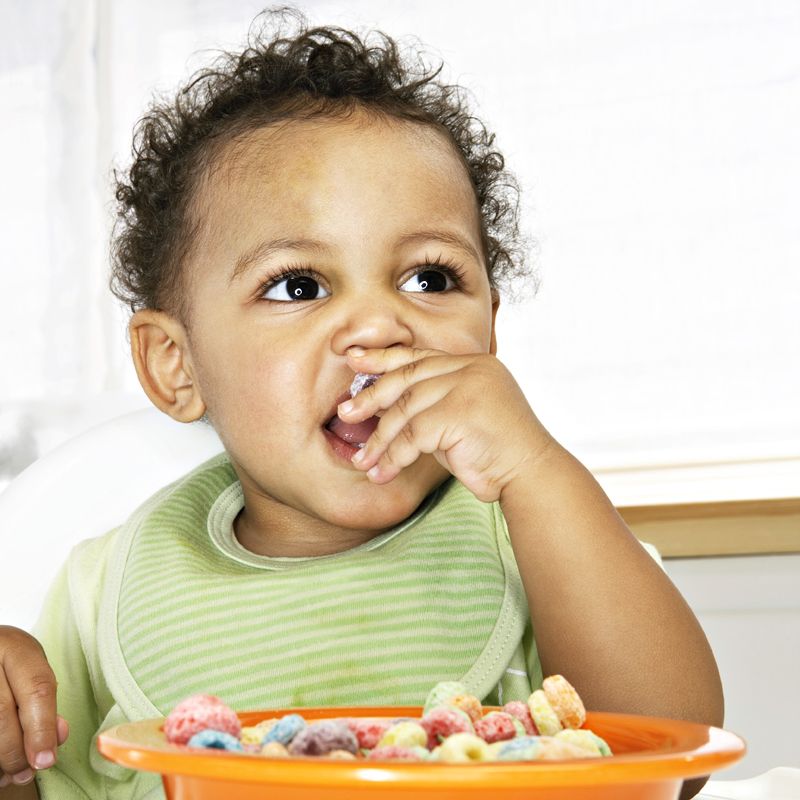
Ingredients:
- 3 bananas
- A handful of strawberries/ blueberries
- 1/4 cup milk
- 1 teaspoon of butter (for greasing the muffin tray)
How to Make:
- Mash 3 bananas in a bowl.
- Add some milk to it and mix well.
- Grease a mini muffin tray with butter.
- Put a few strawberries/blueberries in each muffin slot.
- Then, pour the milk and banana mixture.
- Bake the muffins for about 15 minutes or until the eggs are cooked.
- Once the muffins cool down, pop them out.
- You may cut in in smaller pieces before giving it to your baby to enjoy.
5. Sweet Potato Fries
Sweet potato fries are another simple recipe with just 3 ingredients. This recipe is perfect when you are pressed for time and need to give something healthy to your baby to munch on.
Ingredients:
- Sweet potatoes (medium/ large)
- 1/4th cup of olive oil
- A pinch of cinnamon powder (optional)
How to Make:
- Preheat the oven at 400 degrees Fahrenheit.

- Clean and peel the sweet potatoes.
- Cut them into thin strips.
- Put some cinnamon powder on them.
- Place the strips of sweet potato on a baking tray over some baking sheet.
- Bake for 30–45 minutes or till they are tender.
- Serve when they completely cool down.
6. Banana Pancakes
Include some goodness of bananas into your baby’s snacktime with these banana pancakes. They are easy to make, and your little one is sure to love them.
Ingredients:
- 1 cup whole wheat flour
- ½ cup milk
- Water (if required)
- 1 ripe banana
- Butter (optional)
- Honey/maple syrup (optional)
How to Make:
- Slice or mash the banana in a bowl.
- Mix the whole wheat flour and milk together.
- Add the mashed bananas into the wheat flour mix.
- You may add some water to adjust the consistency.
- Pour a ladle of the pancake mix on to a nonstick pan and cook the pancakes till they are golden brown.
 You may add some butter if required.
 - Let the pancakes cool down.
- Cut them in strips or small pieces that your baby can hold and eat.
- You may also drizzle some honey or maple syrup on the pancakes to enhance the taste.
7. Cooked Veggies
Cooked vegetables make excellent baby finger foods.
Ingredients:
- 1 sweet potato (peeled and cut into small sticks)
- 1 small carrot (peeled and cut into small sticks)
- 4-5 small florets of broccoli
How to Make:
- Steam or roast the veggies until soft and tender.
- Transfer it to a plate and let your baby enjoy.
8. Idli
Idli is a staple in many households. It is not only easy to make but is also highly nutritious for your little one. Here’s how you can make some for your baby.
Ingredients:
- 1 ½ cups of parboiled rice
- ½ cup urad dal
- Salt to taste (optional)
How to Make:
- Wash the rice and dal and soak it for 5-6 hours in separate utensils.
- Then grind the dal to make a smooth paste and grind the rice a little coarse.
- Mix the two ingredients together and add a bit of salt.
- Add some water to adjust the consistency. The batter should have a flowing consistency, not runny.
- Leave it overnight to ferment.
- After the mixture is fermented, steam it in an idli steamer.
- Cut the idli into small pieces when they cool down and give it to your baby.
9. Steamed Dosa
This is another variety of finger food your little one is sure to enjoy. Let’s check out what you need to make some steamed dosa for your baby.
Ingredients:
- 1 cup parboiled rice or dosa rice
- 1/3 cup urad dal
- Few fenugreek seeds (methi seeds)
- 1 tbsp of flattened rice (avalakki)
- Ghee (as required)
How to Make:
- Soak the rice, fenugreek seeds, and flattened rice together in one vessel; and the urad dal in another utensil.
 Soak the ingredients for at least three hours.
 - Grind the rice, fenugreek seeds, and flattened rice to make a fine paste.
- Then grind the urad dal to make a fine paste.
- Mix the rice and the dal mixture together.
- Add water to adjust the consistency, which should not be too thick or too thin.
- Let the batter ferment for 6-8 hours.
- To make the dosa, heat a nonstick pan.
- Put a dollop of the mixture and spread it out in a small circle on the pan.
- Add some ghee if needed and let it cook till the base becomes golden brown in colour and you see some bubbles on the top.
- When the dosa is cooked, remove it in a plate and cut it into small pieces for your baby to eat.
10. Fruit Salad
Yes, fruit salad can also be a good finger-food dish for your little one. You can add as many fruits as you want to this dish and let your baby enjoy varied tastes and textures. You may choose to skip a few fruits if you think your baby could choke on them or leave the ones he is allergic to.
Ingredients:
- Various types of fruits, like an apple, a banana, kiwis, strawberries, etc.
- Black salt (optional)
How to Make:
- Peel and cut the fruits, small enough for the baby to chew.
- Add little black salt and give it a good mix and let your baby enjoy it.
11. Cheesy Crackers
Cheesy crackers are perfect if you want to add a little crunchy texture that sort of melts in the mouth in no time. This recipe is perfect for your baby’s snack time.
Ingredients:
- 1 cup plain flour
- 1 cup grated cheese
- 2 tbsp unsalted butter
- Water, if required
How to Make:
- Beat the butter and cheese together until it becomes soft and fluffy. It is best to use an electric blender to do this.

- Add the flour bit by bit to the beaten mixture and mix until you get a crumbly mixture.
- Add some water to make a moist dough.
- Wrap the dough in a cling film and keep it in the fridge for an hour.
- After an hour, remove the film and roll out the dough. Using small round cutters, cut out small round biscuits and prick them with a fork.
- Then, bake the crackers in a preheated oven for 15 minutes at 180 degrees Celcius (till the crackers turn golden brown).
- Let your baby munch on these crackers when they are cooled down to room temperature.
12. Zucchini Chips
This recipe is a great alternative for other unhealthy chips. Here’s what you need to make them.
Ingredients:
- 1 zucchini (cut into thin strips)
- 1 tbsp olive oil
How to Make:
- Preheat the oven to 100-110 degree Celcius.
- Drizzle some olive oil over the zucchini slices.

- Place the zucchini slices in a single layer on a baking tray.
- Bake the chips for 30 minutes, take the tray out and flip all the chips.
- Bake for another 30 minutes.
- Let the chips cool before you let your baby have some.
13. French Toast Fingers
French toast fingers can be a breakfast recipe or an evening snack. It is a delicious way to feed some milk and bread to your little one. This recipe usually has eggs in them but if your little one is under 1 year, you should avoid adding eggs. You can use corn starch instead. Here’s what you need for some french toast.
Ingredients:
- 1 tbsp corn starch
- 1-2 tbsp of milk
- 2-3 slices of whole wheat bread
- A pinch of salt (optional)
How to Make:
- Take the milk and salt in a bowl and add corn starch to it. Mix well.
- Trim down the crust from each slice of bread.
- Heat a pan on medium flame.
- Lightly grease the pan with butter.
- Dip a slice of bread in the corn starch and milk mixture.
- Remove it immediately and fry it in the pan till it turns golden brown on both sides.
- Cut the slice in 3 to 4 strips and let your baby have it when it cools down.
14. Vegetable Parathas
Vegetable parathas are a great way to feed your baby most of the vegetables he resists. Make them in smaller sizes, and you don’t have to worry about cutting them for him. Here’s what you need to make some vegetable parathas.
Ingredients:
- 1/2 cup of mashed vegetables of your choice
- 1 cup of wheat flour
- Oil/ butter
- A pinch of salt (optional)
How to Make:
- Mix the vegetable mash with wheat flour.
- Add some water and make a soft dough.
- Roll out small round flatbreads with a rolling pin.
- Heat a pan and grease it with oil/butter.
- Cook both sides of the paratha on a medium flame.
- Serve when the parathas cool down.
15. Paneer Sticks
Paneer sticks are a great way to add some protein into your baby’s snack time. Read on to know how you can make this recipe.
Ingredients:
- Paneer (cottage cheese)
- Ghee/oil
- A pinch of salt (optional)
- A pinch of turmeric (optional)
How to Make:
- Cut the paneer into long strips.
- You may marinate the strips with a pinch of salt and turmeric if you wish to.
- In a pan, put a little oil or ghee.
- Lightly sauté the paneer strips over medium heat until they turn golden brown.
- Bring the temperature down before you feed paneer sticks to your baby.
Introducing finger foods to babies is a good way to get the baby used to different types of tastes and textures. Finger foods improve the baby’s coordination skills and encourage self-feeding. With the 15 finger food recipes above, you can now explore your baby’s taste and liking.
Also Read: 7 Solid Foods for a Baby
How to transition a child to solid foods - what is BLW
The BLW theory was introduced in 2010 in the book Baby-Led Weaning by Jill Rupley and Tracey Marquette. This approach to first foods is popular in the US, while there is not much information about it on the Russian-language Internet. In this article, we will talk about what are the features of BLW, what foods can be given to a child and what should not be, what precautions should be taken into account.
Baby-Led Weaning can be translated as “baby food of choice”. You can apply this method no earlier than six months of age, it is better - from eight months. According to BLW, from this age, the child can be given regular food (which one - we will discuss below), while continuing to breastfeed or feed formula milk.
Advantages of BLW
Compared to baby purees, BLW has a number of advantages, in particular:
- You do not have to spend time preparing baby purees.
- The child can be at the family table from the very beginning and eat the same food as the parents.
- This feeding method promotes the development of visual and fine motor skills.
- The child learns to chew, swallow and decides what and how much to eat - this is how the foundations of healthy eating behavior are laid.
Also read: From 1 year and older - what and how to feed a small child
How to understand that a child can be given solid food
- There are several signs - how to understand that a child can already be given regular food:
- The child can sit up alone with little or no support.
- The child wants to chew something, even if he does not yet have teeth.
- He takes food with his thumb and forefinger instead of his palm.

- The child shows interest in food, grabs food from the table.
- It is advisable to consult a pediatrician before giving a normal meal to a child.
What foods can be given as first complementary foods
Of course, not all foods can be given as first complementary foods. Foods that are suitable for first foods according to BLW are:
- Steamed or baked vegetables (broccoli, carrots, pumpkin pulp, zucchini).
- Ripe fruits (apple, banana, avocado, mango, watermelon, peach, pear, plum).
- Protein food (natural cheese, egg yolk, meat, liver).
- Carbohydrates (gluten-free pasta, brown rice, millet, buckwheat, gluten-free bread).
Also read: 6 Months and Older - Which Dairy Products to Give to Young Babies
BLW First Feeding Rules - Do's and Don'ts
- Make sure your child is ready for regular meals.
- Continue breastfeeding or formula feeding until at least 10–12 months of age.
- Sit the child in a comfortable position - he should sit upright without leaning back.
- Cut the food into large pieces so that it is easy for the child to take them.
- Start with soft foods: ripe fruits, steamed vegetables.
- Take your child to the family table.
- Get ready for a mess.
- Take your time and don't rush your baby - meals should take at least 10-15 minutes.
- Pay attention to the signals - for example, if the child scatters food, he may have already eaten.
- Do not offer complementary foods if the child is tired or in a bad mood.
- Do not coax your child to eat another bite and do not offer too much food at a time.
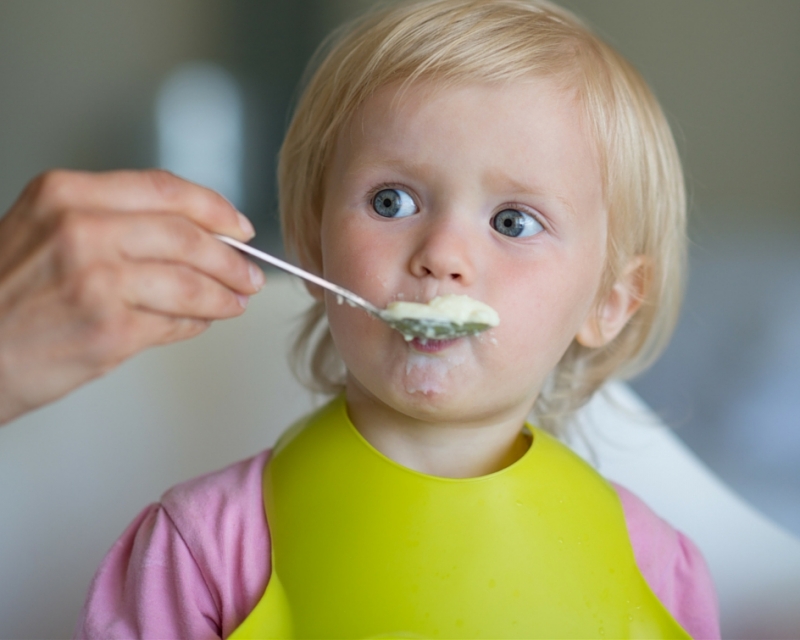
- If your child doesn't want to eat regular food and likes baby purees more, don't be upset. Fortunately, there are many foods available for children today that can be spoon-fed, such as baby yogurt, cottage cheese spreads, and others.
See also: Baby food - 7 dairy products for young children
Precautions - things to consider
- Avoid foods that your baby can choke on, such as nuts, grapes, cherries, grape tomatoes.
- If you want to give your child foods such as cherries and grapes, cut them in half and remove the pits.
- Hard foods that a child cannot chew should be boiled (eg carrots).
- Find out in advance how to give first aid if a child chokes.
- Be careful with foods that can cause allergies: foods containing gluten, peanuts and other nuts, egg whites, seafood and some types of fish, citrus fruits.
- Do not give your baby junk food and fast food: chips, popcorn, sugary foods, candy.
- Banned honey, sugar and chocolate. Salt - in very small quantities with the permission of a doctor.
- Never leave a child with food unattended.
Based on materials from parents.com, mamanatural.com, malyshi.livejournal.com
The information and recipes contained in this Blog may not meet the user's expectations, are presented for use without regard to the individual characteristics of the user's health and are used by the user at their own discretion and under personal responsibility.
Information, documents and related graphics and recipes taken from other sources and published on this website https://milkalliance.com.ua/ may contain technical errors and typographical errors.
Finger food - Encyclopedia Baby food help and any problems.
Finger food is a fun way to encourage the development of motor coordination and skills needed for biting, chewing and self-feeding. Food in pieces should be easy to grasp by children's fingers and long-term storage, and should not contain bones or seeds.
As soon as the child begins to take food with his fingers and put it into his mouth with reasonable hand-eye coordination, then the fun begins! Let your child experiment with soft snacks such as a banana or peach that can be “hand-mashed” to the right consistency. The more a child experiments with finger food, the faster he will masterfully feed himself.
Finger food helps keep a child's food interest.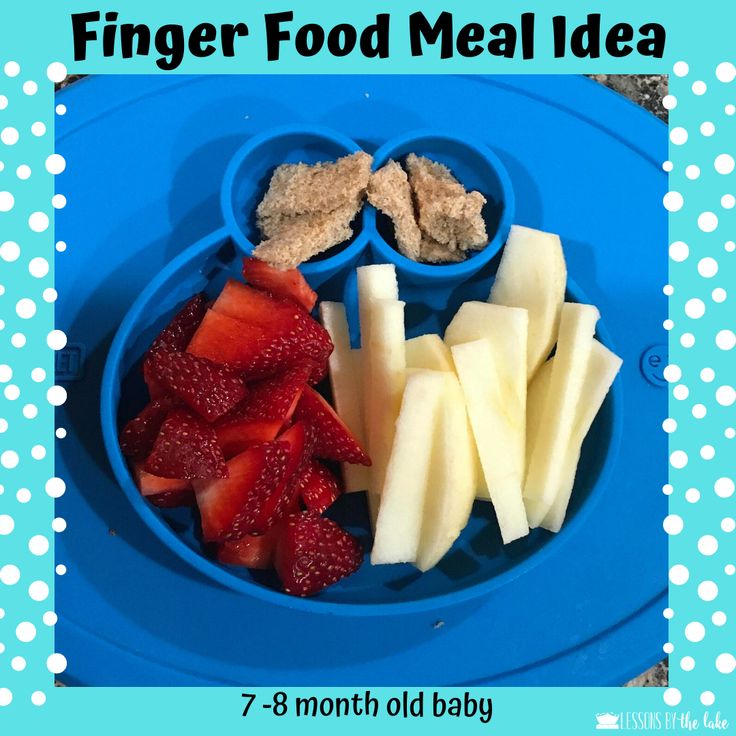 As soon as he begins to feed himself on his own, then new taste horizons open up for him. What child refuses to try to bring the product to his mouth on his own, even if he didn’t really like it before.
Table of Contents:
Mothers often wonder at what age they should give finger food to their babies.
Honestly, even for me it's a difficult question. It's just that sometime between eight and nine months, the baby began to eat small pieces of food. The change in the consistency of food by age is very well described in the WHO recommendation, so it should be guided by.
Food consistency up to a year. Click on me!!!
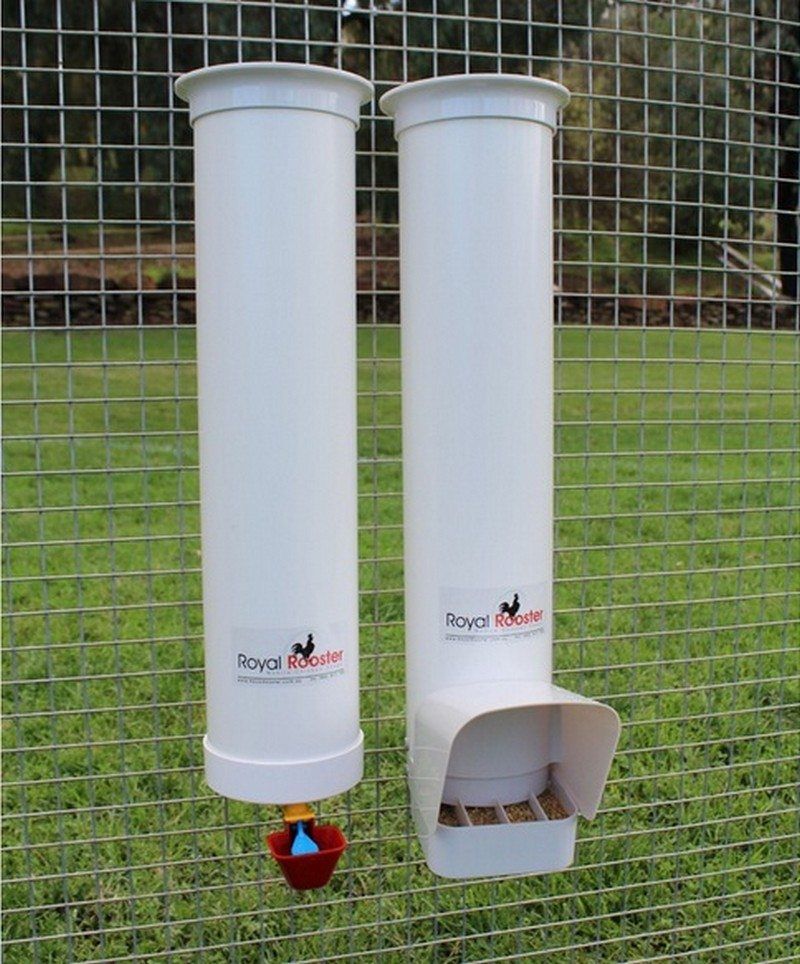
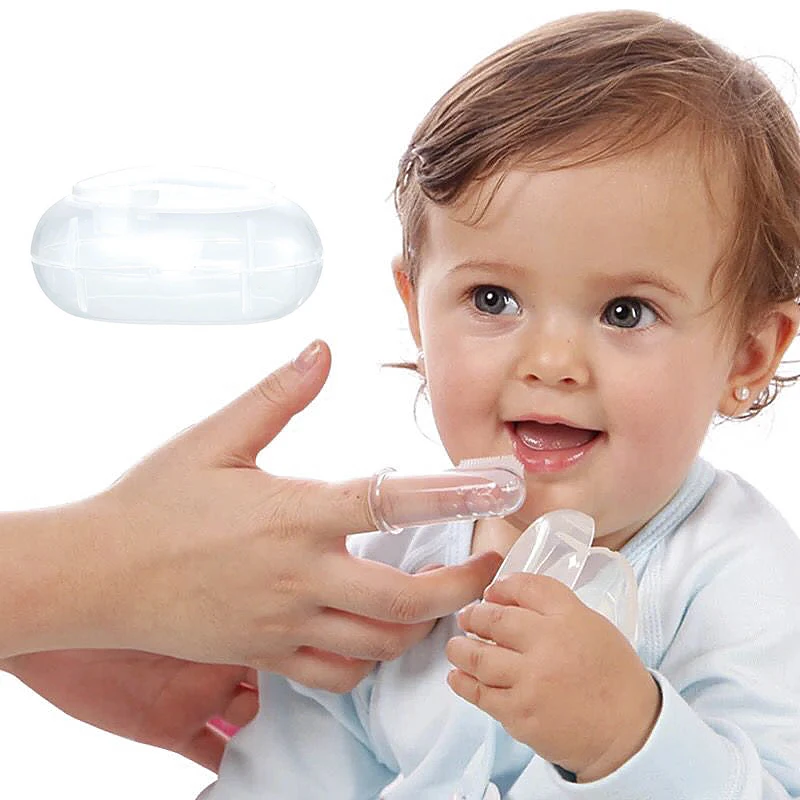
However, you should not do it blindly and try to feed the baby in pieces at a certain age, perhaps he will not be ready yet. Children are all different, some want food in pieces, almost from the beginning of complementary foods, others are not ready for lumpy food for up to a year or more. Therefore, any decision on finger food is made based on the child and his readiness.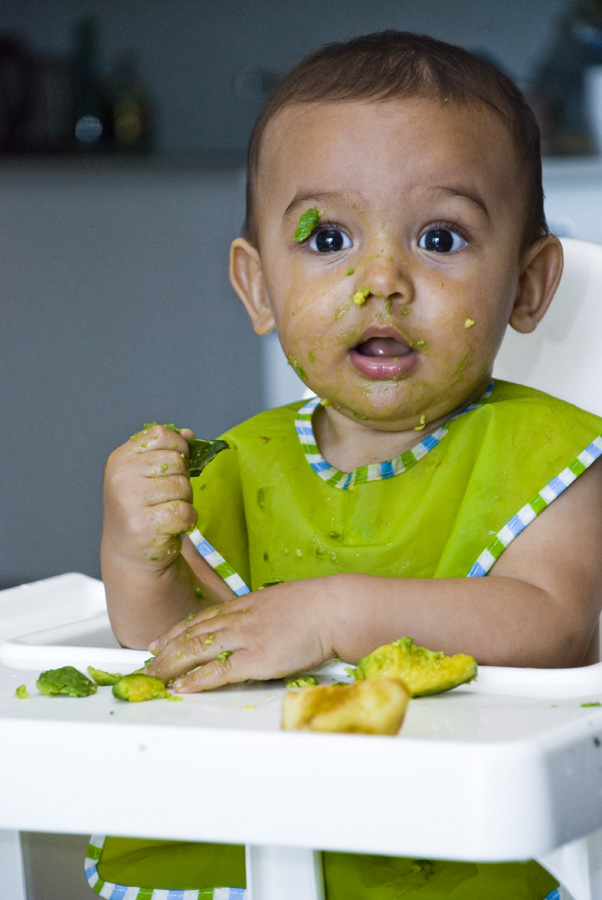 An excellent preparation for finger food is a nibbler, which will prepare the child for lumpy food.
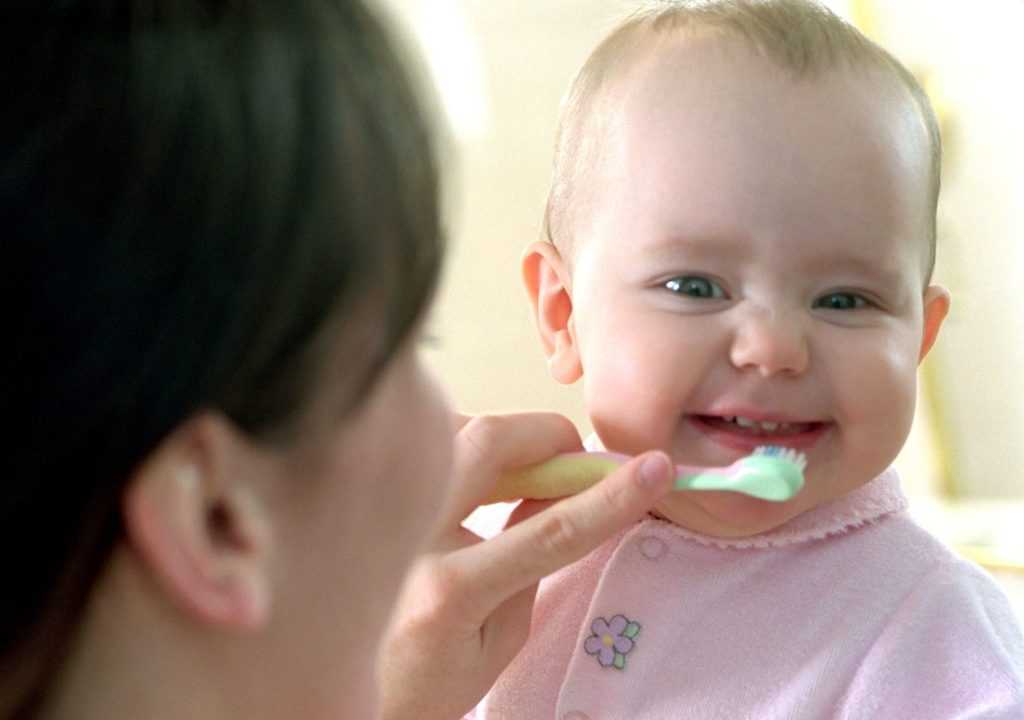
The child has no teeth
Click on me!!!A child's gums are incredibly strong, as is the tongue, so the number of teeth is not an indicator of whether to give finger food or not. If the decision has been made to start complementary foods and the baby is doing well with mashed foods, then you can safely start giving small pieces of soft food when the baby is ready for it. At this stage, it is important to let the child try to eat food of a different consistency, more complex, in order to train the maxillofacial apparatus. Thus, the child gradually prepares for the full chewing of food with the help of the entire jaw, teeth and tongue.
Knowing if finger food is safe for a child
A good rule of thumb to help prevent choking is to avoid anything hard (e.g. raw carrots), round (e.g. whole grapes), sticky (e. g. , spoon of nut butter) or too much gummies (such as gummies). At first, the child is given pieces of food in the form of sticks, which can be easily clamped in the child's chick, later, when the child begins to control the finger grip better, you can move on to cubes. At first, finger food should be soft, boiled and melt in your mouth. As a child learns to manage with such products, it is possible to complicate the task and switch to fresh soft foods, etc.
Foods that squeeze easily between fingers are good for older children and for younger children. Around 16-18 months, many babies are ready for more complex textures. During this period, cutting food into pea-sized pieces is also a good idea - many babies tend to put large pieces of food in their mouths, so small cubes are used to avoid choking. We always adjust the sizes of products according to the age and eating experience of our own child.
Usually the first finger food is biscuits or baby biscuits, which are very soft and dissolve easily in the mouth. The baby first sucks it, procrastinates, and learns to roll pieces of food in the mouth with the help of the tongue. A little later, when the teeth appear, you can give the product a little harder, for example, a soft apple, some parents play it safe and give a baked apple without a peel. Later, as new foods, vegetables and fruits are introduced into complementary foods, they are offered in the form of finger food, such as boiled broccoli or cauliflower. In general, the child can be offered almost all products in the form of finger food, which is introduced into baby food.
Should the product be peeled or not?
We give an apple to a child without a peel. The first finger foods in the form of vegetables and fruits are given without skins. Yes, the skin of many fruits and vegetables contains valuable nutrients. It is often recommended to leave the skin on in order to take full advantage of the nutrients contained in the product. But removing the top layer from fruits and vegetables helps reduce the amount of pesticides that may be in the product.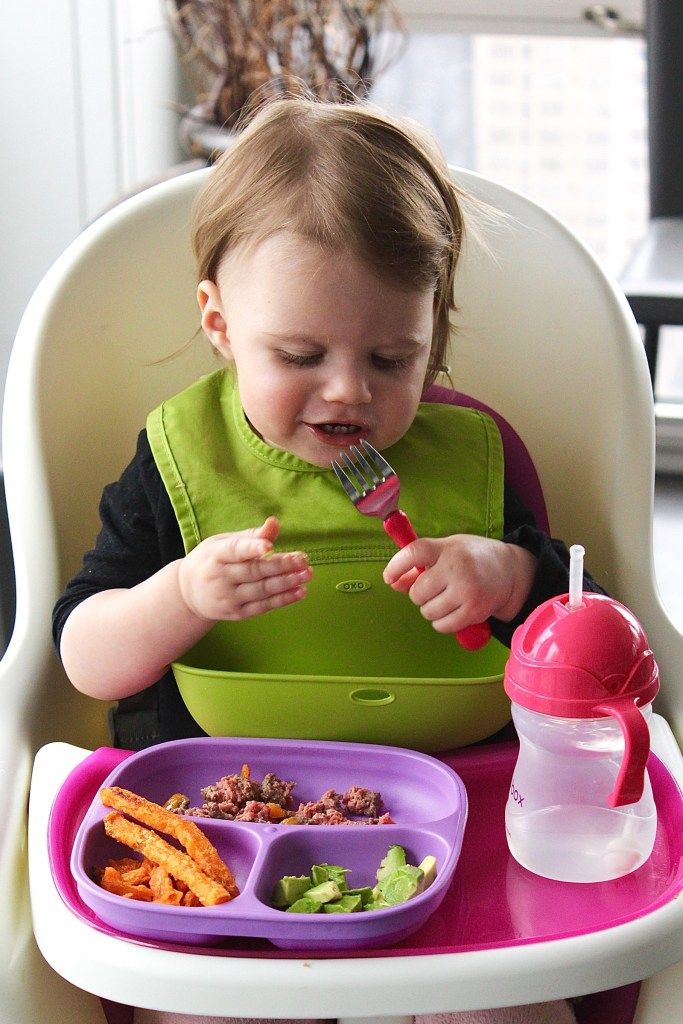 Peeling fruits and vegetables helps avoid choking hazards due to the rough texture of the skins. The peel also usually sticks to the palate in the child's mouth, thereby hindering him, and can be there for a long time, and when the child swallows, the probability of choking in the absence of an adult nearby is higher. Getting rid of the skin at the beginning of complementary foods also helps prevent disorders
digestion. And also consider that there are some vegetables and fruits, such as pumpkin and avocado, which need to be peeled, because their peel is really inedible. It is not worth getting rid of the product from the peel for a long time, only at first. Usually the first couple of months of complementary foods and exposure to finger food. Then the product with the peel is given to the child in the presence of an adult, after which it is advisable to check the baby's mouth to see if he swallowed everything. Forcibly open your mouth should not be, play the game "Show your tongue or where are your teeth. " By the age of 1.5, the child copes well with the peel of fruits and vegetables, if it is too rough, then it easily spits it out.
Choking
The presence or absence of teeth does not mean that a child can chew. Sometimes children can bite off a piece of food, try to swallow it whole and choke, so never leave a child alone while eating. Some children can store food in their mouths like hamsters, so we always check to make sure the child has swallowed everything before leaving the kitchen. You can read the article on suffocation here.
Our finger food
At first I gave my first child cookies, later I switched to a fresh apple, mostly fresh fruit, he sucked and procrastinated more than he ate. Later, food appeared in the form of a toy, i.e. we crumbled it, crushed it, and sometimes something got into our mouths. However, since breast milk is always given at the end of complementary foods, I was not too worried about whether the baby was full or not.
With the second child, finger food was a gradual transition from the nibbler.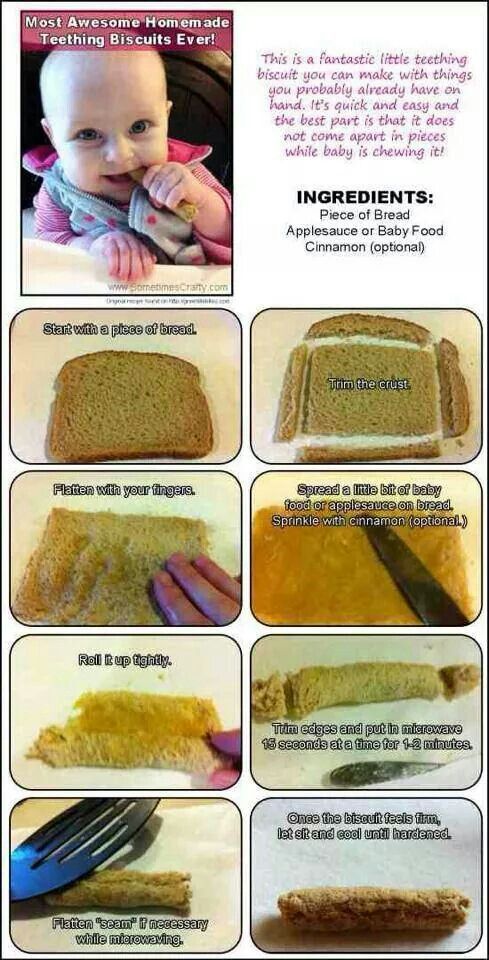 We used it for about a month, then I ventured to give the first pieces of food. But to be honest, the child himself tried the first pieces of food, namely, he stole an apple and took a bite. The first experience of finger food is always scary, because at first the child often coughs and spits out food, he is learning, so it is important to be with the child, if something goes wrong, then the parent will be able to provide first aid. I remind you that the child is suffocating quietly, not a single sound. If he coughs, clears his throat, then everything is within the normal range, you need to help get rid of the food that interferes. Rules for helping with choking know before introducing finger food into complementary foods. It is imperative to look and study, and then give a new consistency of complementary foods.
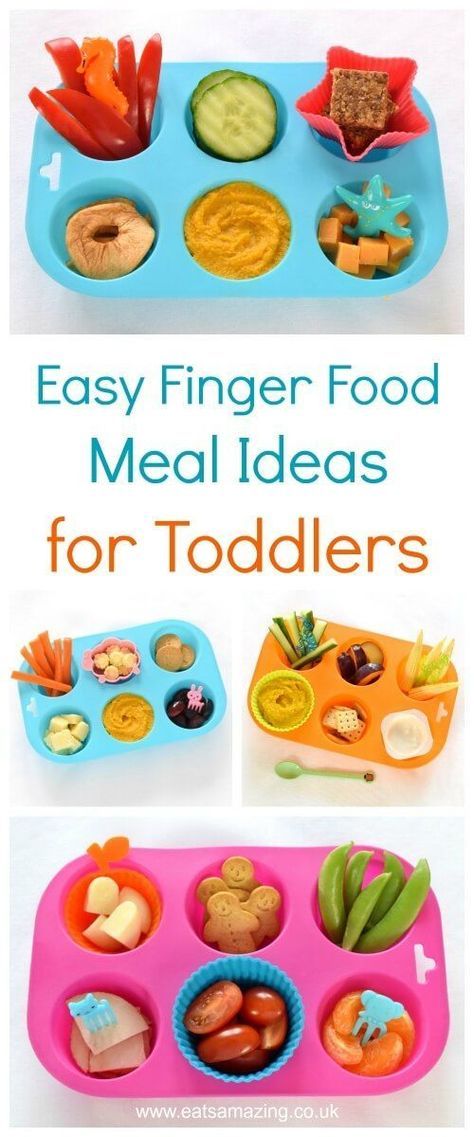
Of course, at first, only one type of finger food is placed in front of the baby, later a plate is bought, divided into three to five sections, which is filled with finger food.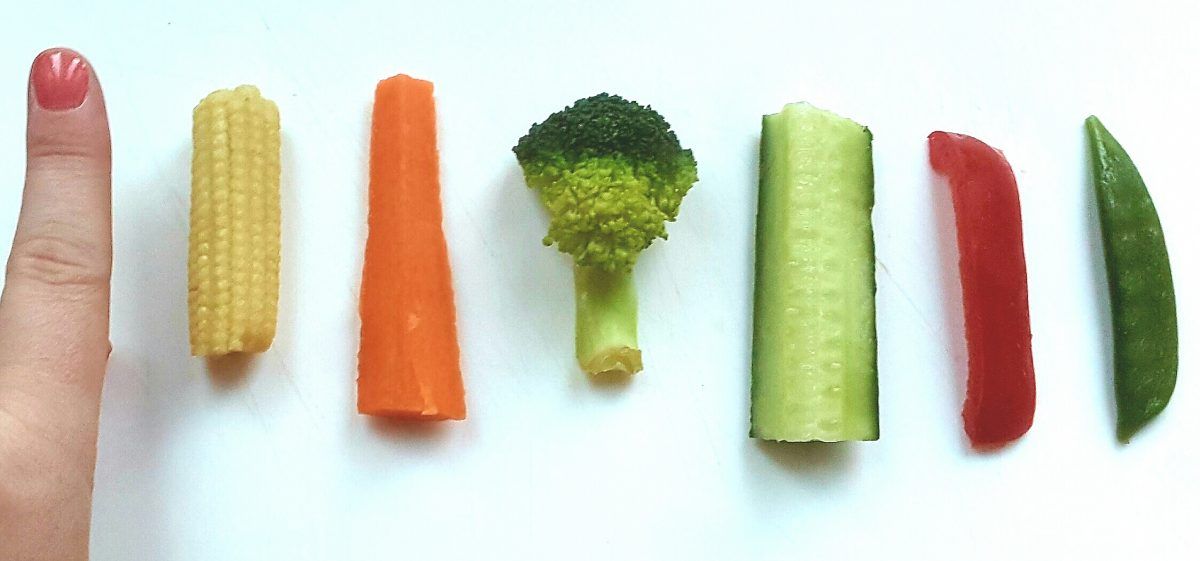 The baby is already given a choice of what to eat, so you can easily determine the taste preferences in nutrition.
Finger food quick hacks
- The first finger food should be well kneaded between the gums.
- Pieces should be age-appropriate - do not offer 8-month-old baby whole eggs .
- If the child cannot raise his head and sit up without help, do not offer him finger food.
- The child should always sit in an upright position, not walk, especially at the first meeting, when he is offered baby food in the form of pieces, to avoid suffocation.
- NEVER leave your child unattended when serving finger food.
Examples of finger food
The first finger food is a biscuit or a baked apple. Those. food that does not need to be chewed, it melts easily in the mouth without additional help from the child. You can start with foods that have been well received by the child in a pureed form on a spoon, serving them in convenient cubes or pieces - the size of a pea for harder items, the size of a stick or wedge for softer foods.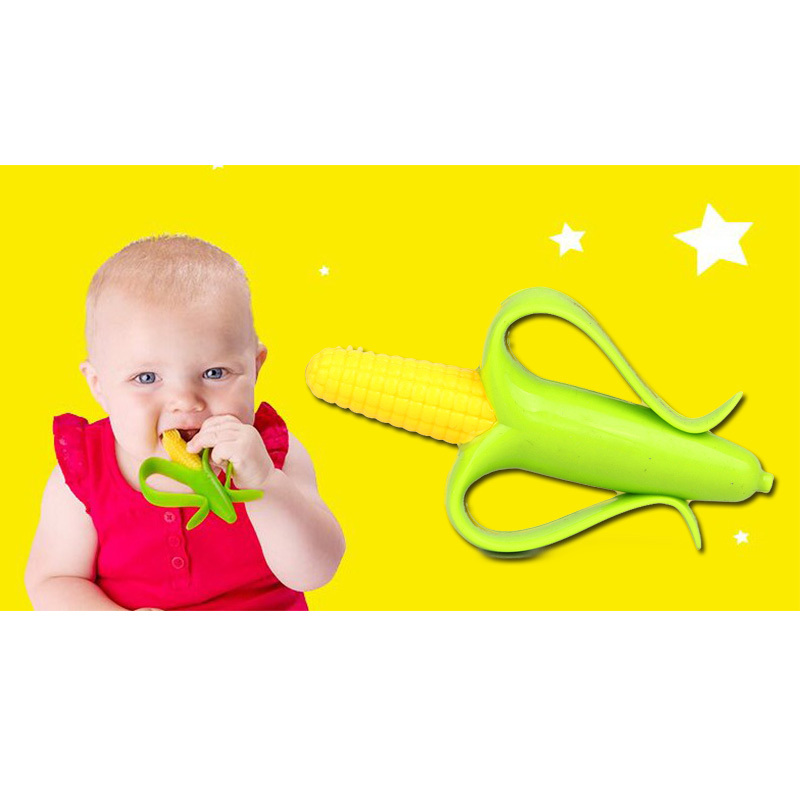
Examples of finger food are:
Click me!!!- pieces of soft bread or crackers
- Soft cheese, Chedder or Mozarella
- Banana
- Ripe pear without a peel
- ripe soft green apple without a peel, the first time you can give boiled
- Boiled cabbage 9001 carrots
- Boiled potatoes
- Boiled green peas
- Boiled pumpkin
- Boiled fish
- Boiled meat in the form of meatballs
- Pasta
- Quail eggs, etc.
*All products must be familiar to the child or introduced into complementary foods.
Finger food to avoid
When it comes to feeding your baby with food pieces, the biggest problem is preventing choking. So we do not allow him to eat anything without the presence of parents or any adult nearby. And we exclude any food that can get stuck in the child's airways:
Click on me!!!- Popcorn,
- Nuts, arahis,
- raisins and other dried fruits,
- raw vegetables (e.