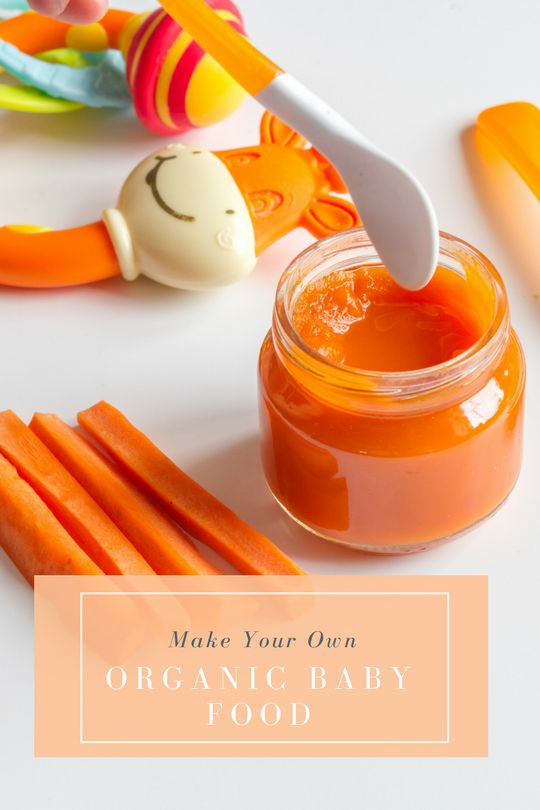
Best for making baby food
5 Homemade Baby Food Recipes with Carrots
First solid foods offer a great opportunity to get your baby used to a variety of flavors. This could make them more willing to try new things, ultimately giving them a varied and healthy diet.
Carrots are naturally sweet and mellow, just right for baby’s simple palate. What’s more, they’re packed with essential nutrients and are easy to use as a baby food ingredient.
Carrots are very high in vitamin A, which is needed to support the immune system, as well as your heart, lungs, and kidneys. It also supports eye health, specifically the retina, eye membrane, and cornea. Babies under six months need 400 mcg of vitamin A per day, and babies between six months and a year old need 500 mcg per day.
Read More: Why Your Body Loves Carrots »
Carrots are also a good source of other vitamins, like vitamin K, which helps blood clot properly, and vitamin B6, which is necessary for skin, hair, eye, and liver health.
They’re a good source of fiber, which your baby might need more of if you’re feeding them a lot of low-fiber foods like baby cereals.
Your baby can start eating carrots at about six months, and the options are limitless! The jury is still out on whether you should buy organic. The American Academy of Pediatrics states that it is important for children to eat a variety of foods, whether they are organic or conventionally grown, though they note that organic foods do have lower levels of pesticides and drug-resistant bacteria.
Boiled Carrots
Just cook raw carrots yourself. Wash and peel them, then boil in water until tender. Mash thoroughly with a fork or food mill. Add a little water to get the consistency right for your baby, and voila!
Roasted Carrots
You might like to try roasting the carrots, rather than boiling. Roasted vegetables develop a more intense flavor, like in this simple roasted carrot puree recipe.
Chicken and Carrots
Because of their strong flavor, carrots are a good cover for foods your baby might not otherwise relish.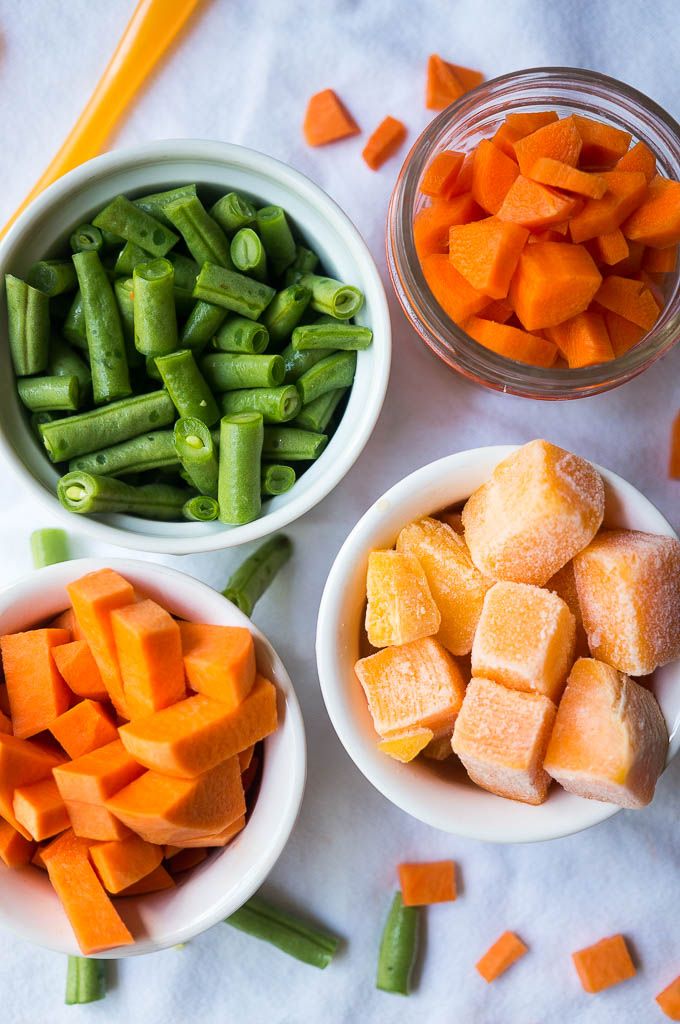 This smooth chicken, apple, and carrot puree serves up a full ounce of chicken. That’ll get your baby 8 grams of protein, almost the full daily requirement for babies between 7 and 12 months.
Carrot Meatballs
Most babies can sit up on their own by 6 months and can grasp with finger and thumb at about 10 months. That’s when you can start introducing foods that babies can hold themselves. These carrot meatballs combine an entire meal of nutrients into one handful of food. The salt isn’t necessary, and letting your baby enjoy salt-free foods could help establish a low-sodium diet for life.
Butternut Squash and Carrots
Here’s a puree recipe that combines some easily digestible vegetables — like butternut squash and carrots — with a pinch of curry. Apples are a baby favorite and are a fairly good source of vitamin C, which protects cells from destructive free radicals.
Carrot allergies are not common. However, if your baby is allergic to birch pollen or mugwort pollen, he or she might also be allergic to carrots.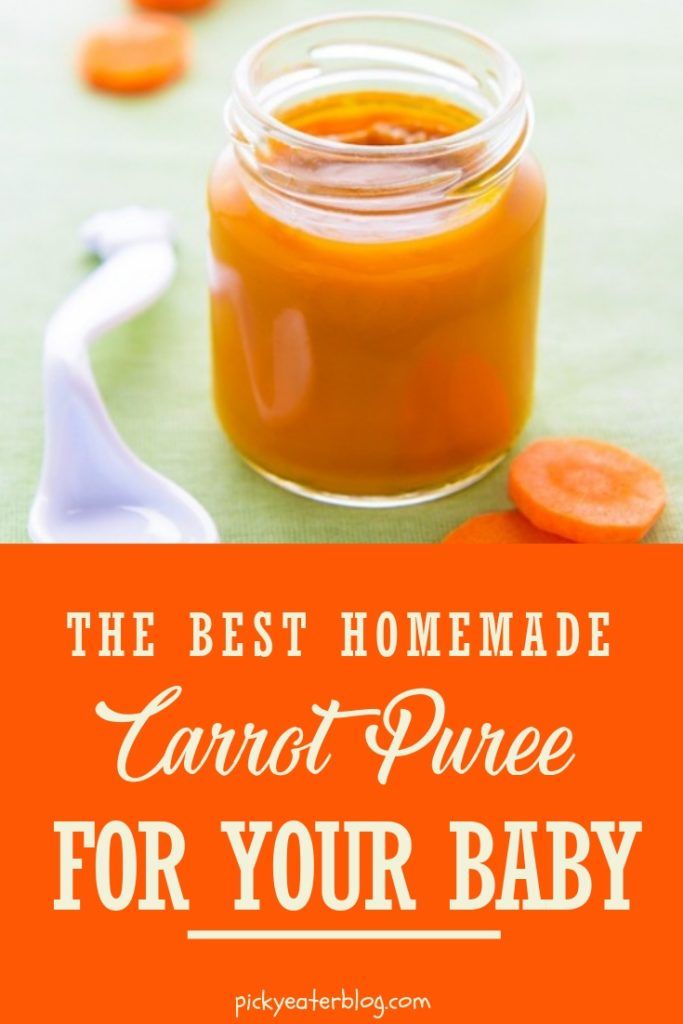 When you introduce a new food to your baby, do not mix it with another new food, and also wait three to five days to see if any allergic reaction develops. Be on the lookout for symptoms like vomiting and diarrhea, but also more subtle signs such as rashes. Be especially watchful if you or someone else in your family has a food allergy.
What It Is, When to Start, and Options to Try
Accompanying your child through the different stages of learning how to eat real food is an exciting journey. Sometimes, along with the sense of pride — Look, they polished off the whole jar! — you can feel a little confused. How are you supposed to navigate the milestones?
Let’s start at the beginning: What do the stages of baby food mean, anyway?
Rome wasn’t built in a day, and your baby’s digestive system won’t make the leap from liquid to solid in one day either. That’s what the stages of baby food are for — to help your baby manage the mechanics of eating and to make the transition easier on your baby’s digestive system.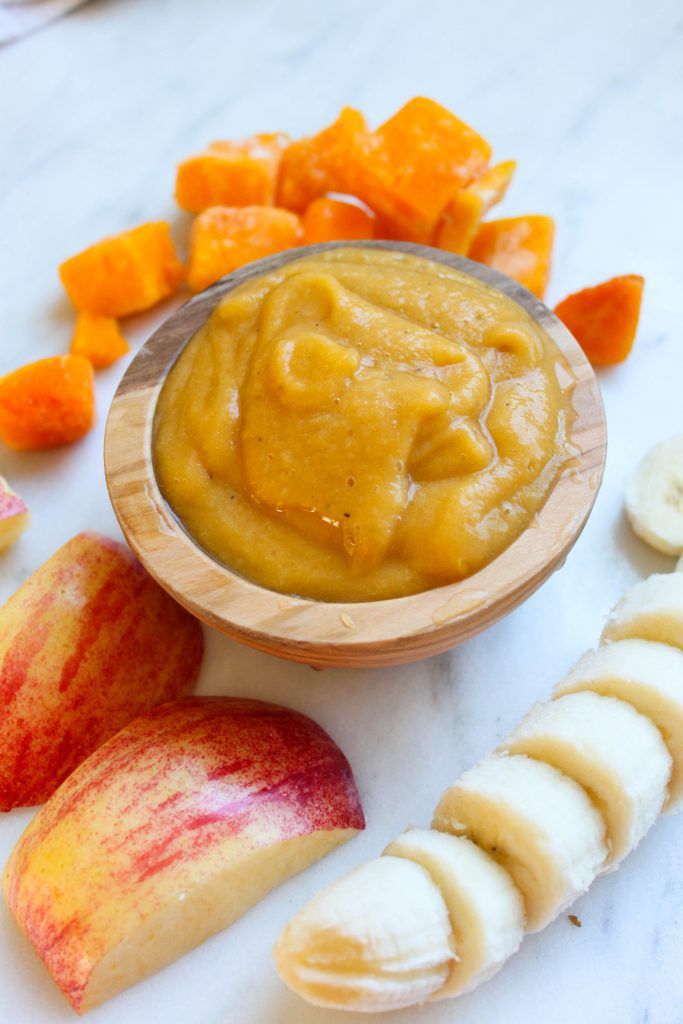
Defining the stages across the brands
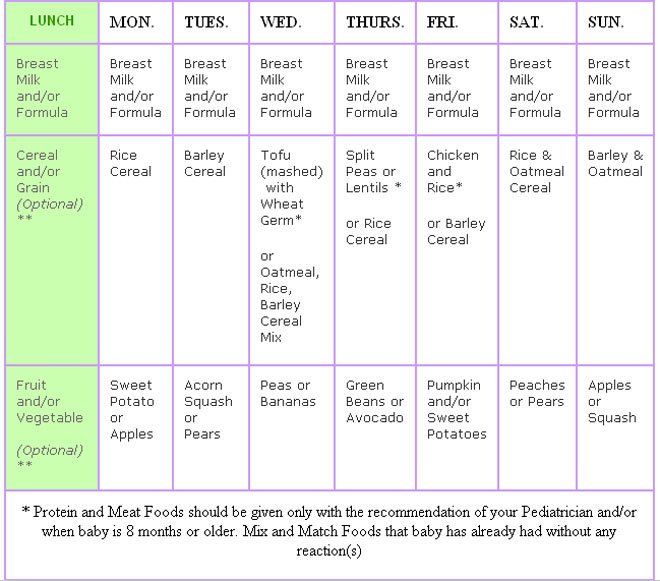
While the different stages of baby food aren’t standardized (it would make your life easier if they were!), most popular brands more-or-less follow these four stages:
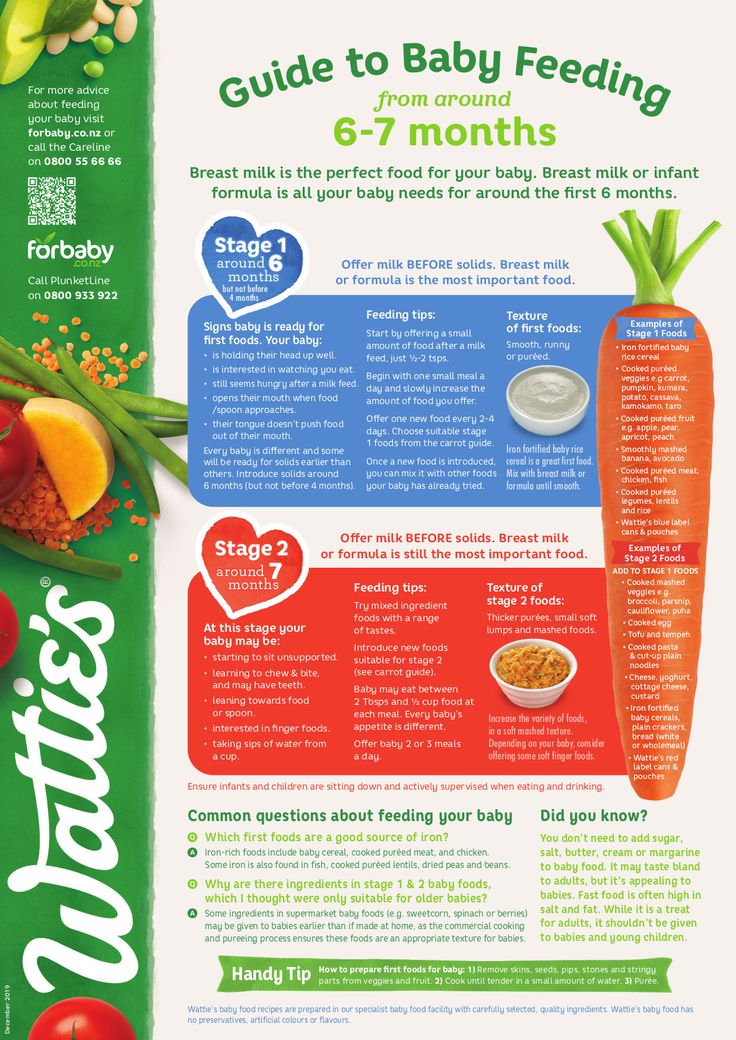
- Stage 1: 4 to 6 months (watery puree of a single ingredient)
- Stage 2: 6 to 9 months (thicker texture that is strained or mashed)
- Stage 3: 10 to 12 months (mush that has soft, chewable, small chunks)
- Stage 4: After 12 months (finger foods and small, soft pieces of foods you share from your own supper)
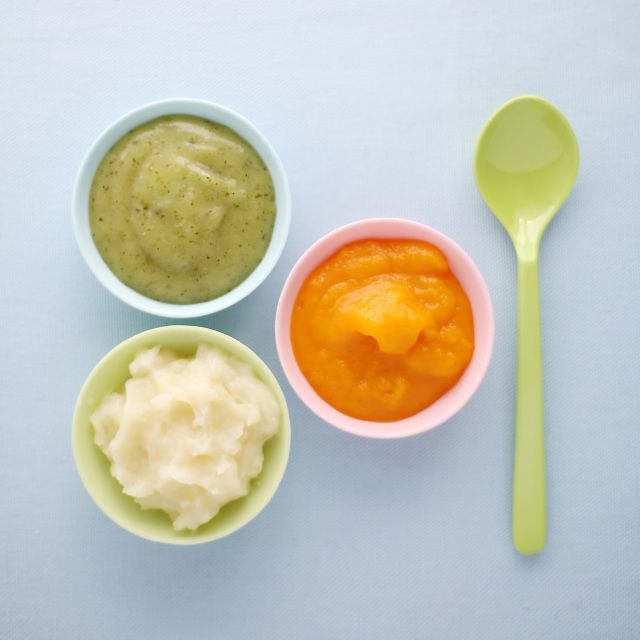
What is the difference between stage 1 and stage 2 food?
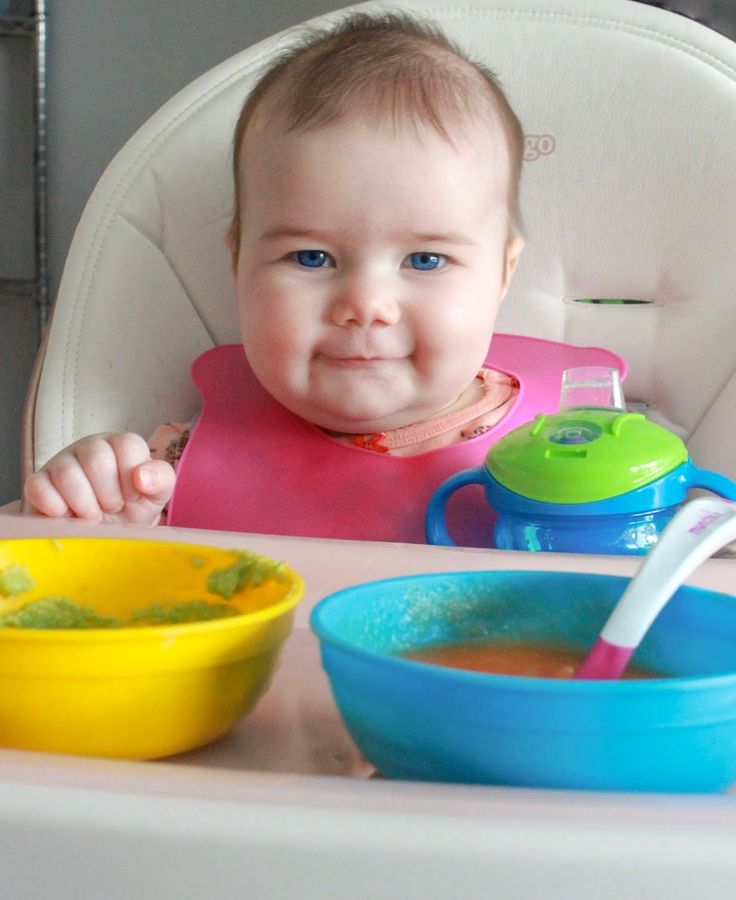
Stage 1 foods are pretty watery. They’re pureed into a smooth paste that can drip off a spoon easily, so stock up on your bibs. These foods are usually made of a single ingredient: oatmeal cereal, apple, carrots. Your baby will start off eating about half a teaspoon of this.
Stage 2 foods get more exciting. These are strained or mashed into a dense paste. They’re made with a combination of foods that can include legumes and even meats or fish. They may combine flavors, like fruit and veggie blends. Your baby’s appetite is growing and you’ll have to keep pace with bigger portions.
At around 6 to 9 months, your baby is probably ready to move on to stage 2 foods. Not every baby will stick to this schedule simply because every child is a world to their own.
Here are some signs that your child is ready to move on:
- Tongue reflex: At around five months, your child will start losing their tongue thrust reflex and won’t immediately push out the food that you try to feed them.
- More please: They’ll easily polish off the stage 1 foods and look hungry for more.
- Variety: They’ll have eaten foods from all the food categories (vegetables, fruits, legumes, grains, meat) and shown no allergy or intolerance.
- Enjoyment: They’re managing spoonfuls of stage 1 foods easily, mouthing and swallowing happily.
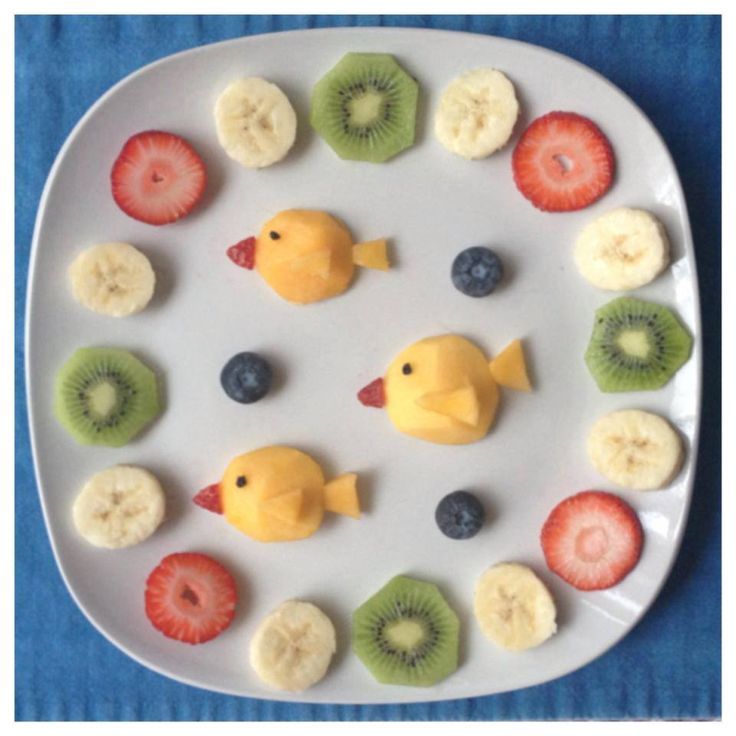
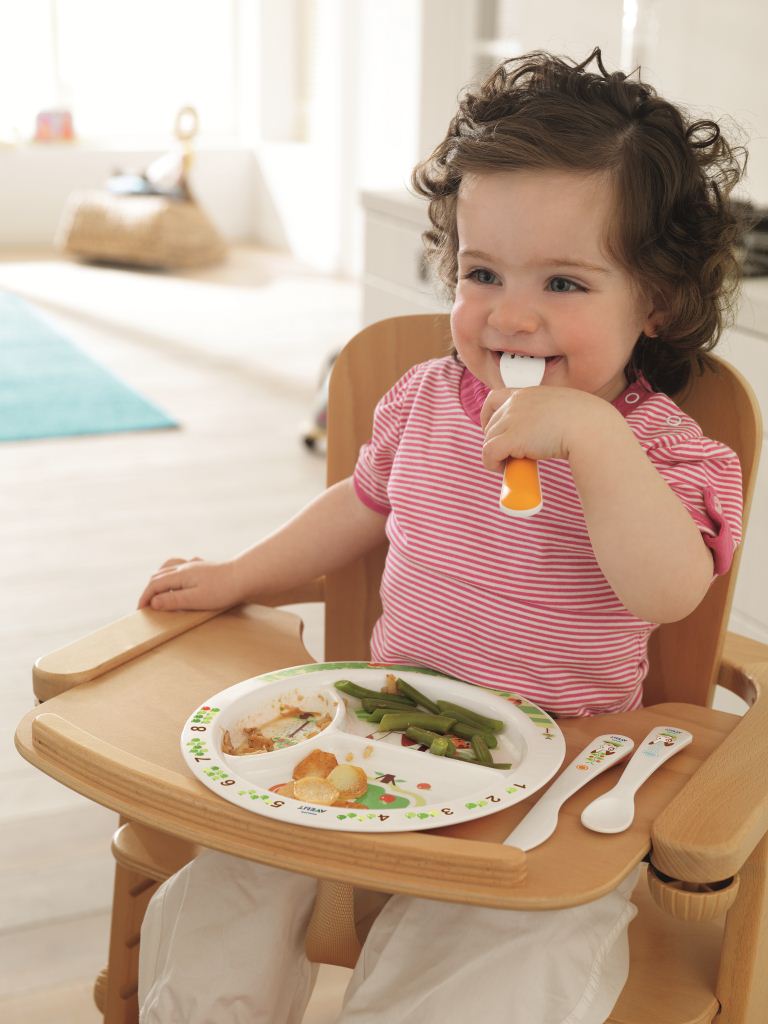
At this exciting stage, feel free to give your baby most types of foods. By offering them a wide range of tastes and textures, you’re giving them a foundation for healthy eating habits — as well as making it easier for yourself. Keep in mind the following safety points:
- Choking hazards: Avoid nuts, seeds, and popcorn at this stage. And make sure to slice round foods like grapes and hot dogs lengthwise.
- No honey: Children younger than 12 months should not be given honey because it could lead to a botulism infection.
- No juice: Follow AAP guidelines and stick with breast milk, formula or a little water and steer clear of juices.
- Safe feeding: Always strap your child into their high chair and keep an eye on them while they’re eating.
And if you’re wondering about peanuts, here’s the scoop: A 2017 release from the National Institutes of Health suggests exposing children to peanut-containing foods as early as 4 months old. (Wait till 6 months for children with mild or moderate eczema.)
Surprised? Don’t be. A recent study suggested that Israeli kids rarely suffer from peanut allergies because they’re munching on Bamba, a peanut-based snack, from as early as 3 months. Talk to your doctor about suggested safe ways to incorporate peanut products into your little one’s diet.
What’s on the menu for stage 2 baby foods? Basically, you can go the store-bought or the homemade route. Or you can mix both depending on how much time you have. It’s up to you and your personal schedule.
Here are tasty ideas for both options.
Store-bought stage 2 baby food
- Plum: These organic blends come in easy-to-transport pouches. Try pear, spinach, and pea, or banana and pumpkin.
- Beech-Nut: Options are available in jars and pouches. Serve up some apples and bananas or pineapple, pear, and avocado.
- Earth’s Best: Another organic option, in pouches or jars.
 Try sweet potato, barley, and garbanzo or pasta with tomato and white bean.
 - Gerber: A classic, whether served up from plastic tubs, jars, or pouches. Flavor combinations include peach mango and oatmeal or chicken noodle dinner.
Remember to monitor your little one while they’re eating. Pouches are handy, but the caps can be a choking hazard. Glass jars are at risk of breaking, so keep them out of baby’s reach. Your baby should always enjoy snacks and meals with attentive adult supervision.
Homemade stage 2 baby food
Cooking up a storm for your baby’s budding taste buds at this stage doesn’t have to be challenging. Here are a few recipes to get you going. (You can find even more baby food recipes here.)
Don’t shy away from spices and herbs: your baby will appreciate the added flavor, and the micronutrients in them will give their immune system a boost.
- Apple, butternut, and carrot: Boil the ingredients until they test soft with a fork.
 Drain some of the water, but set it aside in case you need to thin the mixture. Sprinkle in a little curry and blend.
 - Blueberries and chickpeas: You can cook up your own chickpeas or use a prepared version to save time. Mix equal amounts of blueberries and chickpeas. Blend and add breastmilk, formula, or water to get the right consistency. You can also add in some rice for extra oomph and texture.
- Salmon with roasted zucchini and fennel: Spray the salmon and vegetables with oil and broil for about 15 minutes. Add chopped parsley and blend. You can thin the mixture with breastmilk, formula, or water.
Enjoy this stage with your baby because it won’t be long before they move on to the next stages. And then, sooner than you think, you may be facing competition for that last slice of caramel-topped cheesecake.
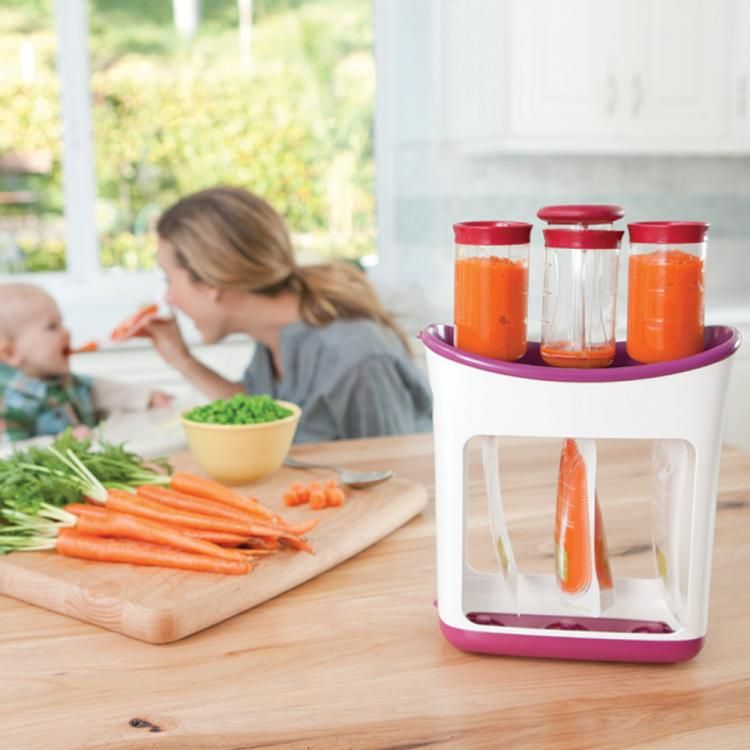
Baby food blender: which device is better?
When the time comes to think about the continuation of one's kind, everything should be ready for it.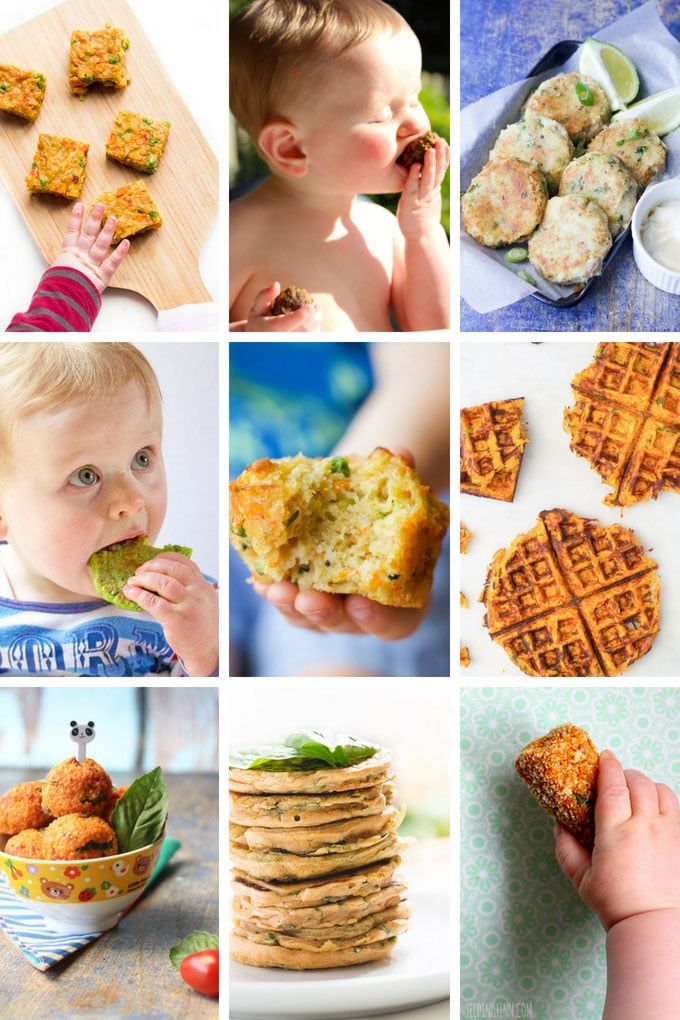 In addition to diapers, a playpen and baby food, you also need to purchase a baby food blender to provide your child with quality nutrition. And it will be simply necessary after the period of breastfeeding is over.
Of course, making your own baby food is more preferable, especially against the backdrop of recent news regarding the dubious quality of various ready-made purees in jars. After reading our article, you will be able to choose the most suitable version of the device for your child.
Content
- 1 Types of devices for baby food
- 2 Children's boils-pairing boards
- 3 mini-blonders
- 4 Submissive models
- 5 several important tips
types for children's food
for independent preparation of children food, 3 types of blenders will be suitable, so the choice will be between ordinary (classic) blenders and special ones:
- Blender-steamer.
- Mini blender.
- Immersion blender.
Children's steamer blenders
These types of blenders are ideal for the initial preparation of products for subsequent processes. The unit can not only grind food to a puree state, but also defrost food and reheat. This is made possible by the steam function .
Many people know that it is better to steam food, especially for children, because in this case the food retains more vitamins and benefits.
Preparation of a full-fledged puree in a blender-steamer is as simple as possible: all the necessary products are loaded into a container, after which the timer knob is turned. After the products have undergone thermal steam treatment and are ready, they can be crushed immediately. The grinding intensity is selected individually. Among other things, these models have auto-off function .
Mini blenders
Such units differ from ordinary classic blenders in their reduced size, low power and functionality.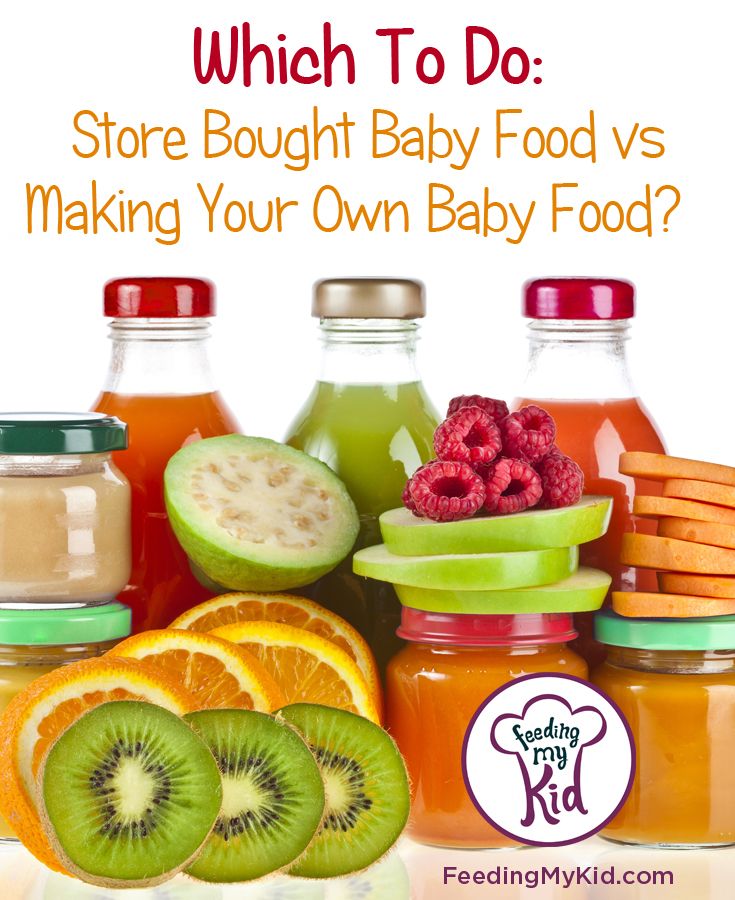 The bowl where food is placed for cooking is much smaller than the standard one. This is quite convenient, but exactly until the moment when the child remains very small. And as you know, children grow up quickly, so by the time your baby is one year old, such an aggregate will already be gathering dust on the shelf. This is due to the fact that due to its small size and relatively low power, it will not be adapted to other applications. That is why it is better to think twice before purchasing it.
The classic full-size unit can be used in many ways, no matter what kind of dish you want to make. Although it is less convenient for making baby purees, due to its size, large portions can be made. Such a blender will remain relevant even after the child grows up.
Submersible models
Most parents use a submersible unit to prepare baby food. It is convenient in those cases when it is necessary to grind a relatively small amount of products. The hand blender can be immersed in almost any bowl. He is very is compact and easy to use . Often, manufacturers of such units equip them with special nozzles or even bowls, thanks to which they become real food processors (the differences between the two devices are described in the article: what to give preference to: a food processor or a blender).
A Few Important Tips
- Any blender is suitable for making baby food, it all depends on your comfort and wishes.
- Solid foods must be thoroughly washed before grinding, and in some cases boiled (preferably steamed) or baked in the oven.
- In order to make meat puree, the unit must have a power of at least 450 watts.
Whichever blender you choose for your needs, you must approach this process very responsibly. It is best to give preference to those models whose plastic parts do not come into contact with products, as well as those that have several speeds and a large assortment of nozzles.
How to choose a baby food blender?
For baby food, you need to prepare mashed potatoes and cereals - any blender can handle this task. But modern models have various nuances that are not so obvious. We will tell about them below.
Baby food blender: things to consider
Materials are safe and durable
Blender bowls come into contact with food, so the quality of the material is in the first place, because the children's digestive system is very sensitive. There are blenders made of glass, polycarbonate and tritan. What is the difference?
Power: for cream soup or nuts
The more powerful the blender, the faster it grinds foods with complex and hard textures: nuts turn into paste and milk, fibrous herbs and wild plants into green smoothies, frozen fruits into ice cream .
To prepare puree and cream soup from thermally processed products, a stationary blender with a power of 1200 watts or more or a personal blender of 250 watts is sufficient. But if you want to turn peanuts into homemade Nutella in no time, and spinach leaves into absolutely uniform green juice, take a closer look at more powerful, semi-professional and professional models.
Portable: easy to carry around
If you often travel with your child and cook outside, choose personal blenders. Such models are compact, they are convenient to take with you. The advantage of personal blenders in the small volume of the glass. You can cook in small portions without transferring food to another container and without losing part of the product and your time. There are also fewer dishes for washing: grind, close the glass with a lid and take it with you.
Silence of operation
Everything affects the volume of the blender: materials and construction of the body, knives, bowl and fasteners.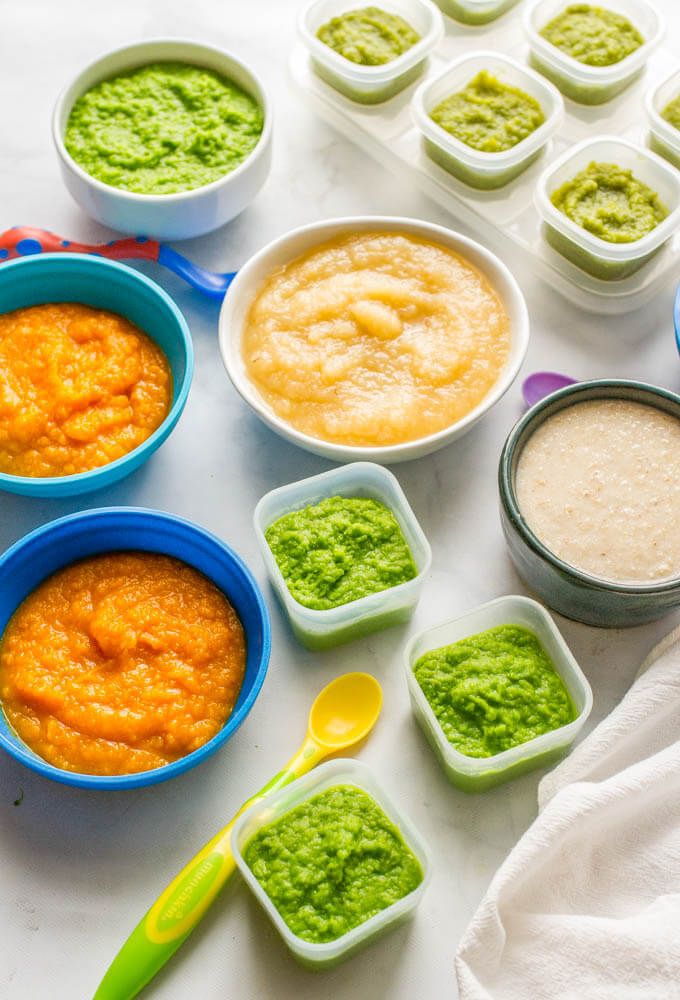 High-quality models make less noise without losing their power. Professional blenders are not quiet, but some models come with special noise-absorbing hoods (for example, Blendtec Professional 800). Blenders with tritan bowls tend to be a little quieter: tritan does not amplify, but absorbs vibrations. Due to their compactness and low power, personal blenders make less noise than professional models.
Additional options
When your child is older, you may want to please him with other dishes: frozen berry sorbet, nut paste, vegetable milk. Yes, and it will be useful for mom to restore strength with a glass of green juice. Choose from models that are suitable for different tasks: with medium power, special modes or additional knife blocks (separately for grinding dry and wet products).
What other nuances to consider?
Which models to look for
Stationary blenders have more options than personal blenders. However, in a fundamental moment, they lose: they will not be able to cook a small portion of baby food (the products must at least cover the knife blades for normal grinding).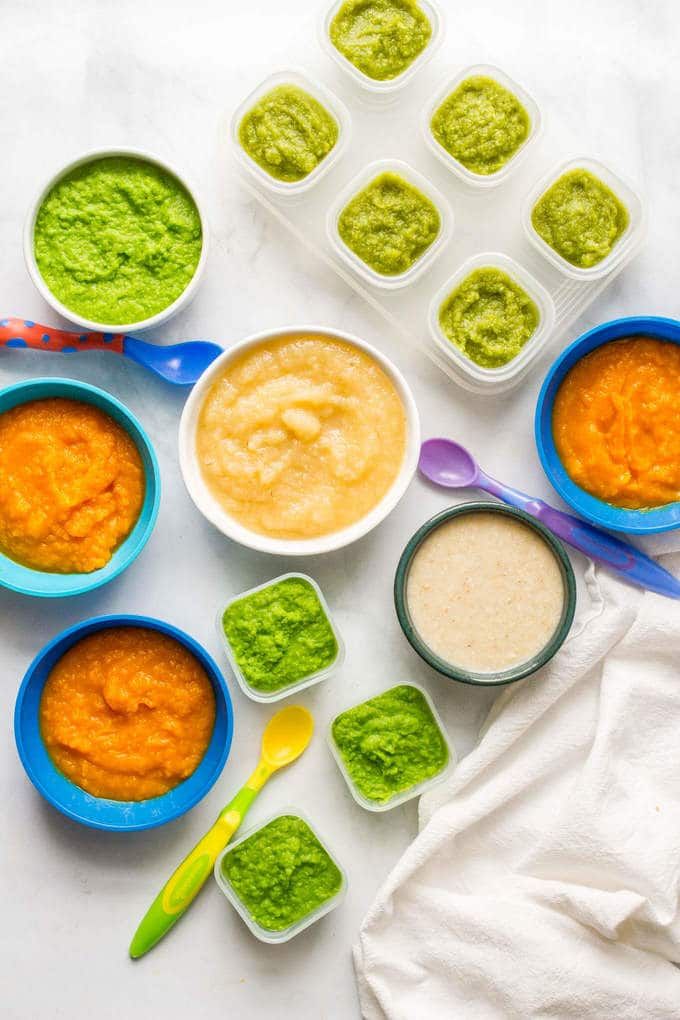
Another aspect is mobility. For regular trips to your parents or country house, a portable personal blender is more suitable.
Personal and stationary models complement each other in the kitchen, so ideally use both. But if this is not possible, choose the type that best suits your needs and lifestyle.
The Hurom BL-C01 blender is a novelty of this year from a Korean company that has been known on the market for more than 45 years. Portable model, which is convenient to take with you when traveling with a child. Two tritan cups of 350 and 600 ml allow you to prepare small portions of purees, soups and smoothies, as well as easy storage of the product, thanks to travel lids.
Tribest Personal Blender Glass PBG-5050 is one of the latest developments of the company, a personal, but at the same time quite powerful blender (as much as 500 watts). The model is suitable not only for purees and soups, but also for homemade sorbets, nut milks and healthy smoothies.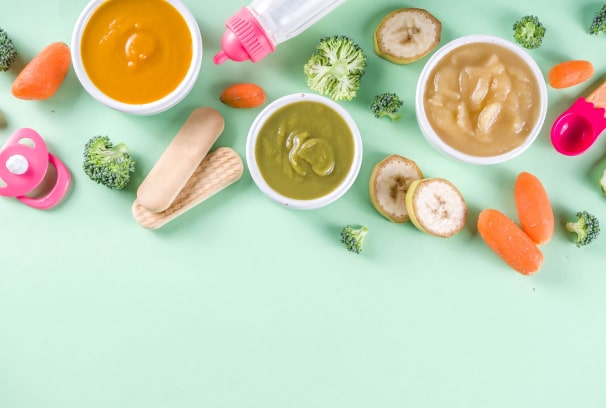 And three glass bowls with lids of 240, 480 and 720 ml allow you to quickly chop and easily transport the right amount of baby food.
Tribest PB-350 is a versatile and compact model, a real classic that has proven itself in the market. The blender is equipped with two glasses (for whisking and chopping), as well as 120, 240 and 350 ml glass jars for easy storage (and preparation) of even the smallest portions of baby food. The model is equipped with automatic and manual pulse control mode, as well as two knives for comfortable grinding of liquid and dry textures.
BlendTec Classic 575 is a classic stationary model from a well-known American manufacturer. Equipped with blunt blades made of reliable stainless steel (10 times stronger than blades from other manufacturers), which cannot be cut when disassembling and washing the blender. Sufficiently powerful (1560 watts) and durable model combines two types of control (4 modes + pulse). The blender is also equipped with a self-cleaning function for more comfortable use.