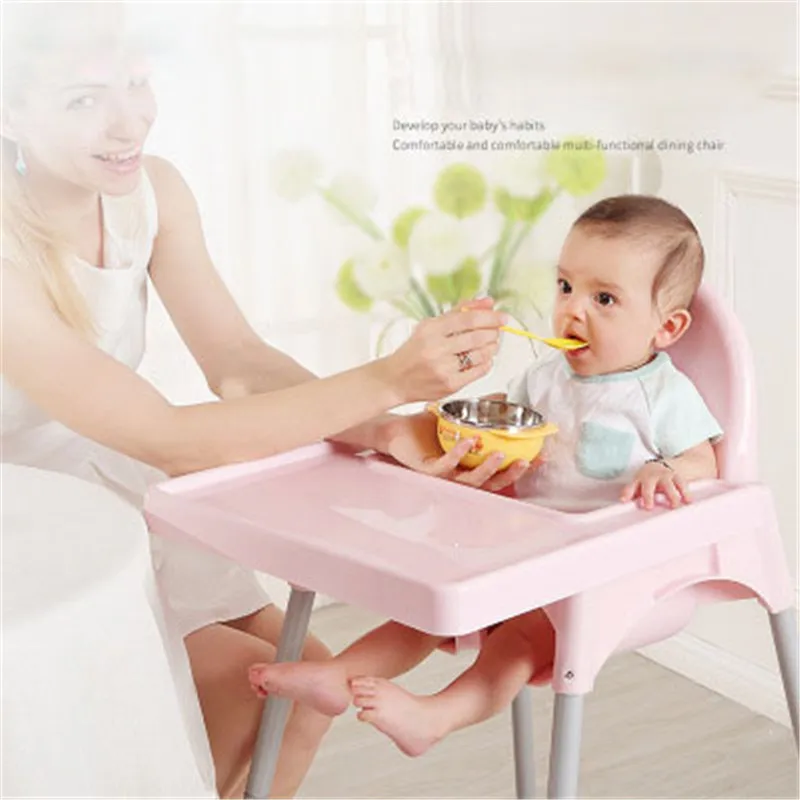
Feeding table food to baby
When, What, and How to Introduce Solid Foods | Nutrition
For more information about how to know if your baby is ready to starting eating foods, what first foods to offer, and what to expect, watch these videos from 1,000 Days.
The Dietary Guidelines for Americans and the American Academy of Pediatrics recommend children be introduced to foods other than breast milk or infant formula when they are about 6 months old. Introducing foods before 4 months old is not recommended. Every child is different. How do you know if your child is ready for foods other than breast milk or infant formula? You can look for these signs that your child is developmentally ready.
Your child:
- Sits up alone or with support.
- Is able to control head and neck.
- Opens the mouth when food is offered.
- Swallows food rather than pushes it back out onto the chin.
- Brings objects to the mouth.
- Tries to grasp small objects, such as toys or food.
- Transfers food from the front to the back of the tongue to swallow.
What Foods Should I Introduce to My Child First?
The American Academy of Pediatrics says that for most children, you do not need to give foods in a certain order. Your child can begin eating solid foods at about 6 months old. By the time he or she is 7 or 8 months old, your child can eat a variety of foods from different food groups. These foods include infant cereals, meat or other proteins, fruits, vegetables, grains, yogurts and cheeses, and more.
If your child is eating infant cereals, it is important to offer a variety of fortifiedalert icon infant cereals such as oat, barley, and multi-grain instead of only rice cereal. Only providing infant rice cereal is not recommended by the Food and Drug Administration because there is a risk for children to be exposed to arsenic. Visit the U.S. Food & Drug Administrationexternal icon to learn more.
How Should I Introduce My Child to Foods?
Your child needs certain vitamins and minerals to grow healthy and strong.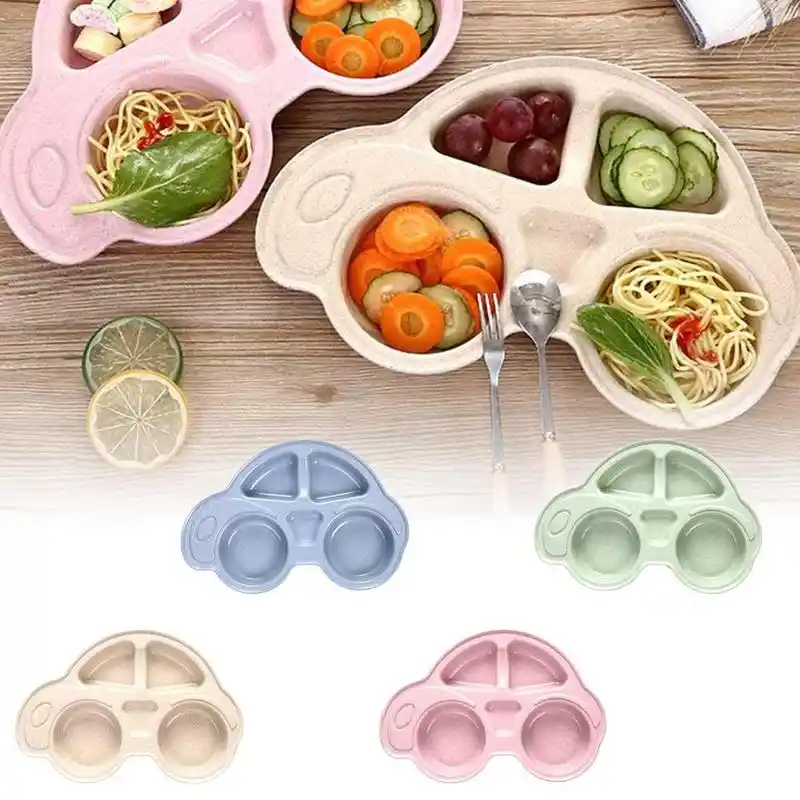
Now that your child is starting to eat food, be sure to choose foods that give your child all the vitamins and minerals they need.
Click here to learn more about some of these vitamins & minerals.
Let your child try one single-ingredient food at a time at first. This helps you see if your child has any problems with that food, such as food allergies. Wait 3 to 5 days between each new food. Before you know it, your child will be on his or her way to eating and enjoying lots of new foods.
Introduce potentially allergenic foods when other foods are introduced.
Potentially allergenic foods include cow’s milk products, eggs, fish, shellfish, tree nuts, peanuts, wheat, soy, and sesame. Drinking cow’s milk or fortified soy beverages is not recommended until your child is older than 12 months, but other cow’s milk products, such as yogurt, can be introduced before 12 months. If your child has severe eczema and/or egg allergy, talk with your child’s doctor or nurse about when and how to safely introduce foods with peanuts.
How Should I Prepare Food for My Child to Eat?
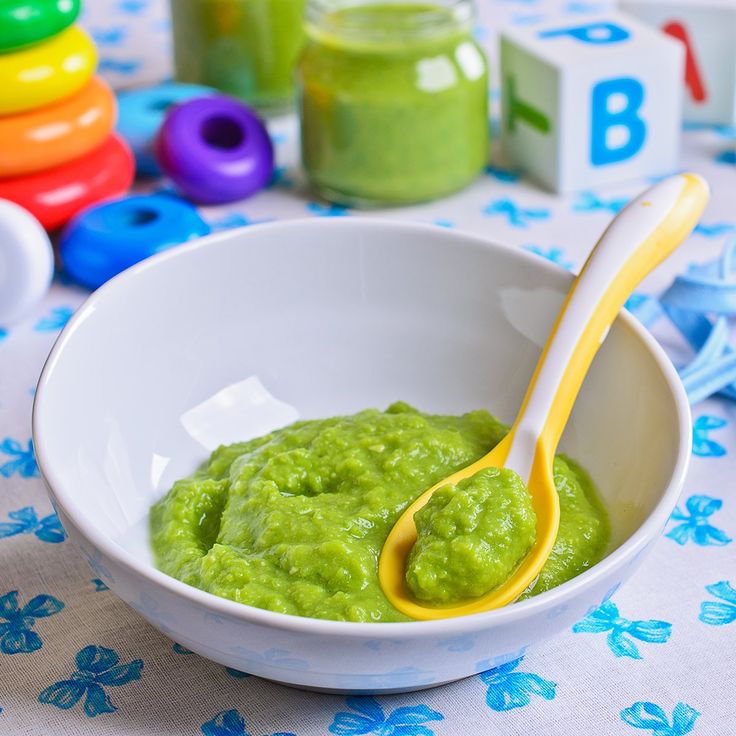
At first, it’s easier for your child to eat foods that are mashed, pureed, or strained and very smooth in texture. It can take time for your child to adjust to new food textures. Your child might cough, gag, or spit up. As your baby’s oral skills develop, thicker and lumpier foods can be introduced.
Some foods are potential choking hazards, so it is important to feed your child foods that are the right texture for his or her development. To help prevent choking, prepare foods that can be easily dissolved with saliva and do not require chewing. Feed small portions and encourage your baby to eat slowly. Always watch your child while he or she is eating.
Here are some tips for preparing foods:
- Mix cereals and mashed cooked grains with breast milk, formula, or water to make it smooth and easy for your baby to swallow.
- Mash or puree vegetables, fruits and other foods until they are smooth.
- Hard fruits and vegetables, like apples and carrots, usually need to be cooked so they can be easily mashed or pureed.
- Cook food until it is soft enough to easily mash with a fork.
- Remove all fat, skin, and bones from poultry, meat, and fish, before cooking.
- Remove seeds and hard pits from fruit, and then cut the fruit into small pieces.
- Cut soft food into small pieces or thin slices.
- Cut cylindrical foods like hot dogs, sausage and string cheese into short thin strips instead of round pieces that could get stuck in the airway.
- Cut small spherical foods like grapes, cherries, berries and tomatoes into small pieces.
- Cook and finely grind or mash whole-grain kernels of wheat, barley, rice, and other grains.
Learn more about potential choking hazards and how to prevent your child from choking.
Top of Page
How to Transition Your Baby to Table Foods Easily and Safely
Learn when babies start eating table foods and how to transition them to eating table and finger foods.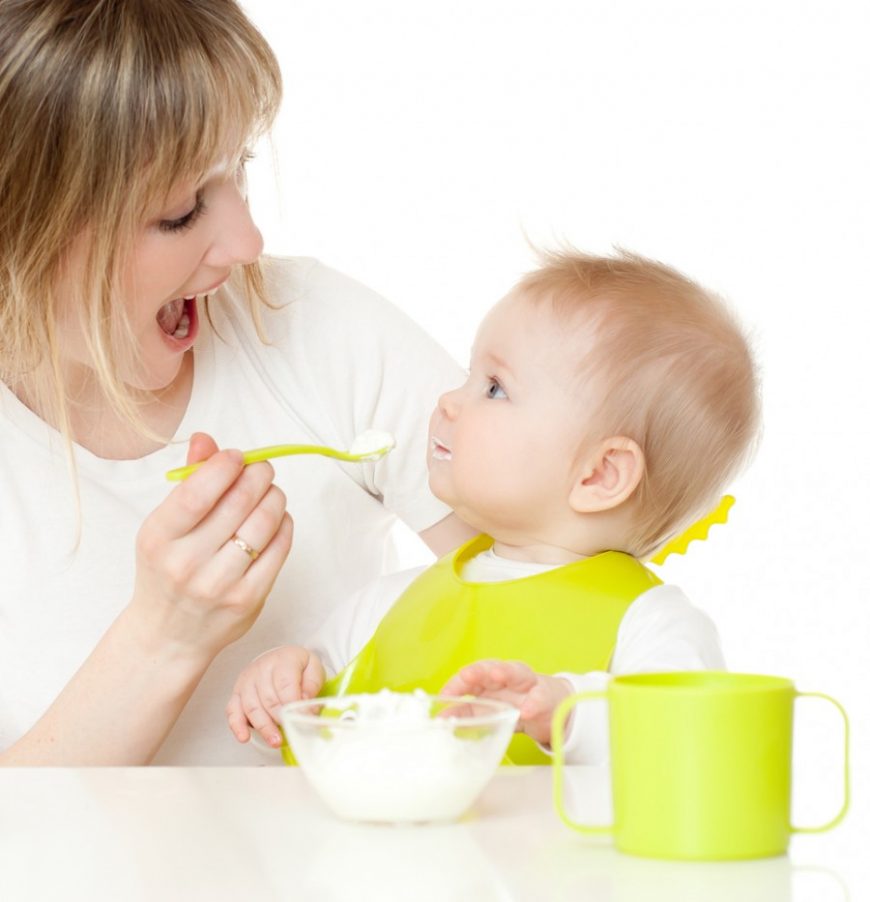 With this plan from an occupational therapist, you’ll feel confident you’re doing it safely!
As an occupational therapist that specializes in feeding, I often get asked how to transition a baby or toddler onto table foods. These questions usually come from parents that are struggling through the process with a baby (under 12 months old) or from parents that now have toddlers and are still stuck on pureed baby foods.
This post will help you no matter which situation you find yourself in!
Keep in mind that for babies and toddlers that won’t eat finger or table foods, the approach may need to be tweaked and adjusted specifically for your child based on the underlying cause. Difficulty with transitioning to table foods is *sometimes* a red flag for sensory sensitivity, oral motor delays, or some underlying medical diagnosis like reflux.
You can read more about those causes, and what to do about them in Why Kids Don’t Eat.
Because I want to give you a complete step by step plan, this post is part 1 of 2, in it you’ll learn when and how to start introducing table foods to your baby.
In part 2 of transitioning babies to table foods, you’ll learn how to fully get your baby eating table foods without needing baby food any longer. As well as some helpful examples of a baby and toddler’s feeding schedule once they’re eating table foods. Lastly, you’ll find out what to do if your baby won’t eat table or finger foods.
You Need Patience for Transitioning from Baby Food to Table Food
As a mom, each time I had to transition my boys onto table foods, I was frustrated and overwhelmed even though I’m a feeding therapist that had helped many families through it before. It’s different when you’re the mom living it day in and day out.
Experiencing that as a mom showed me how challenging it can be. The little baby food routine you had starts to shift, as they are also beginning to wean from breast or bottle and learn to drink from some type of cup (ideally a straw cup).
As parents, we worry, “Are they eating enough?”
With jarred food, you can know exactly how much they’ve eaten, but it gets a little blurry when half of the diced up food you give them is on the floor. It’s tempting to stop serving table foods and to focus baby food because you know how much they’re eating – but there’s a problem with that as you’ll learn shortly.
This process does require some patience because your baby is learning a new skill, something I had to remind myself of quite often.
My best advice as a mom and OT is to take heart and know it’s all part of the process. Remember that until 1 year of age, their milk source (breast milk or formula) is their main source of nutrition.
This is why people say, “food before one is just for fun.”
We want to teach our babies how to eat table and finger foods so they have the skill, but not get stuck on how much they are actually eating. This is an exciting time, and it’s absolutely adorable when your chubby little baby is gnawing on a bread stick or getting puffs stuck on their face!
Now that you’re in the right frame of mind, let’s dive into the details of when and how to introduce table foods to your baby!
When Do Babies Start Eating Table Food?
Generally speaking, a good time to start introducing table foods for most babies is around 8-9 months.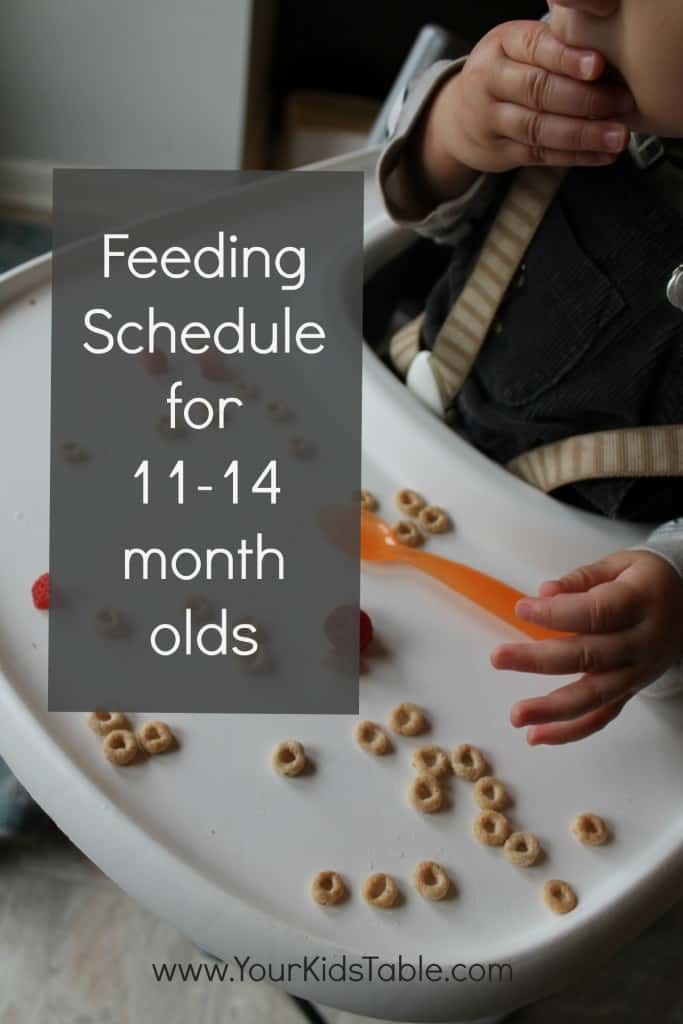 However, it may be later for your child, especially if they were a preemie. You will know they aren’t quite ready if they refuse, gag, or cough a lot when you try. That’s okay, don’t be discouraged, this just means you will need to take it slower and consistently offer safe foods they won’t choke on.
If you’re nervous about how to handle gagging or your baby is gagging a lot on foods, head to Everything You Need to Know About Baby Gagging.
For other babies, they may start eating table foods even earlier, sometimes at 7 months. As a feeding therapist, I can’t recommend starting too much earlier, but of course, it is your choice if you feel they are ready. It is likely that they will be mostly swallowing (not chewing) most of the food though.
If you’re thinking about baby led weaning, check out my pros and cons of BLW.
One critical word of caution is to NOT wait too long to start transitioning to table foods. Babies will instinctively chew from 7-8 months to around 11 months old, which means the transition will come easier. Check out this Weekly Meal Plan of Table Foods For Your Baby or Toddler to help give you ideas.
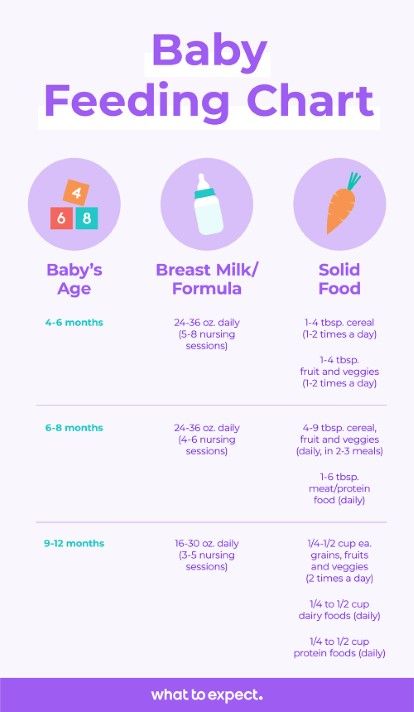
Waiting past 10 months, unless your child has developmental delays, a diagnosis, swallowing difficulties, or was born prematurely, can make transitioning to table foods even harder when they’re a toddler. See this chart as a quick reference:
Affiliate links used below. See our full disclaimer
Step #1: Transitioning to Table foods
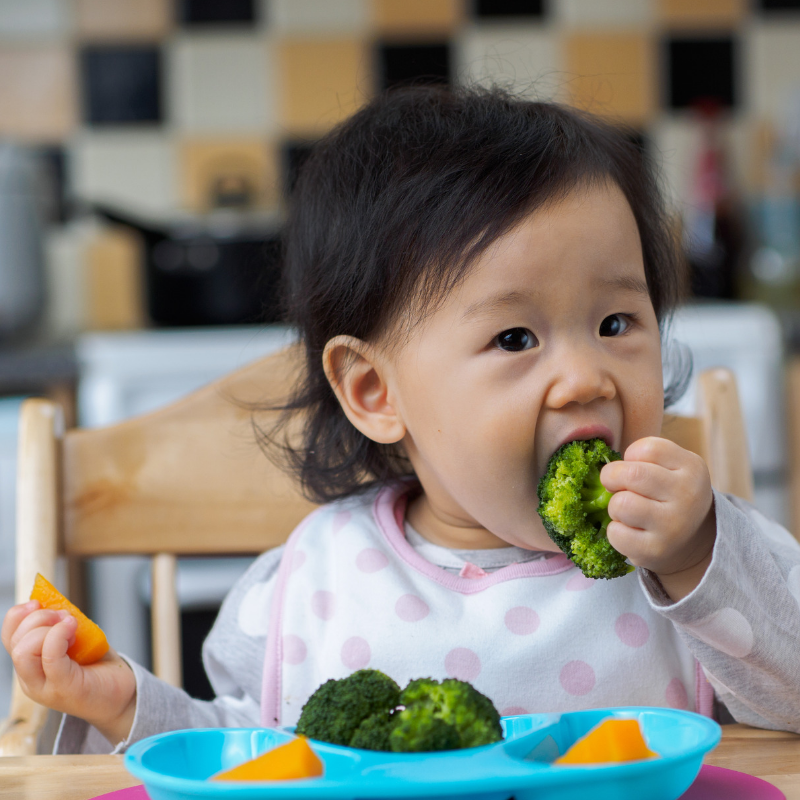
Some signs your baby is ready for this transition are:
- Looking at or grabbing your food
- Making a chewing motion with their mouth when they watch you eat
- Picking up small objects
- Are 8-9 months old. See 9 Month Old Baby Food + Table Food Ideas.
Remember, you want to start this by 10 months even if you aren’t seeing some of these signs, as long as they don’t have any of the reasons listed in the previous section to delay the start of table foods.
A week or two before you begin to introduce solids, start to thicken their baby food. Thicker foods require more movement of the tongue and muscles in the mouth, which helps lay a good foundation for moving a solid piece of food around in their mouth.
If you’re making your own baby food (get the DIY here), then add less water or liquid when pureeing. Use stage 2 baby food if you’re buying premade baby food.
Beware that some stage 3 type foods are great because they are thicker, but many of the jarred varieties have whole pieces of food mixed in with the puree, don’t go there – yet. That is putting the cart before the horse. For now, it’s crucial to stick with smooth purees, gradually increasing their thickness, as your baby tolerates it. NO CHUNKS.
The mixed in chunks can cause gagging and a negative experience. It’s actually harder for babies to eat than table foods. Babies that eat chunks in their baby food well are just swallowing it all without chewing.
I’d also recommend increasing the thickness of store bought baby food by adding cereal (this is one of my favorites) or freshly pureed foods into jarred baby foods.
Step #2: Eating Table Foods to Teach Your Baby
Once you start thickening their baby food, it would also be great to start eating at the same time you feed your baby, if you aren’t already. Your baby will watch what you do and learn a lot from it.
When you see that you have their attention, begin to dramatically chew for them, even with your mouth open. Show them how you put a small piece of food into your mouth using your hand. It may take finding the right moment to get their attention, but this will help pique their interest in table foods, as well as teach them what they should do when you hold that piece of food up to them for the first time.
The Best First Table Food for Babies
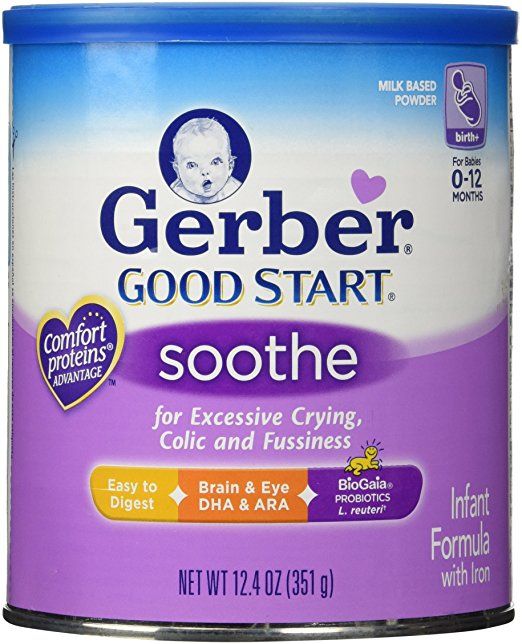
Before we move on, you need to know what table food to offer your baby. A great place to start, and the best choice for a lot of babies first table food is a meltable puff. I’ve used Gerber puffs many times, but there are so many brands, just test whatever type of puff you buy by letting it sit in your mouth and seeing how quickly it dissolves.
The dissolving factor is important because if your baby doesn’t chew the puff, it will dissolve in their saliva.
Puffs are perfect because they are hard and crunchy initially, which helps babies realize there is something in their mouth. That crunchy texture also helps them find it and maneuver it around in their mouth.
It may seem to make sense to start with a soft table food like eggs or banana. Not bad logic, but because those foods are so soft, babies have a hard time feeling exactly where it is in their mouth. For some babies, this means they will refuse table foods and for others, it means they aren’t chewing and just swallowing.
The wonderful thing about puffs is that they dissolve in saliva in just a few seconds. So, if your baby doesn’t chew while they are learning to eat and they swallow, they aren’t going to choke on it. That is peace of mind.
Puffs are also great because they can be broken into really small pieces for those first attempts, if needed. And, babies can pick them up easily! Read more in when can babies eat cheerios and puffs? (Cheerios are much later, they don’t dissolve)
Step #3: Introducing Table Foods to Your Baby
The very first time you give your baby an actual table food, you’ll want to try and pick a time with little distractions and that you can give them your full attention.
Make sure they are seated in their high chair because this keeps them in a safe position and will help prevent choking. Read about how to make sure your baby is seated safely for eating.
Place the table food on their tray and allow them to touch and explore it for a few minutes. Some babies will pick it up and put it right into their mouth, depending on their age. While that is certainly ideal, your baby may may need some more help.
If they aren’t putting the table food into their mouth, demonstrate picking it up and putting it into your mouth. Then, pick up a piece and put it into their mouth, right where their molars will be.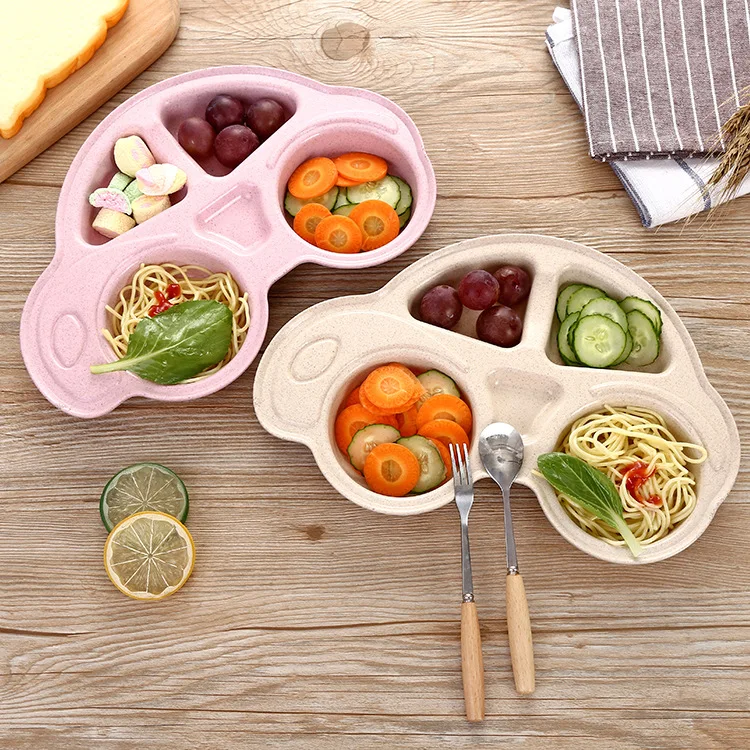 Or, if they’re holding the food, gently guide their hand towards their mouth for them as you smile reassuringly.
If they munch up and down and swallow, you can offer more bites.
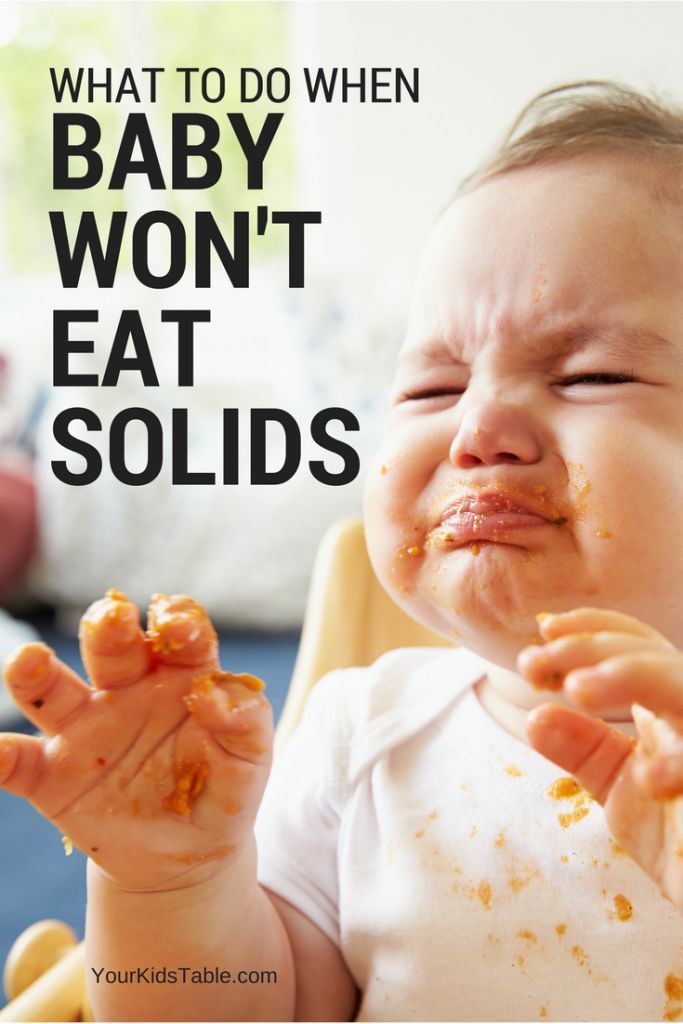
However, on the first attempt, some babies cough or gag. Other babies will spit it out. Be encouraging, peaceful (they will sense your stress, fake it if you have to), and know when to call it quits. Often, it may take a few meals over a few days before babies get the hang of it.
If your baby turns their head or pushes your arm away when you try to put the food in their mouth, then respect that and don’t force it. They may need some more exploration with the food first.
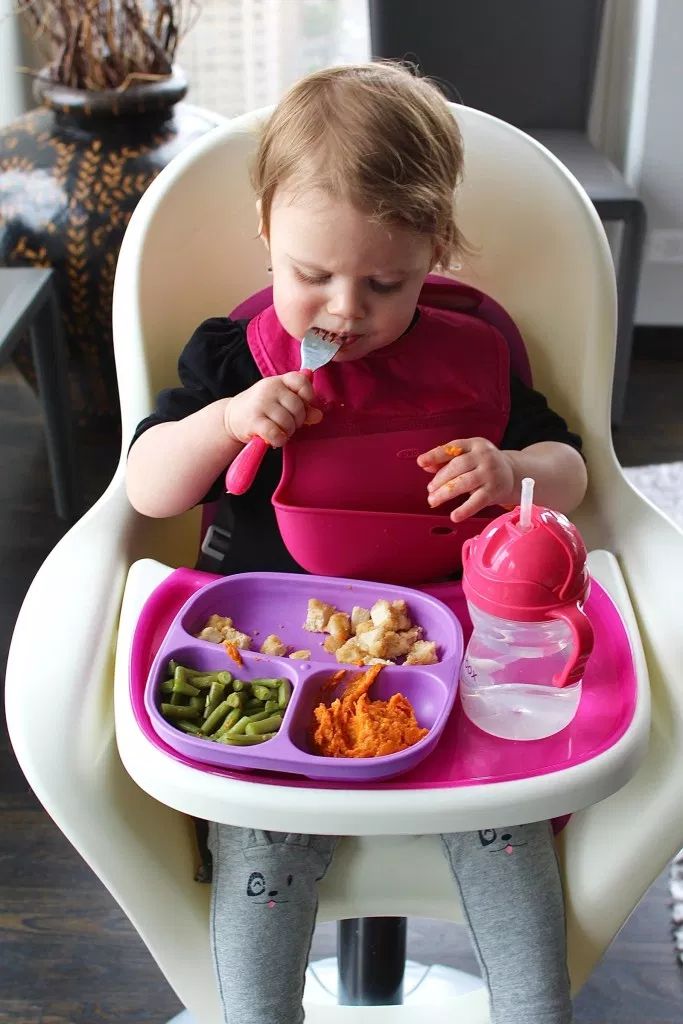
Step #4: Transitioning Baby to Table Foods
Continue to offer puffs for a few days to a week at every meal alongside their pureed food, until you can see them munching up and down with their jaw most of the time.
Ideally, they should be feeding themselves the puffs, too, but don’t let that be a deal breaker on moving forward. You can help them put the puffs in their mouth as long as they’re willingly opening their mouth. Find baby feeding schedules for 8, 9, and 10 month olds here and 11-14 months here.
Once your baby is enjoying puffs, you’ll want to try small pieces of other foods that dissolve really quickly. Some examples are: Town House Crackers (not Ritz, this texture actually requires more chewing), Graham Crackers, Teething Wafers, Baby Cheese Puffs, rice husks, and other stage 1 table foods you find in the baby aisle at the grocery store.
If you aren’t sure if a finger food is safe, do a taste test yourself. How quickly does it dissolve compared to a puff? How much do you need to chew it?
Step #5: Transitioning from Baby Food to Table Food
As your child eats a variety of crunchy but melt-able foods well, then you can start with soft foods like bananas, noodles, cheese, breads, and overly cooked veggies in a cube shape.
You can also try these cubed “jellies” or little frittatas, that are perfect for this stage too.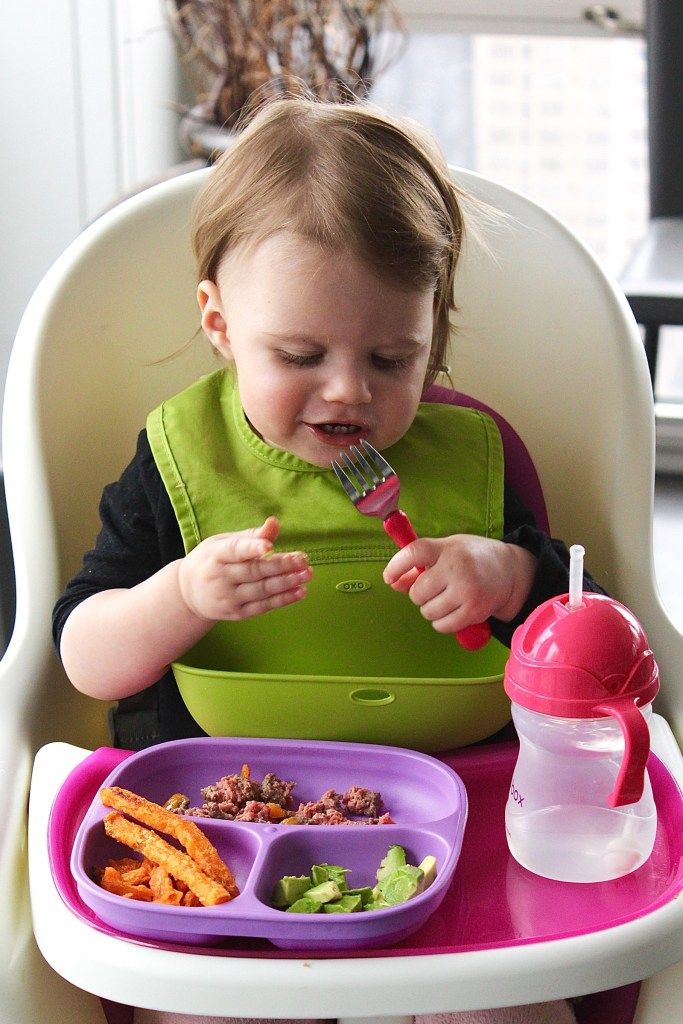 It may take a few days or weeks before you’re ready to move onto these soft foods.
When your baby is eating several cracker like foods and several soft foods, you can pull back from giving as much baby food and perhaps skip the baby food at some meals. As they eat more and more of the table foods, you’ll serve less and less baby food, skipping it more and more until you no longer need it.
To learn more about helping your baby or toddler transition to table foods completely, while avoiding some common pitfalls, grab a free seat in my online workshop (I’ll email you the link of where to watch) by click below:
Click here to get a free seat in my 5 Big Feeding Mistakes that are Stopping Your Child from Learning to Eat Table Foods
Important Tips for Transitioning Baby to Table Foods Easily
- Once you begin introducing table foods, offer one table food at each meal. Then, slowly increase the variety of foods they are eating as they are managing more foods.
- Continue to steadily increase the thickness of baby foods as you progress with table foods. If you aren’t making your own baby foods, try pureeing what you are eating for dinner or mix this into the jarred baby food. This will help get your child used to more textures and tastes. I love using a magic bullet for this!
- Carefully monitor all new foods. Some coughing and an occasional gag is normal. If you are seeing this frequently, the texture you are giving them may be too difficult for them. Wait a week or so before introducing it again and then proceed slowly. Discuss persistent gagging and choking with your doctor.
Keep reading about transitioning your baby or toddler to table foods in Part 2 of this series.
If you need more inspiration for table foods, check out my Mega List of Table Food Ideas and Pinterest for more ideas.
Free Printable: Learn How to Eat Table Foods Cheat Sheet!!
Want to have all these steps in your hands so you can reference them in a heartbeat? We’ve got you covered you’ll find all the steps for transitioning your baby or toddler to table foods in this handy free printable:
Click here to get the free Learn How to Eat Table Foods Cheat Sheet
More on Transitioning Baby to Table Foods from Your Kid’s Table
The Ultimate List of Baby/Toddler Meal Ideas
The Best High Calorie Foods for Babies
Getting Picky Eaters to Eat New Foods
A Weekly Meal Plan of Table Foods For Your Baby or Toddler: So You Can Save Your Sanity
Alisha Grogan is a licensed occupational therapist and founder of Your Kid’s Table.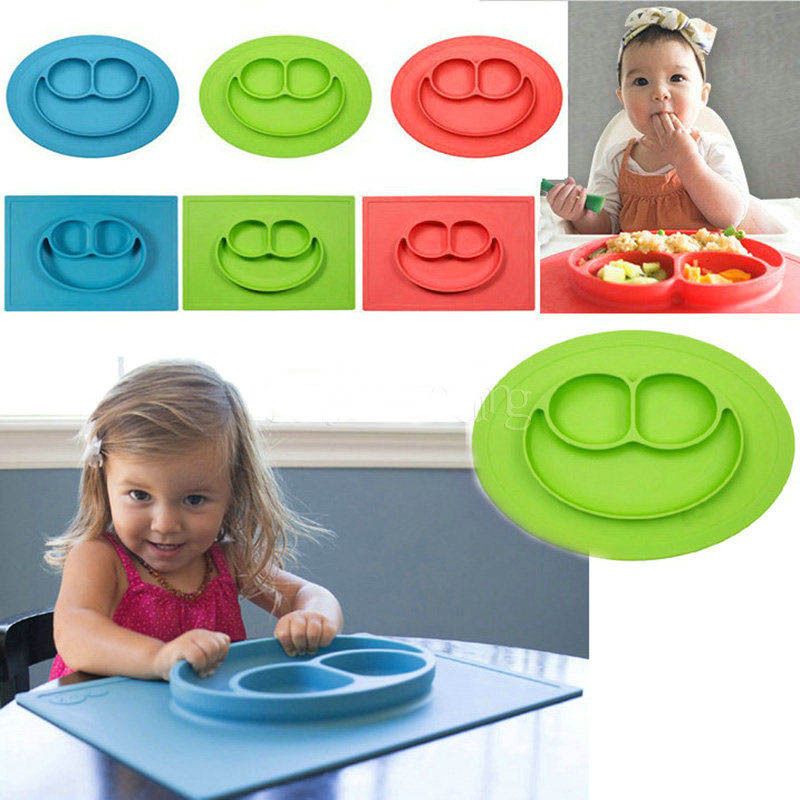 She has over 18 years experience with expertise in sensory processing and feeding development in babies, toddlers, and children. Alisha also has 3 boys of her own at home. Learn more about her here.
How to feed a child who does not eat in the school cafeteria
Mama.ru test
Thermoses " Arktika " for school breakfasts arrived at the Mama.ru office. And we decided that this is an excellent occasion to talk about organizing school meals. In two weeks, the new school year will begin, and during big breaks, children will go to the canteen for breakfast and lunch. We tell what to do for those who do not like catering may eat in the canteen due to gastrointestinal illness or for any other reason.
Nutrition in schools is regulated by SanPiN 2.4.5.2409-08 with the long title "Sanitary and epidemiological requirements for the organization of nutrition for students in general education institutions, institutions of primary and secondary vocational education", and this means that food in the school canteen must be guaranteed of good quality and safe preparation. But keeping food according to the rules and observing the standards of cooking does not mean cooking deliciously. School food is usually unappetizing, and, according to some students, completely inedible. What should parents do if their children refuse school porridge for breakfast, move away a plate of undersalted soup and dejectedly pick a cold cutlet for lunch?
First of all, understand that even the law "On Education" does not provide for compulsory paid meals in the school canteen. The child must eat properly and varied, must receive all the necessary vitamins and good food, but this does not mean that parents should pay the school. Not a single legal act contains norms obliging parents to choose a school diet, no matter what representatives of the school administration say.
It is also illegal to require a doctor's certificate stating that the child has any illness that prevents him from eating at school. Even a simple childish “it doesn’t taste good to me” is already a reason to think about alternative nutrition, because a student will simply put aside the plate without touching the food and remain hungry all day.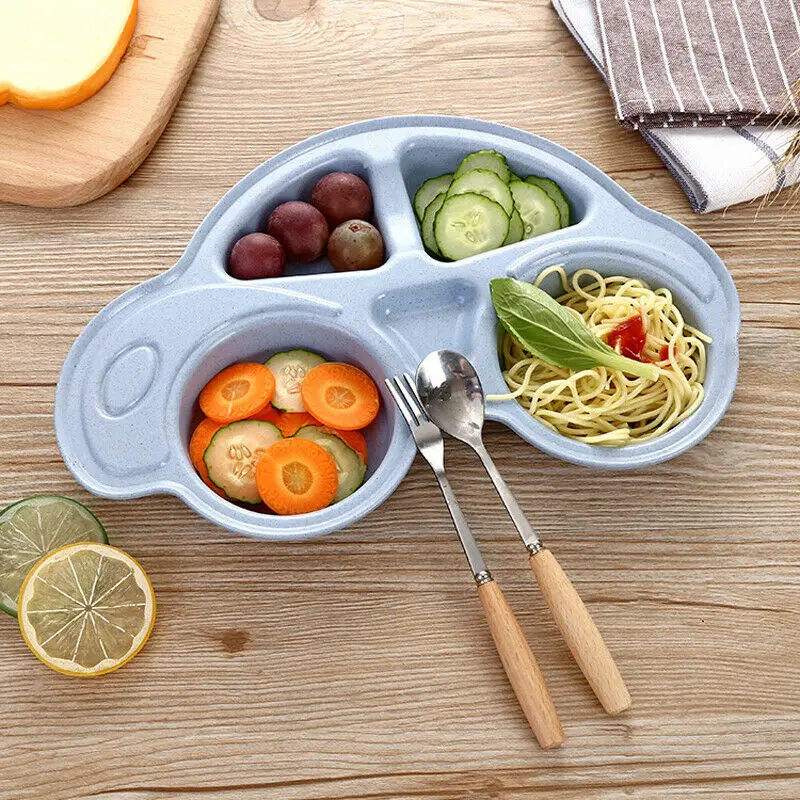 From 8:30 am to 3-4, and in some cases even 5-6 pm.
Secondly, parents should assess their strength in advance and understand whether they are ready to provide their child with a full-fledged alternative to school meals every day. Get up an hour or two earlier, prepare breakfast and lunch, and pack them in safe, light, and handy containers. Make sure that the child's diet always contains vegetables, fruits, compotes. So that food can be easily taken out and eaten, so that it does not crumble, does not smell too strong. So that breakfast and lunch can truly replenish energy during the day, which means they would contain proteins, carbohydrates and fiber.
If the family is ready for such difficulties, it remains to choose convenient dishes and look at recipes for homemade school breakfasts and lunches.
While a plastic lunch box with several compartments may be suitable for a light snack, parents should purchase thermoses for hot meals. The smaller the thermos, the easier it will be for the child to carry it in a lunch bag. Ideally, a thermos for an elementary school student should not be more than 300-400 ml. For hot drinks, you need a container with a narrow neck, and for second courses - with a wide one.
art. 411-280
Just such a thermos with a wide mouth of 280 ml. Suitable for children who are used to eating homemade porridge for breakfast. Good for lunches and for taking food with you to the sports section or to the pool, where the children always come out hungry. Suitable mainly for elementary students. For older students, the portion size should be larger. Keeps warm from 3 to 6 hours. If mom puts in a freshly cooked lunch in the morning, the food in the thermos will be the right temperature by the big school break.
art. 411-400
This model of the editors of Mama.ru seemed less successful than the previous one: despite the declared wide neck, this 400-ml thermos is rather elongated and narrow. It is quite difficult to eat anything from it and not get your hands dirty, especially for students in grades 1-4. This option is suitable for bringing soup to school and pouring it into a bowl. But let's say from experience that homemade soup at school is not the right decision.
art. 102-350
Miniature thermos for tea, compote and any other drinks. It makes sense to purchase such a container even for those who are not going to heroically feed their children at school with homemade food. Bringing a warm drink to school is always a good idea. The instructions for the thermos say that it should not be given to children, however, it is difficult to imagine an adult who will be satisfied with a volume of liquid of 350 ml. We think that you simply don’t need to pour boiling water to the child with you to school.
art. 102-350
Citytherm is a new word that refers to a container that retains heat and opens with a sly click. Great for older students. The special shape of the spout allows you to drink by pouring liquid into the cup. Can be attached to a school backpack, taken to training or hiking. Comfortable and versatile item!
Share
Tweet
Klass
Share
We are in social networks
0001
Education
Photo: Press Service of the Mayor and the Government of Moscow. Yevgeny Samarin
Today, Moscow school canteens offer two menus for organizing reduced-price meals, as well as alternative dishes in buffets. How parents can understand this multitude of positions, make sure that their child eats more than just sandwiches, and control the quality of food, read in mos.ru. A varied diet is necessary for the normal development of the child. Therefore, in Moscow schools there is a choice of two types of menus. As before, at the request of parents, the least healthy foods - semi-finished products and canned meat - are not served in canteens, but fresh vegetables and fruits are included in the diet every day. In addition, you can buy various delicacies, pastries and healthy snacks in the buffets.
Modern technologies on guard of healthy eating
Parents of Moscow schoolchildren can find out how often their child has a snack and help him eat right online using the information system "Passage and Nutrition". It aggregates data on non-cash payments using cards, bracelets and other Moskvenok identifiers, allows you to replenish the balance and set a spending limit. Also, parents can put a ban on the purchase of various types of products in canteens. Salted breadsticks and mini-pretzels are the most commonly banned.
More than 90 percent of Moscow schools are connected to the Pass and Meal system, and 935,000 students have cards, bracelets and other devices.
The Pass and Feed project has been operating in the schools of the capital since 2012 and allows you to track when a child comes to school and leaves it. To connect to the system, one of the parents or the legal representative of the student needs to fill out an application and give it to the class teacher. After connecting to the system, you will be able to get all the necessary information on the Visits and Meals page of the mos.ru portal, using the Moscow State Services mobile application and push notifications, as well as by e-mail. In addition, on the "Visit and Dining" page of the mos.ru portal, you can track hot meals and purchases at the buffet.
For information on how to find out about your child's school attendance and meals, as well as how to grant access to the project to other family members, read the instructions from mos.ru.
Compliance with norms
They prepare food for young Muscovites, mainly directly in the catering departments of schools. For establishments with buffets-handouts, where there is no catering department, meals are prepared at food processing plants and delivered in special isothermal containers that maintain the temperature of the dishes. The quality of products is controlled by technical regulations and sanitary rules (SanPiN 2.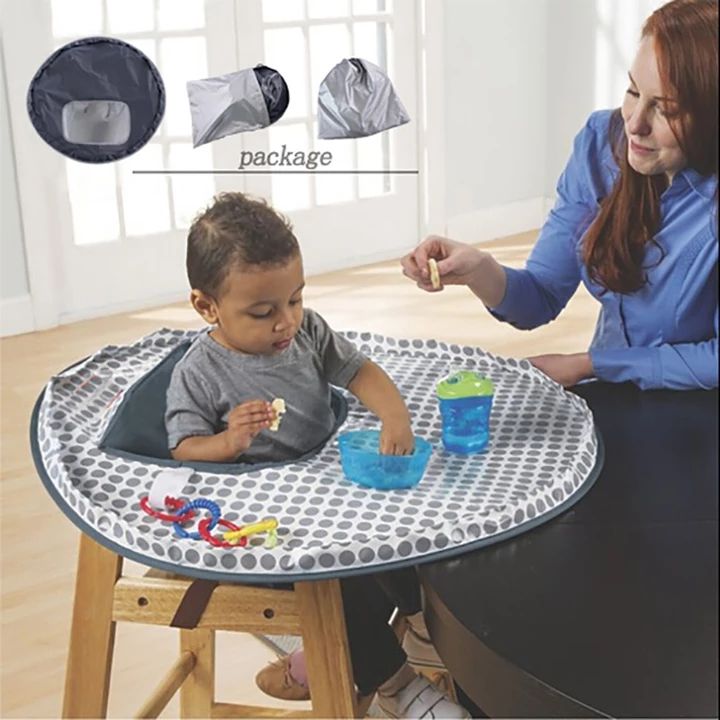 4.5.2409-08). Regulatory documents oblige manufacturers to ensure the safety of products, monitor their composition and nutritional value, as well as store and transport ready-made meals and raw materials in a way that does not affect their quality. Sanitary rules and regulations apply directly to the organization of school meals. SanPiN contain not only requirements for the premises and technical equipment of canteens, but also requirements for the development of menus.
There are several levels of control over school meals. Compliance with sanitary rules and regulations is monitored by Rospotrebnadzor, which has the right to issue orders to eliminate shortcomings and fine violators. The director of the educational organization is responsible for the quality of dishes and the organization of their sale.
In addition, schools have specialized nutrition commissions under the governing boards, which include parents. Usually information about these tips can be found on the school website.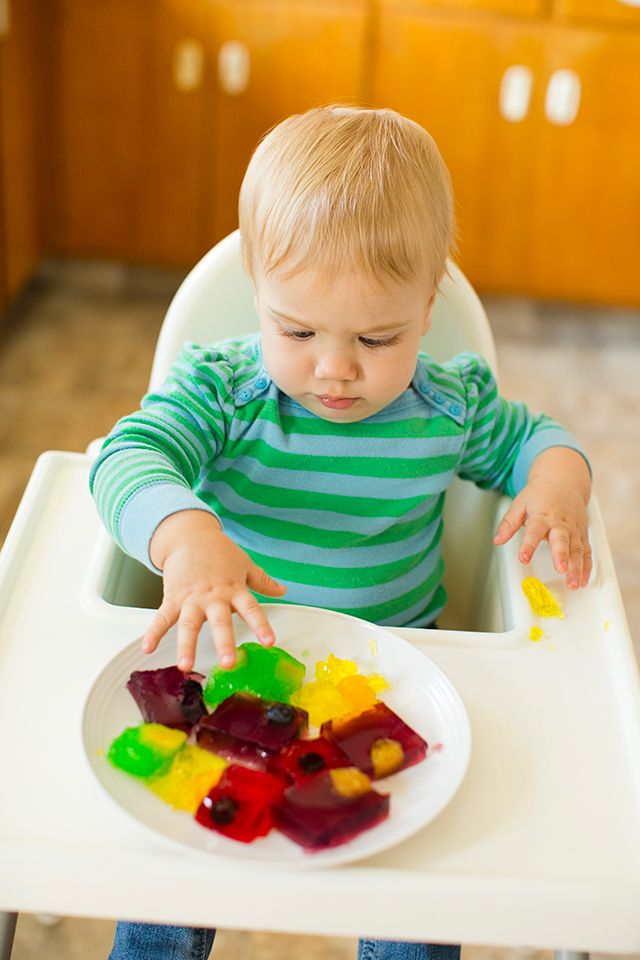
Members of the commission can check the quality of products, the size of portions, as well as the compliance of prepared dishes with technological maps.
In addition, there is a commission for monitoring the organization and quality of meals under the City Advisory Council of the Parents' Community under the Department of Education.
Cartoon characters and Viennese waffles
Some educational organizations are involved in the My School Restaurant project. Today canteens and canteens of more than 50 metropolitan schools have turned into restaurants. Their interiors are decorated with images of popular cartoon characters, seascapes, as well as paintings with the sights of Moscow, other Russian cities and capitals of the world.
Along with the usual meals from the school menu, the school restaurants serve themed meals. For example, Brazilian and minestrone soups, baked chicken skewers, fajitas, Caesar salad with dressing, Amigos salad with homemade cheese chips, lemon and orange mojitos and many other dishes.