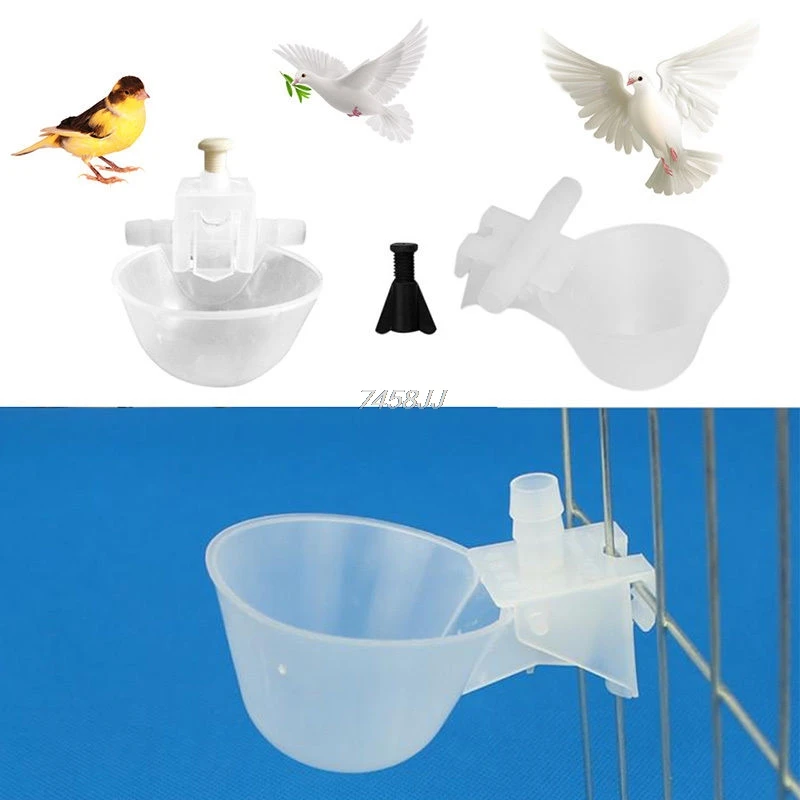
Water feeder for baby chicks
Chick Care: Feeding and Watering Dos and Don’ts
by Gail Damerow in Farm Animals, Horses & Pets
Newly hatched chicks are not entirely helpless, but like any other babies, they must have access to clean water and be kept well fed. Gail Damerow shares some expert tips to ensure you’re ready for your new arrivals.
Buff Orpington chick. Photo © gina pina, via Wikimedia Commons.
Newly hatched chicks are not entirely helpless, but until they grow a full complement of feathers, you’ll need to keep them warm, dry, and safe. Like any other babies, they must also be kept clean and well fed. Here are a few dos and don’ts for making sure you’re meeting your new arrivals’ food and water needs.
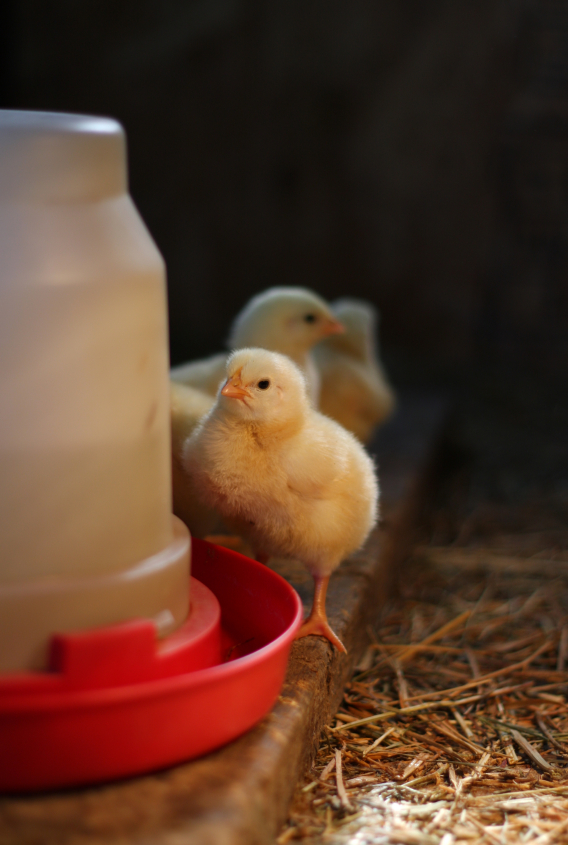
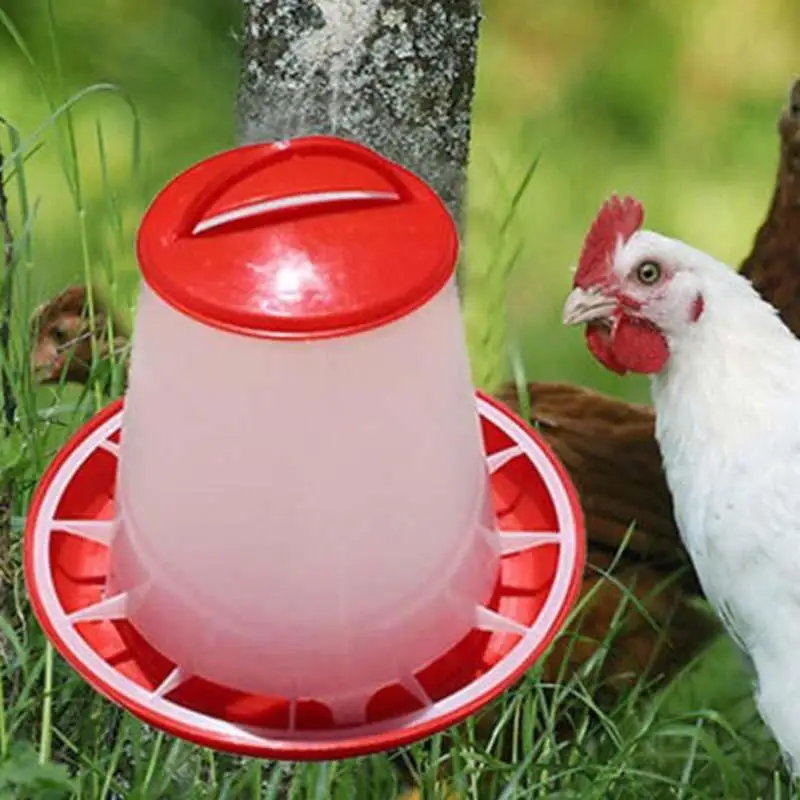
DO make sure chicks must have access to fresh, clean water at all times. A waterer should be the correct size for your flock’s size and age — chicks should neither use up the available water quickly nor be able to tip over the fount. The basin should be high enough to keep the water level between a chick’s eye and the height of its back. This way, a chick drinks more and spills less. Chicks shouldn’t be able to roost over or step in the water. The easiest way to provide water to newly hatched chicks is to use a 1-quart (1 L) canning jar fitted with a metal or plastic watering base, available from most feed stores and poultry-supply catalogs.
DON’T be tempted to cut corners and provide water in an open dish or saucer. Chicks will walk in it, tracking litter and droppings that spread disease. They’ll tend to get wet and chilled, and the stress will open the way to disease. Some chicks may drown. Damp conditions in a brooder — whether caused by spilled water or a leaky waterer — are to be avoided.
To minimize stress, chicks should drink soon after they hatch and eat within five hours. Photo © Gail Damerow, excerpted from Storey’s Guide to Raising Chickens, 4th Edition.
DO clean waterers daily. Use warm water and vinegar or other poultry-approved sanitizer. When choosing a waterer for your chicks, make sure to select one with a drinker that is easy to clean. A fount that’s hard to clean won’t be sanitized as often as it should be.
DON’T make chicks travel far for their water. Initially place drinkers no more than 24 inches (60 cm) from the chicks’ heat source. Later, as you move the chicks to expanded housing, make sure they never have to travel more than 10 feet (3m) to get a drink. When upgrading to a larger waterer, DO leave old waterers in place for a few days — at least until the chicks get used to drinking from the new source.
DO make sure chicks are drinking before they start eating. They seem to experience less of a problem with sticky bottoms if they a good dose of water before they get a belly full of feed, especially when the feed is commercially formulated chick starter.
DON’T feed layer ration to chicks, not even as an emergency measure if you run out of starter. The high calcium content of layer ration can seriously damage a chick’s kidneys. If you run out of starter, or you forget to pick some up and you have chicks to feed, you can make an emergency starter ration by cracking scratch grains in the blender or, if you have no scratch, by running a little uncooked oatmeal through the blender and mixing it 50/50 with cornmeal. Don’t use this mixture any longer than necessary, though — grains are high in calories and low in the protein, vitamins, and minerals a chick needs for good growth and health.
The end cut from a tissue box makes a handy first feeder to encourage baby chicks to peck for food. Photo © Gail Damerow, excerpted from Storey’s Guide to Raising Chickens, 4th Edition.
Soon after they hatch, chicks start looking for things to peck on the ground. If they don’t see anything else on the ground, they’ll peck their own feet.
DO sprinkle a little starter ration on a paper towel or paper plate to help them find feed.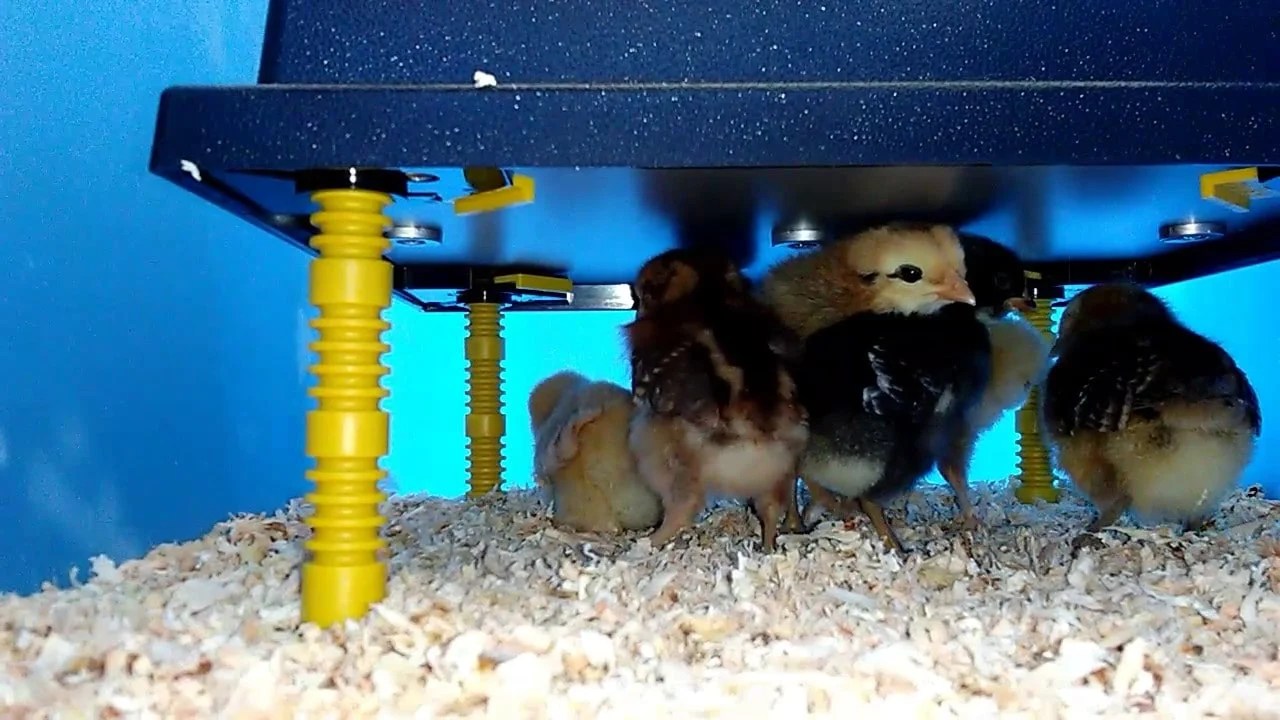 As soon as most chicks are pecking freely, remove the feed-covered paper before it starts to hold moisture that attracts mold. For the remainder of the first week, put the starter in a shallow lid or tray, such as a shoebox lid. When the chicks start scratching out the feed, switch to a regular chick feeder.
DO choose a feeder that works for your space. A good feeder prevents chicks from roosting over or scratching in feed and has a lip to prevent billing out (wasting feed by scratching it out with their beaks). If your space is limited, use a feeder that has a small footprint. One such style is a base, similar to a drinker base, that screws onto a feed-filled quart (1 L) jar, and has little openings through which the chicks can peck. If the brooder is roomy enough, a hanging feeder is ideal because it holds a lot of feed, so chicks are less likely to run out during the day; it minimizes feed wastage because chicks can’t scratch in it and are less likely to bill out feed if the feeder is maintained at the proper height (the same height as the birds’ backs).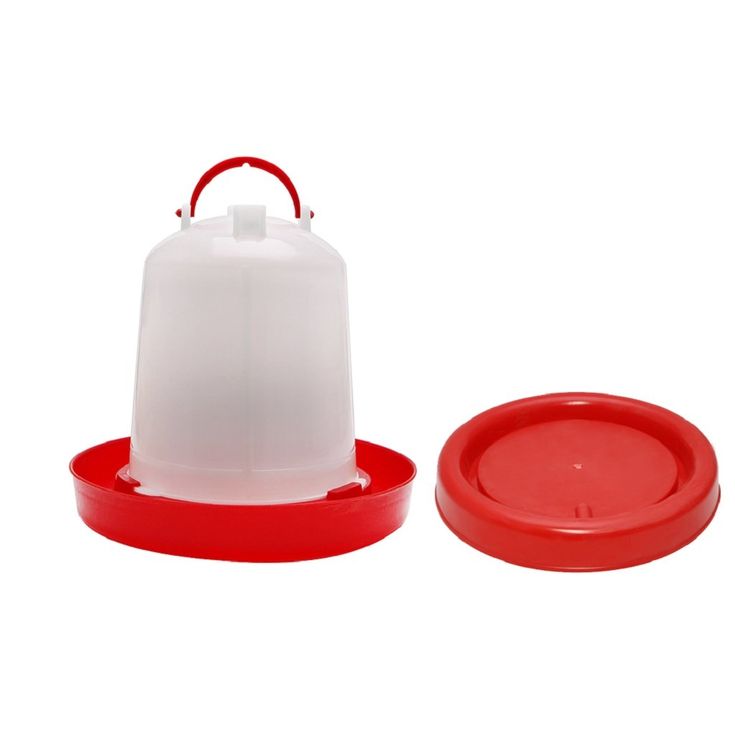 ; and it is easy to raise on the hanger to the proper height as the chicks grow.
A chick feeder that screws onto a quart (about a liter) jar has a small footprint, making it ideal where brooder space is limited. Photo © Gail Damerow, excerpted from Storey’s Guide to Raising Chickens, 4th Edition.
DON’T leave feeders empty for too long, and be careful not to let uneaten feed accumulate. Fill feeders in the morning, and let the chicks empty them before filling them again. Leaving feeders empty for long periods of time invites picking, but letting stale or dirty feed accumulate is unhealthful, so strike a healthy balance. Clean and scrub feeders at least once a week.
DO think about good gut health! Old-time poultry keepers spiked their chicks’ water with a tablespoon of apple cider vinegar per gallon (3.75 L). Chickens like it, and the poultry keepers saw positive effects. Could they have known that the beneficial bacteria and yeasts naturally colonizing a chick’s intestines prefer acidic conditions? I doubt it. The science of probiotics is all pretty new. But we know now some reasons why it was/is beneficial. Encouraging the growth of beneficial gut flora fends off harmful organisms through a process called competitive exclusion. Chicks raised in an incubator acquire beneficial gut flora more slowly than chicks raised under a hen. To enhance their immunity, probiotics are available that are either dissolved in water or sprinkled on feed to give the chicks an early dose of the same gut flora that will eventually colonize their intestines. A hand substitute is live-culture yogurt, but a little goes a long way — giving chicks too much yogurt will cause diarrhea.
Text excerpted and adapted slightly from
Storey’s Guide to Raising Chickens, 4th Edition © 2017, 2010, 1995 by Gail Damerow. All rights reserved.Gail Damerow
Gail Damerow has written extensively on raising chickens and other livestock, growing fruits and vegetables, and related rural know-how in more than a dozen books,… See Bio
Related Books
Articles of Interest
-
What exactly is mindfulness? It means taking time to notice what’s happening inside and outside your body.
 Storey Publishing works with mindfulness experts—meditation teachers, yoga teachers, sleep therapists, and more—on our line of children’s books that encourage mindfulness in the youngest learners. Take a look … Read More
by Storey Digital Editors
-
The North American colonies were an inhospitable place for beer. Malt was in short supply, as New England and the southern colonies were poorly suited to barley cultivation. Hops were rarely grown in the colonies, and they did not often arrive in good condition when … Read More
Drink
by Randy Mosher
-
Homemade lasagna is always a labor of love, and this is no different, although using no-cook noodles cuts out one step.
 This is a pasta dish in which tomatoes make no appearance, as is typical of Northern Italian pastas. Instead, a creamy béchamel sauce separates … Read More
Recipes
by DeeDee Stovel
-
These easy-to-make spidery clusters get their spooky stare from a pair of gleaming red candy eyes. If you have time before the chocolate sets up, pull a few chow mein noodle “legs” upward from each cluster to wave around. Makes about 24 spiders. Ingredients: 1 … Read More
Recipes
by Sharon Bowers
-
Ramen noodle soup is a quick, inexpensive, and filling meal, but the kind you buy in the store is loaded with salt and preservatives—and not as good as homemade! You can buy plain noodles and jazz them up with your own ingredients for a healthy … Read More
For Kids
by Deanna F.
 Cook
Cook
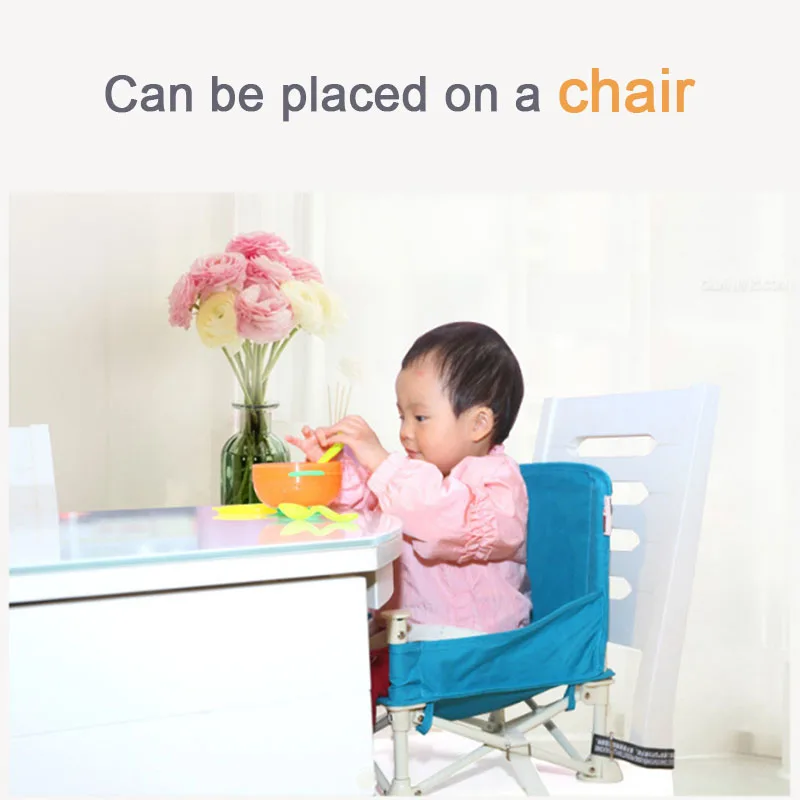
What's the most cost effective feeder option for baby chicks?
- Home
- Brooder Care
- Feeders
Chicks are messy and tend to kick their food all over the place. So which feeder will work best in your brooder for eliminating waste and saving money?
When first in the brooder, chicks are best left with food sprinkled on the brooder floor.
That way, they learn to react to the sound of crumbs dropping - which is what a mother hen would teach them - and to distinguish between food and bedding.
But once they've got the hang of what to eat, it's time to add containers into their lives.
The problem is, chicks are messy.
They kick food everywhere, which can lead to massive waste. They climb on top of whichever feeder they're given, which leads to poop in their feed, and the need to clean it out several times a day.
So is there a solution to this in the feeders available on the market today, or is wasting grain (and therefore money) just a fact of life when raising chicks?
I've tried almost all versions of the chick feeder that I know of, some of which work better than others. Here, I review four feeders I've used to assess whether it's possible to prevent waste in the brooder.
If you purchase a product through links on the rest of this page, I receive a small commission at no extra cost to you. I only recommend products I have purchased or would purchase myself and which I believe would benefit you. To learn more please see my disclosure policy.
The long, plastic feeder.
If you have more than four or five chicks, these long feeders are good. While chicks are small, they can sit side by side to eat from them, and because the holes are fairly small, it's not possible for them to climb inside the container - which they will, if they can!
It's red, the colour all chickens instinctively want to peck at, so it encourages immediate feeding (once they've got used to it).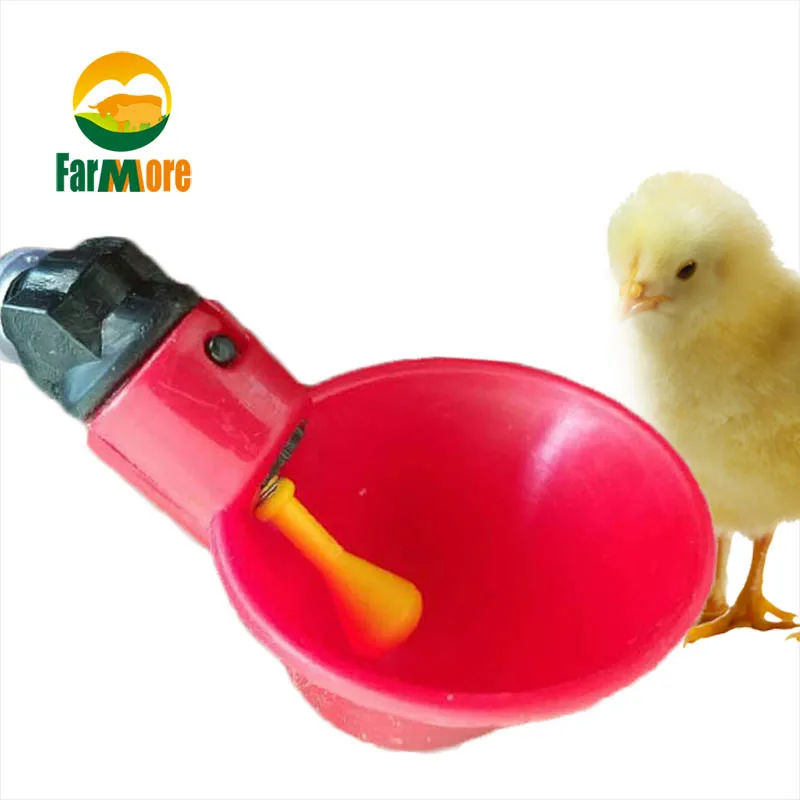 And the covered top means the chicks are less able to waste feed by kicking it around.
But it's made of a fairly light plastic, which means it can be shoved around and pushed over, wasting the feed inside. And despite it being slippery plastic, my experience is that chicks nevertheless choose to sit on top of it.
Long plastic feeder: verdict.
- Pros: It's inexpensive, long enough to feed a lot of chicks all at once, easy to clean and stops feed from being kicked out. And being plastic, it's built to last!
- Cons: It's light, so easily topples over, and chicks can (and do!) sit on top of it and poop into their food.
- Who's it good for? Great as a first feeder if you have a dozen or more chicks to feed. But you'll need to move to something larger within a couple of weeks.
Long metal trough chick feeder.
As the chicks begin to grow, you'll find they need a larger, heavier, more accessible feeder to allow room for everyone.
My chosen feeder then is this long metal trough. Its openings are larger than for the first stage, which gives everyone a turn, and it's covered by metal bars which prevent the chicks from sitting in it.
The chicks in the pic below were two weeks old when I introduced them to my metal feeder. It took them about ten seconds to get used to it and start eating!
I bought this one at my local feed store, and I wouldn't be without it.
Long metal feeder: verdict.
- Pros: It allows larger chicks to feed since the gaps between bars are wider than the plastic feeder. It's sturdy and the bars are too narrow for chicks to perch and poop!
- Cons: The larger openings do allow bedding to be kicked into the feed which means it has to be cleared regularly, to stop the chicks eating their bedding.
- One way round that is using sand in the brooder, which causes less disruption as it falls beneath the grain.
- Who's it good for? If you have growing chicks this is a good option.
 I've used this feeder for as many as 27 chicks until they were about five to six weeks old.
- Buy one at your local feed store if possible. They're very common and likely to be a better price than online.
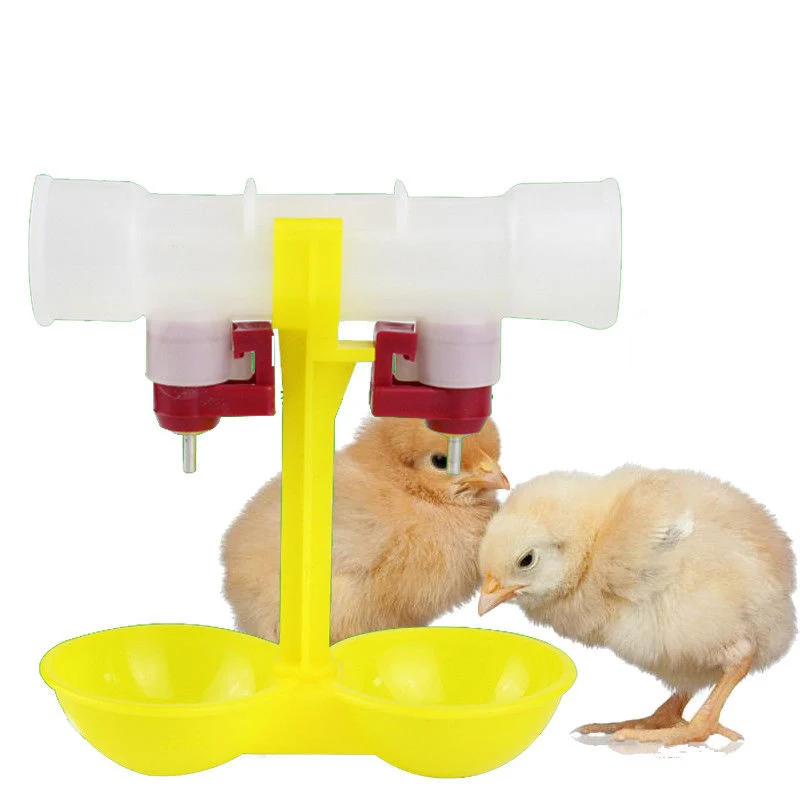
Mason jar chick feeders.
Feeders like the round one below, which are a base into which you can put your own upturned mason jar as a silo for the grain, are very popular.
They're useful because the design allows grain to disperse into the feeder as the chicks eat, so you don't need to keep topping it up every couple of hours.
I find that the holes are quite large, which gives chicks the perfect opportunity to kick grain out and bedding in.
And it's definitely better to use them with a mason jar in that large centre hole - otherwise this is what happens...
Mason jar feeder: verdict.
- Pros: Doesn't need topping up as frequently, and it's very sturdy - it won't get knocked about anything like as much as the plastic and metal trough feeders.
 Good for a smaller number of chicks. If you have more than ten you'll need two of these.
- Cons: It's still a ground feeder, so bedding will get kicked into the fairly large holes. And it can be hard to find a jar which fits it well.
- Who's it good for? A small flock of up to ten chicks, until about four to six weeks old.
- Top tip: fill the jar with grain and put the metal base on it while the jar is still upside down - then invert it. That way, you avoid grain spilling all over the brooder as you try to fit the jar into the middle hole.
The hanging feeder.
Most chick feeders are floor-based, and that leads to issues with feed being kicked out of, and bedding being kicked into, the feeder - not to mention the issue of chicks pooping into the containers where they are able.
So any feeder which hangs away from the floor has to be a winner.
The problem is that very few do.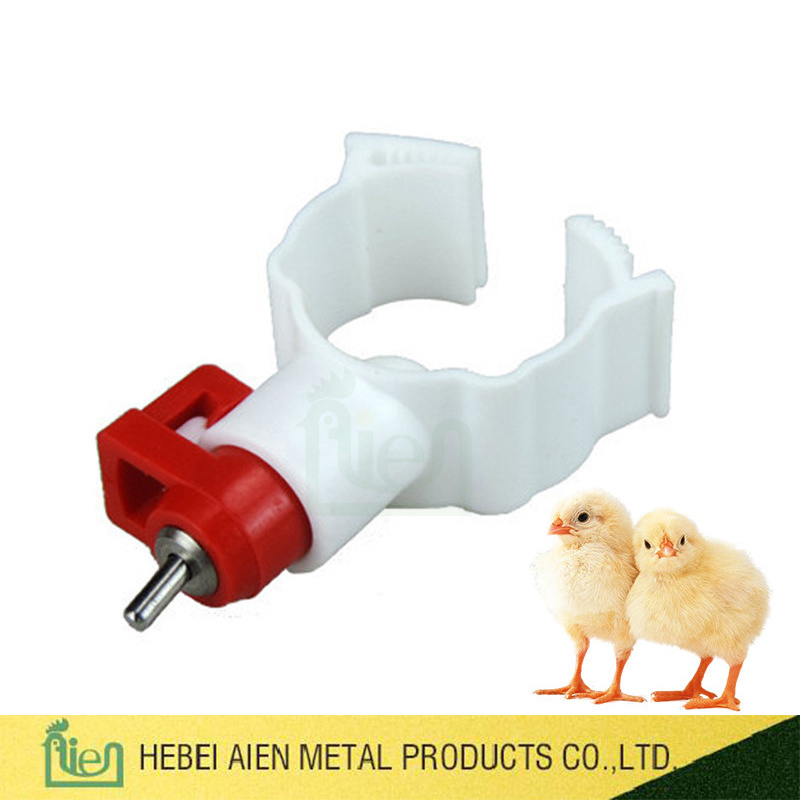 So when I came across this clever device, I knew I'd found a winner.
The harness straps around a plastic feeder (or waterer, but it doesn't work as well with waterers) and is strong enough then to be hung from the top of your chick brooder.
And therein lies the only issue. If your brooder doesn't have a top, it may be difficult. I get around this by placing a sturdy branch diagonally across the corner of the brooder and hanging any items from it, including treats and feeders.
Hanging feeder: verdict - this is hands-down my winner!
- Pros: Keeps the feeder well off the ground, so minimising the likelihood of chicks kicking bedding into or grain out of the feeder - so it's more cost effective than the other feeders. The length of the strap can be lengthened or shortened to suit the height of your brooder and the size of your chickens.
- Cost-effective: This design will suit chicks from a very young age until they're old enough to leave the brooder altogether - and even after!
- Cons: Can only be used with plastic feeders and it relies on having somewhere to hang it from.
 And it's not as effective when used as a waterer.
 - Who's it good for? Everyone!
- Top Tip: Be sure, if you order it, that you order the harness with the plastic feeder (not waterer). That way, you can be sure the two will fit perfectly together.
- Or click here to buy from the Amazon UK store.
More information about baby chick care.
- Home
- Brooder Care
- Feeders
Drinks for chickens from plastic bottles
Content
- Why should a drinker be closed
- How to make a chipper for chickens from plastic bottles
- The simplest chipper from a bottle of 9000 chicks
- Conclusions
Those who breed poultry know that they need not only feed, but also sufficient water. Small chickens are especially acutely in need of constant access to fresh water, which today are fed with special compound feeds and mixtures for accelerated growth - such feed must be washed down with plenty of liquid.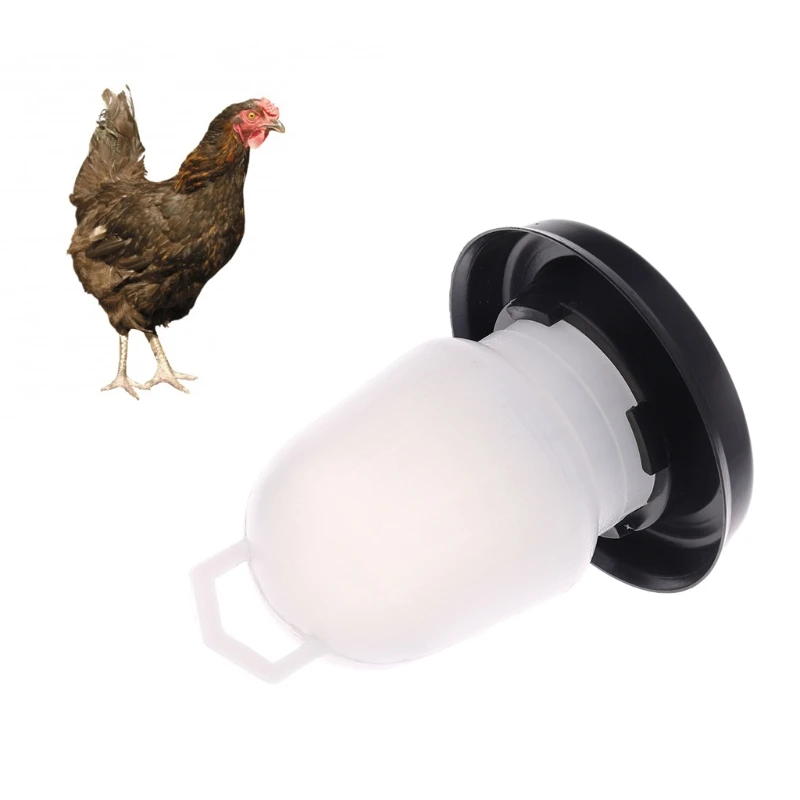
A wide variety of designs are available for adult and young hens. But, despite the whole range, most poultry houses continue to use simple bowls or other open containers for water.
About the dangers of open tanks, about the varieties of closed-type drinkers, as well as how you can make them yourself from ordinary plastic bottles, this article will be.
Why the drinker must be closed
Disadvantages of open drinking bowls for poultry are obvious:
Even the simplest closed chick drinker, made from a plastic bottle, has many advantages over open designs. Among others, these are:
- protection of water from foreign objects and substances;
- precise dosing of water, the amount of which can be easily calculated taking into account the number of chickens;
- a small chicken will not be able to get wet in such a drinker, drown or get cold;
- the ability to independently regulate the amount of incoming water;
- the cost of a homemade drinking cup from a plastic bottle will be zero;
- plastic is durable, which means that you can use the drinker for a long time;
- Even if a plastic bottle cup fails or becomes clogged, it can be easily replaced with a new one using a different bottle.
Important! The amount of water a chick needs per day depends on several factors, among others, the type of feed, the age of the chick, and the room temperature. On average, it is generally accepted that a chicken needs about 0.5 liters of clean water per day.
How to make your own chicken drinker from plastic bottles
There are many ways to make poultry troughs using plastic containers. This can be done from ordinary one and a half liter bottles, and from bottles of five or ten liters, many use plastic buckets from building mixtures or food products for this purpose. The choice of container and its size depends, first of all, on the number of chickens and their age.
There are also many designs of drinkers for chickens, they are difficult to manufacture: these can be simply fixed horizontally and cut along open drinkers, or there can be closed-type drinkers that supply water gradually.
The simplest bottled chick drinker
The simplest and safest chick drinker is made in one minute. To make it, you will need a bottle with a capacity of 1.5 or 2 liters, a sharp knife and wire.
First, close the bottle with a lid - so the container will not be deformed during cutting. Now the bottle must be placed horizontally and several round or oval parts should be marked with a marker or pen - these will be holes for the bird's heads.
Holes are cut out according to the outlined contours, the resulting drinker is fixed on the wall of the shed or cage with a wire.
Attention! In this embodiment, it is very important to maintain the correct size of the holes: if they are small, the chickens will not be able to get drunk from the drinker, through holes that are too large, the bird will be able to crawl inside the bottle, cripple or choke.
Given these factors, it can be concluded that these drinkers are more suitable for adult birds than for constantly growing chicks.
Vacuum drinker from plastic bottles
The principle of operation of purchased vacuum drinkers is that water gradually fills the container or tank - adding liquid occurs when its level becomes critically low.
It is quite easy to make a vacuum drinking bowl with your own hands, for this you need:
- a large five-liter bottle;
- 1.5 or 2 liter plastic bottle;
- lids from both containers;
- knife or scissors;
- self-tapping screws;
- wire.
The whole process of making a vacuum chick drinker is easy to describe in a few paragraphs:
- From a five-liter bottle, you need to cut off the neck - about a fifth of the container.
- The cap of a small bottle is inserted inside the large cap and fastened together with a self-tapping screw with a nut.
- A one and a half or two liter bottle is screwed into a previously fixed cap.
- In a small bottle, make a hole with a diameter of about 5-8 mm, it should be in the upper part of the bottle so that the cut edge of the large container passes above the hole.
- Fill the whole bottle with water, screw on the cap.
- The drinker is turned over and fixed to the previously prepared fixtures on the wall of the cage.
The principle of operation is based on the difference in pressure - water will flow into the cut bottle when the hole in the small bottle is above the liquid level.
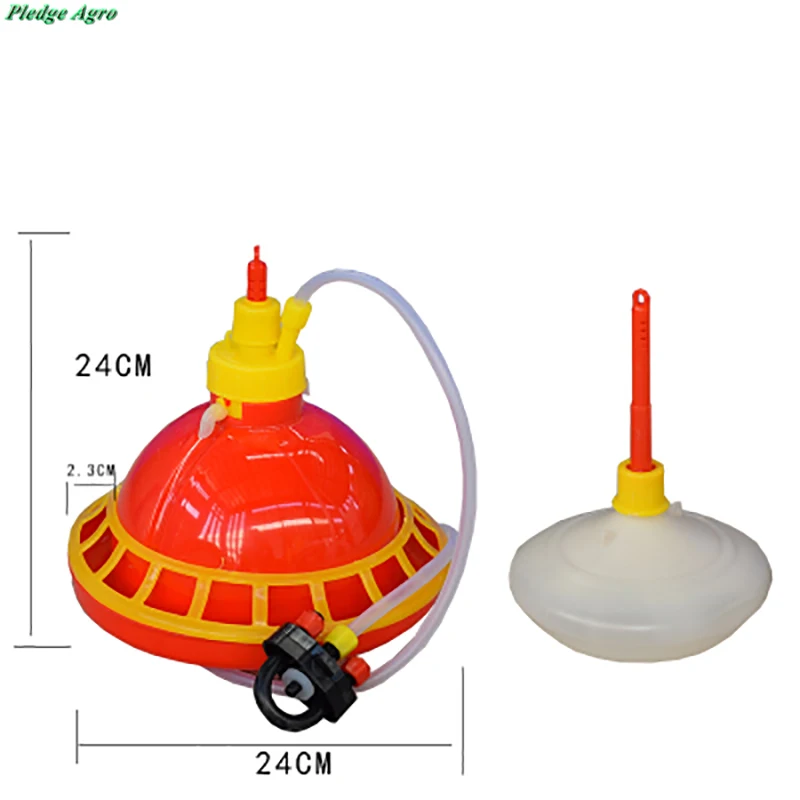
Important! The advantage of a vacuum drinker is that several chickens can drink from it at the same time, which is the best suited for large poultry houses.
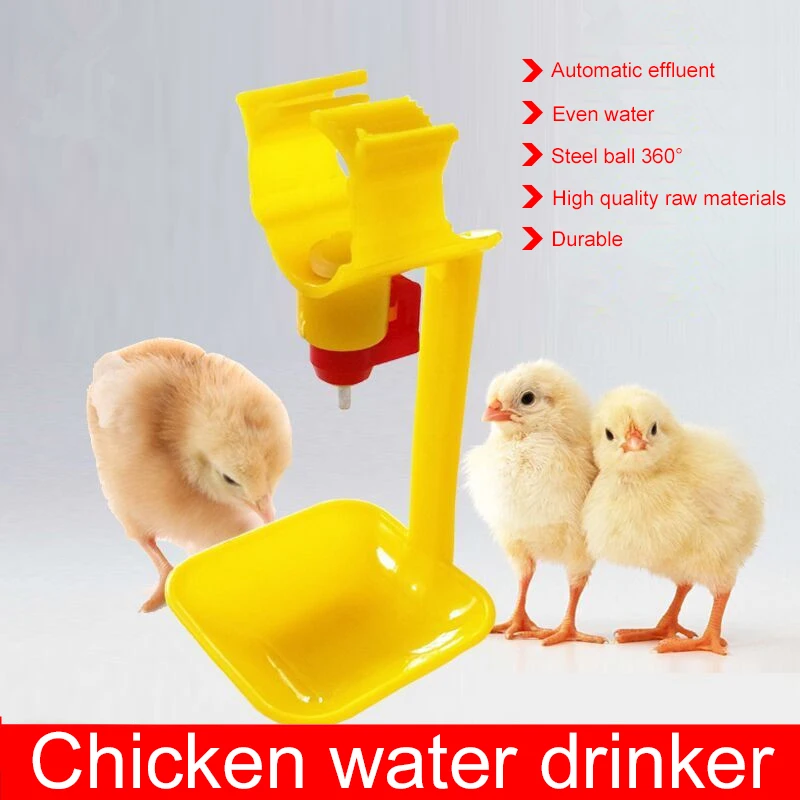
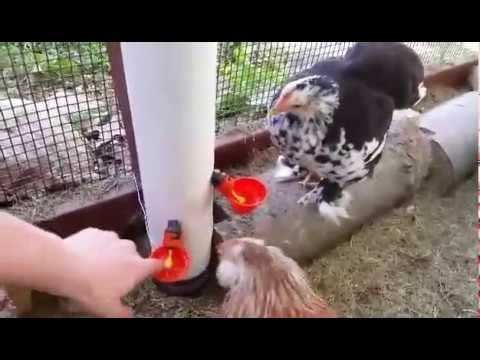
Nipple drinker for chicks
The main advantage of the nipple drinker is that the chick will not be able to get wet or choke - the water will flow out in tiny doses and only when the bird needs it.
You can also make a nipple drinker from a plastic bottle. In addition to the tank itself, you only need a drill, a nipple (sold in markets and stores) and a sealant (water tape, sealant or other tool).
The whole procedure for making a cup is very simple:
- The bottle is screwed on with a cap.
- A hole is made in the cap with a drill, the diameter of which corresponds to the size of the nipple.
- The nipple is inserted into the hole and sealed in any way.
- The bottle is filled with water and turned over.
Just fix the drinker to the wall and the chicks can drink fresh water.
The main disadvantage of nipple drinkers is that only one chick can drink from them. This can cause a crush near the water source, so the number of such drinkers should correspond to the number of chickens.
Conclusions
Breeding poultry is a profitable business, but modern prices for feed, electricity, veterinary drugs can nullify all efforts of the poultry house. This is what makes us look for ways to reduce the cost of the process, one of these methods is the independent production of drinkers and feeders.
Drinking bowls from plastic bottles cost nothing, because every owner has the material for their manufacture.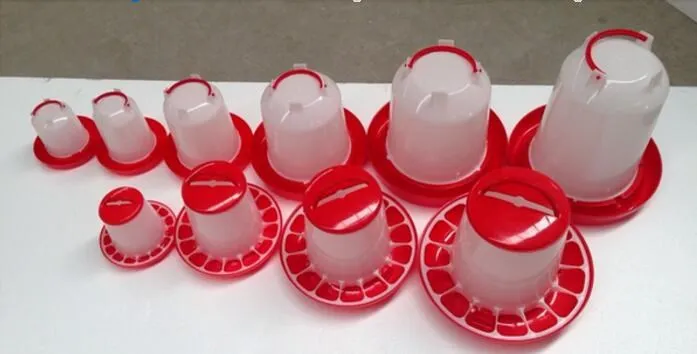 In addition, such drinkers are safe for chickens and are in no way inferior to ready-made designs.
- Do-it-yourself greenhouse from old window frames
- We make a garden bench with our own hands
- Dimensions of the booth for a shepherd dog, alabai and other dogs
- How to make a homemade smokehouse with your own hands
model overview and step-by-step instructions And one of them is the availability of water in sufficient quantities. Birds should be watered so that they do not get wet. For such purposes, special devices were invented. You can buy them, or you can make your own.
Content:
- 1
What should be taken into account
- 2
Homemade manufacture
- 2.1
Using plastic
- 2.2
Nipple structure
- 2.3
Creating an automatic device
9000 9000 9000 9000
- 2.1
- 4
Video "Creating a device"
Things to consider
It should be borne in mind that the younger generation consumes water almost twice as much as feed per day.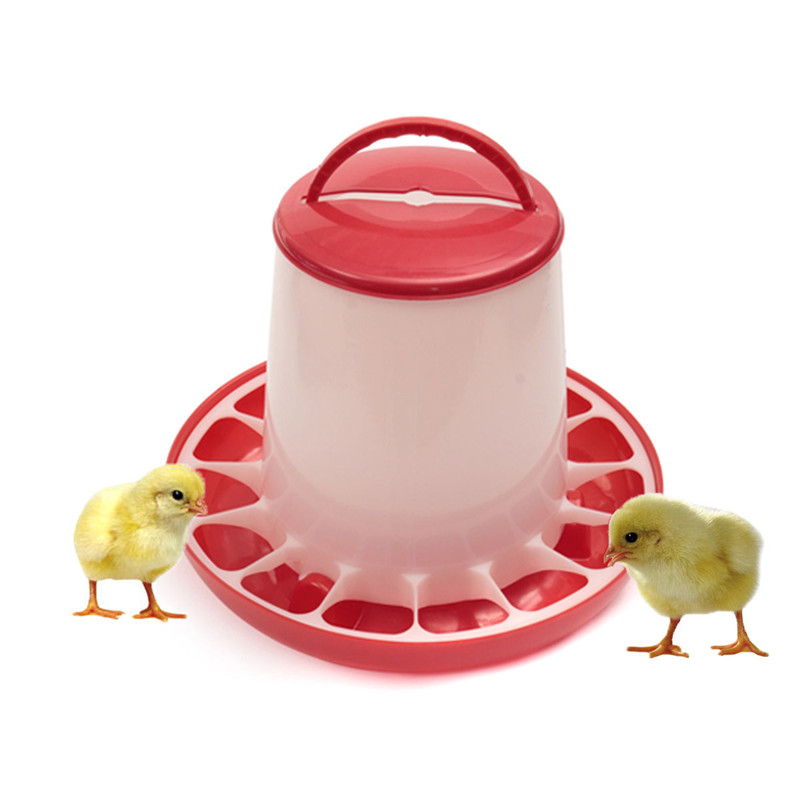 Therefore, home-made devices should differ in capacity. This will help maintain the water balance at a certain level, contributing to the normalization of development.
The feeling of thirst can lead to irreversible consequences and even death of the younger generation. In addition, the chicks constantly feel the desire to swim, wander through the water. For this reason, it is recommended to make safe devices with your own hands at home so that they cannot climb into them.
Homemade
At the present stage, a wide variety of drinkers for chickens are being produced. Numerous photos serve as proof of this. However, not all devices are suitable for a large number of chicks. For this reason, it is better to make them at home with your own hands from improvised materials.
Using plastic
A plastic bottle makes a good device for chicks. And numerous photos and videos serve as excellent proof of this. Creating such a drinker is not difficult. Of the tools with materials, you will need to use plastic containers, a screwdriver, screws, cutting tools.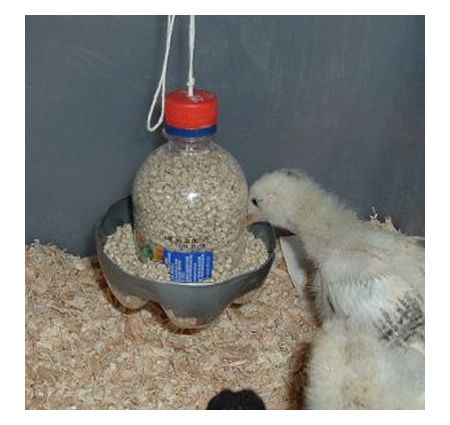 You also need to take two bottles.
To build your own DIY chick water fixture, you will need to follow these steps:
- The top of the bottle should be cut off, stepping back from the neck by 5 cm. You should get a kind of cup.
- The plastic container must be attached with screws to the received container from the inside, creating a kind of lid in the lid.
- 5 cm away from the neck of the smaller bottle, it is recommended to make small holes. Their height should not exceed the depth of the large bowl.
- The structure must be inserted into a pre-made frame or screwed to the wall with screws. Can be filled with water.
Nipple design
Even if the household is small, automation may be required. It will help you simplify the care process. If you plan to breed broilers, you will need to feed them with high quality. And in such a situation, nipple drinkers will be the best option. For broilers, it will not be difficult to make such a device from improvised materials.
You can build a drinker with your own hands using a pipe, outlet, plug, drip catcher or nipple, water tank and liquid level regulator.
To get a homemade drinker, you need to follow a few fairly simple steps:
- Mark on the pipe the places where you need to drill holes for the drip catcher. There must be at least 20 cm between them. The diameter of the holes is 9 mm.
- We recommend screwing nipples into the holes.
- Install a plug on one side of the pipe.
- At the bottom, he recommends cutting a hole for the hose, inserting a thread into it and screwing the hose itself directly.
Homemade drinker is ready to use. What are nipple devices, you can find out by watching the video.
Making an automatic device
Broilers and other chicken breeds may require an automatic makeshift drinker.